


Floor signage can turn an overlooked surface into your most valuable communication tool. Whether you’re guiding customers through a store or catching the eye of pedestrians on the sidewalk, the right graphics can make a huge impact. Getting it right comes down to smart material choices, thoughtful design, and proper installation.
Here’s everything you need to know to create effective and durable floor signage.
An Approach Centered on the User for Wayfinding and Engagement
Floor graphics are powerful tools for wayfinding and customer engagement. An approach centered on the user puts your customer’s journey first, using floor decals to guide them intuitively. Simple arrows or creative footprints can subtly direct people, improving the flow in large retail stores, airports, or event venues.
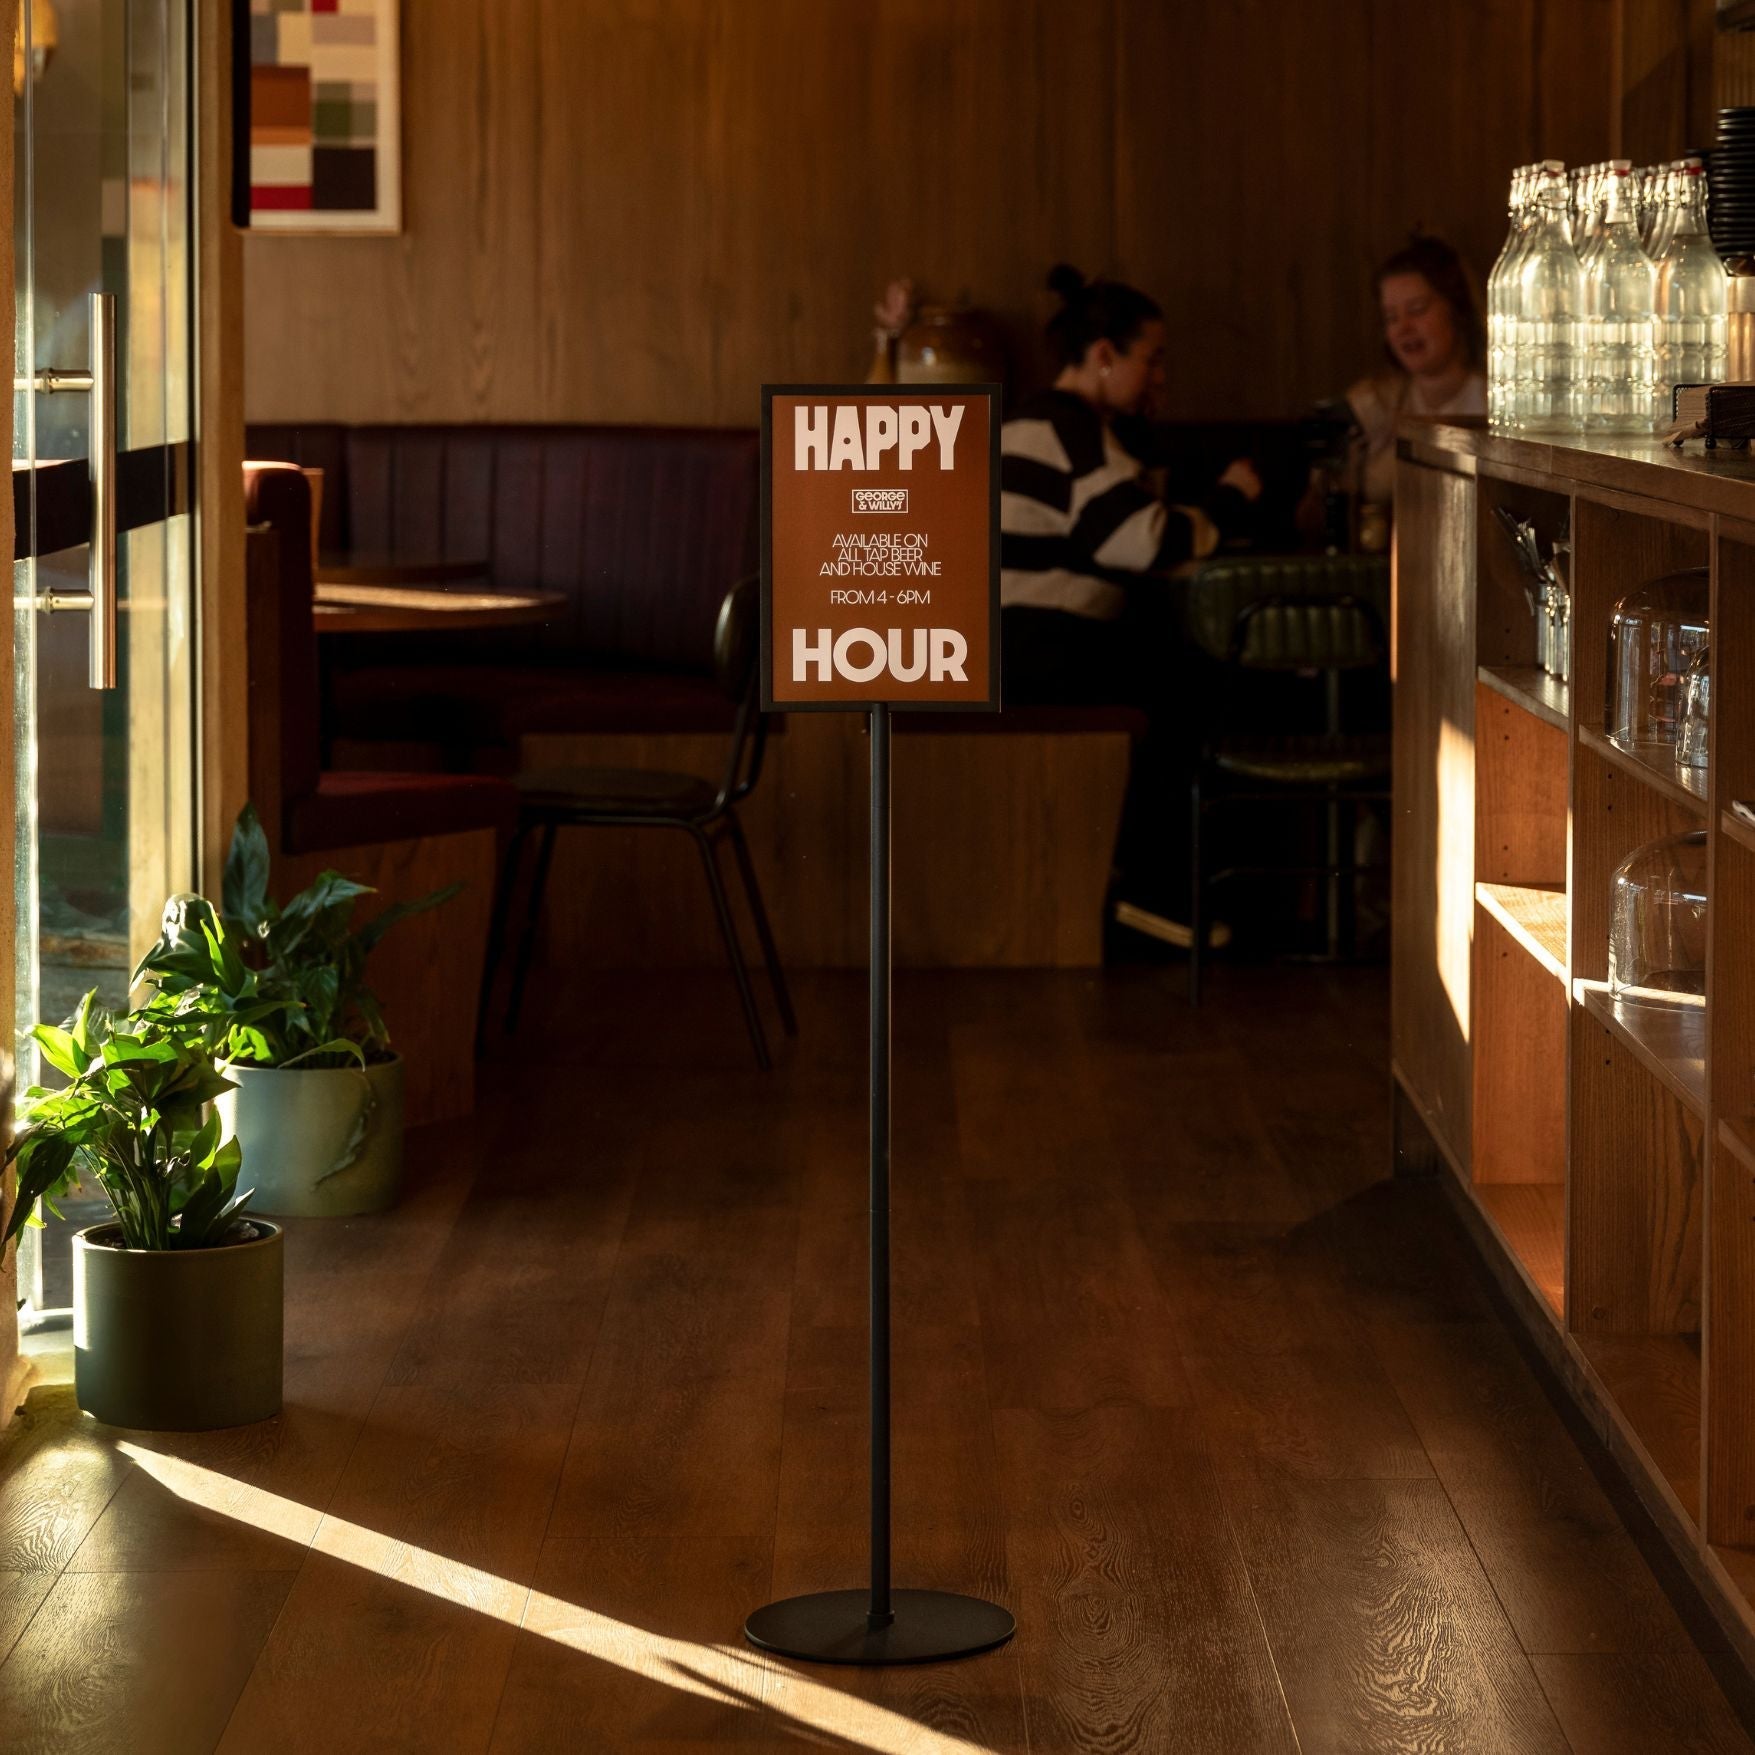
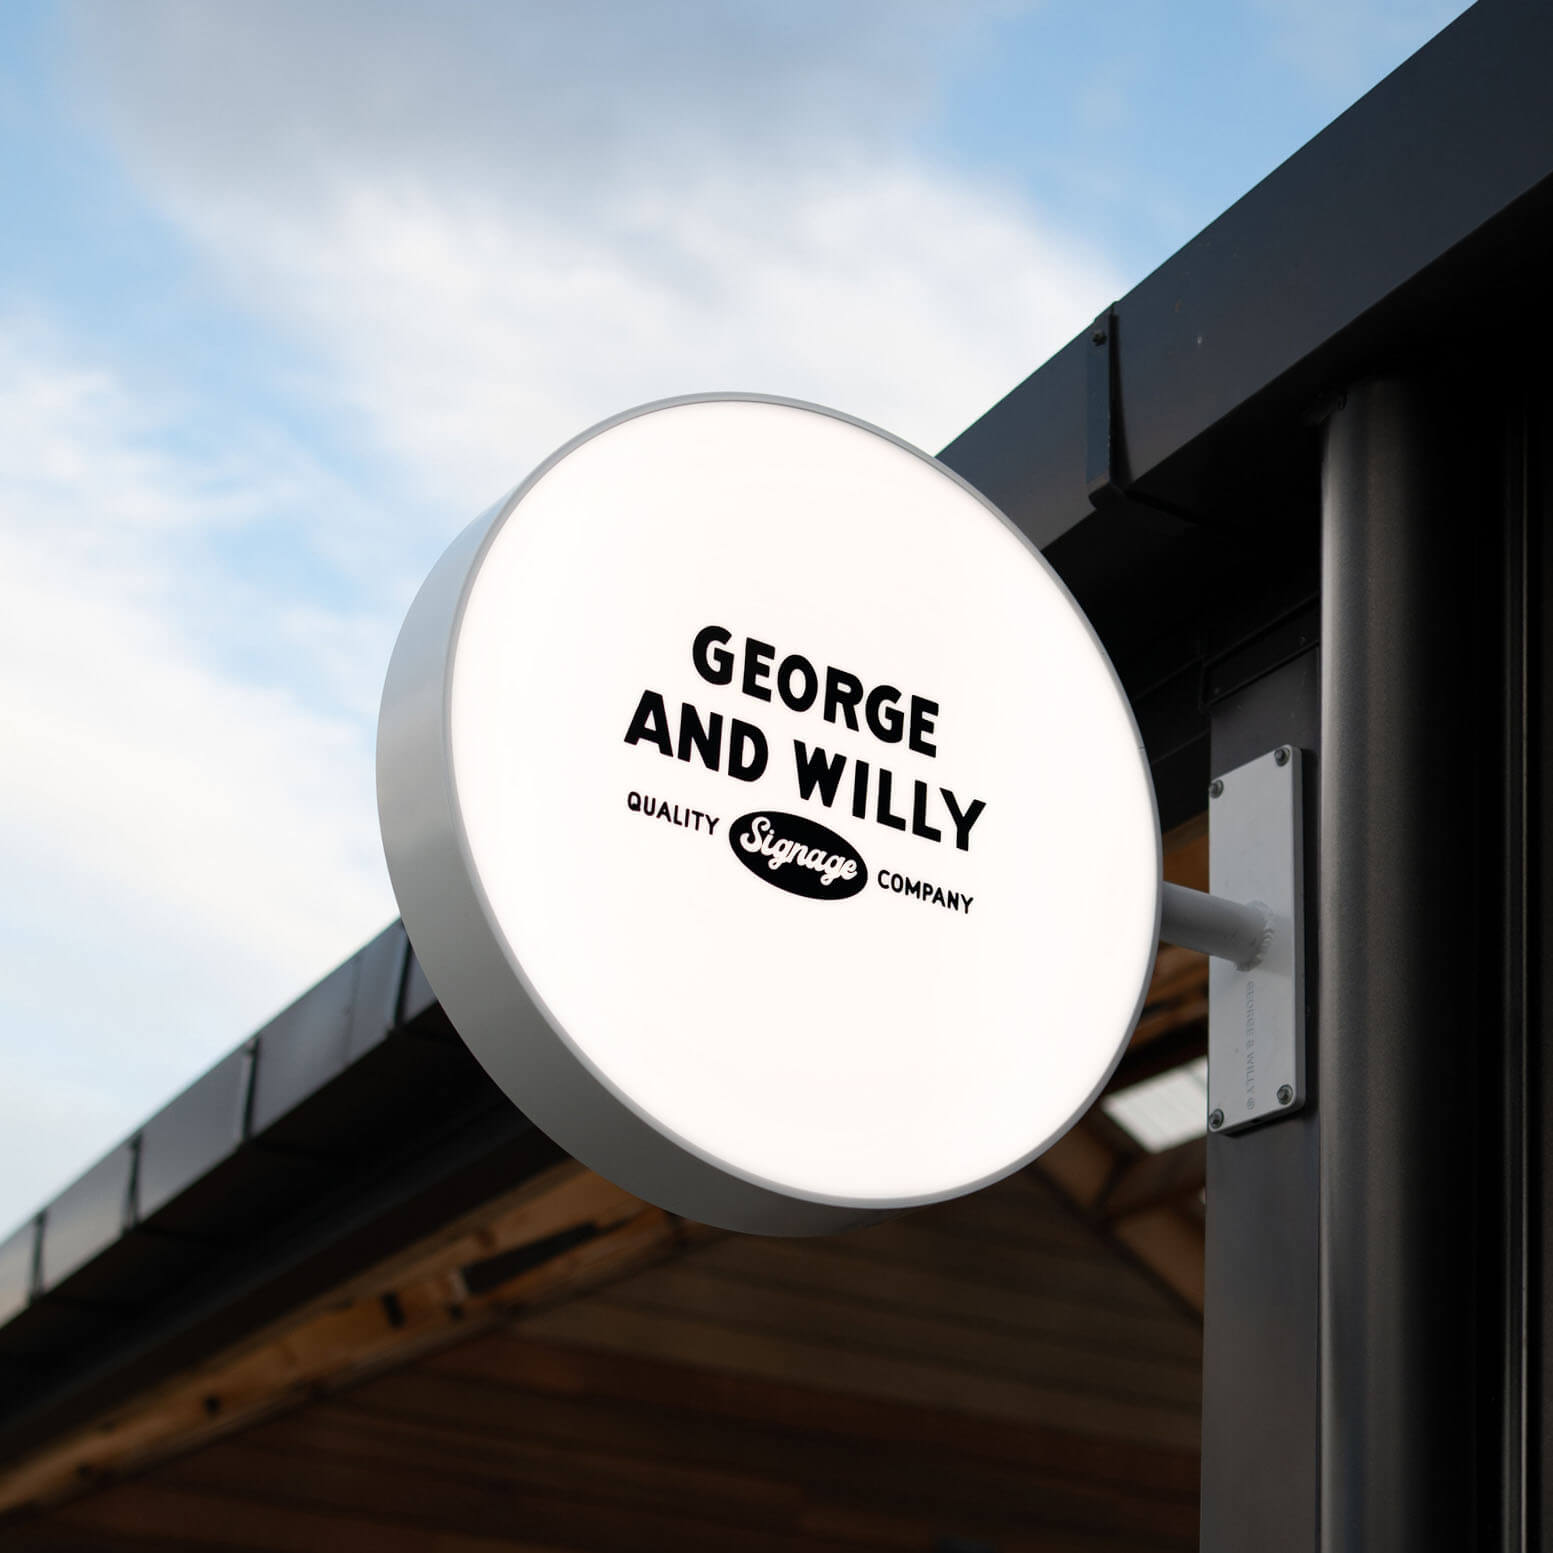
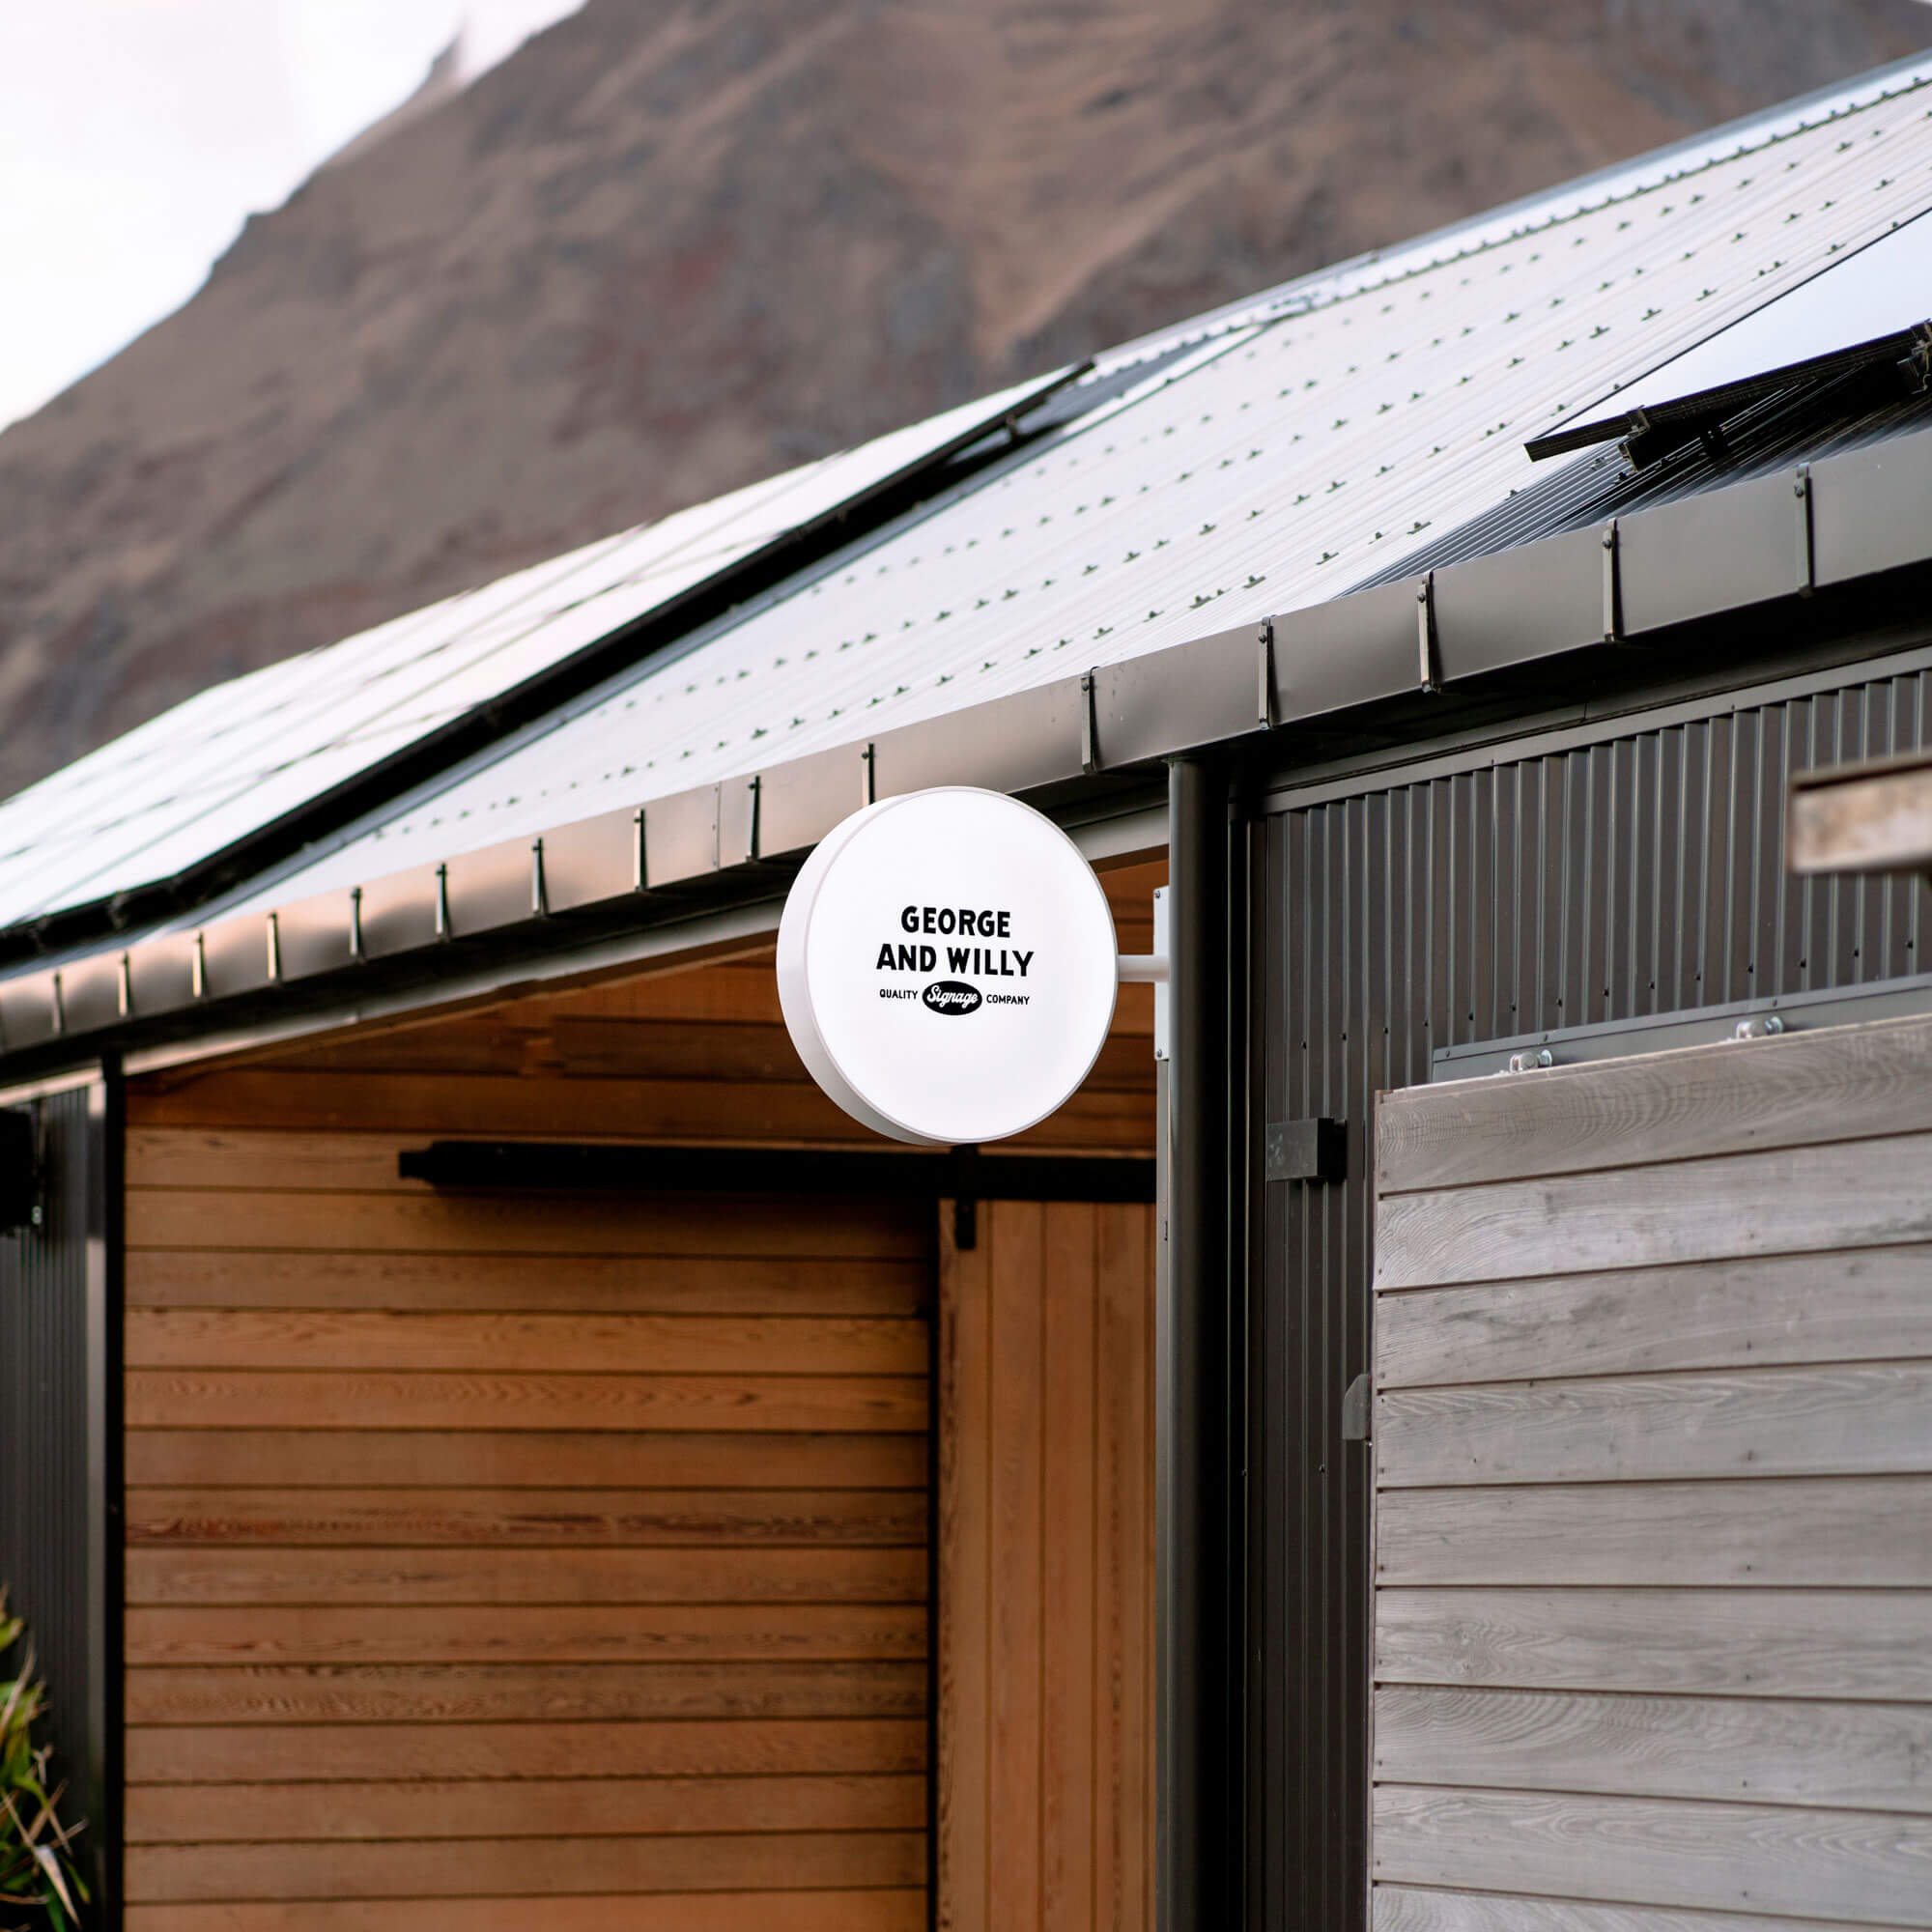
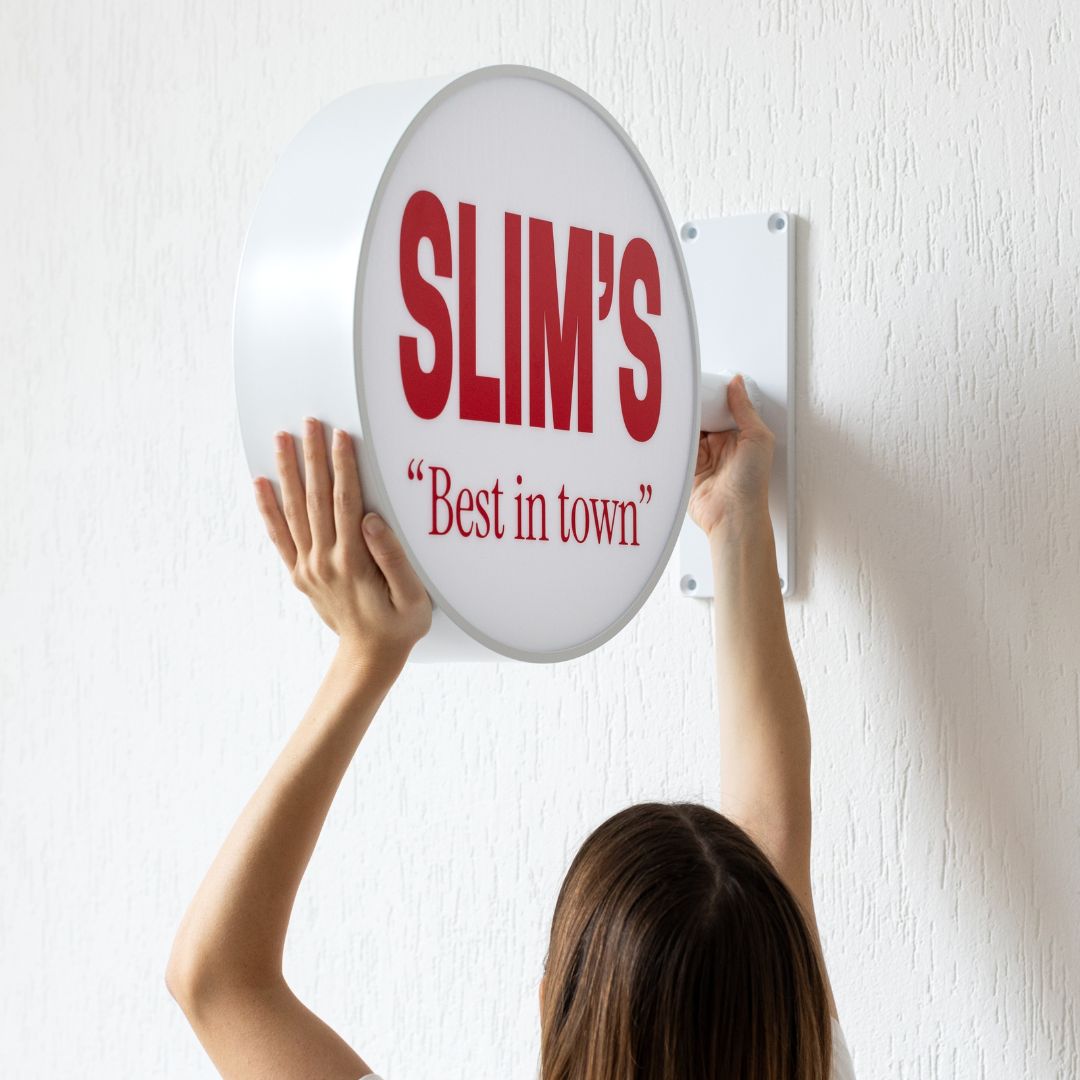
Because people naturally look down, especially while on their phones, floor signage is uniquely positioned to grab attention. This makes it highly effective for communicating promotions and improving the customer experience. For a cohesive navigation system, combine your floor graphics with other visual cues. A well placed floor arrow leading to a wall mounted Blade Sign can mark the destination at eye level, creating a seamless journey for your visitors.
Strategic Placement for Maximum Impact
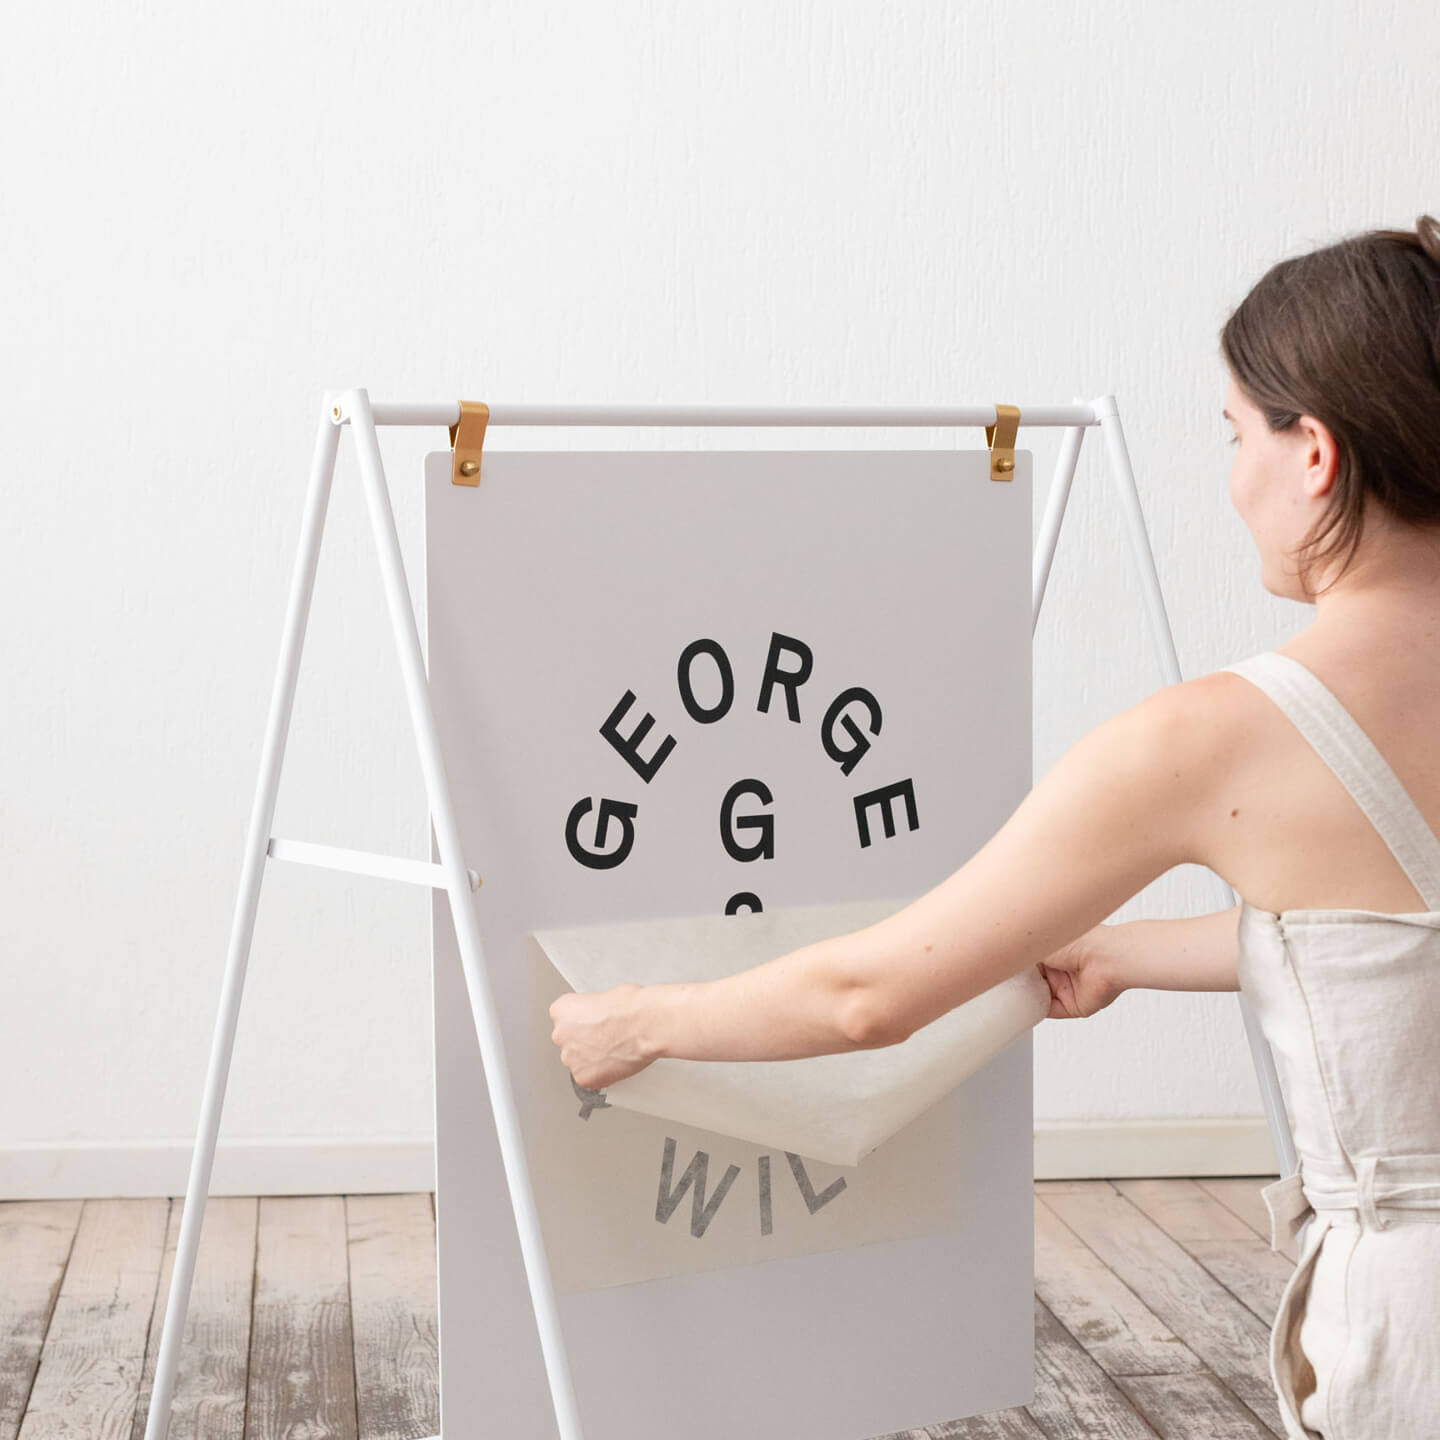
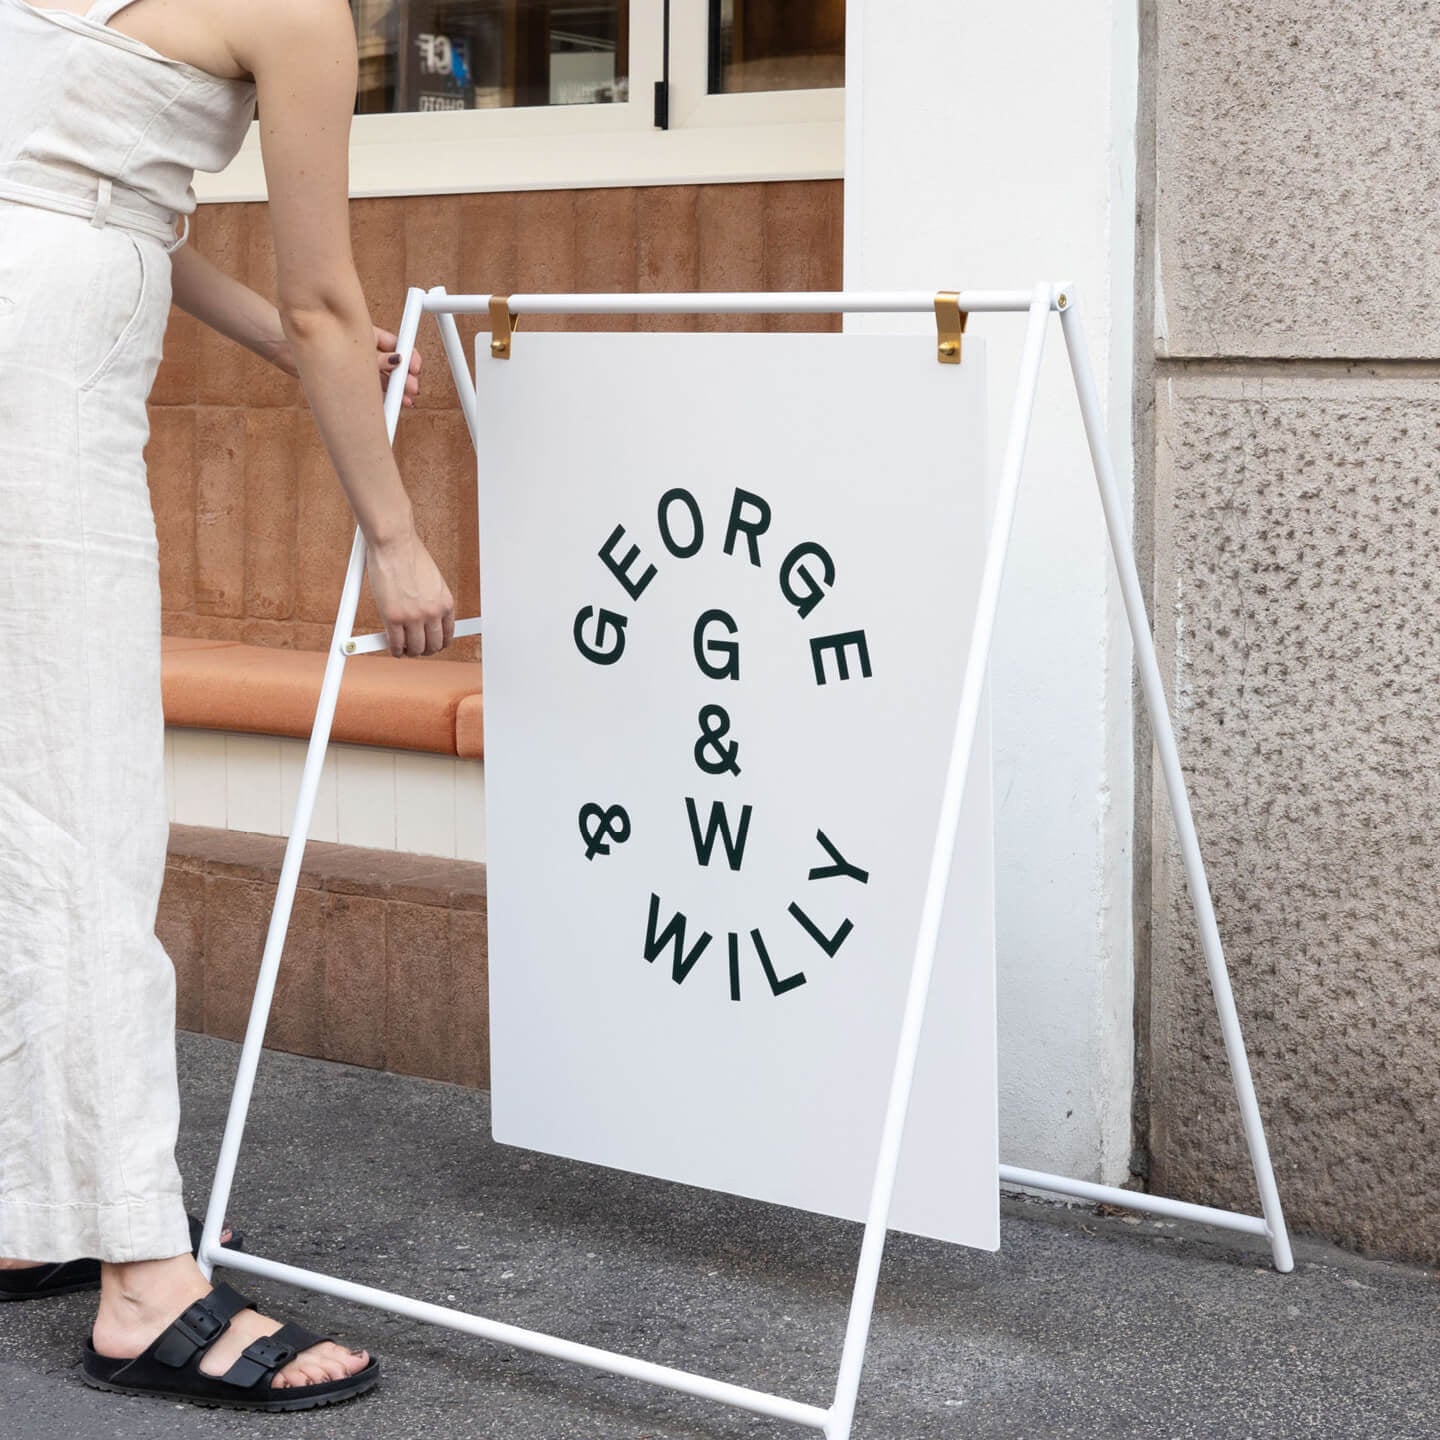
Effective floor signage is not just about what you say, but where you say it. A thoughtful placement strategy ensures your message is seen without overwhelming the space. Start by identifying key decision points and high traffic zones, such as entrances, checkout counters, and aisle intersections. These are prime locations for directional or promotional graphics.
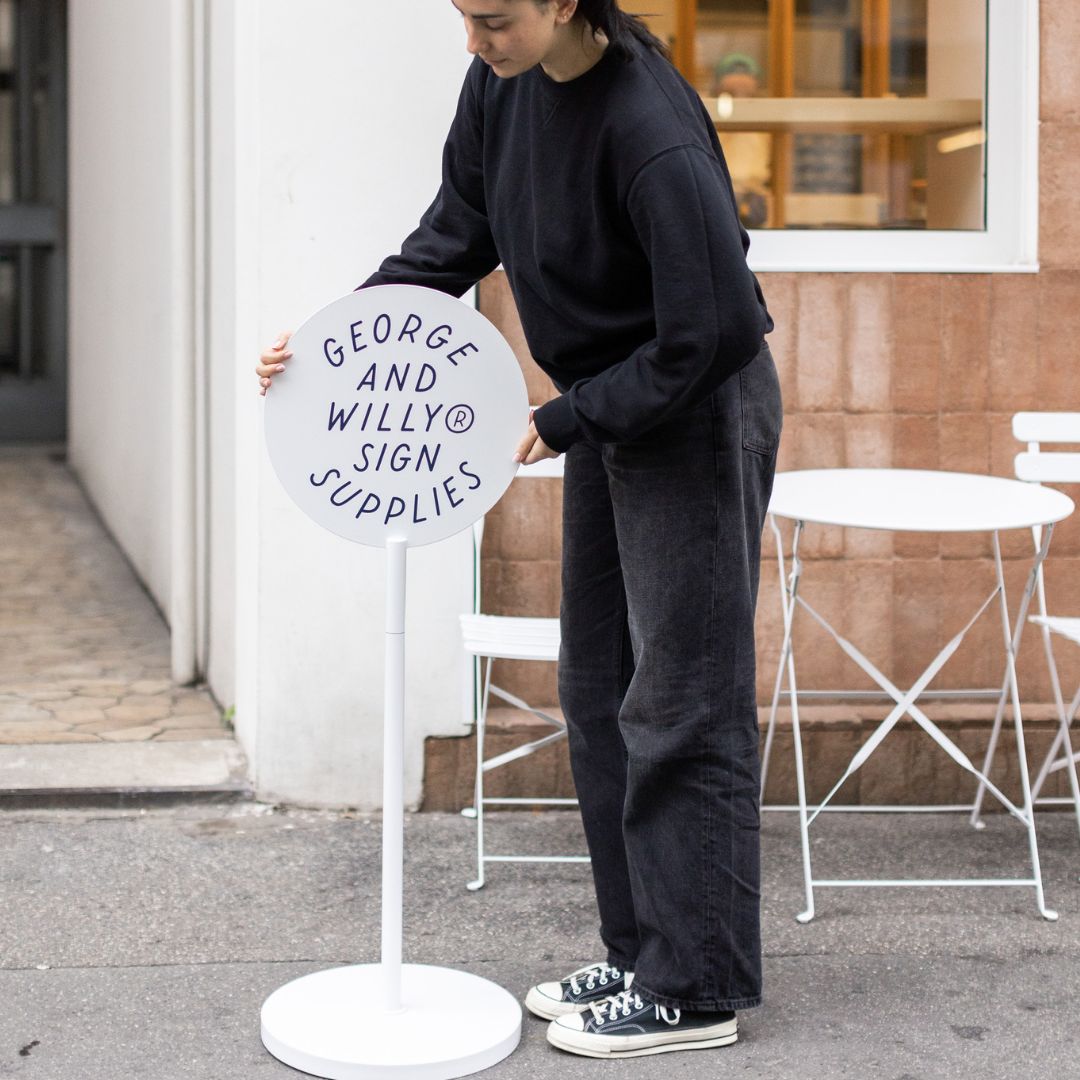
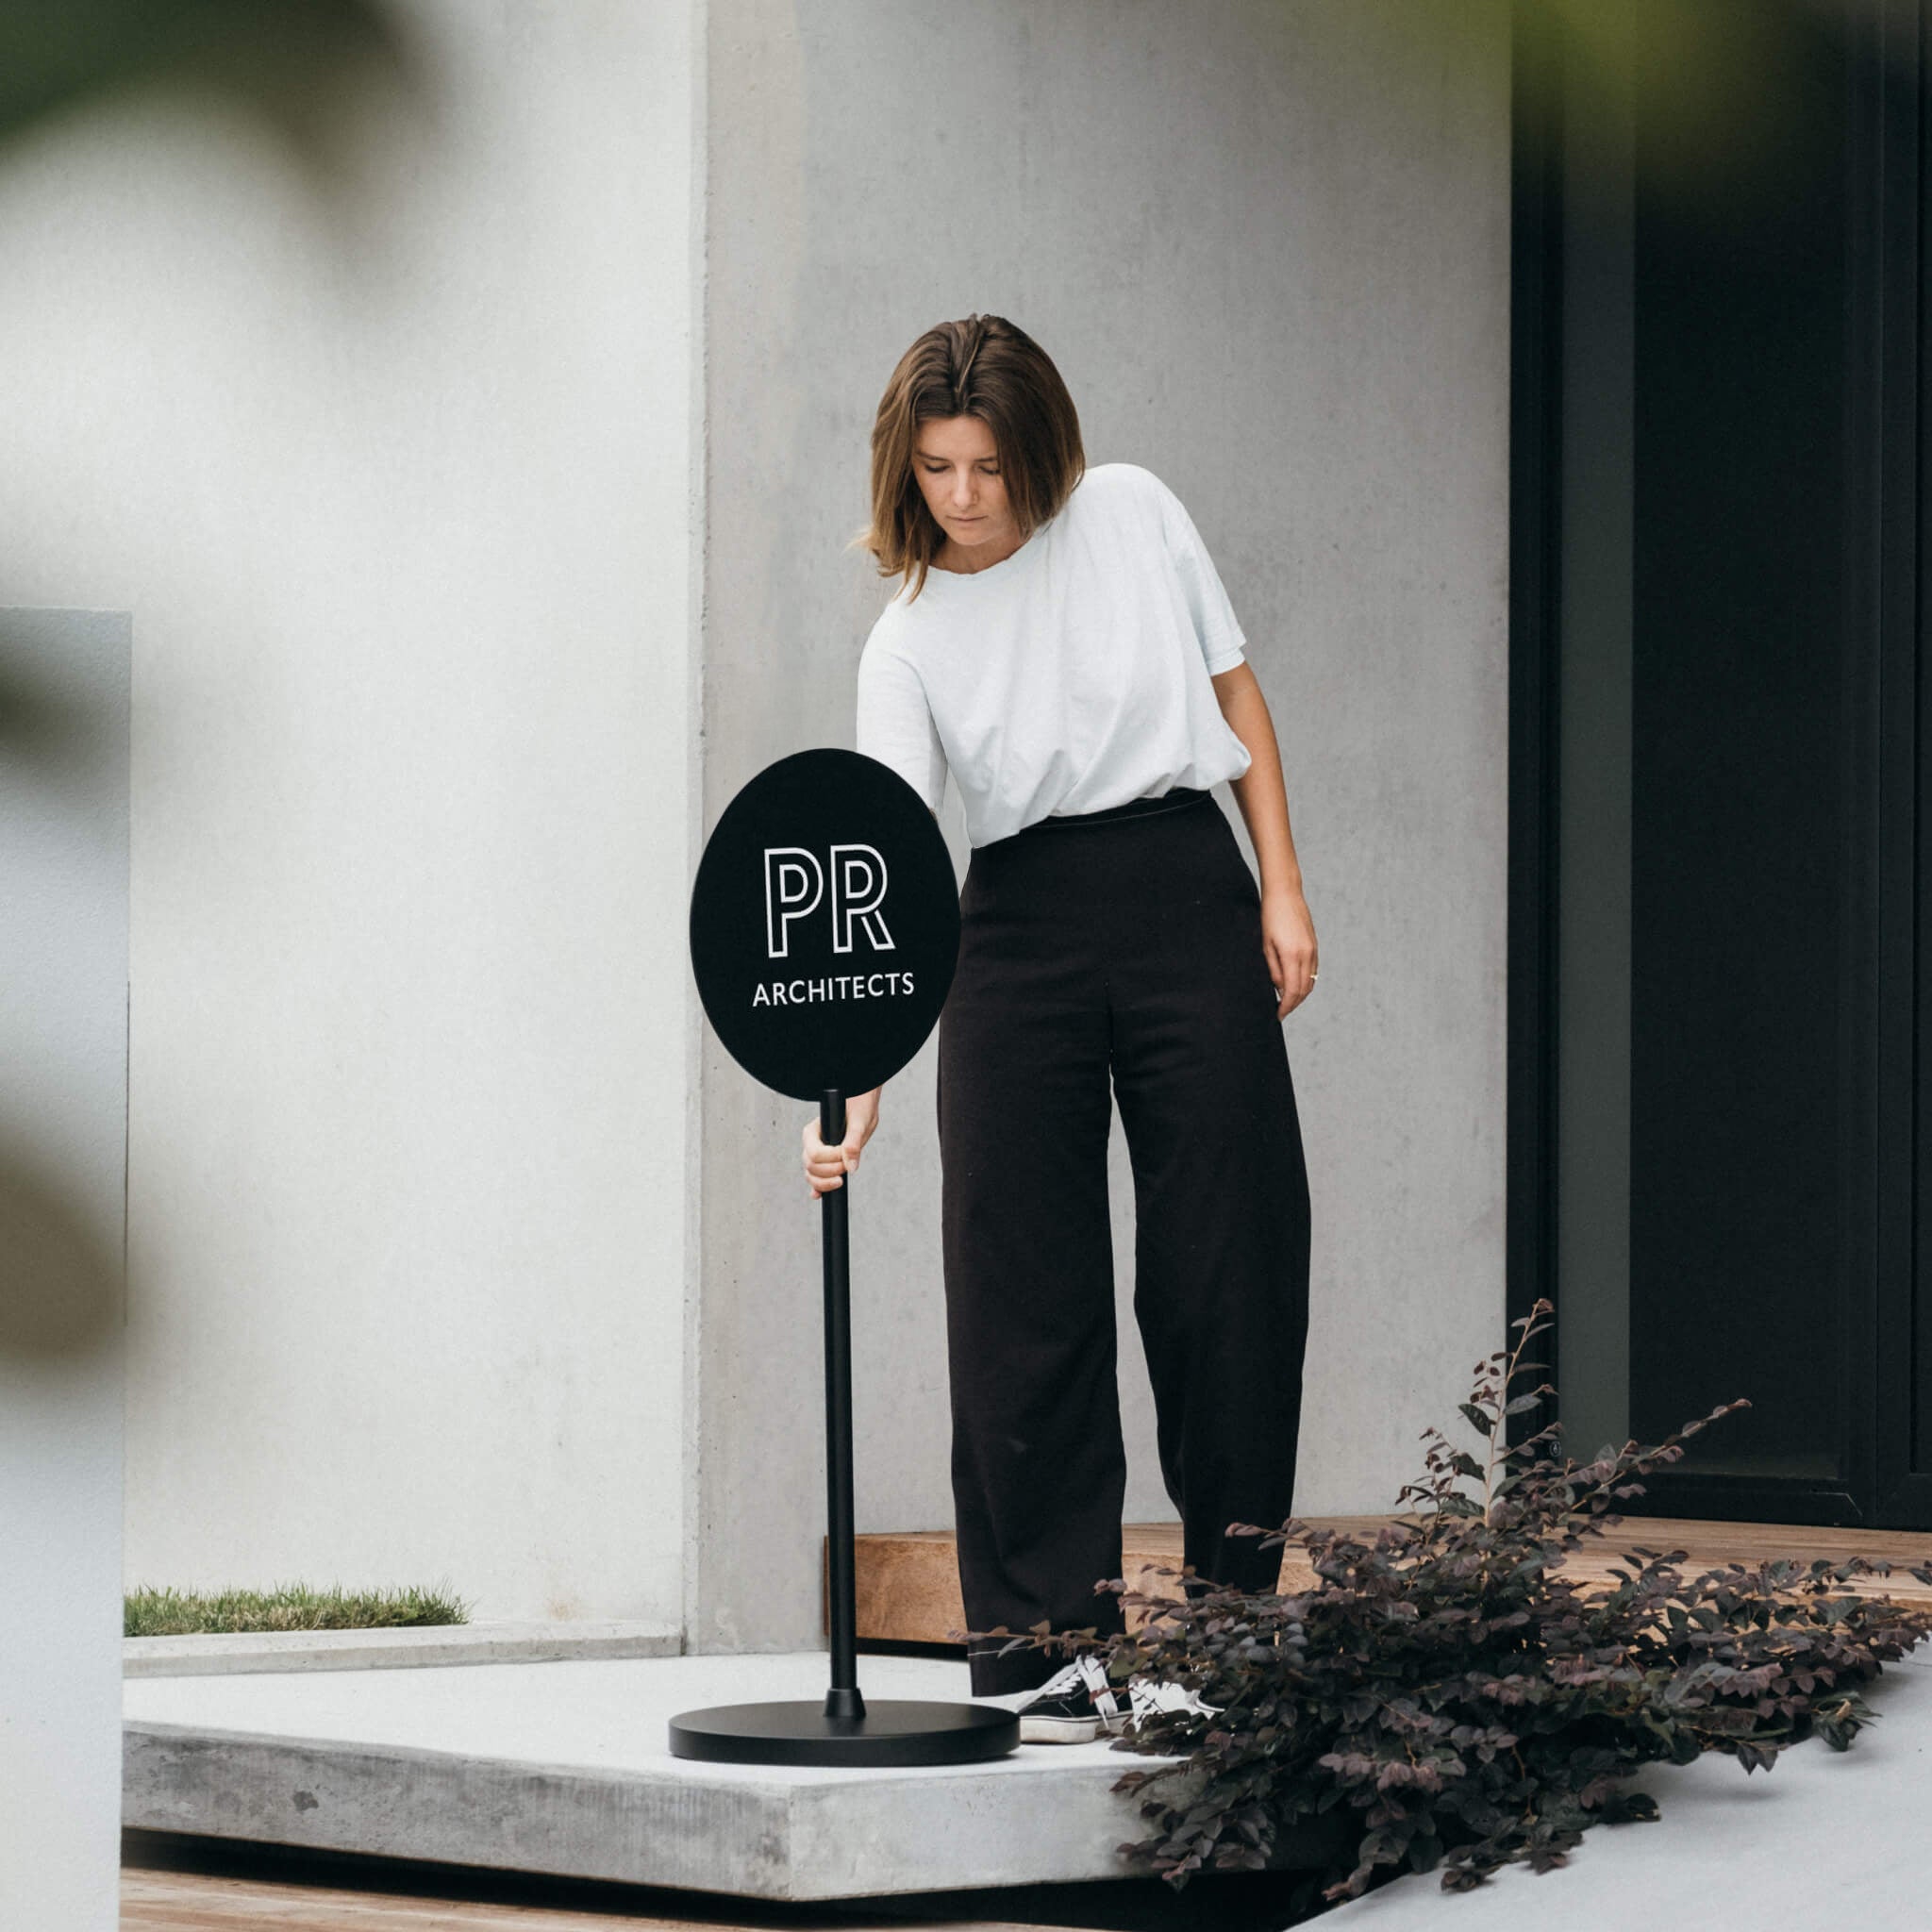
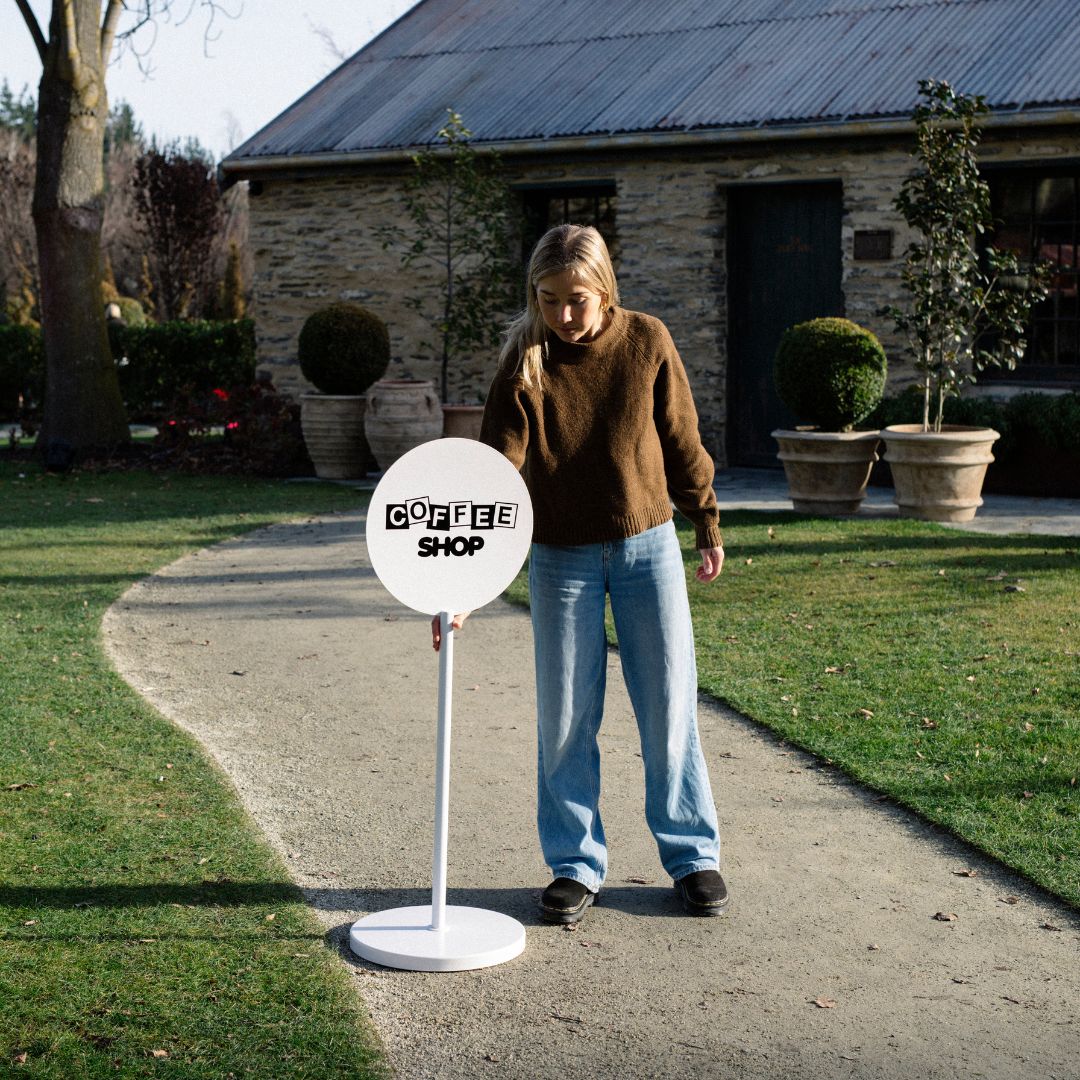
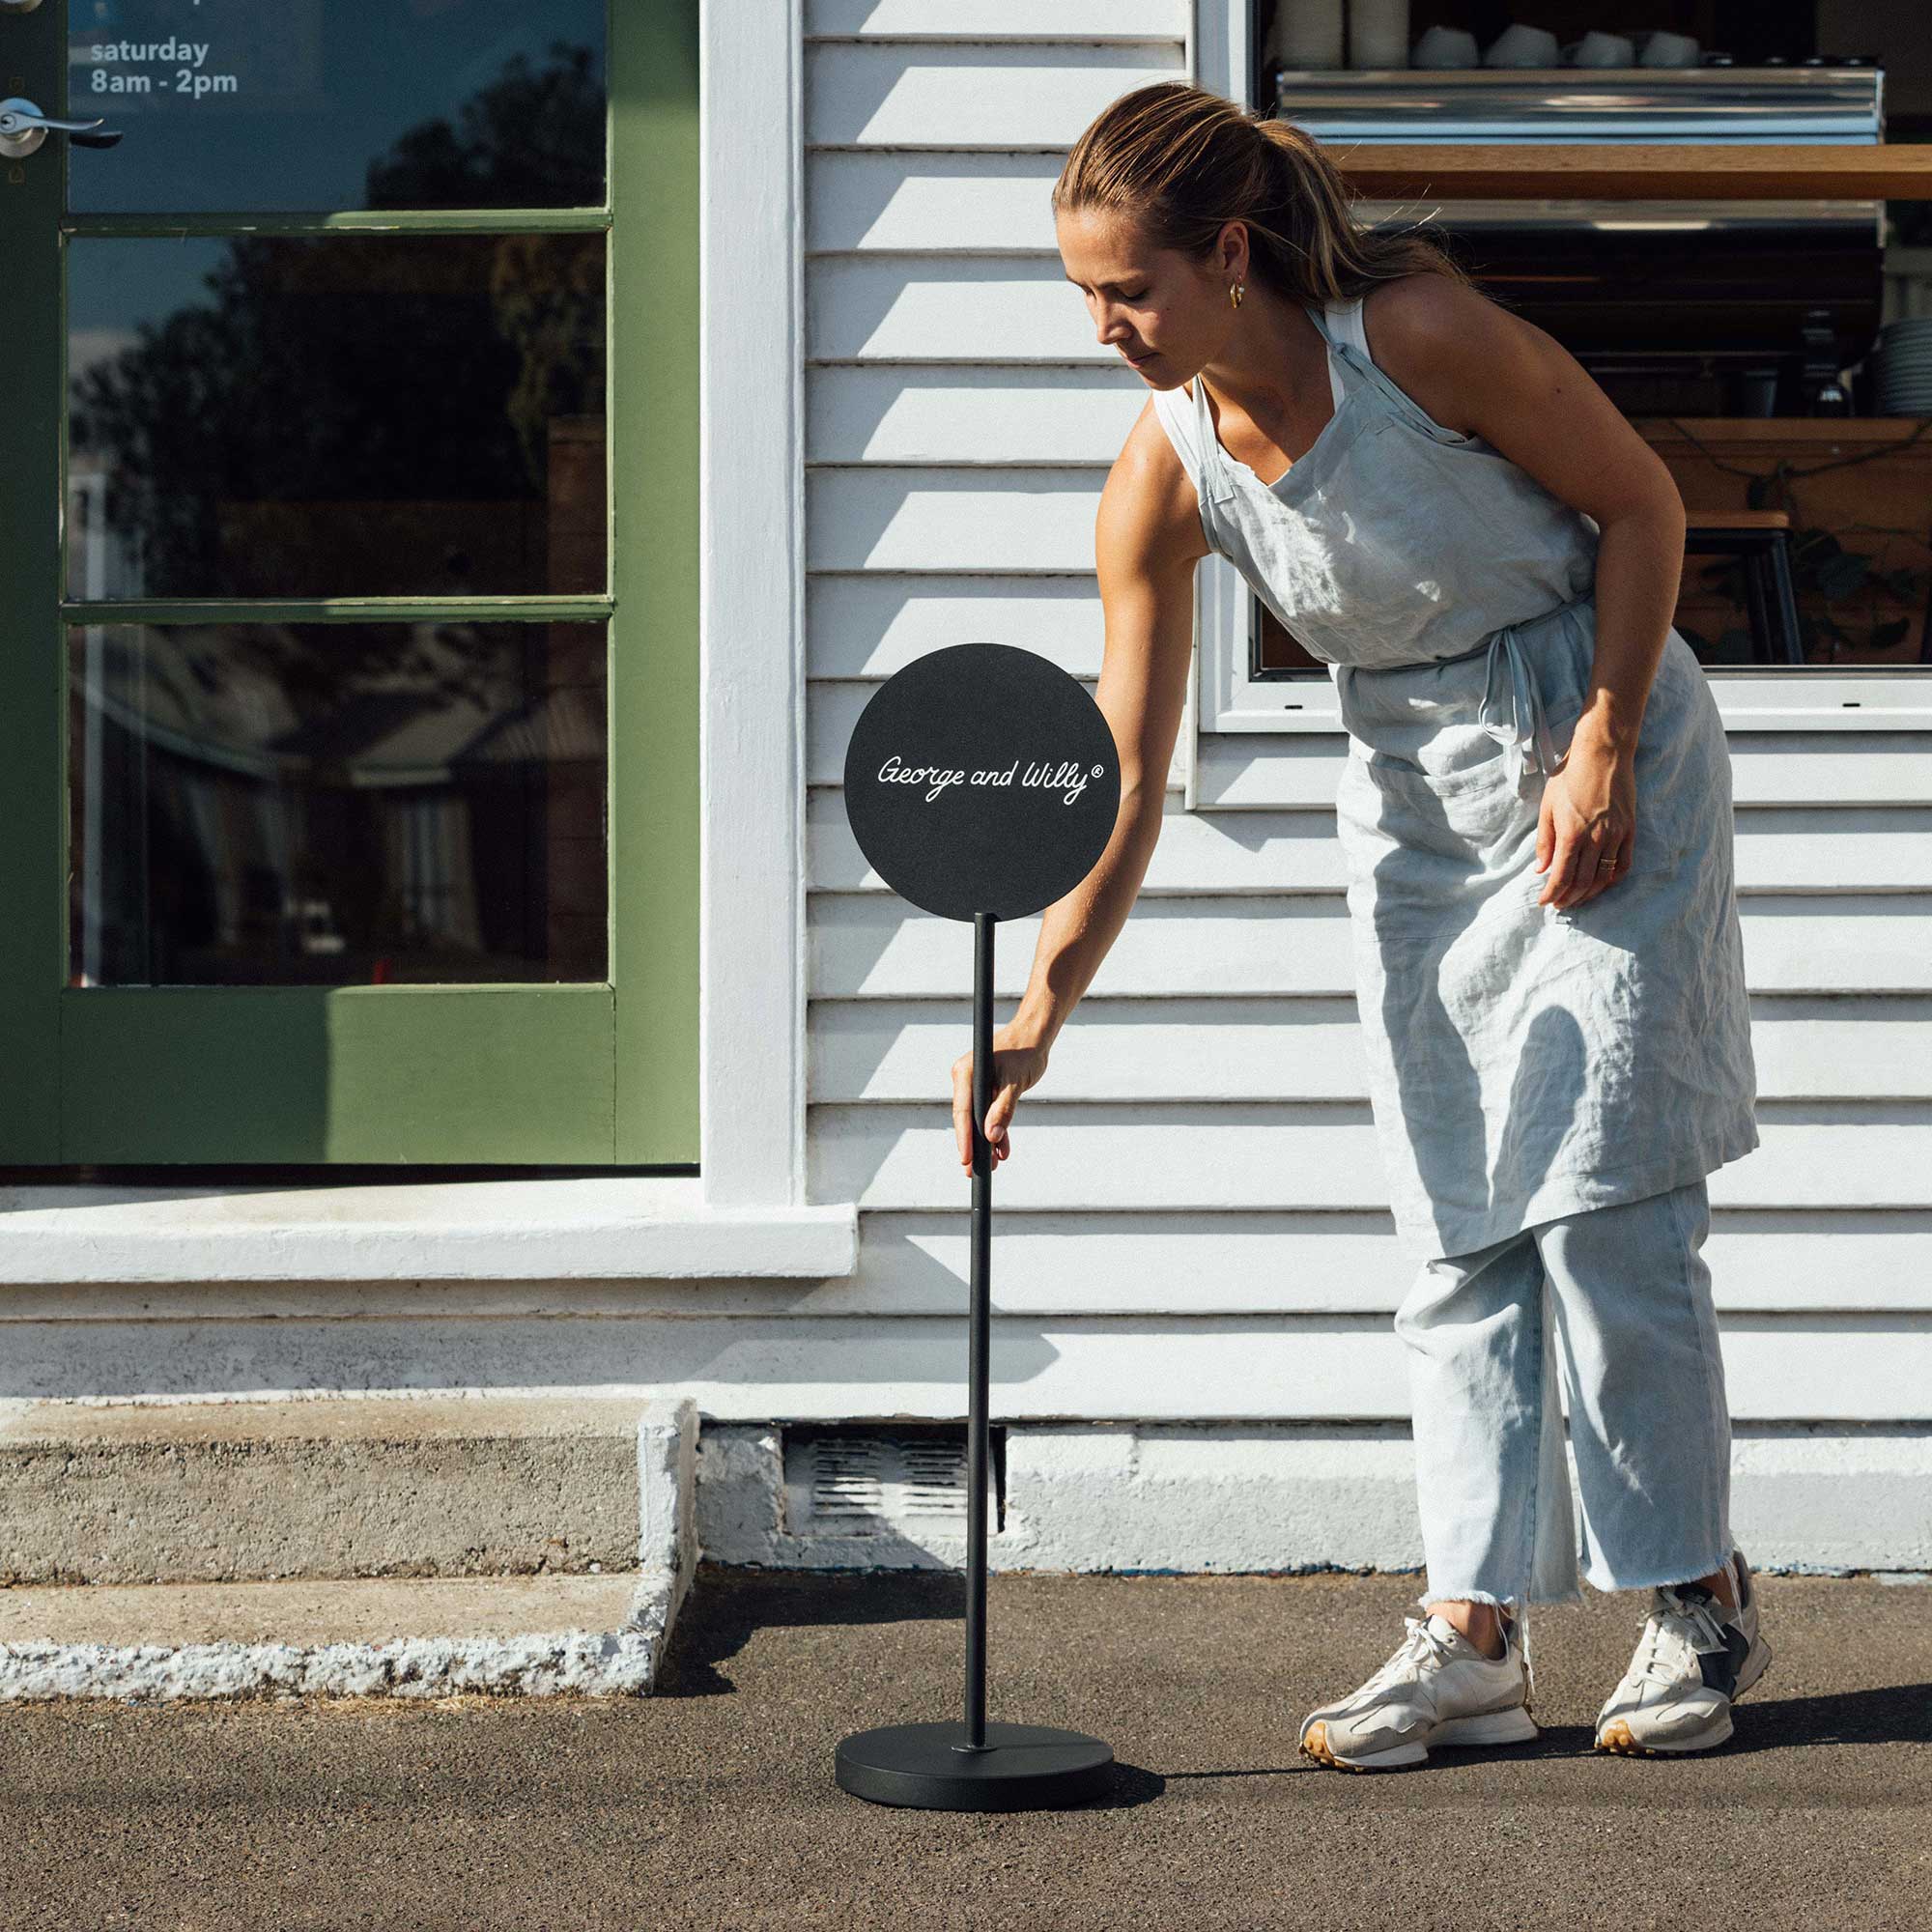
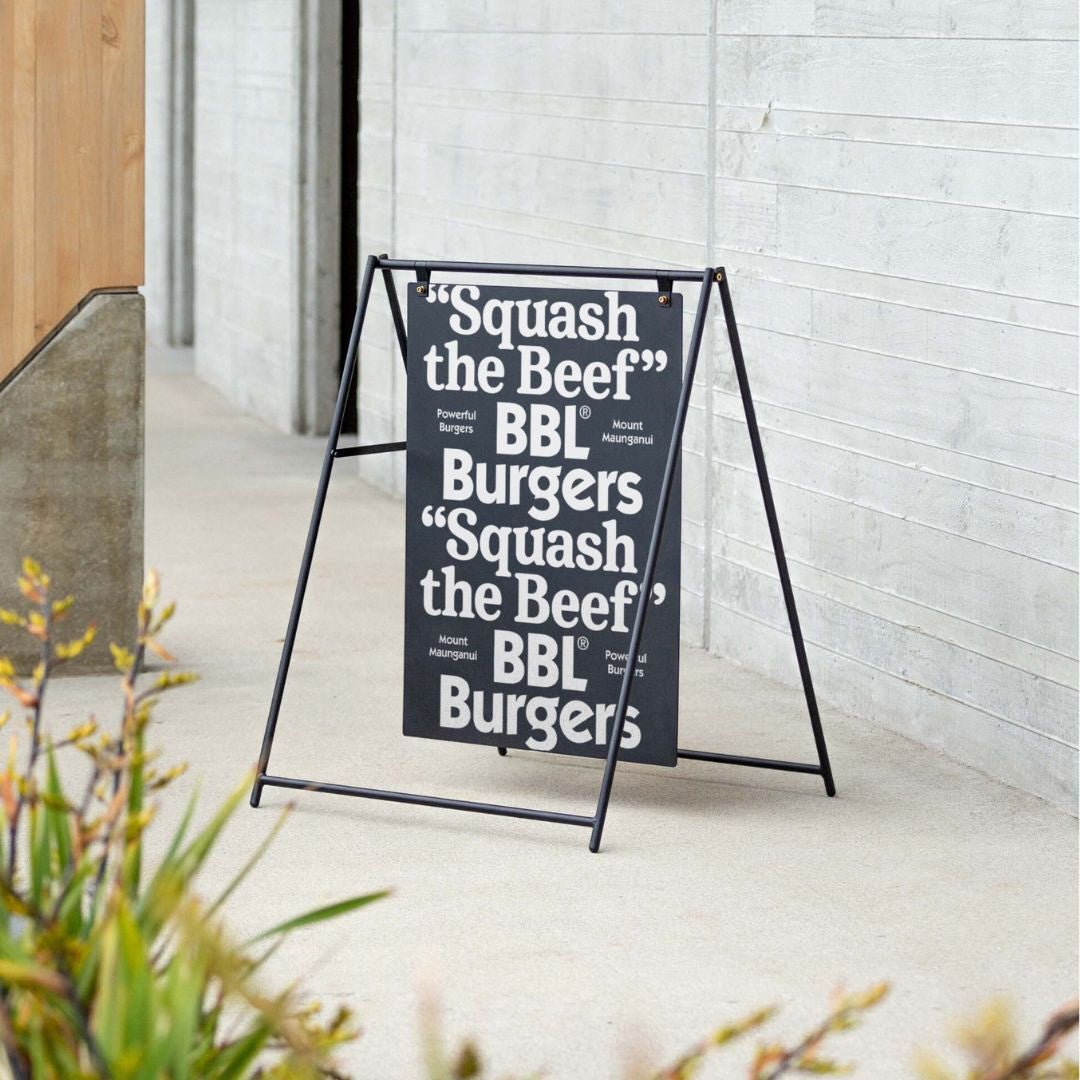
Sign density is equally important. Too many graphics create visual clutter and can confuse customers, while too few may be missed entirely. The goal is to create a clear, logical path that feels helpful, not chaotic. Think of your floor signs as a series of breadcrumbs that guide a customer effortlessly from the door to their destination, perhaps ending at a stylish Restaurant Sign that reinforces the message.
Designing Eye Catching and On Brand Graphics
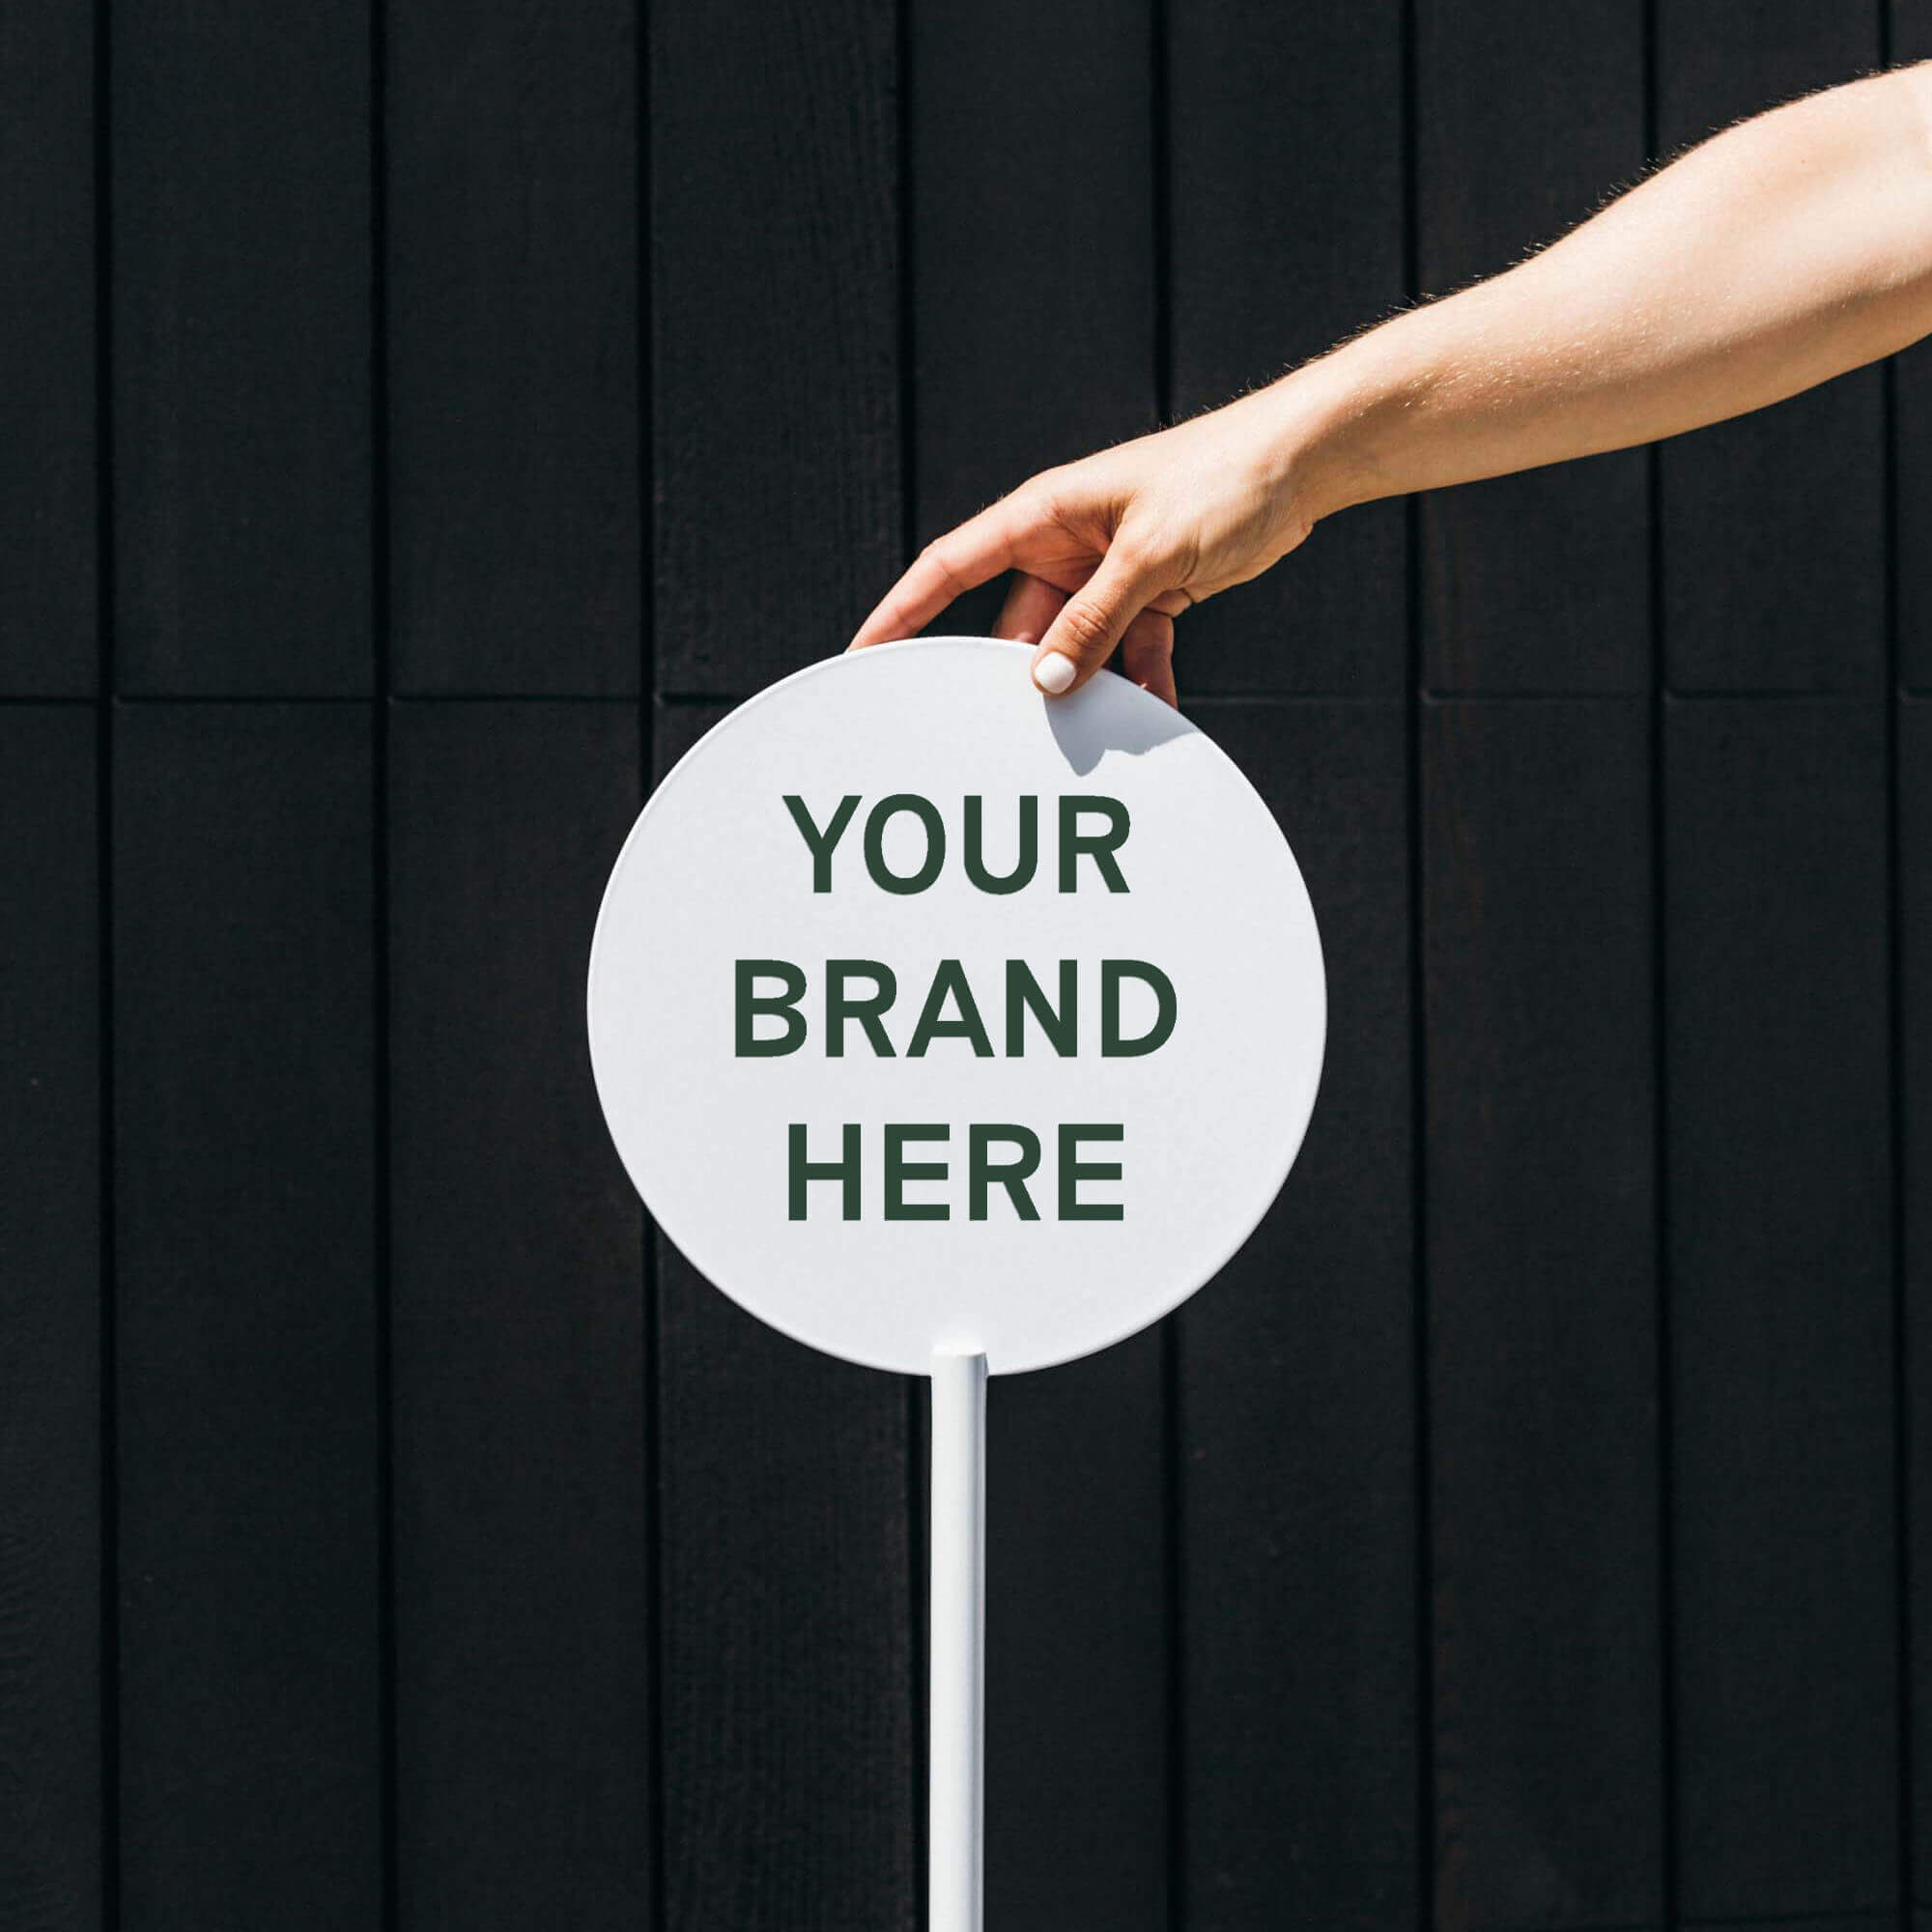
Indoor floors are a blank canvas for creative marketing. While walls and shelves are often crowded, the floor is an open and unexpected space for advertising. To make the most of it, your design should be both eye catching and consistent with your brand identity.
Color accuracy and consistency are critical. Your floor graphics should use the same color palette as your other brand materials to create a cohesive and professional atmosphere. This visual harmony reinforces your brand and makes the entire space feel more intentional. When designing your indoor floor signage, think big and simple.
- Direct Traffic: Guide customers through one way aisles or toward new product displays.
- Promote Safety: Clearly mark hazardous areas or remind people of safety protocols.
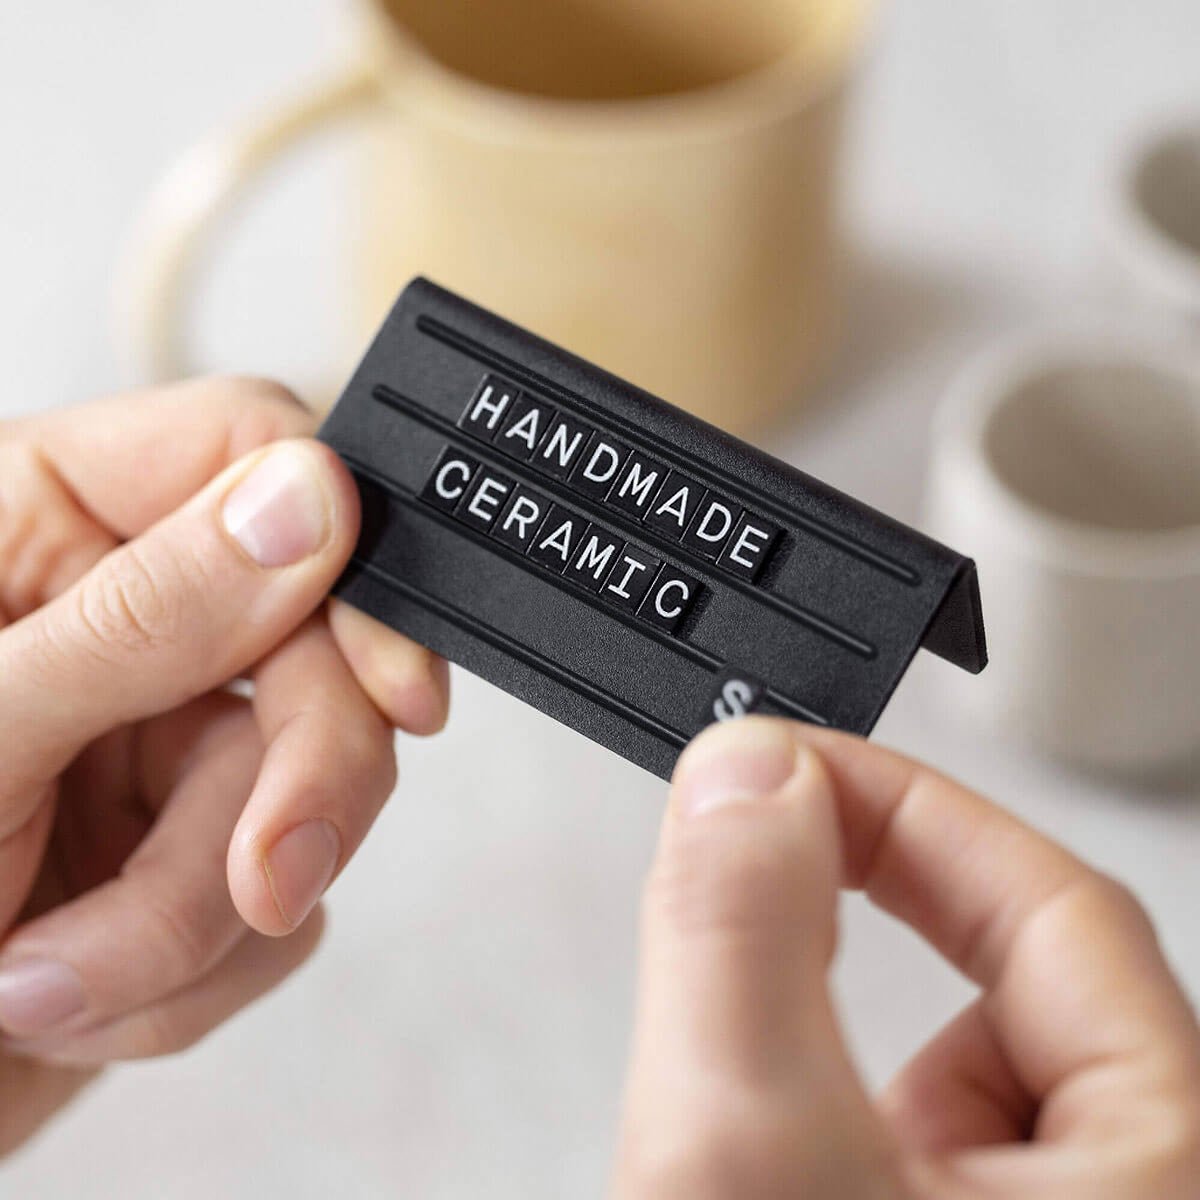
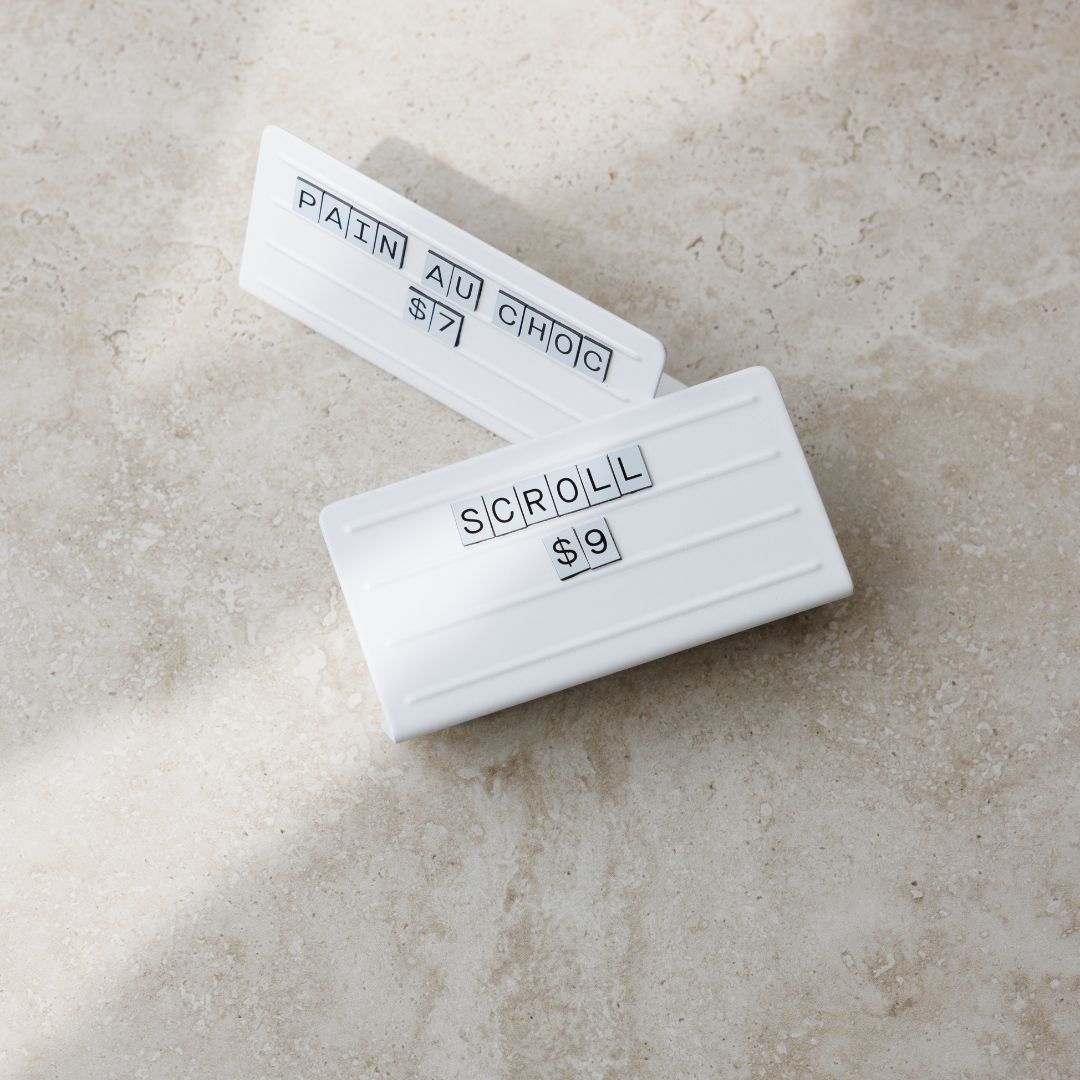
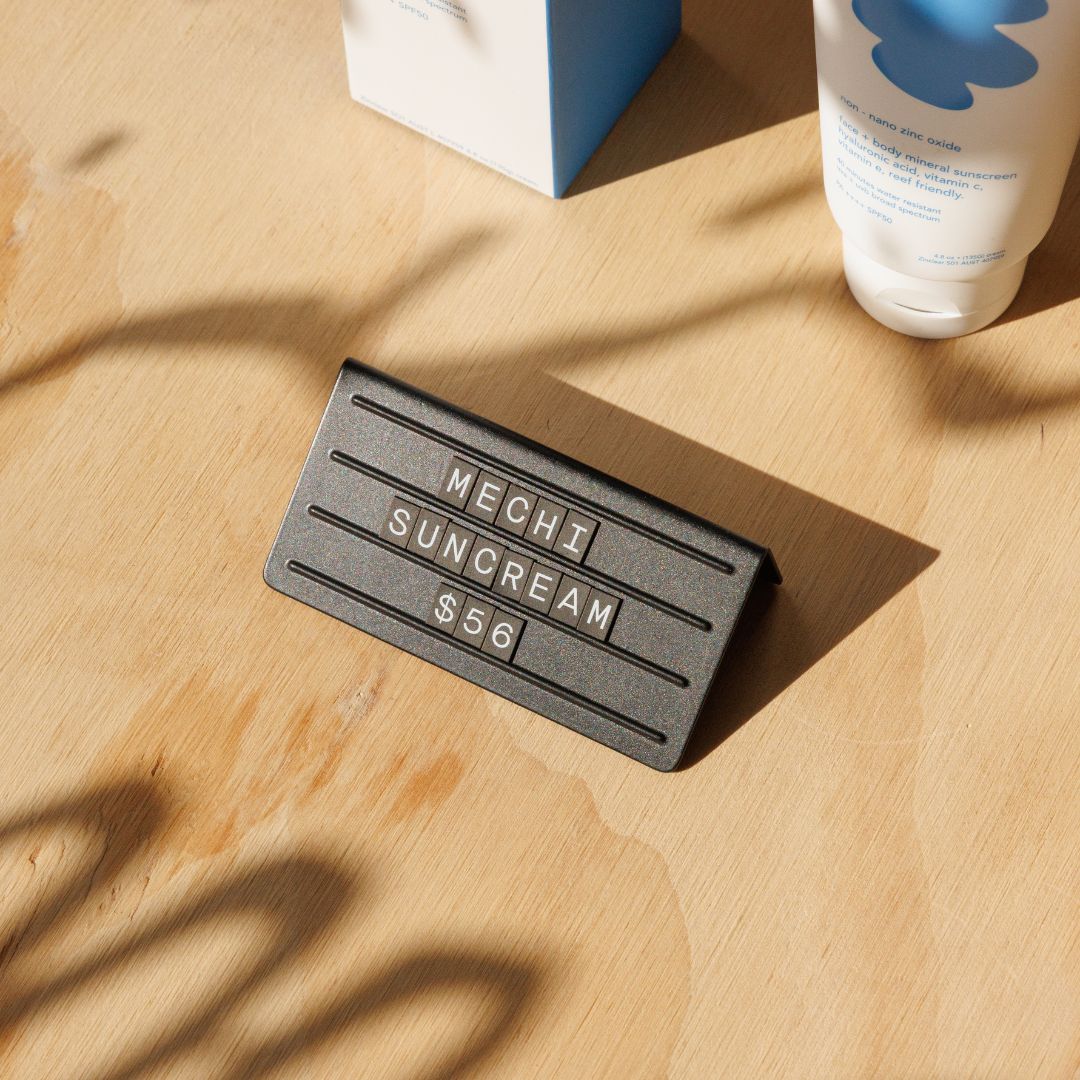
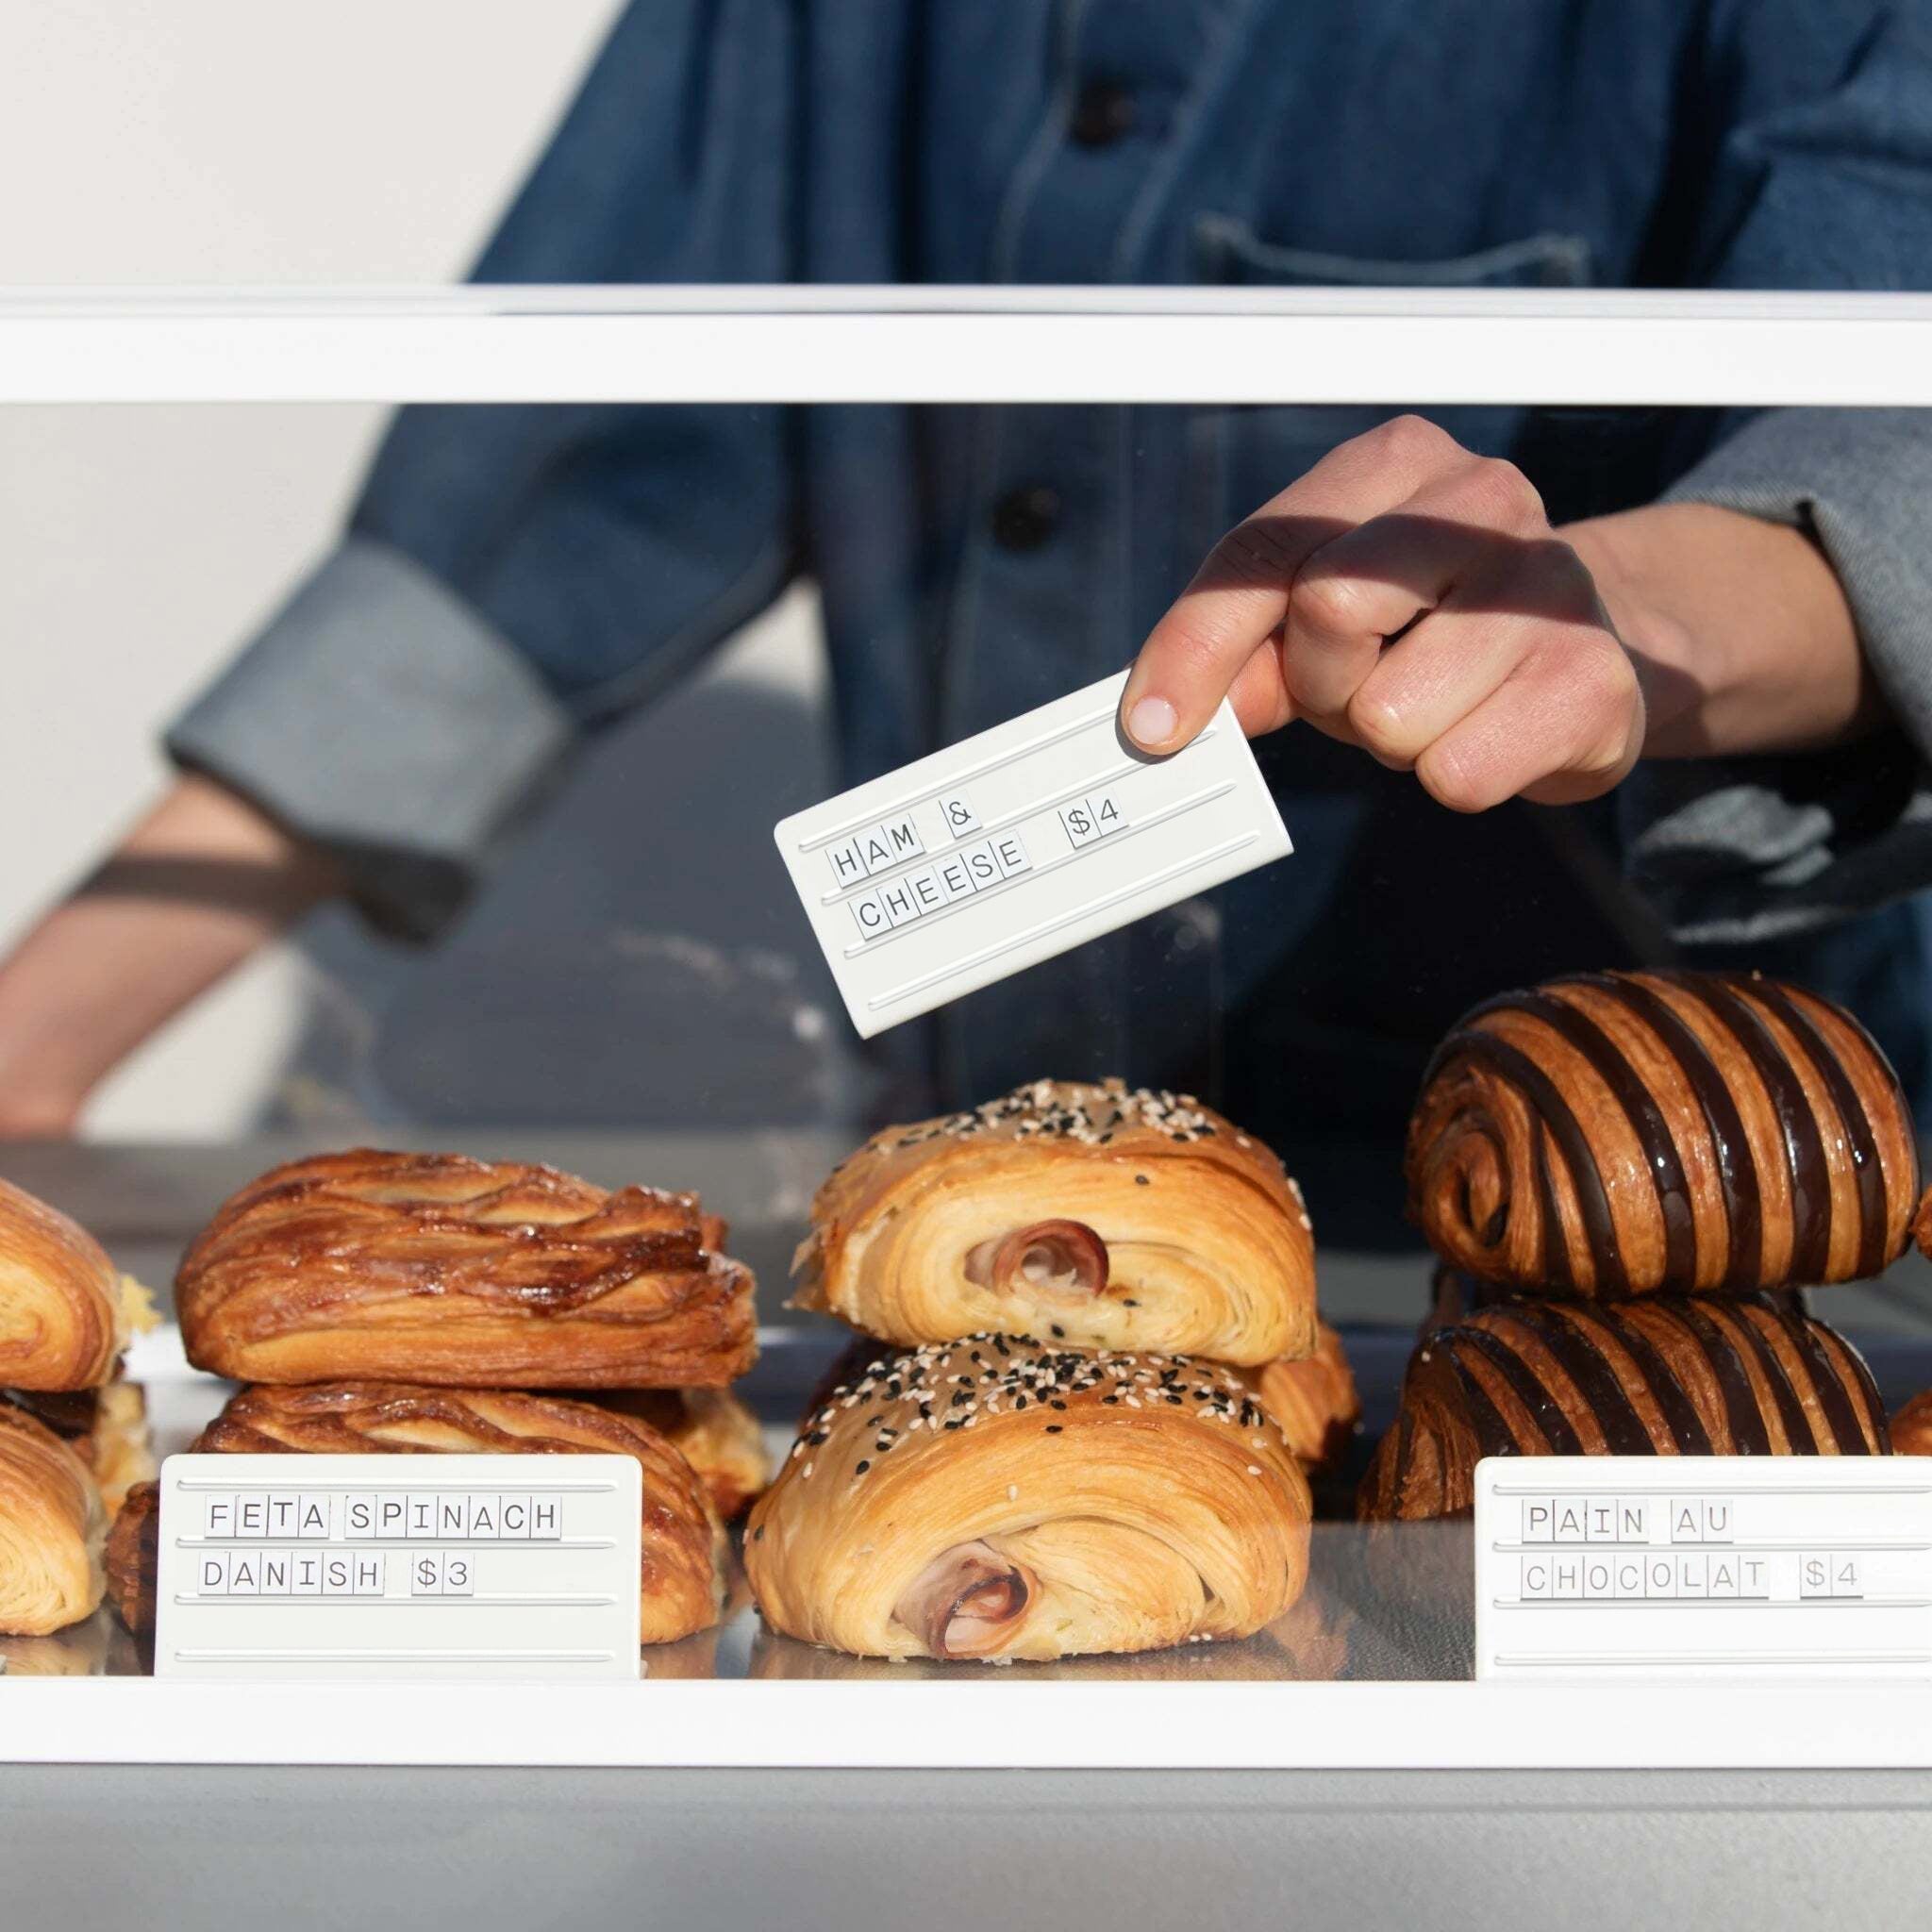
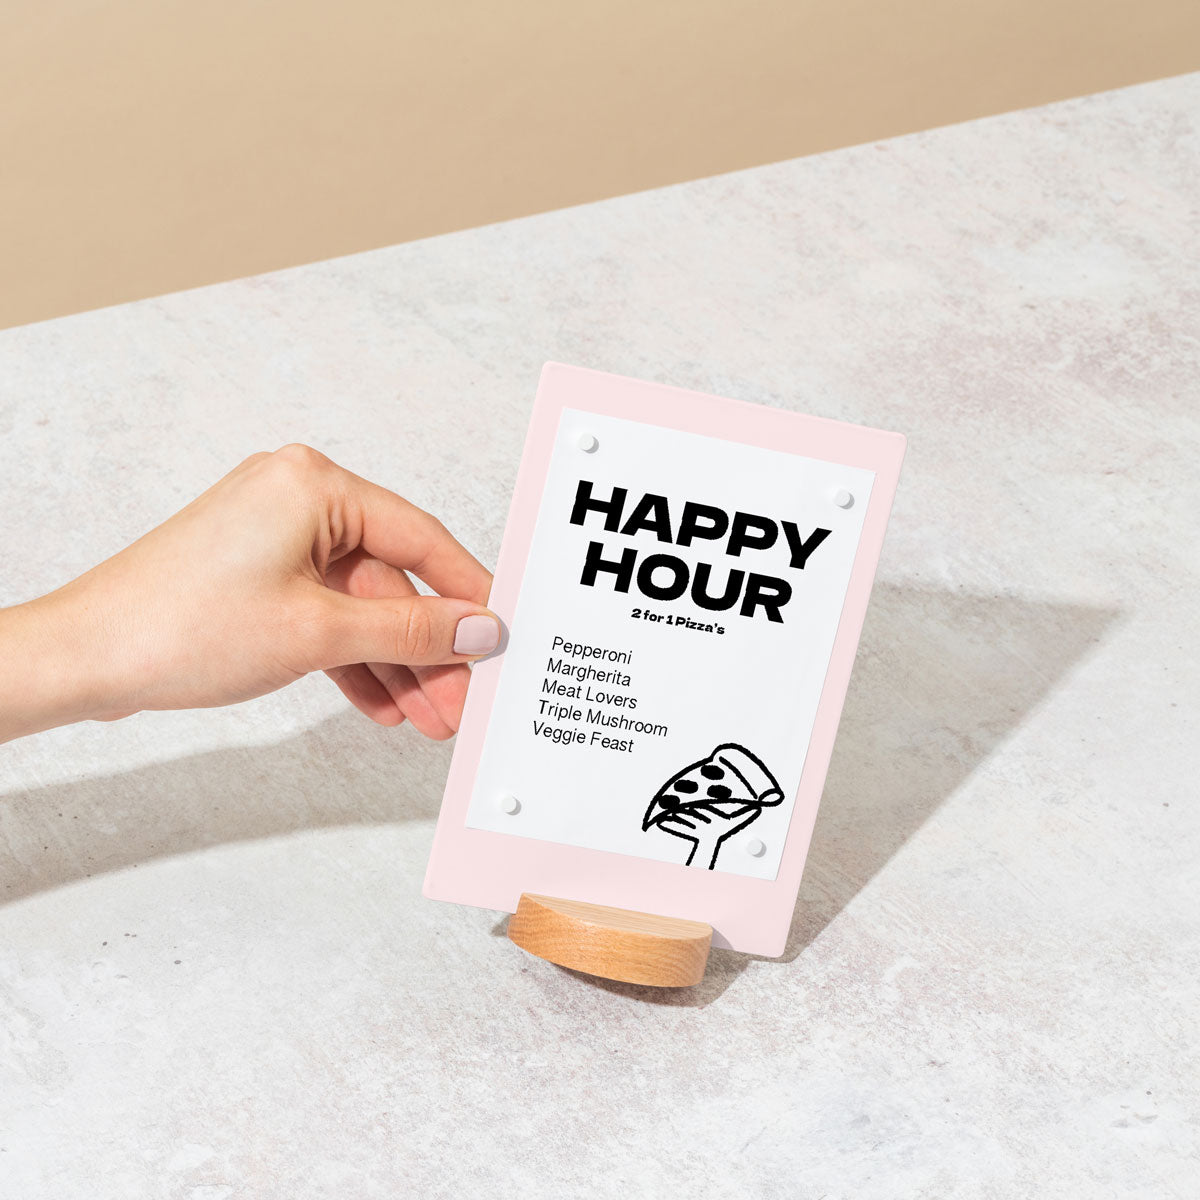
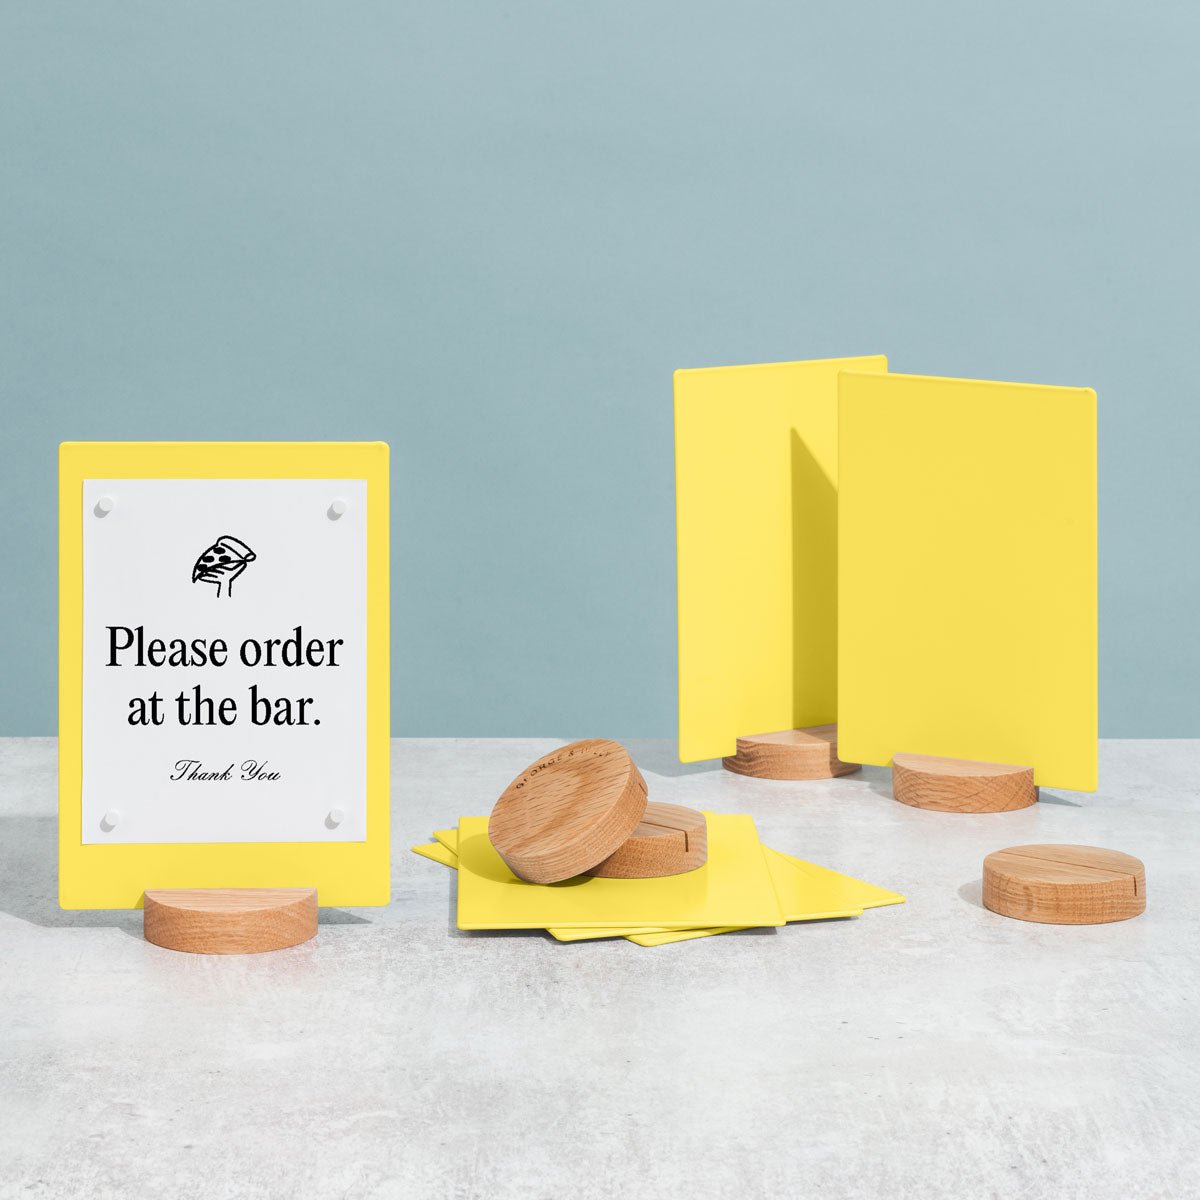
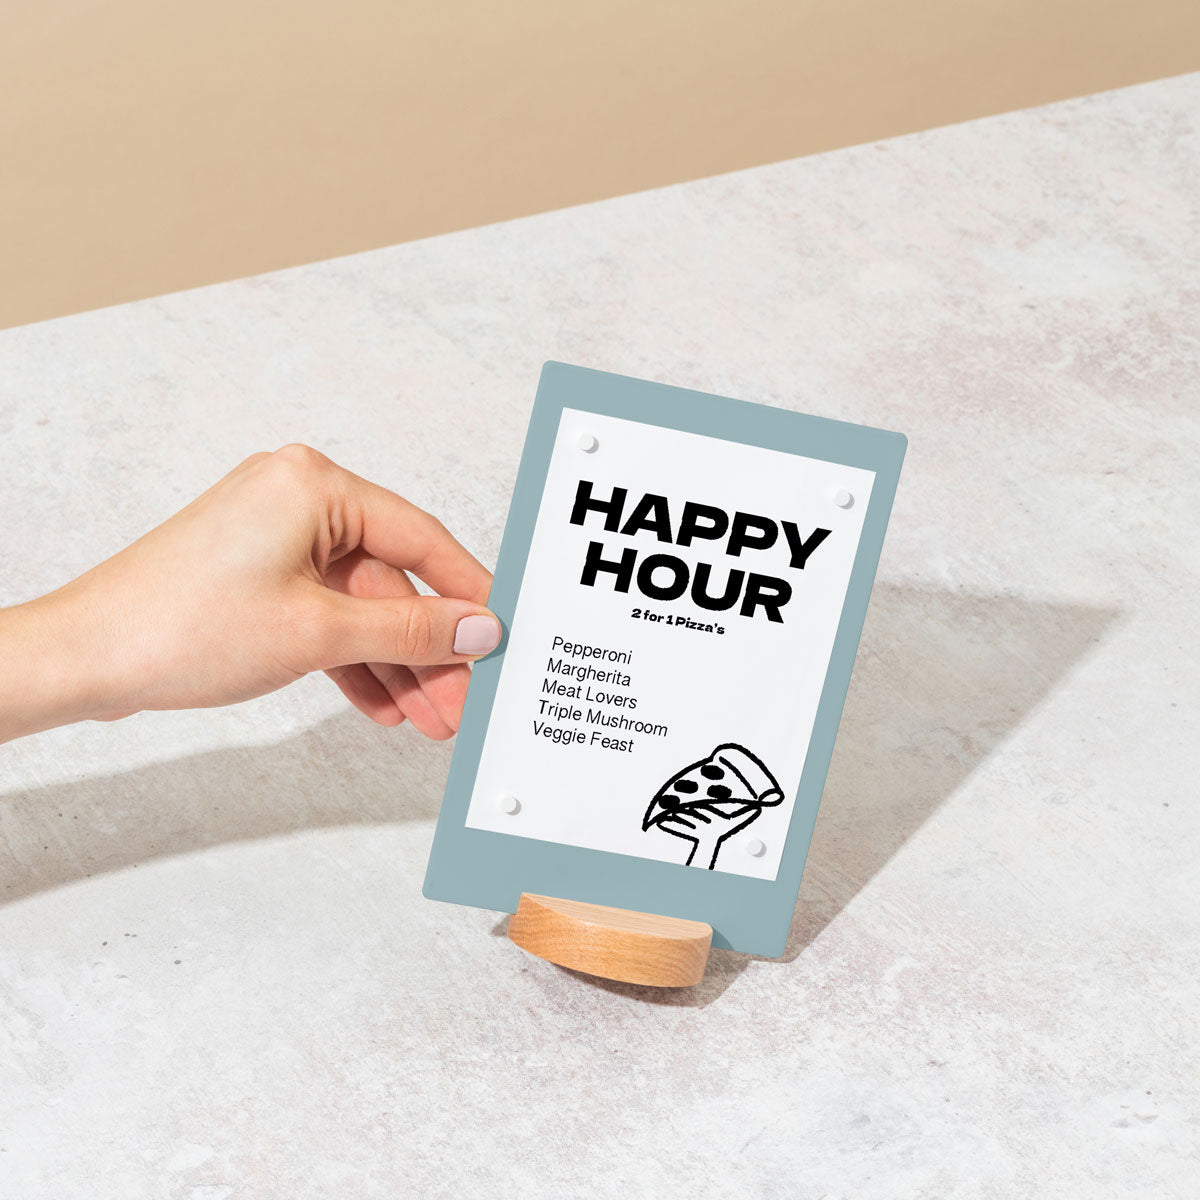
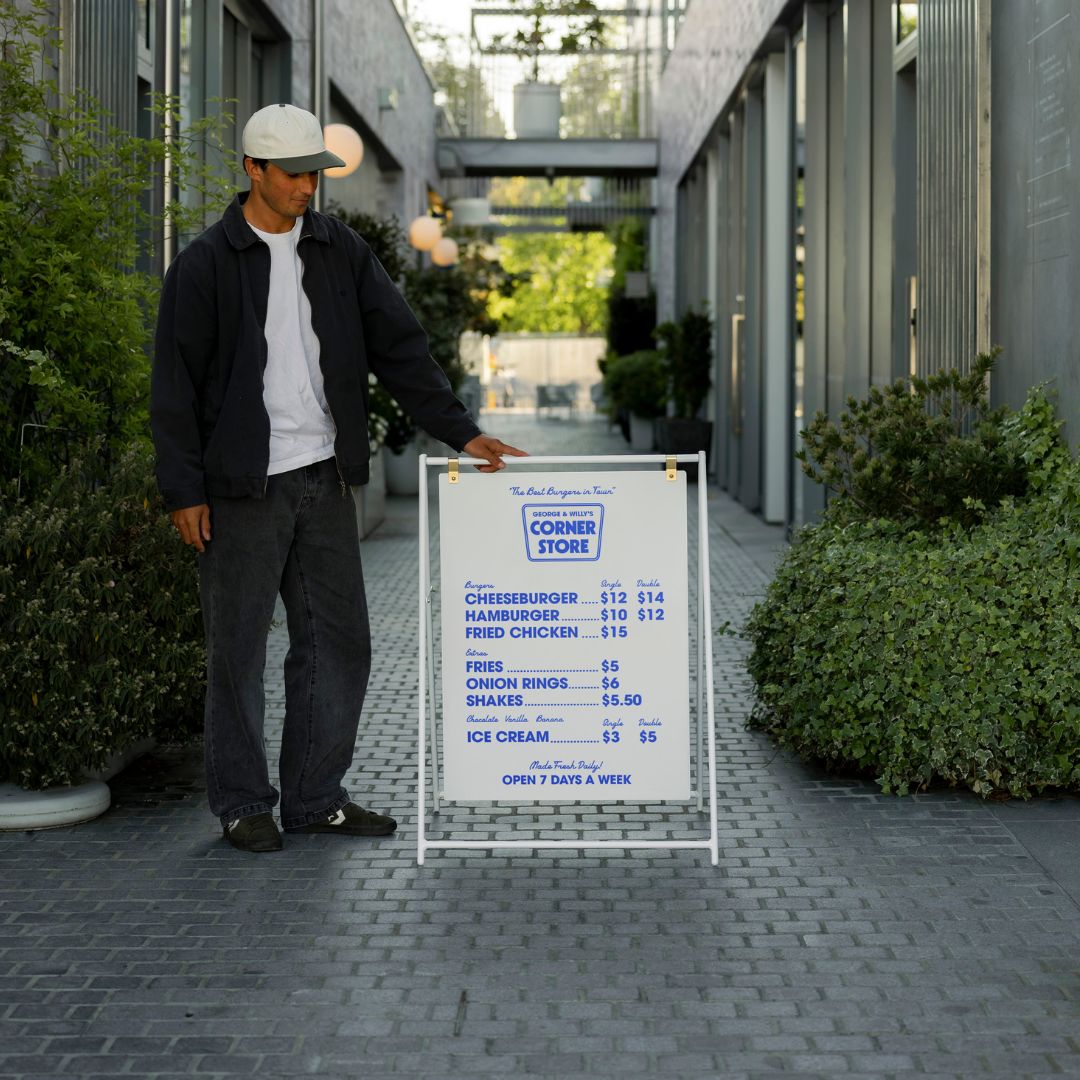
- Advertise Products: Use bold colors and logos to highlight special offers right at the point of purchase, and reinforce them with Tabletop Signs.
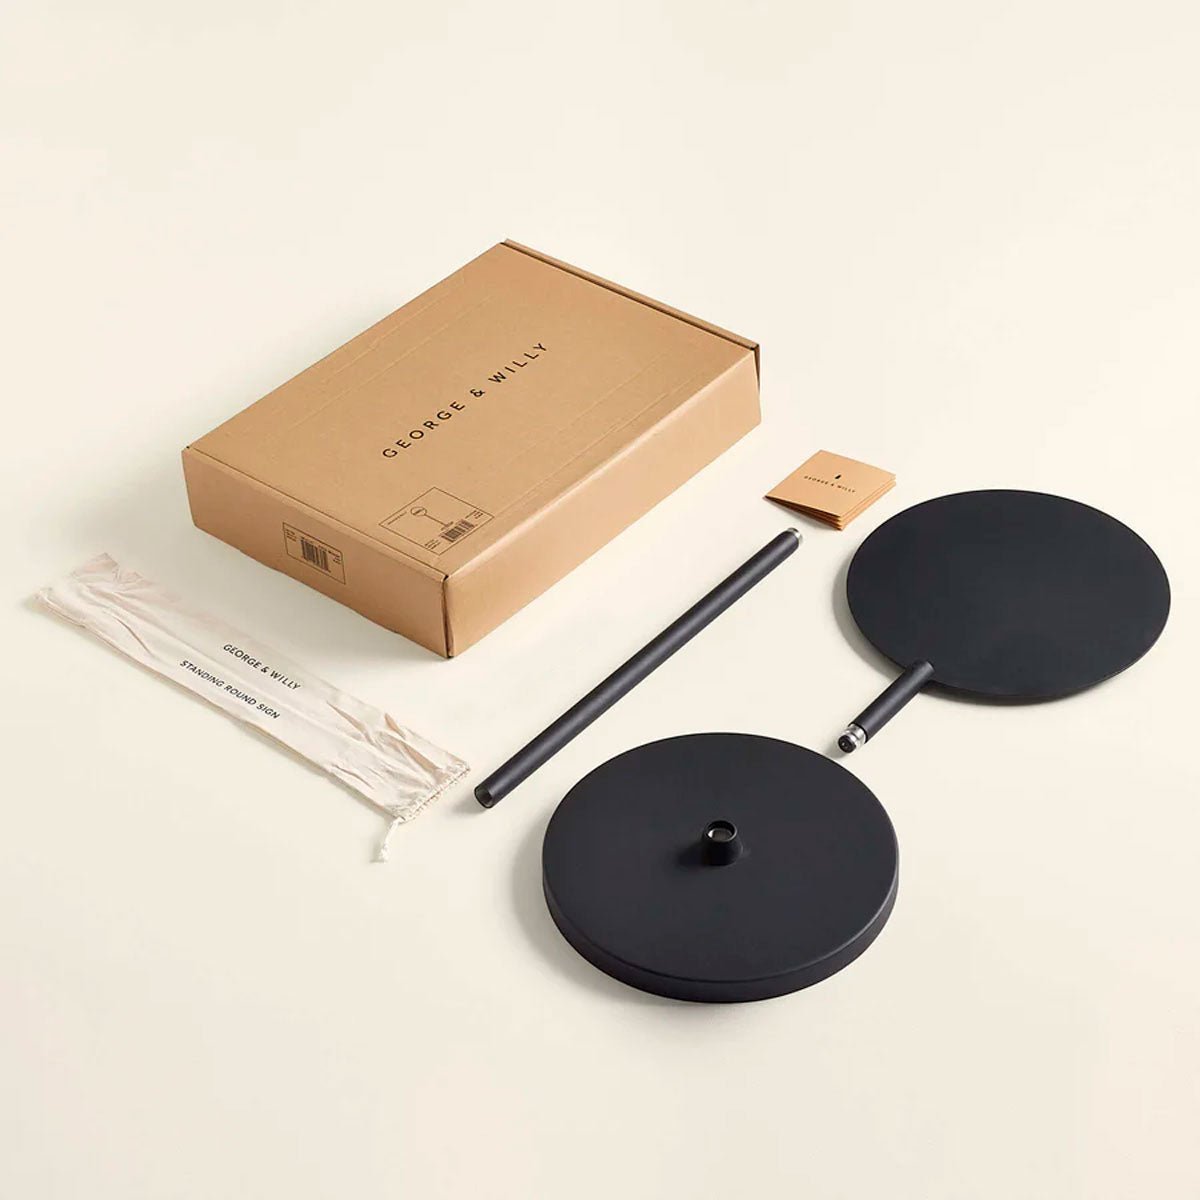
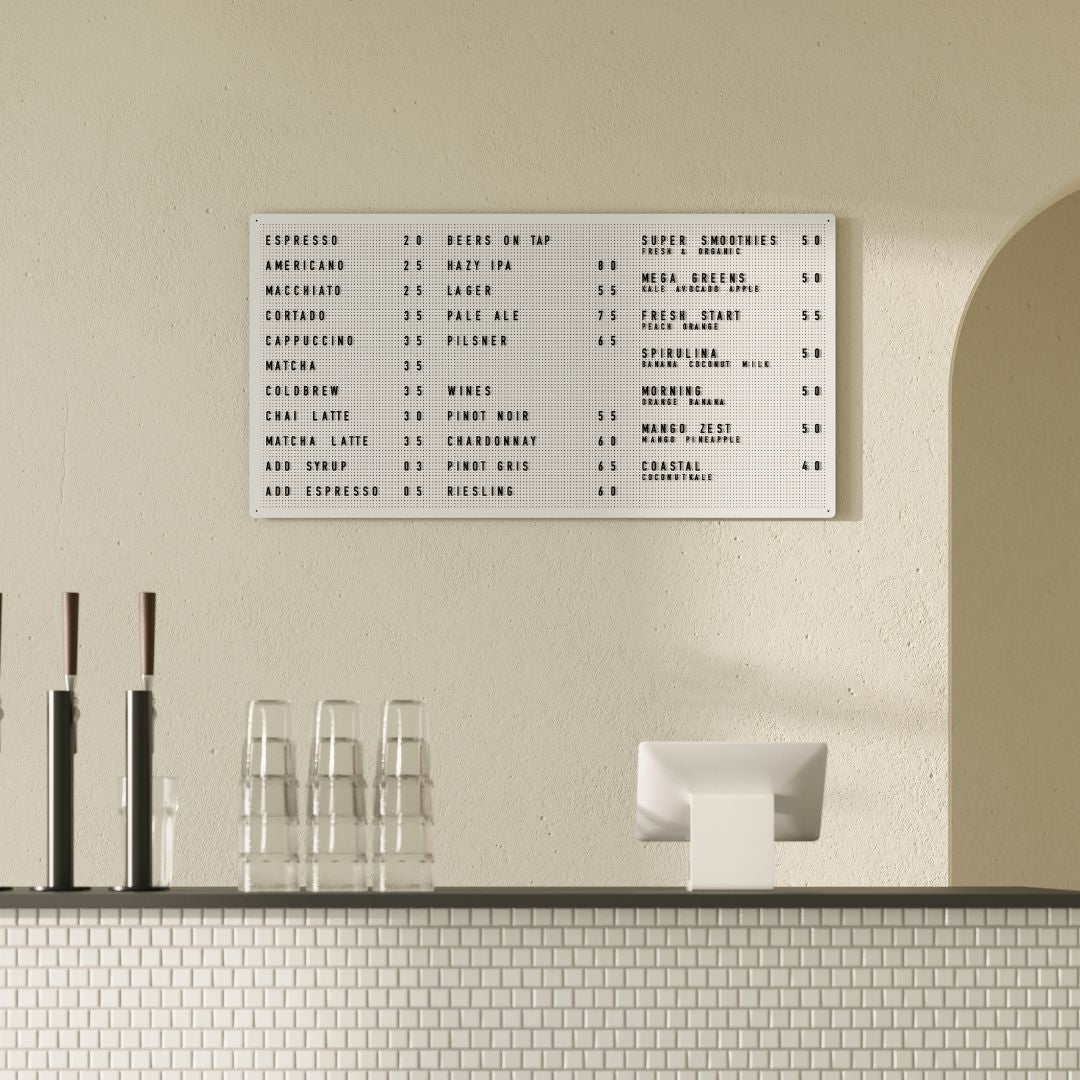
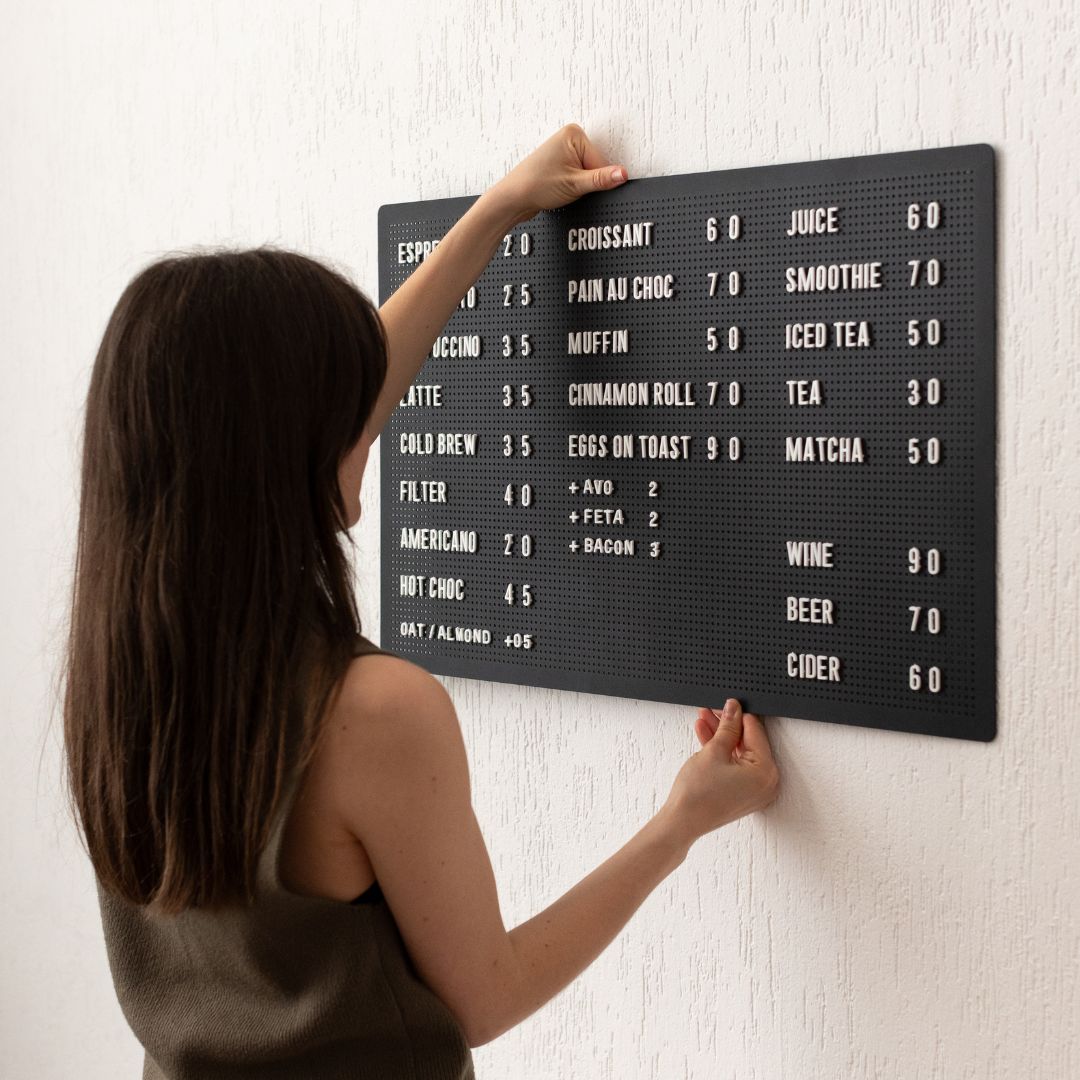
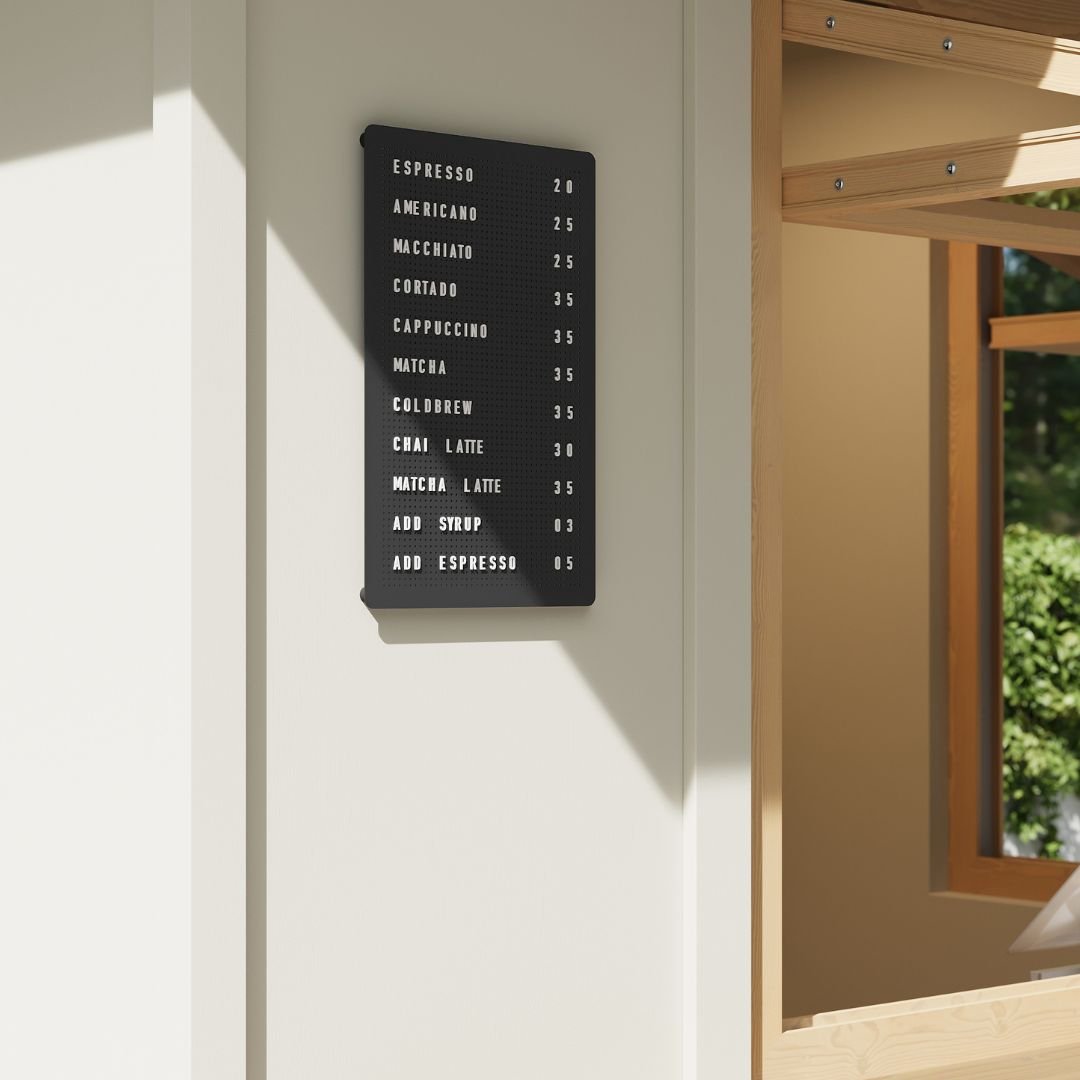
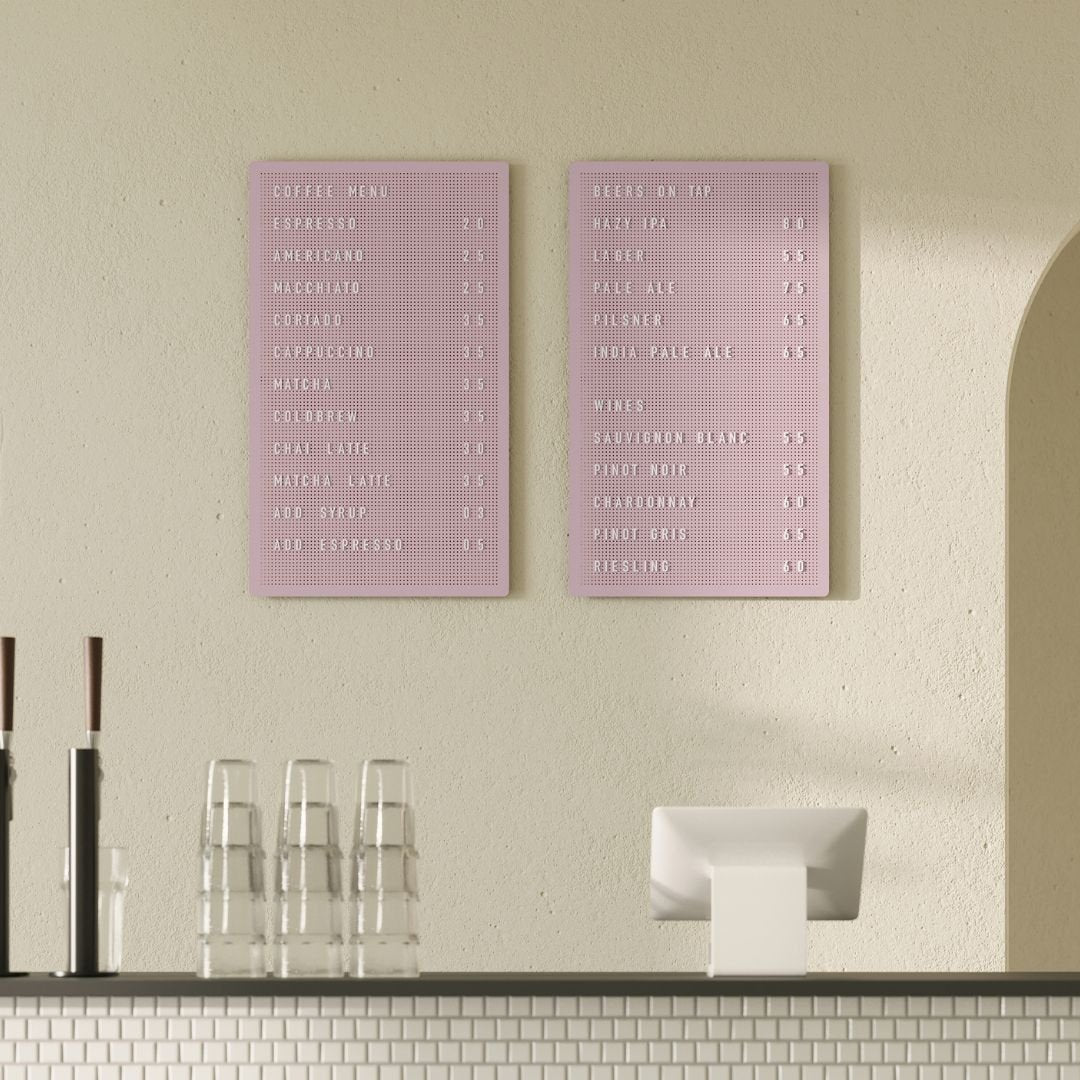
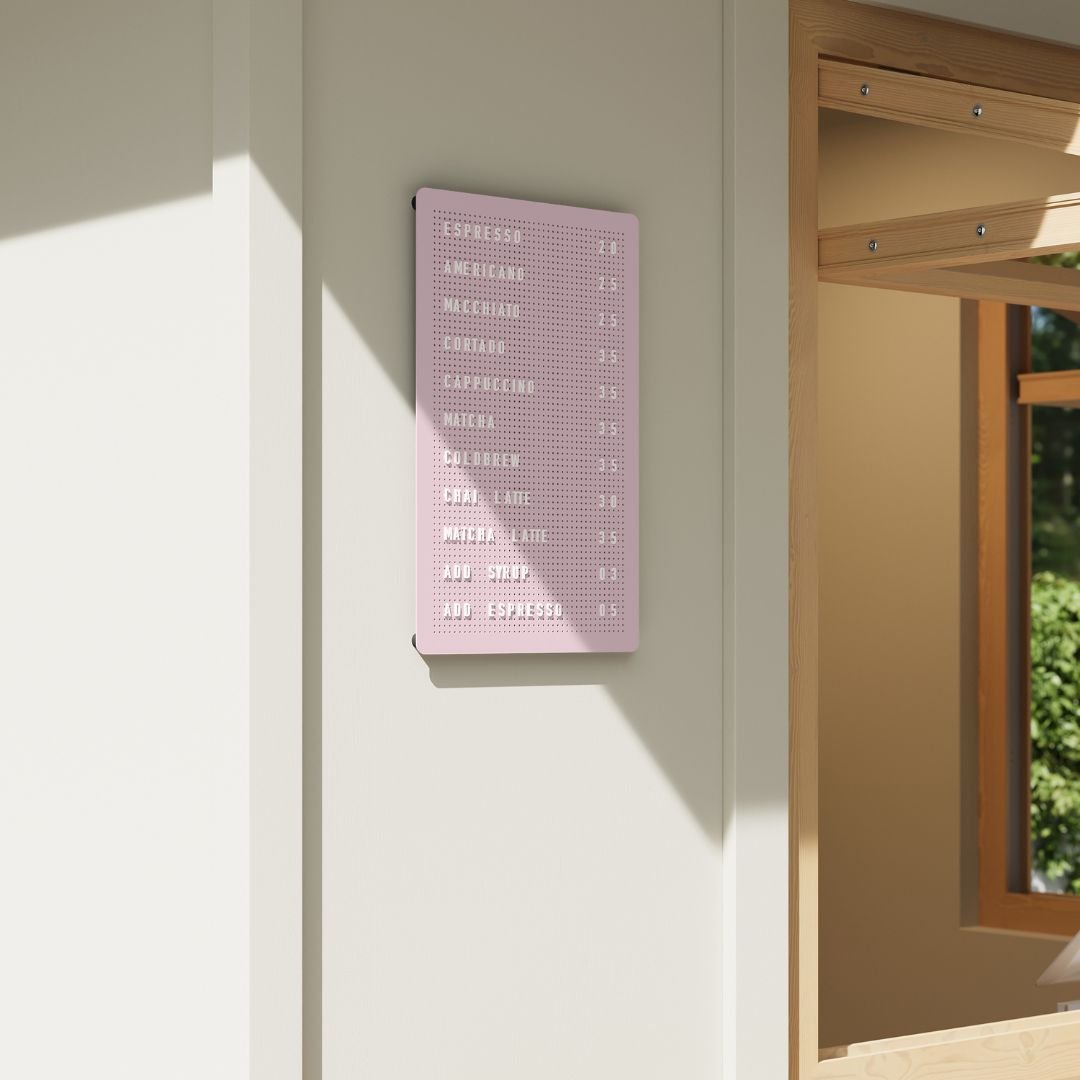
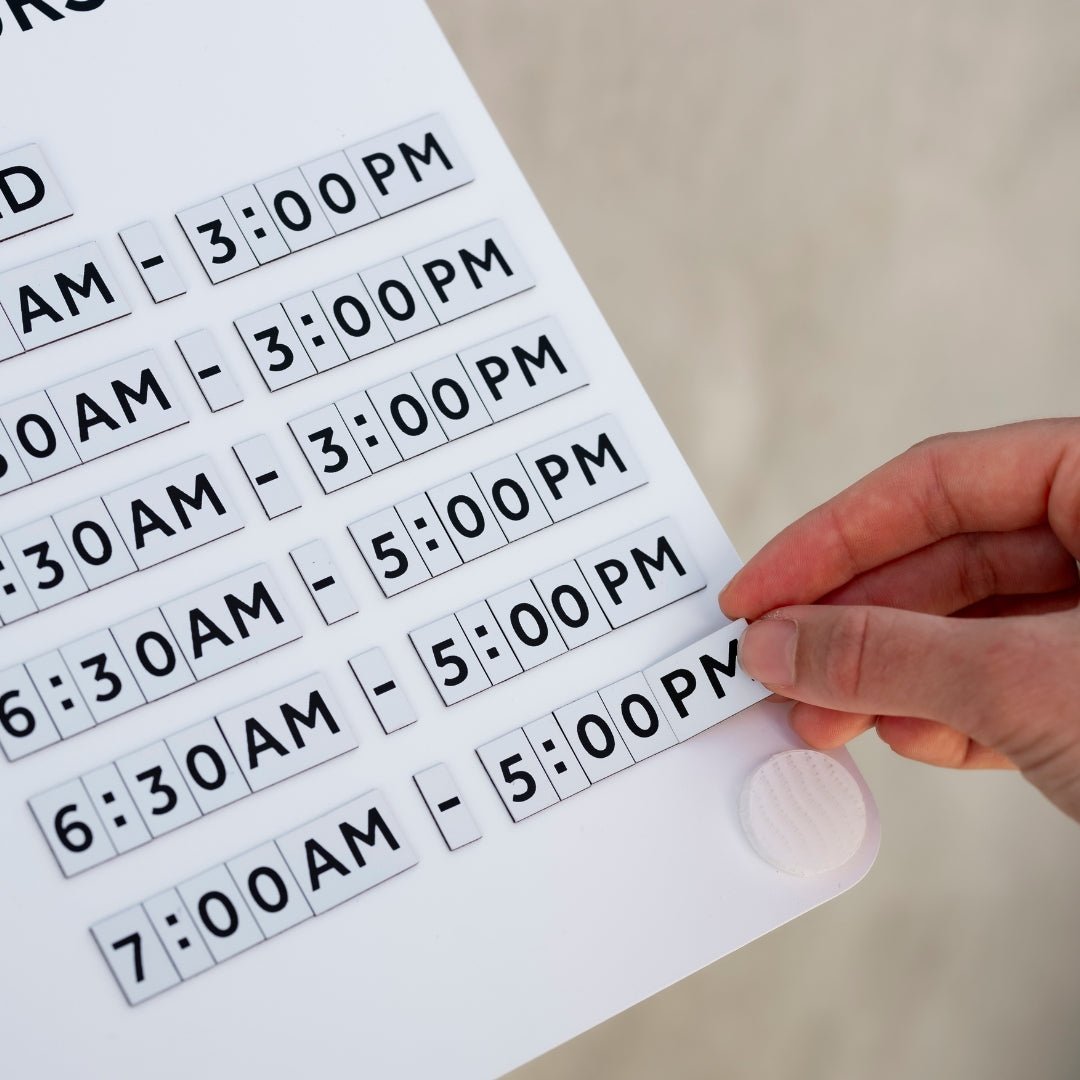
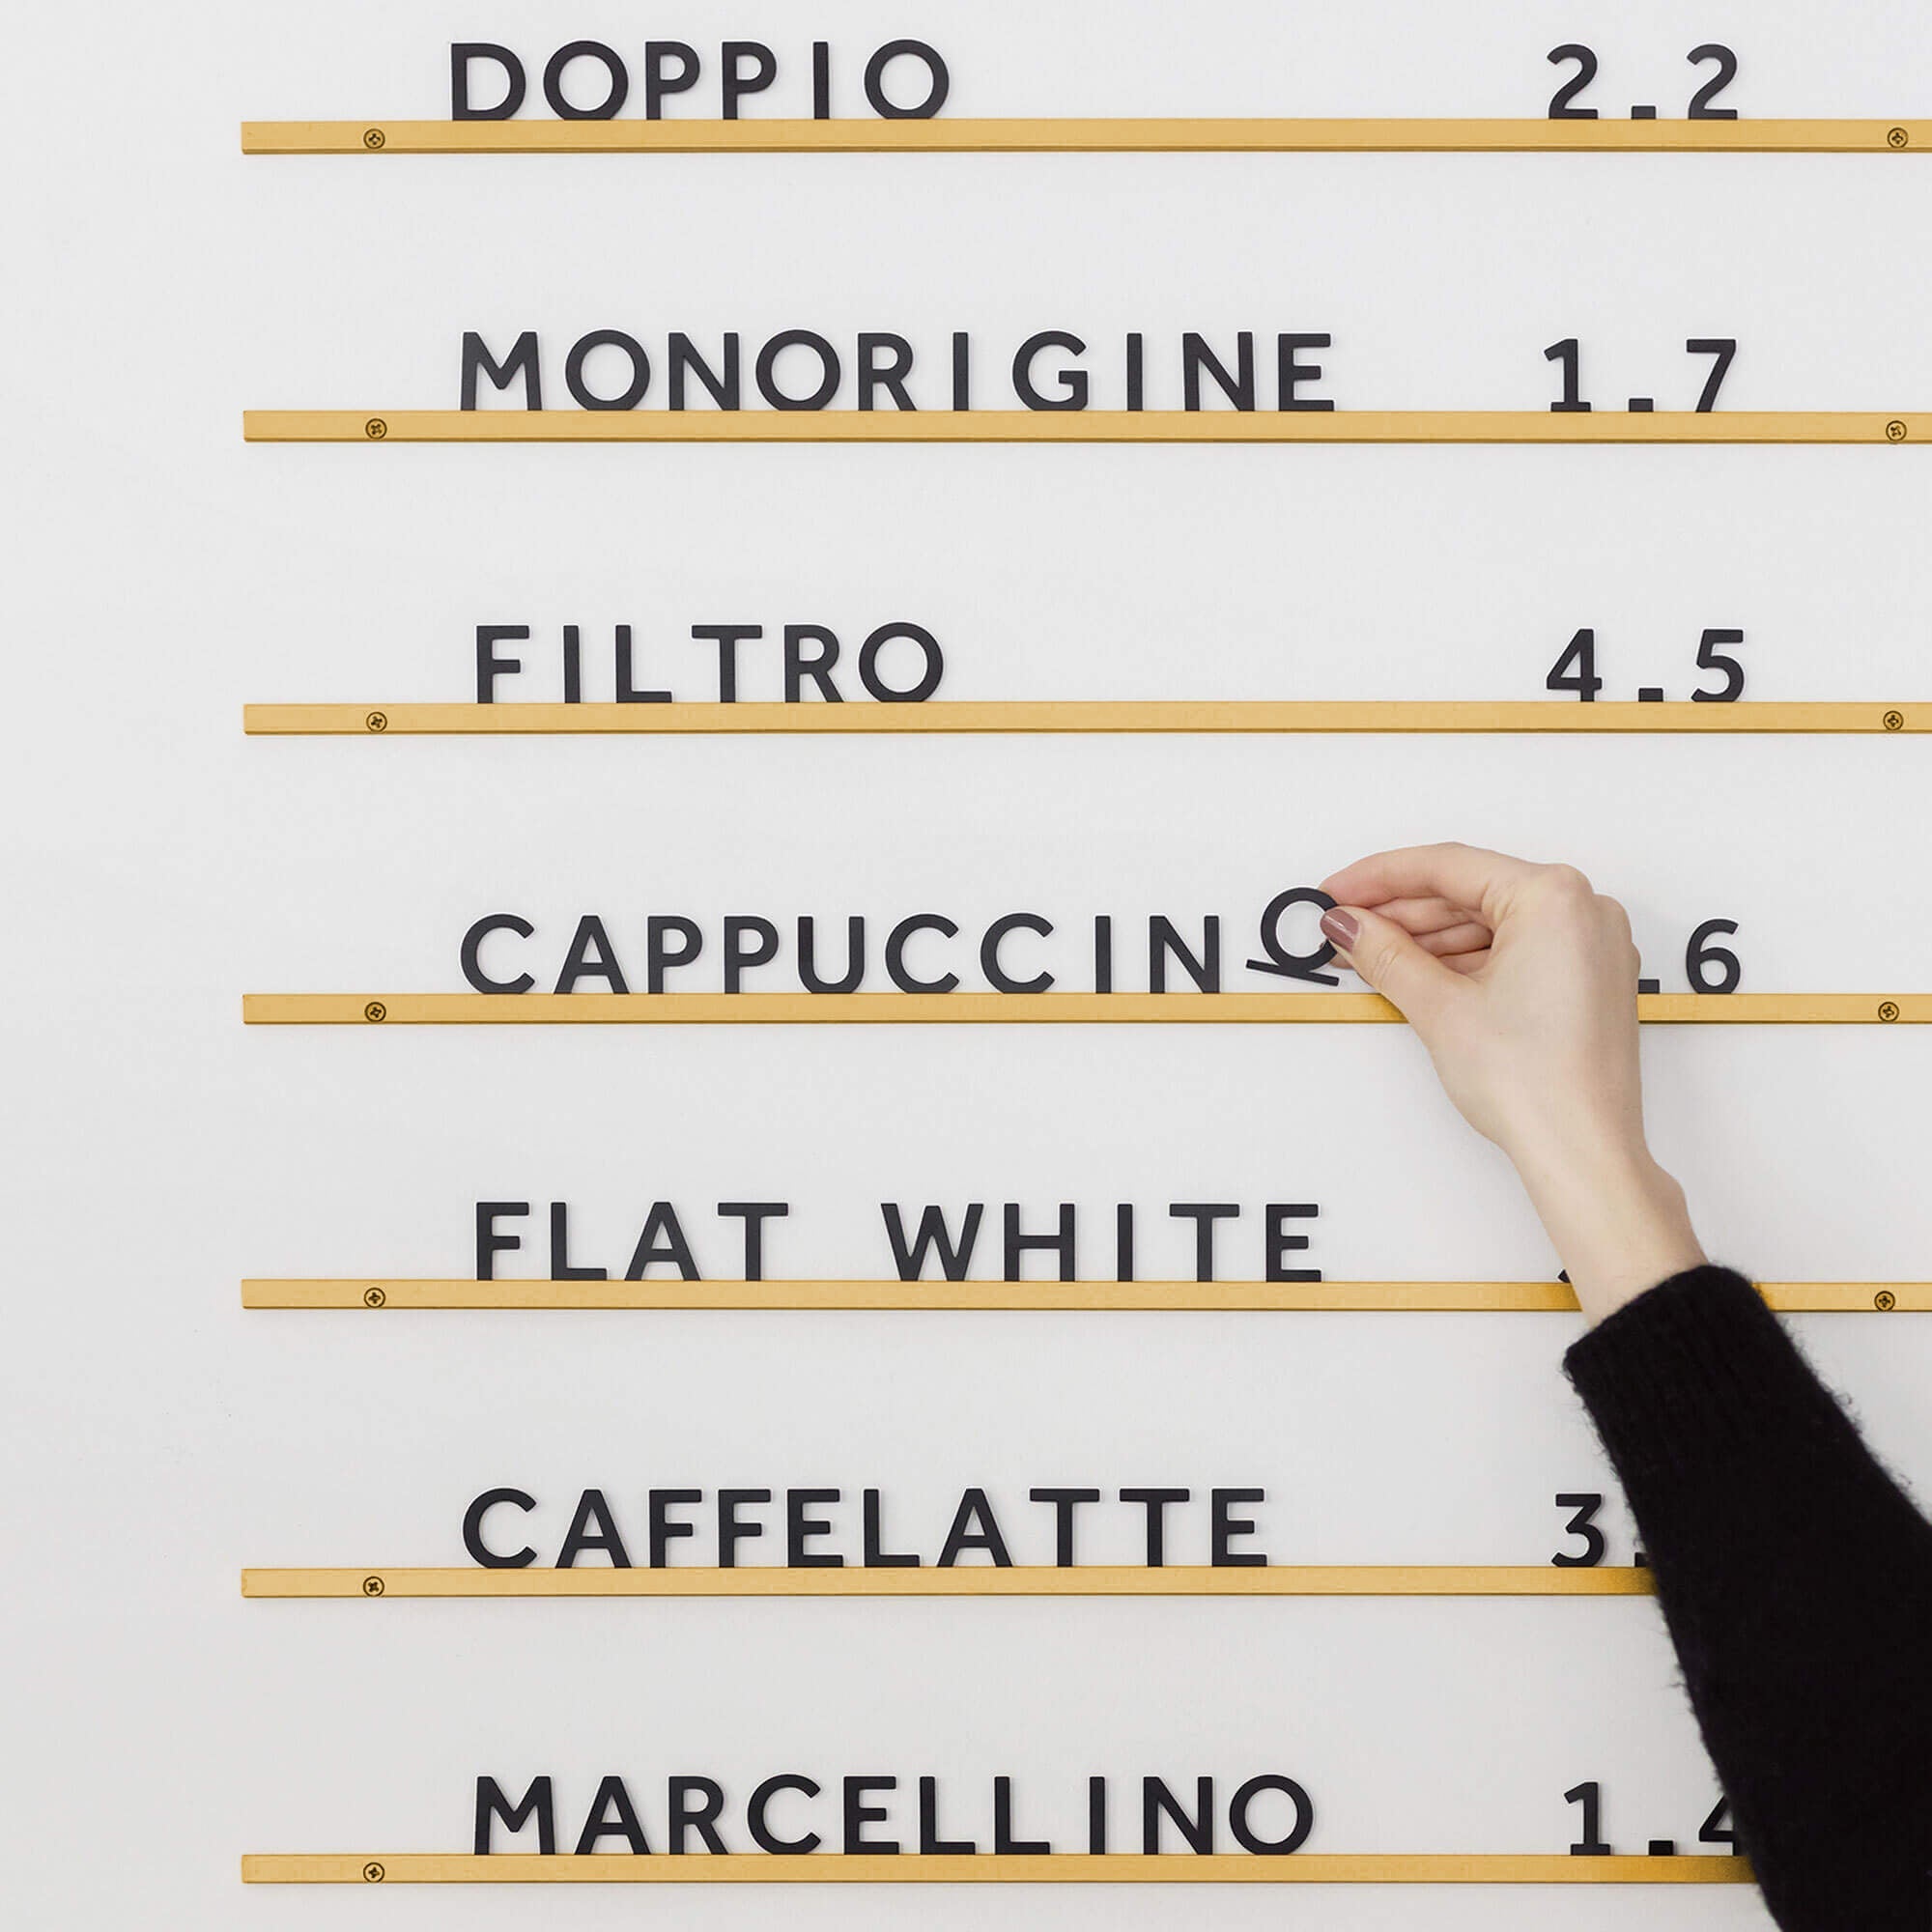
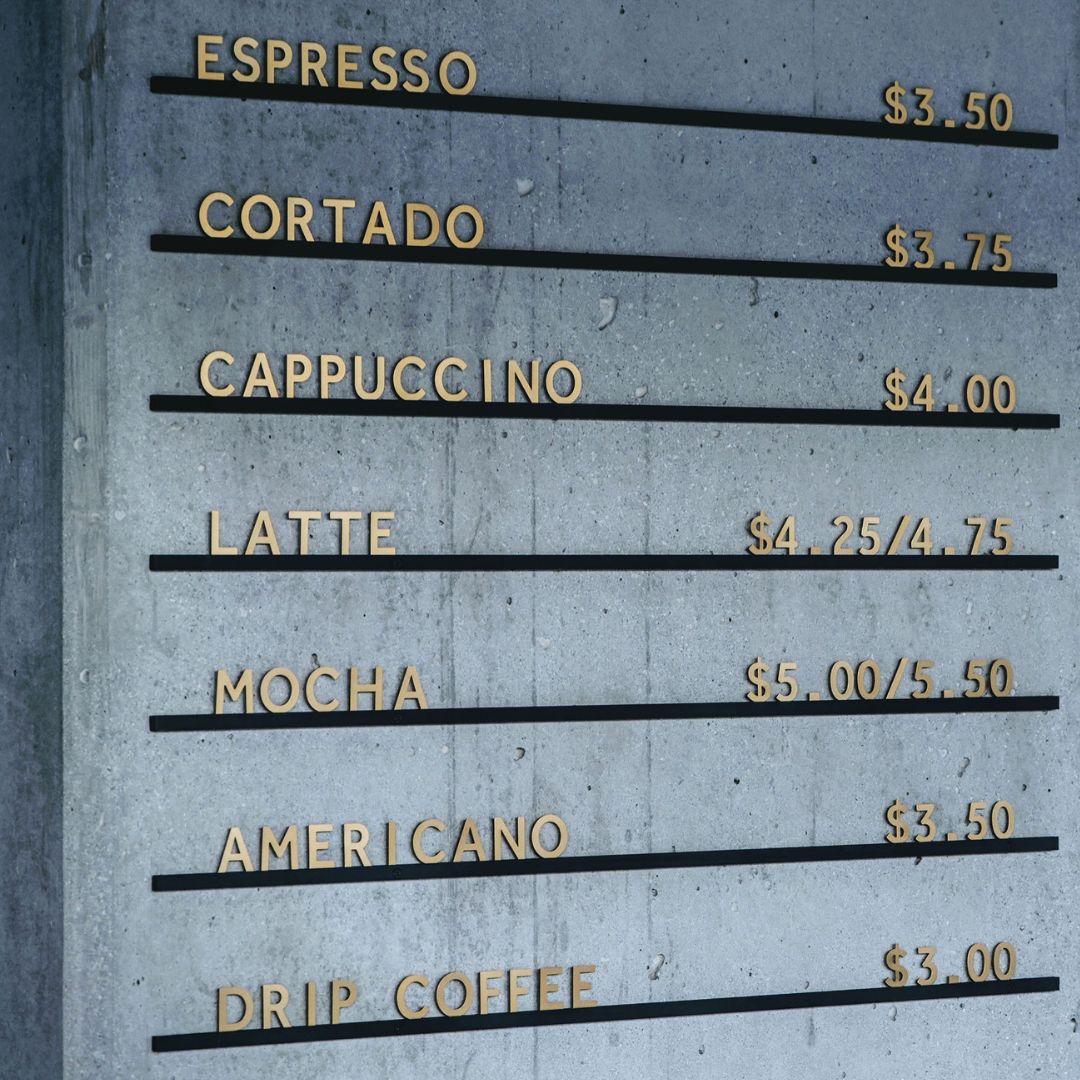
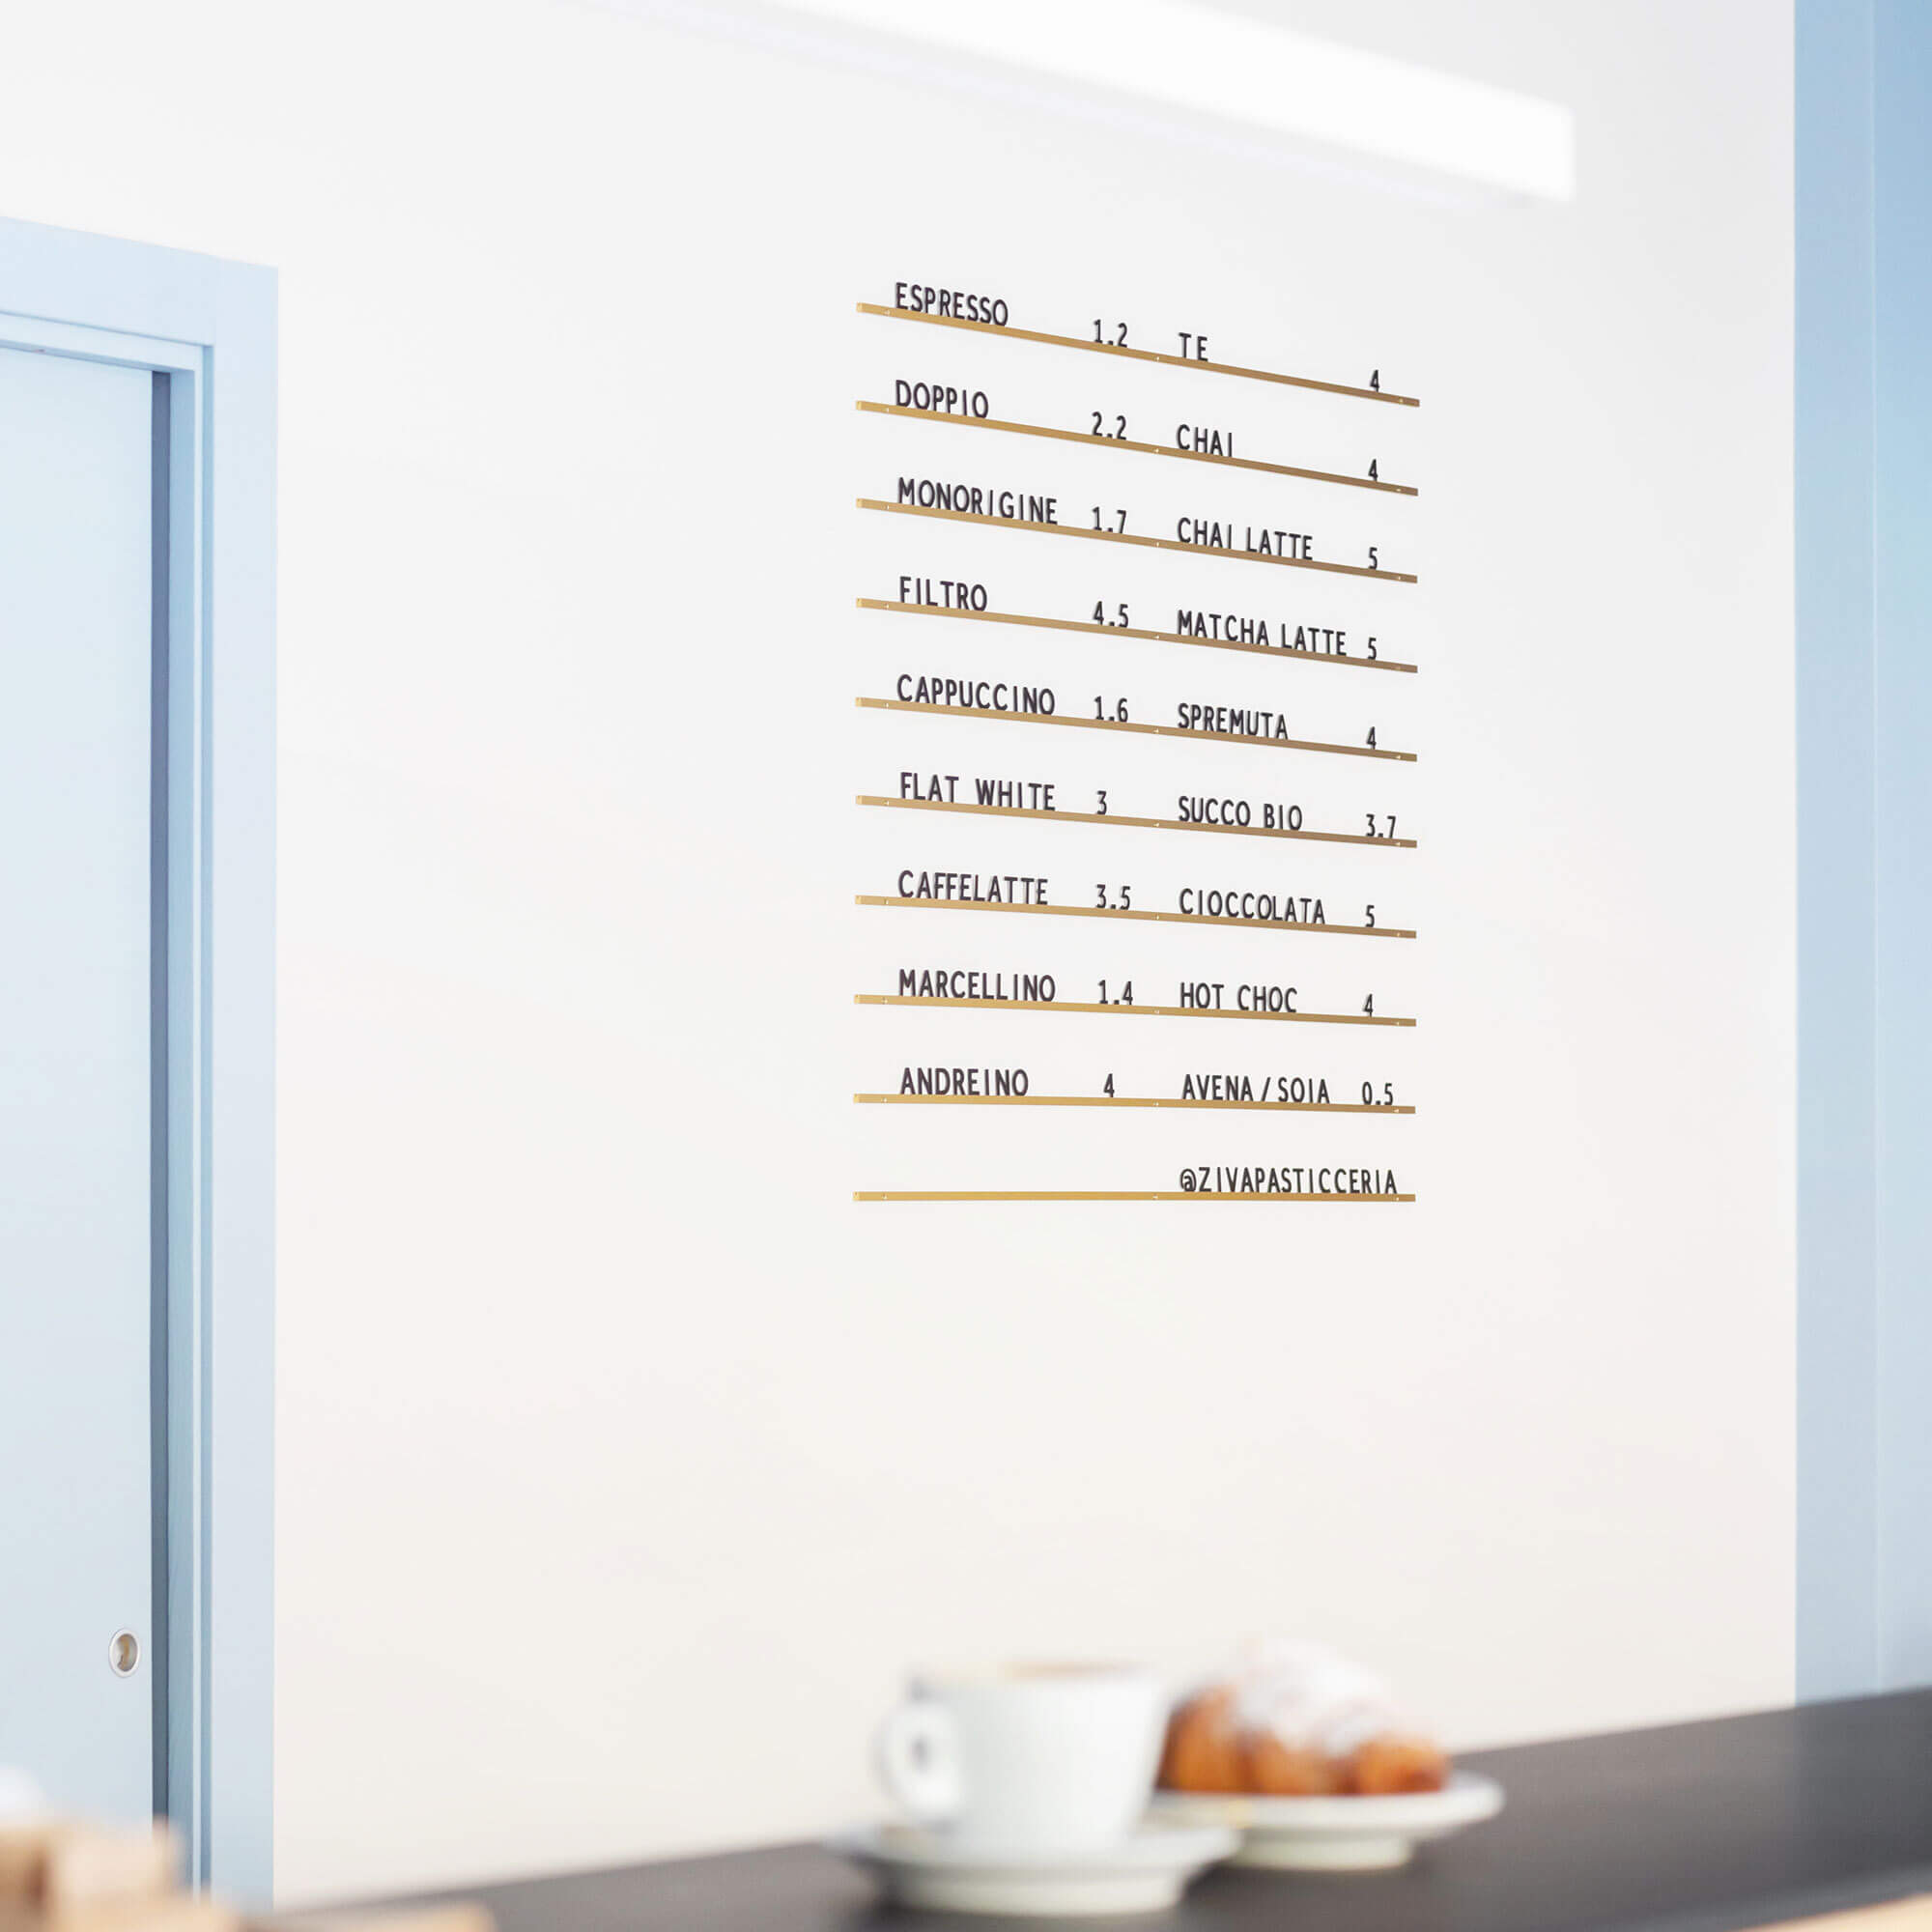
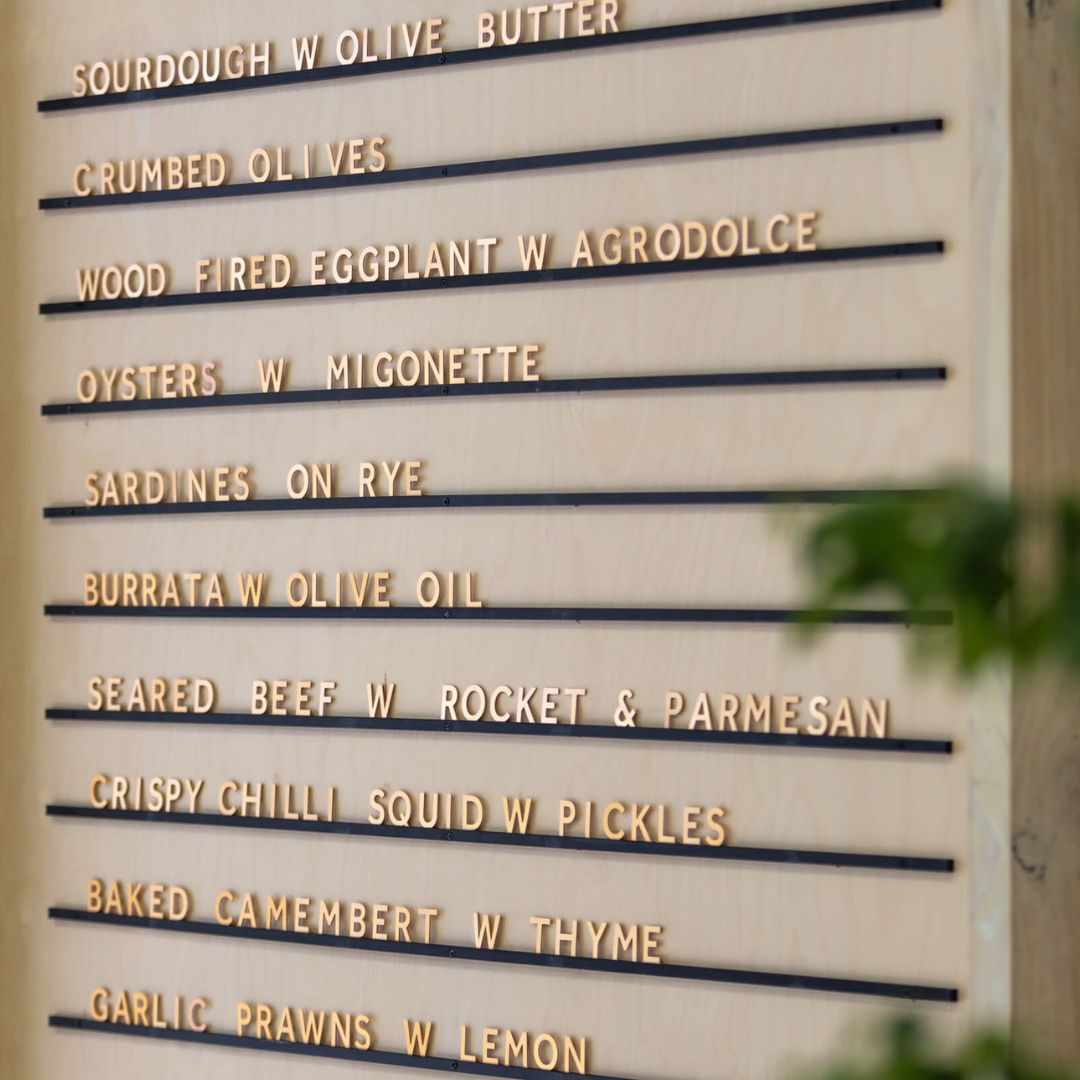
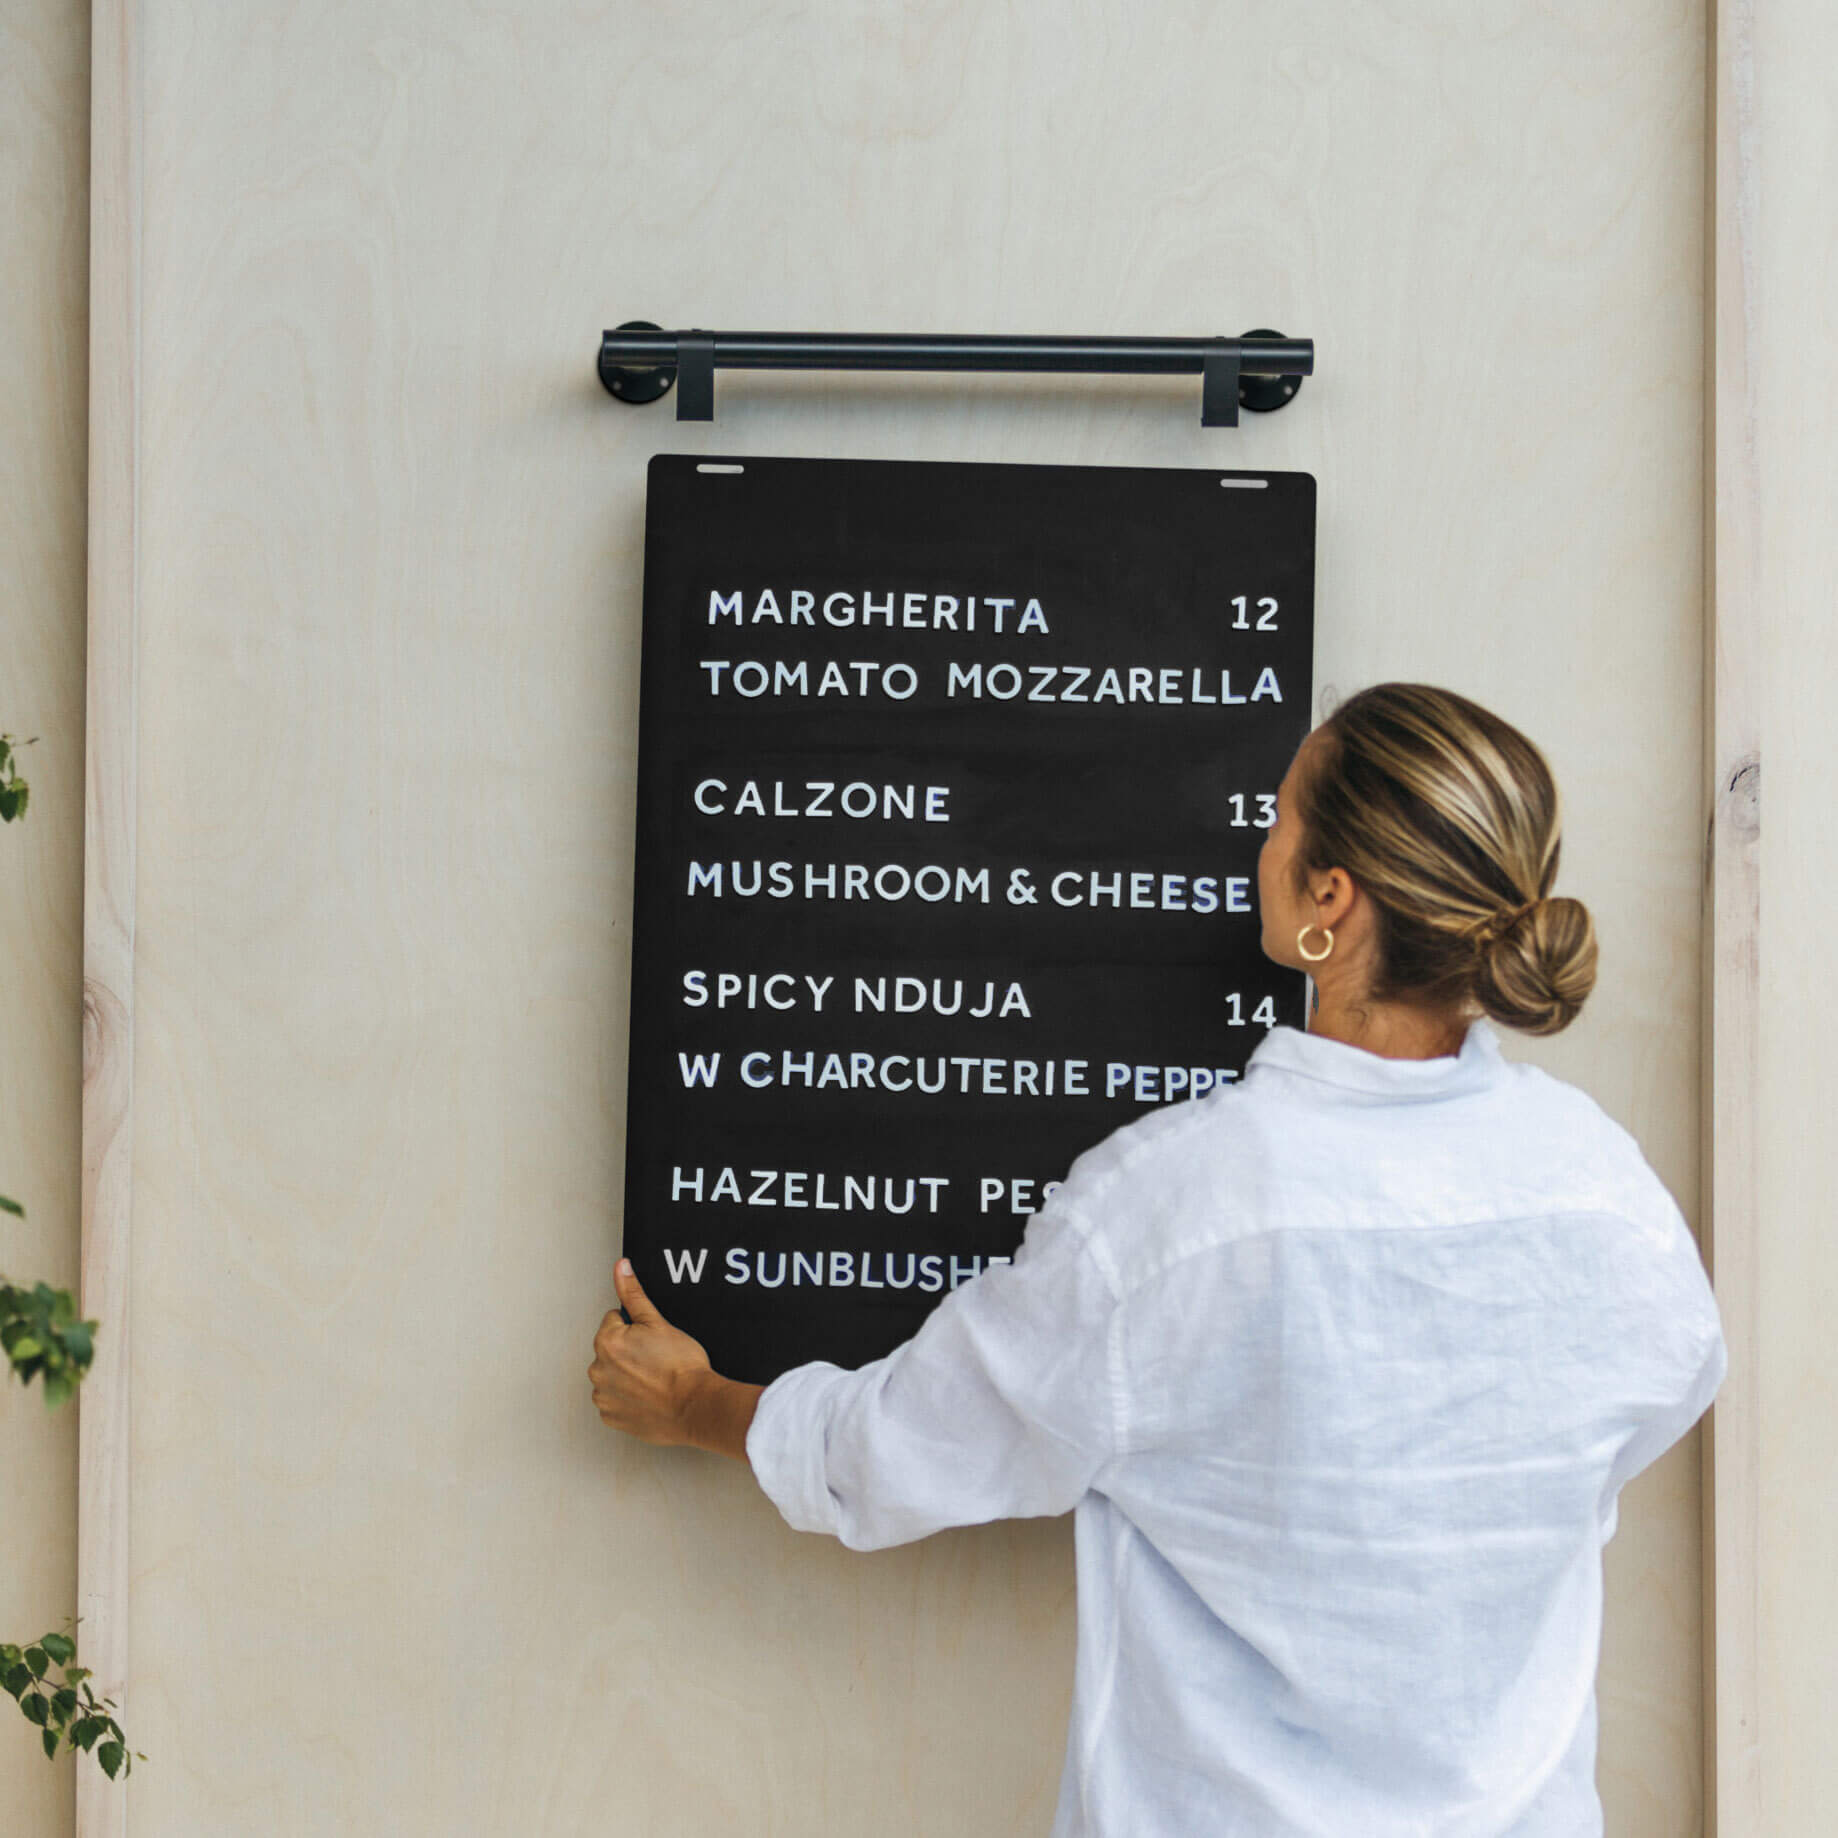
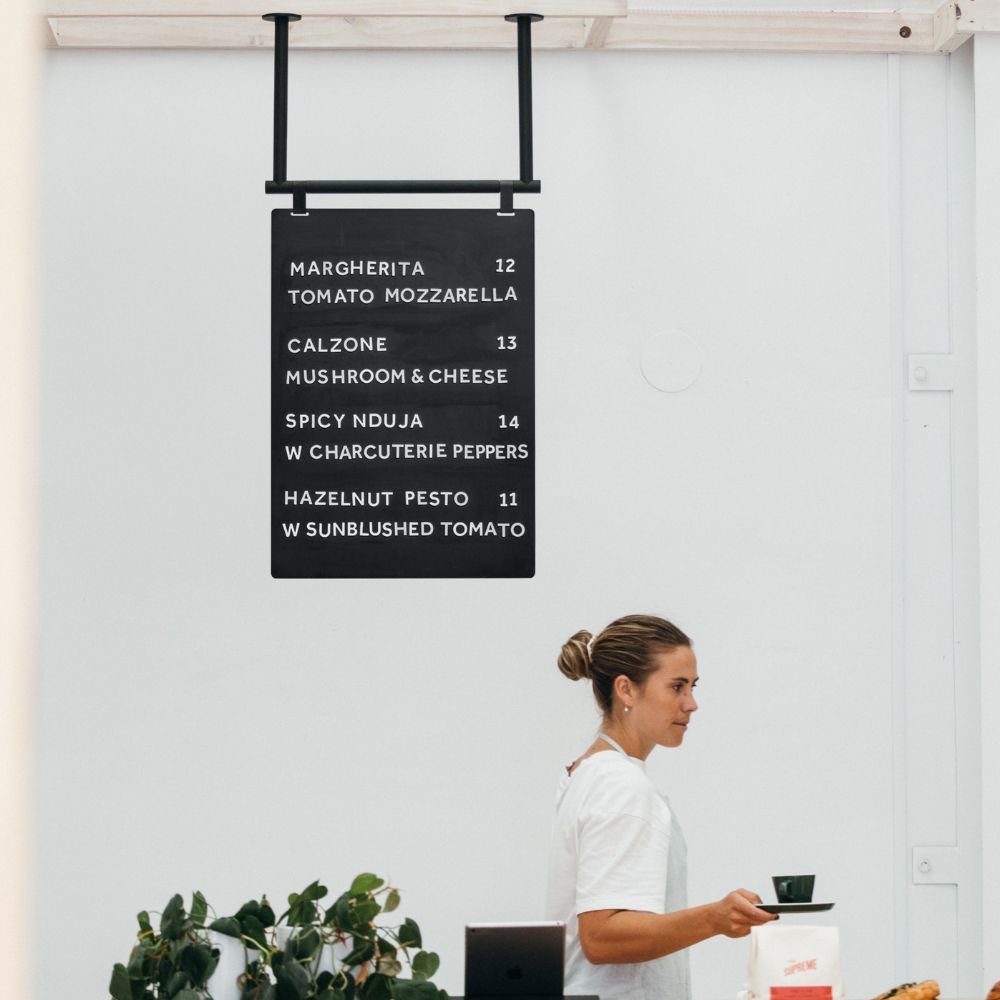
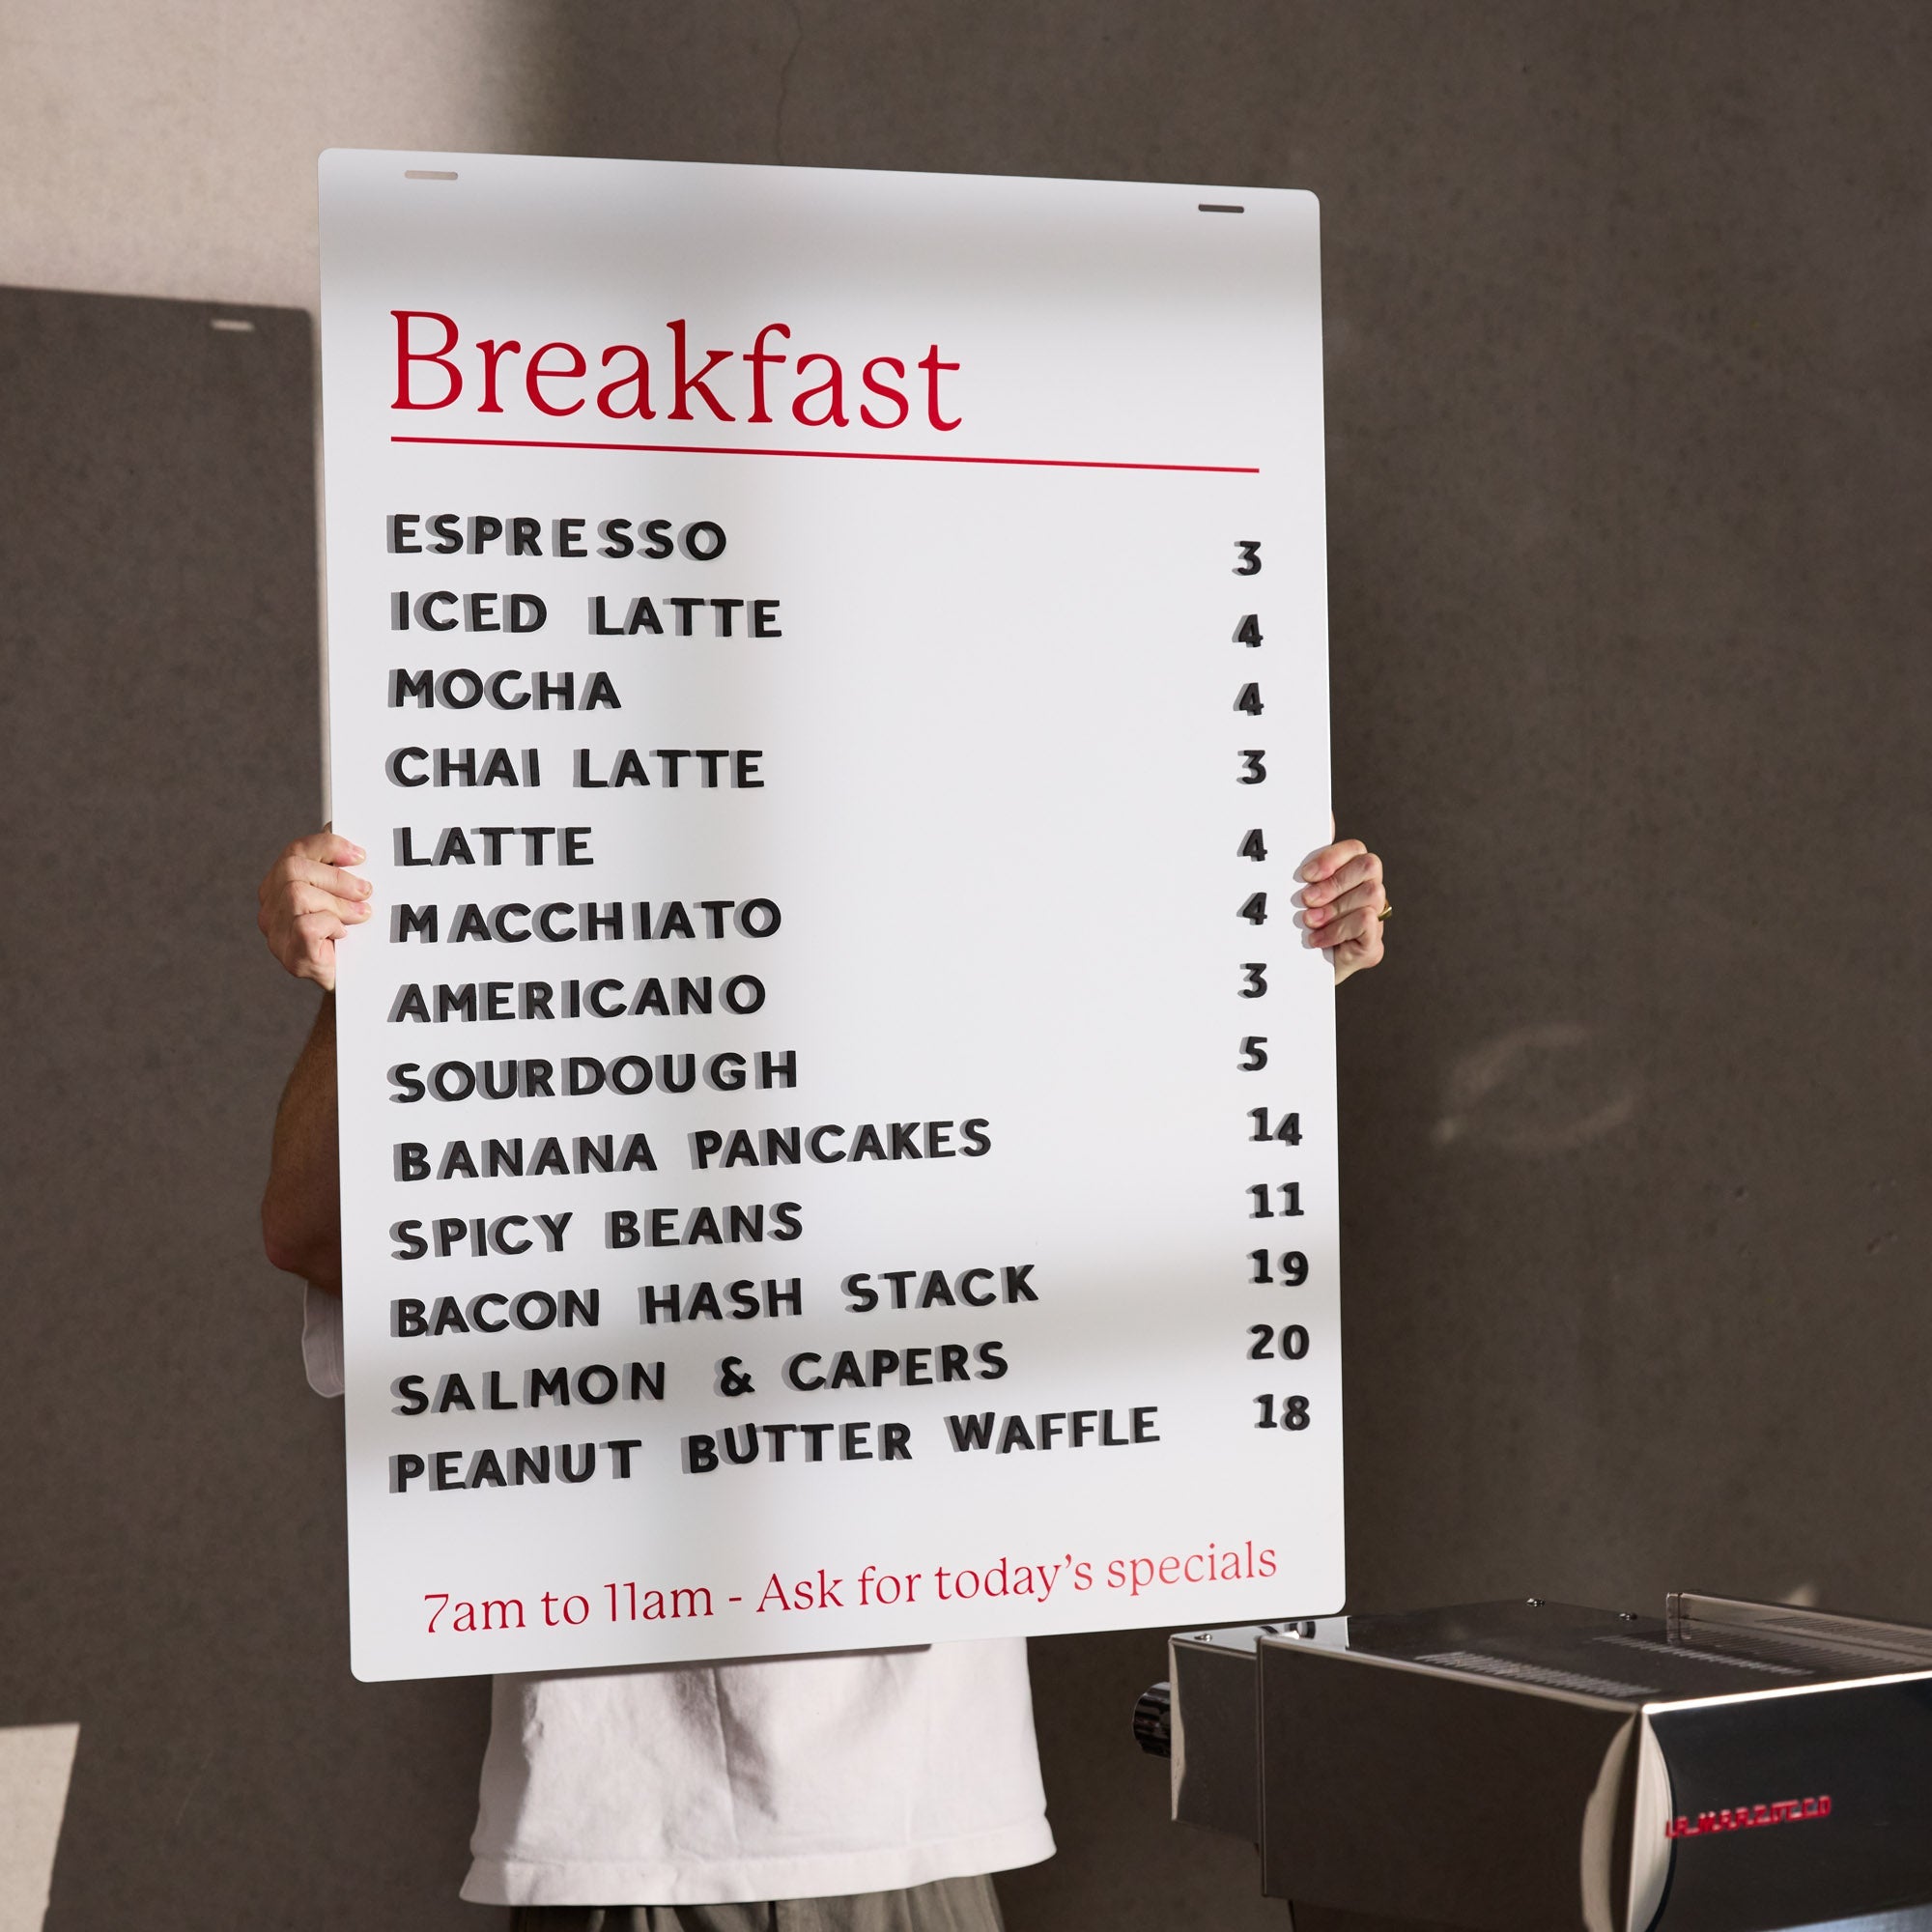
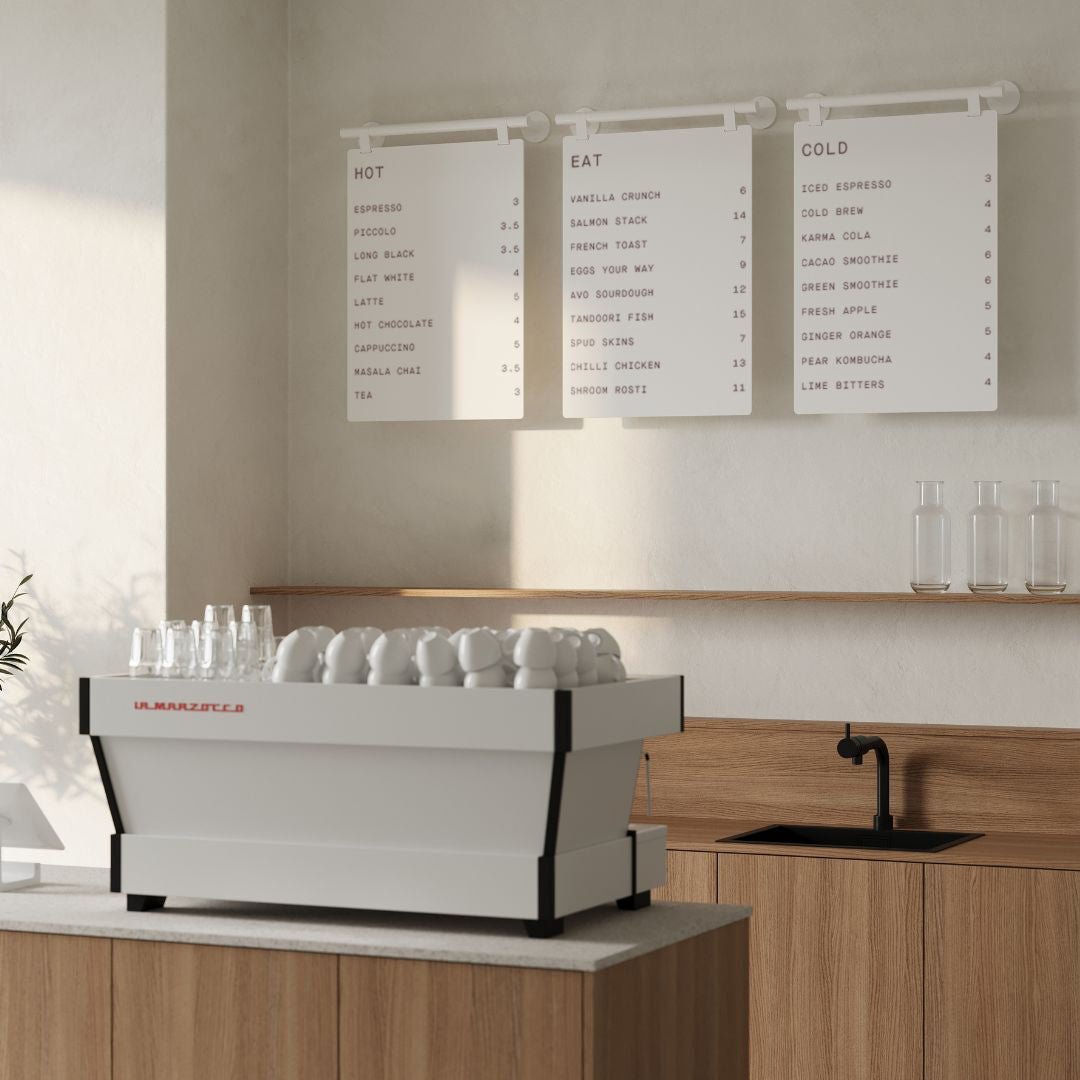
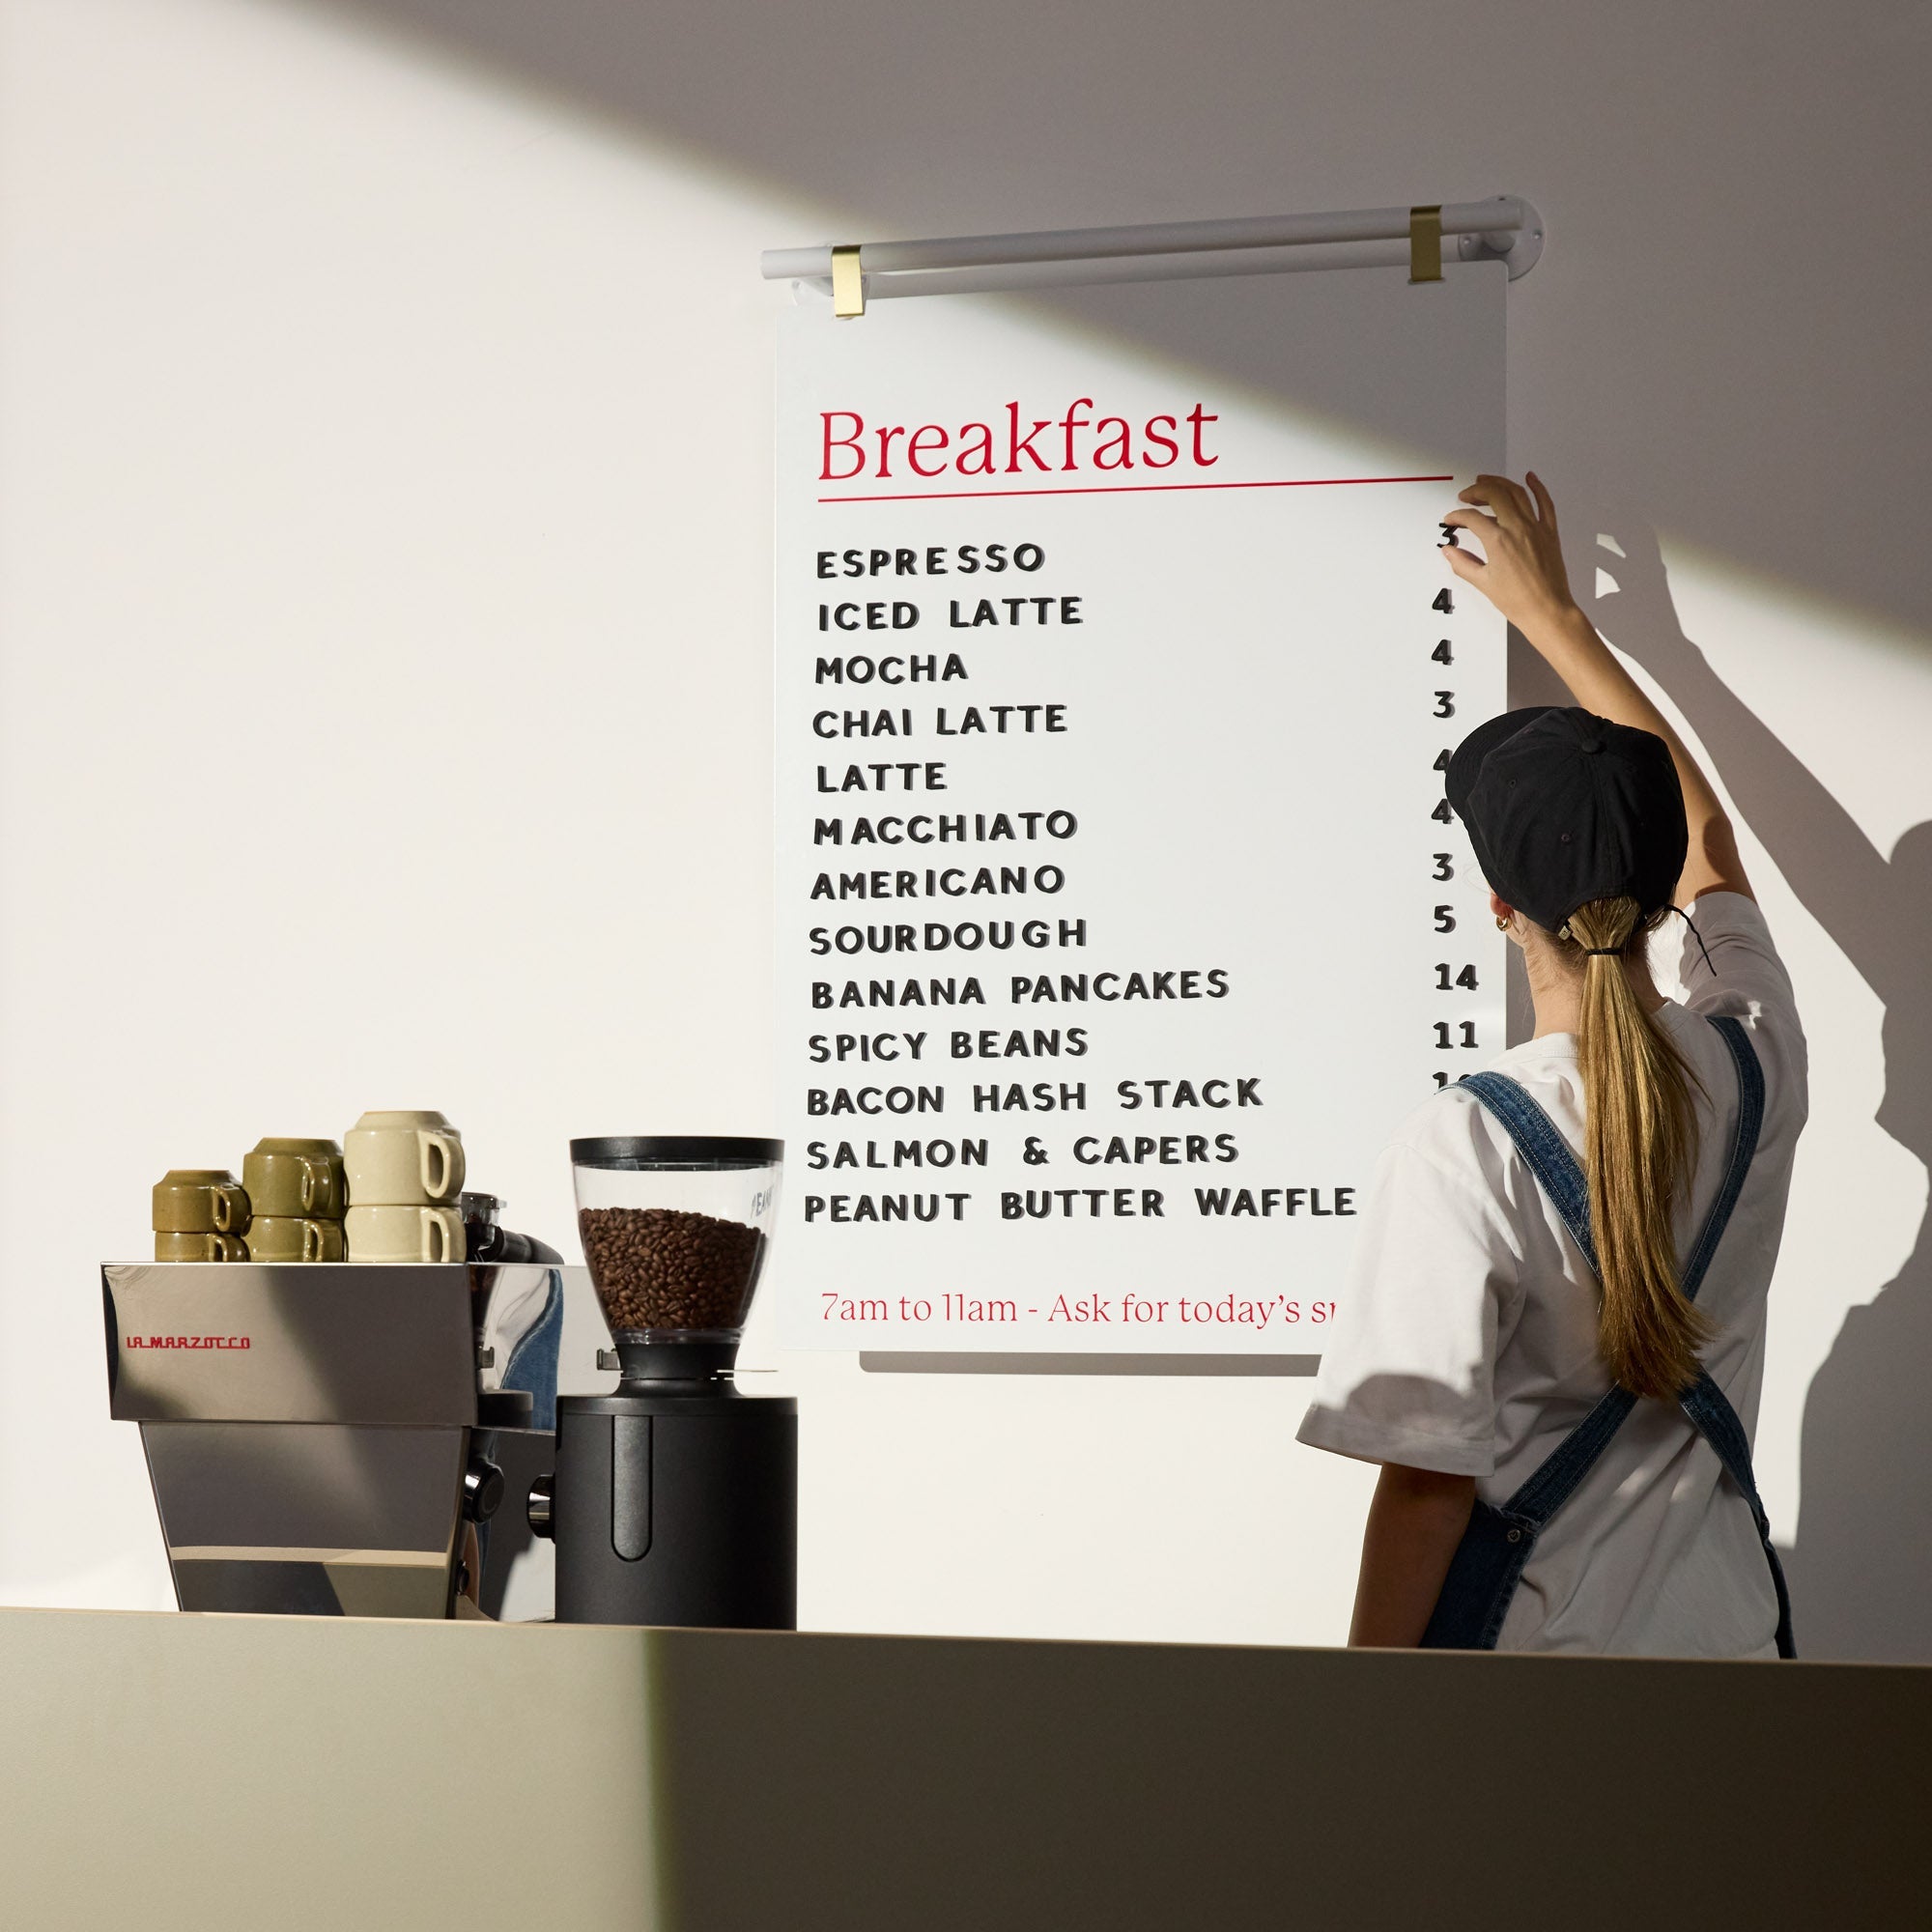
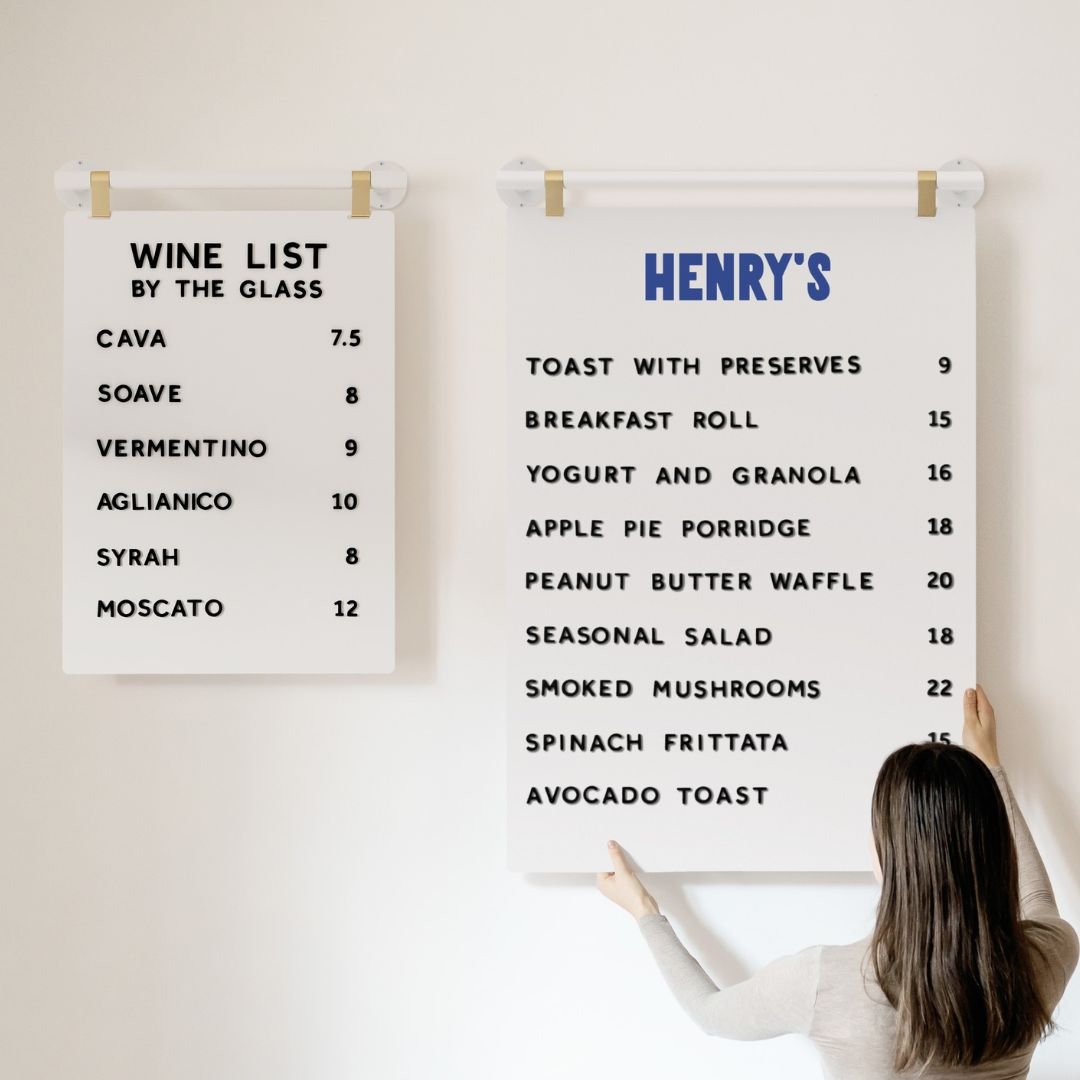
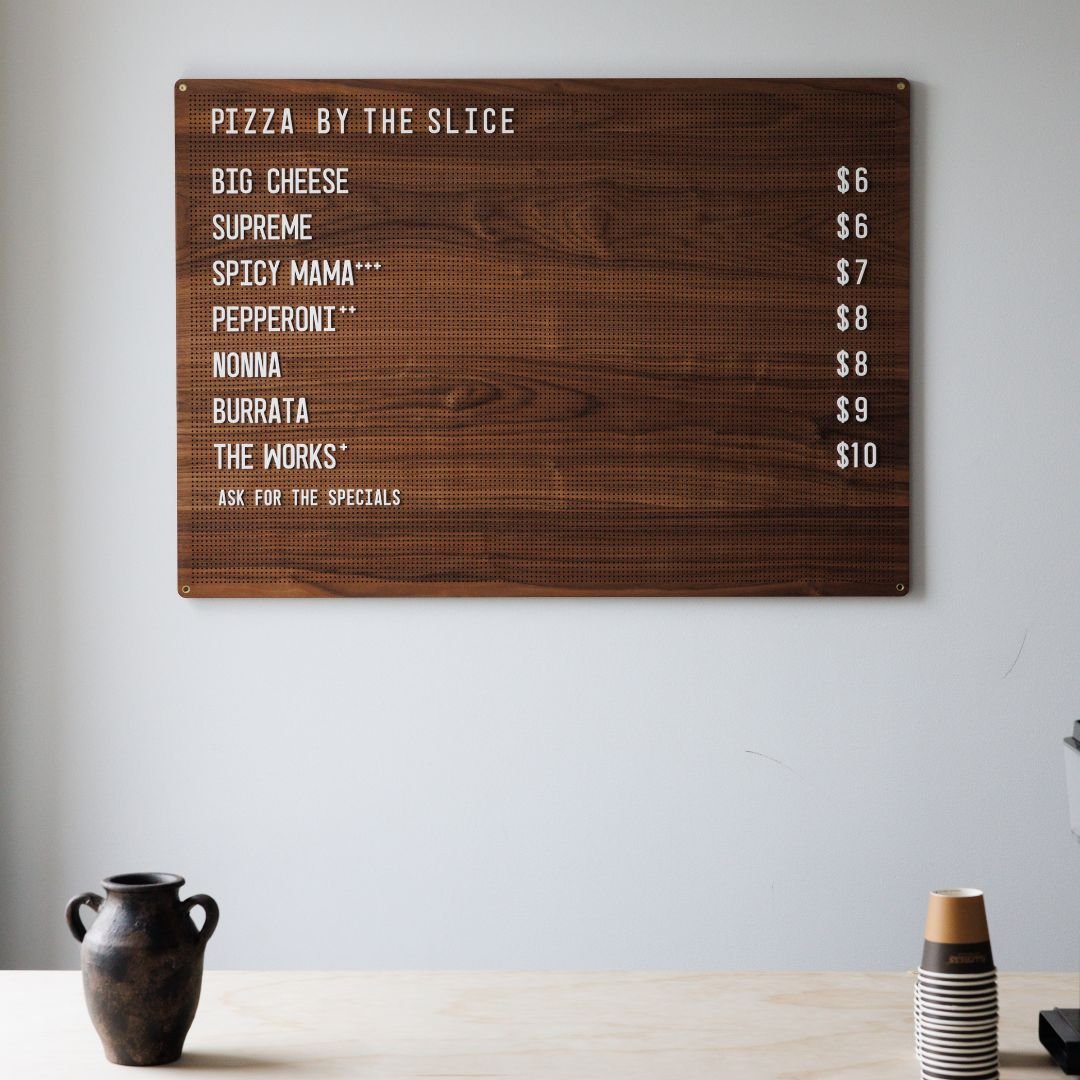
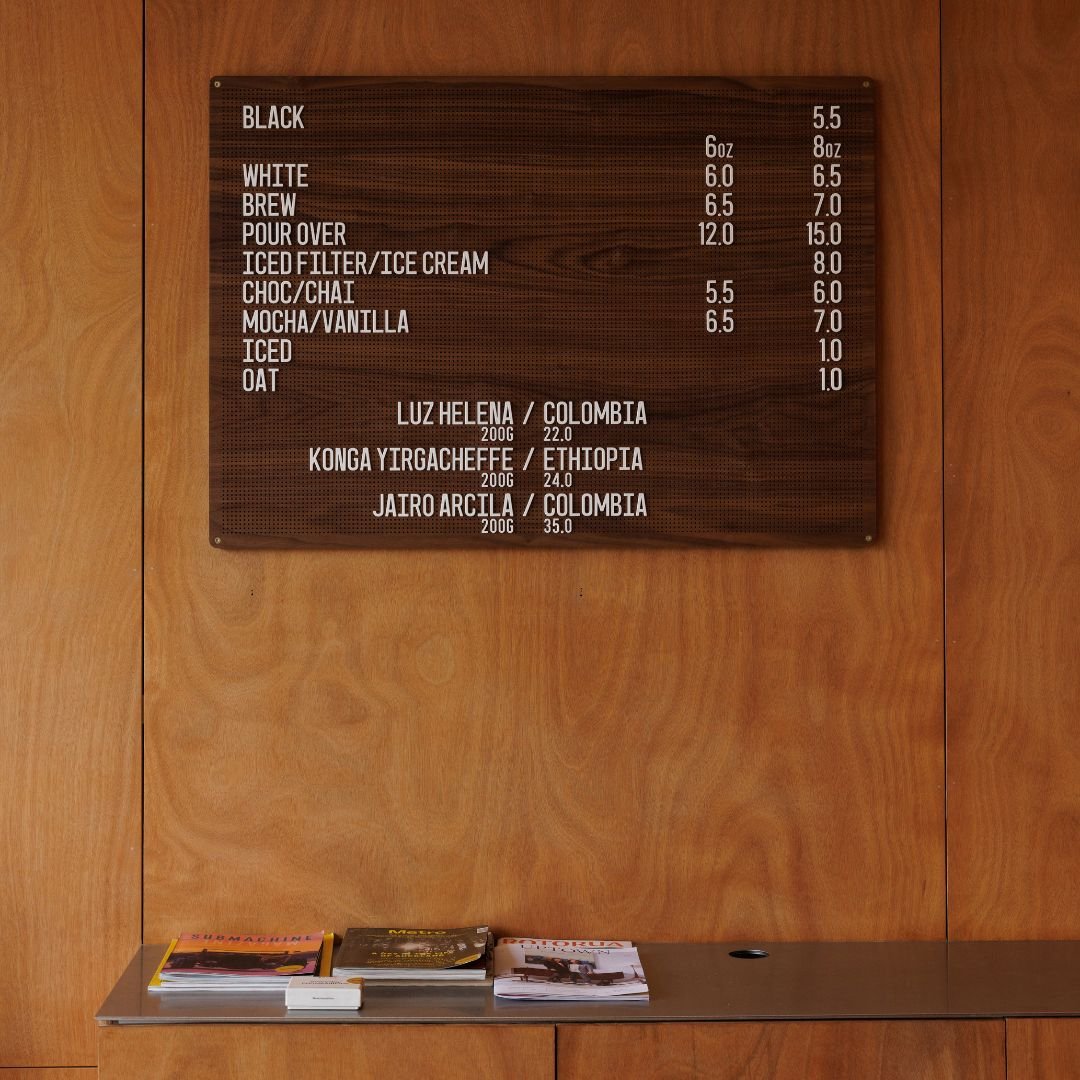
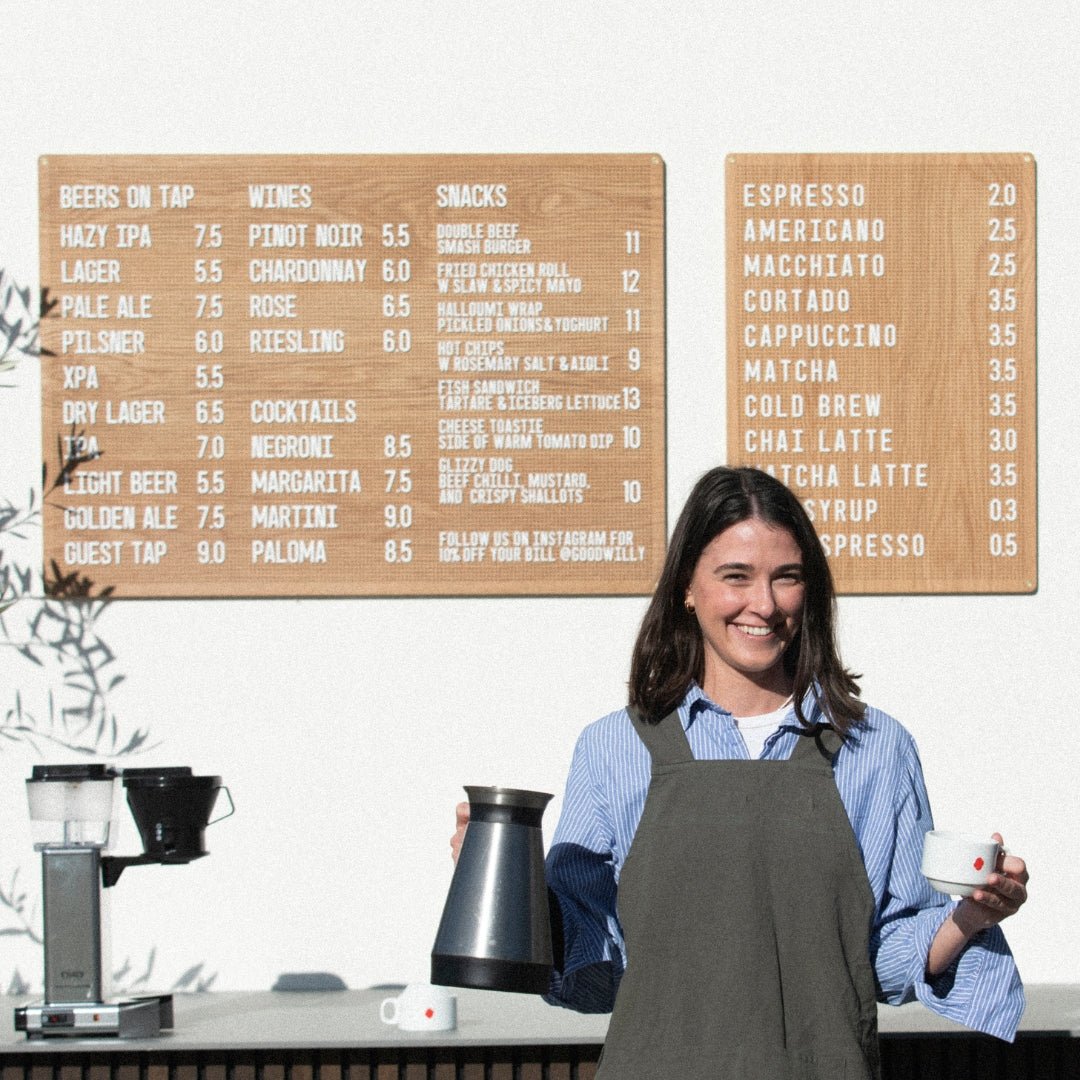
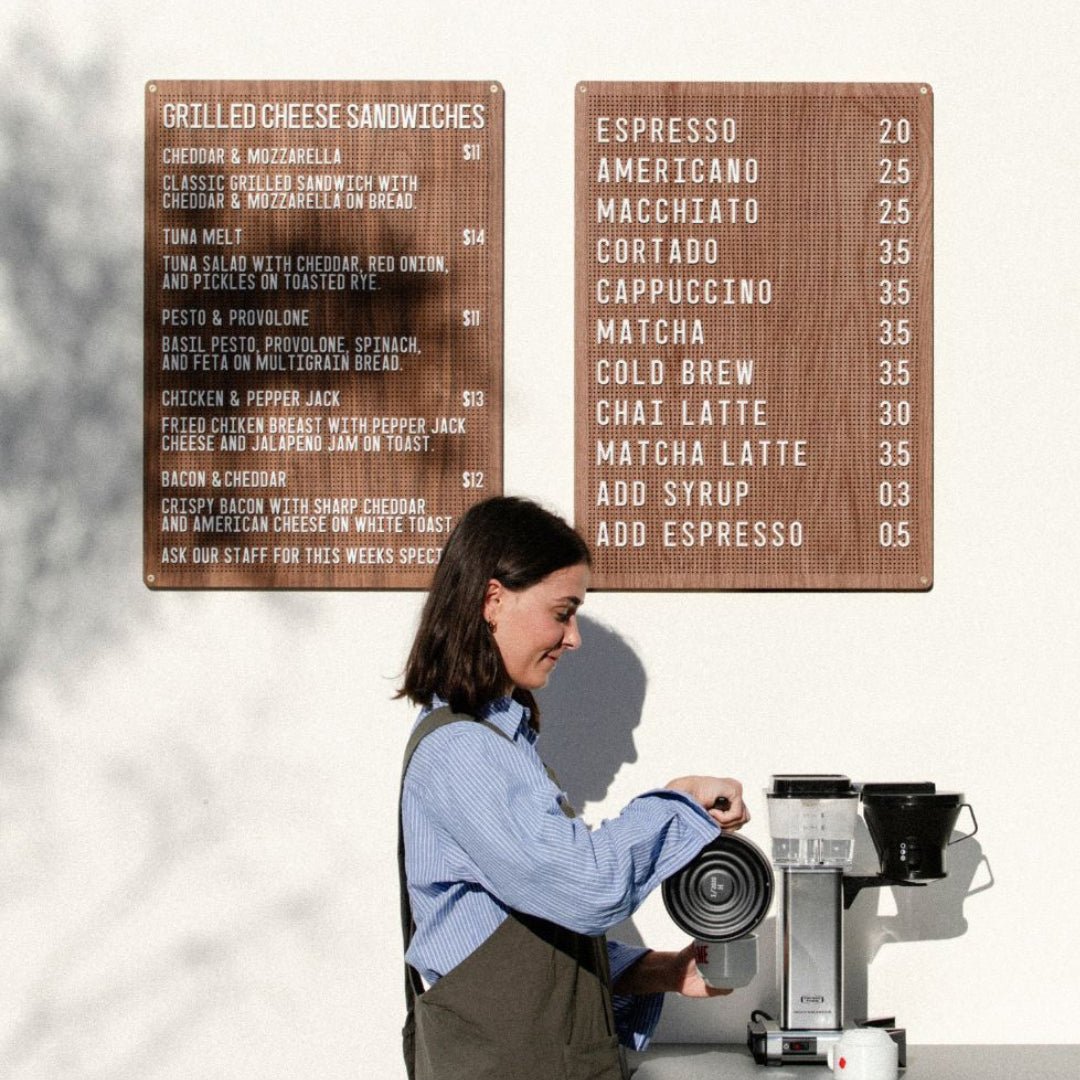
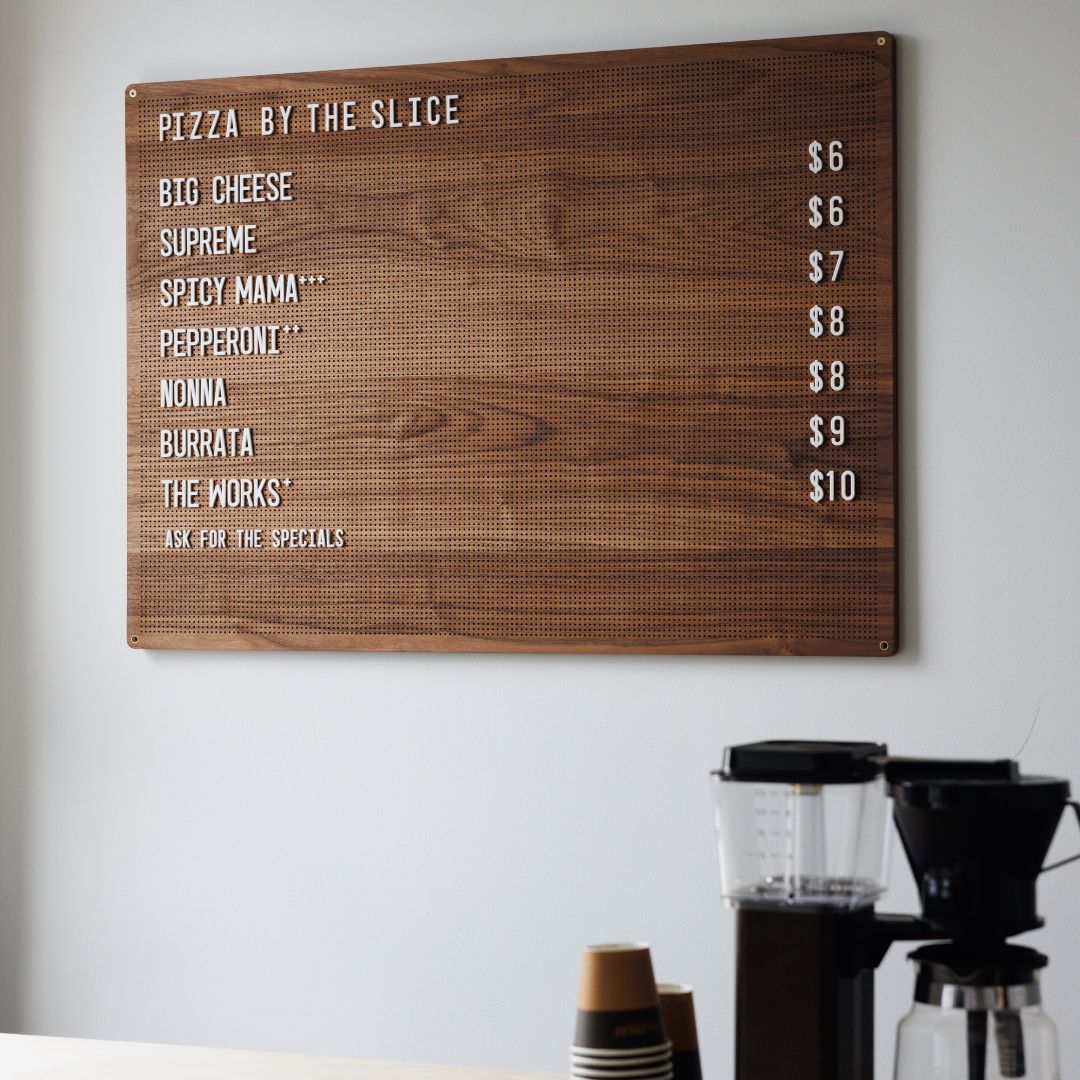
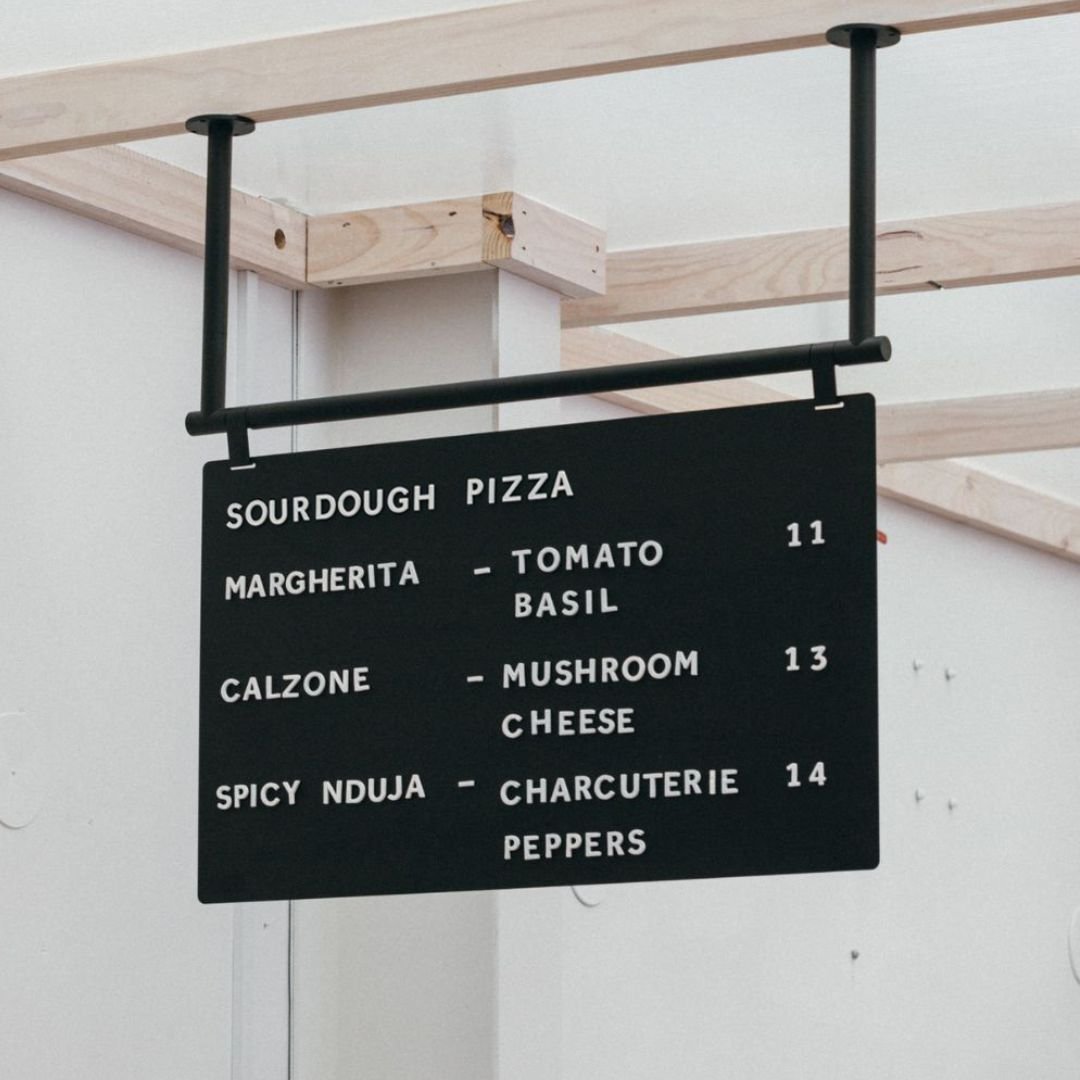
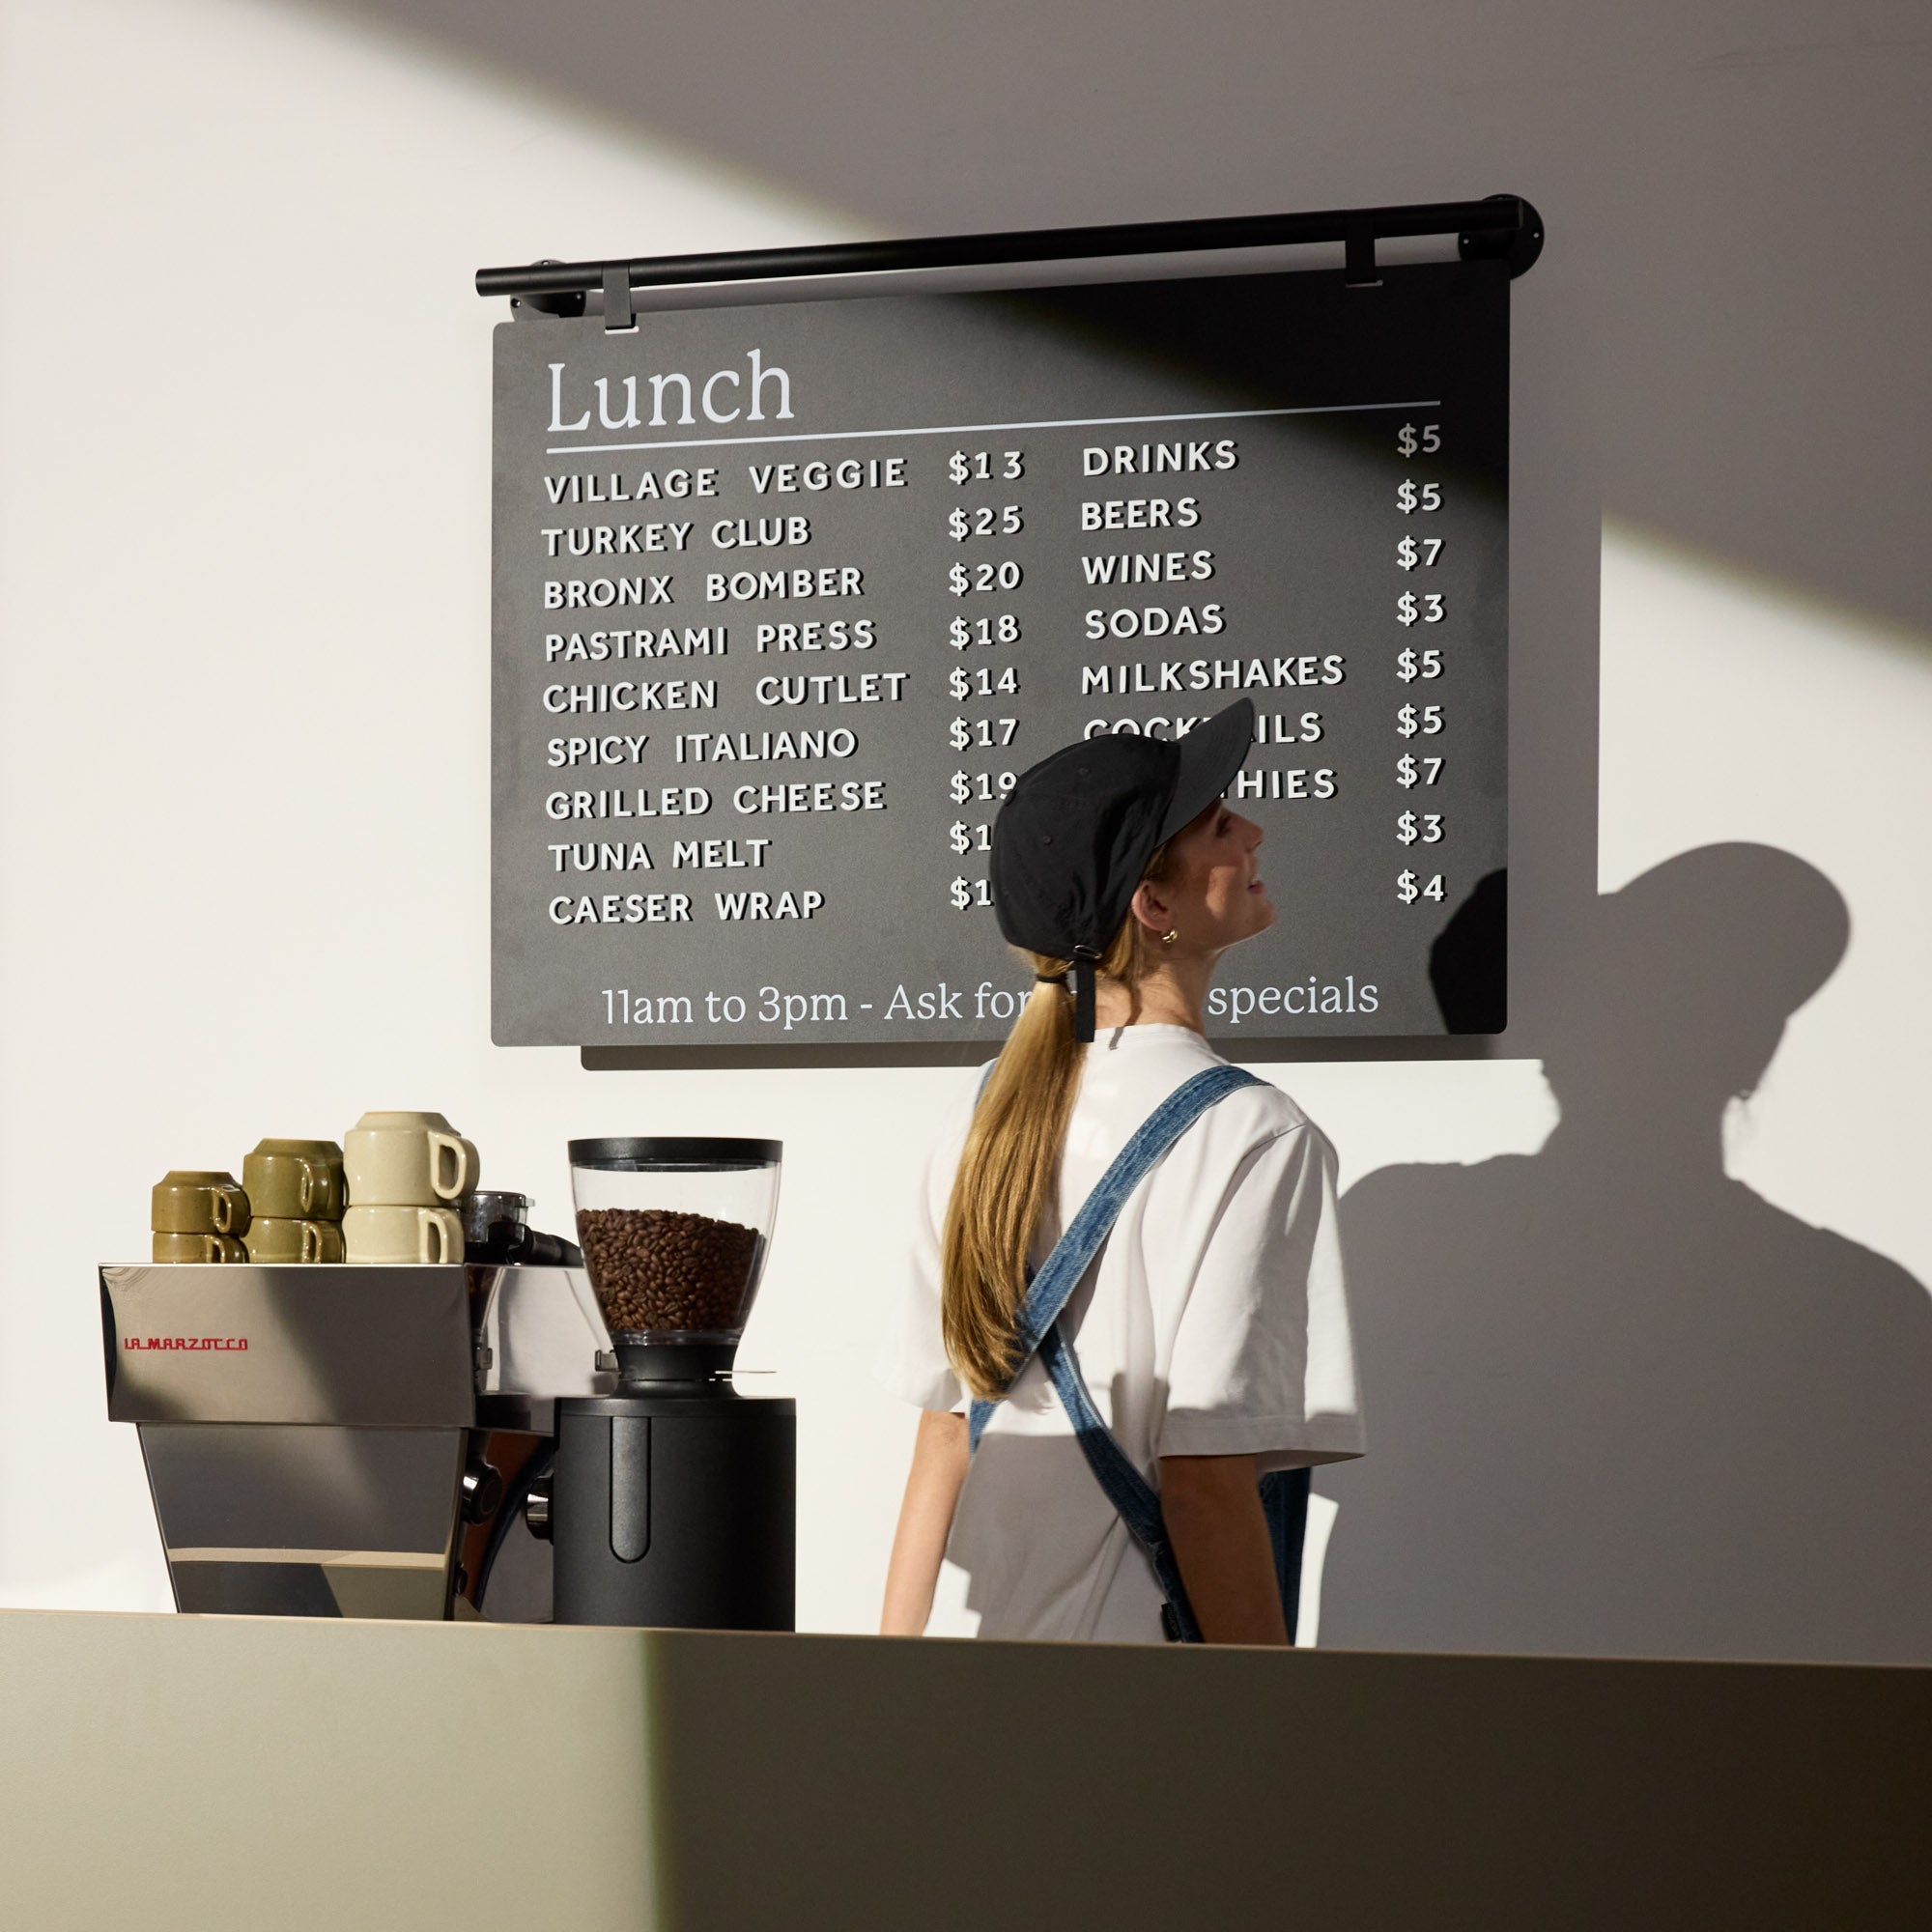
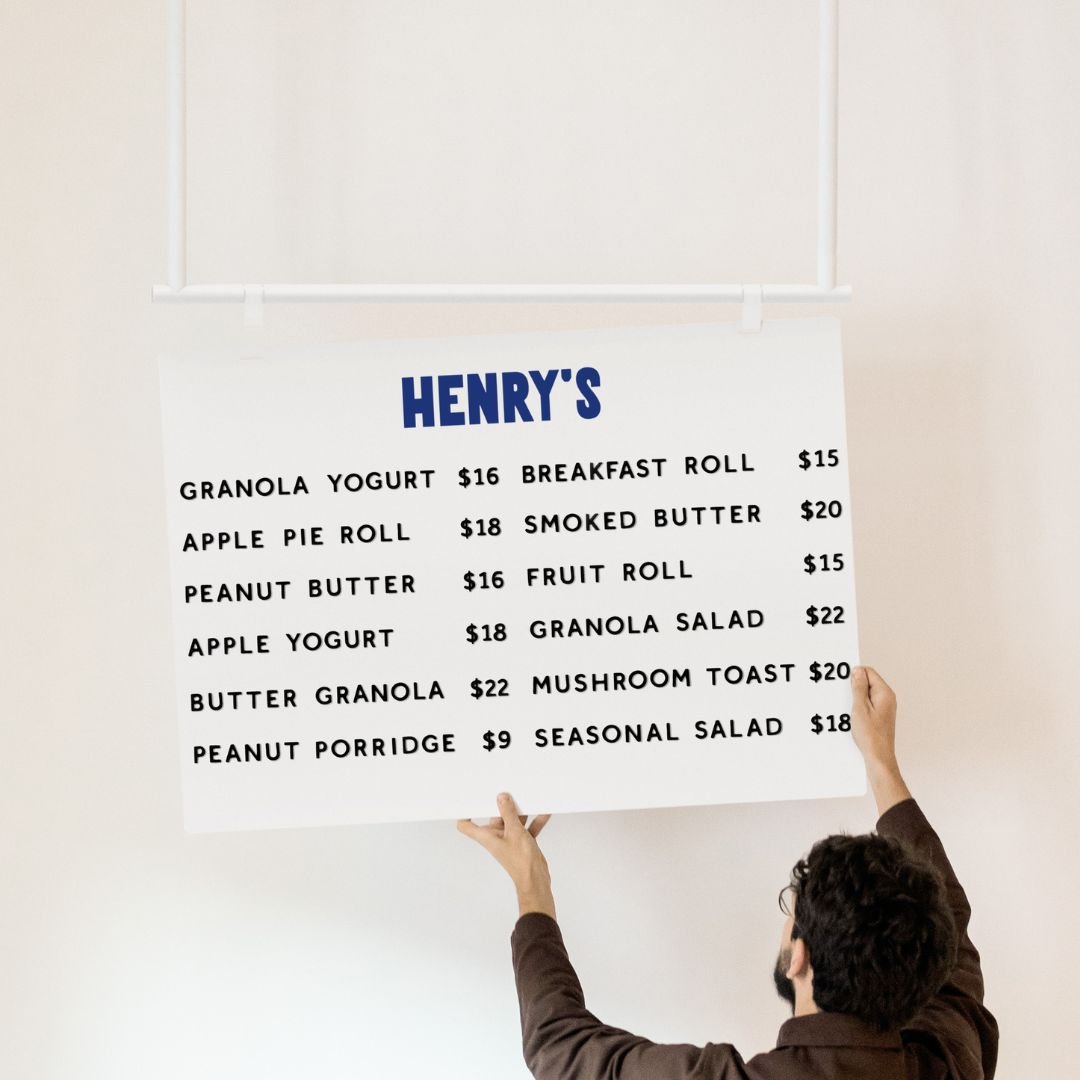
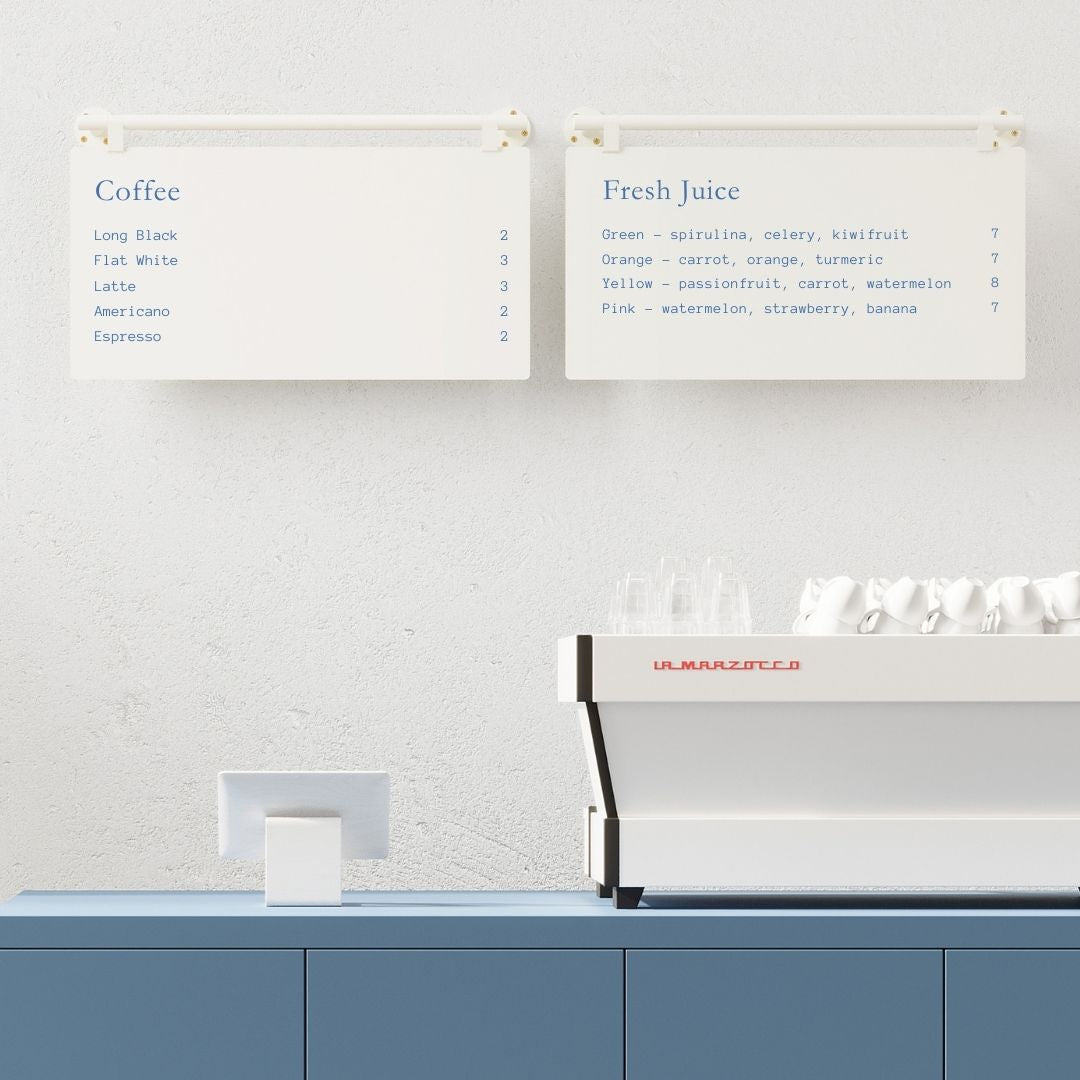
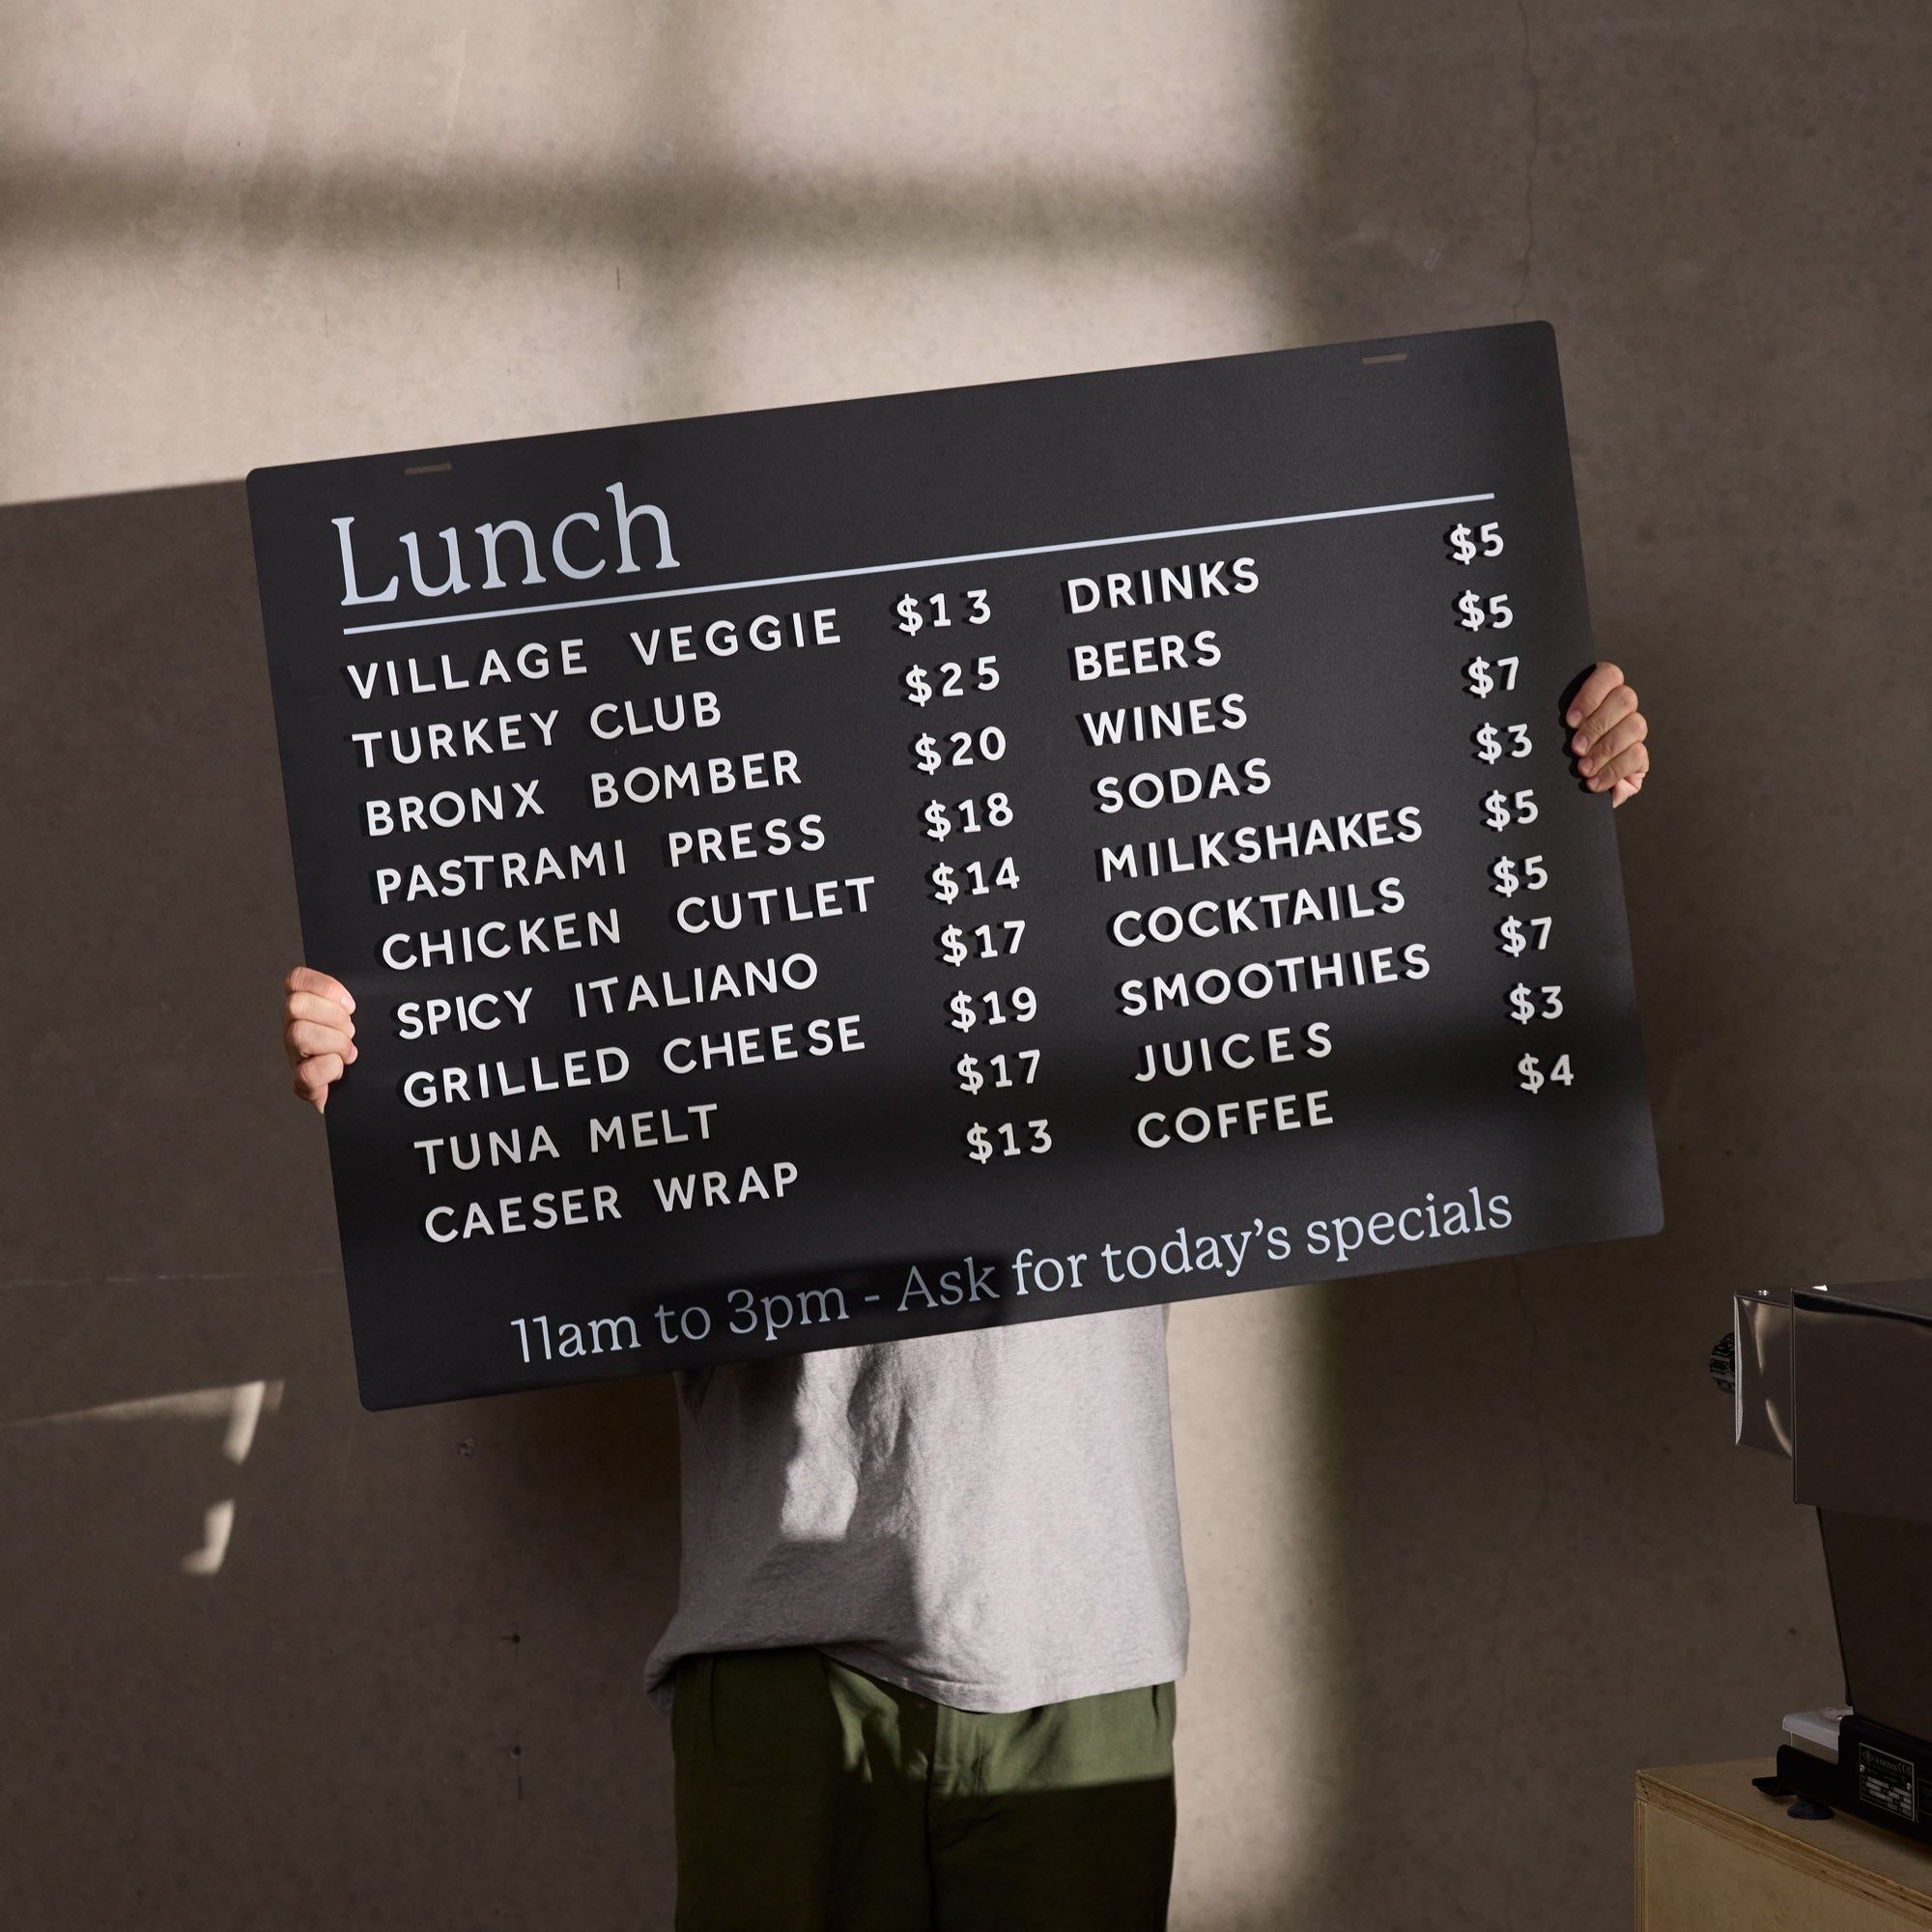
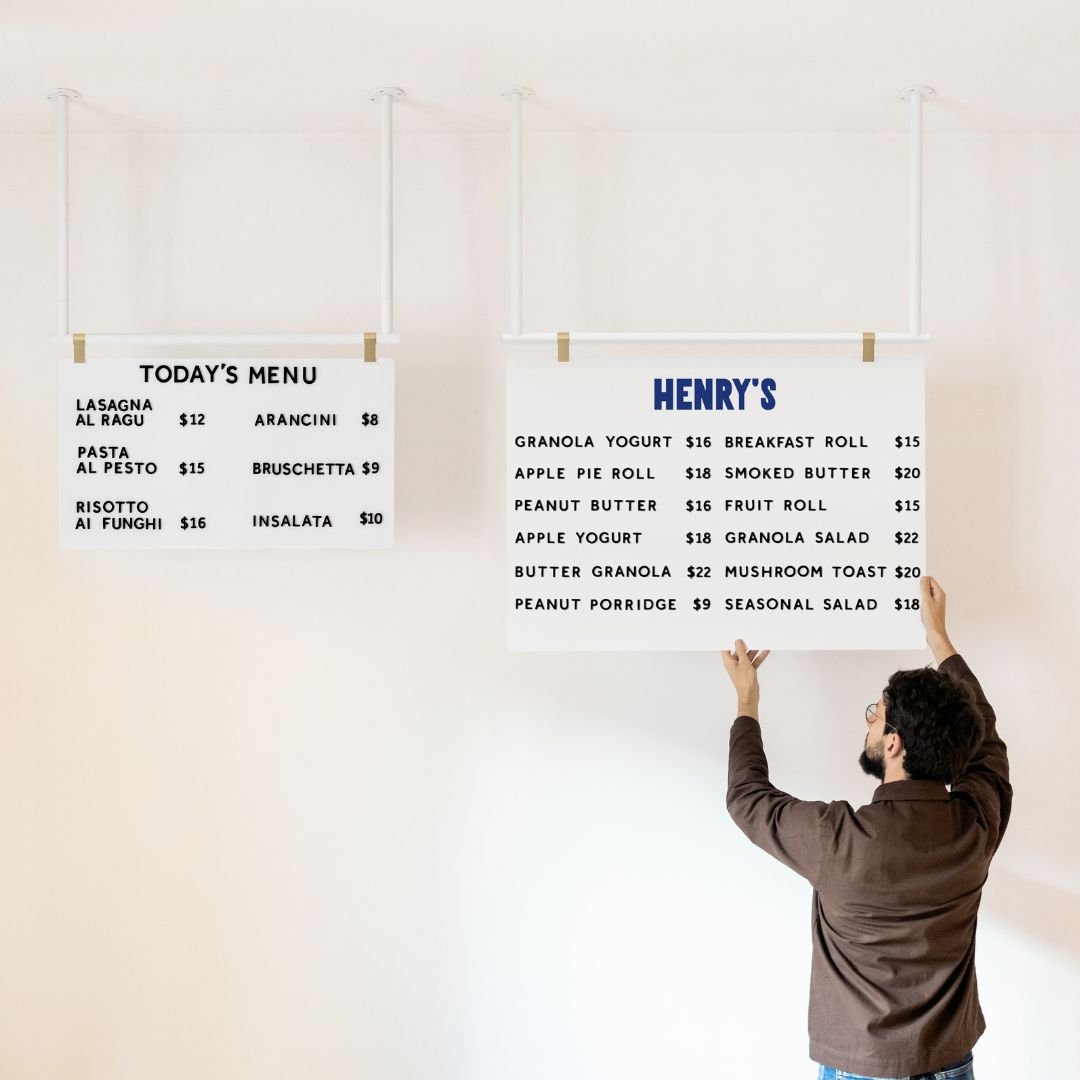
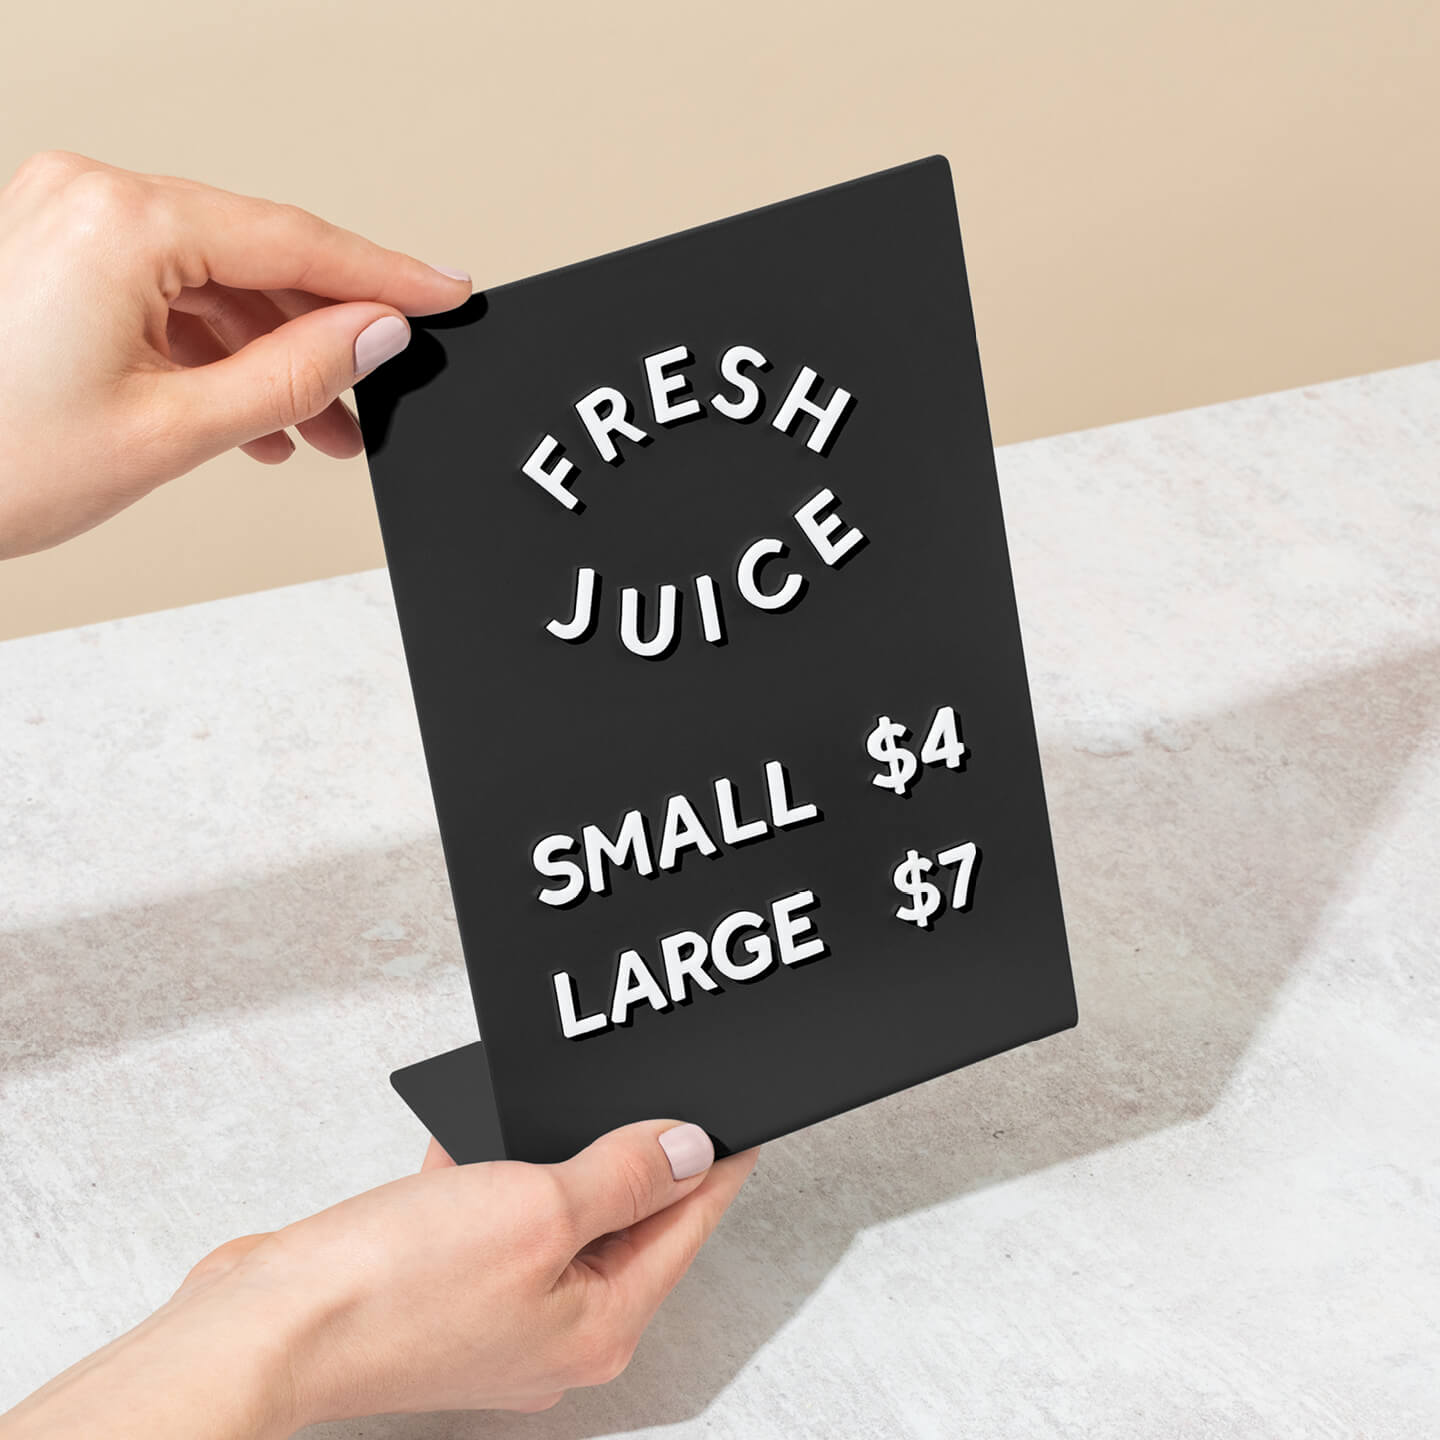
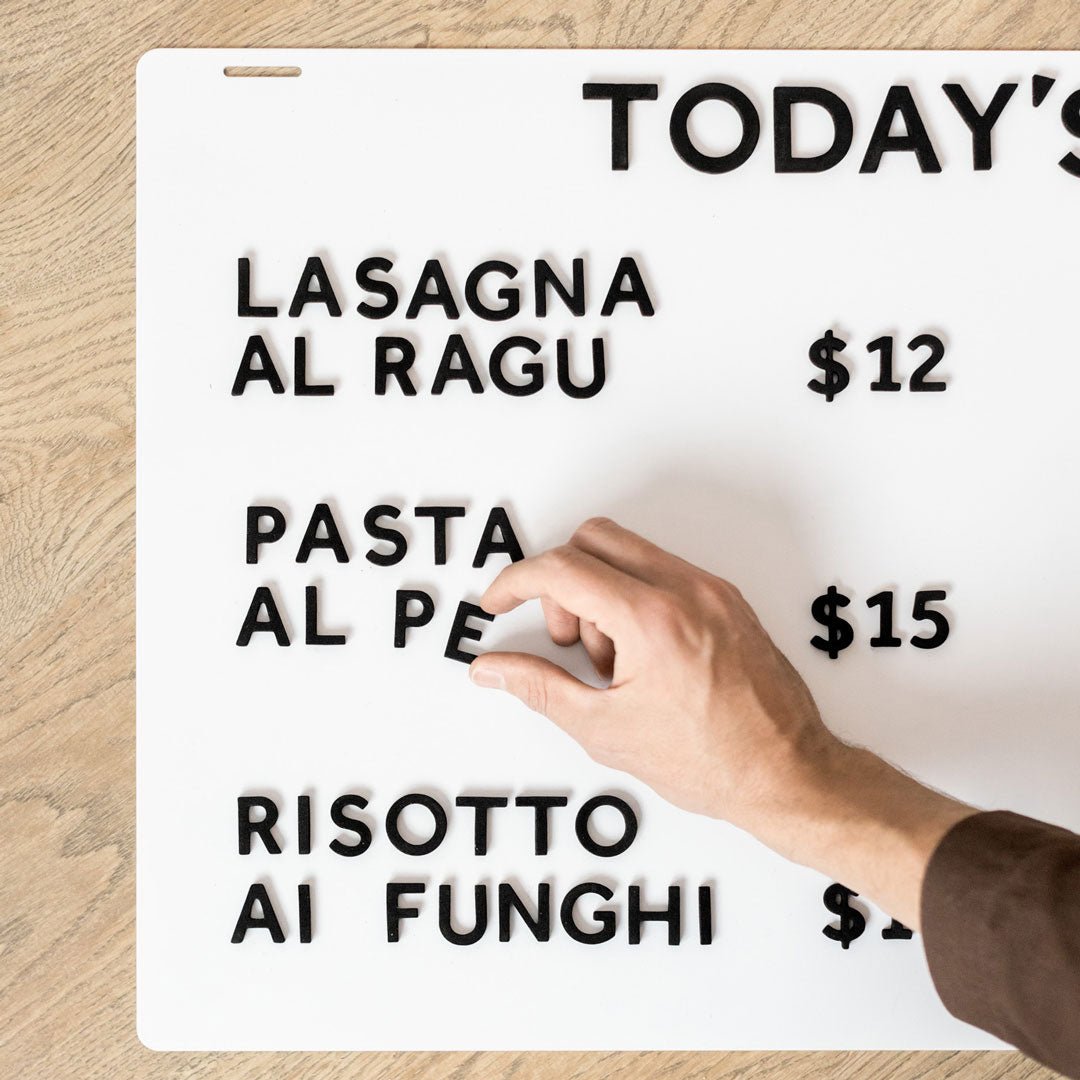
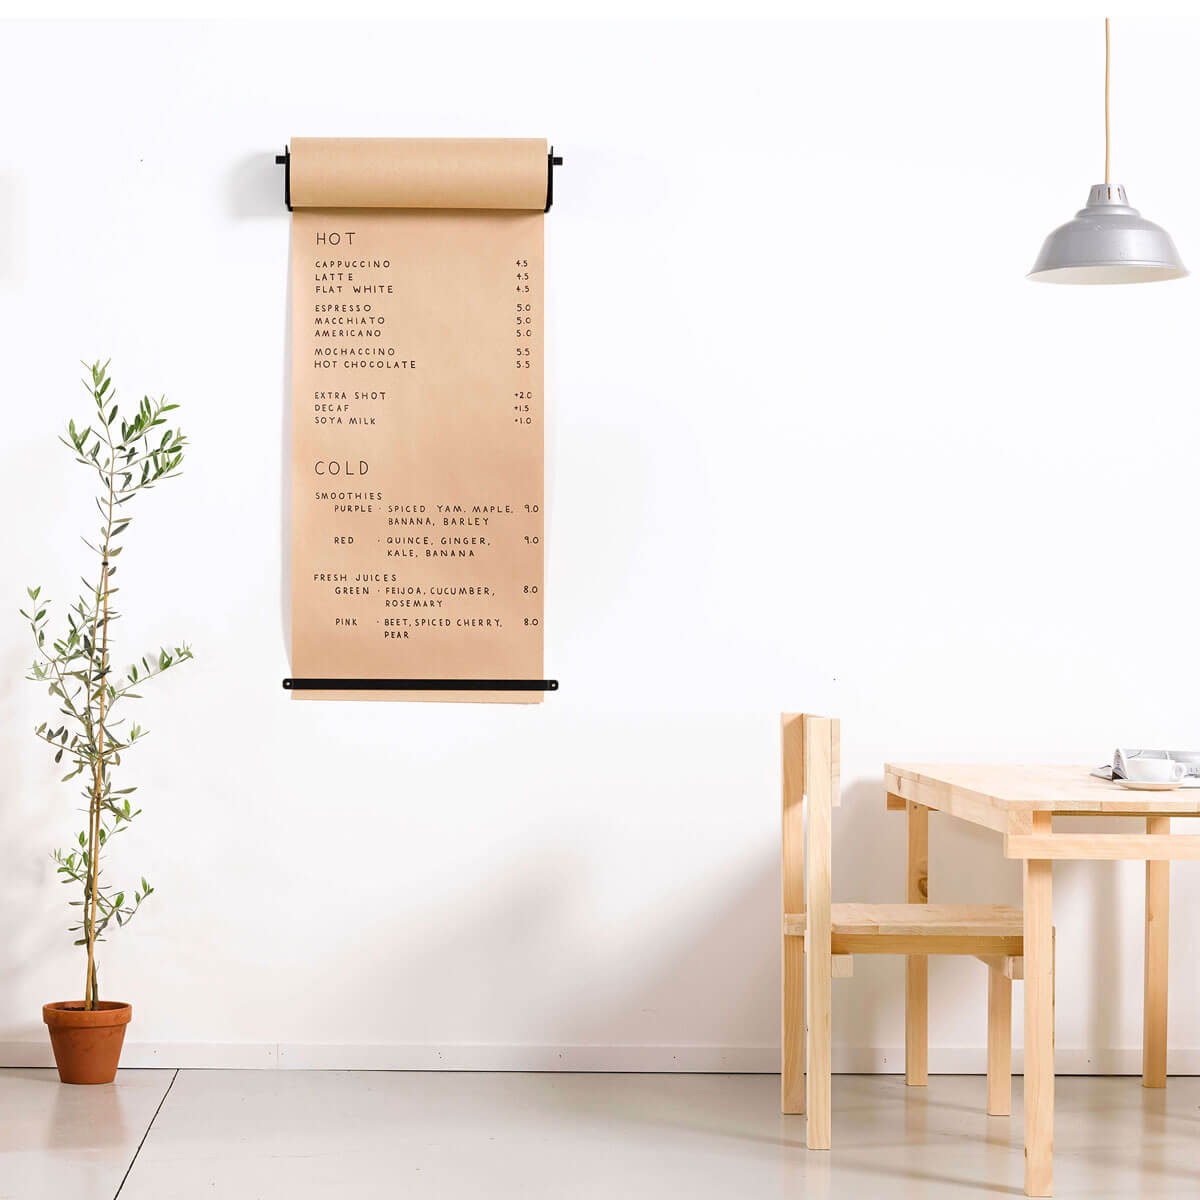
High contrast visuals and concise text work best. If you update prices often, complement your floor graphics with a Menu Board so promotions on the floor match the menu at a glance. You can also echo key offers on Table Talkers at the counter.
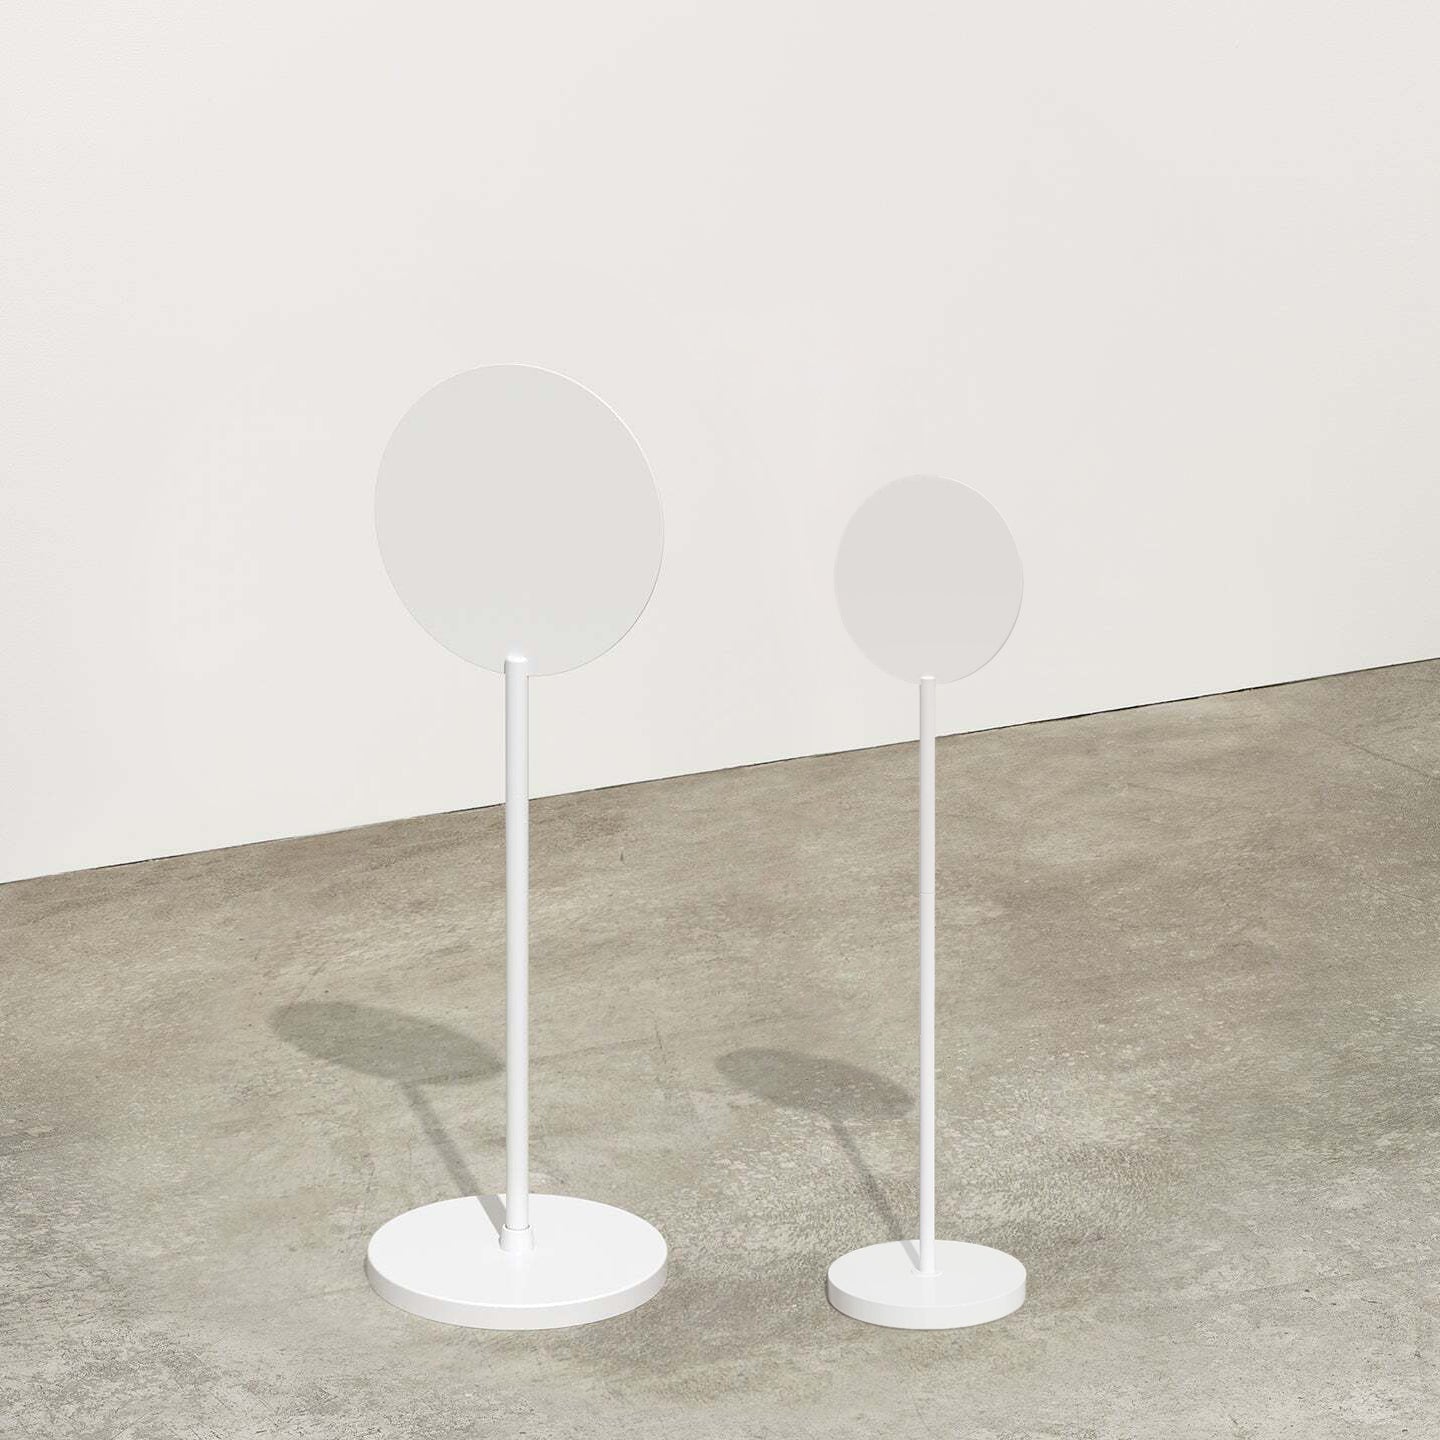
Custom Shapes and Sizes
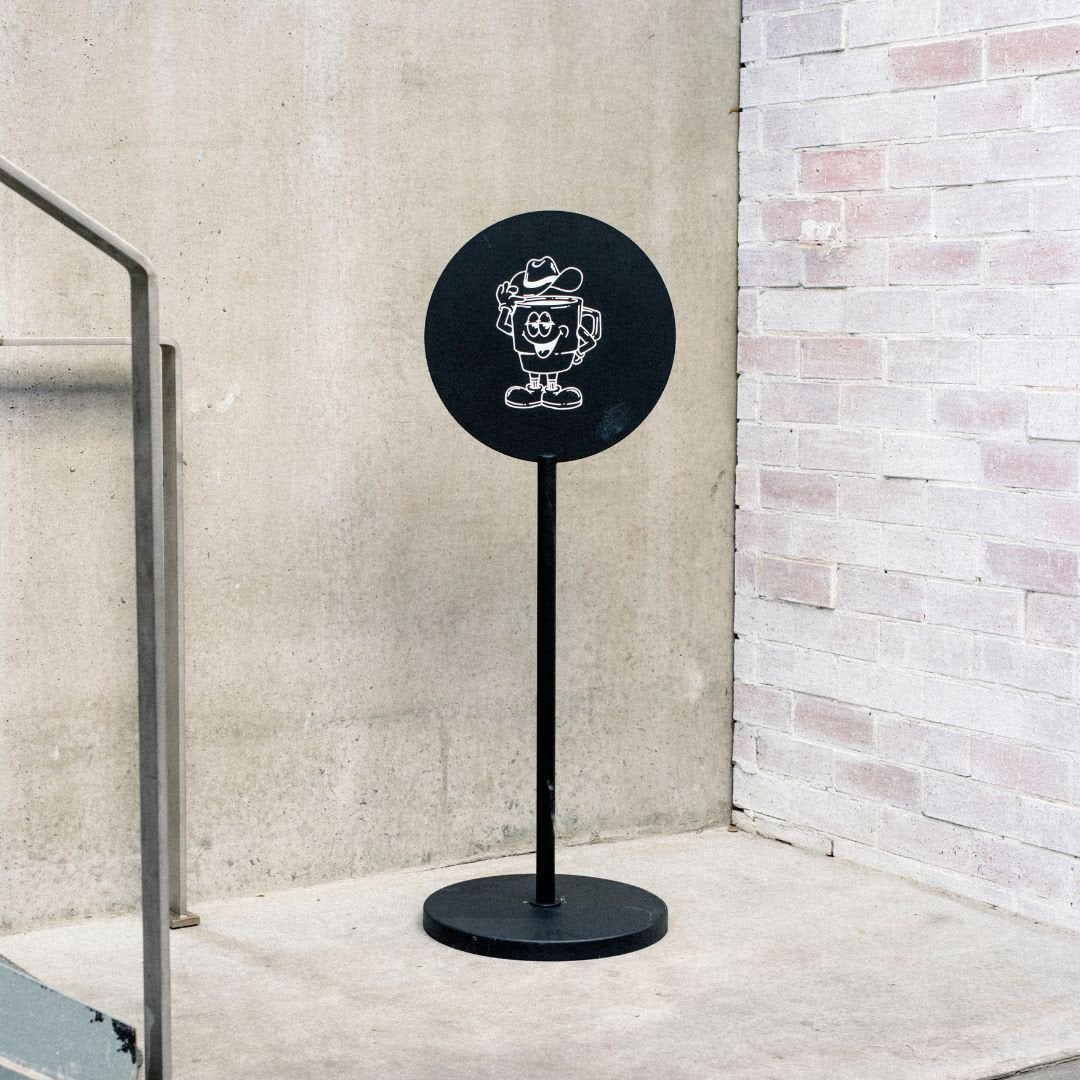
One of the biggest advantages of floor graphics is their versatility in design. They can be produced in nearly any shape or size, offering endless creative possibilities. Instead of a standard circle or square, consider a graphic that reflects your brand or message.
Custom shapes can guide customers in creative ways, such as footprints leading to a specific section. They can also reinforce your brand identity when cut into the shape of your logo or a signature product. This uniqueness helps capture attention and makes your space more memorable.
Choosing the Right Materials for Your Space
The right floor graphic material depends entirely on your specific needs. The main options are vinyl and specialty substrates, each with different adhesives and lifespans. Creating a checklist that considers surface texture, traffic level, environment, duration, and safety requirements will help you select the material that performs best for your project.
Indoor vs. Outdoor Considerations
For smooth indoor surfaces like tile or polished concrete, standard vinyl graphics are often sufficient. Outdoor floor signage, however, faces much tougher conditions. Sidewalk graphics must bond to rough surfaces like concrete and asphalt while enduring rain, sun, and foot traffic. This requires materials with stronger adhesives and durable surfaces. Some specialized products, like foil based materials, are designed to conform to uneven ground and are inherently non slip without needing an extra laminate.
To maximize curb appeal, pair your sidewalk decal with other exterior signage. A fun graphic on the pavement can capture initial interest, while a beautifully crafted Sidewalk Sign can provide more detail.
Safety and Slip Resistance
Safety is paramount. Always use a film specifically engineered for foot traffic that features a slip resistant surface. In the U.S., many floor graphic materials are tested to an ANSI R10 standard for slip resistance. An overlaminate is a clear protective layer that not only shields your graphic but also provides a textured, slip resistant surface. Look for UL approved overlaminates that meet safety standards like UL 410. This protects both your investment and your customers.
Adhesive and Durability
The adhesive is another key factor. Removable adhesives are ideal for short term campaigns or rented spaces, as they peel off cleanly. Permanent adhesives create a stronger bond for long term applications or high traffic areas. A quality overlaminate can dramatically extend the life of your signage. With a laminate, an indoor graphic can last up to a year, while an outdoor graphic can last for several months.
Sustainable and Safe Materials
Modern businesses are increasingly focused on sustainability and safety. When choosing floor signage, consider materials that align with these values. Look for PVC free films, which offer a more environmentally friendly alternative to traditional vinyl. Inks are another important consideration. Water based latex inks or UV curable inks release fewer volatile organic compounds (VOCs), making them a better choice for indoor air quality. Lifecycle planning helps reduce waste. Opt for high quality, durable materials that last longer, minimizing the frequency of replacements.
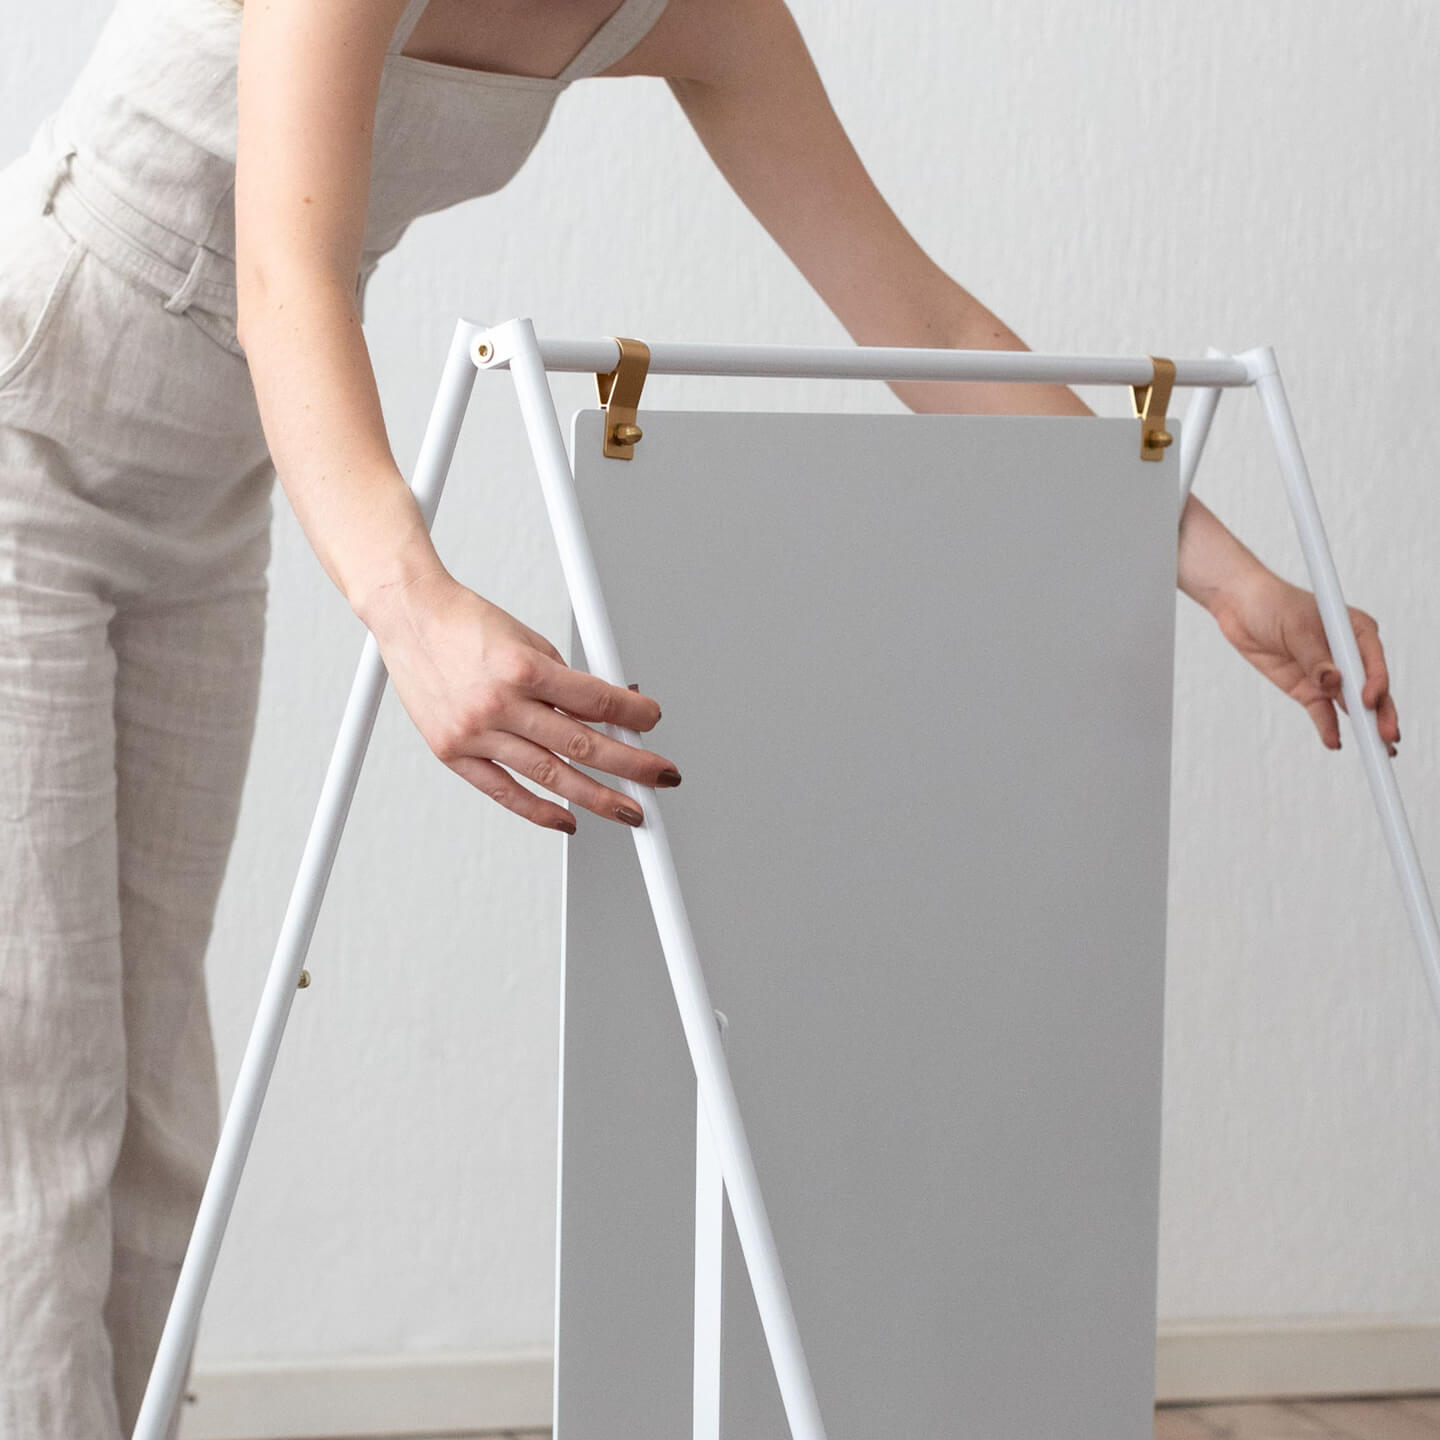
Production and Installation Best Practices
Proper installation and an efficient workflow are the final steps to ensuring your floor signage looks professional and lasts as long as possible.
Surface Preparation and Application
The surface must be completely clean and dry. Sweep away all dust and debris, then wipe the area with isopropyl alcohol to remove any oils. Most adhesives work best in moderate temperatures. Use a roller or squeegee to apply the graphic, working from the center outward to push out air bubbles. Pay special attention to the edges to prevent them from lifting.
Design for Durability and Efficiency
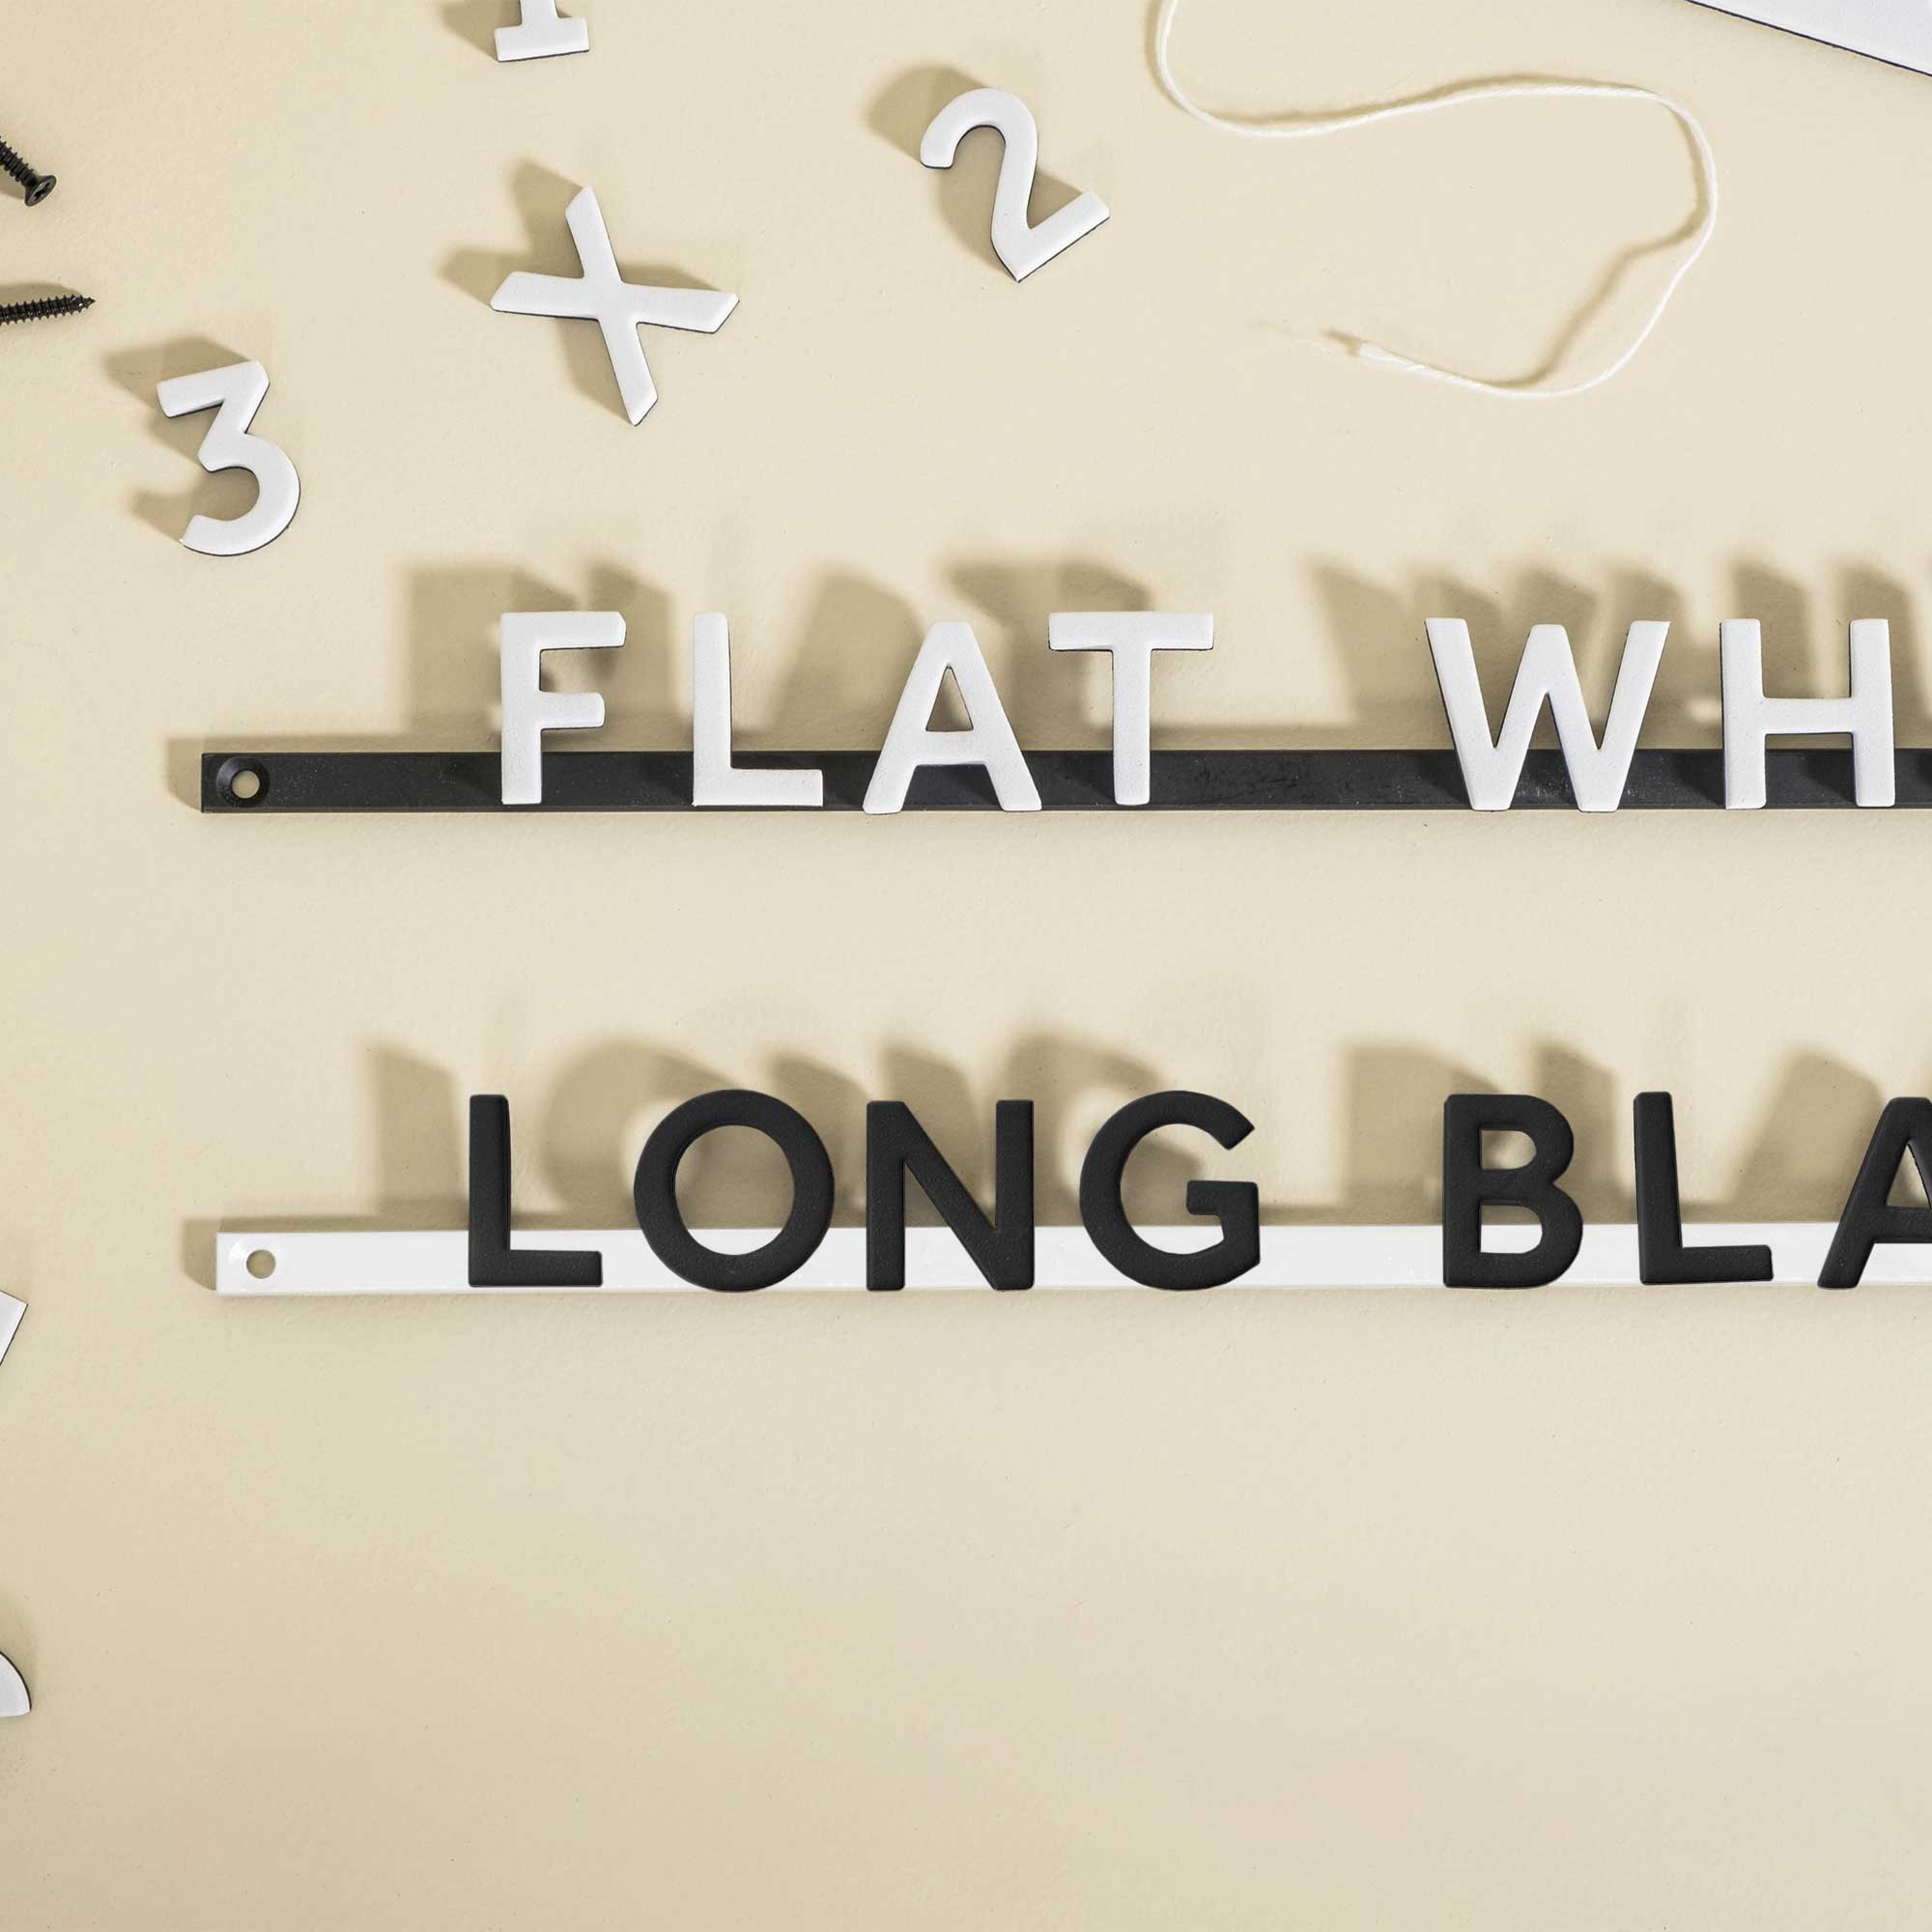
Simple shapes with rounded corners are less likely to peel than those with sharp, intricate edges. A small quarter inch radius on corners can make a big difference in longevity. For businesses with multiple locations or recurring campaigns, establishing an efficient production workflow is key. Creating standardized templates for your floor graphics ensures brand consistency and speeds up the ordering and installation process, saving time and resources.
Maintenance and Cleaning
To get the most out of your investment, proper maintenance is key. Regular cleaning keeps your graphics looking sharp and can extend their lifespan.
- Gentle Cleaning is Best: Use a damp mop with mild, soapy water or a pH neutral cleaner. Avoid harsh chemicals, abrasive cleaners, or scrub brushes, as these can damage the graphic’s surface.
- Keep it Dry: Don’t let water or cleaning solutions sit on the graphic for extended periods. Soaking the decal can weaken the adhesive and cause the edges to lift. Always dry the area thoroughly after cleaning.
- Address Spills Quickly: Wipe up any spills immediately to prevent staining or creating a slip hazard.
- Inspect Regularly: Check the edges of your graphics periodically for any signs of peeling or damage. Promptly addressing minor issues can prevent them from getting worse.
Frequently Asked Questions About Floor Signage
1. What is floor signage made of?
Most floor signage is made from a durable, tear resistant vinyl film with a special non slip coating. For rough outdoor surfaces like asphalt, some graphics use a foil based material that conforms to the texture.
2. Is floor signage safe for high traffic areas?
Yes, when you use the right materials. Always choose a floor graphic film that has been certified for slip resistance (like an ANSI R10 rating) and apply a UL approved anti slip overlaminate for maximum safety.
3. How long do floor graphics last?
The lifespan depends on the material, location, and foot traffic. Laminated indoor floor signage can last up to a year, while outdoor sidewalk graphics typically last from a few weeks to three months due to weather exposure.
4. Can I install floor signage myself?
Absolutely. Proper installation involves thoroughly cleaning and drying the surface, then carefully applying the graphic with a squeegee to remove air bubbles. For outdoor applications, be mindful of temperature and moisture.
5. How do you remove old floor graphics?
Most high quality floor decals are designed with removable adhesives. They should peel up cleanly when pulled at a slow, 90 degree angle. Any leftover residue can typically be removed with a standard adhesive remover or rubbing alcohol.
6. Are there eco friendly options for floor signage?
Yes. Look for PVC free films and graphics printed with low VOC inks, such as latex or UV curable inks. Choosing durable materials also reduces waste by extending the life of the signage.
7. How can I make my floor signage more effective?
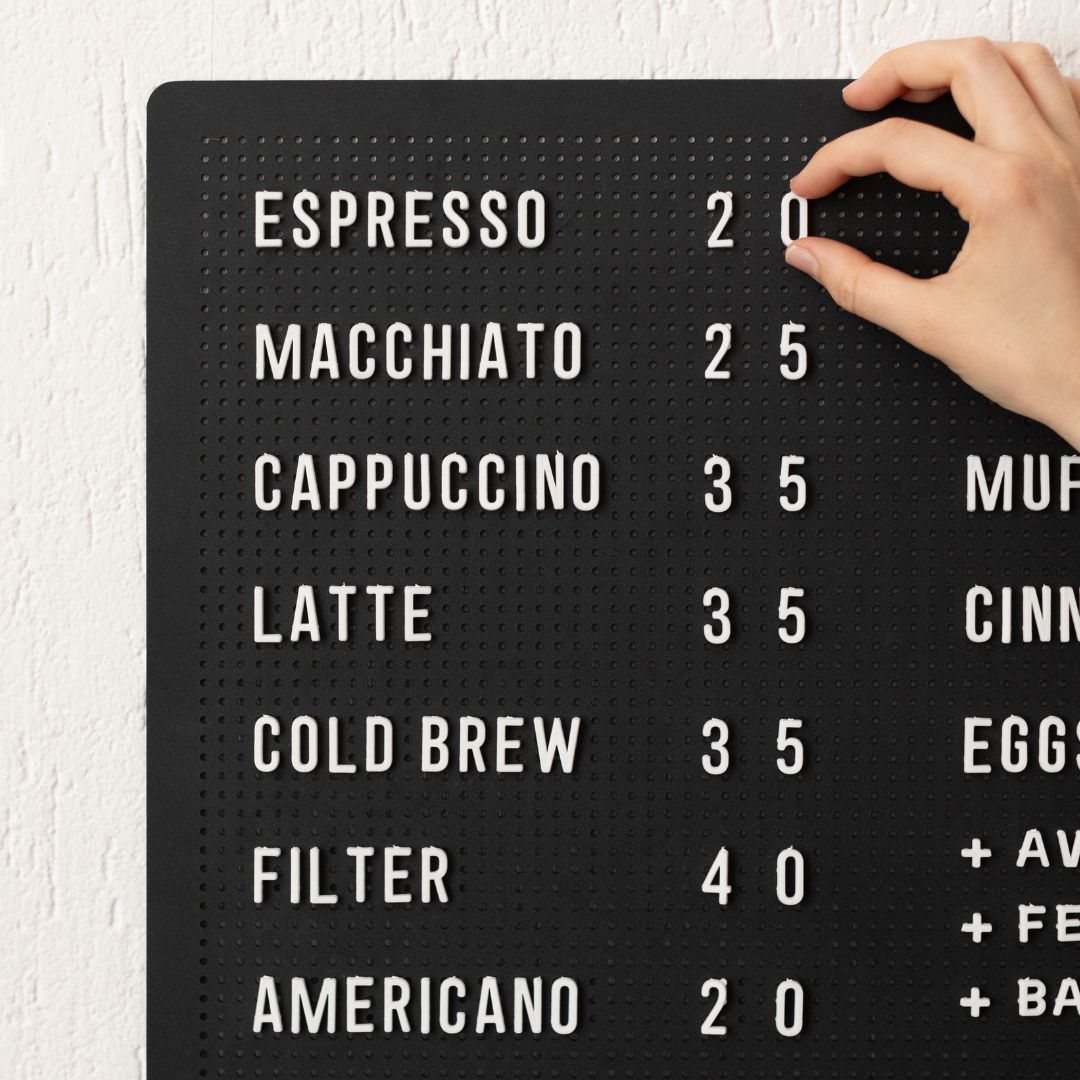
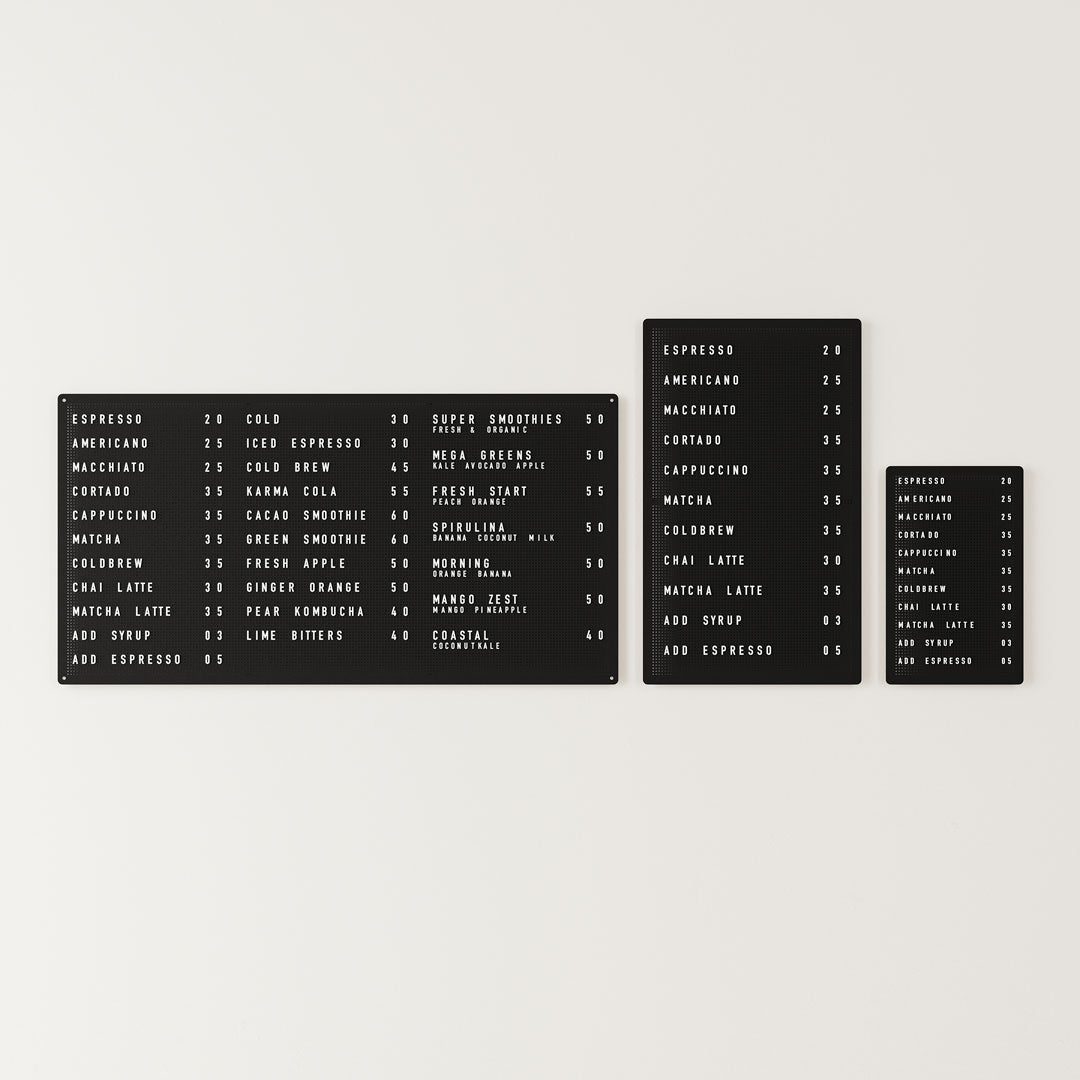
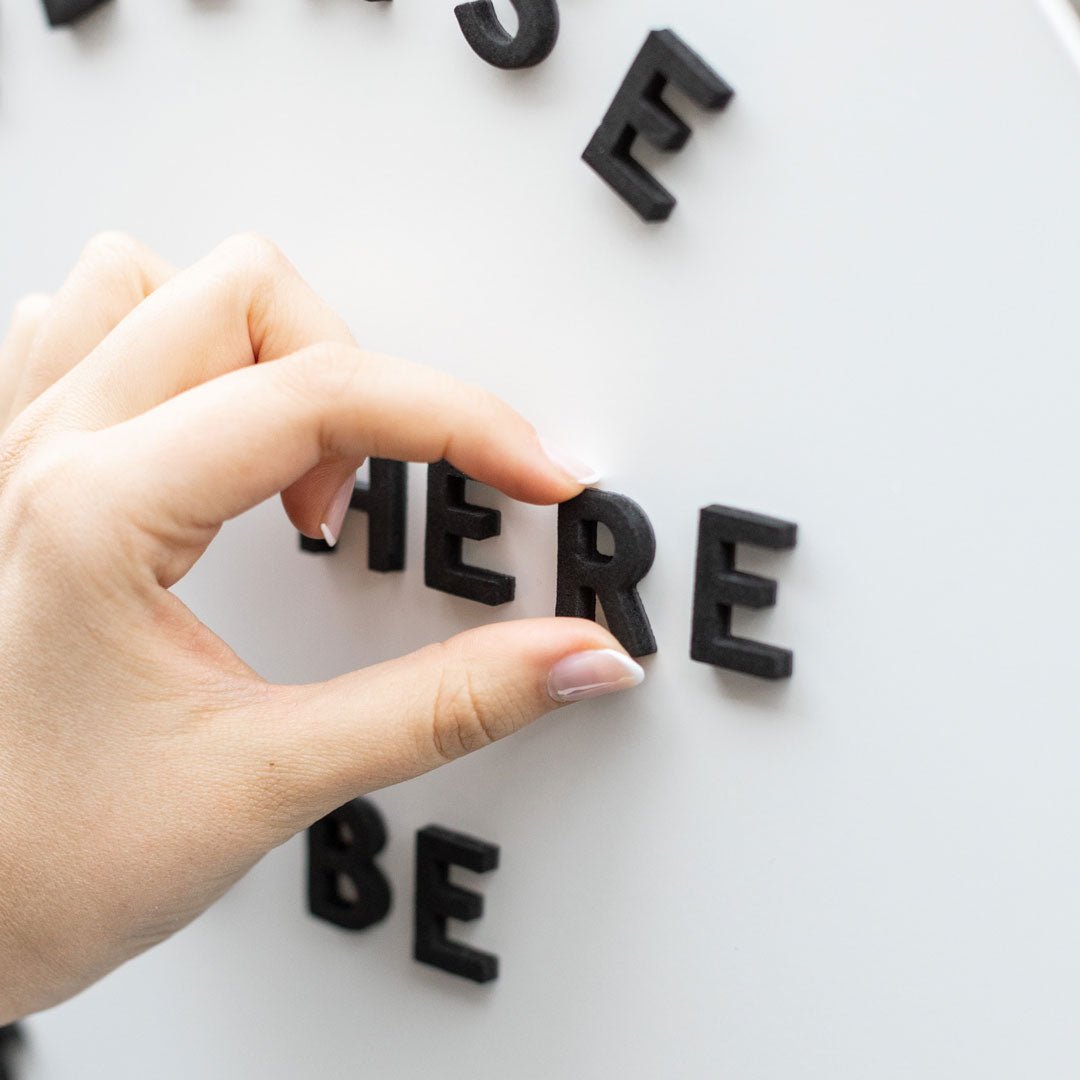
Keep your design bold, simple, and easy to read from a distance. Use high contrast colors and clear messaging. For wayfinding, pair your floor signage with other visual cues, such as a Magnetic Letter Menu Board for quick updates, to create a cohesive experience.