


Laser cut metal signs offer a powerful combination of precision, durability, and style. They can elevate a brand’s presence, add a personalized touch to a home, or provide clear, lasting guidance in public spaces. But how does a digital design become a sharp, finished metal sign?
This guide walks you through the entire journey. We will cover everything from design preparation and material selection to the cutting process, finishing options, and final installation. Whether you are a business owner, a designer, or a homeowner, this is your complete resource for understanding laser cut metal signs.
From Idea to Cut File: The Design Phase
Before any sparks fly, your sign begins its life as a digital file. Proper preparation at this stage is the key to getting a perfect final product.
Preparing Your Design for Laser Cutting
The first step is creating a digital blueprint that the laser cutter can understand. This involves making a vector file, not a pixel based image like a photograph. Laser cutters require vector formats (like DXF, SVG, or AI files) because they trace precise paths instead of just seeing pixels.
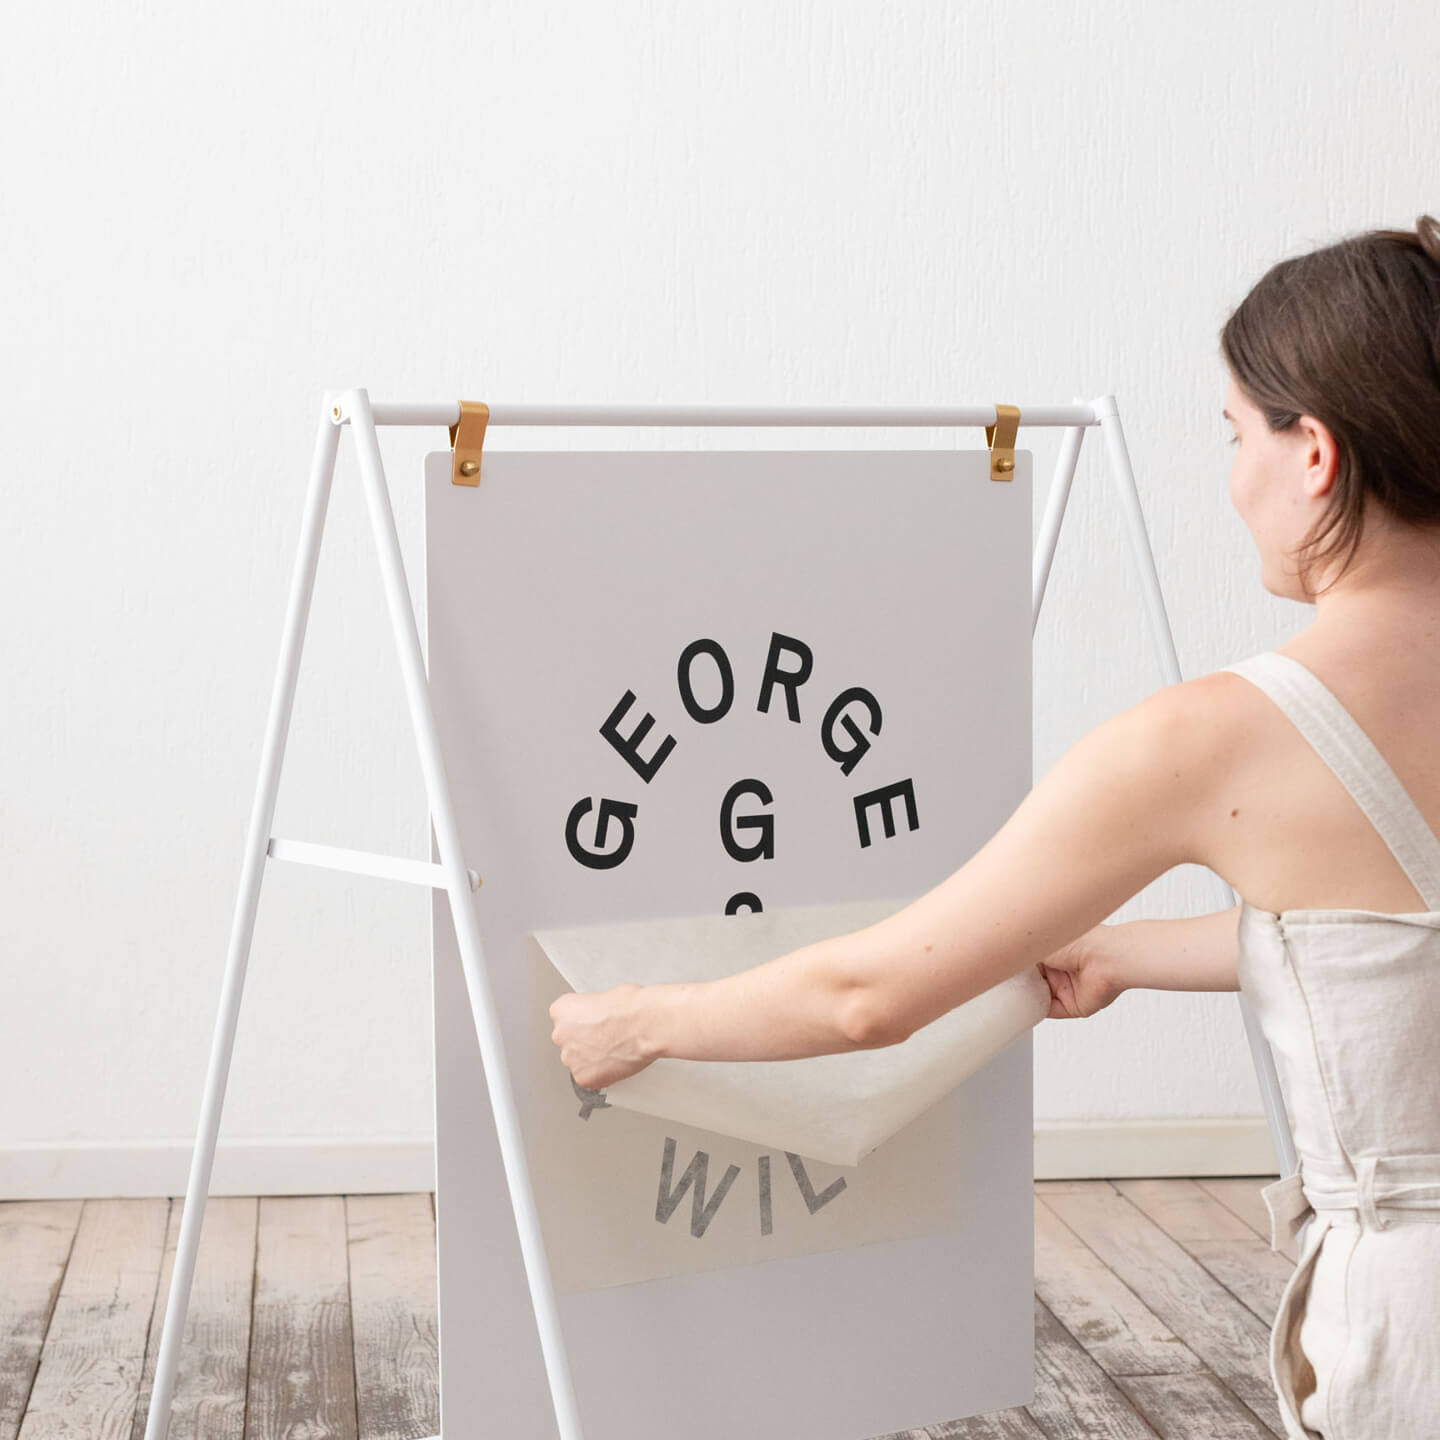
During this preparation stage, designers refine the artwork to suit the medium of metal. Extremely thin or overly intricate details might be thickened to ensure they are not too delicate to survive the cutting process and handling. It is also crucial to convert any text into shapes or outlines, as the laser’s software cannot read standard font files.
Legibility and Font Choice
A sign’s primary job is to communicate. For laser cut metal signs, font choice is about both readability and structural integrity.
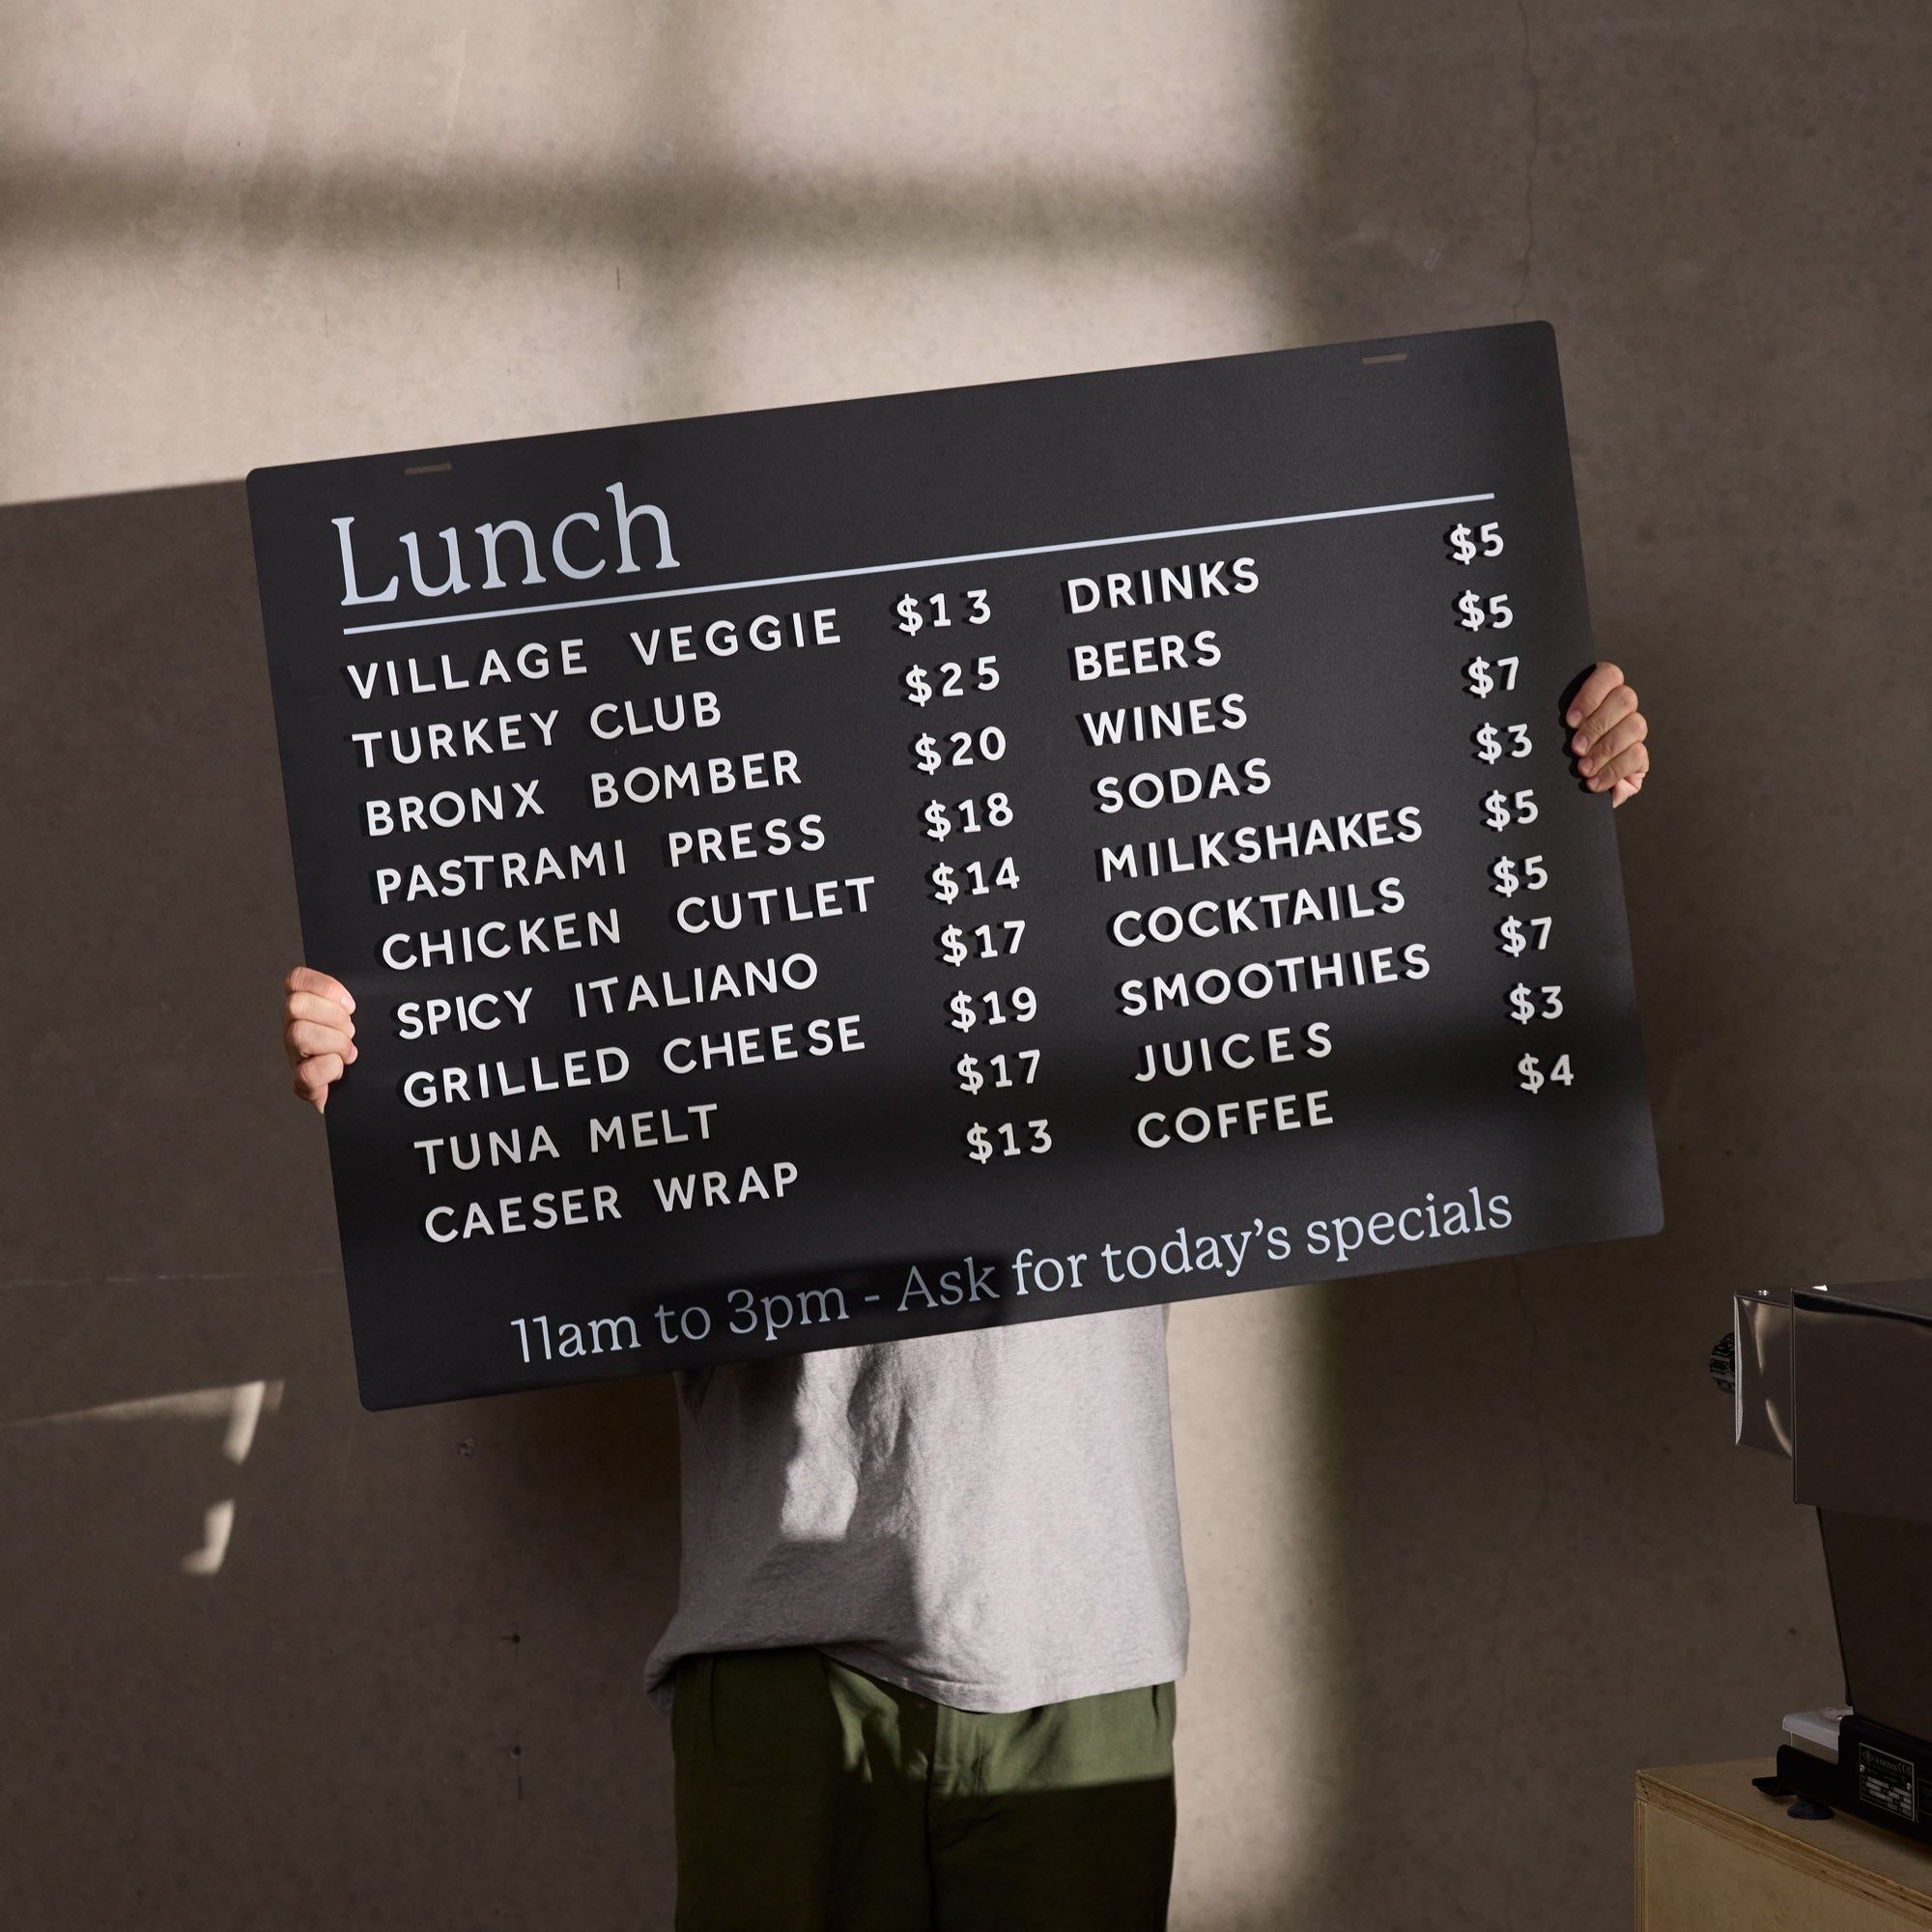
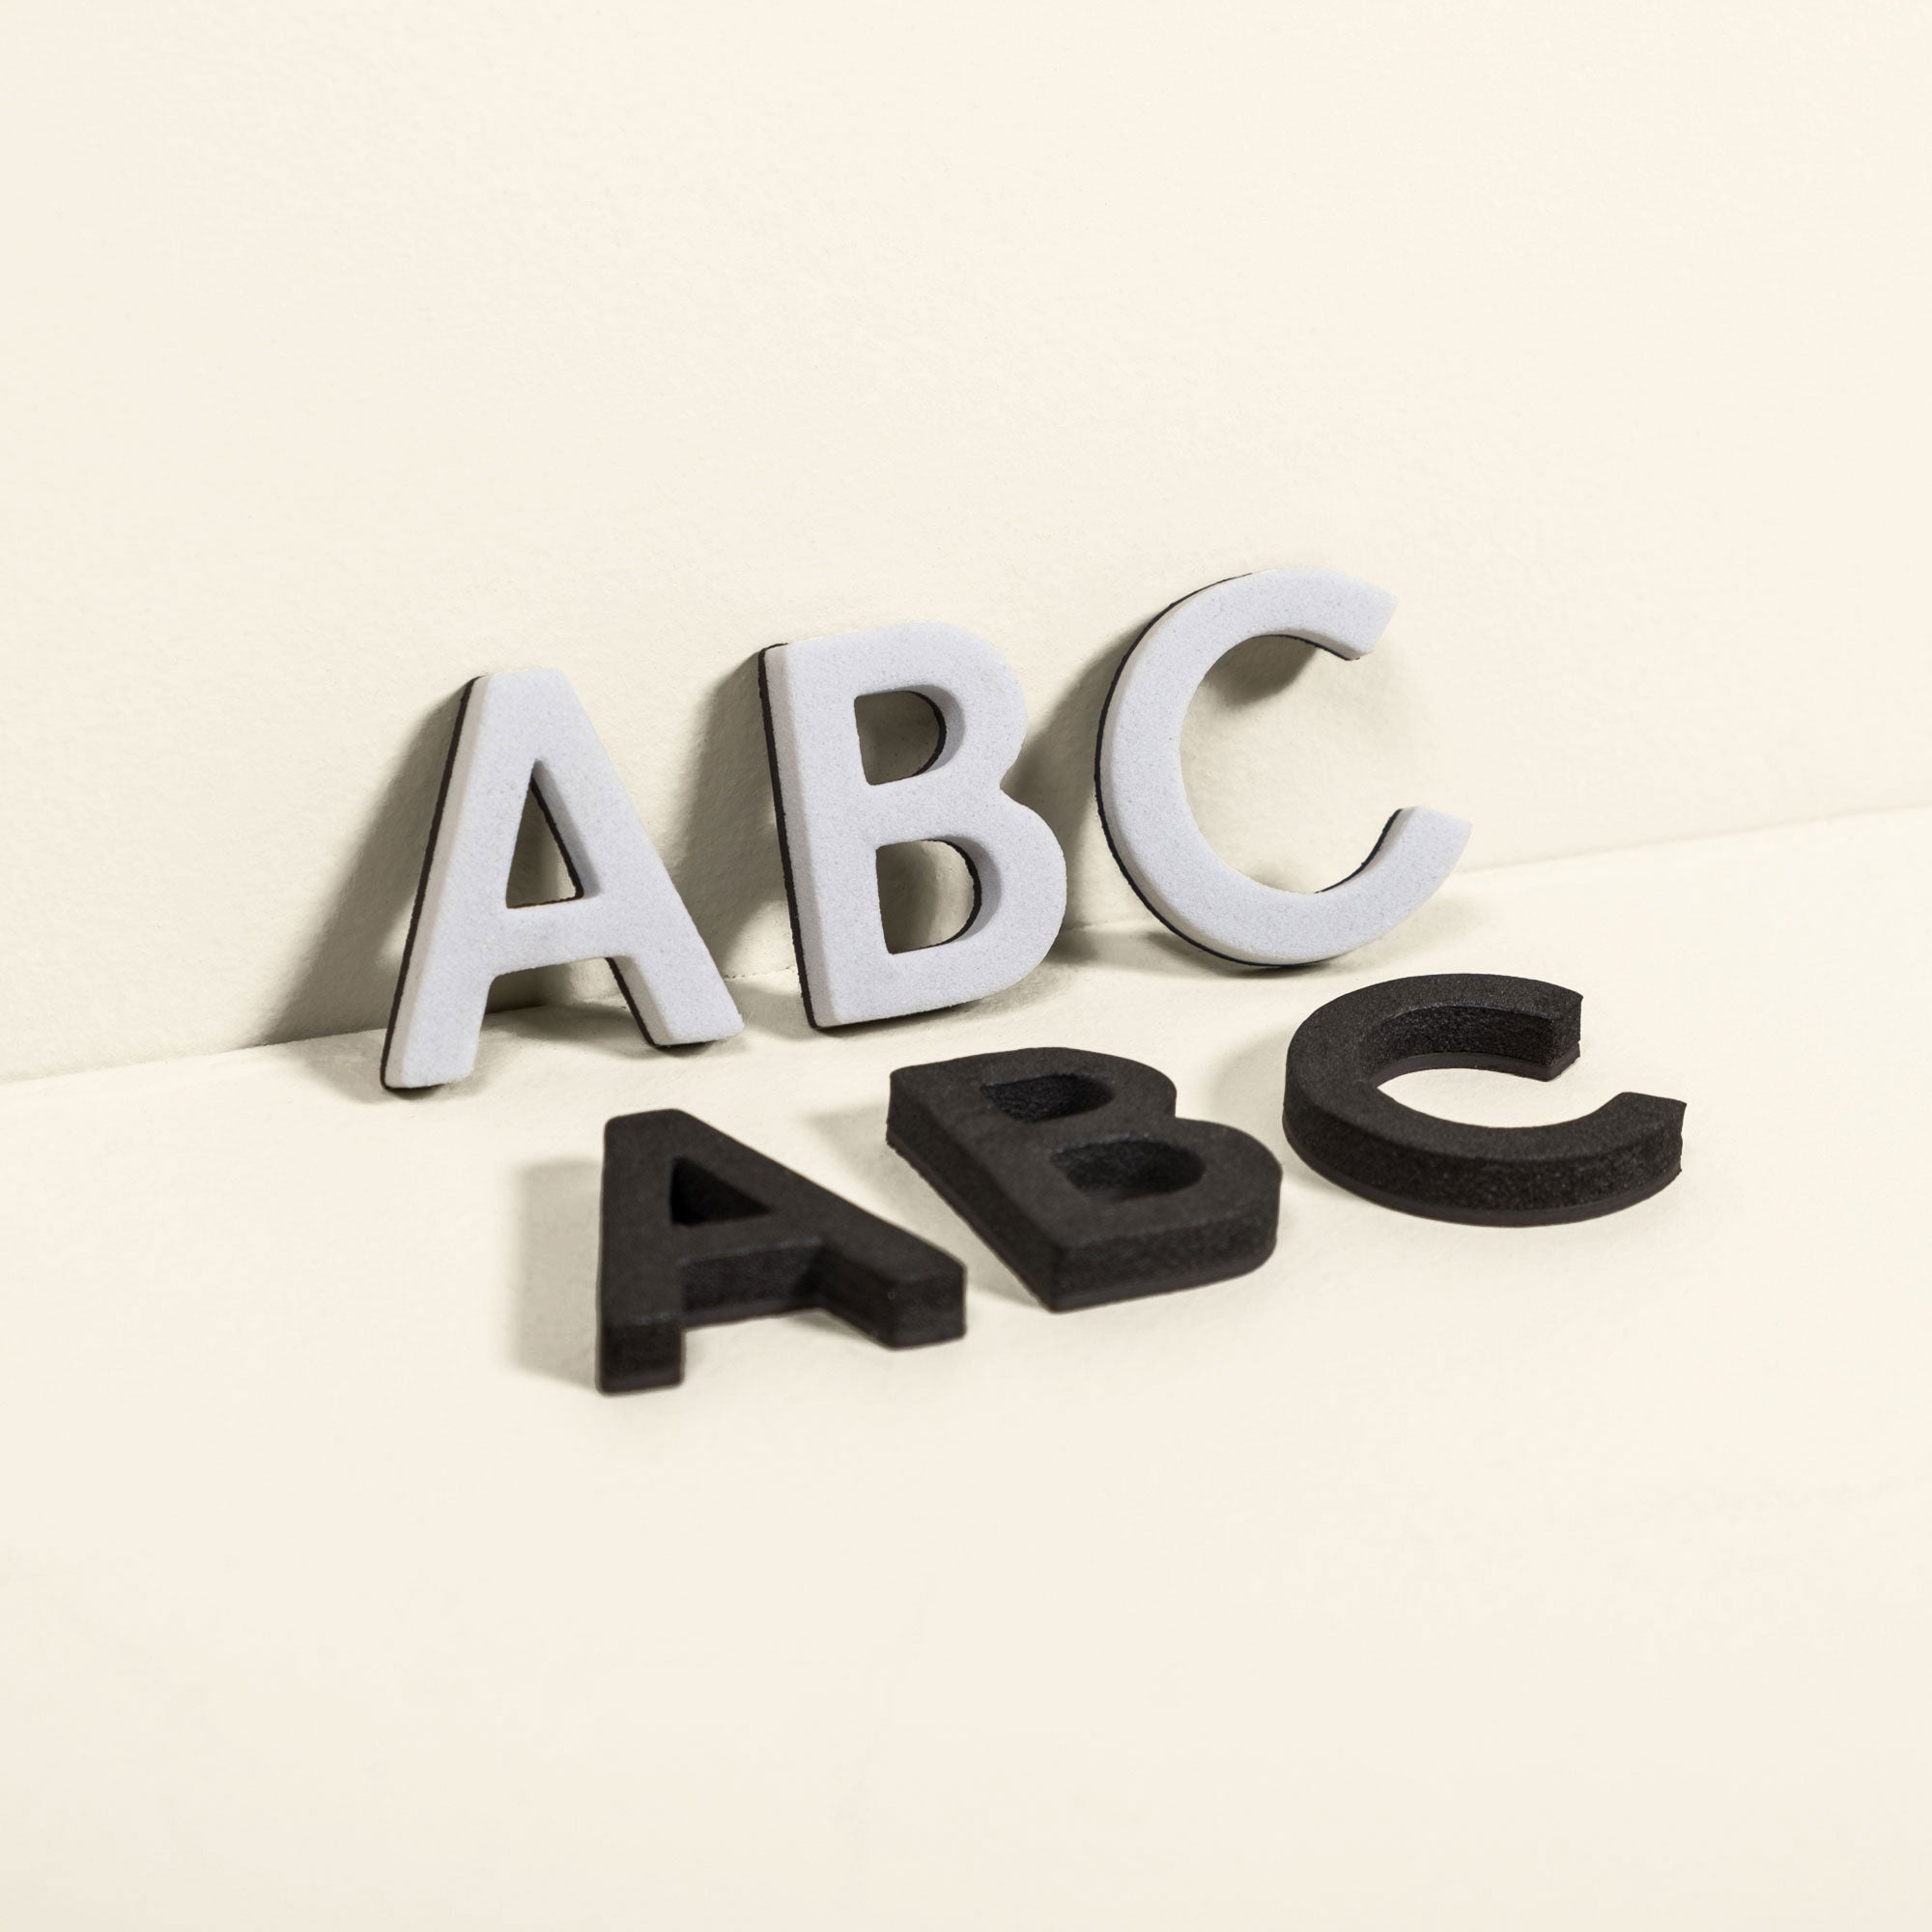
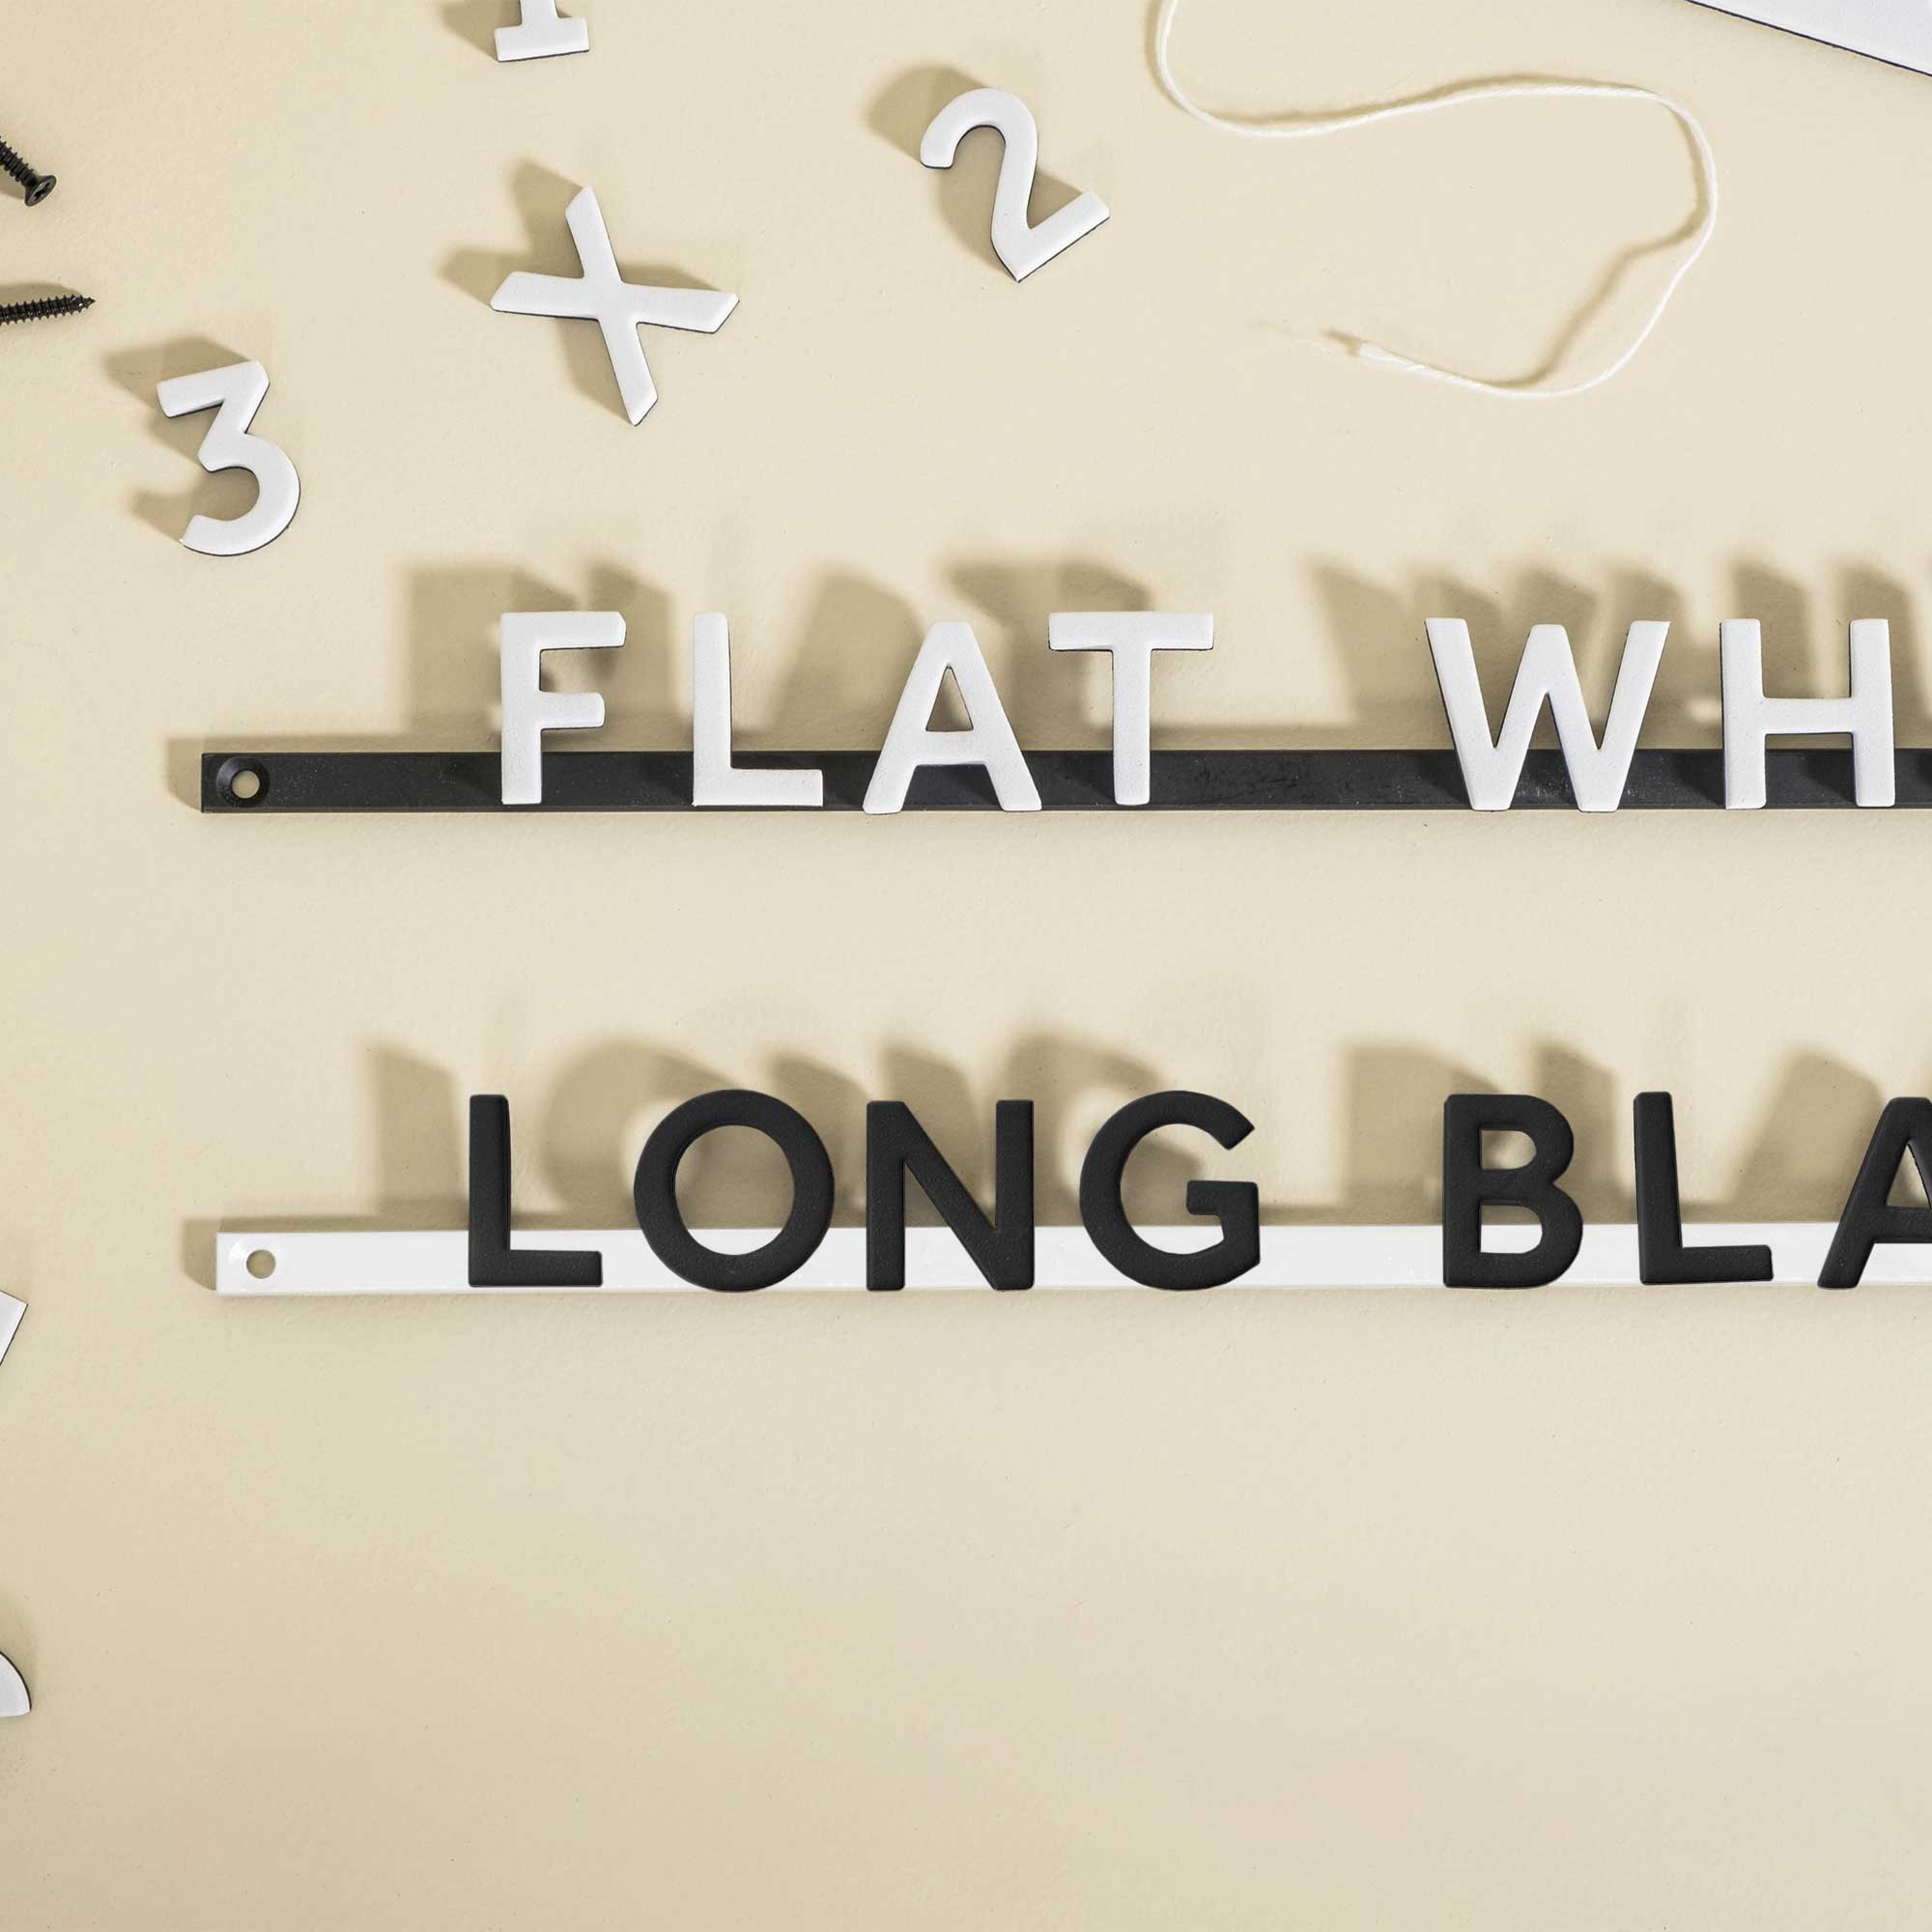
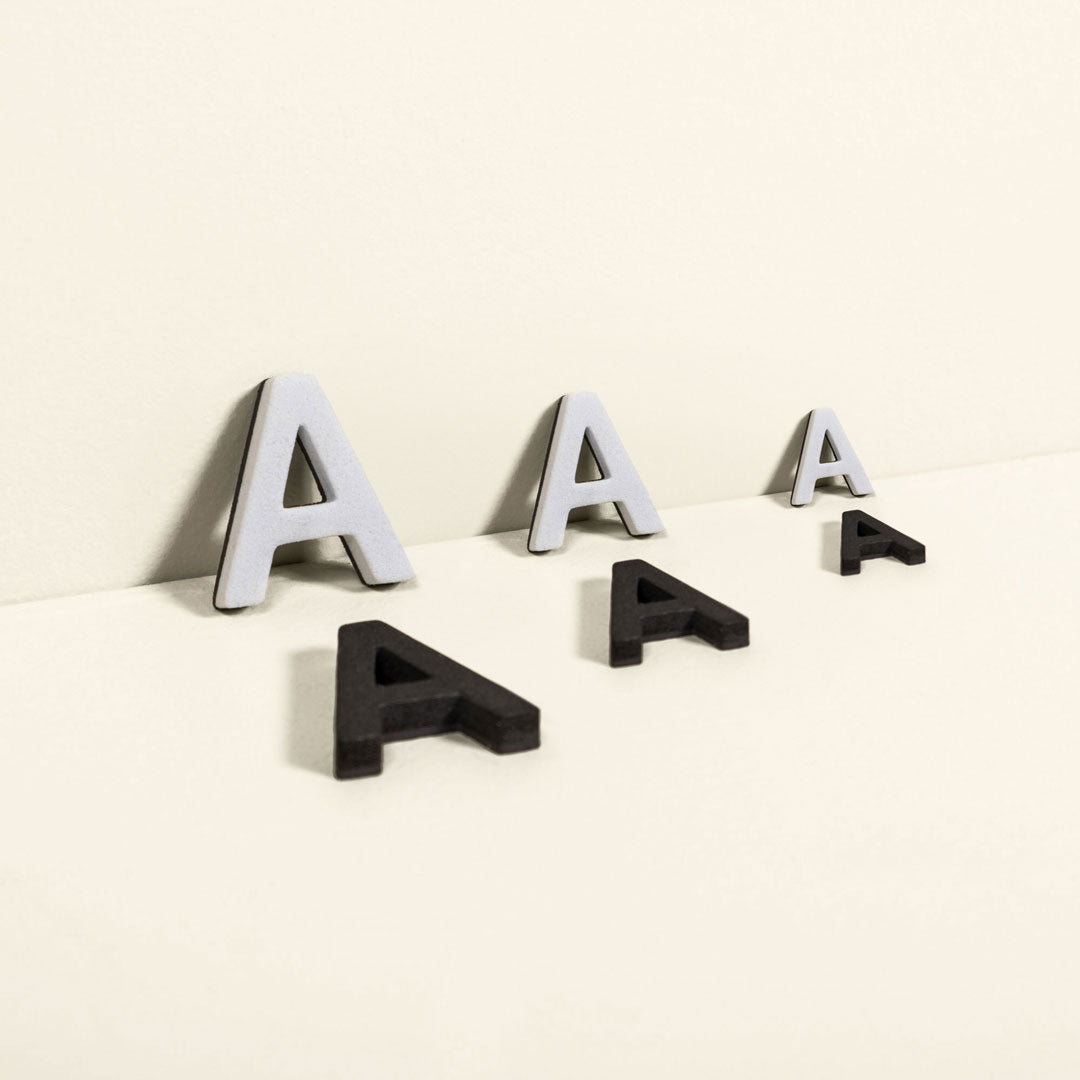
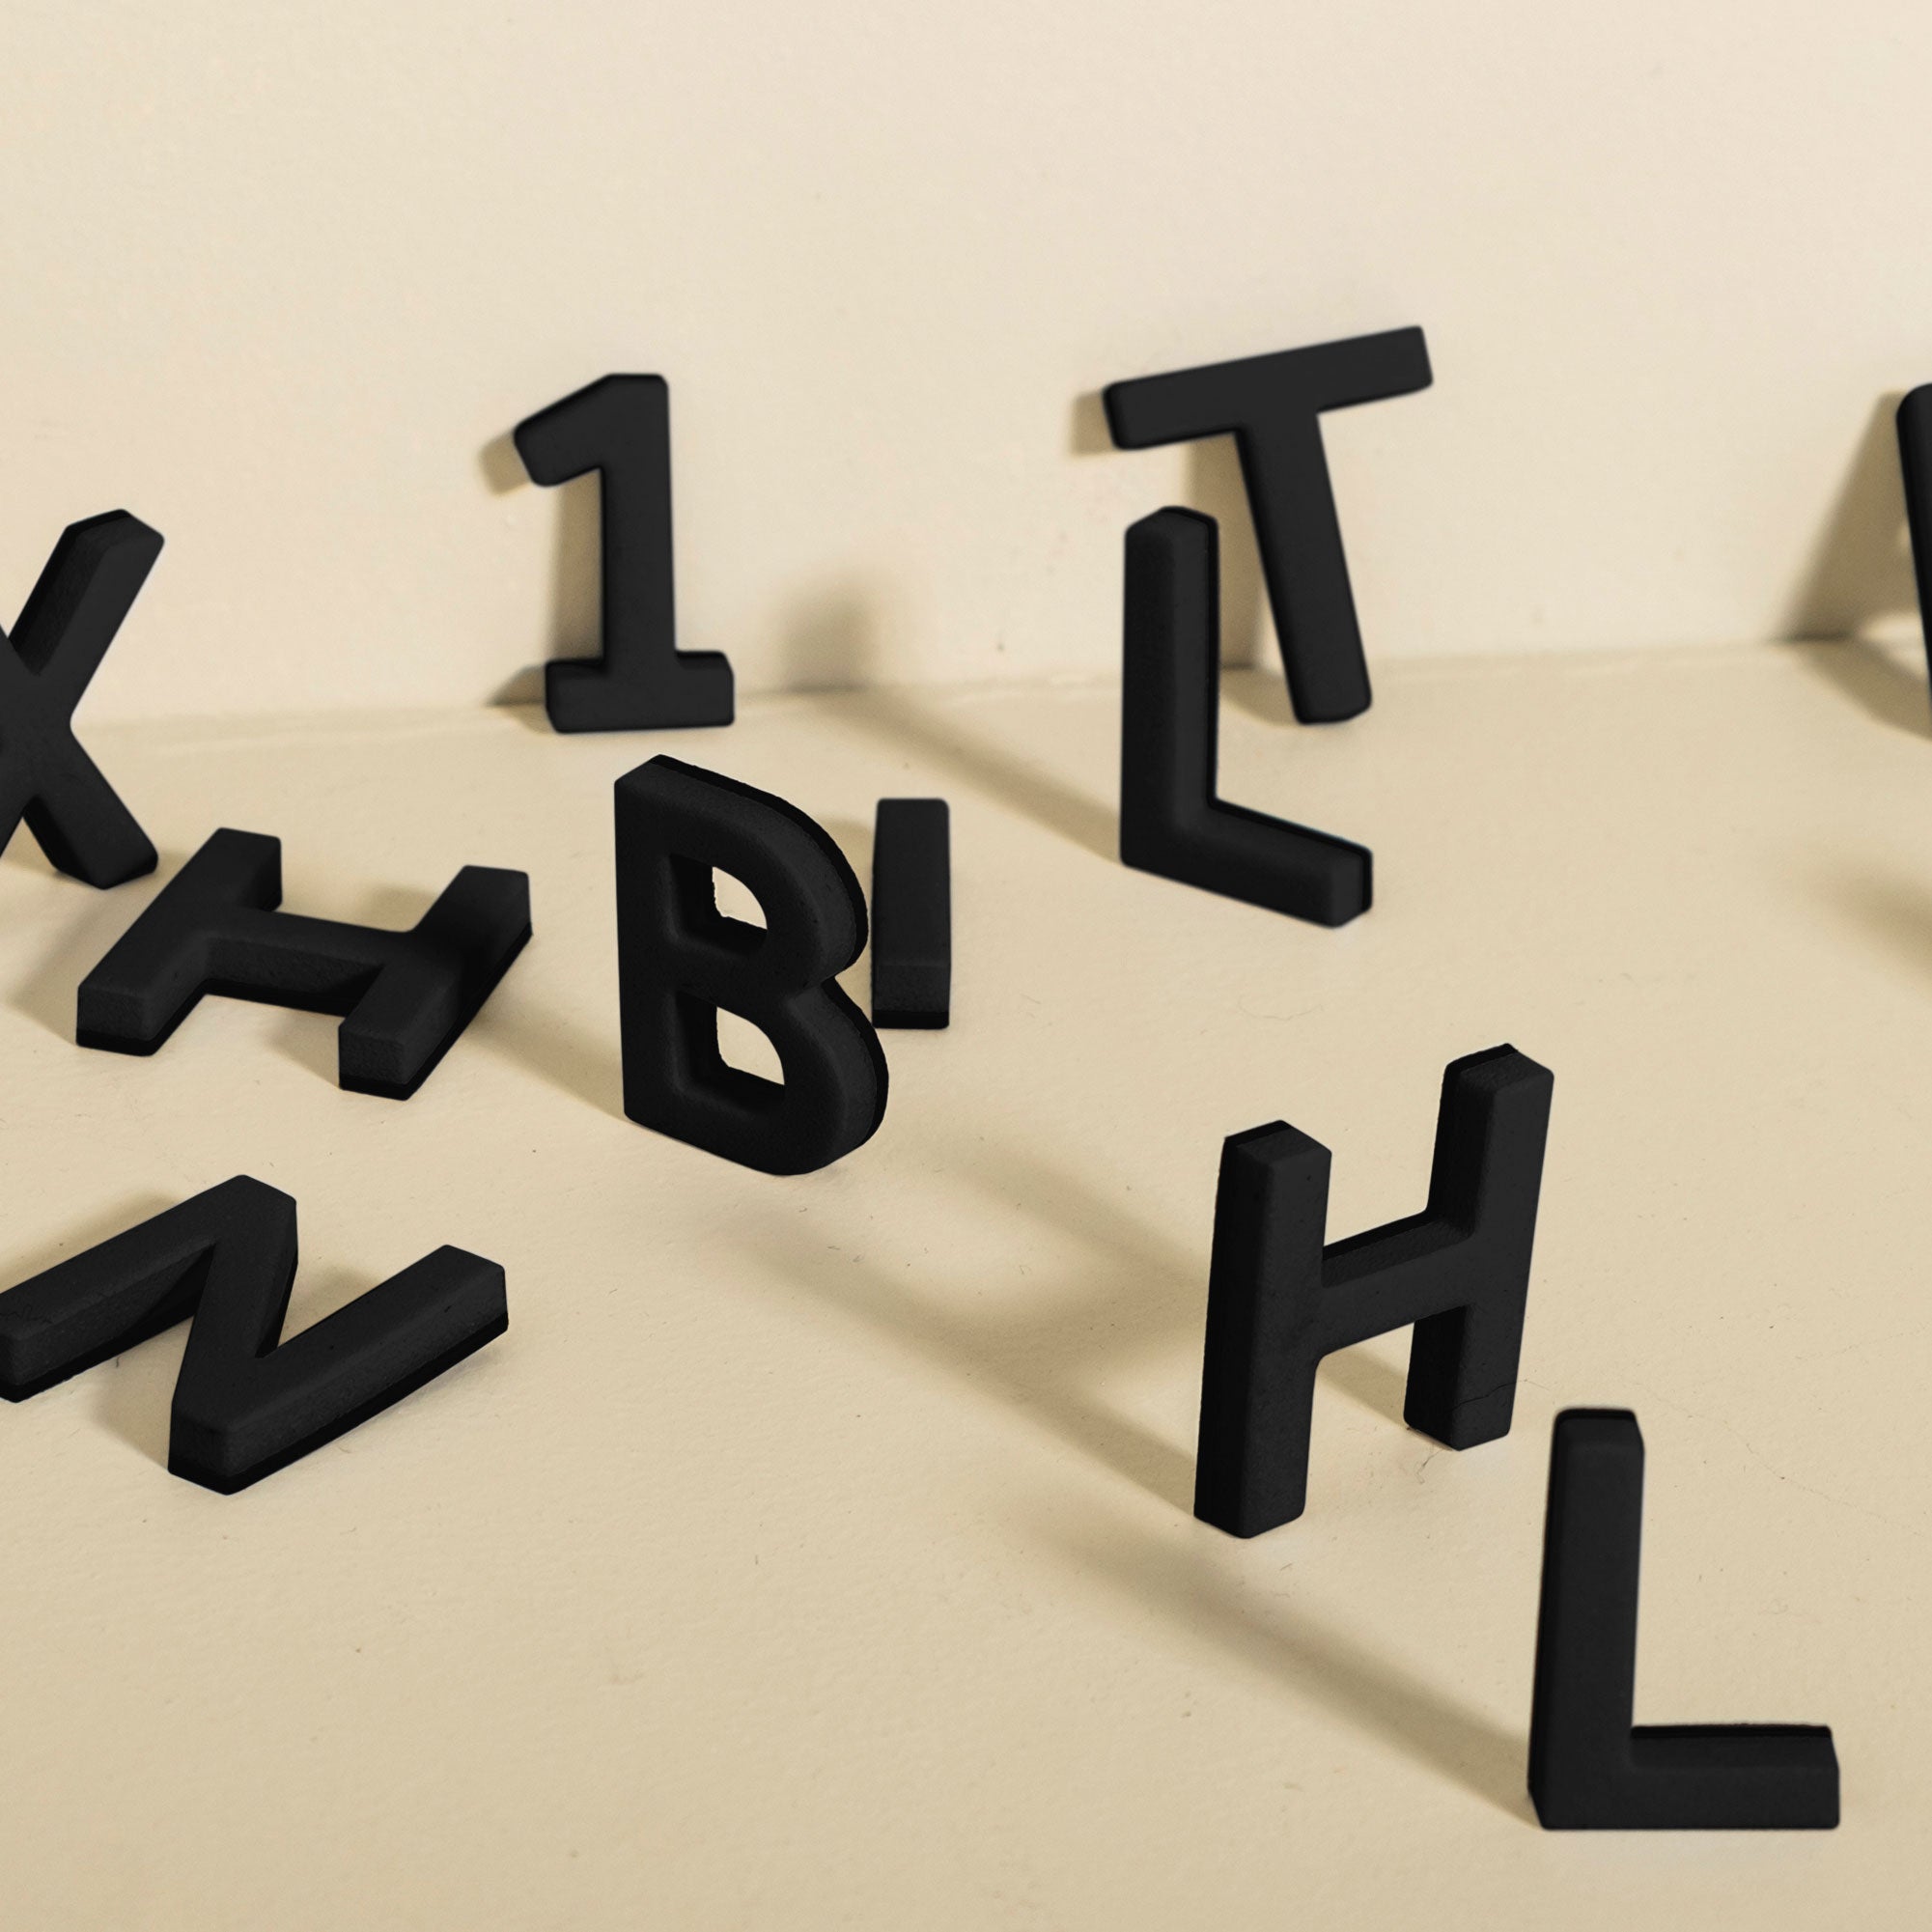
While intricate script fonts can be beautiful, they often reduce a sign’s legibility from a distance. Clean, straightforward fonts, like bold sans serifs, are usually a better choice because their simple shapes are easy to recognize when cut from metal. Consider the viewing distance when sizing your text to make sure everyone can read it easily, both up close and from afar.
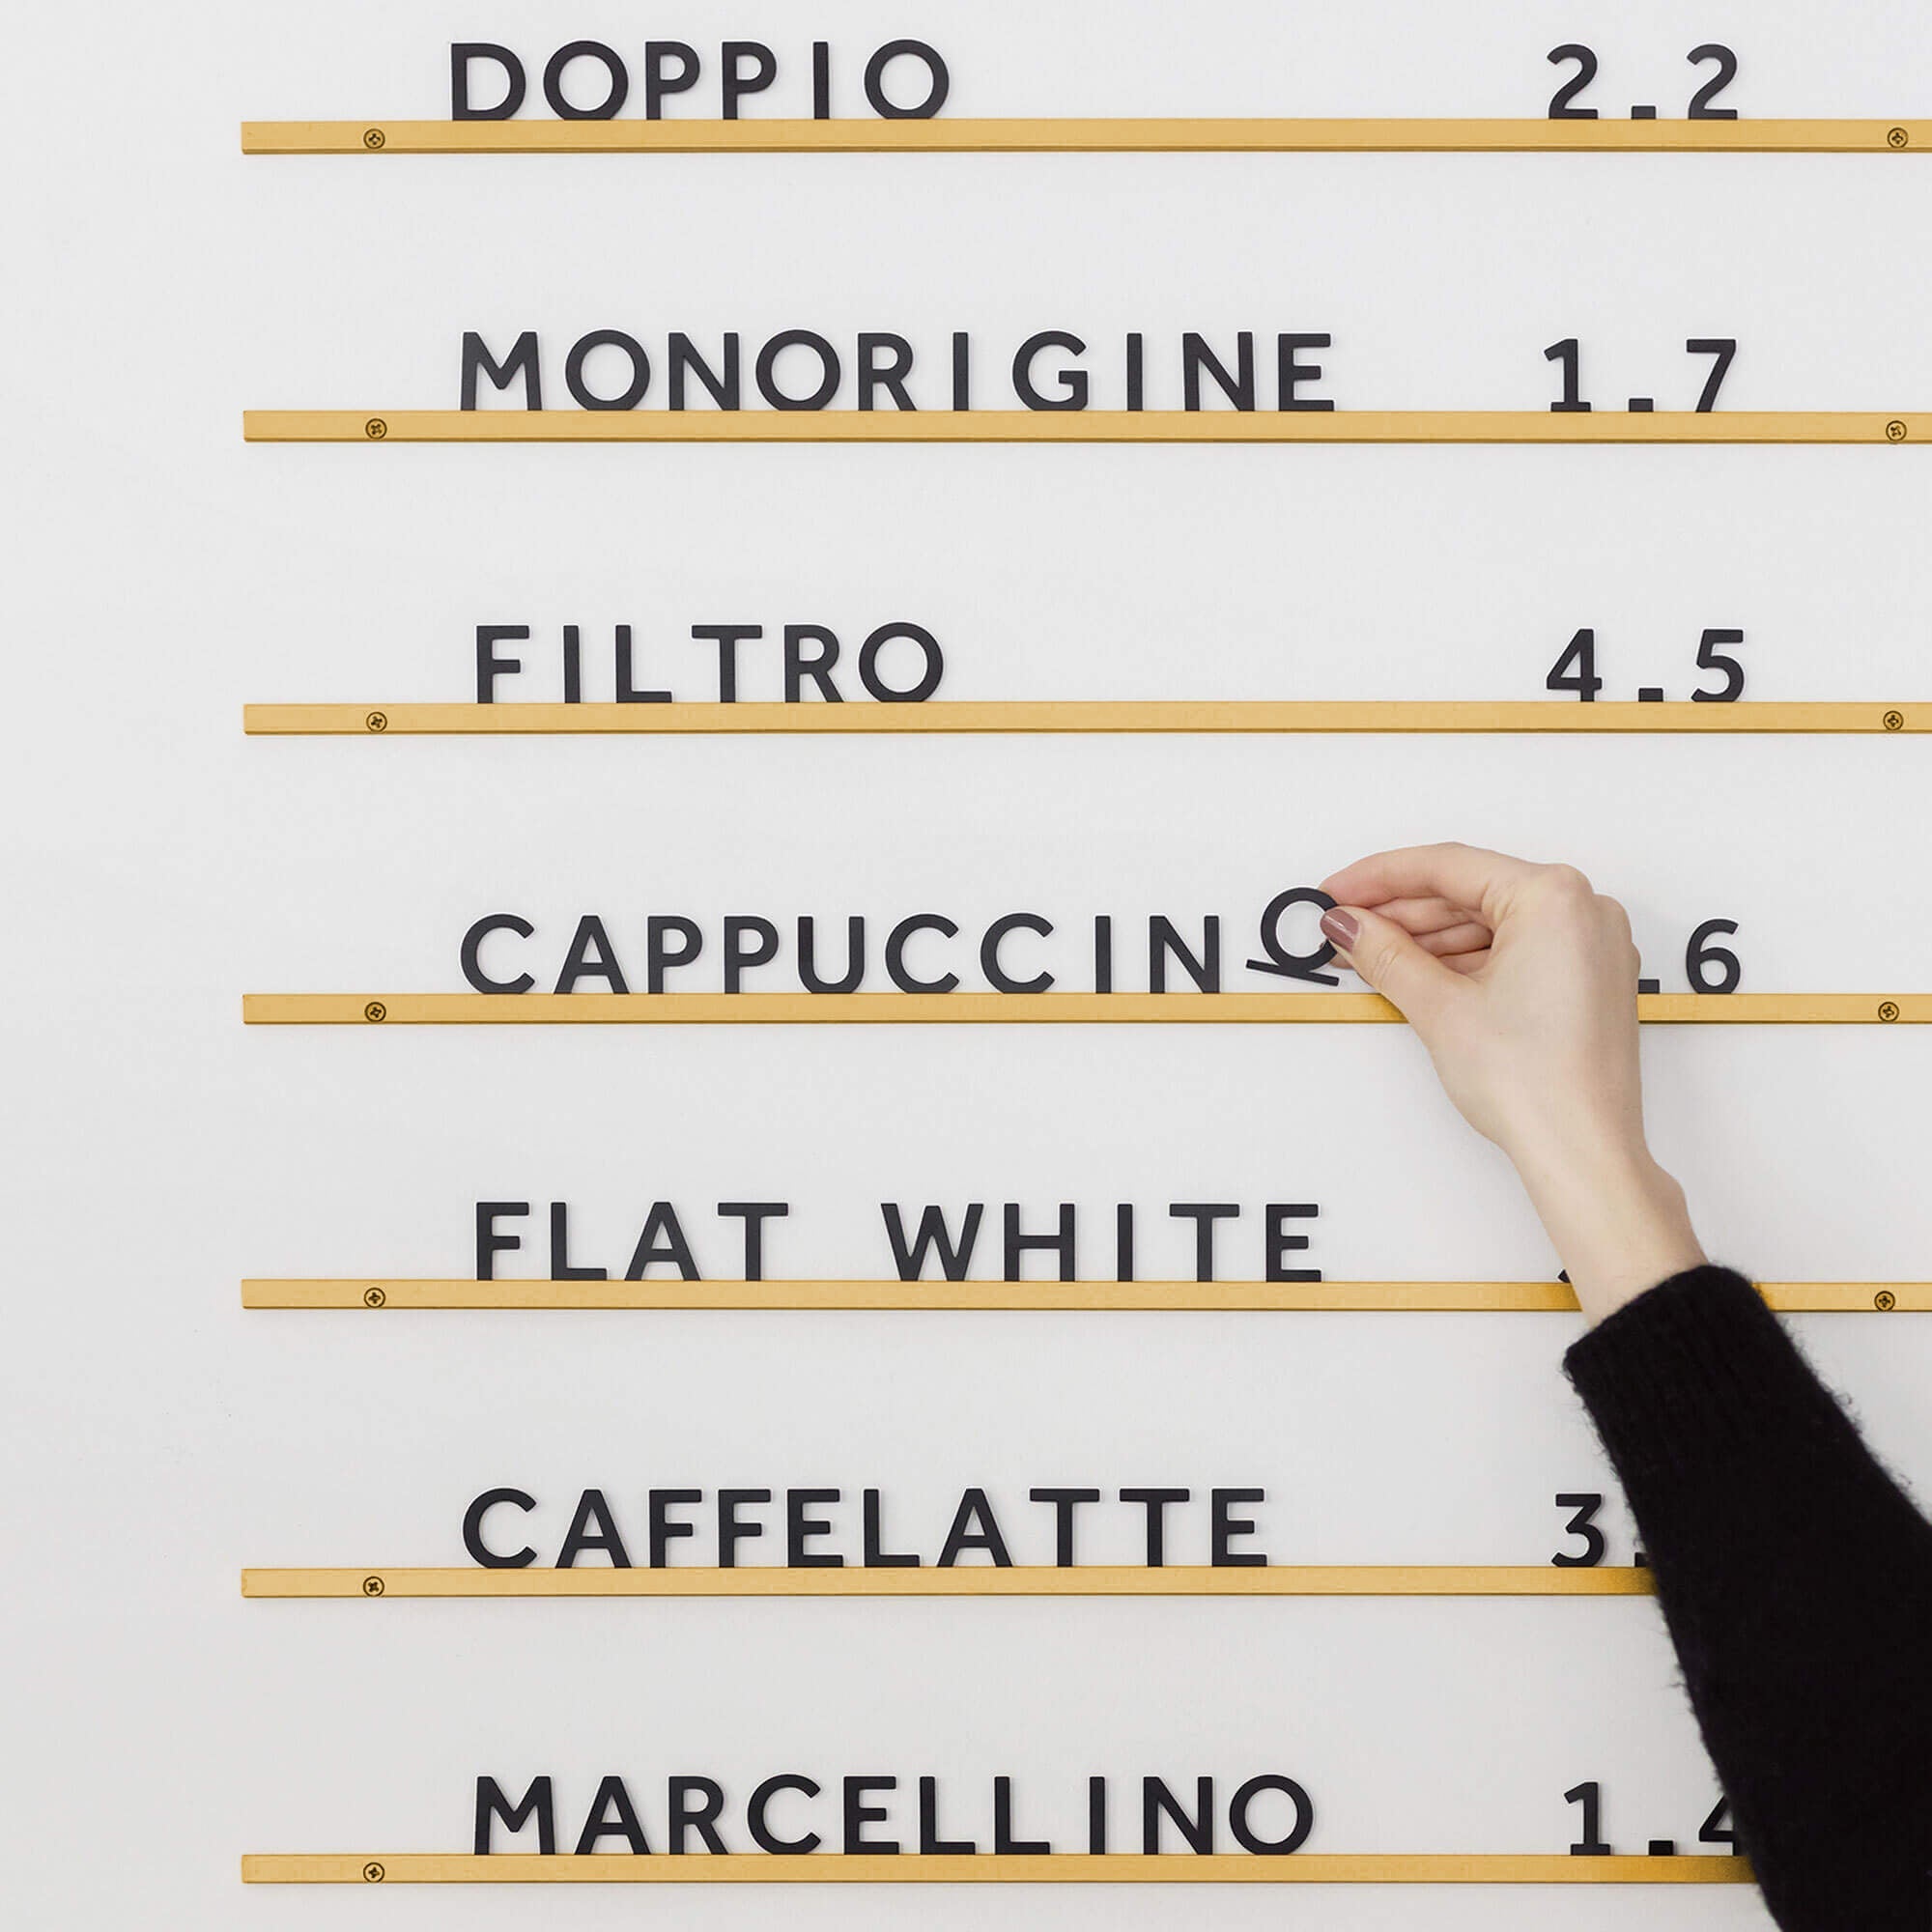
A unique challenge with cut out signs is avoiding “drop outs”. The centers of letters like ‘O’, ‘A’, or ‘B’ will fall out if they are not connected to the main body. The solution is to use a stencil font or add small connectors, often called bridges, to hold these interior pieces in place.
CAD/CAM Workflow and File Formats
The process of creating a digital design (CAD, or Computer Aided Design) and then preparing it for the machine (CAM, or Computer Aided Manufacturing) is the core workflow. You will create your design in a program like Adobe Illustrator or AutoCAD and export it in a format the laser cutter accepts.
The most common and widely supported file format for laser cutting is DXF (Drawing Exchange Format). Its precision makes it a favorite among fabrication shops. However, other vector formats like SVG, EPS, and AI are also frequently used.
When saving your file, ensure it is set to a 1:1 scale to avoid any sizing surprises. It is also good practice to clean the file, removing any stray lines, hidden layers, or notes, as the laser might try to cut them.
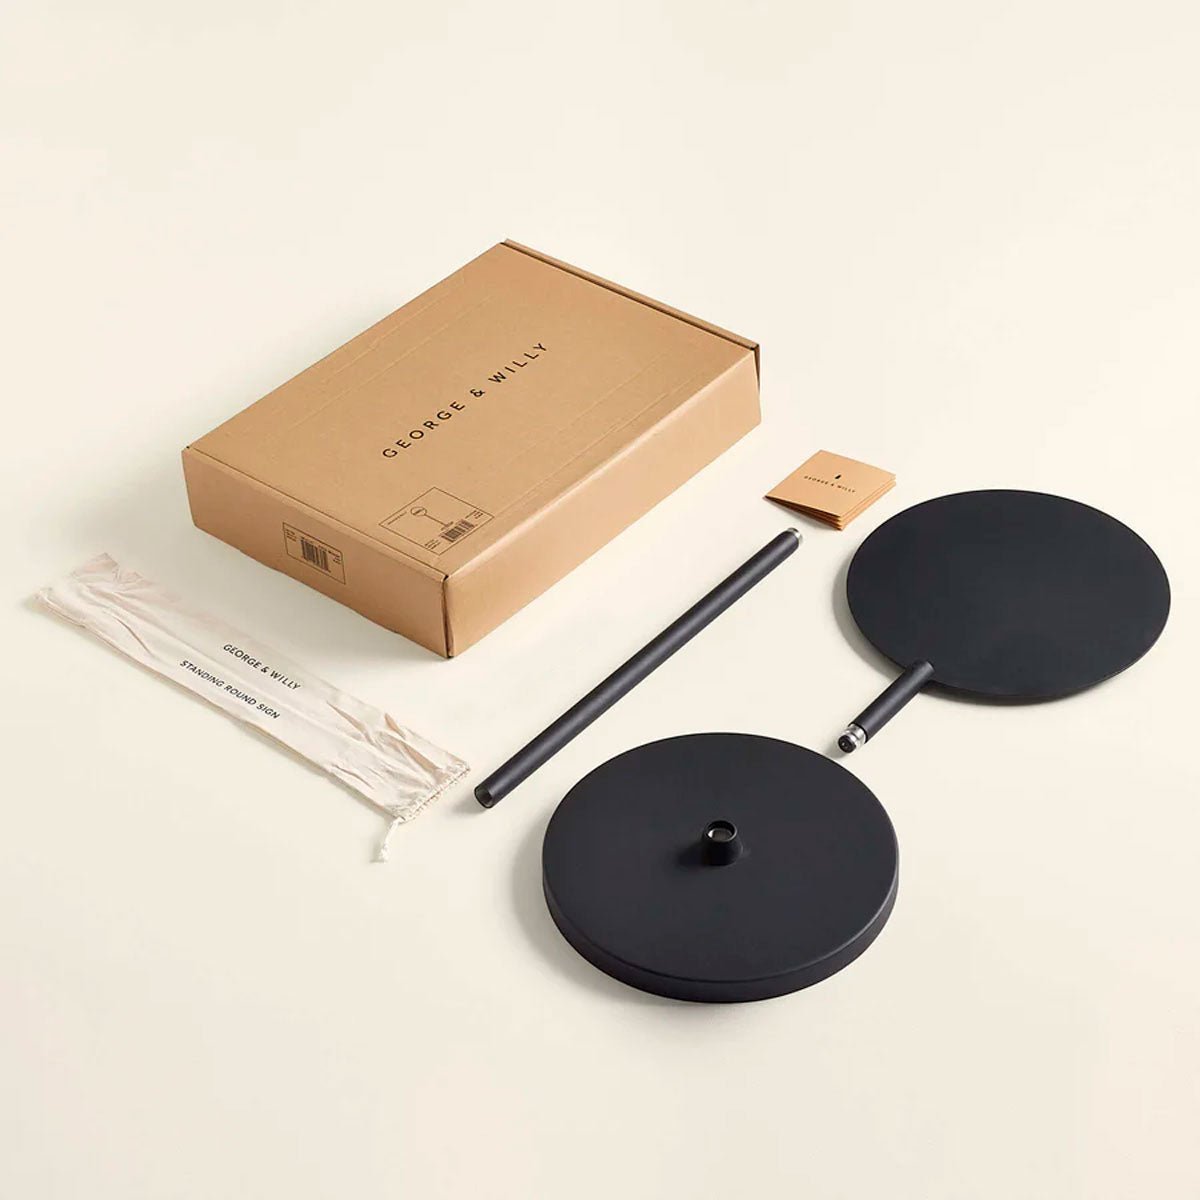
Creating Depth with Multilayer Designs
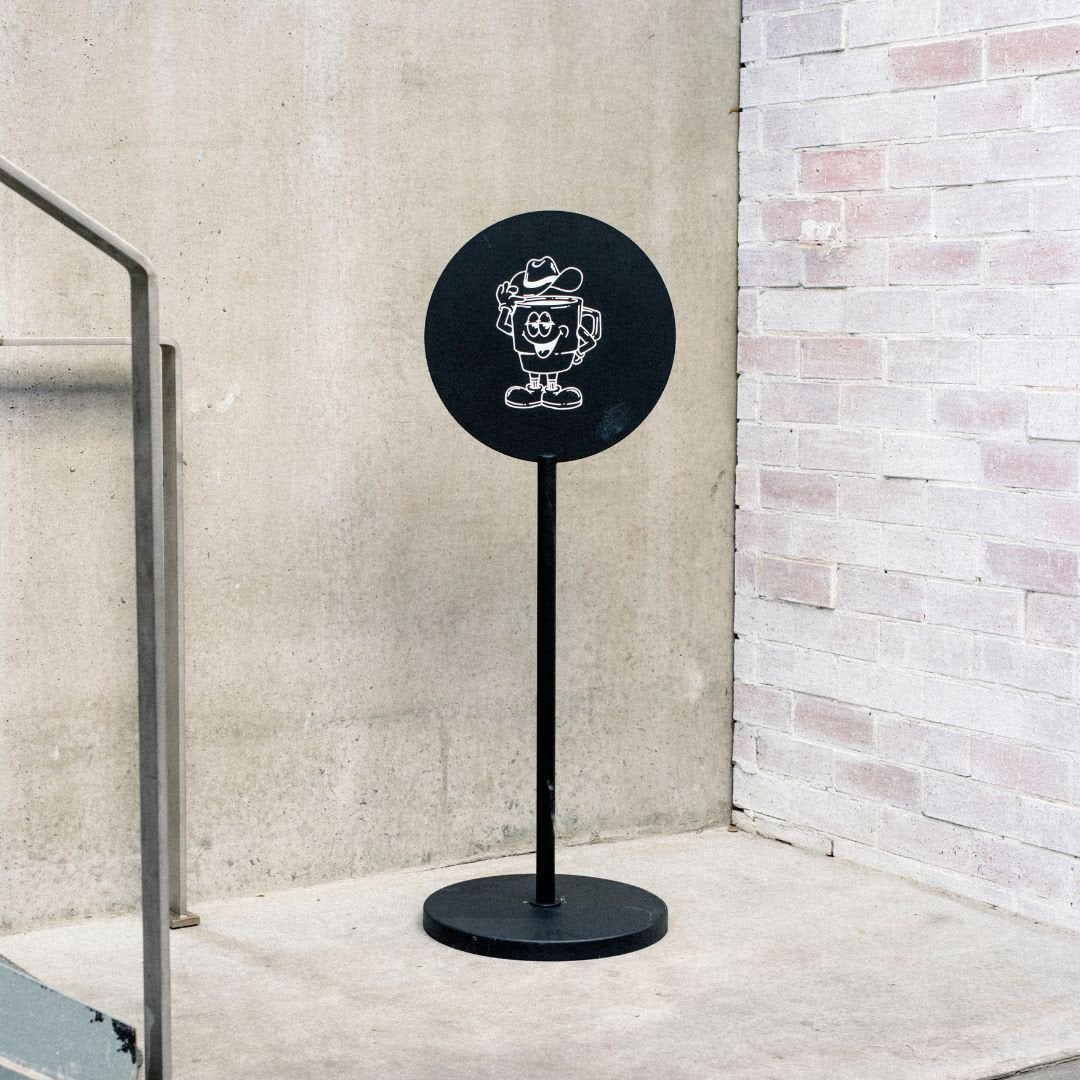
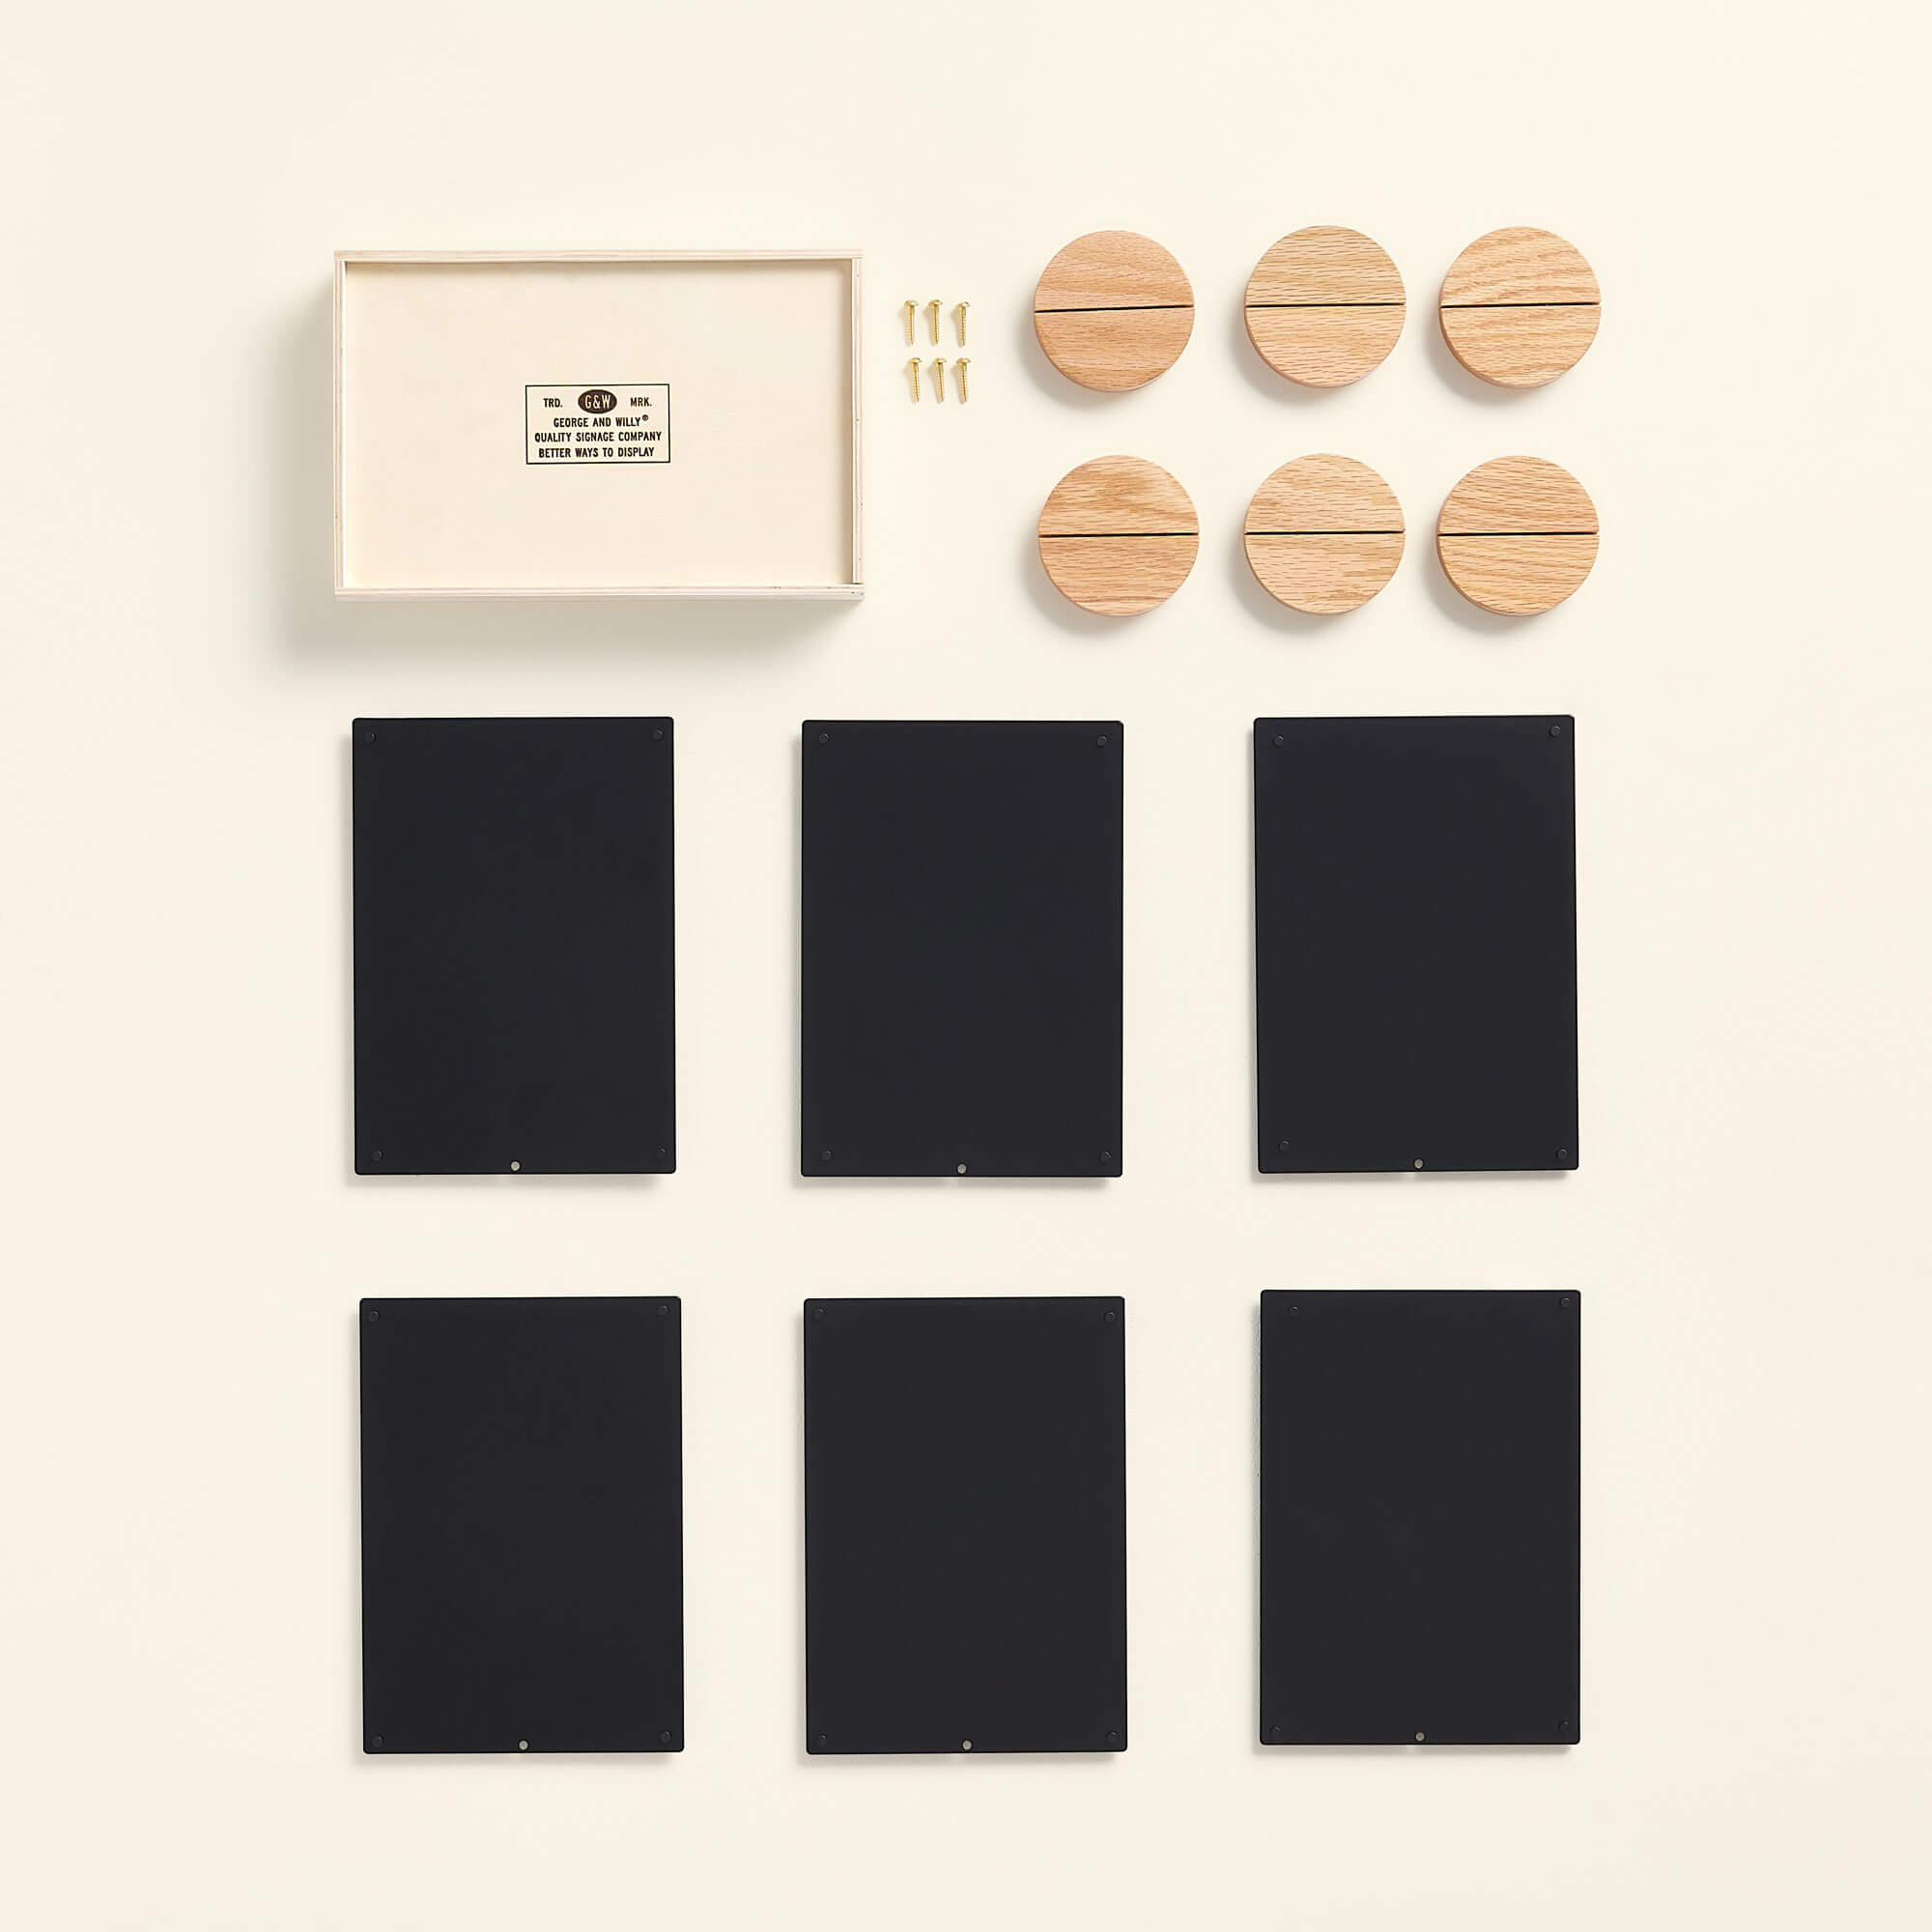
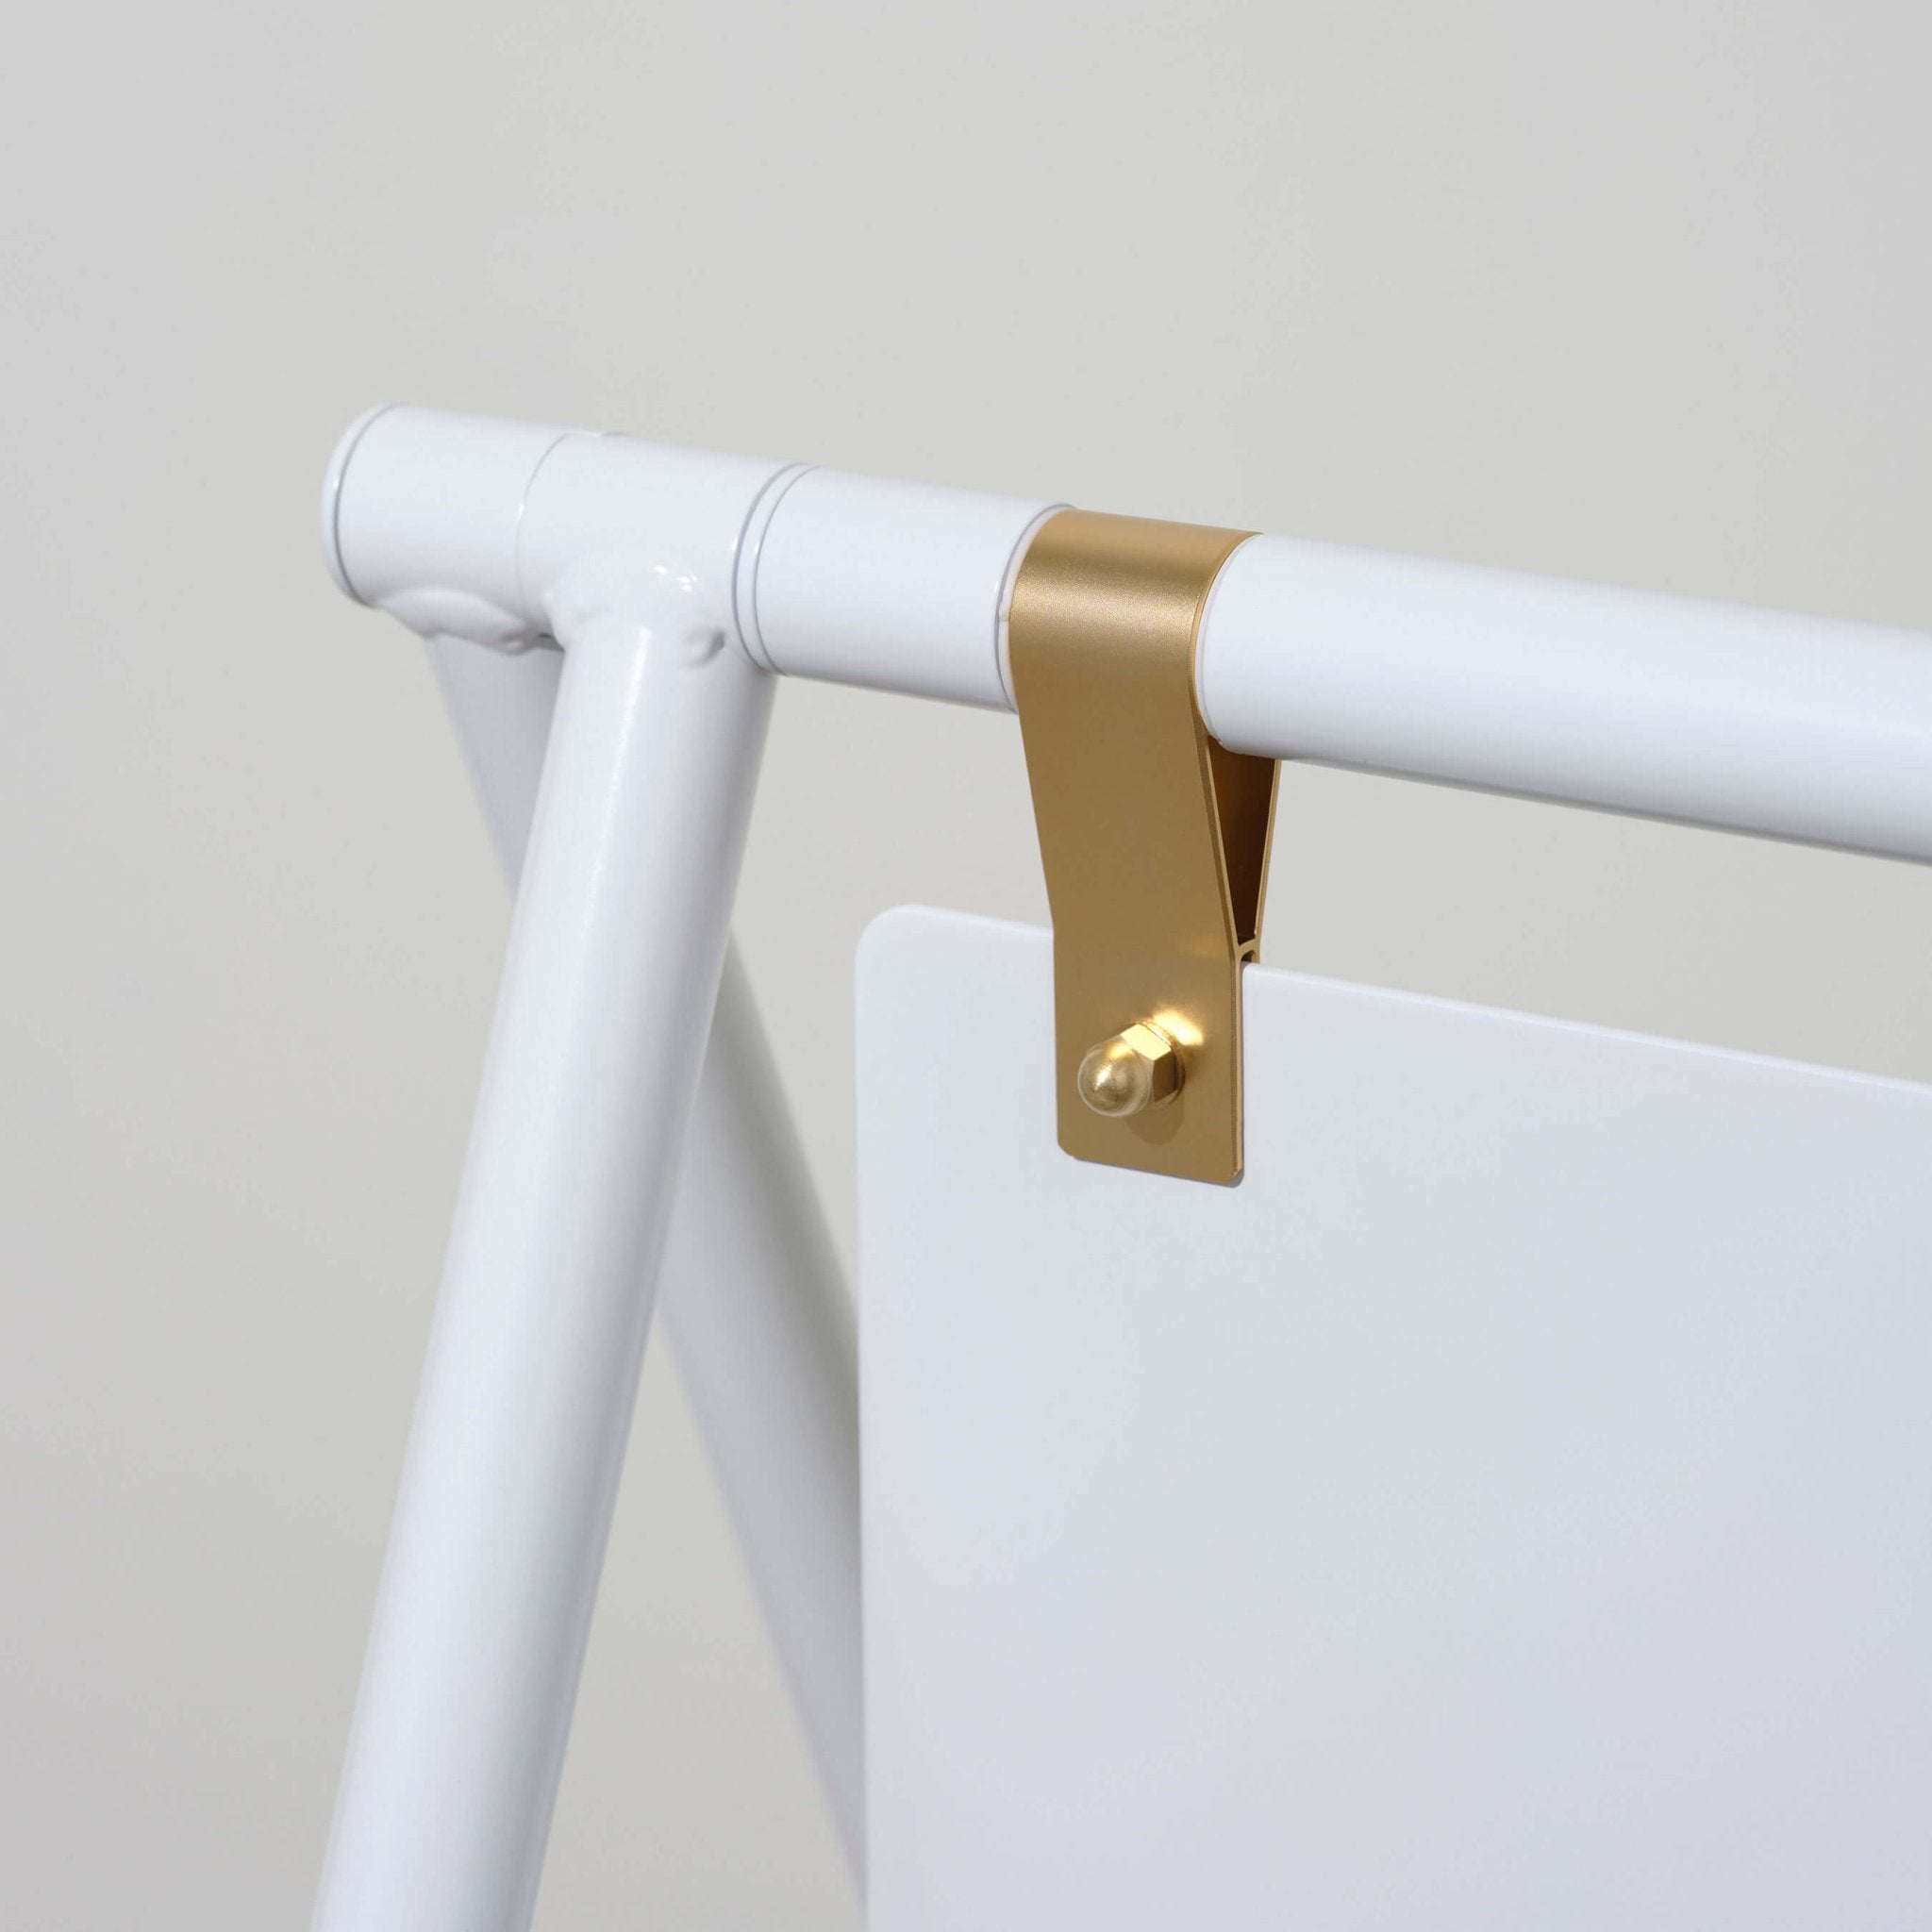
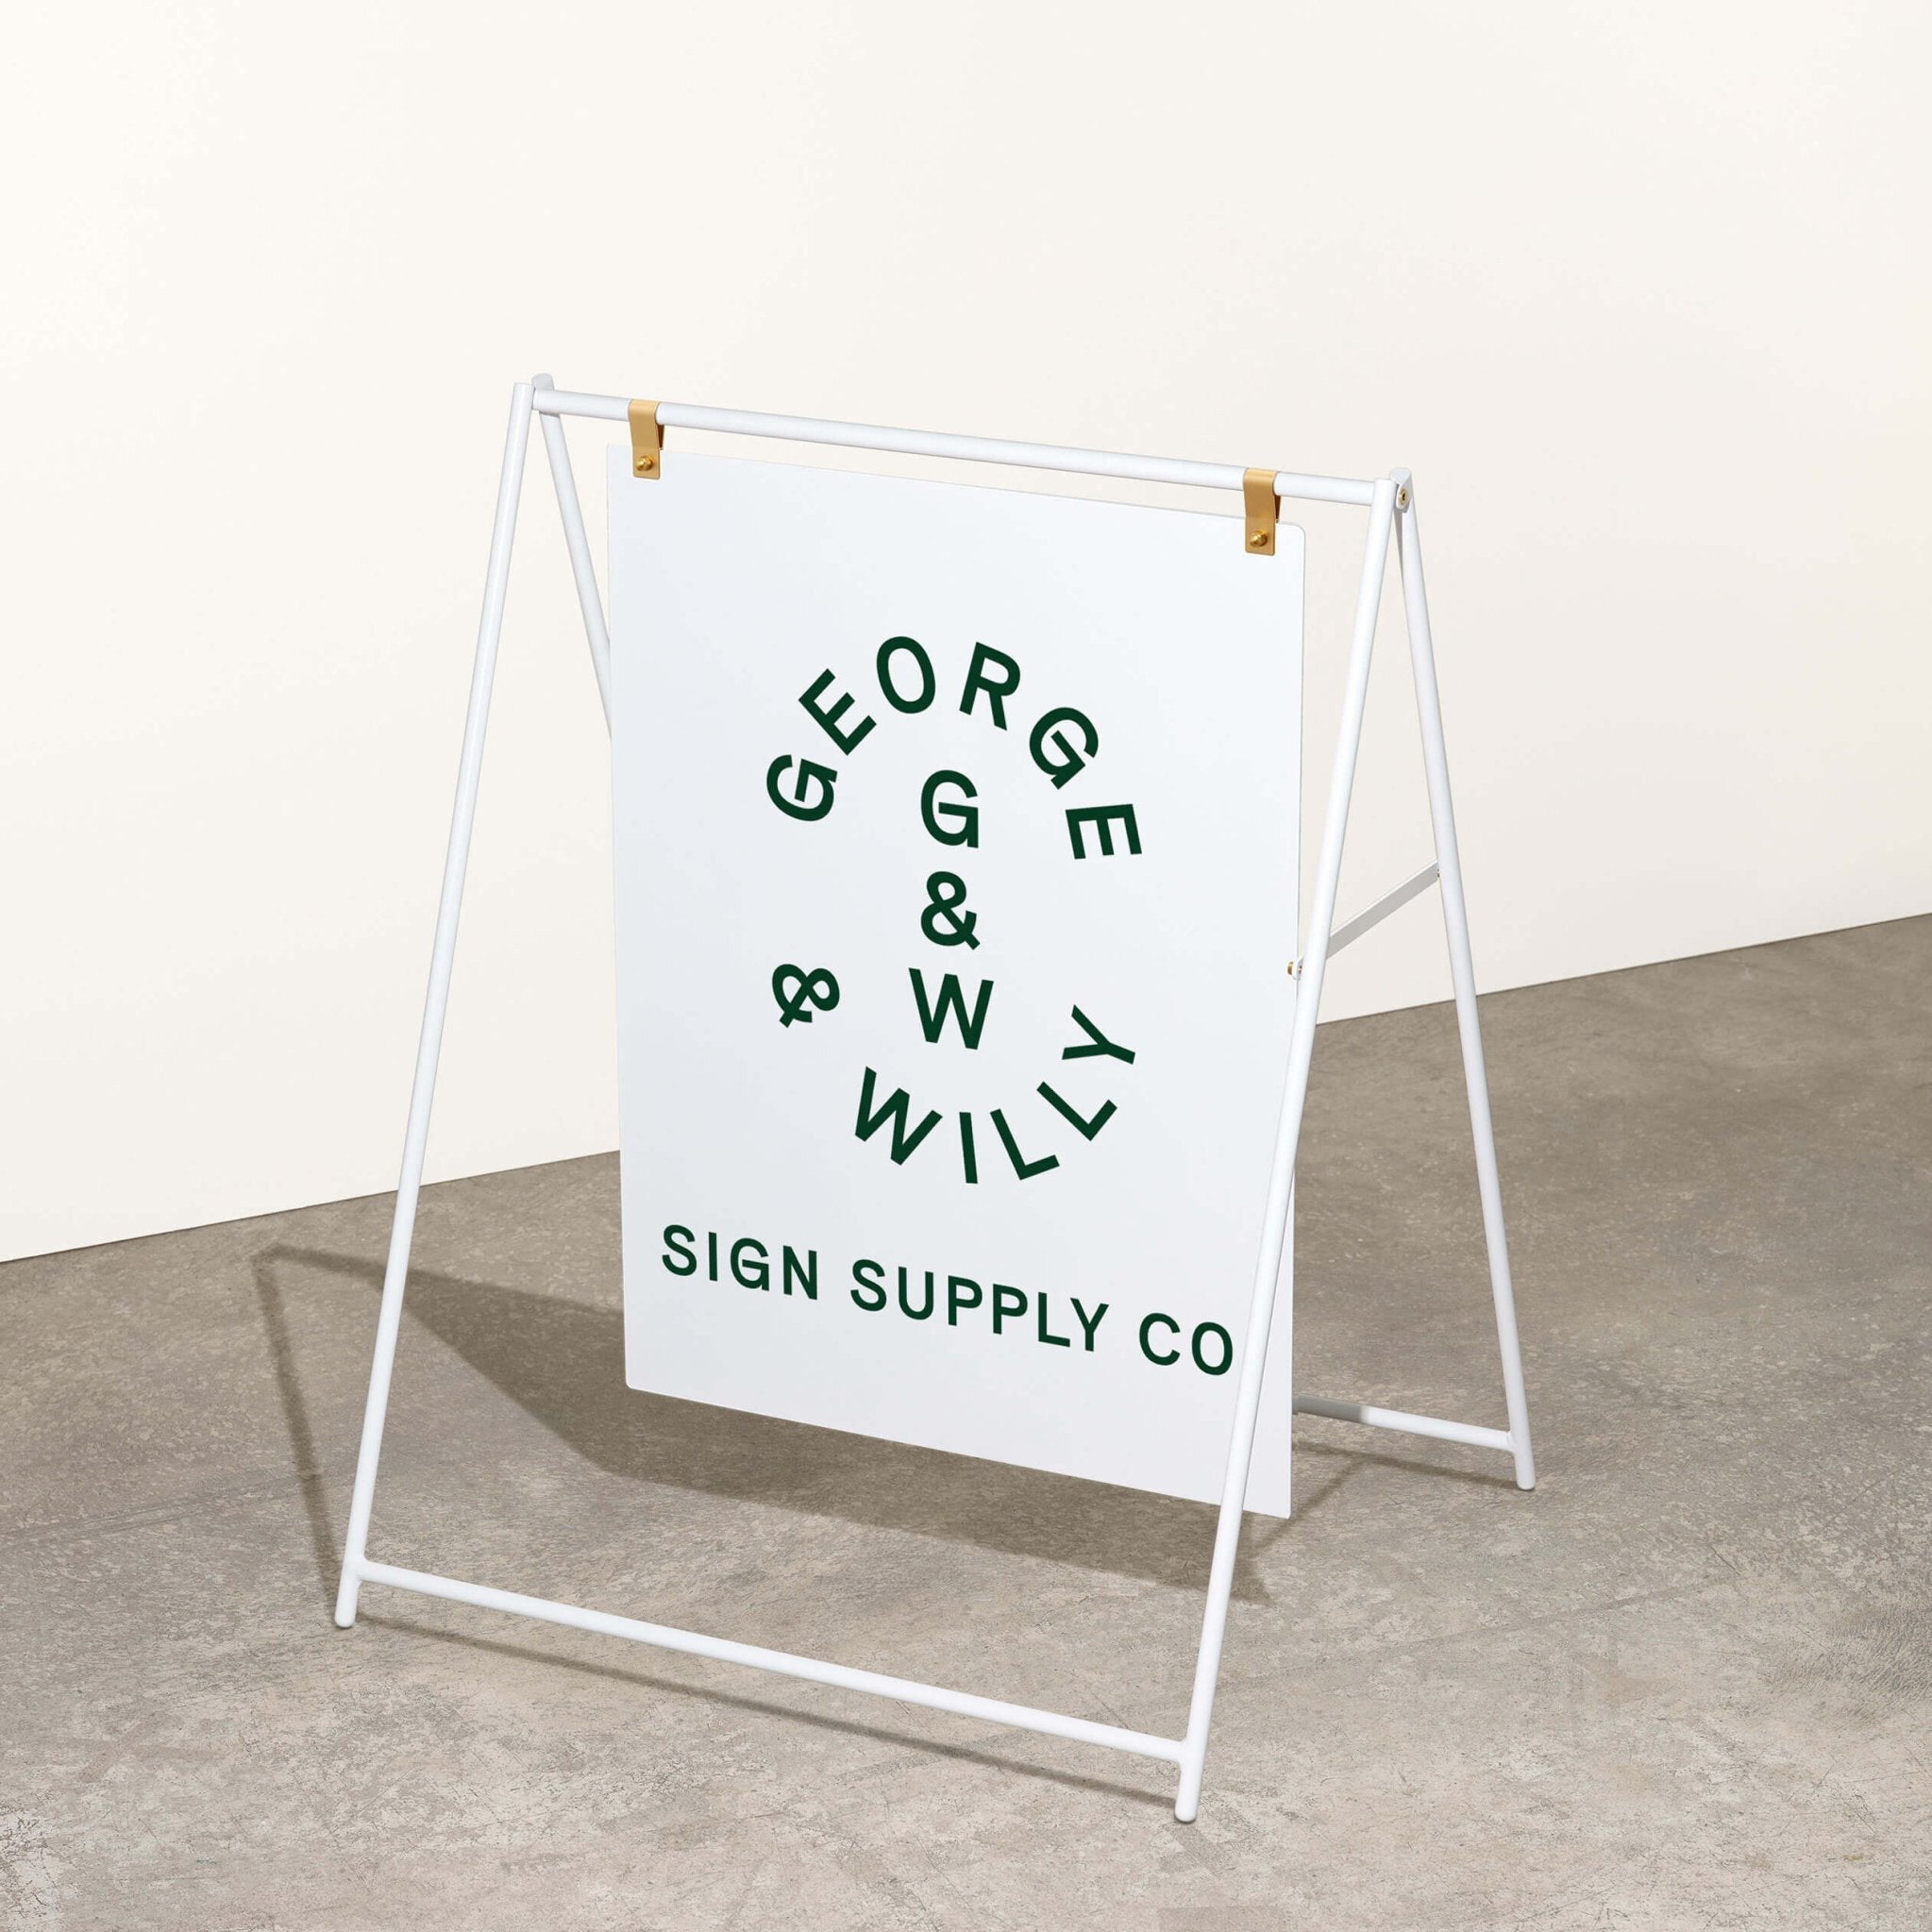
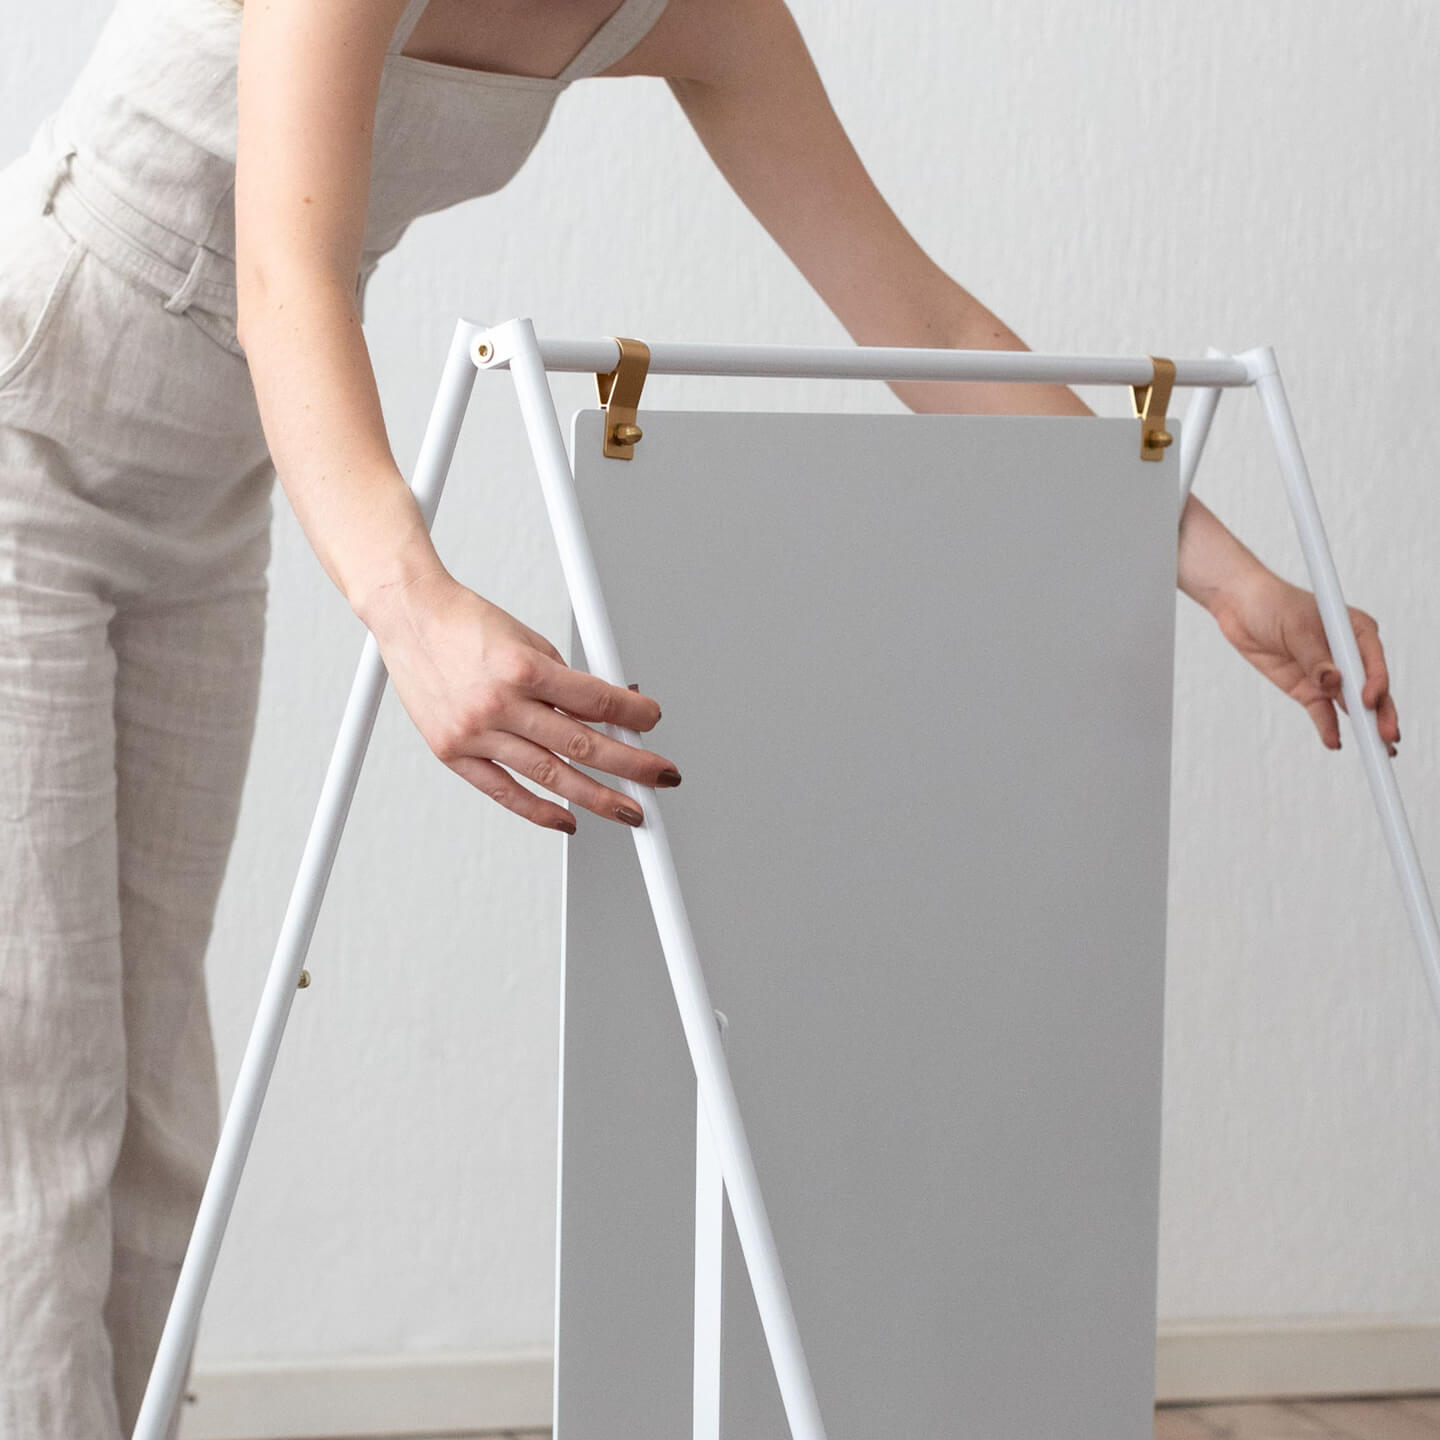
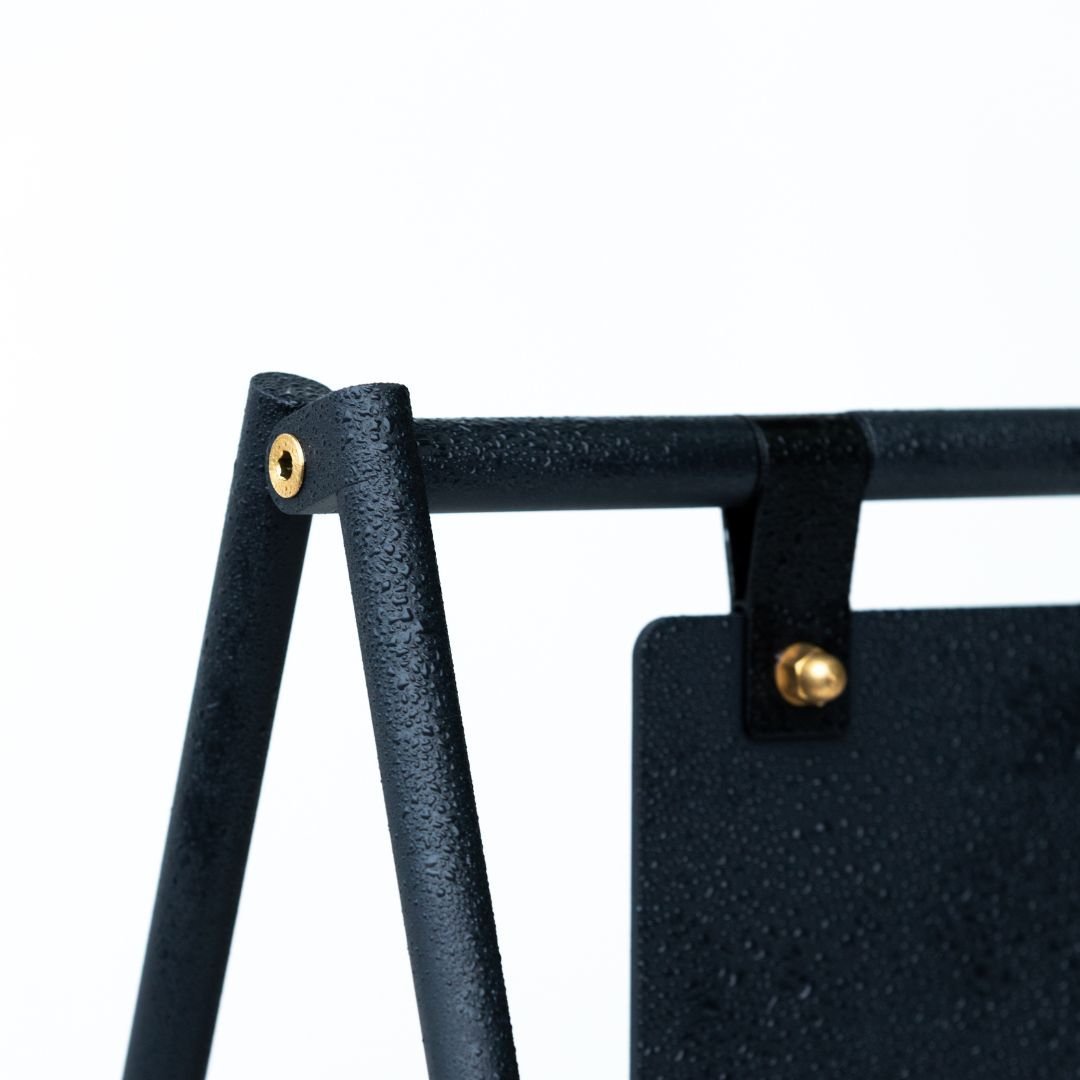
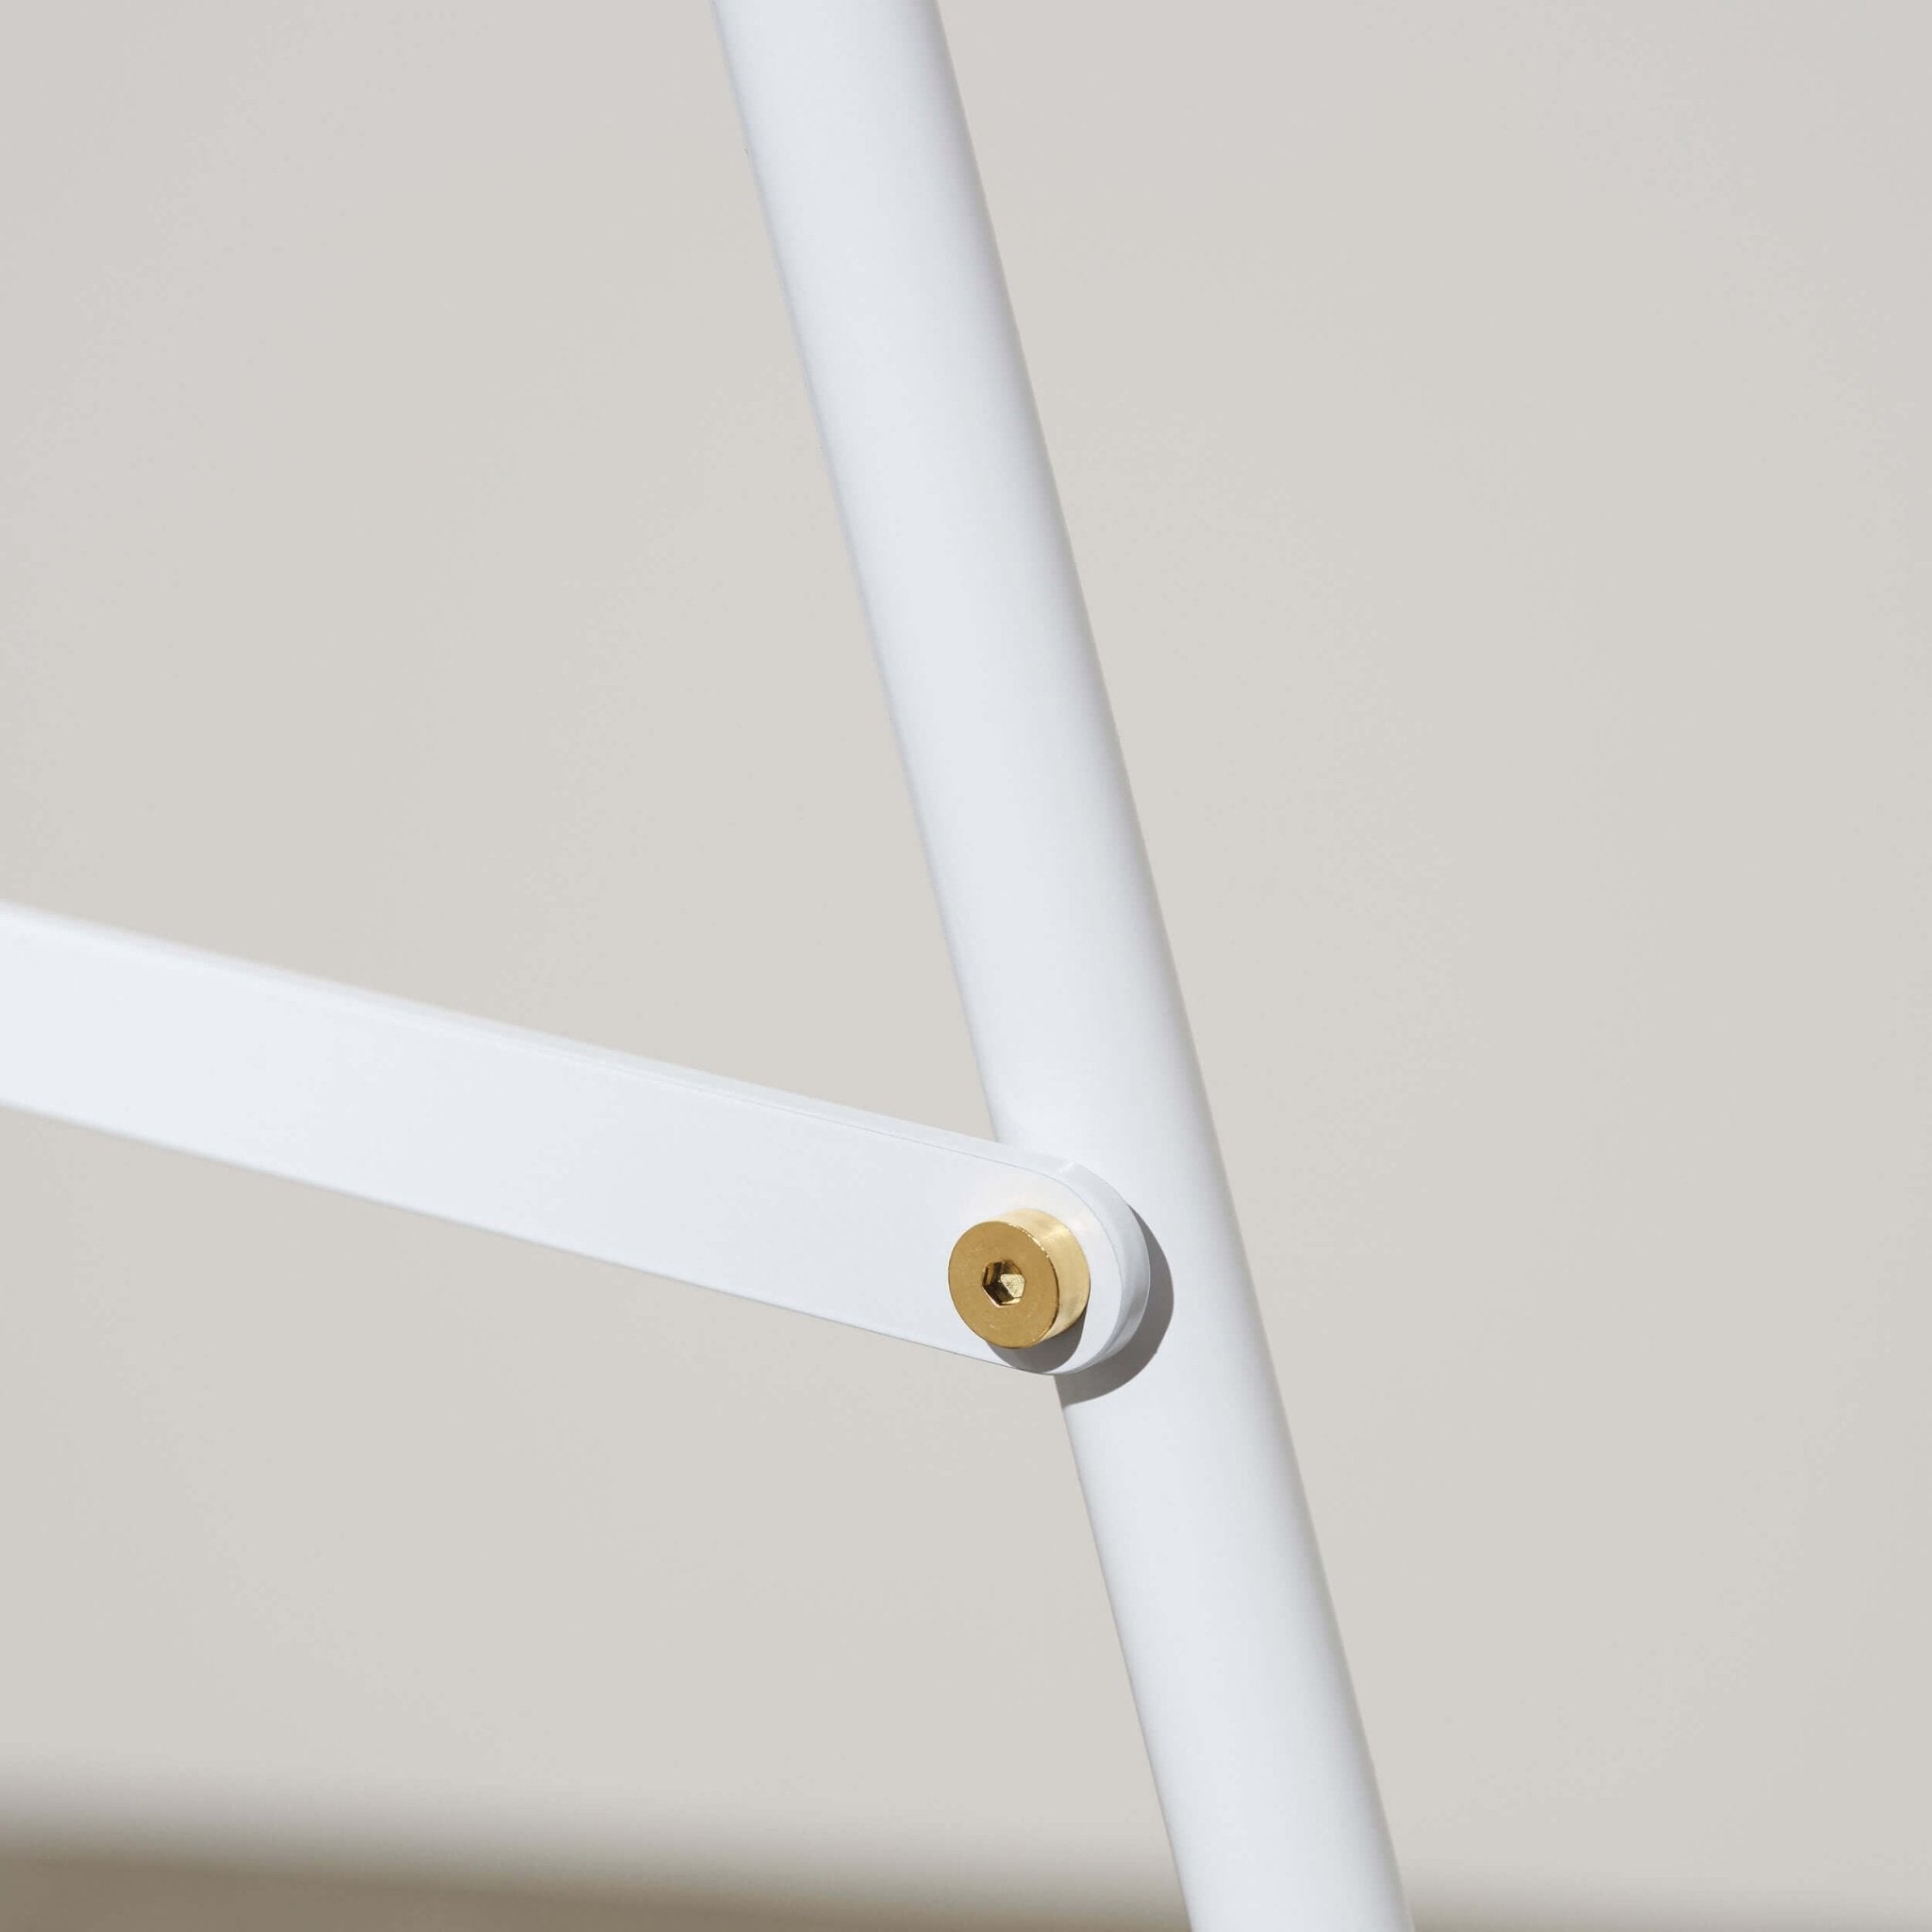
For a more dynamic and visually interesting sign, you can use a multilayer design. This involves stacking two or more pieces of cut metal, often with a backer plate. A backer plate is a solid panel that sits behind the main cut out elements.
This approach neatly solves the “drop out” issue without needing stencil bridges. You can simply cut the full letters and mount them onto the backer, which holds the center pieces perfectly. This method also allows for creative use of color and contrast; a black metal cutout, for example, can be mounted on a white backer plate for maximum visibility. Using spacers between layers can even create a floating effect with dramatic shadows.
The Right Canvas: Choosing Your Metal and Thickness
The material you choose has a huge impact on your sign’s final look, weight, durability, and cost.
Material Selection: Steel, Stainless, Aluminum, and Brass
- Mild Steel: As a strong, affordable, and readily available option, mild steel is a popular choice. It cuts cleanly and offers great rigidity. However, plain steel will rust when exposed to moisture, so it must be painted or powder coated for outdoor use to prevent corrosion.
- Stainless Steel: Containing chromium, stainless steel is highly resistant to rust, making it ideal for durable outdoor signage that requires minimal maintenance. For coastal or salty environments, Grade 316 stainless steel offers superior corrosion resistance compared to the standard 304 grade.
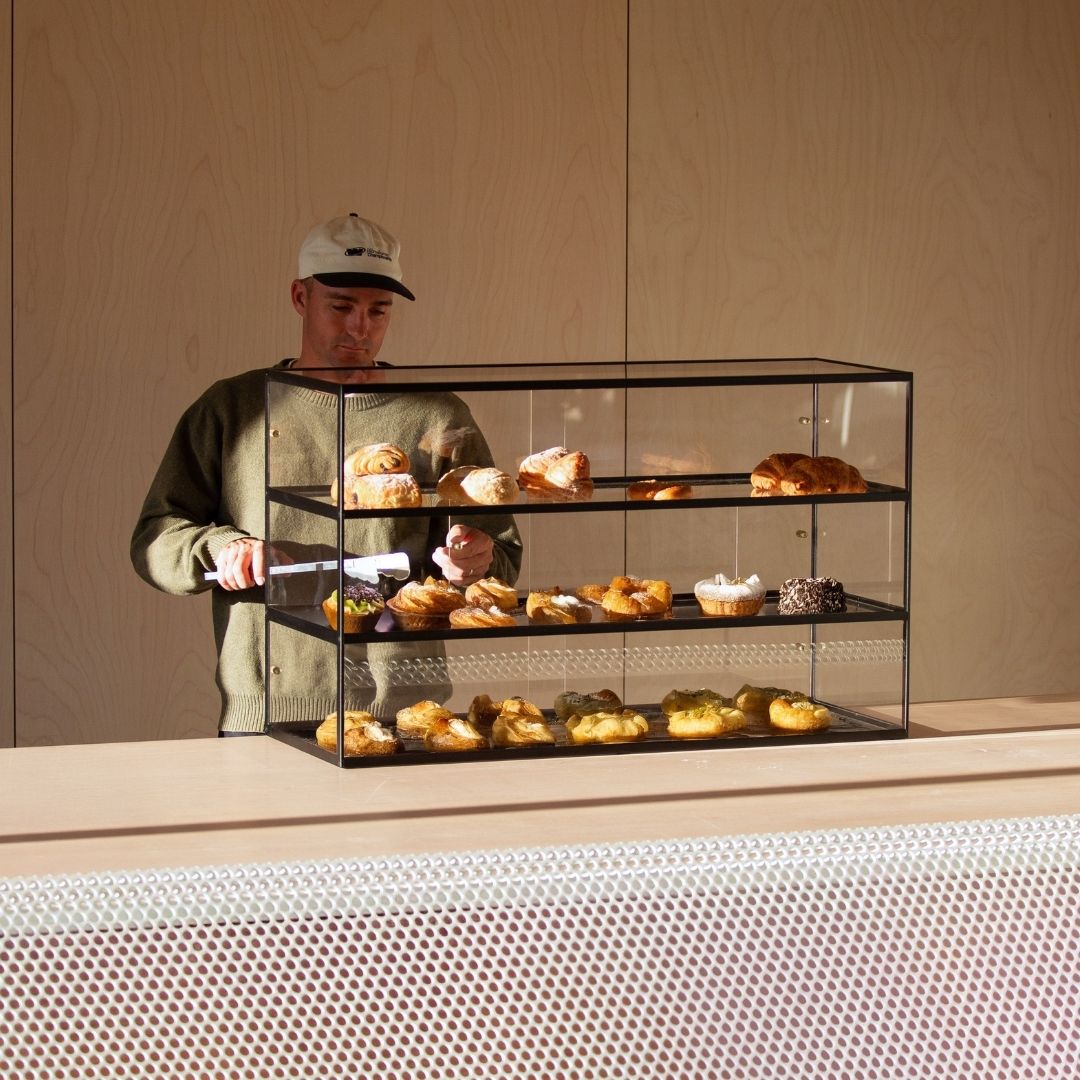
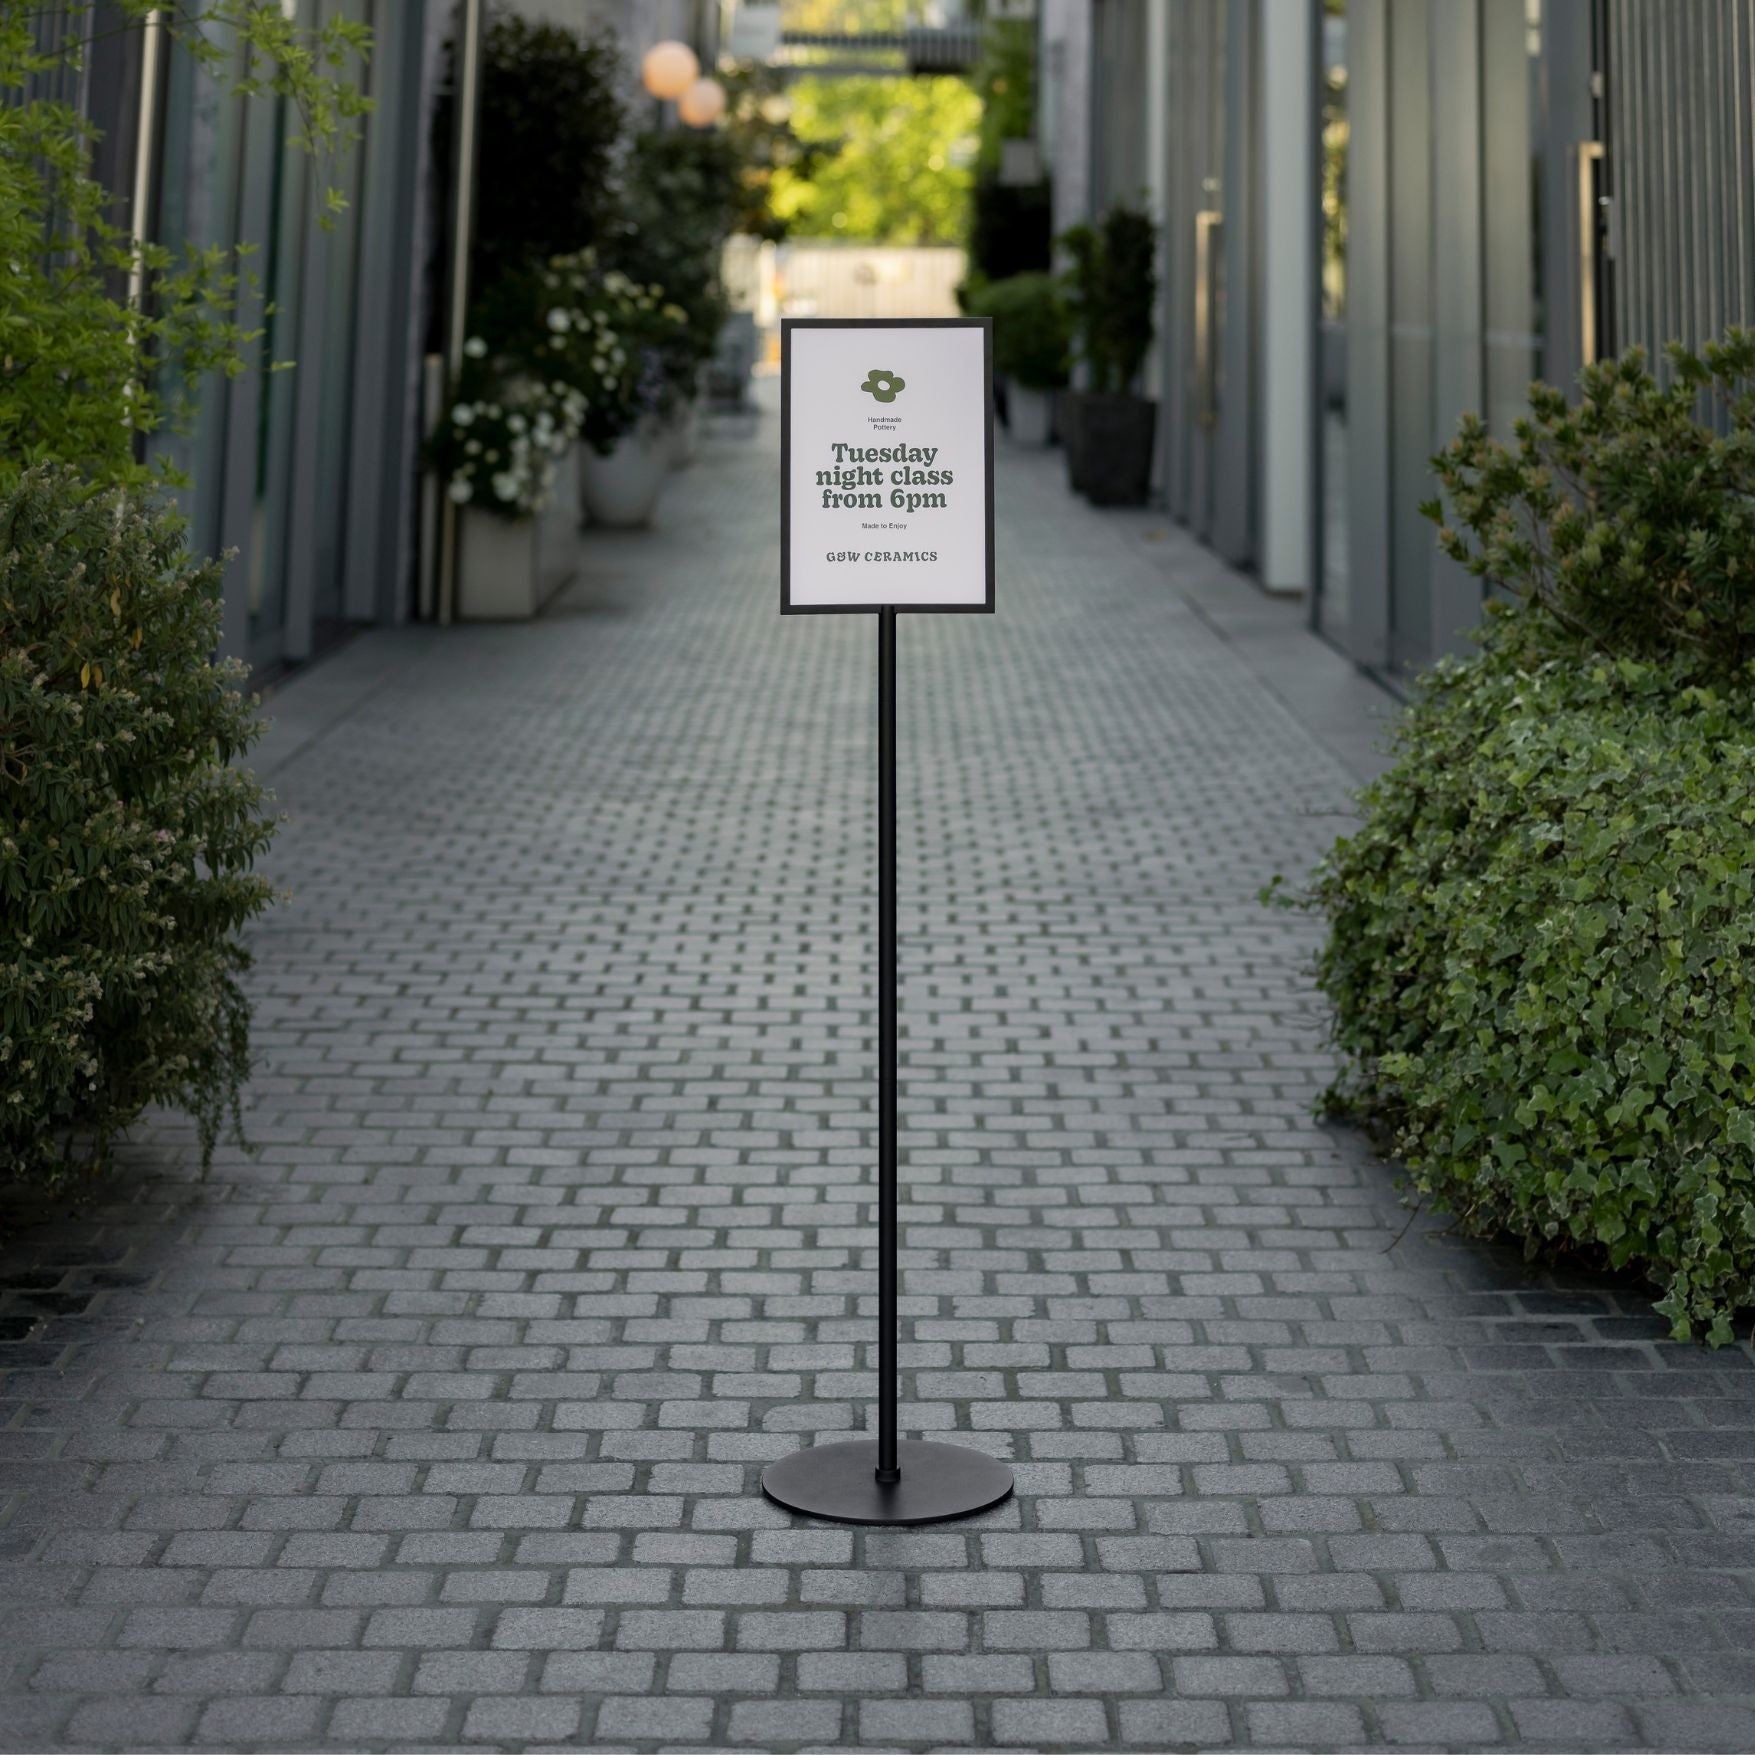
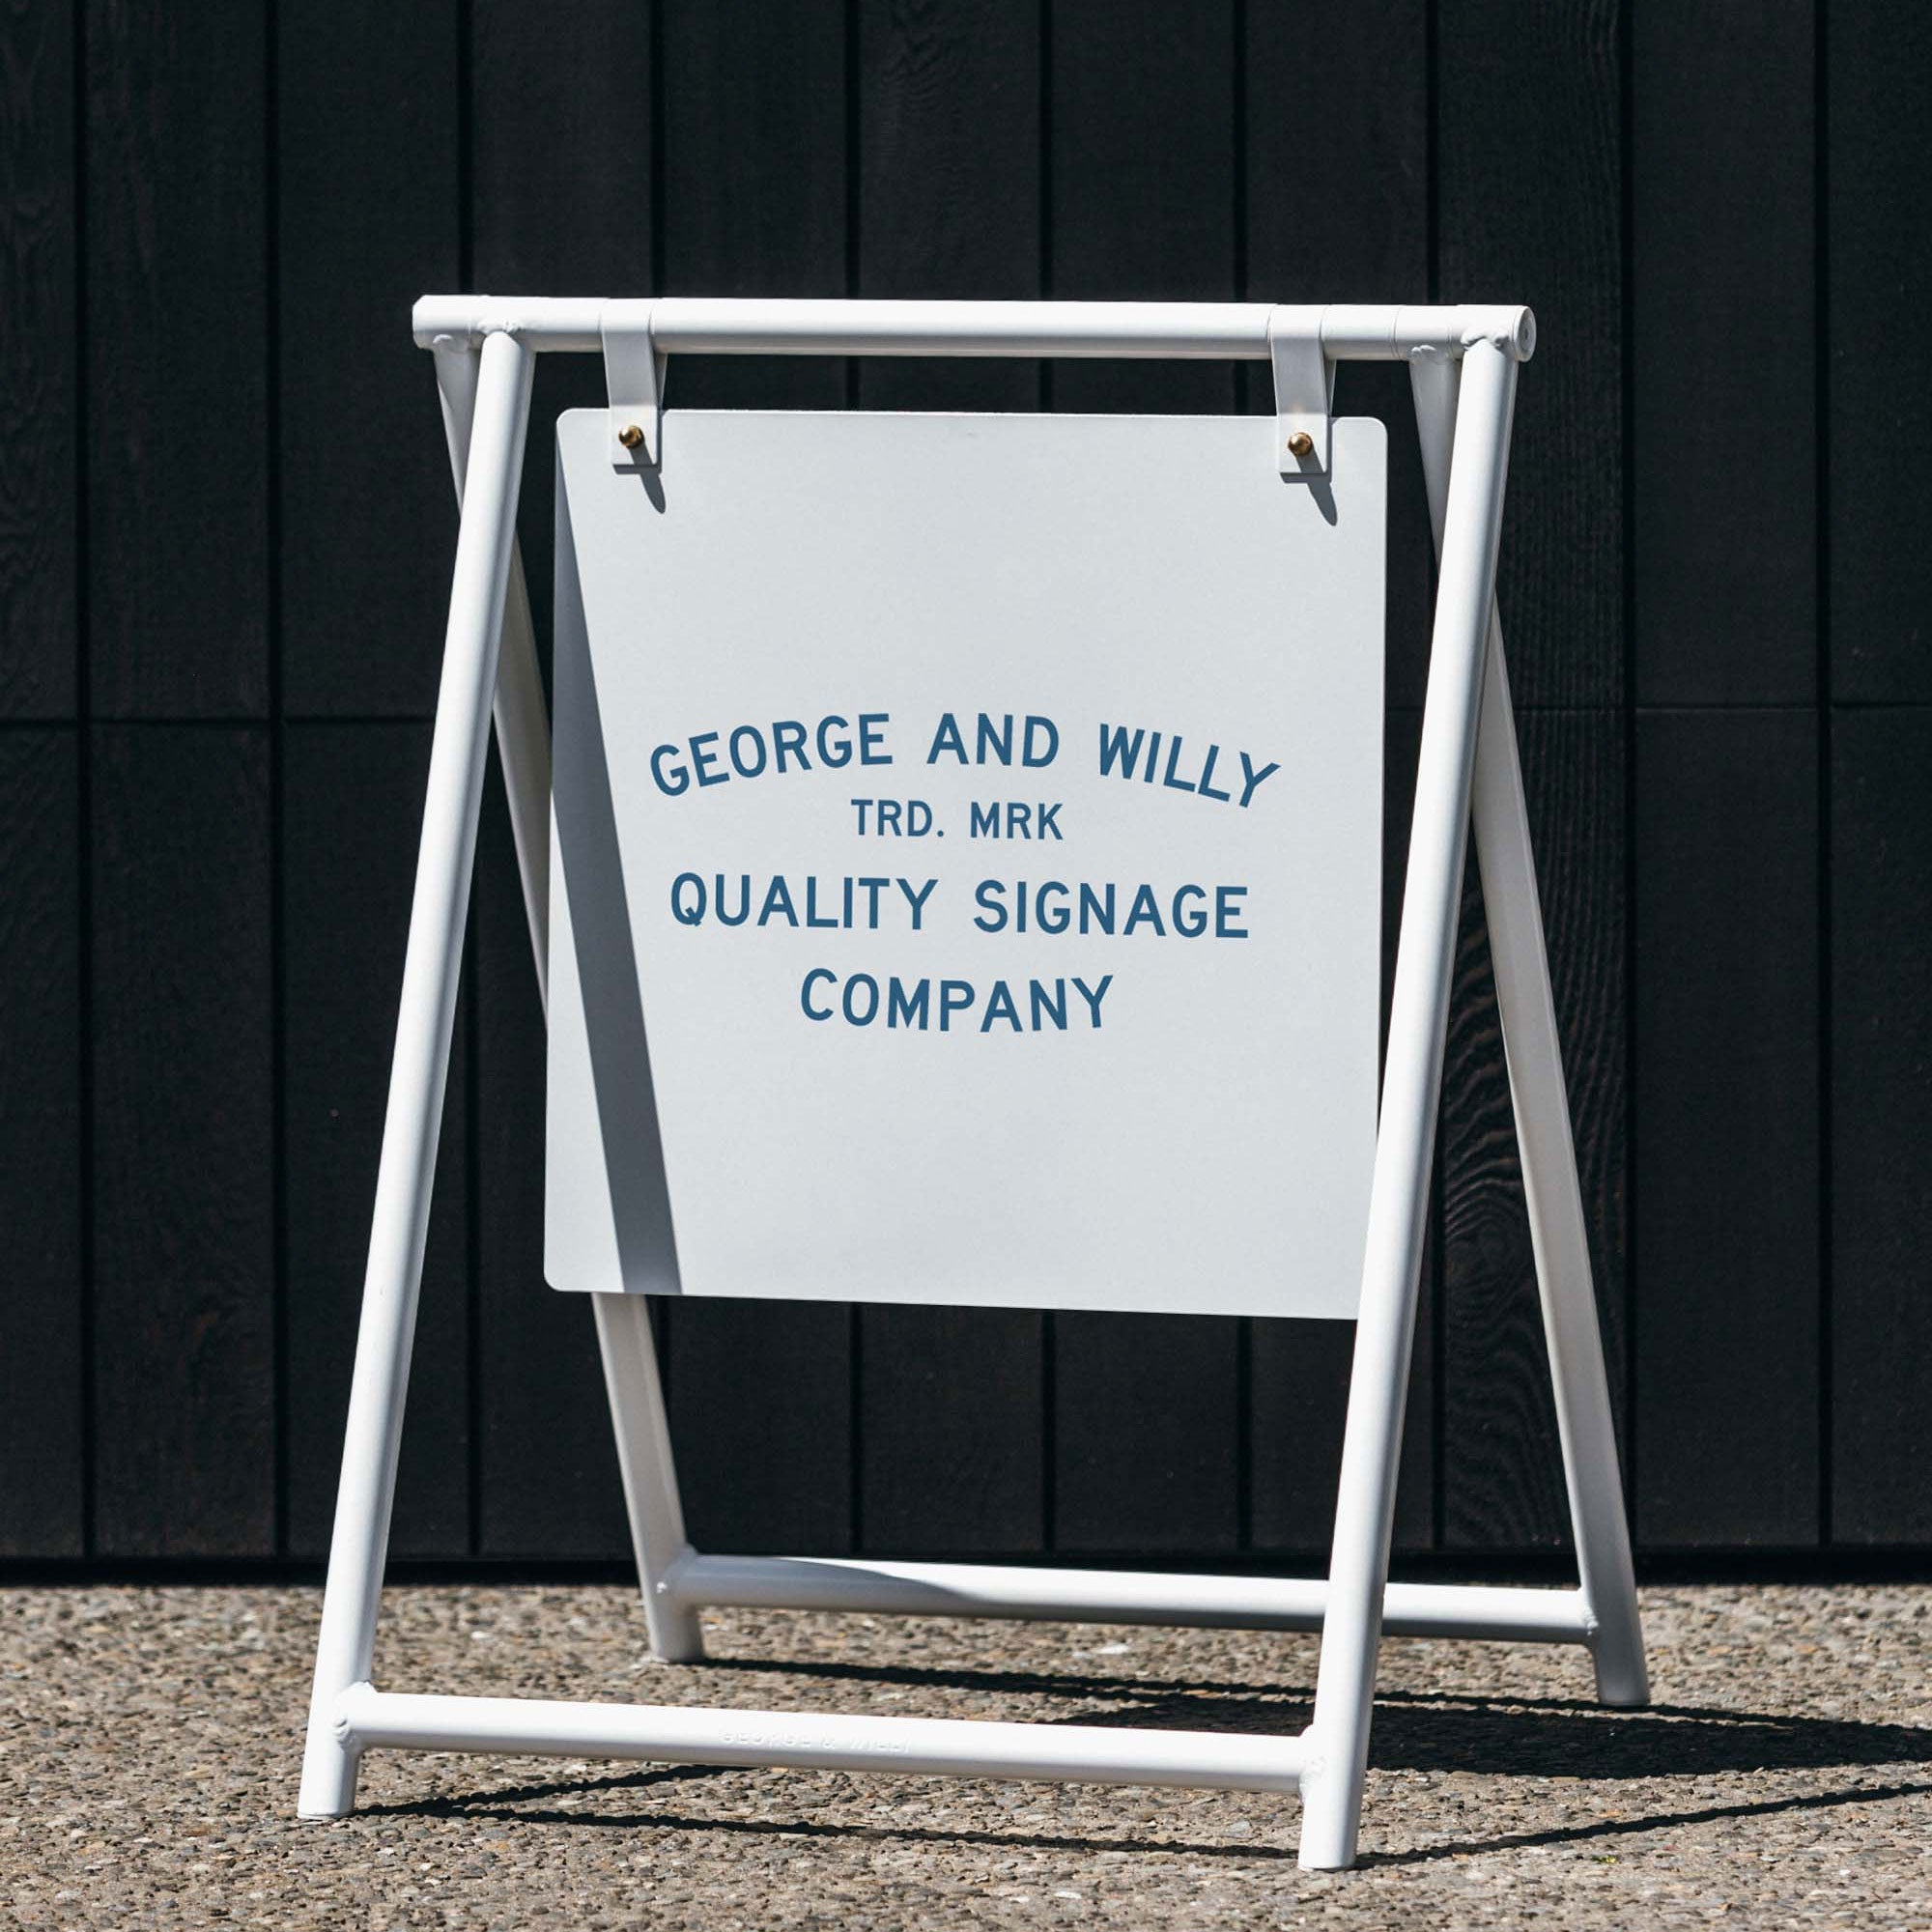
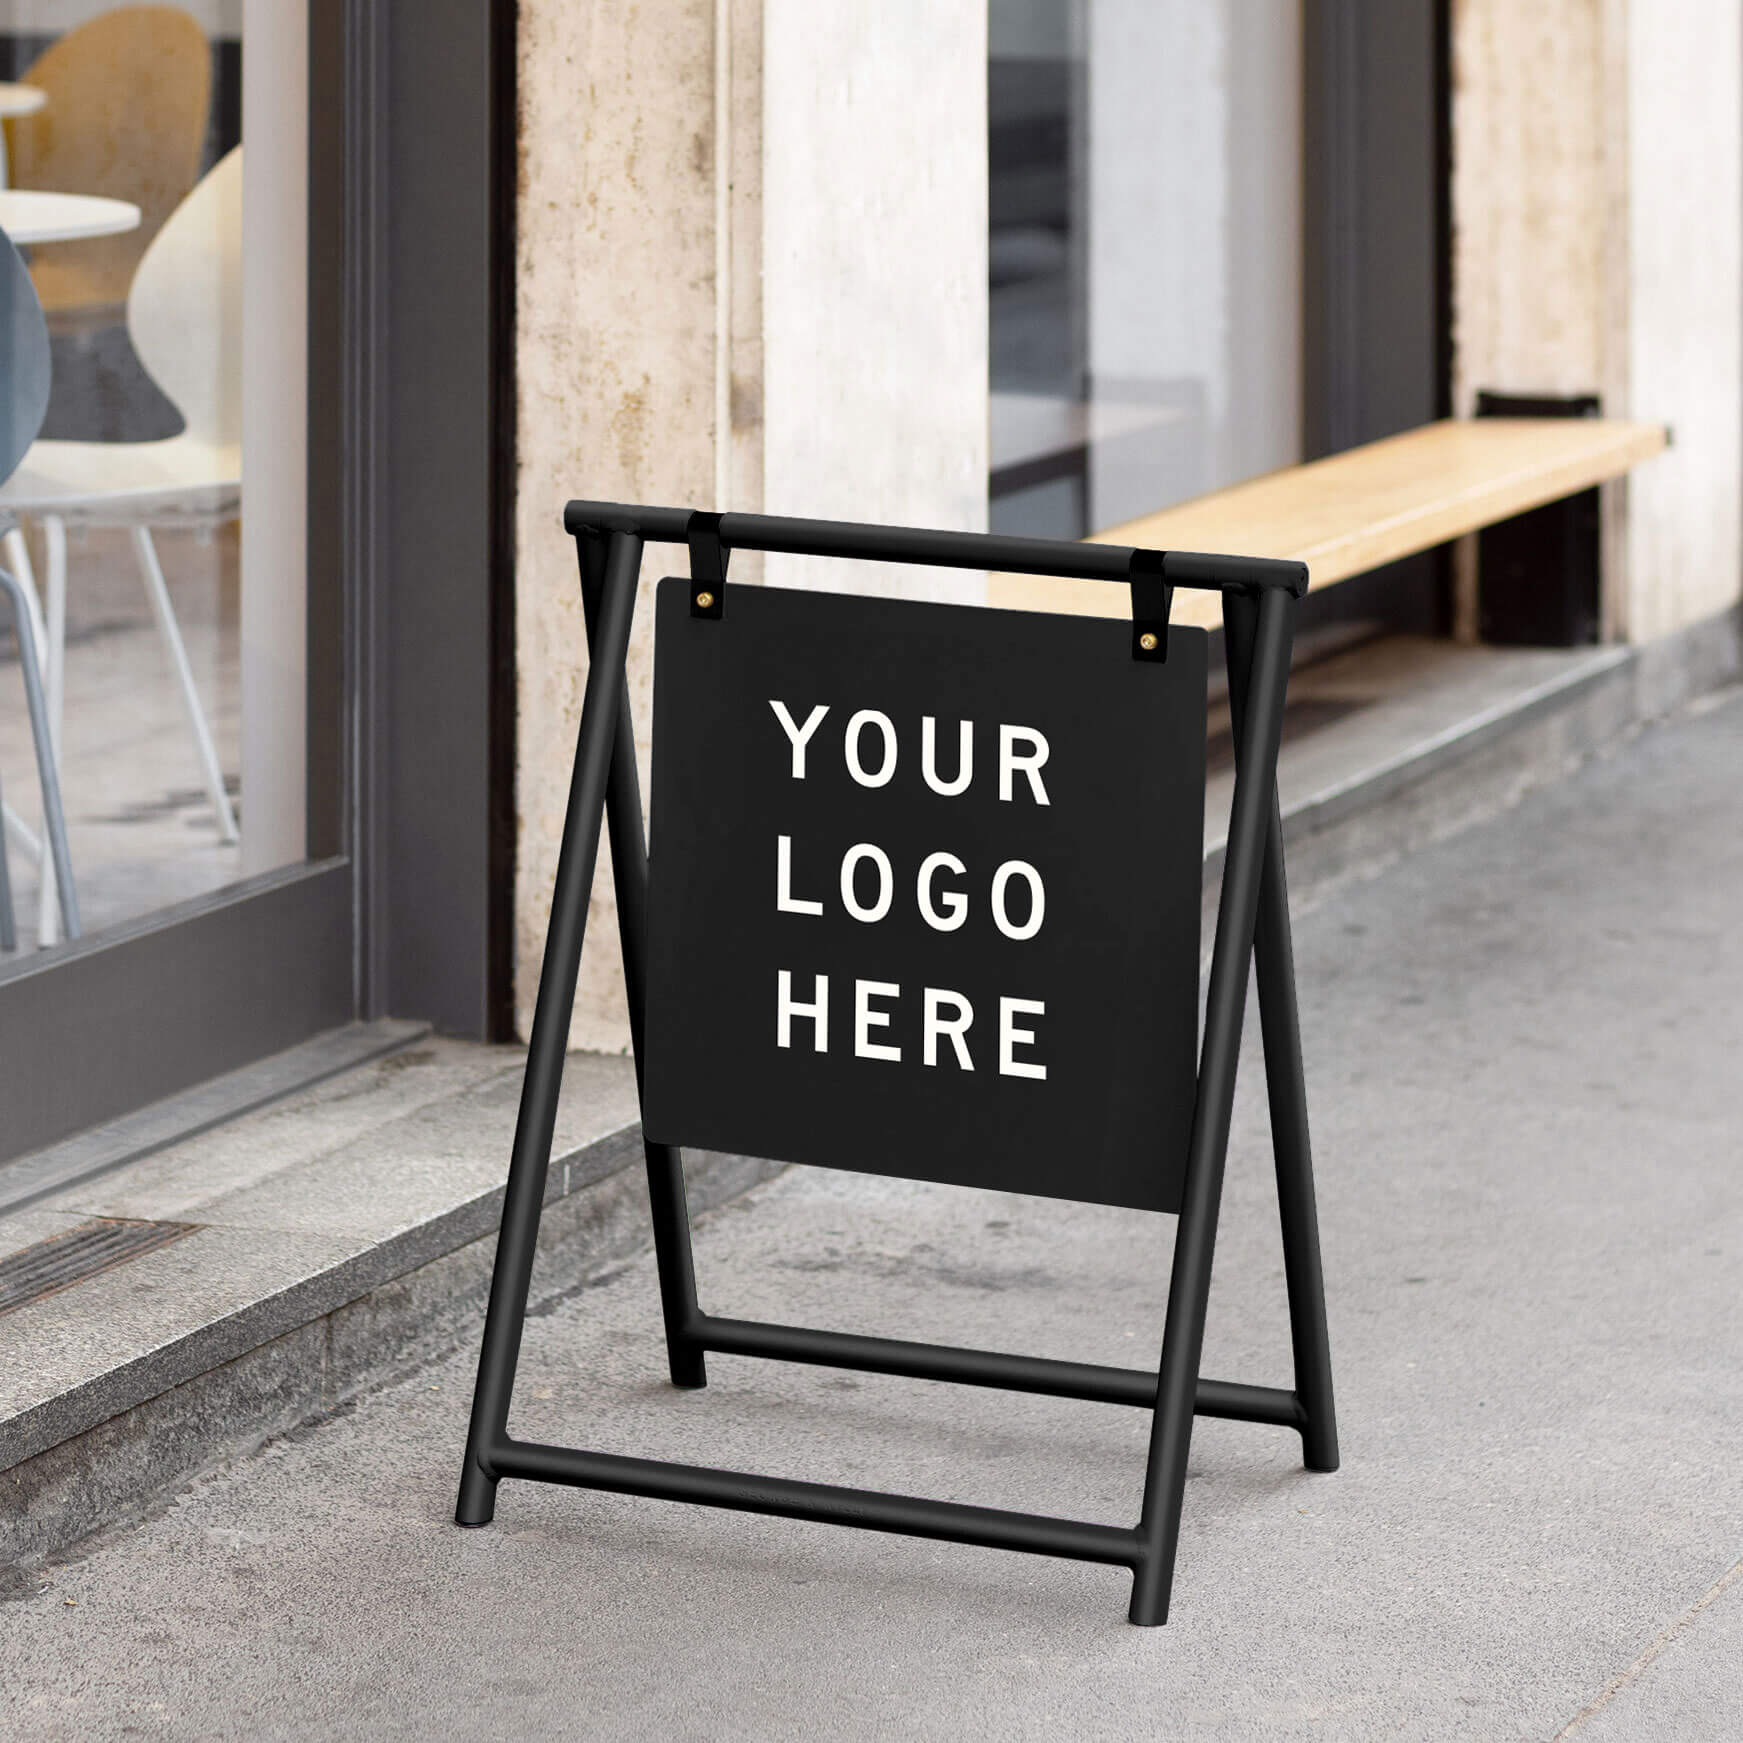
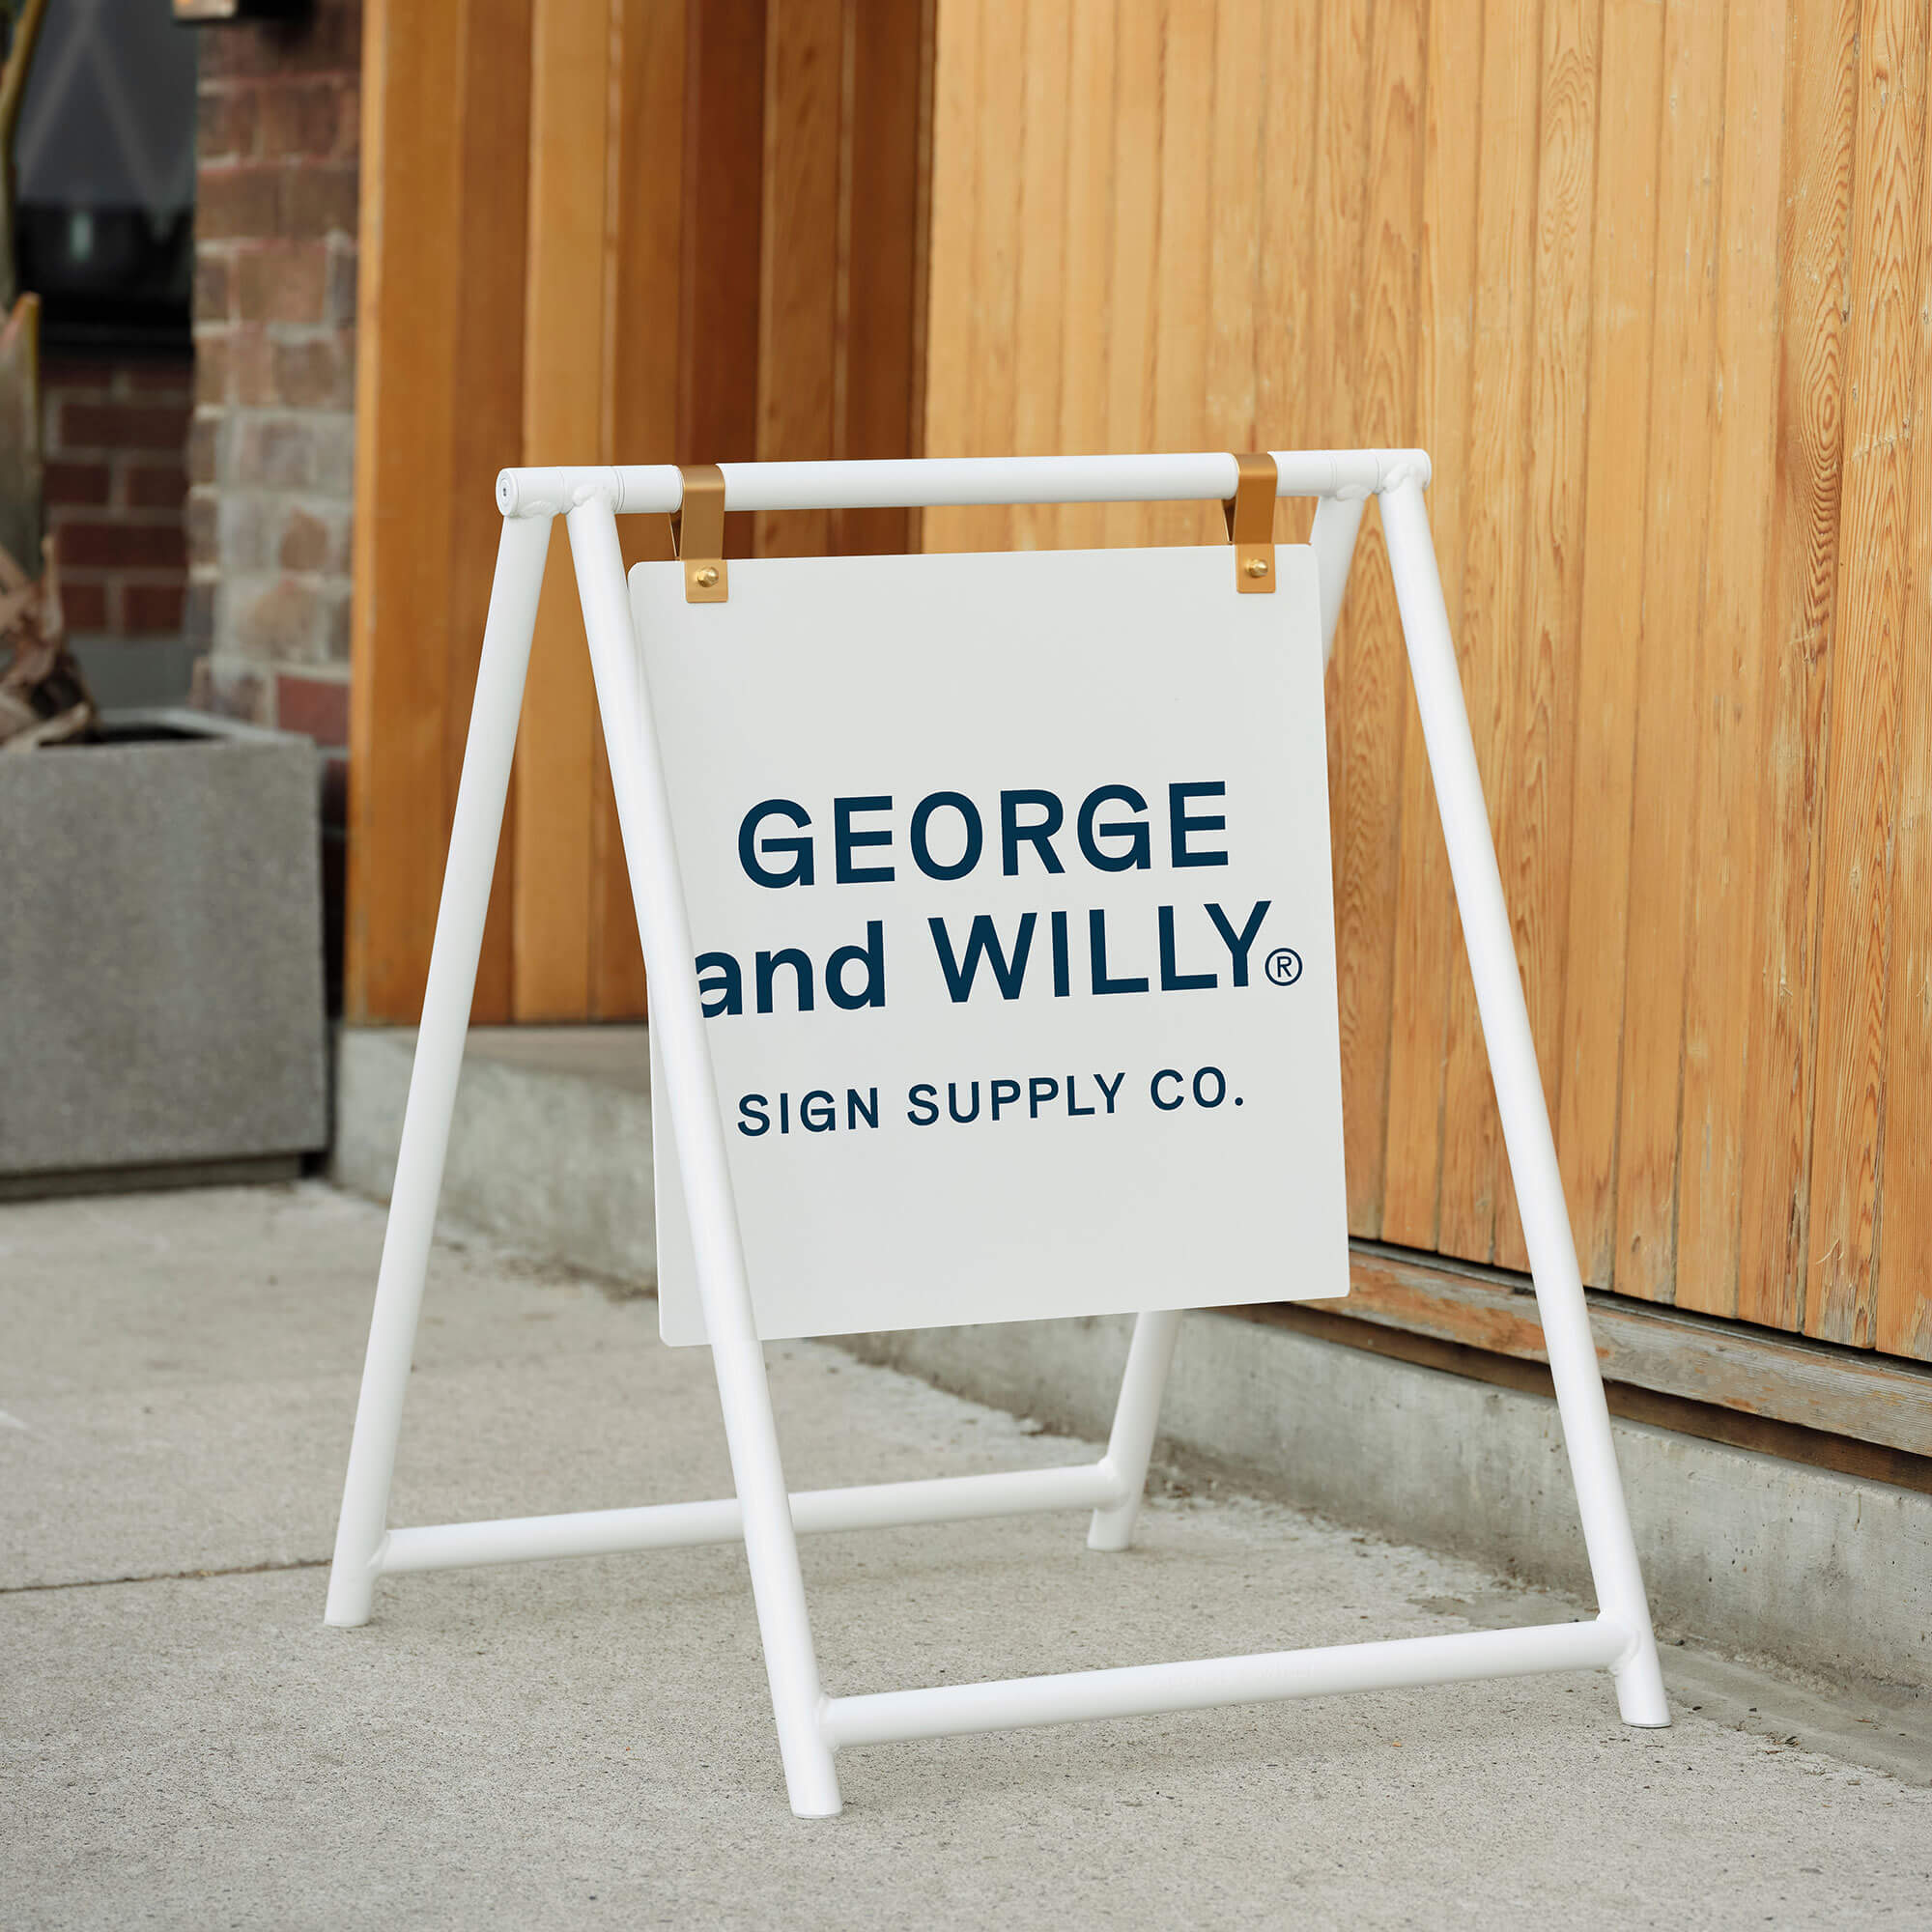
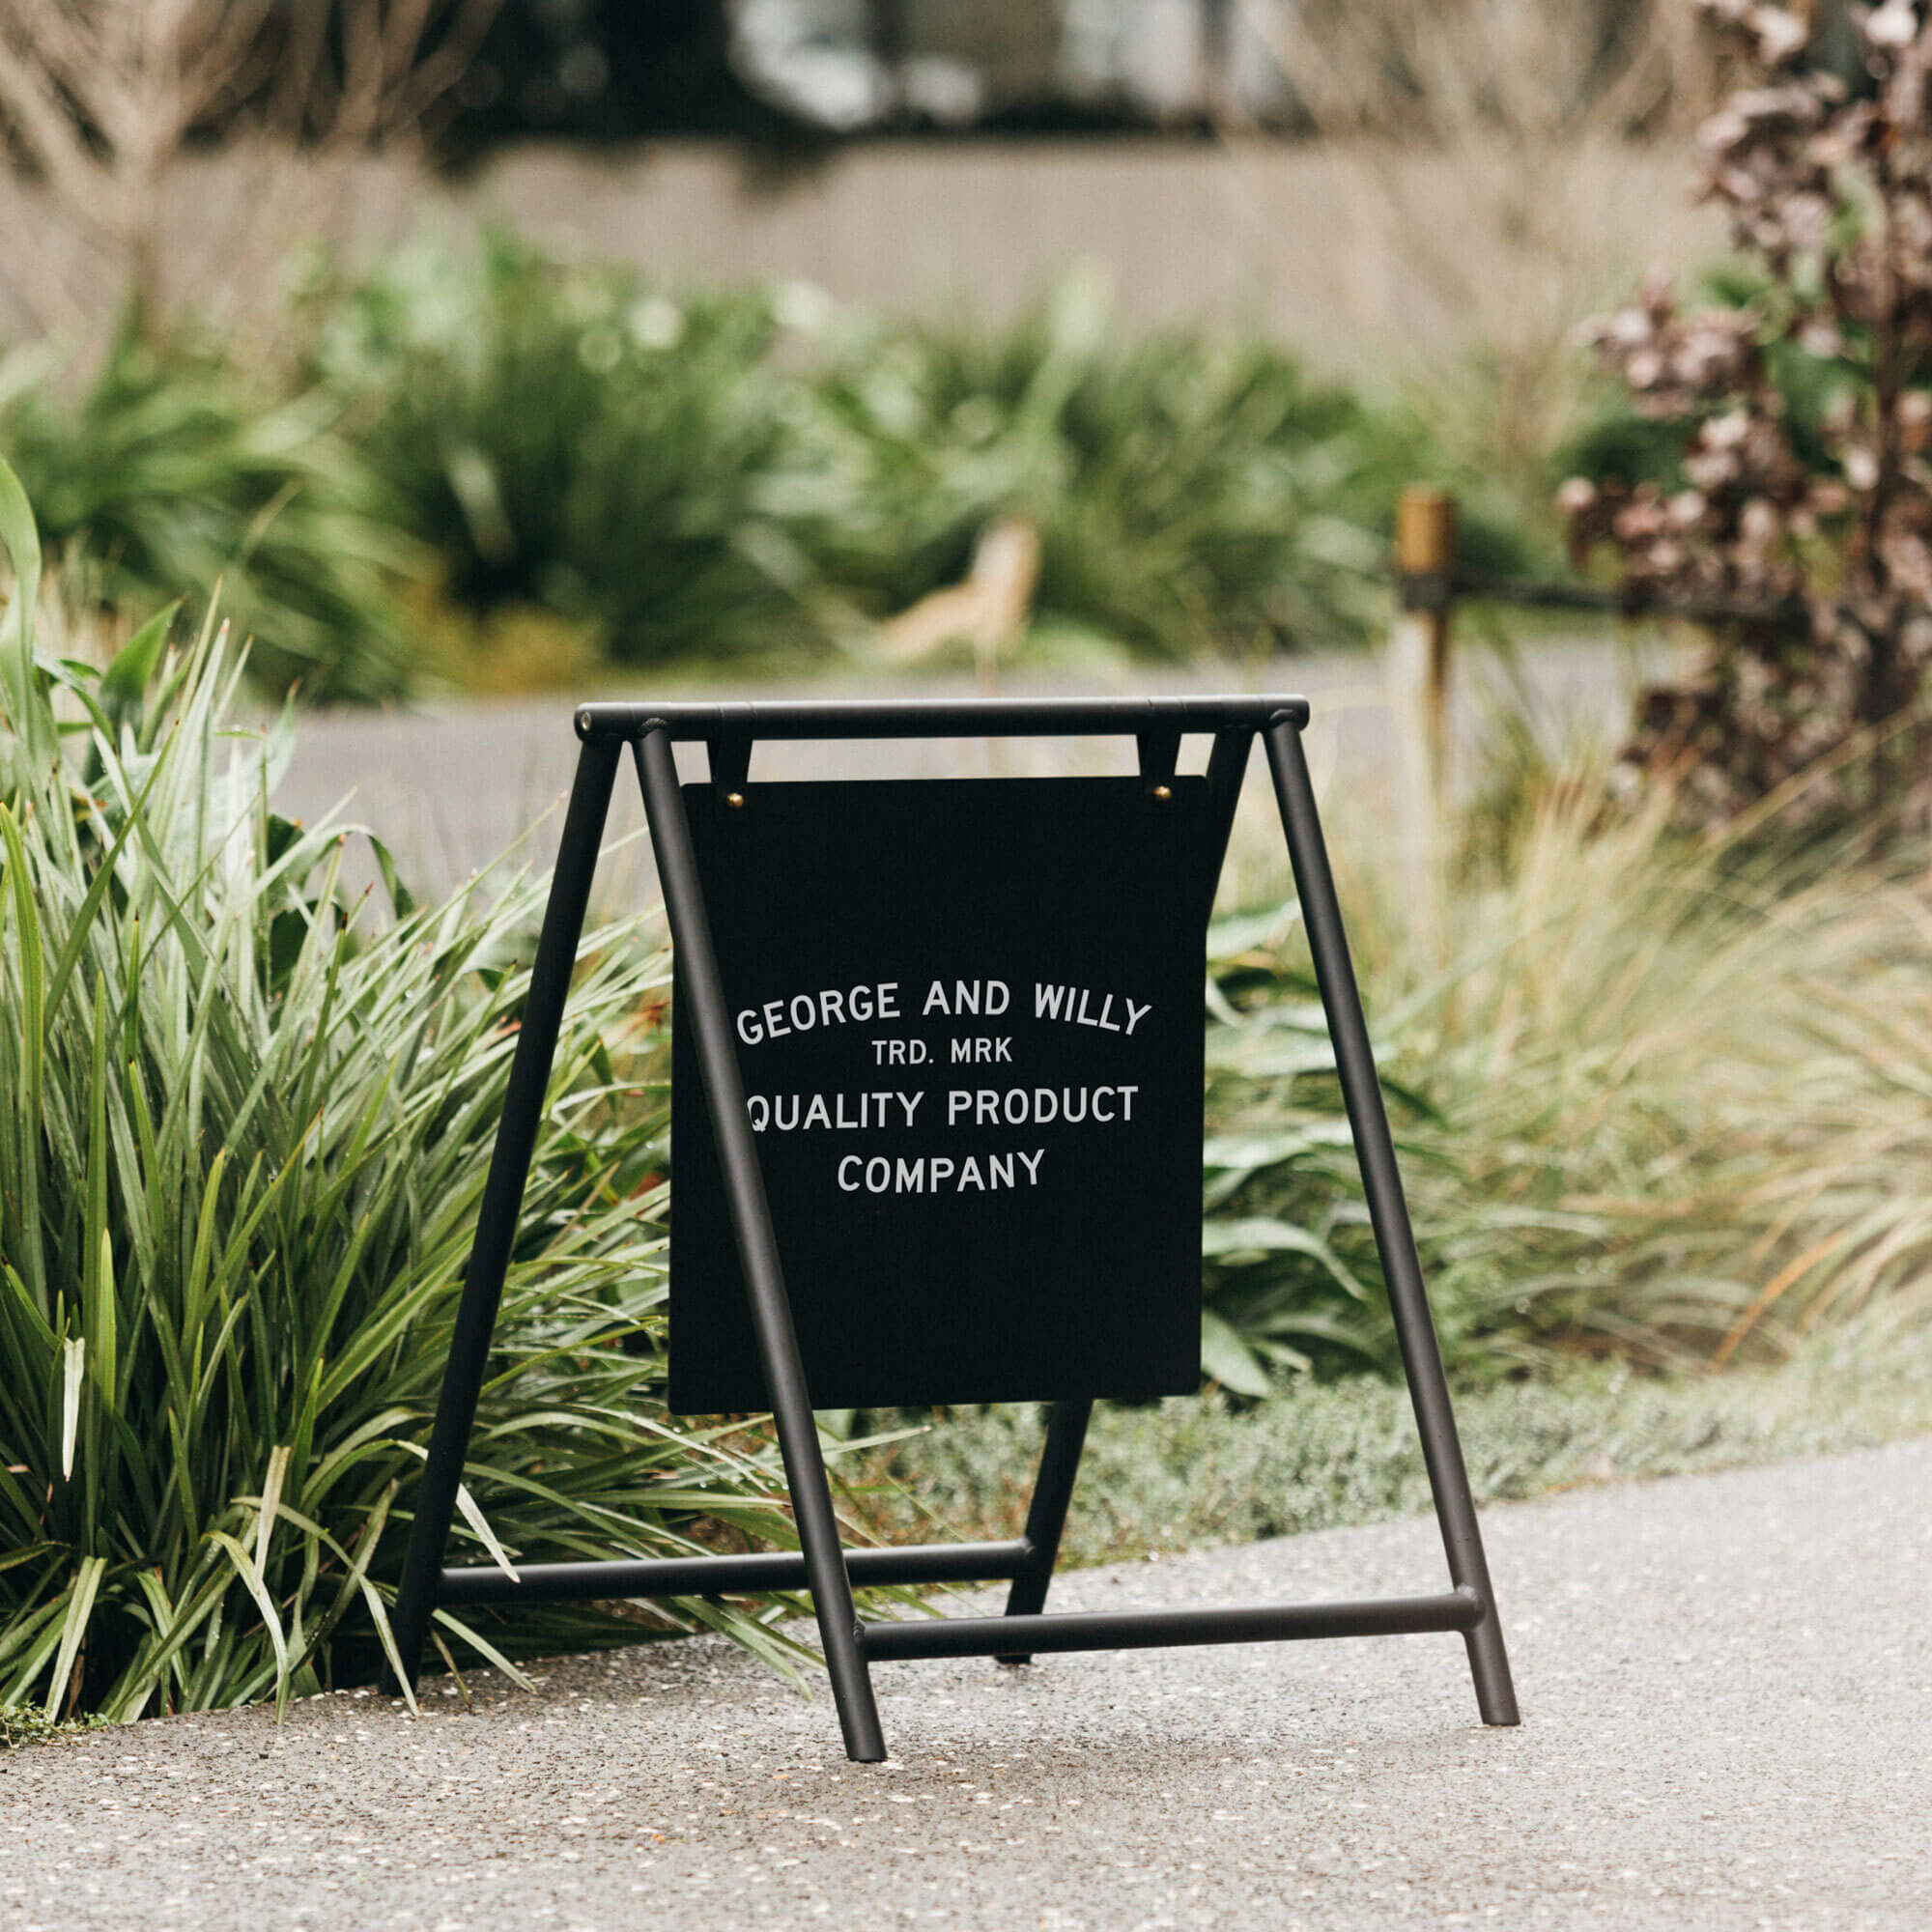
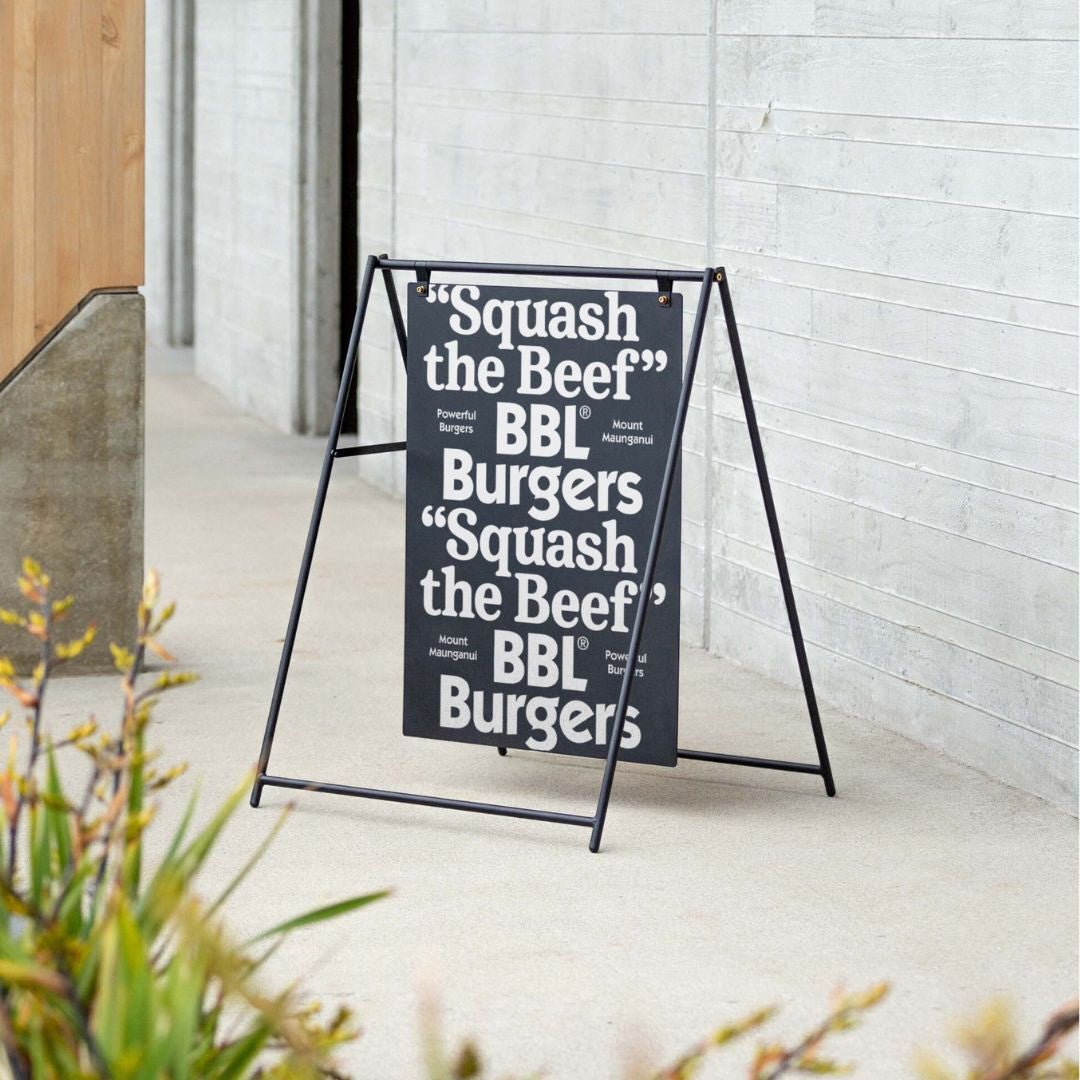
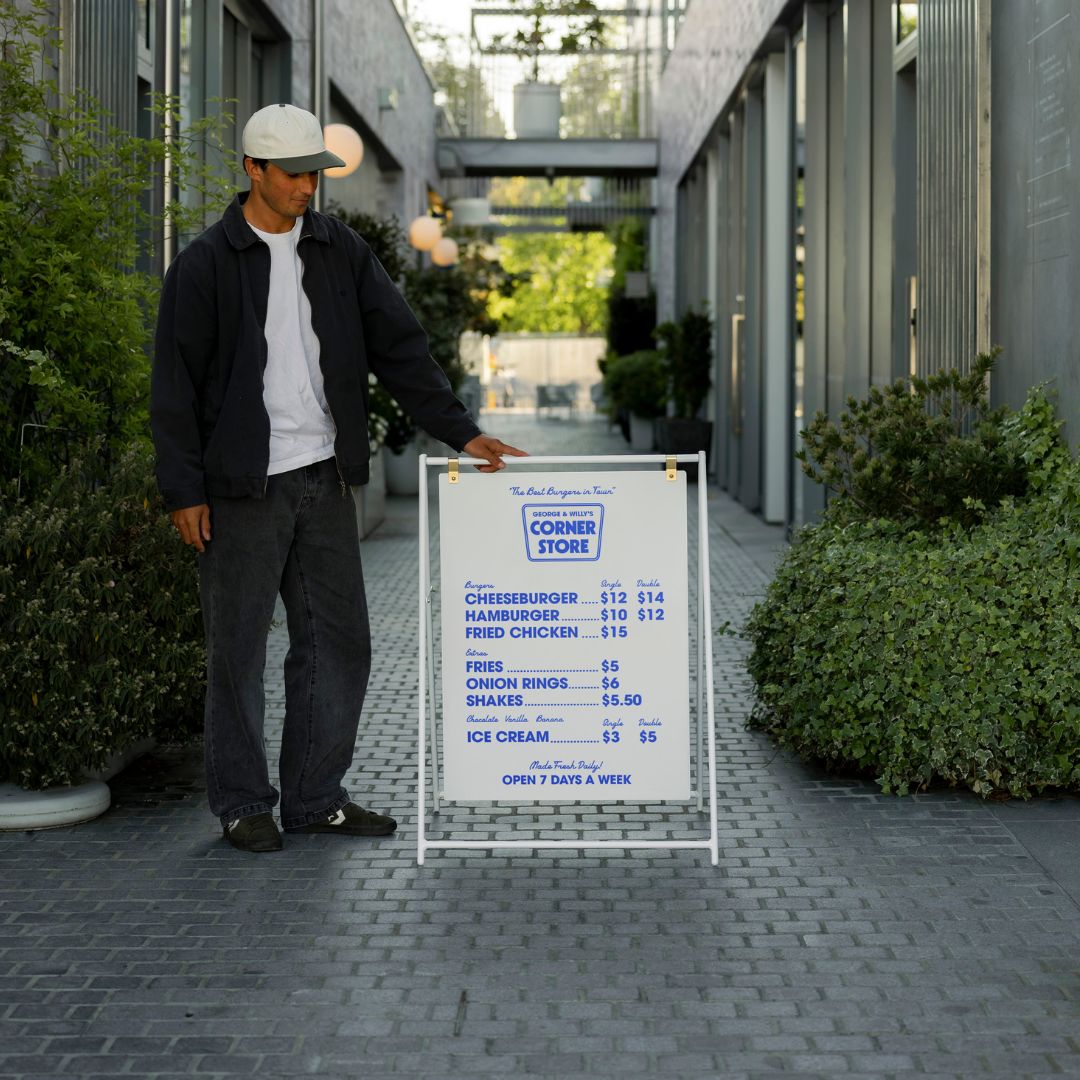
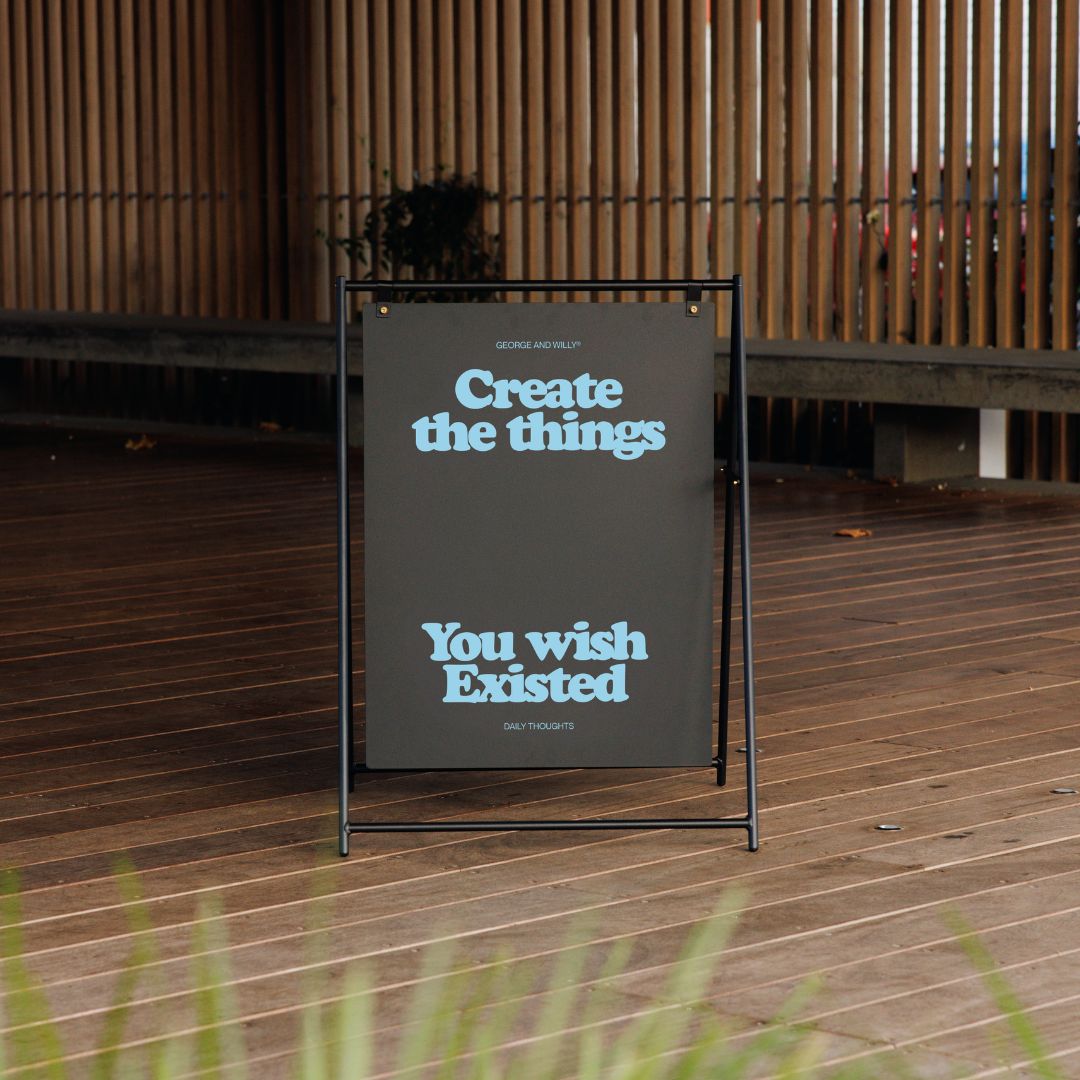
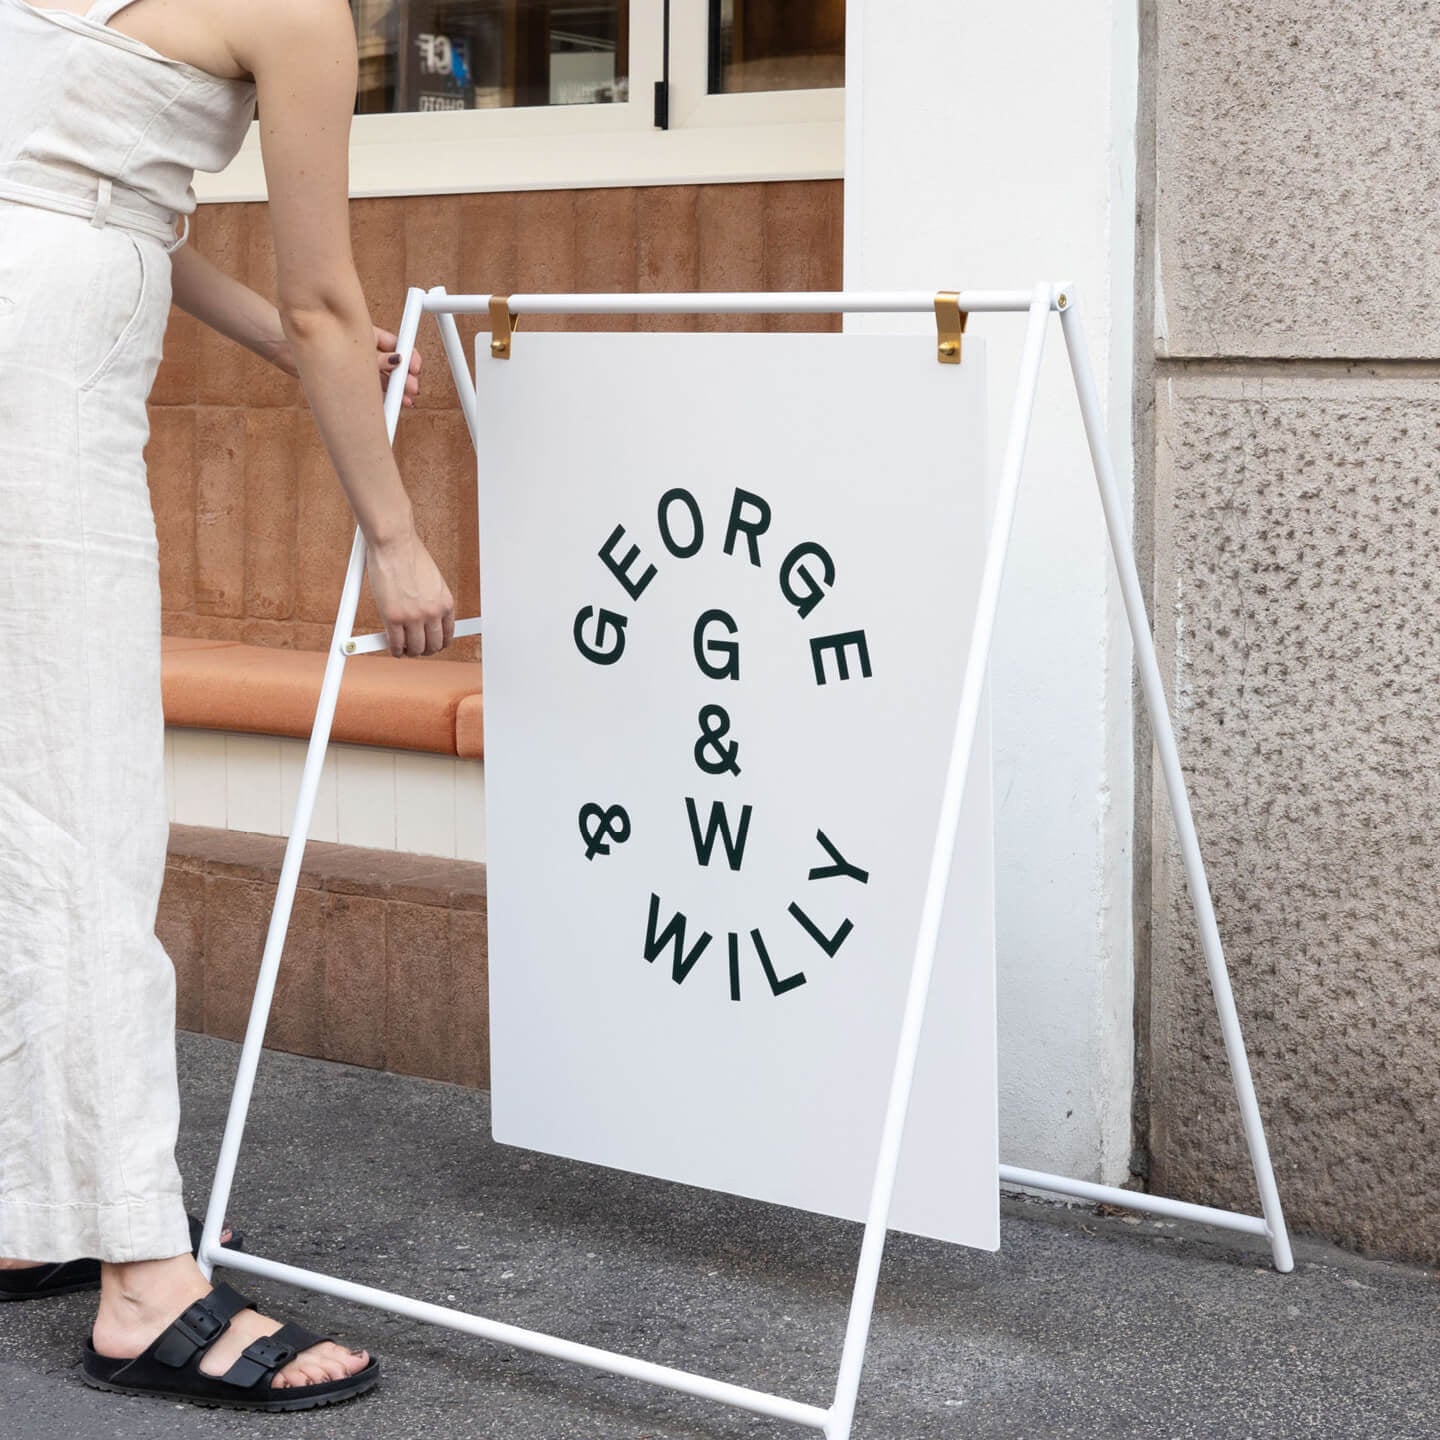
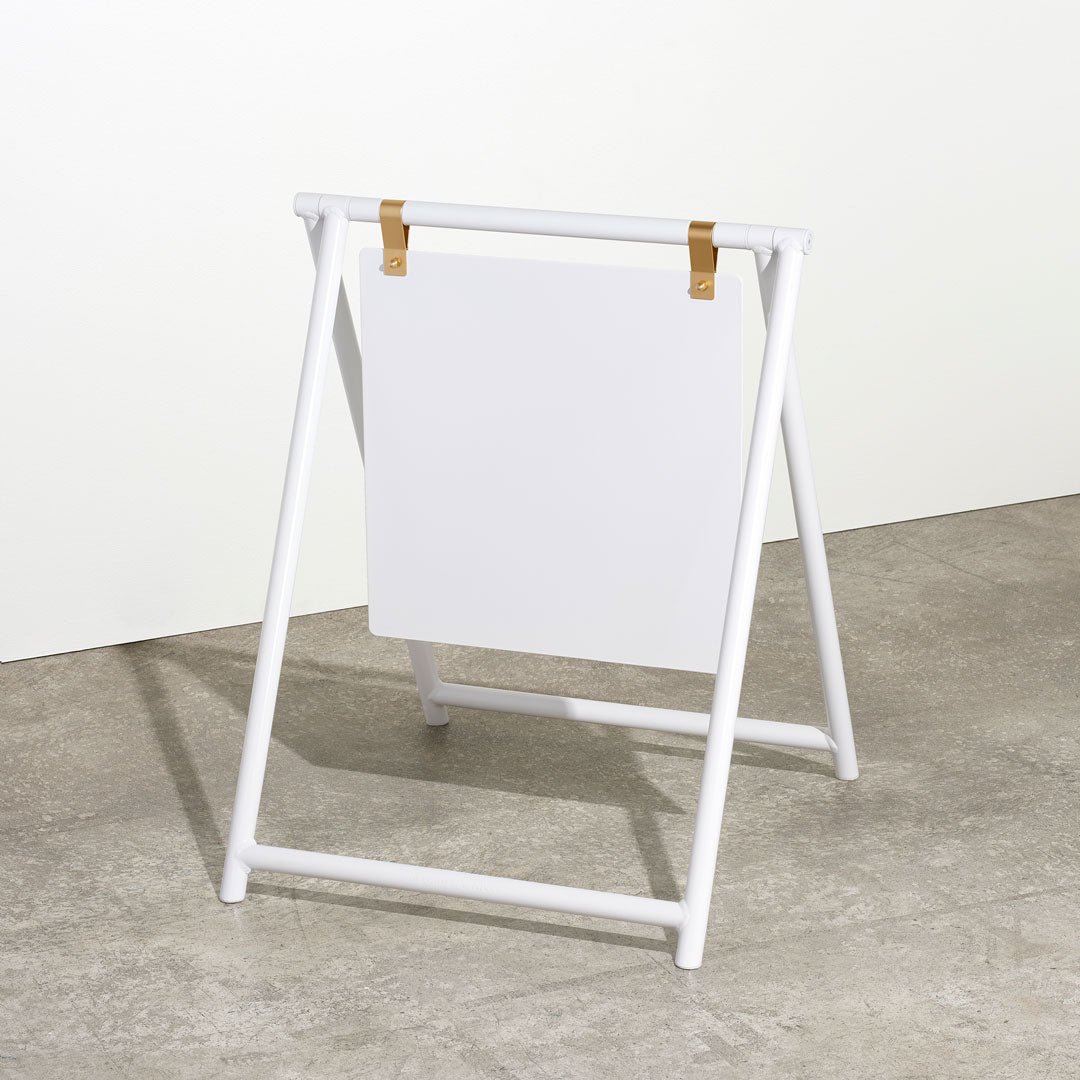
- Aluminum: Lightweight and naturally rust proof, aluminum is a fantastic choice, especially for larger signs where weight is a concern. It forms a protective oxide layer that prevents corrosion. While very durable, this oxide layer can look a bit dull over time, so aluminum signs are often powder coated for a lasting, colorful finish. Because of its durability and light weight, many high quality commercial signs, like the A-Frame Sign, are made from powder coated aluminum.
- Brass and Copper: Chosen primarily for their beautiful aesthetics, brass and copper offer a classic, high end look. A 4 kW fiber laser can cut brass up to about 1/4 inch thick. These metals will tarnish and develop a patina over time, so they are often sealed with a clear lacquer to maintain their shine, particularly for indoor signs.
Thinking About Thickness
The thickness of the metal affects its look, rigidity, and the cutting process itself. Most signs use metal between 0.04 inches (1 mm) and 0.25 inches (6 mm). A thicker sign feels more substantial but will also be heavier and more expensive.
For outdoor laser cut metal signs, using a very thin metal can lead to warping over time. One fabricator noted that a large sign made from 1.2 mm steel can “warp like a cheap frying pan,” recommending a thickness of at least 2.5 mm for better stability. It is also a general rule not to design details that are narrower than the material’s thickness, as these small features can be fragile and difficult to cut cleanly.
How Laser Cut Metal Signs Are Made
The actual cutting is a fascinating, high tech process that transforms a metal sheet into your finished design.
The Laser Cutting Process
First, an operator runs through a pre cutting checklist, ensuring the assist gas (like oxygen or nitrogen) is connected and the machine is functioning properly. They then carefully load the sheet of metal onto the laser cutter’s bed, making sure it is flat and properly aligned.
Next, they configure the laser settings, adjusting the power, speed, and focus to match the specific metal and thickness. The cutting process is a thermal one; a highly focused laser beam melts and vaporizes the metal in an incredibly small spot. A jet of assist gas blows the molten material away, leaving a clean, precise cut.
Throughout the process, the operator monitors the machine to watch for any issues, like excessive sparks or flare ups. Safety is paramount, and operators always keep a fire extinguisher within arm’s reach.
The Final Polish: Finishing and Aftercare
Once the laser has finished its work, a few more steps are needed to get the sign ready for display.
Post Processing and Finishing Options
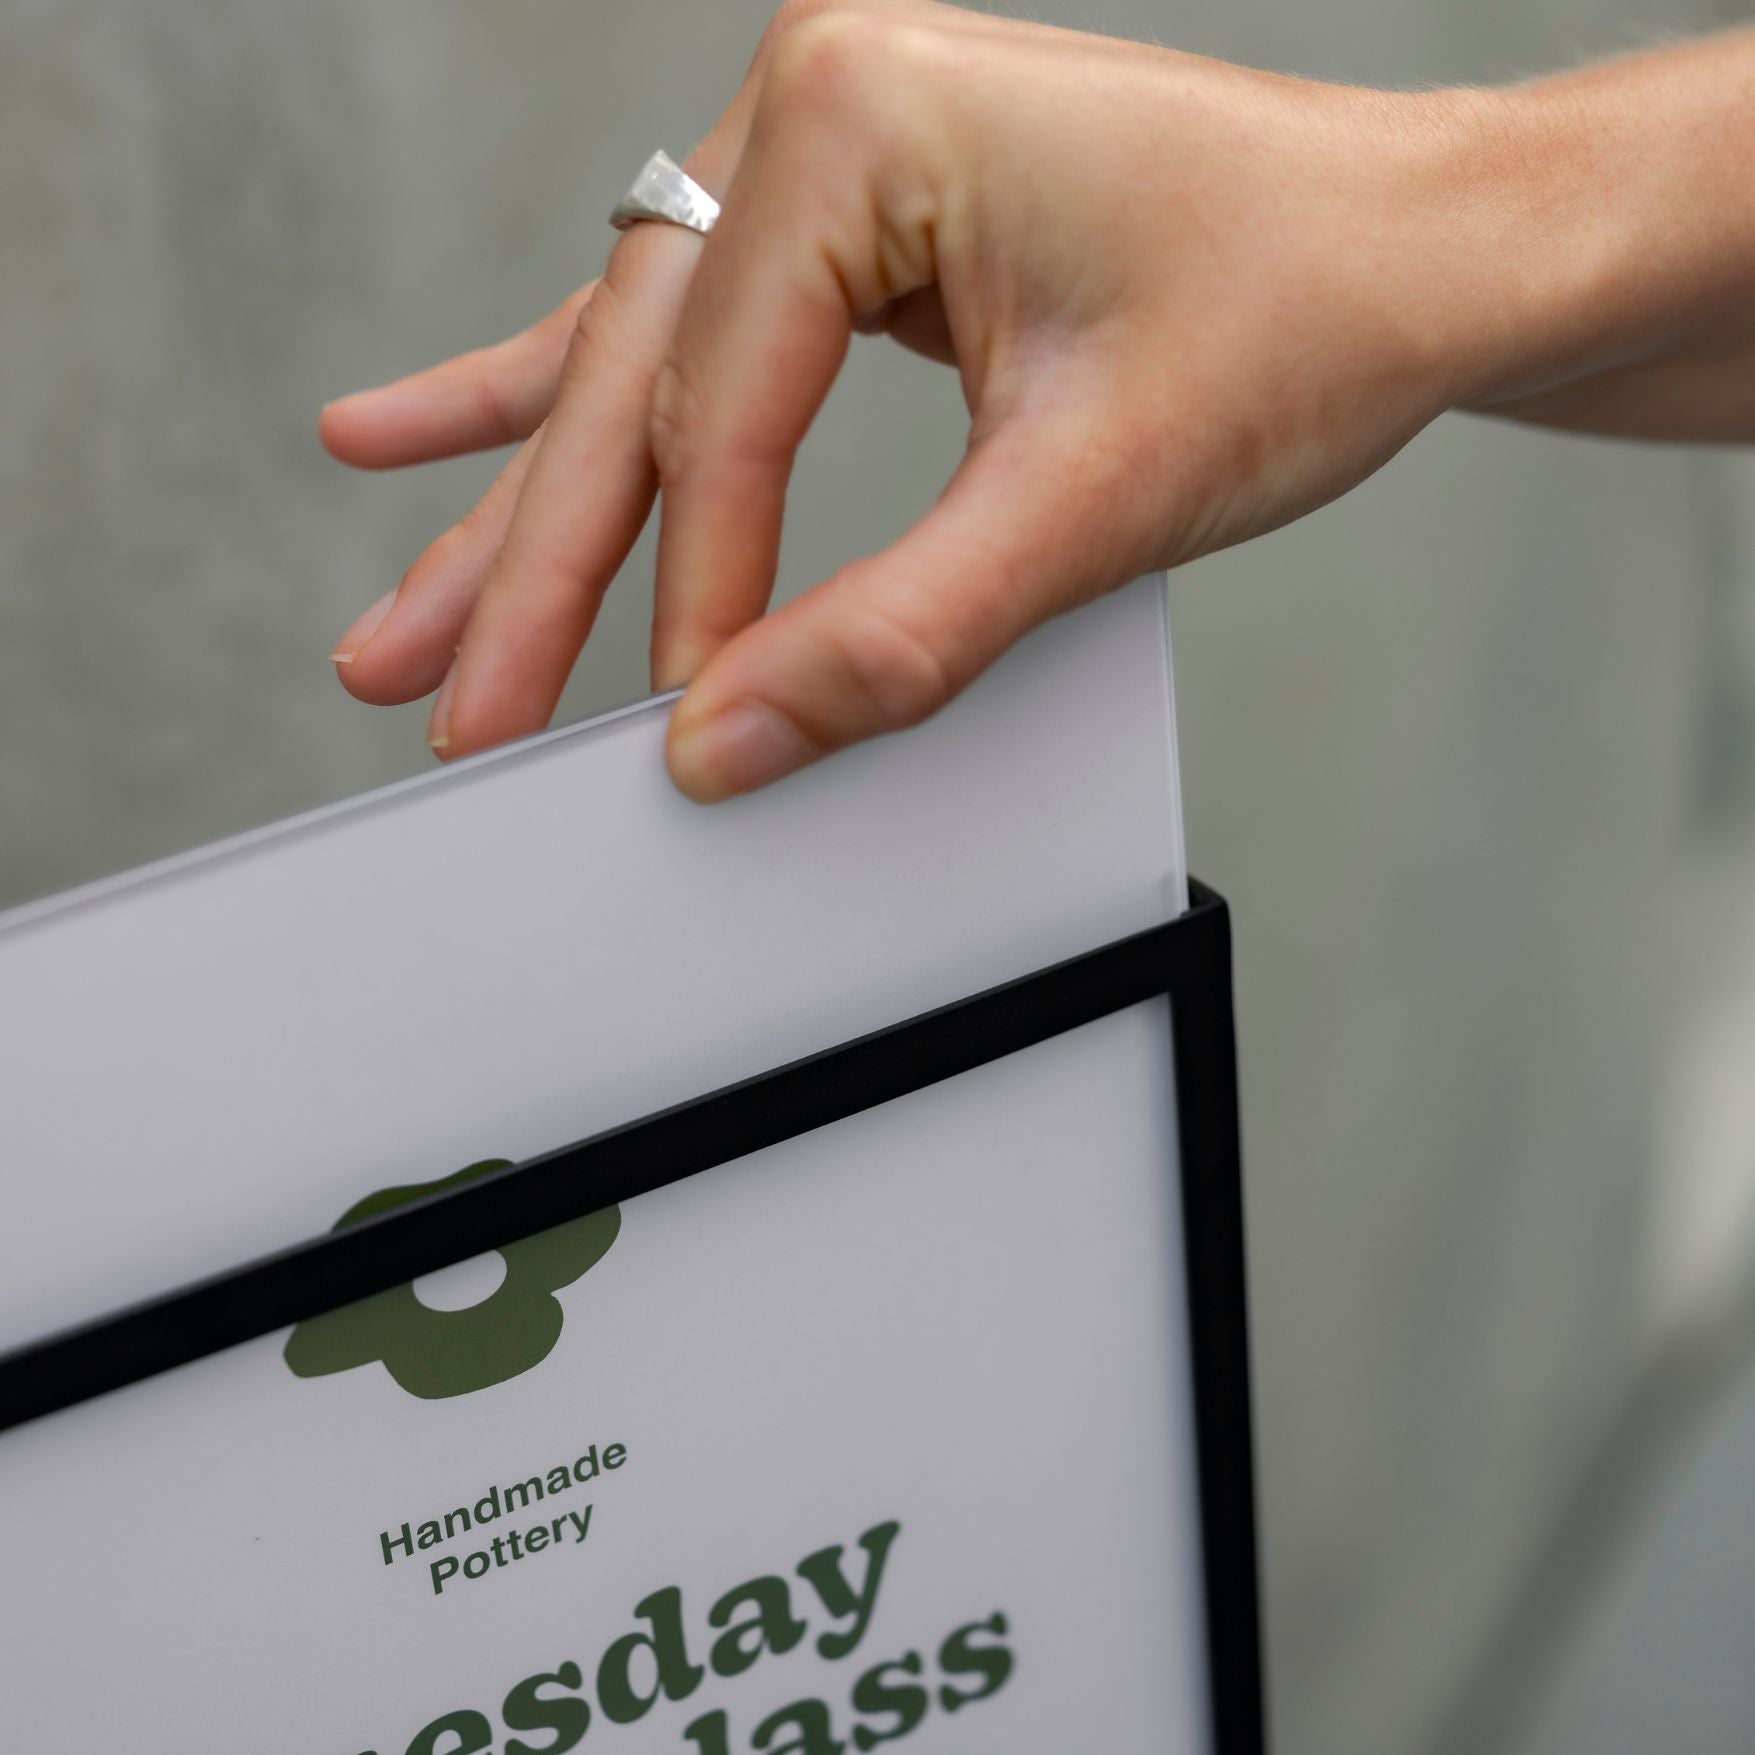
The freshly cut metal pieces are first cooled and deburred to smooth any sharp edges. The surface is then cleaned to remove any dust or residue from the cutting process.
From there, one of several finishing options is applied:
- Powder Coating: This is one of the most durable finishes available. A dry powder is electrostatically applied and then baked, creating a tough, even coating that resists chipping, scratching, and fading. It is an excellent choice for outdoor signs, providing both color and robust protection against the elements.
- Painting: While less durable than powder coating, painting offers more flexibility for custom colors or detailed, multi color graphics. Proper priming is essential for good adhesion and rust prevention.
- Patina and Rust Finishes: For a rustic or artistic look, some signs are given a patina. This can be a forced rust finish on steel or a verdigris (greenish blue) finish on copper. Often, once the desired look is achieved, the sign is sealed with a clear coat to lock in the patina and prevent further corrosion.
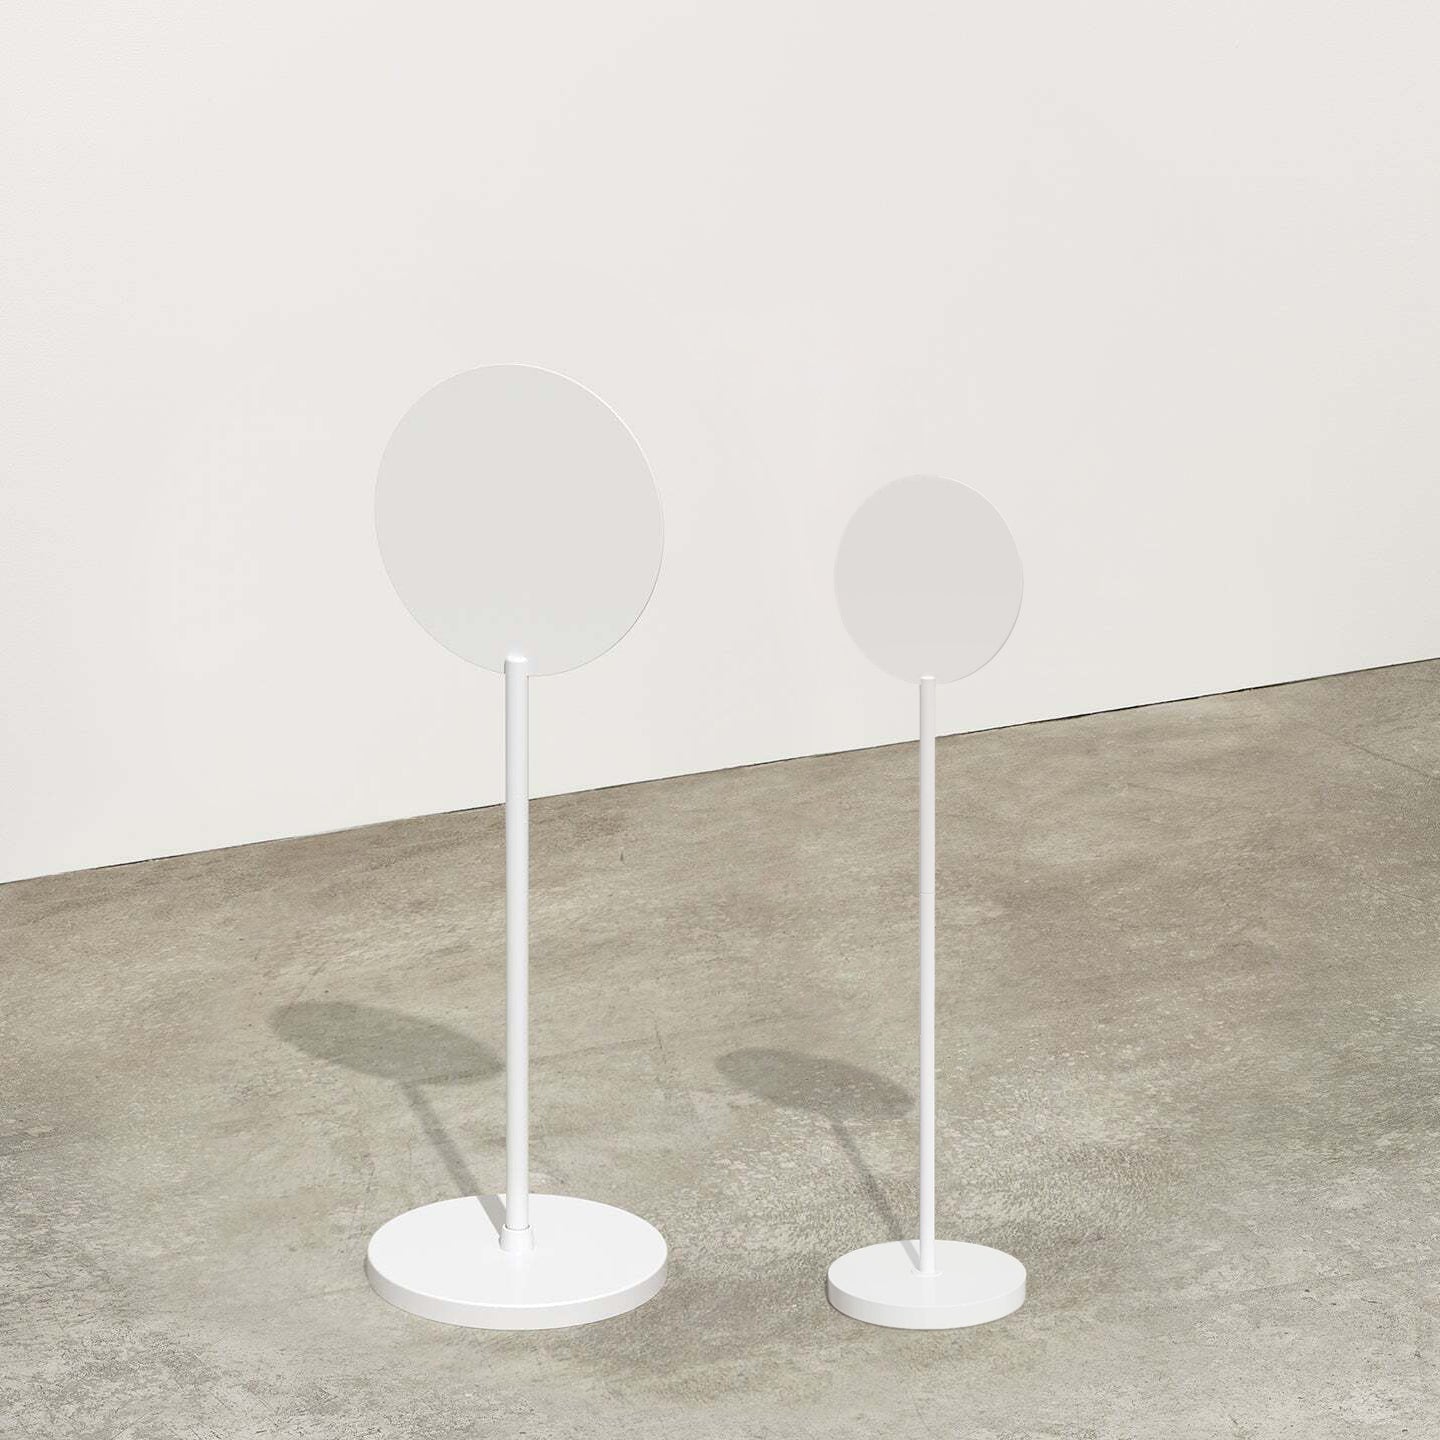
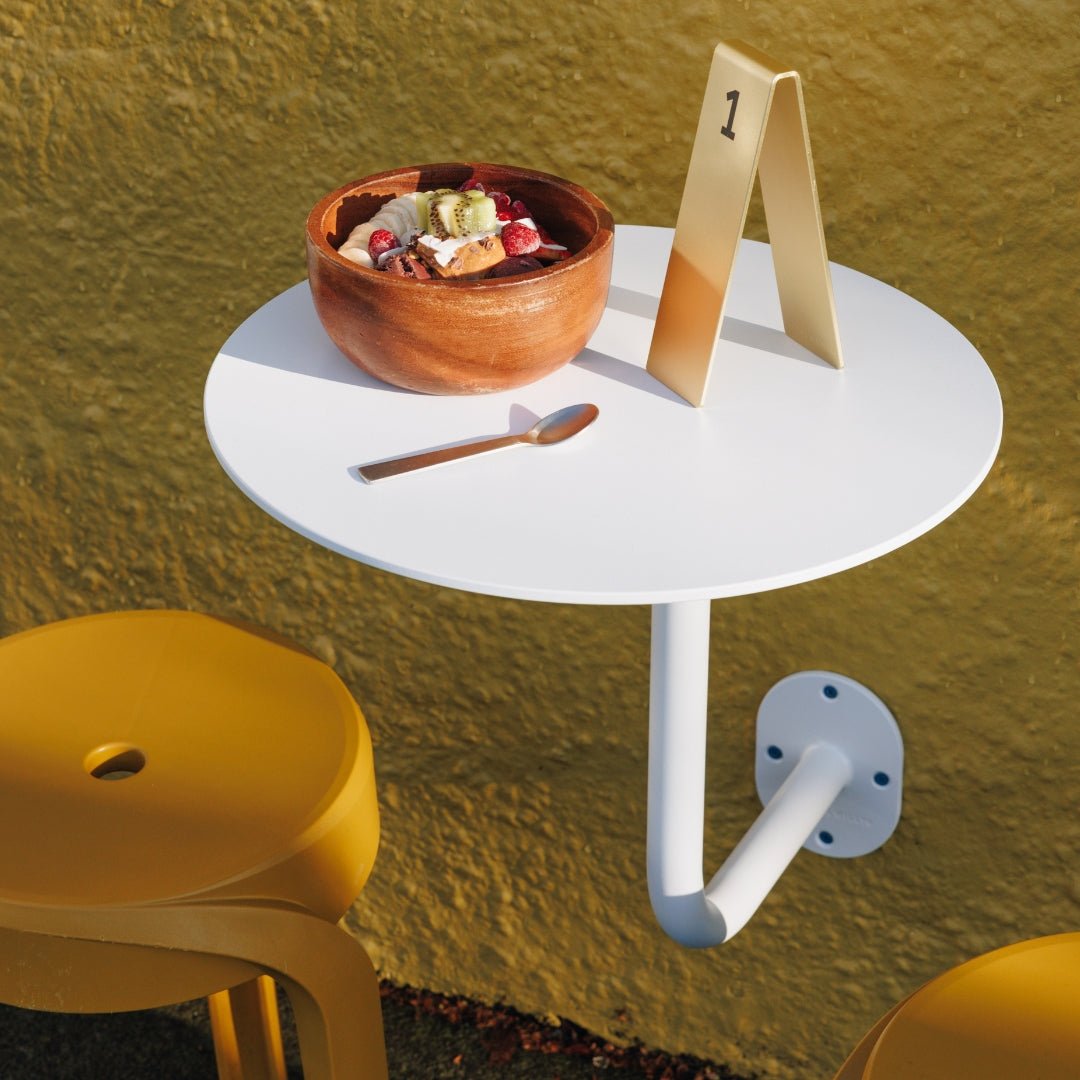
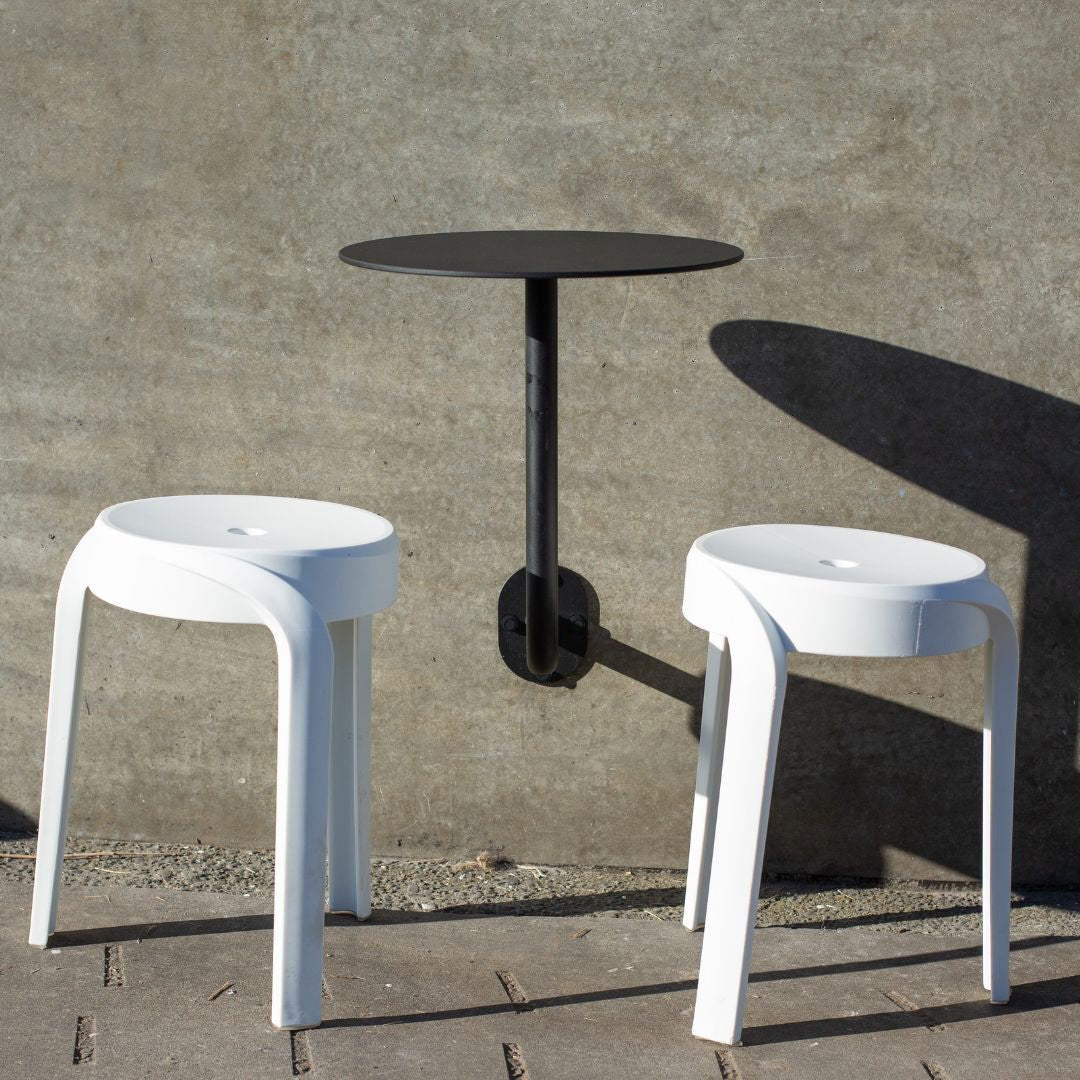
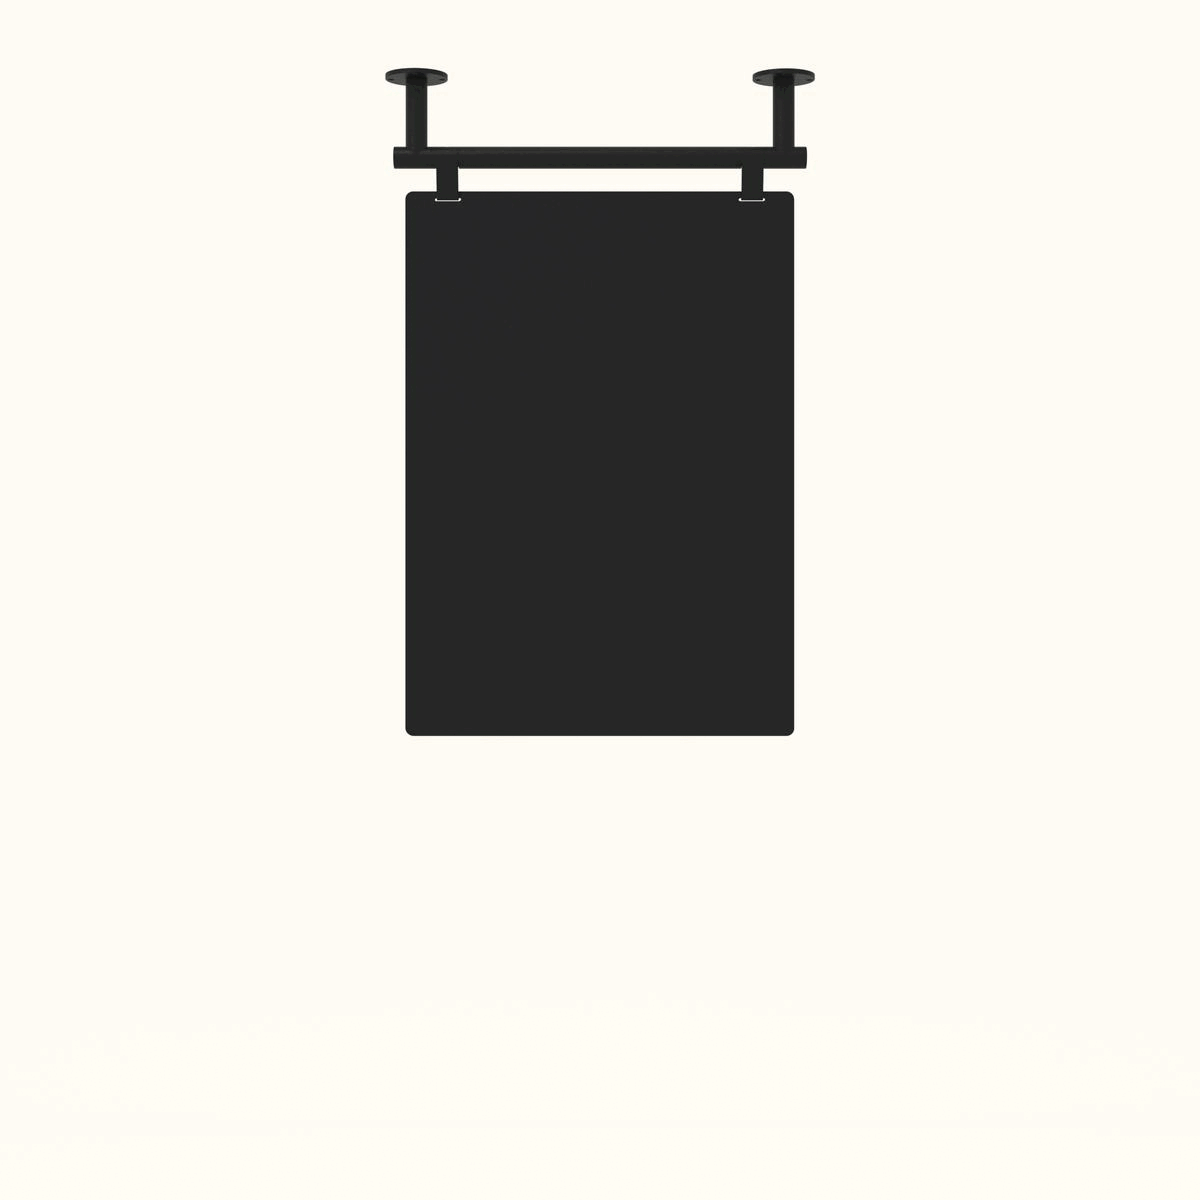
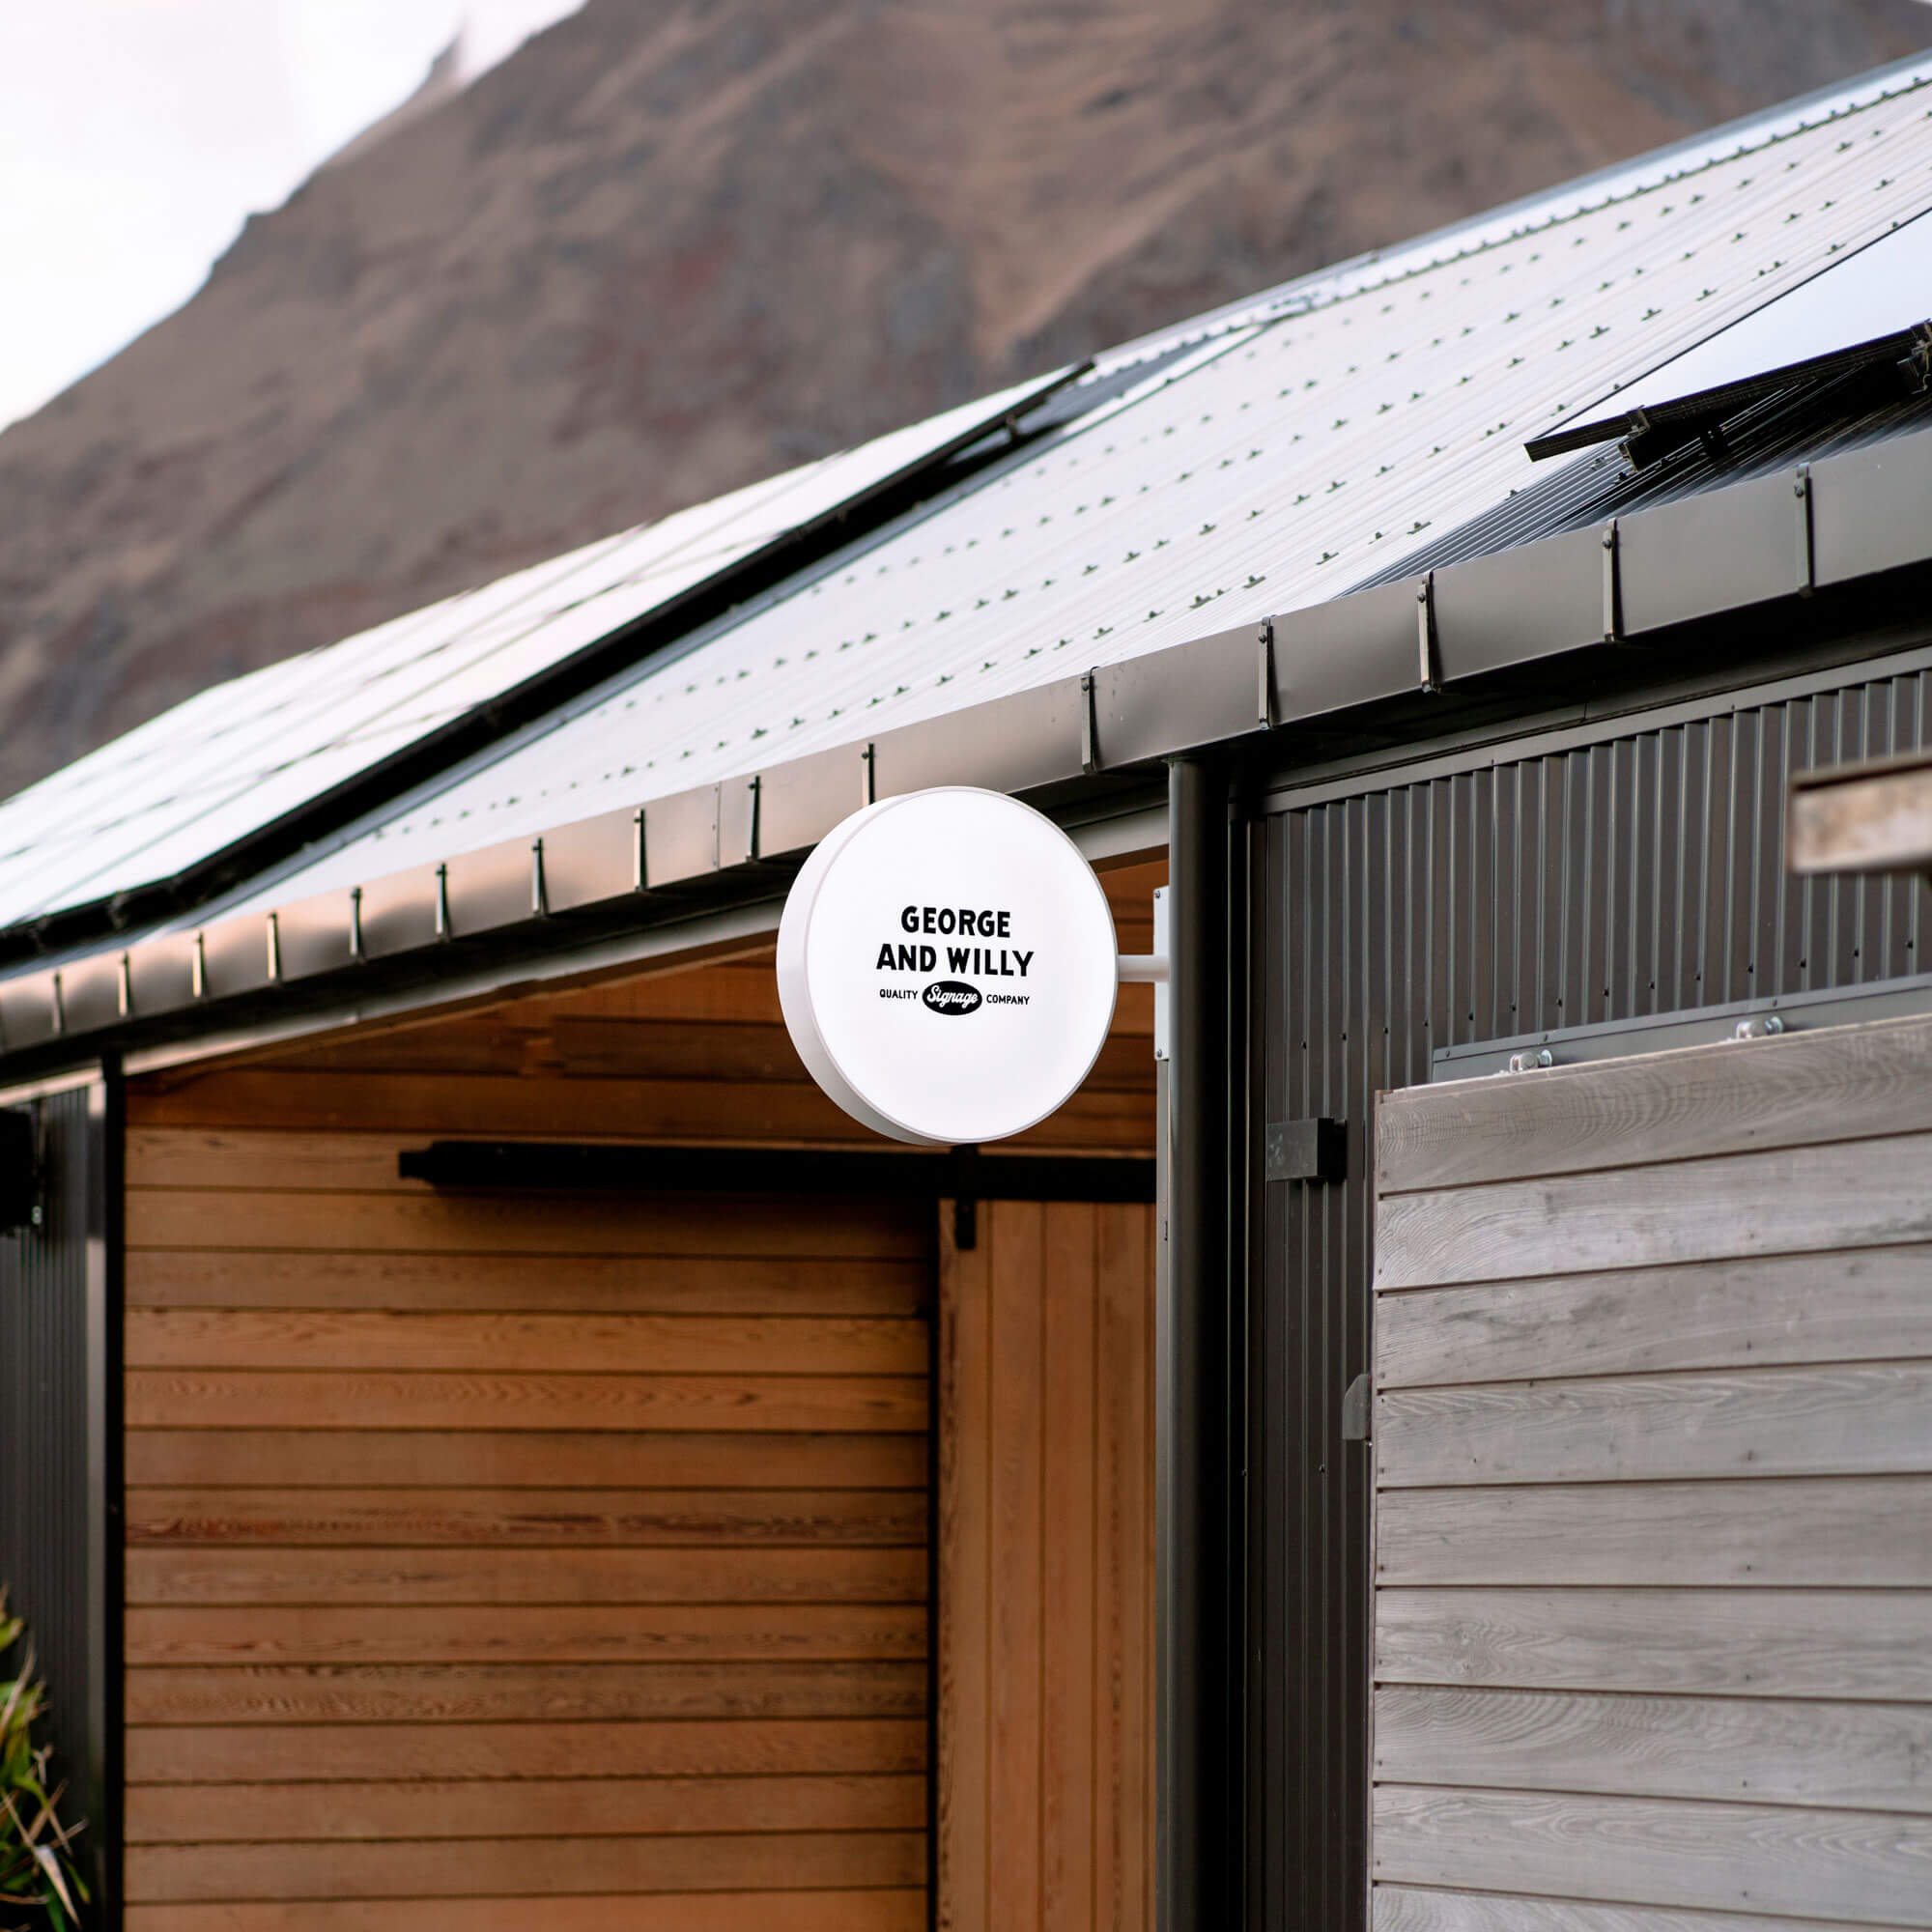
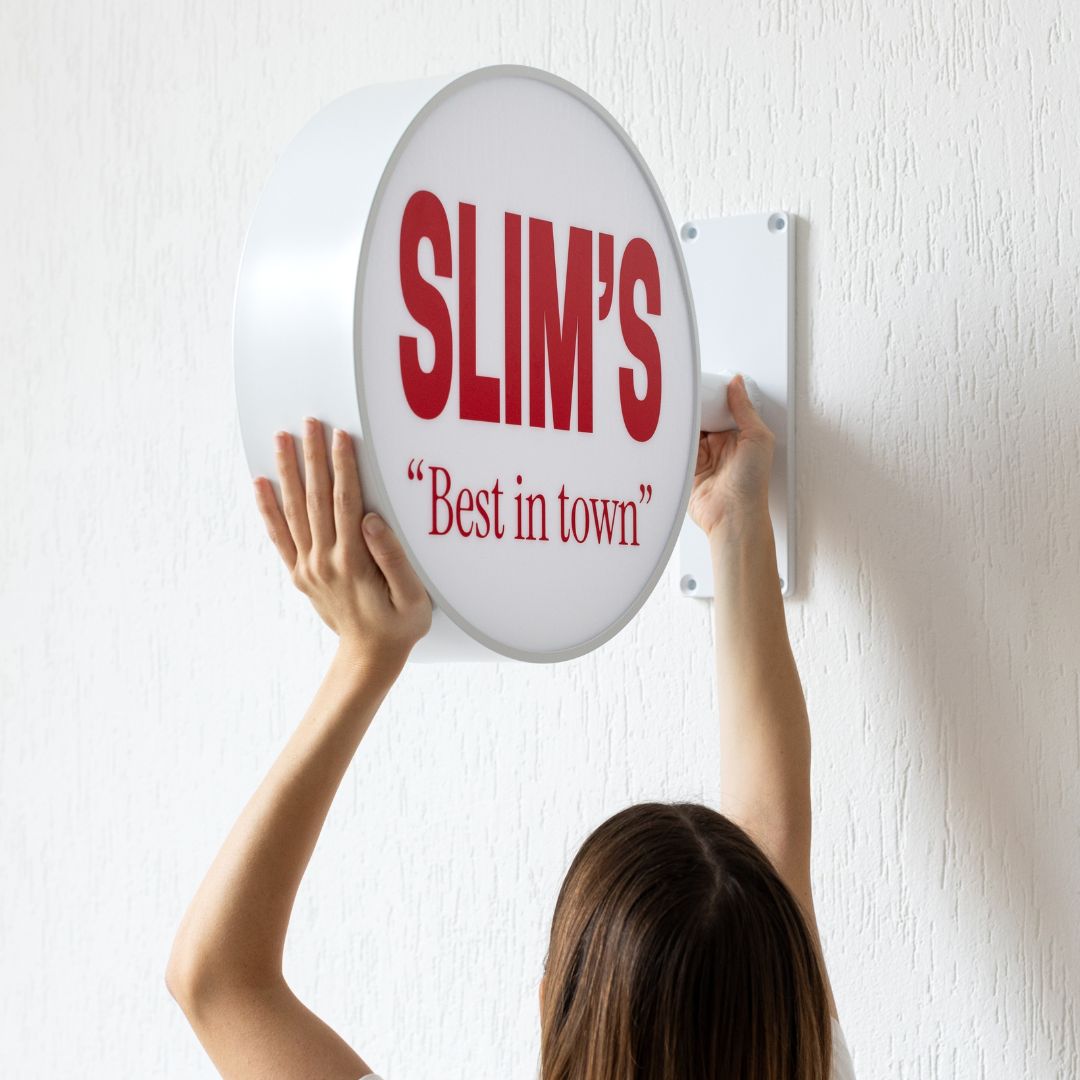
Mounting Your Sign
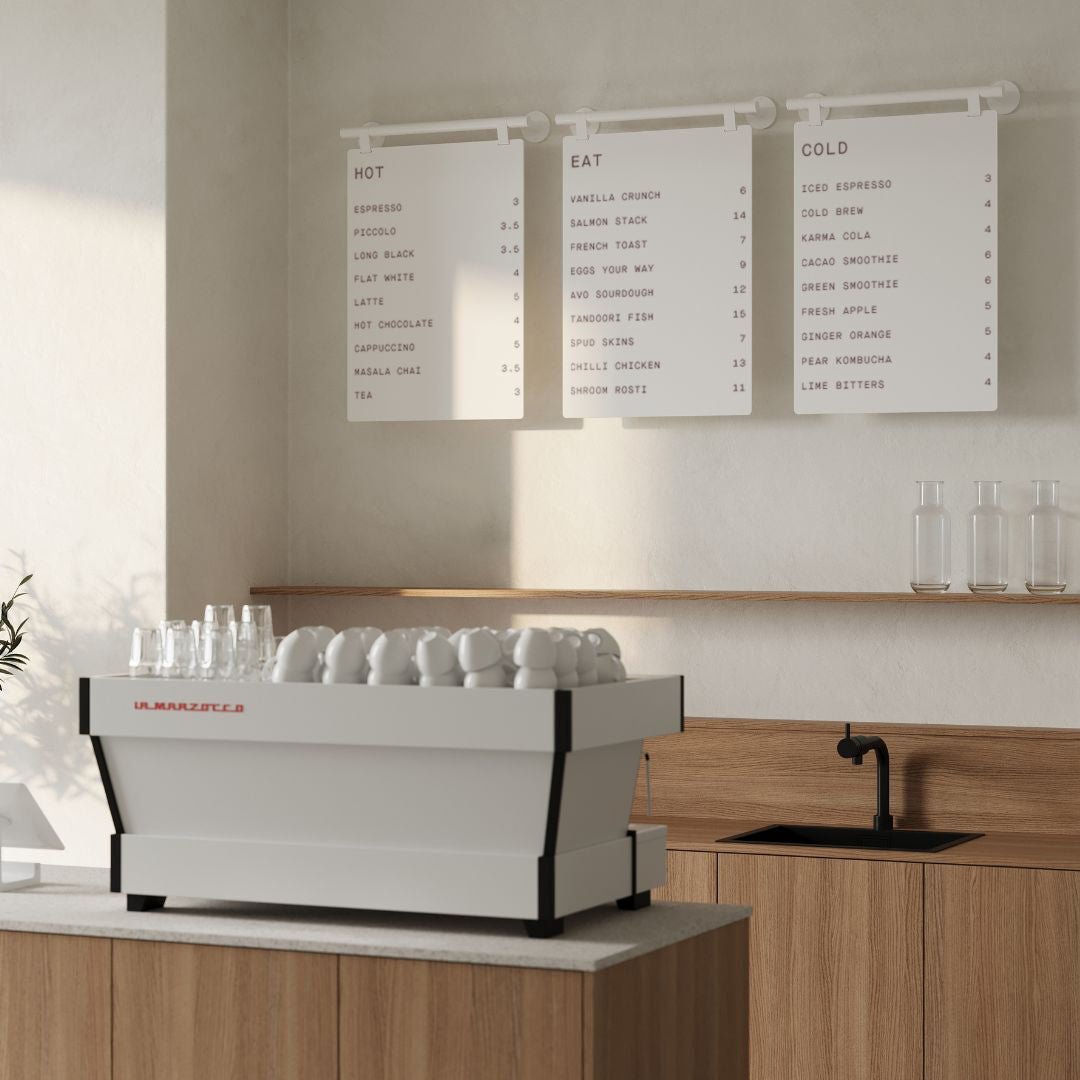
How you hang your sign contributes to its overall effect. For projecting storefront visibility, a Flag Sign provides a clean, perpendicular option to the street.
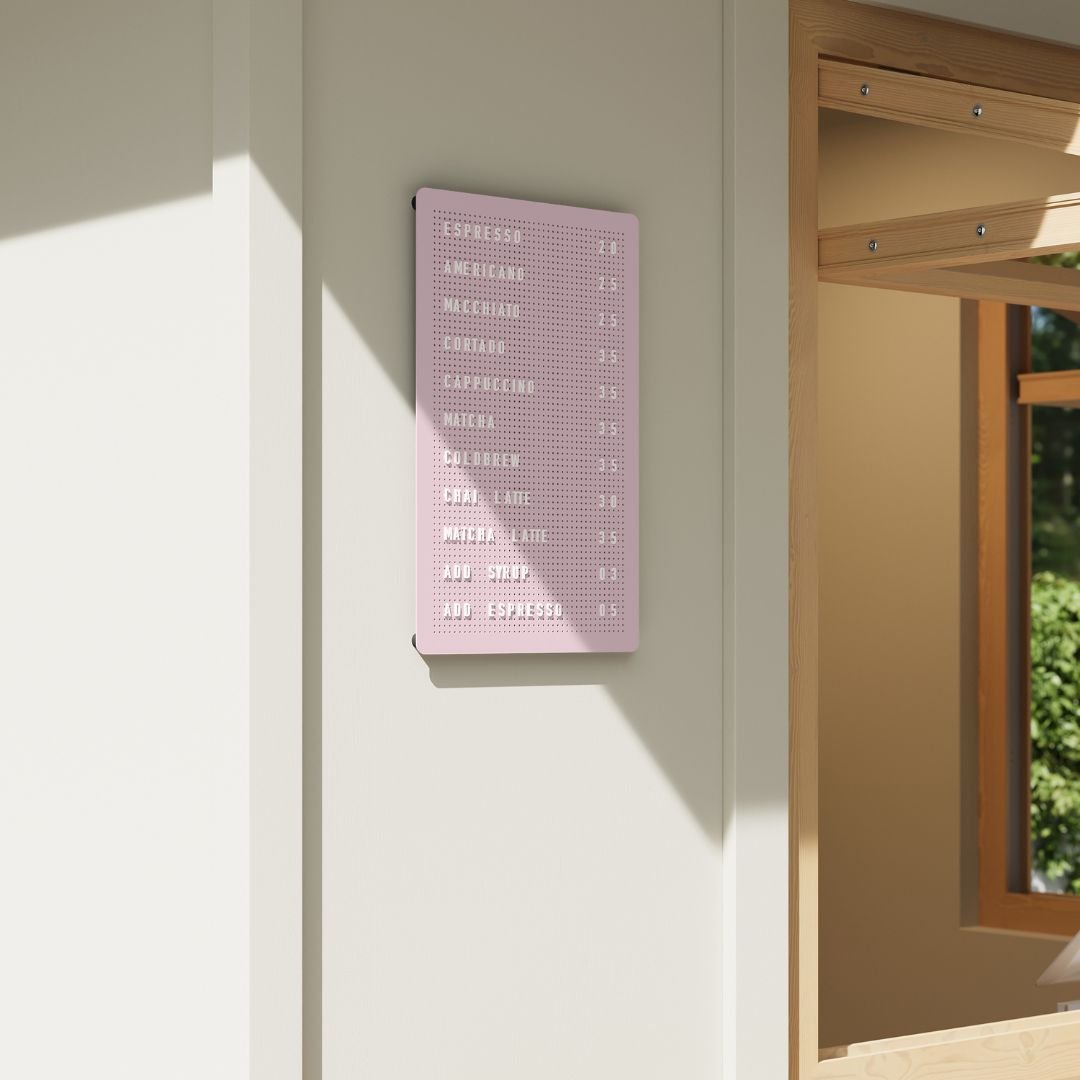
- Flush Mount: The sign is attached directly to the wall for a clean, low profile look.
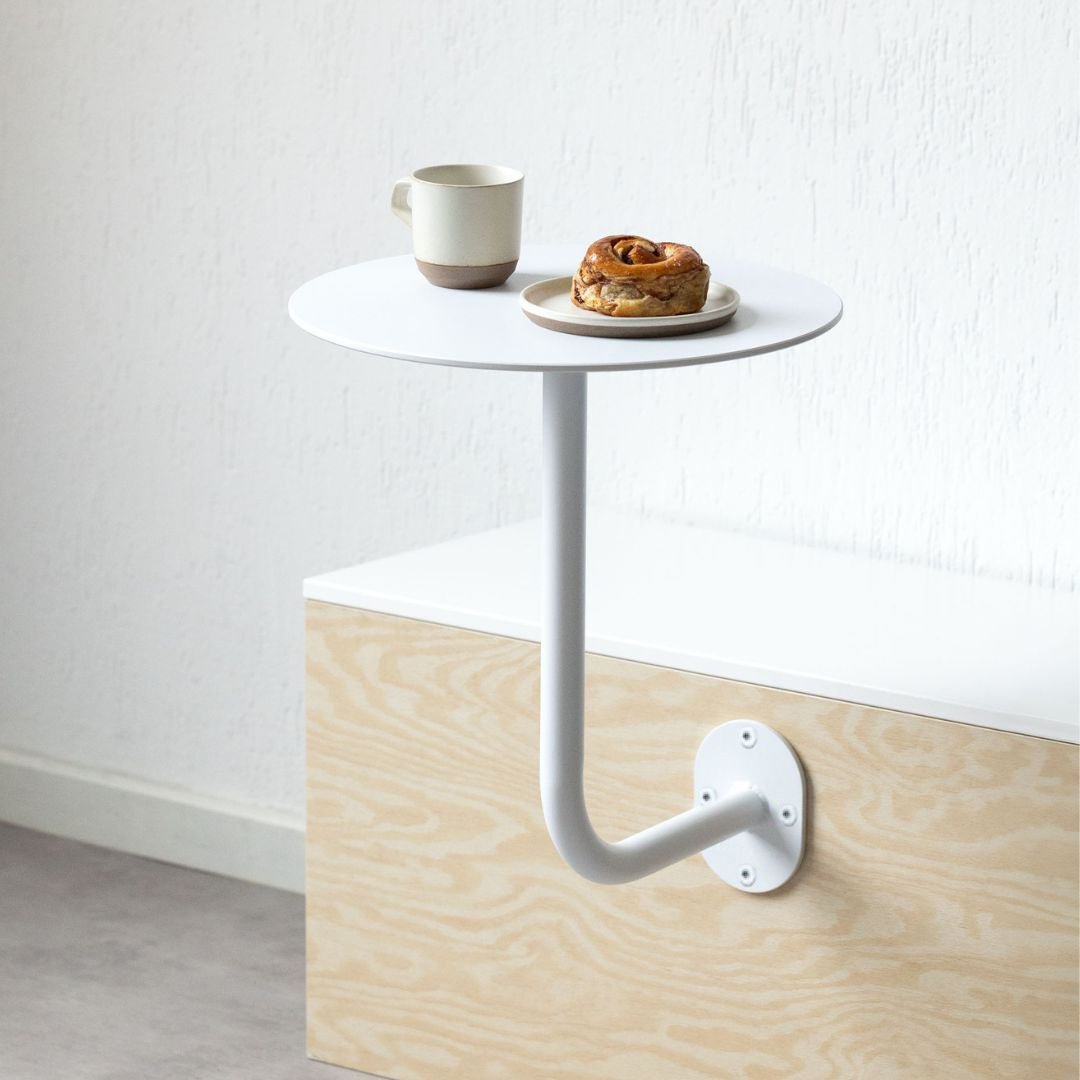
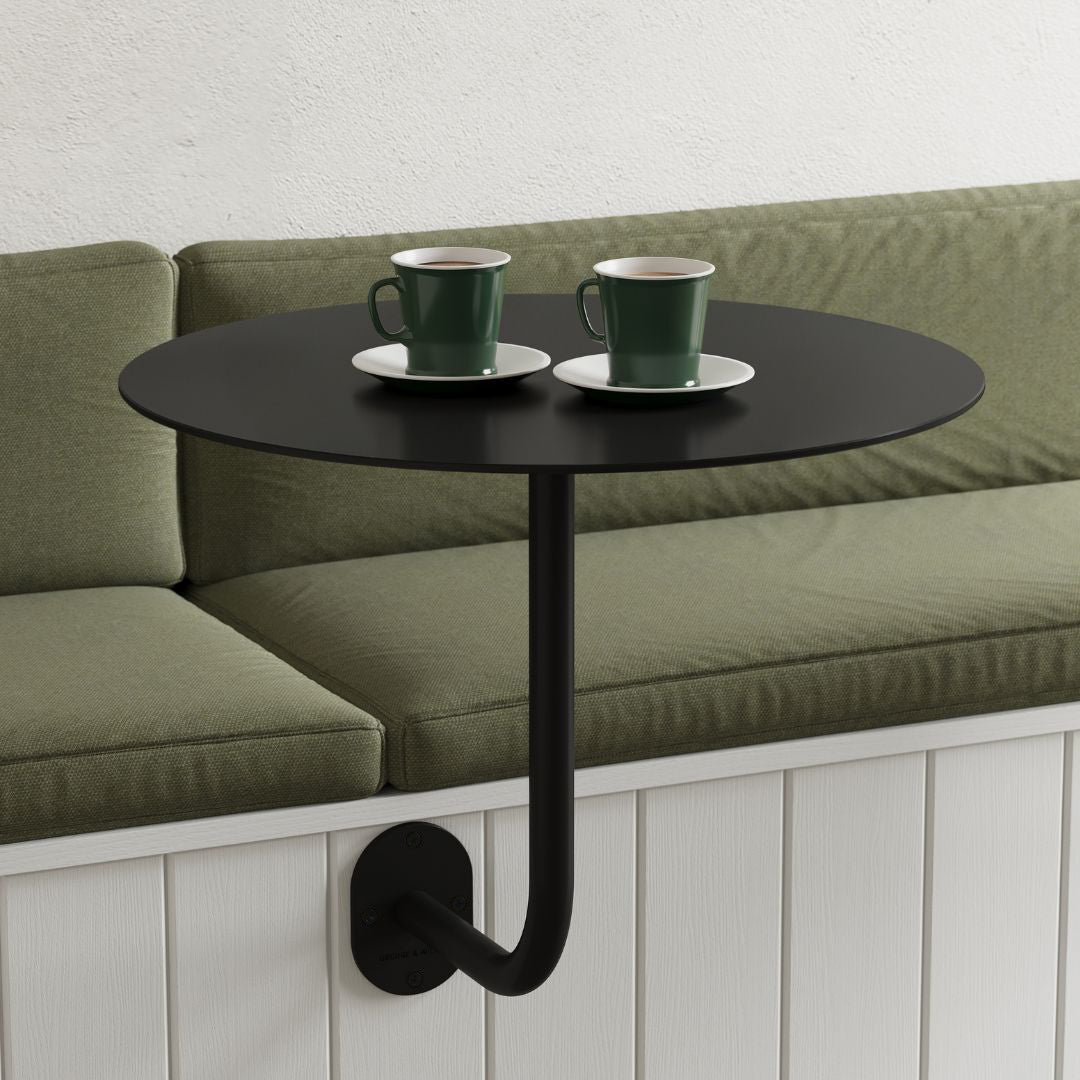
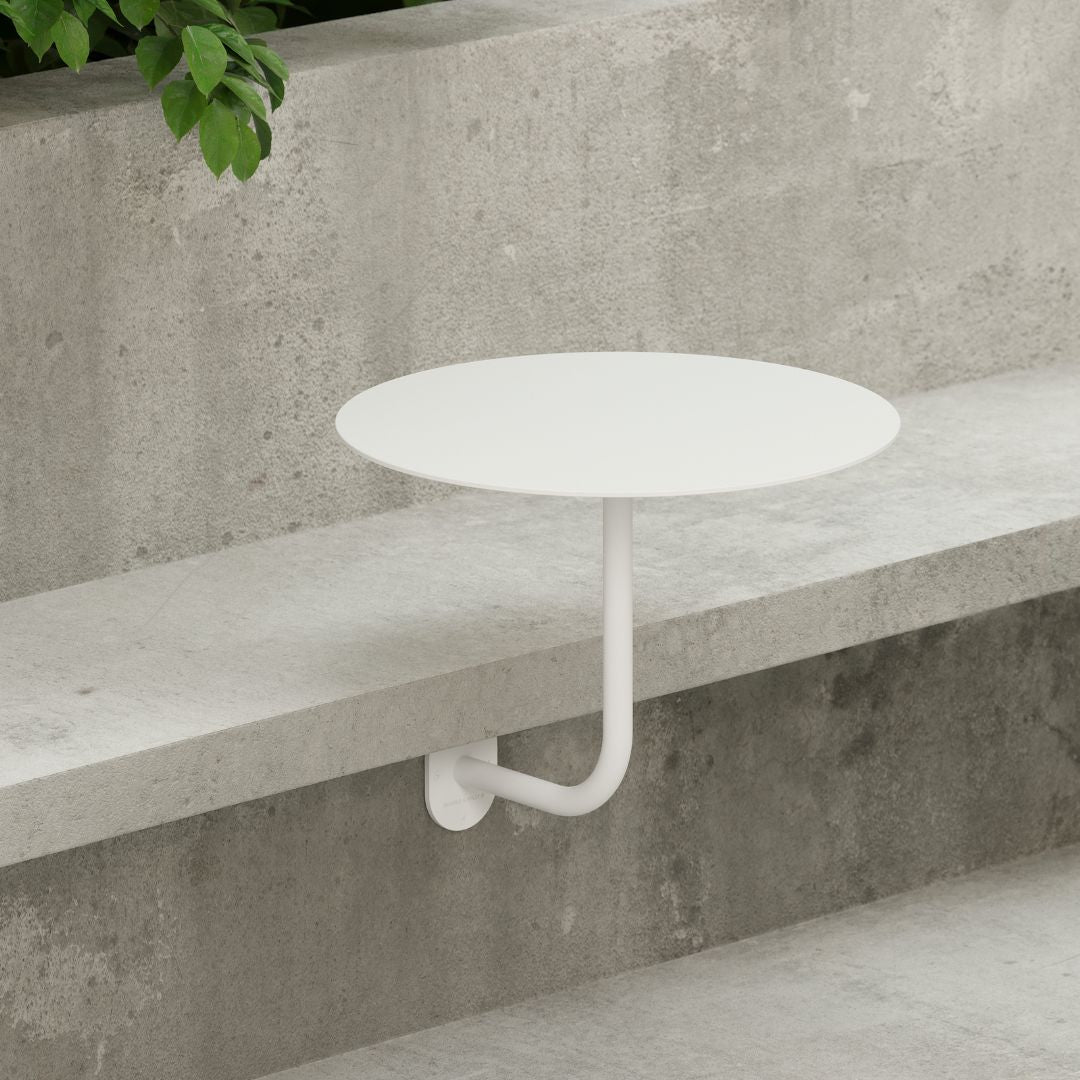
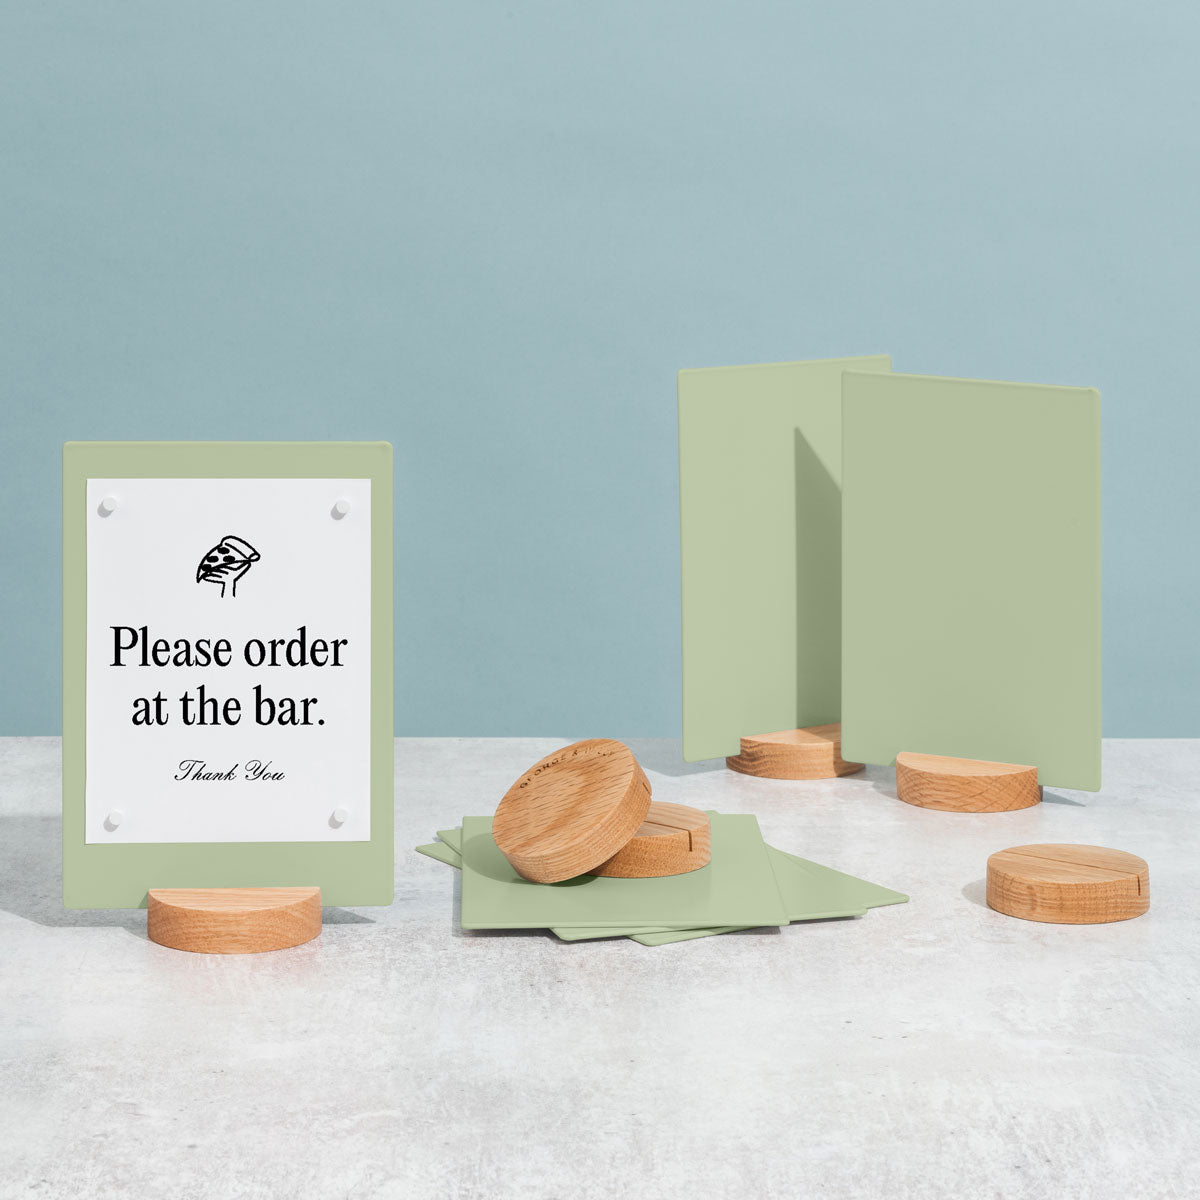
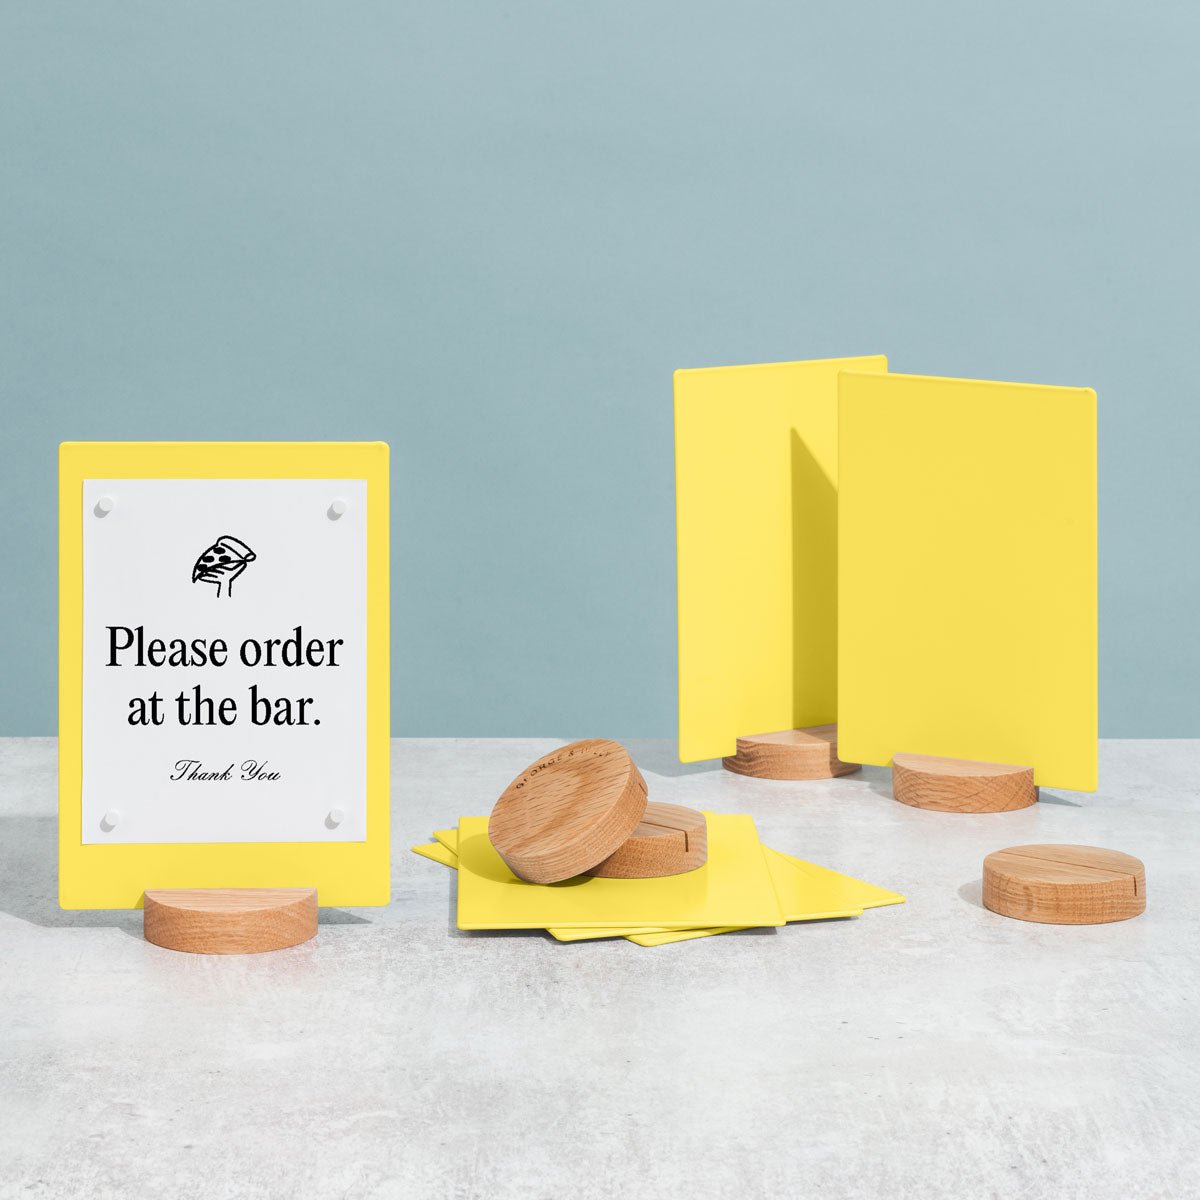
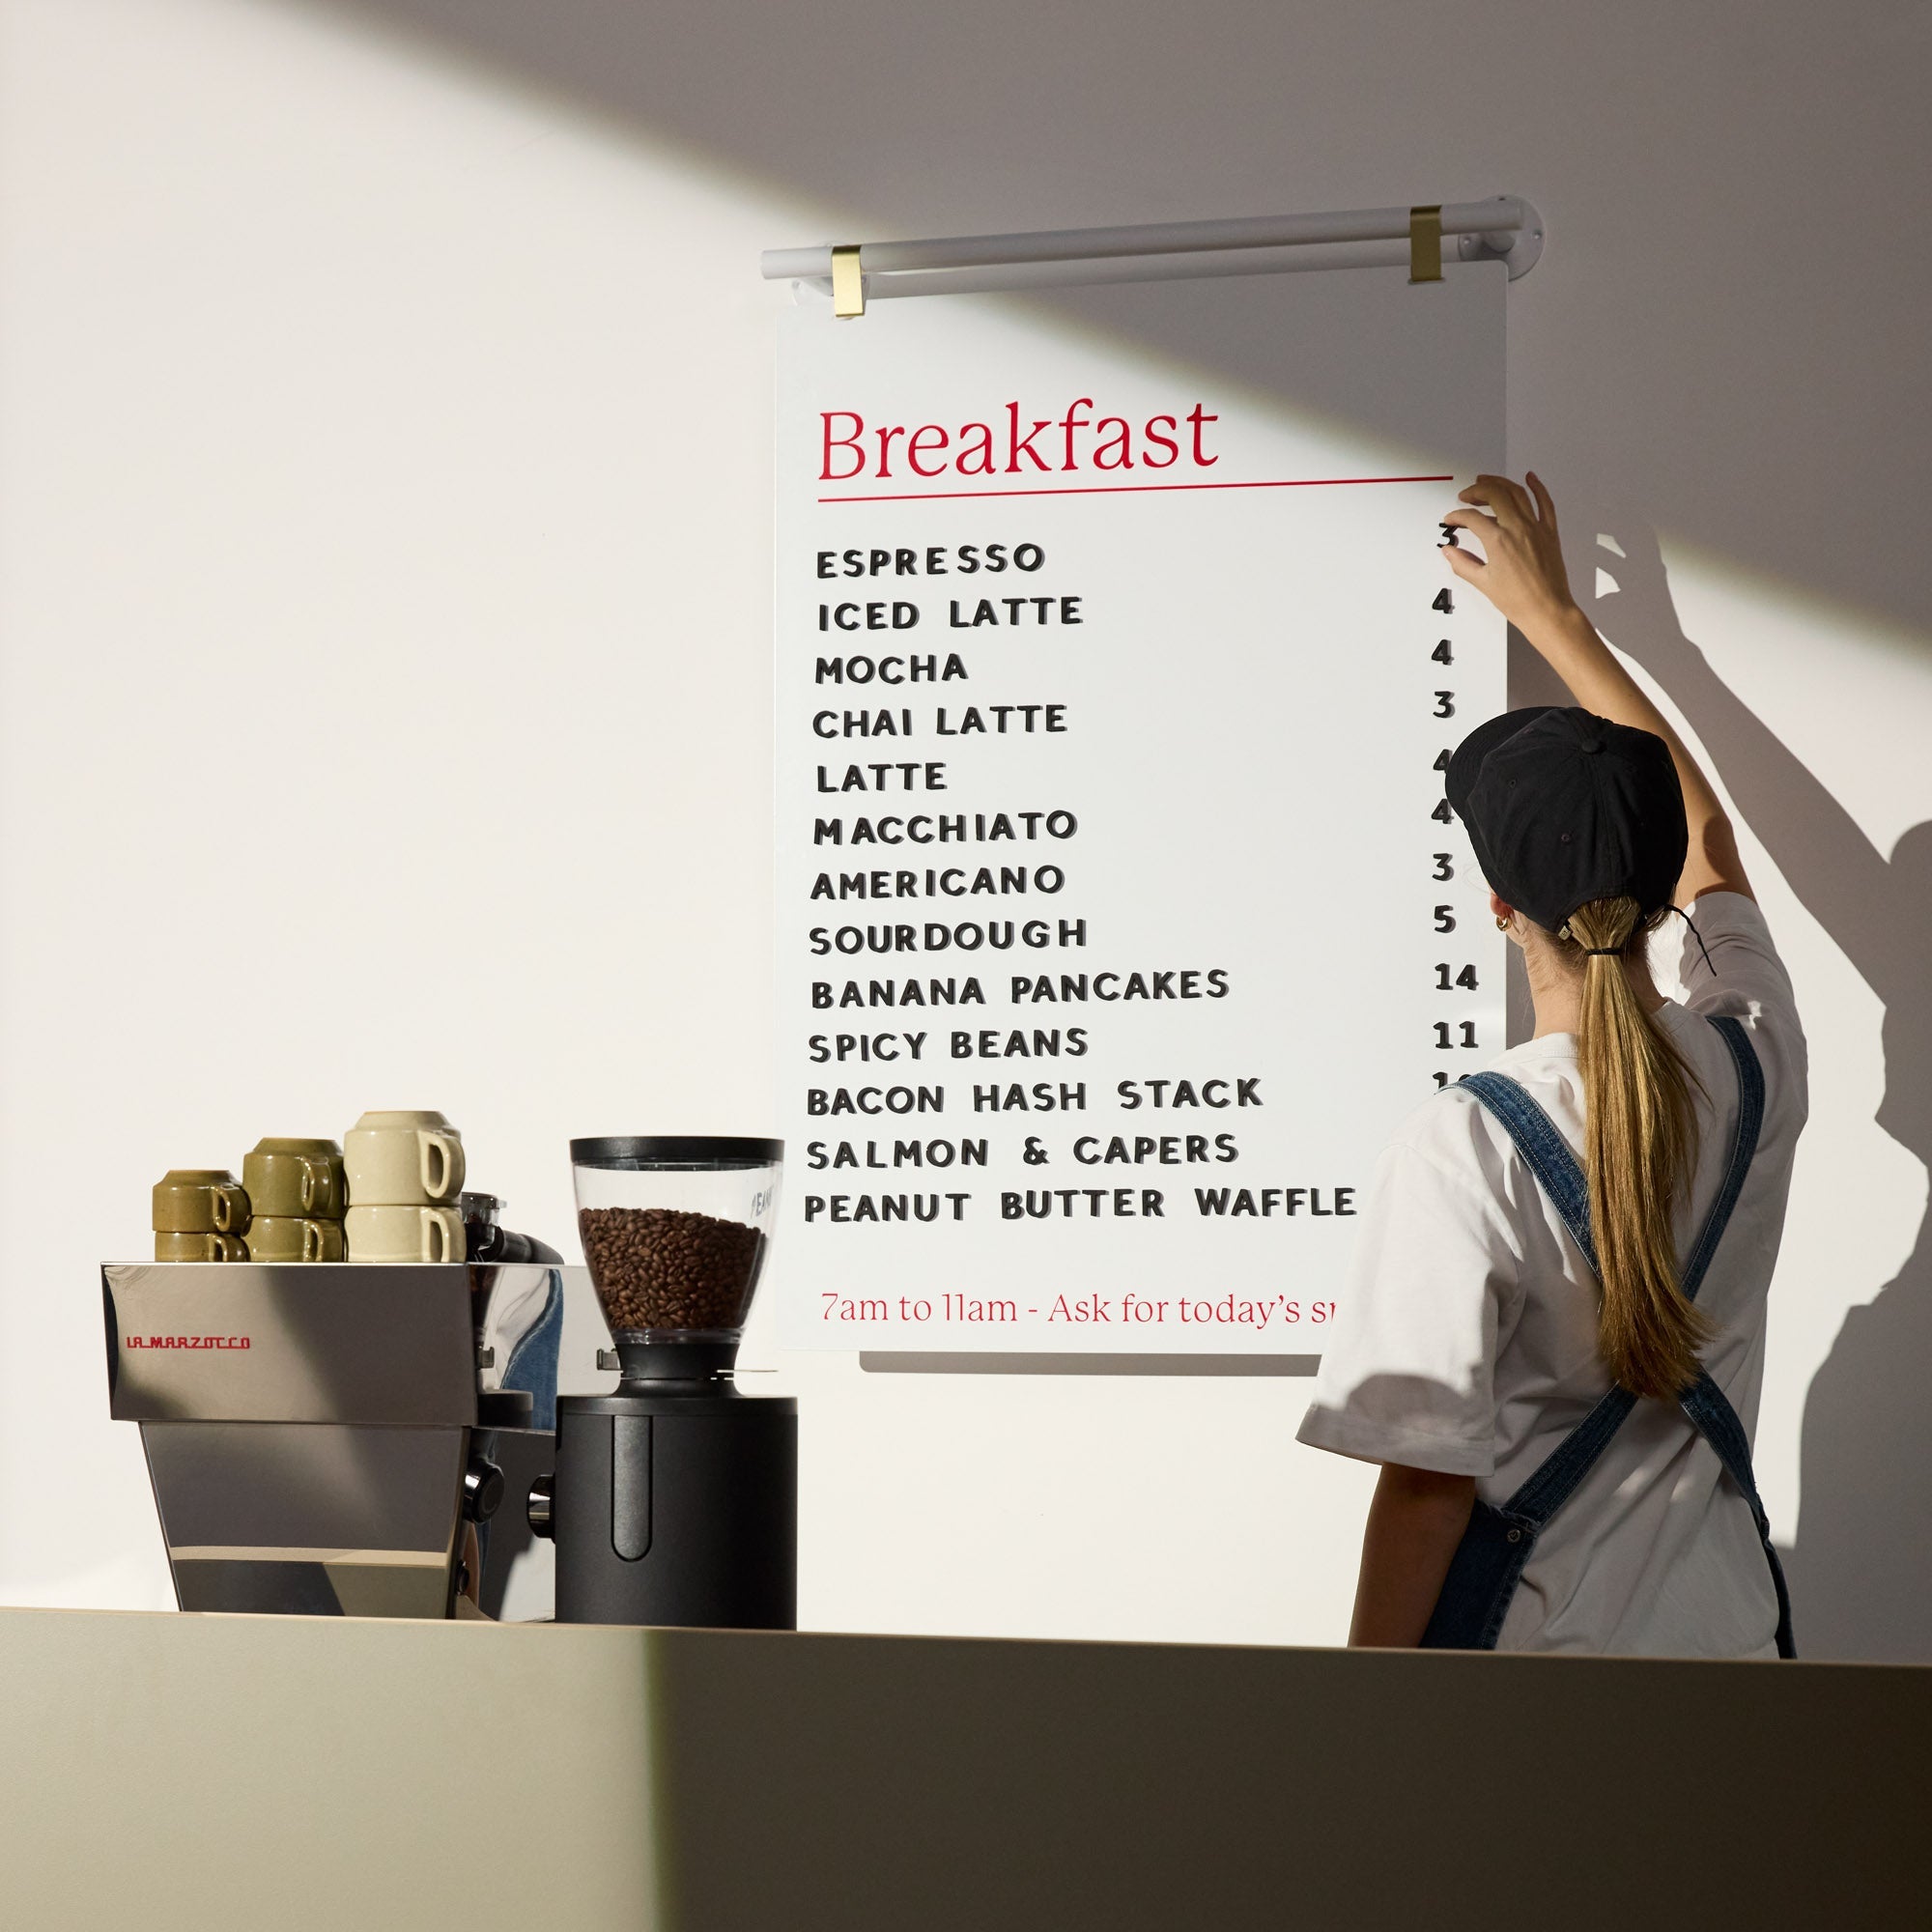
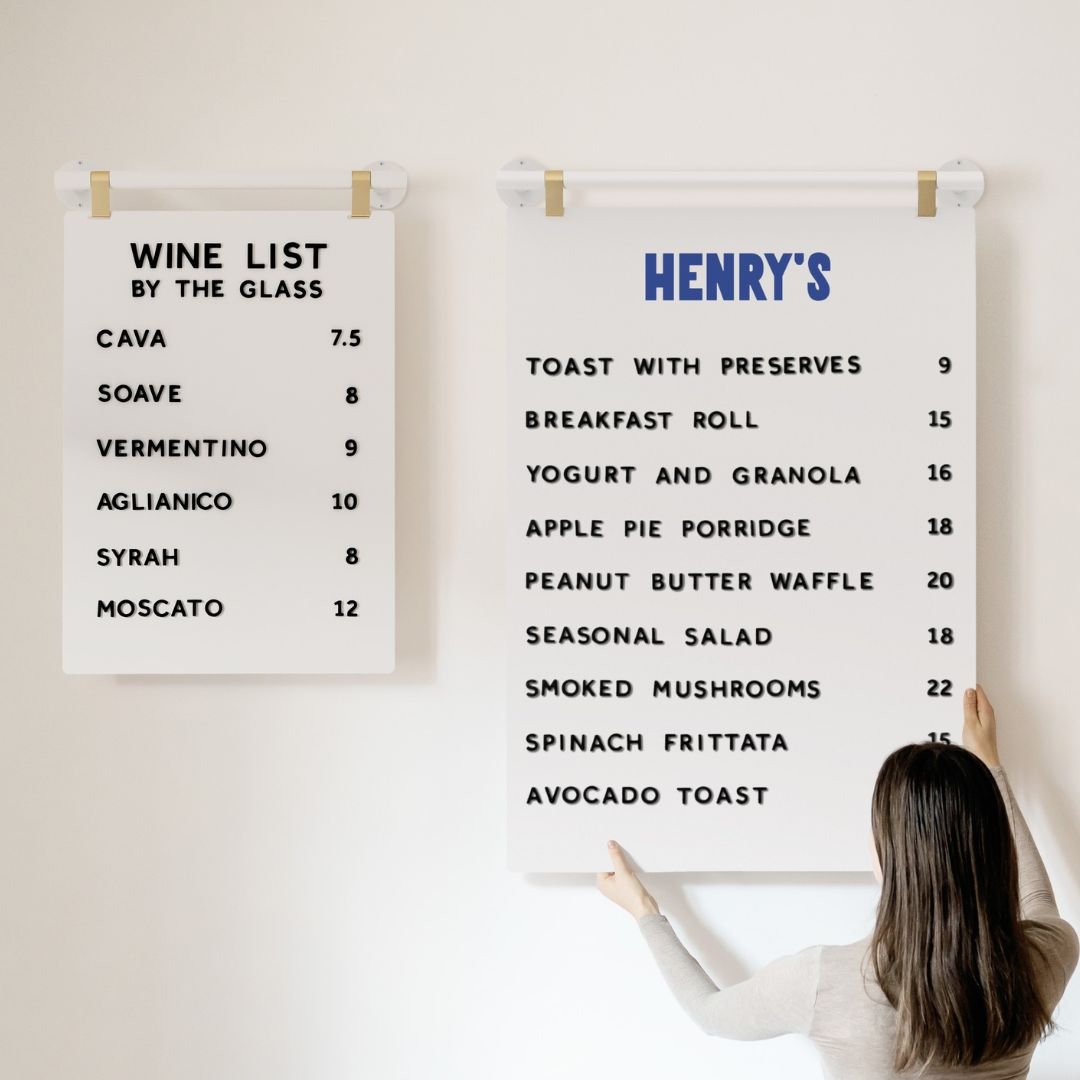
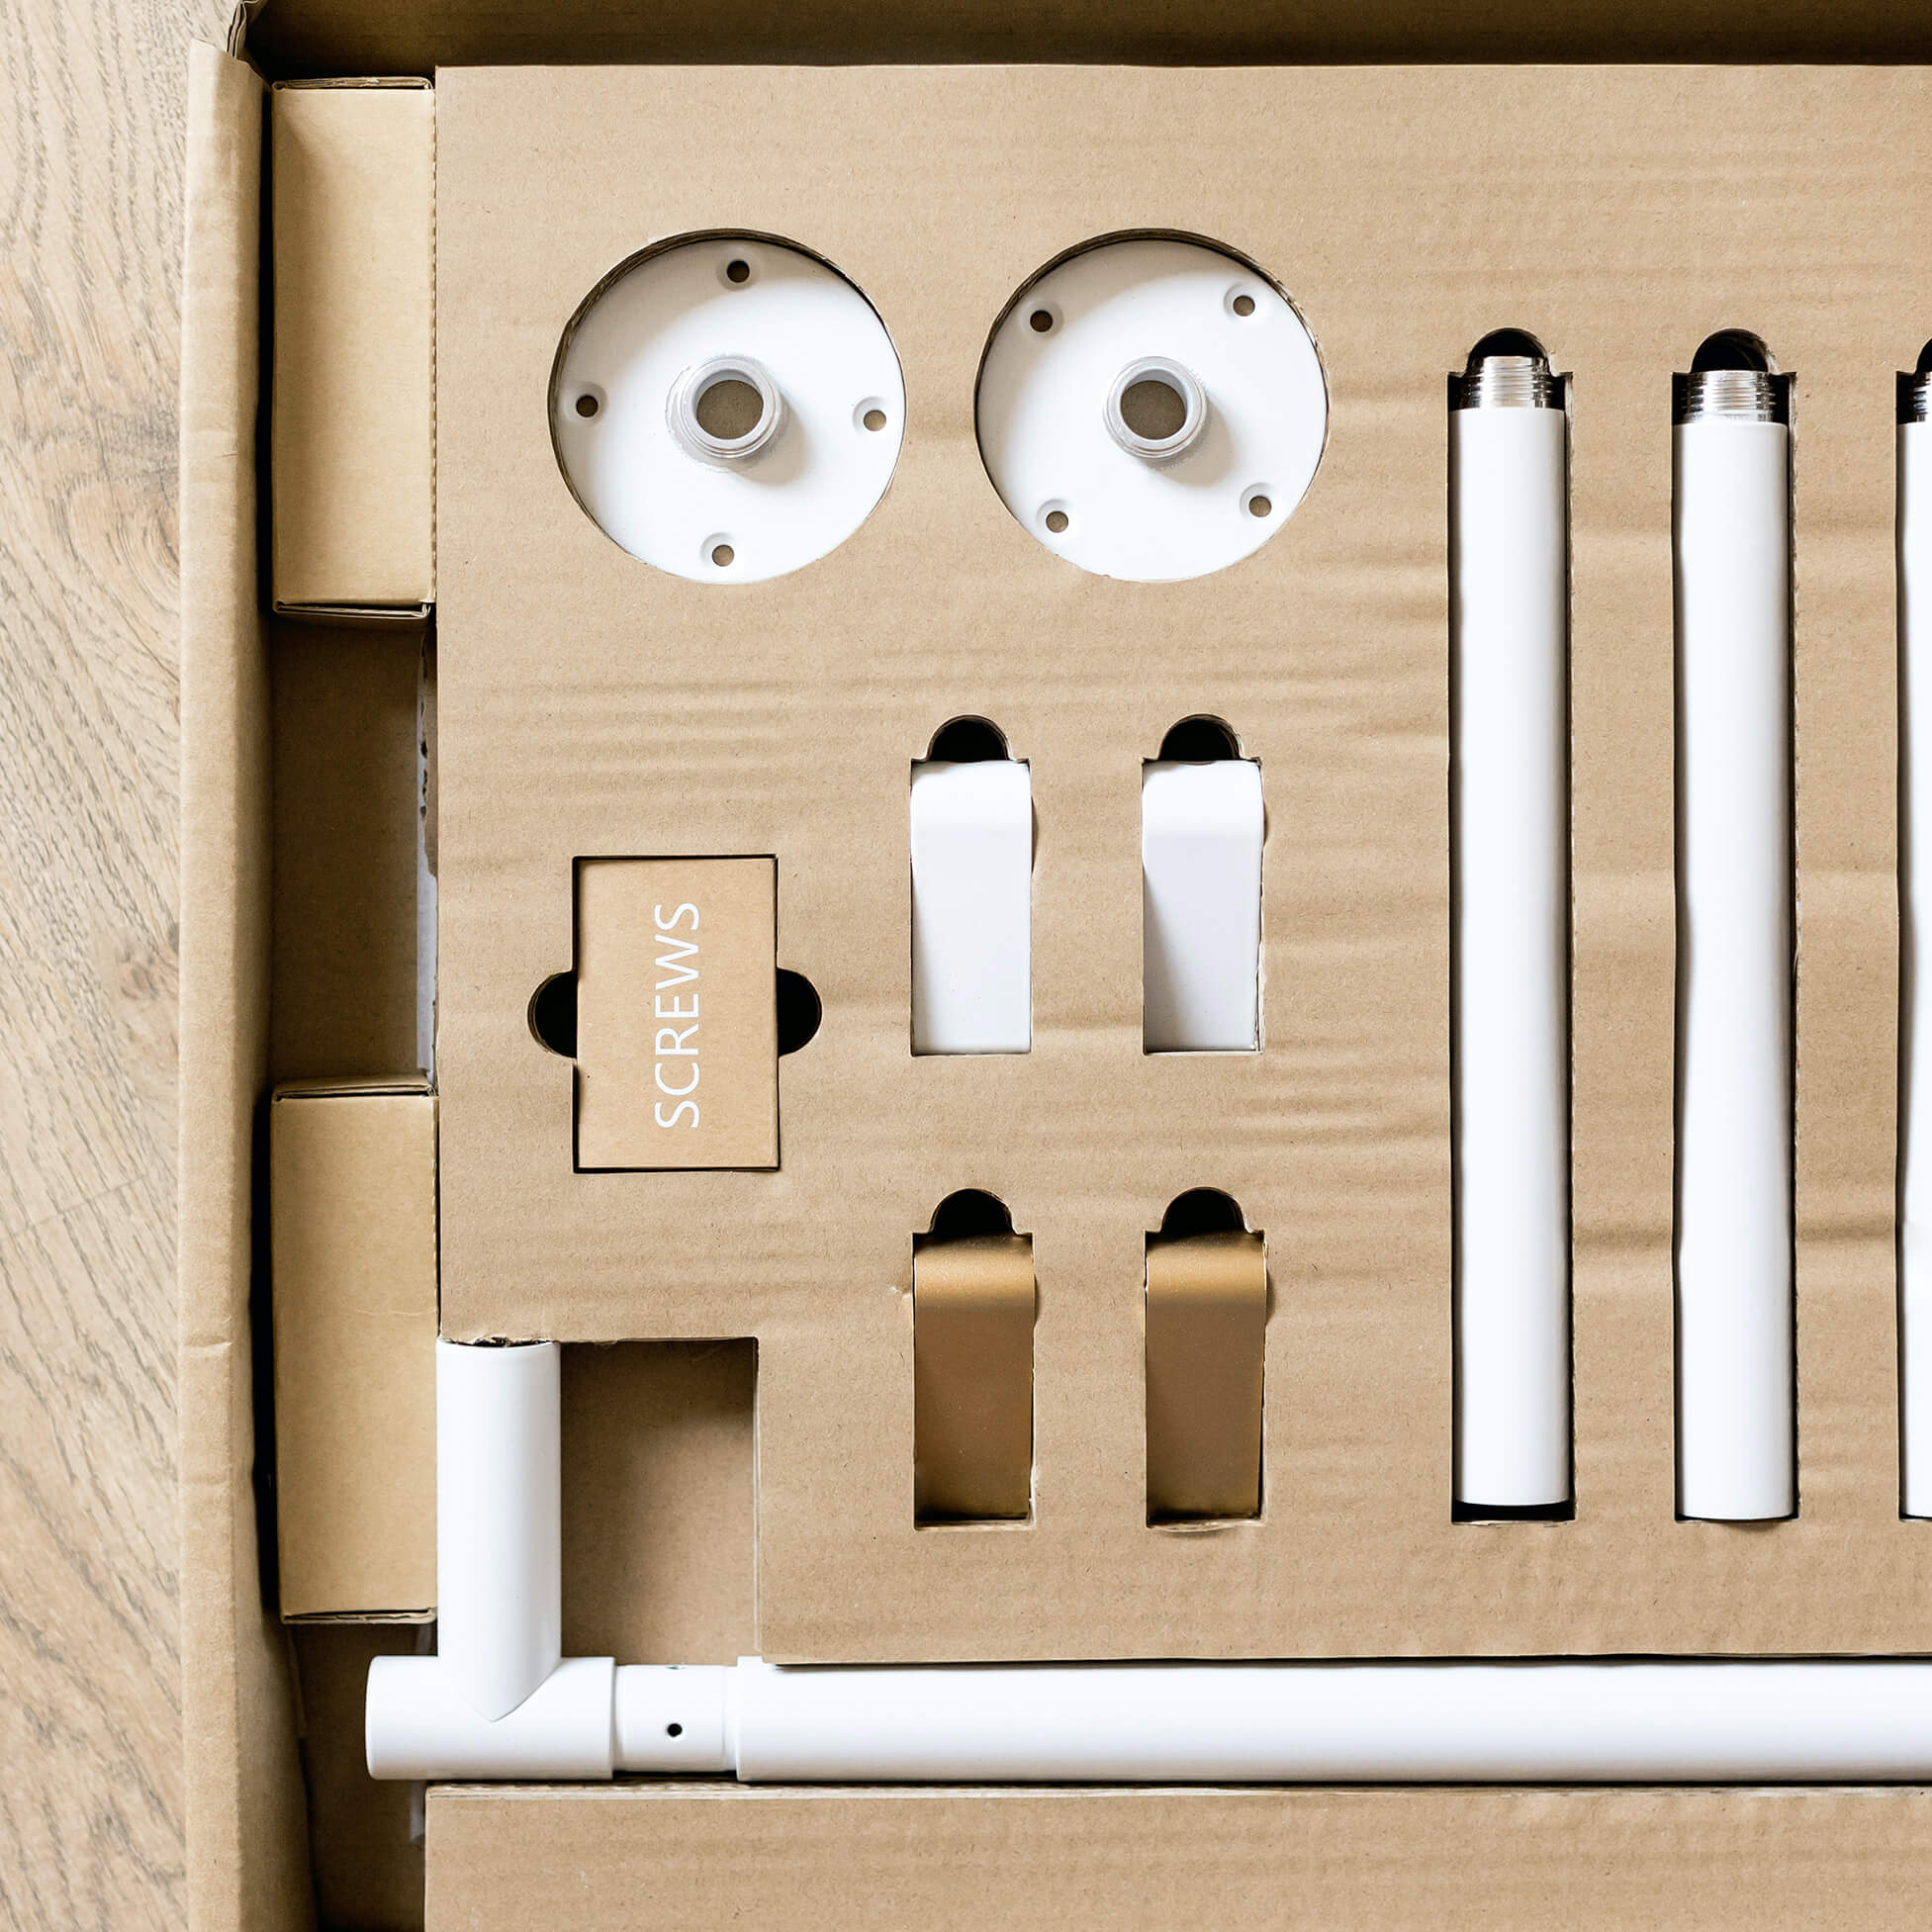
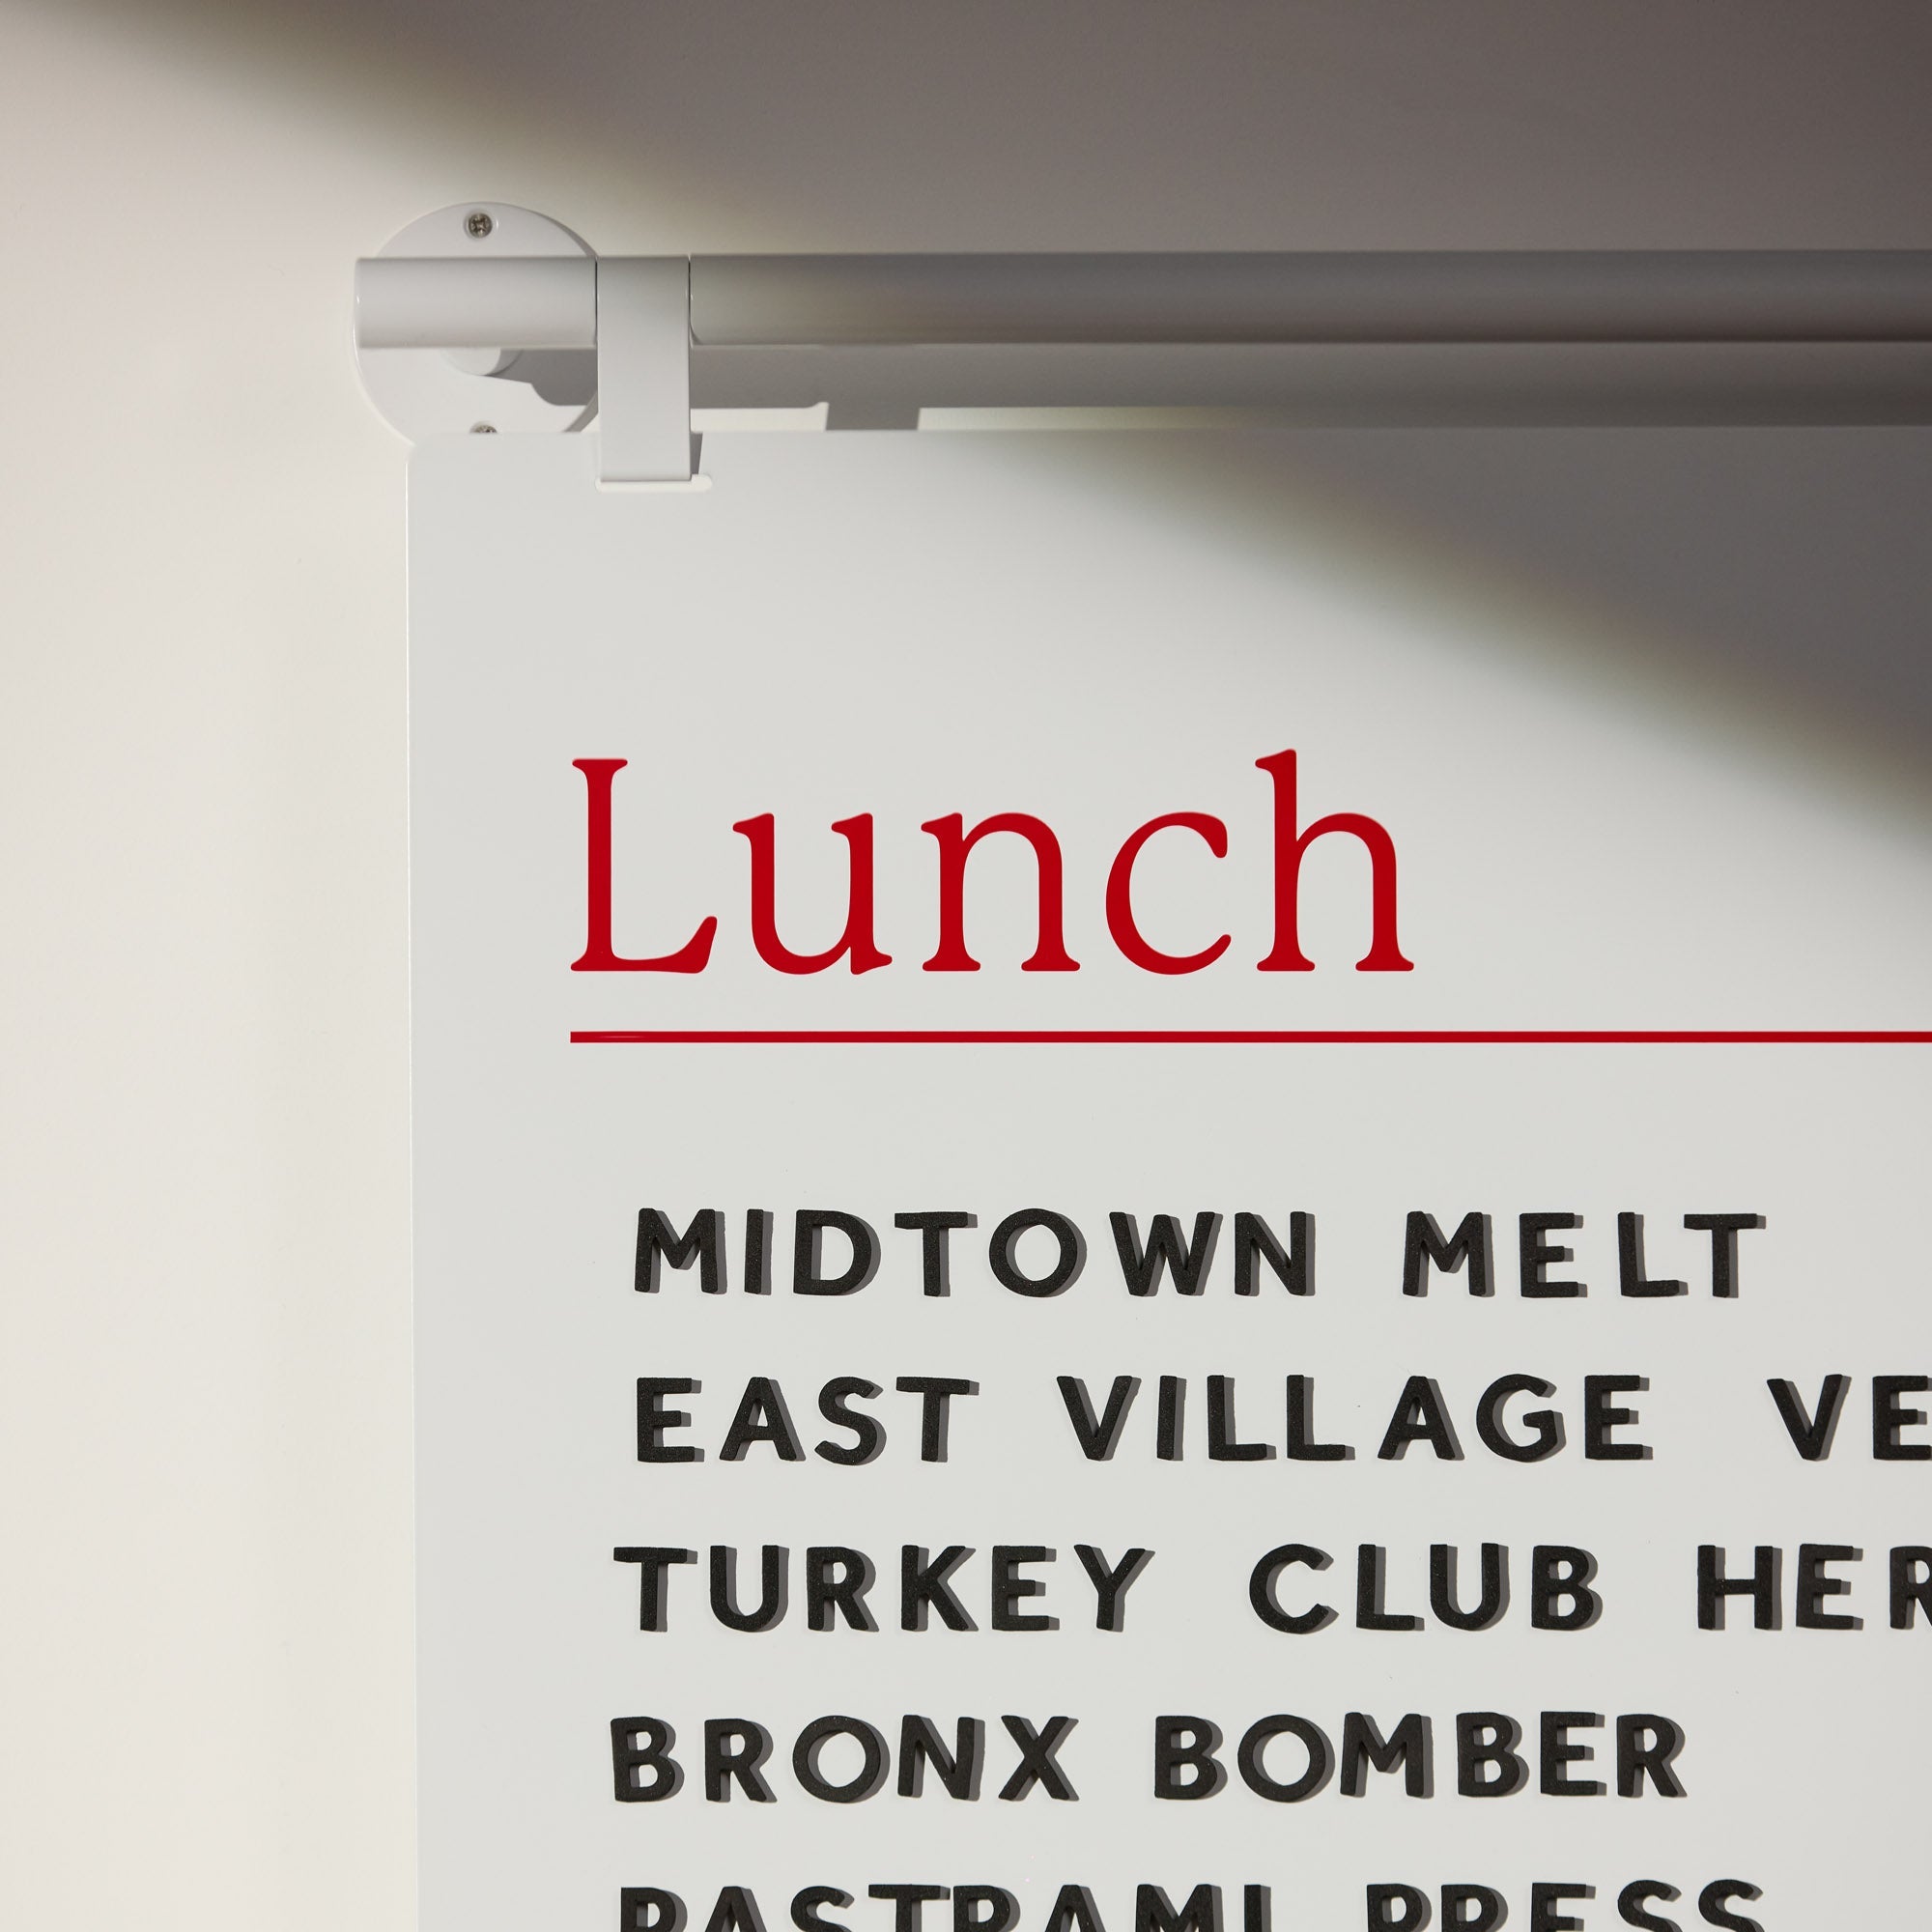
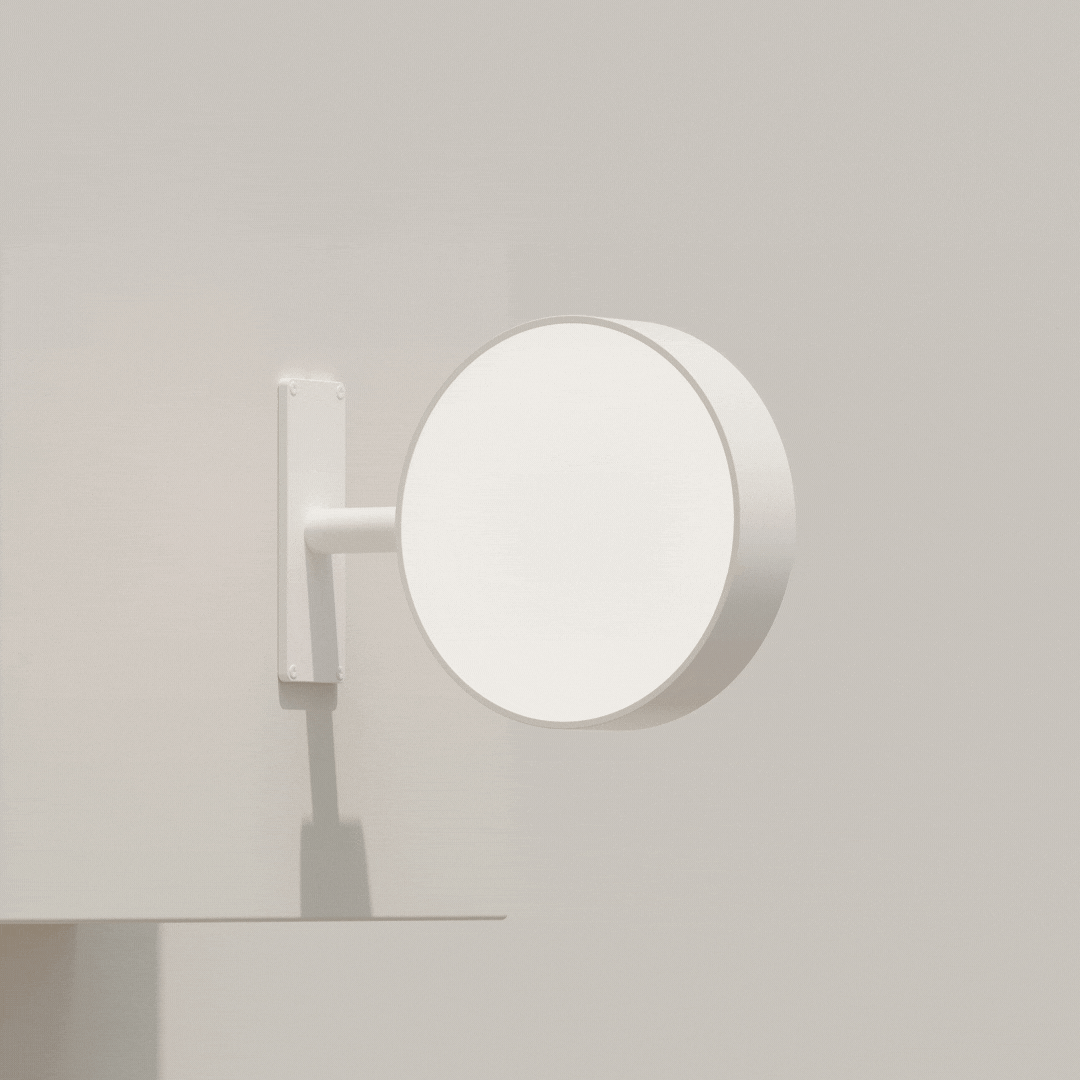
- Stand Off Mount: Spacers hold the sign slightly off the wall, creating a floating effect with a subtle shadow.
- French Cleat: An interlocking bracket system provides strong, hidden support and allows the sign to be easily lifted off the wall.
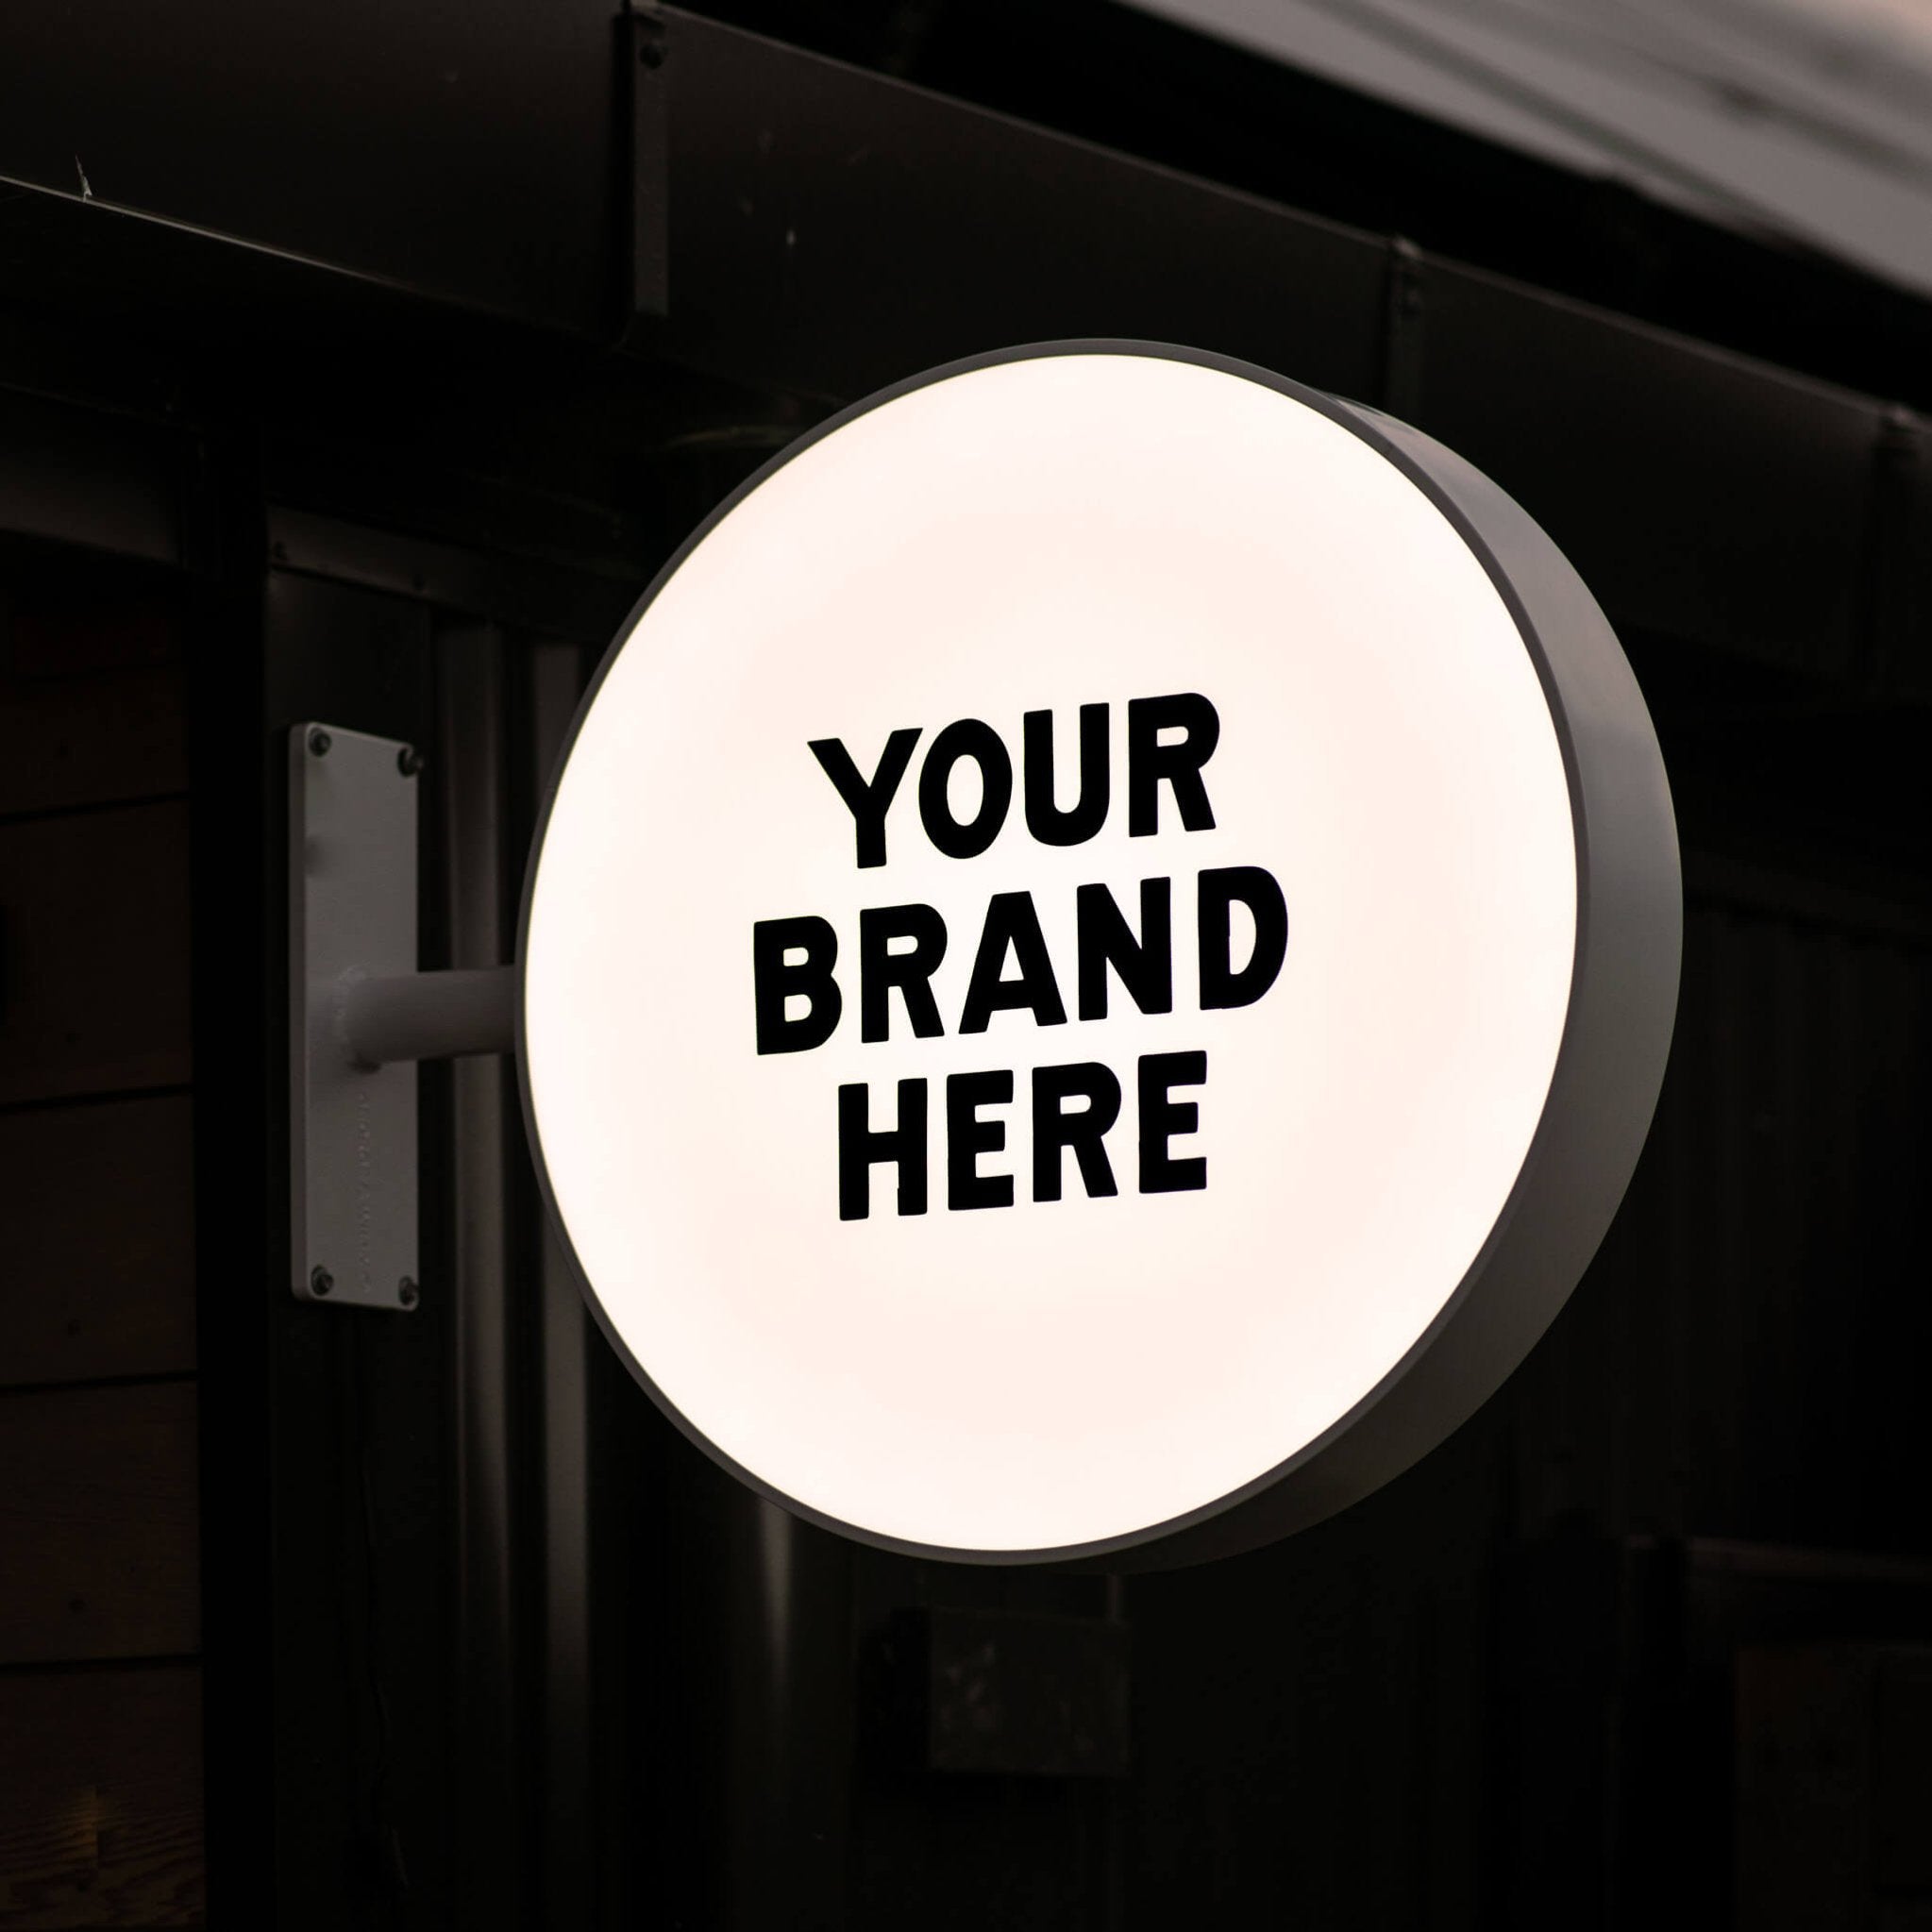
Lighting Your Sign
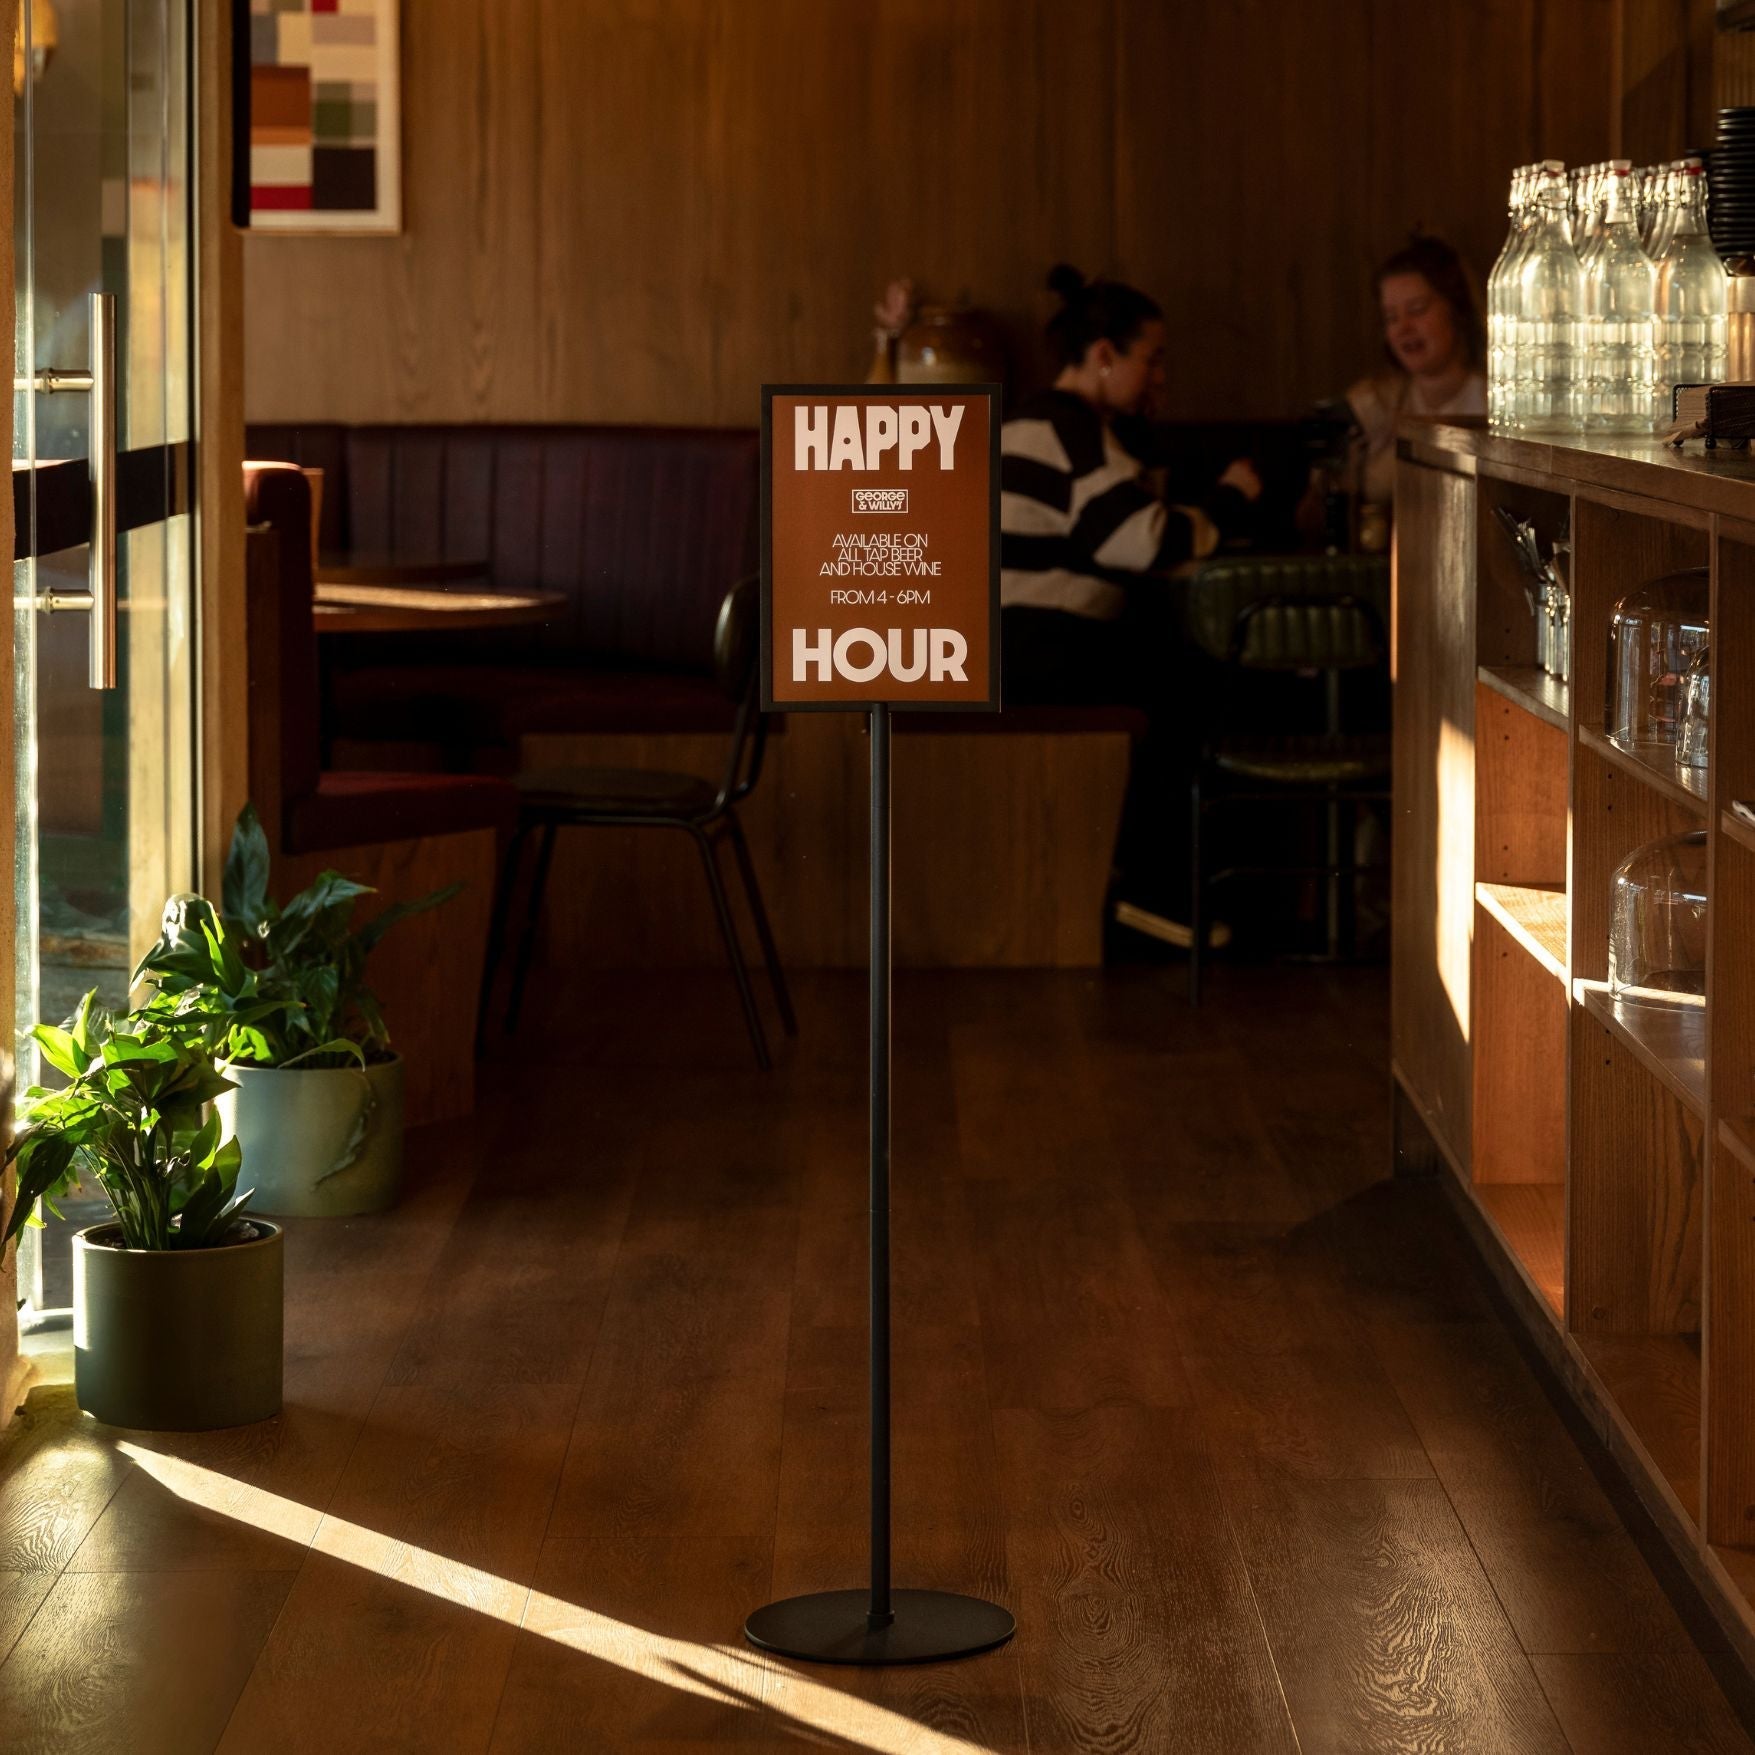
To make sure your sign is visible at night, you can add lighting. If you keep evening hours, pair your exterior signage with a simple Open Sign to clearly signal you’re trading after dark. Backlighting places the light source behind the sign, often creating an elegant “halo” effect around the letters. Front lighting uses external fixtures, like gooseneck lamps, to illuminate the face of the sign.
Maintenance and Care
Outdoor metal signs are built to last, but a little care goes a long way. Periodically clean your sign with a soft cloth and mild soap to remove dirt and grime. Once a year, inspect the finish and mounting hardware, touching up any paint chips to prevent rust and tightening any loose screws. A quality powder coated aluminum sign will require very little maintenance beyond simple cleaning to look great for years.
Putting Signs to Work: Uses and Sourcing
Laser cut metal signs are incredibly versatile, serving a wide variety of functions.
Common Use Cases
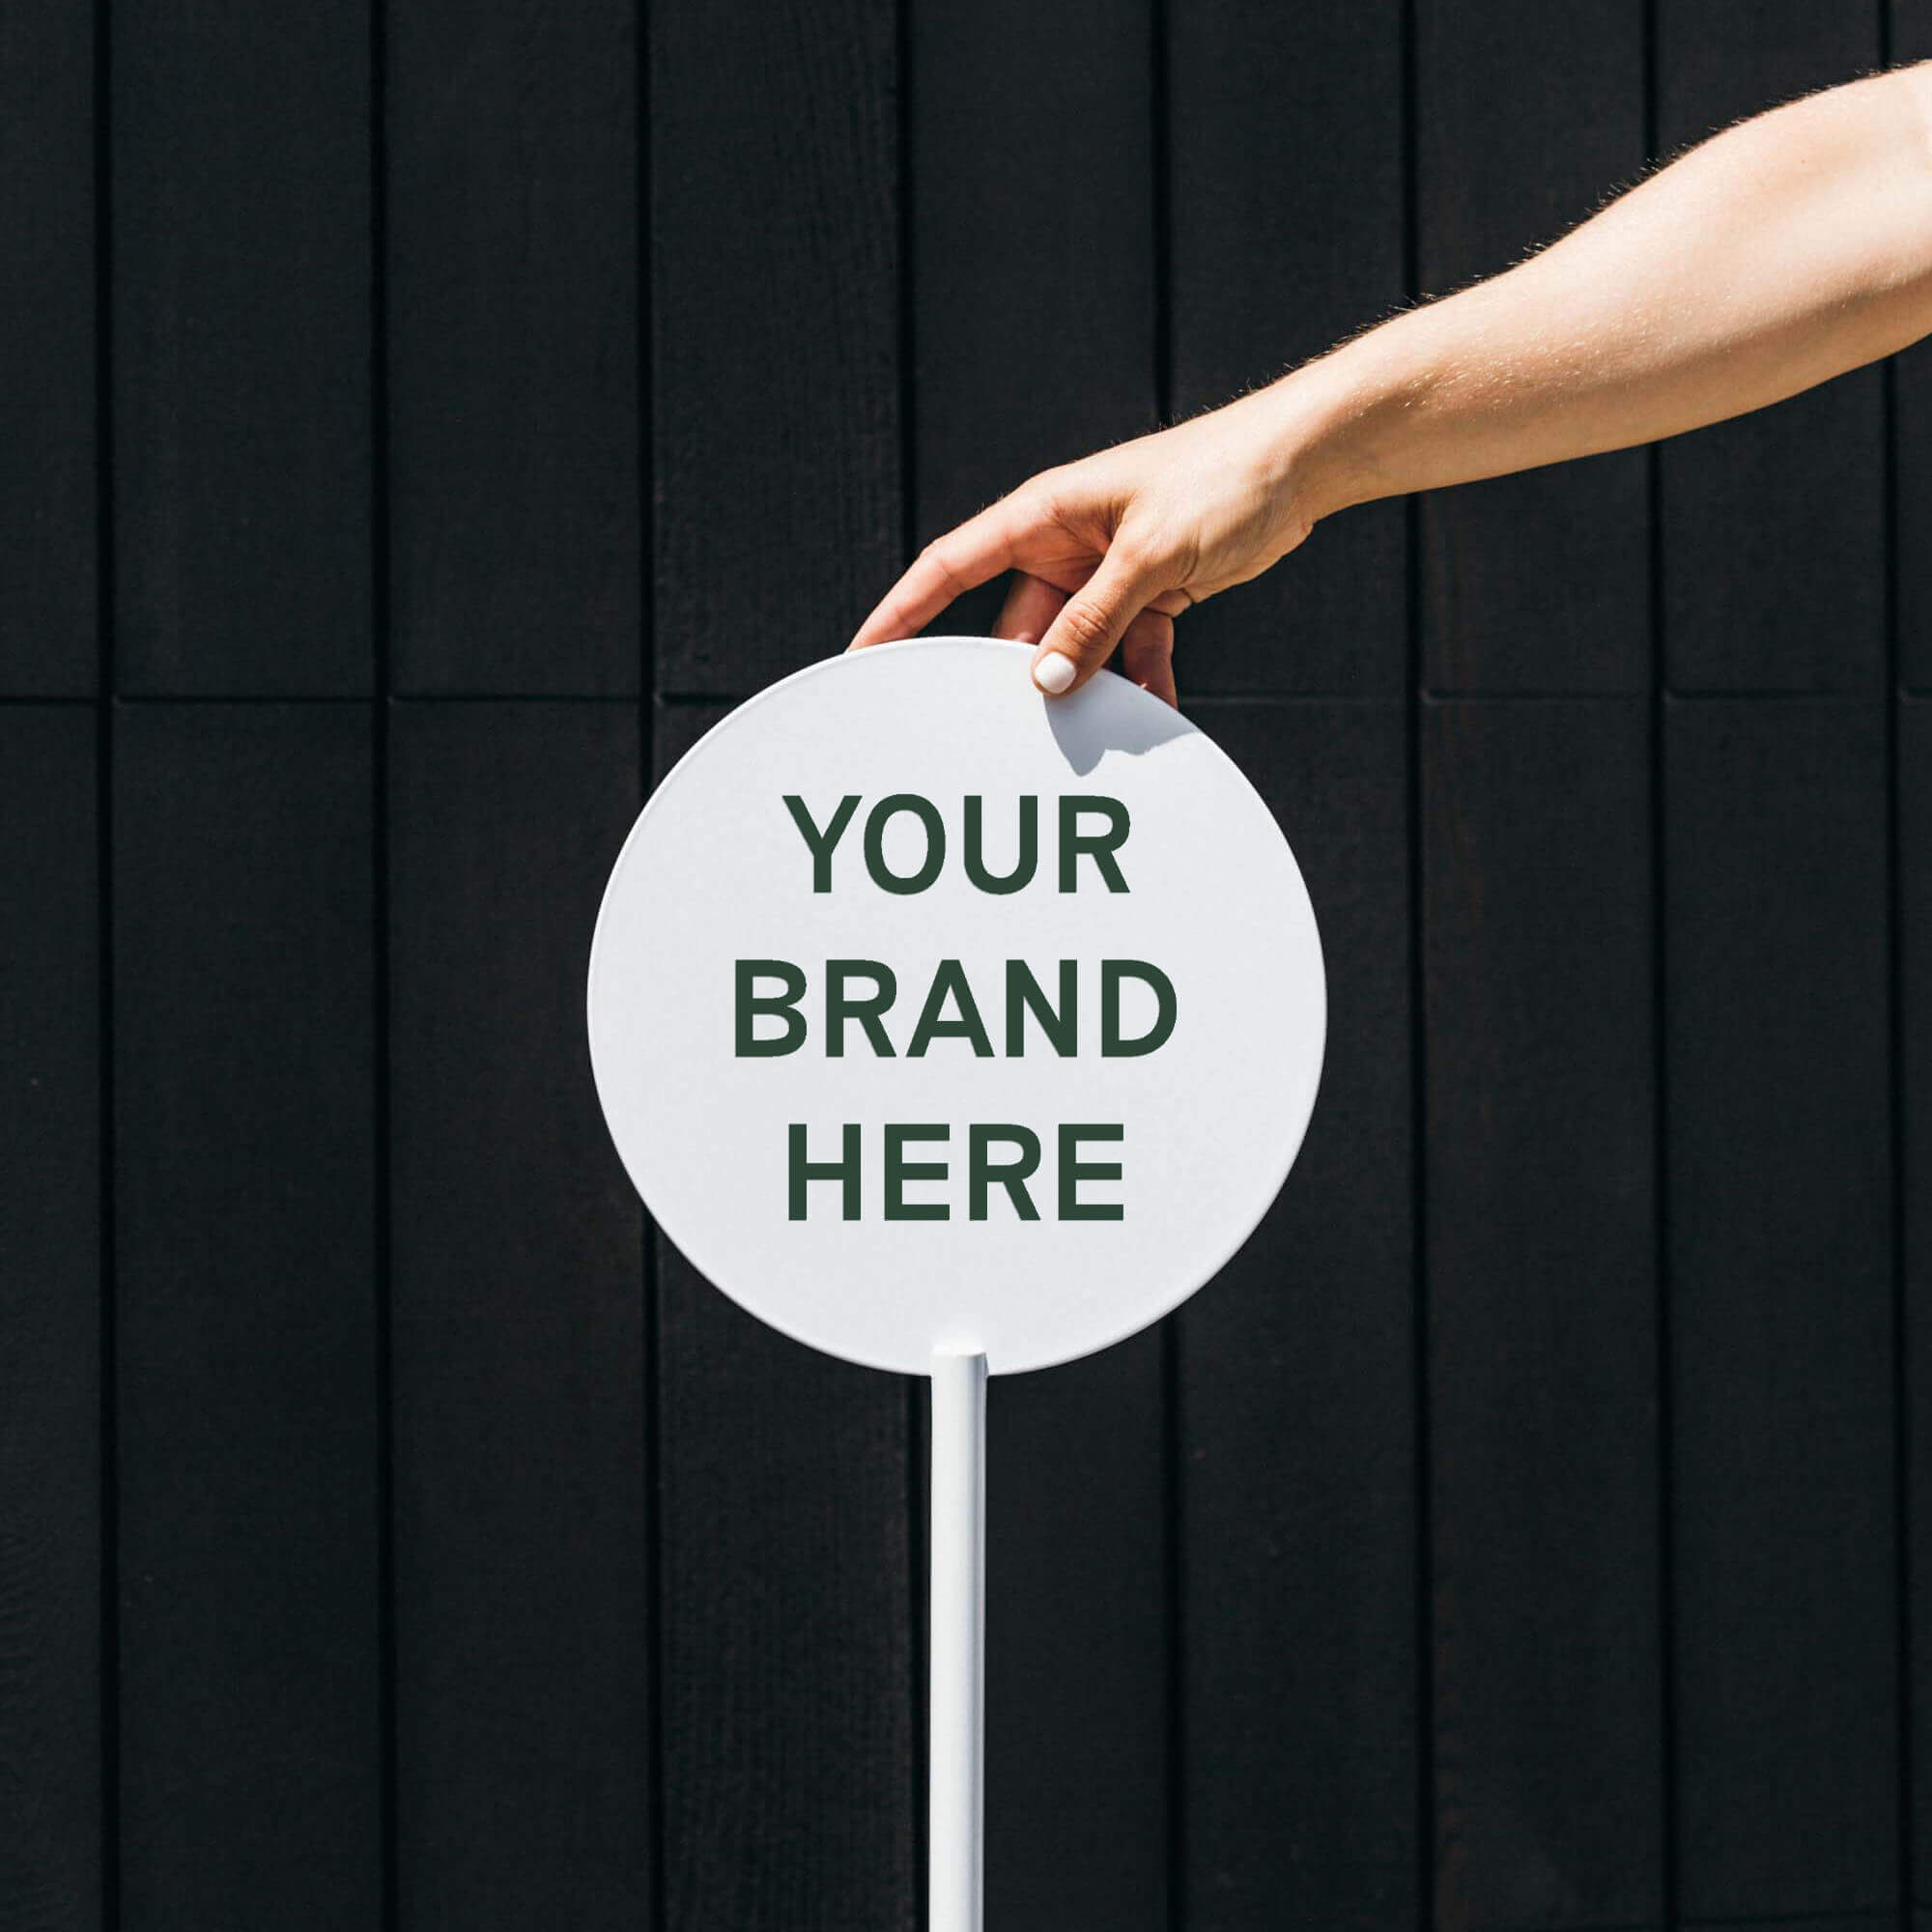
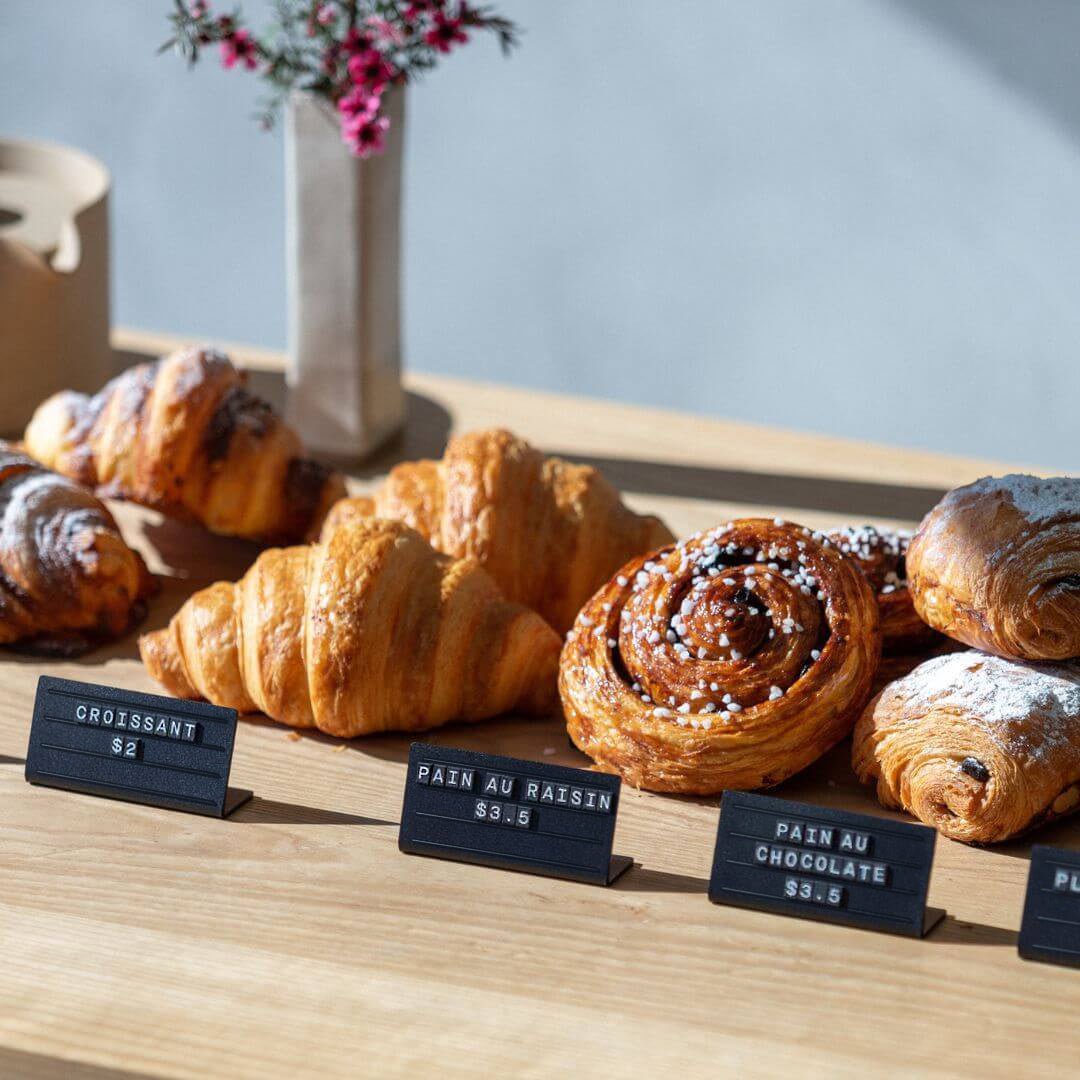
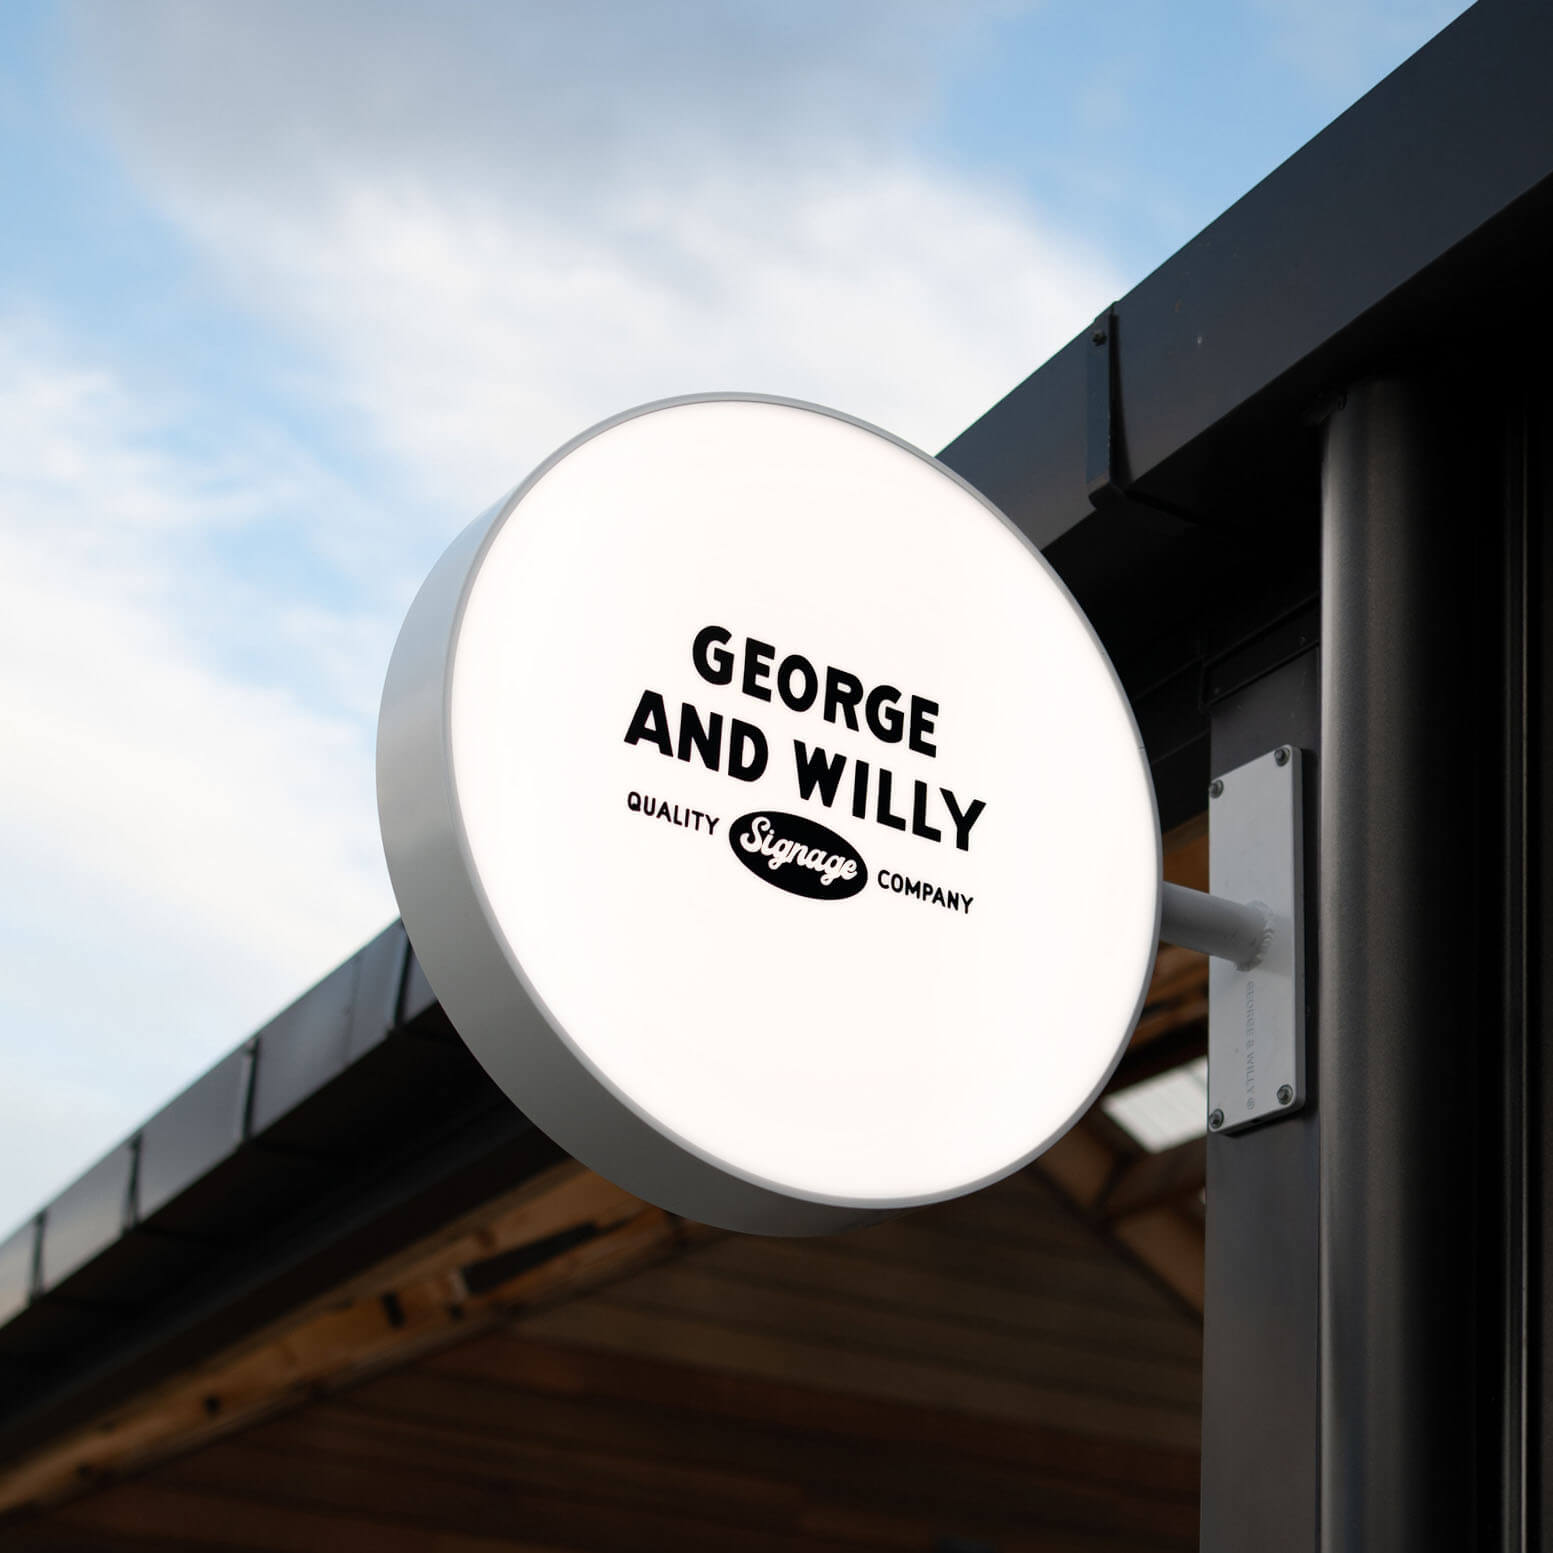
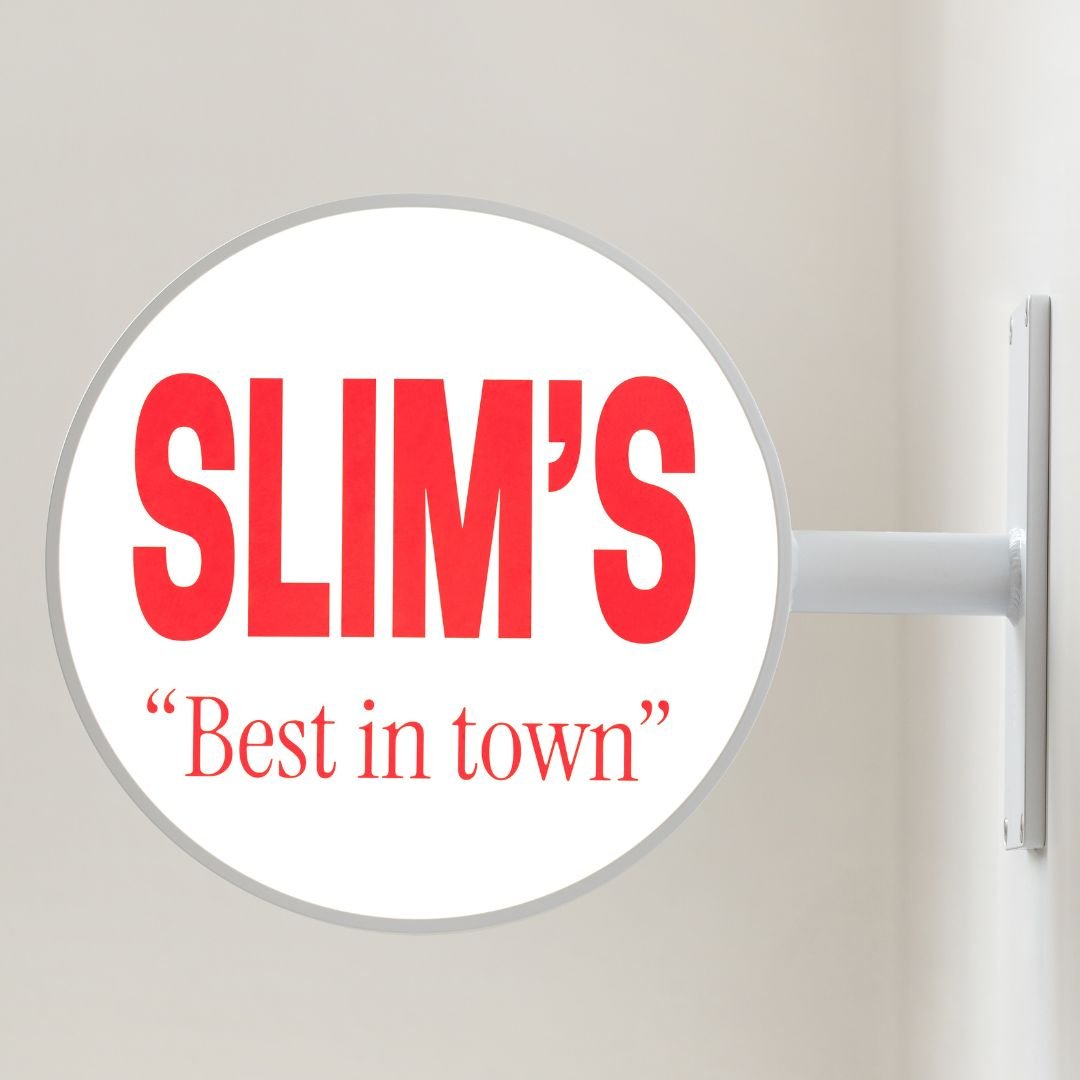
- Business Signage: From storefront logos to lobby signs, laser cut metal conveys a sense of quality and permanence that helps a business stand out. For pedestrian visibility, consider a blade sign such as the Rectangle Blade Sign. In fact, a FedEx Office survey found that 68% of consumers believe a business’s signage reflects the quality of its products or services.
- Home Decor: Personalized address plaques, family name signs, and other decorative laser cut metal signs are popular uses in residential settings, adding a unique and stylish touch.
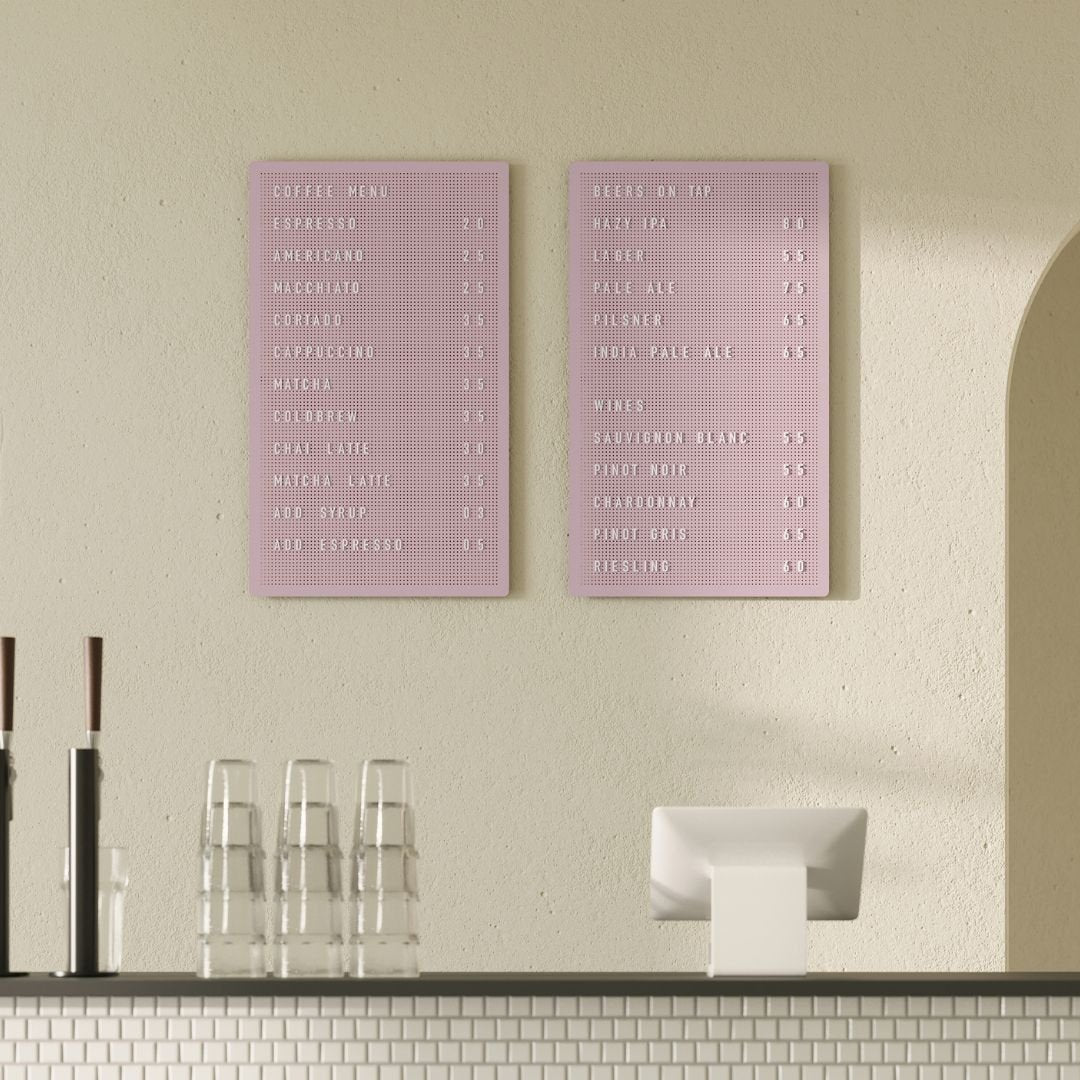
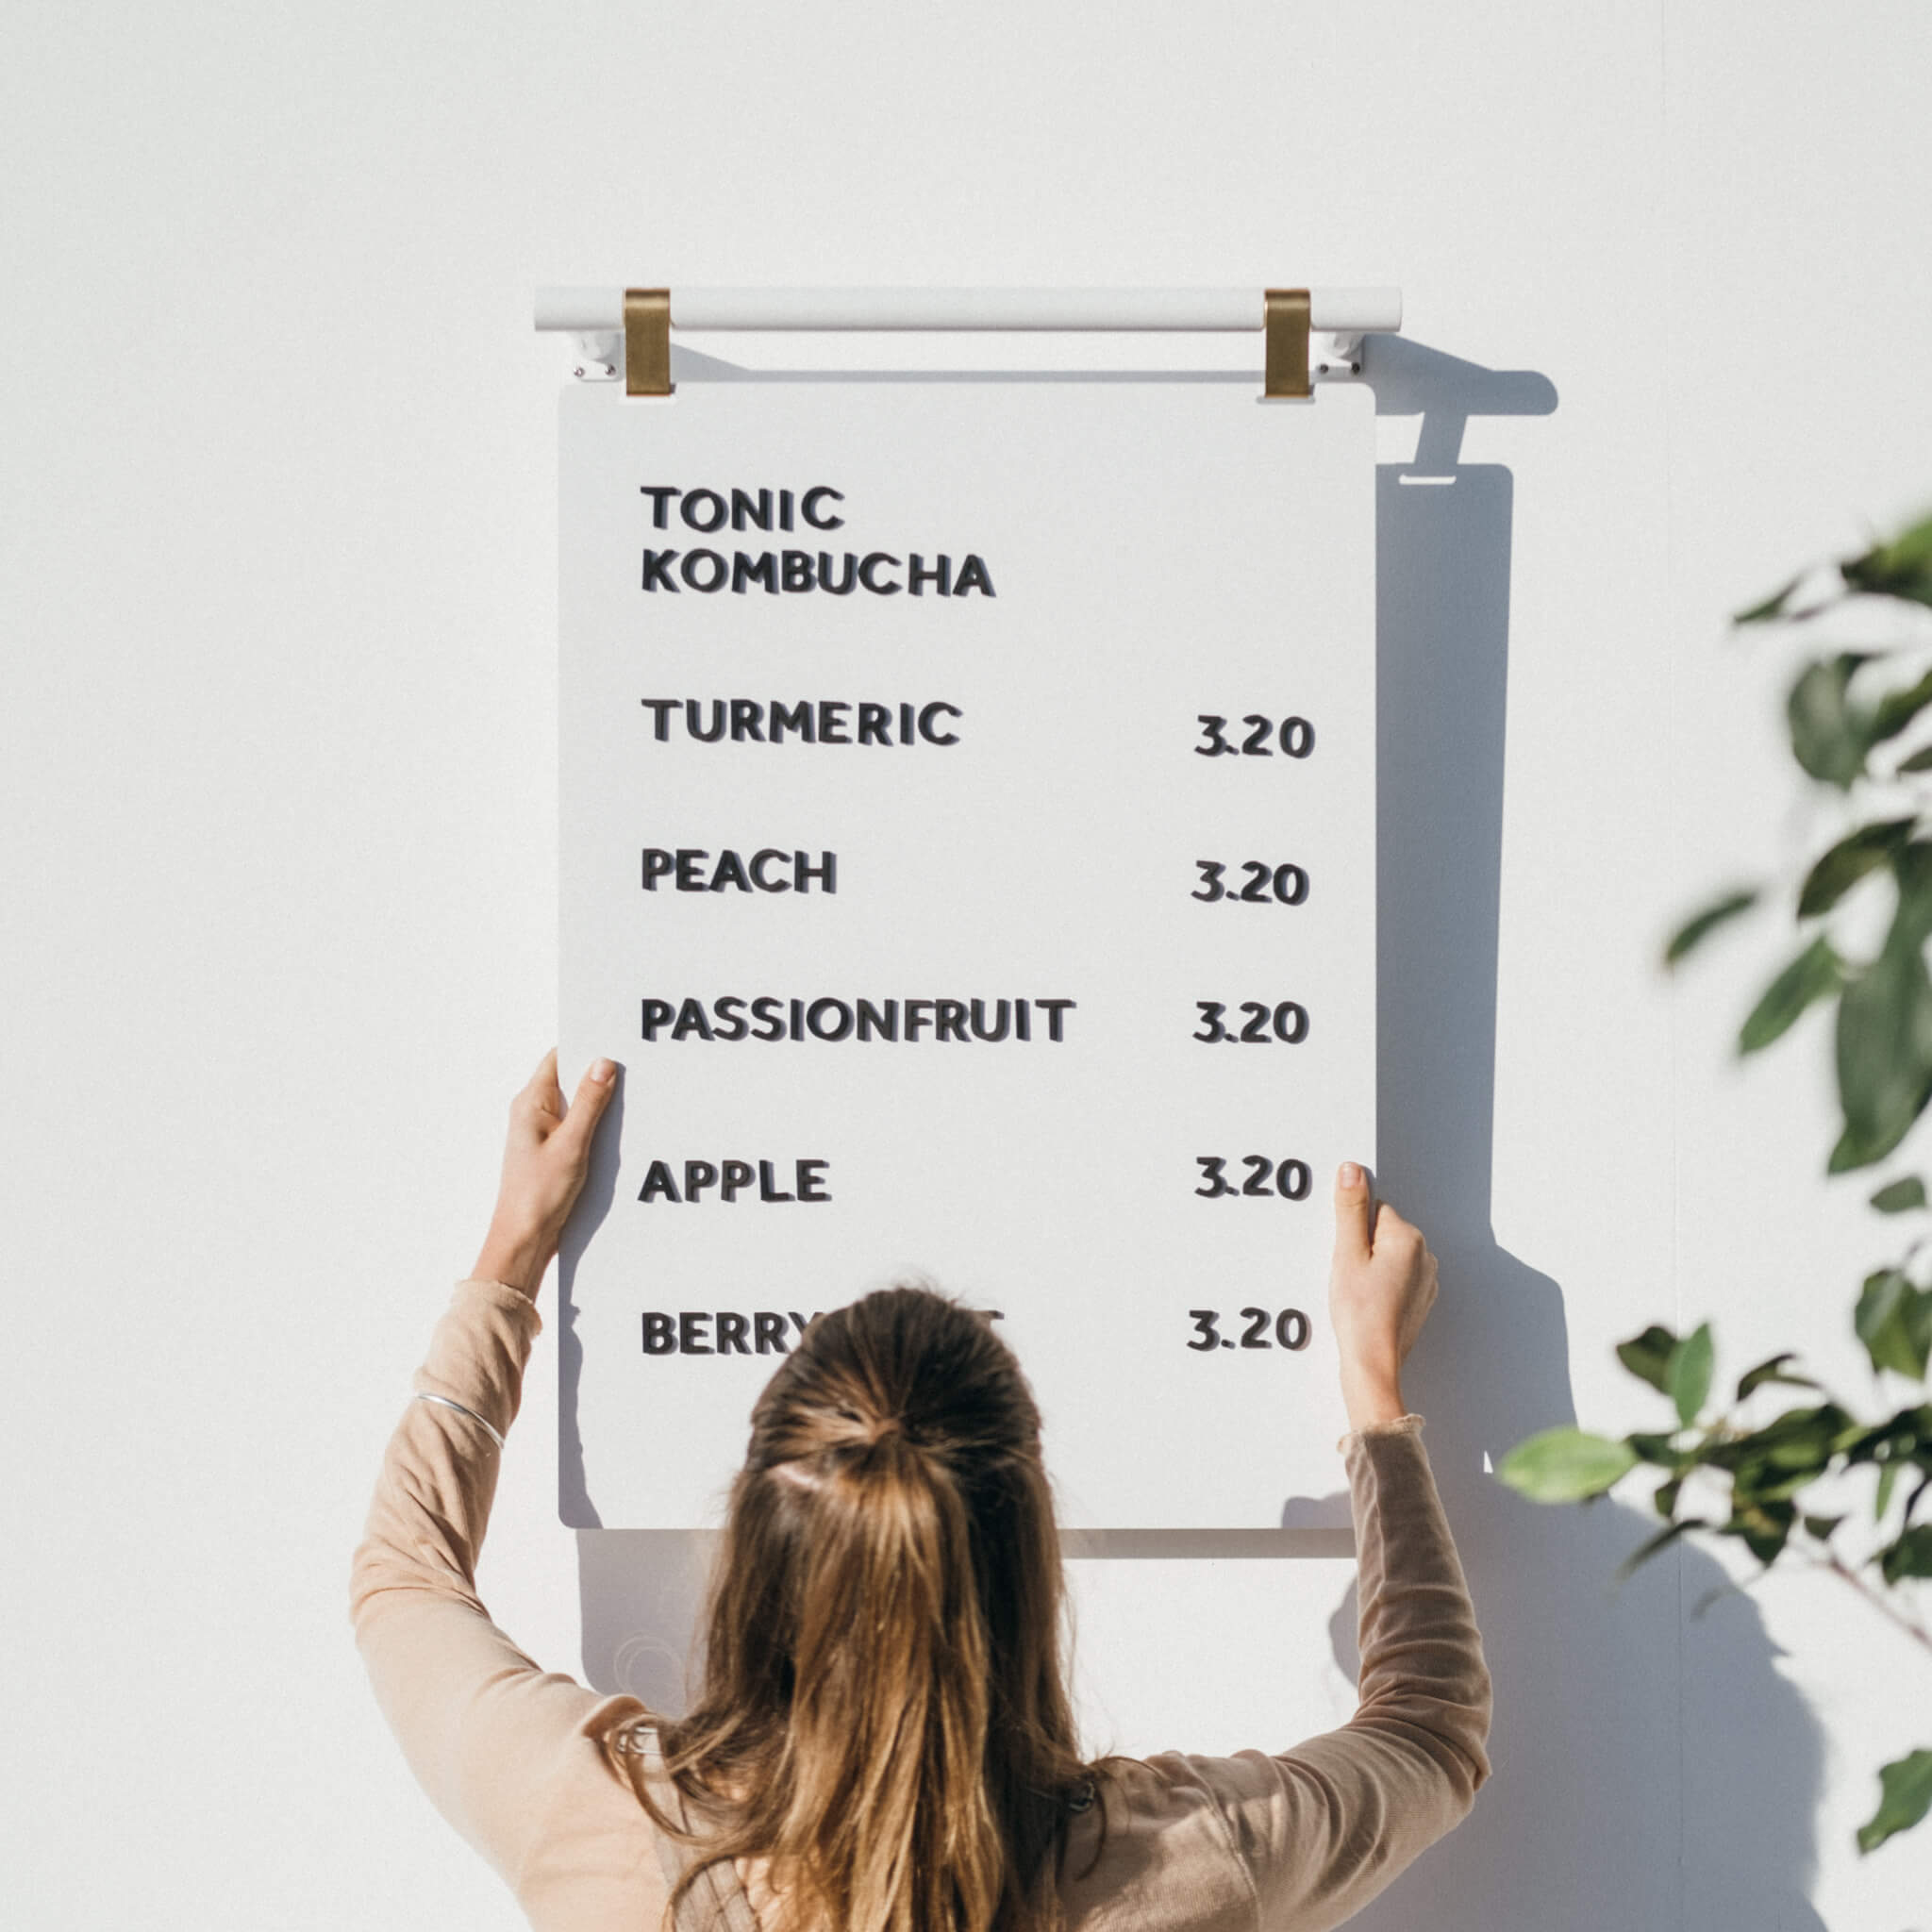
- Wayfinding: In parks, on campuses, and in large buildings, the durability and clarity of metal signs make them perfect for directional signs, maps, and markers. Wall-mounted panel options like the Square Panel Sign provide clear, concise cues.
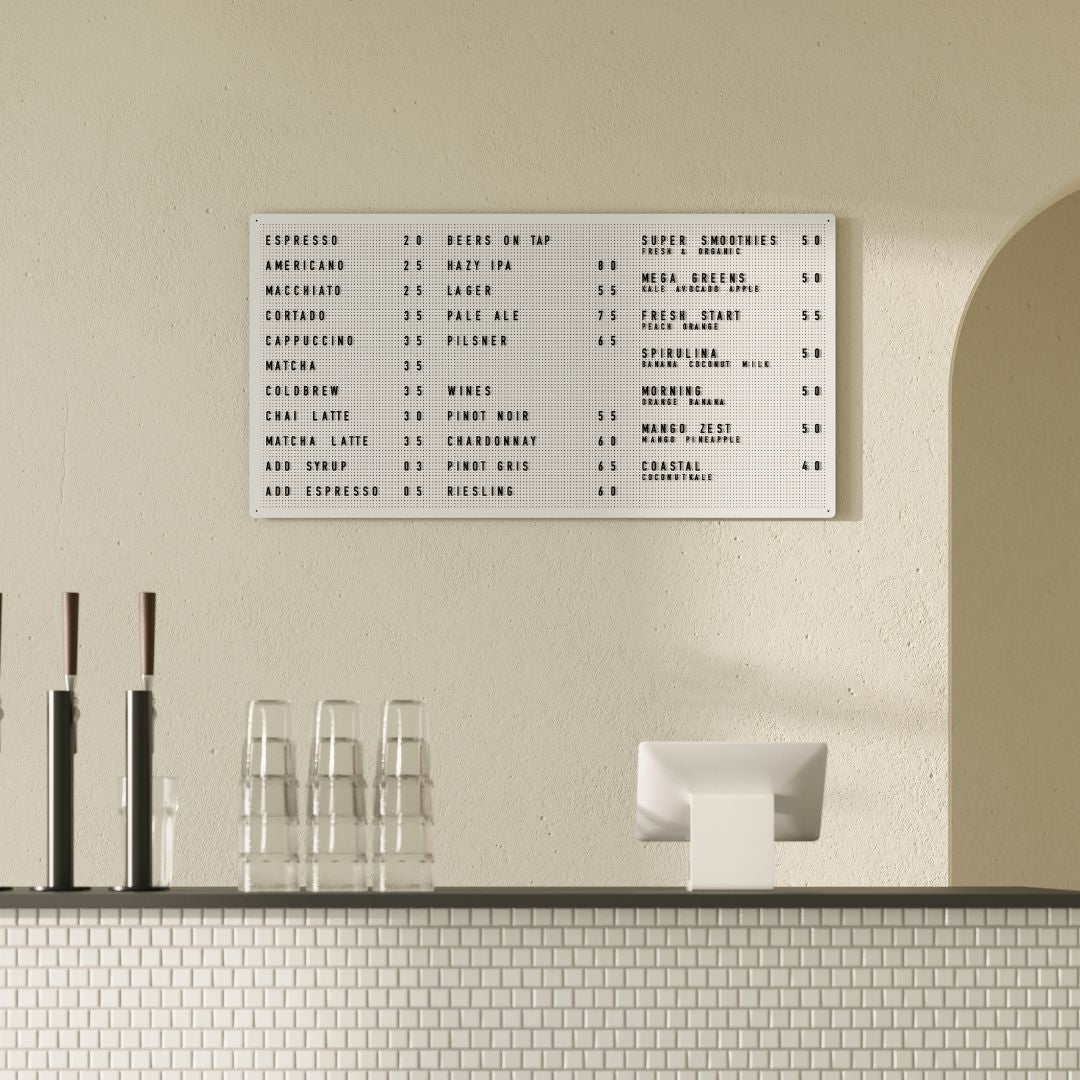
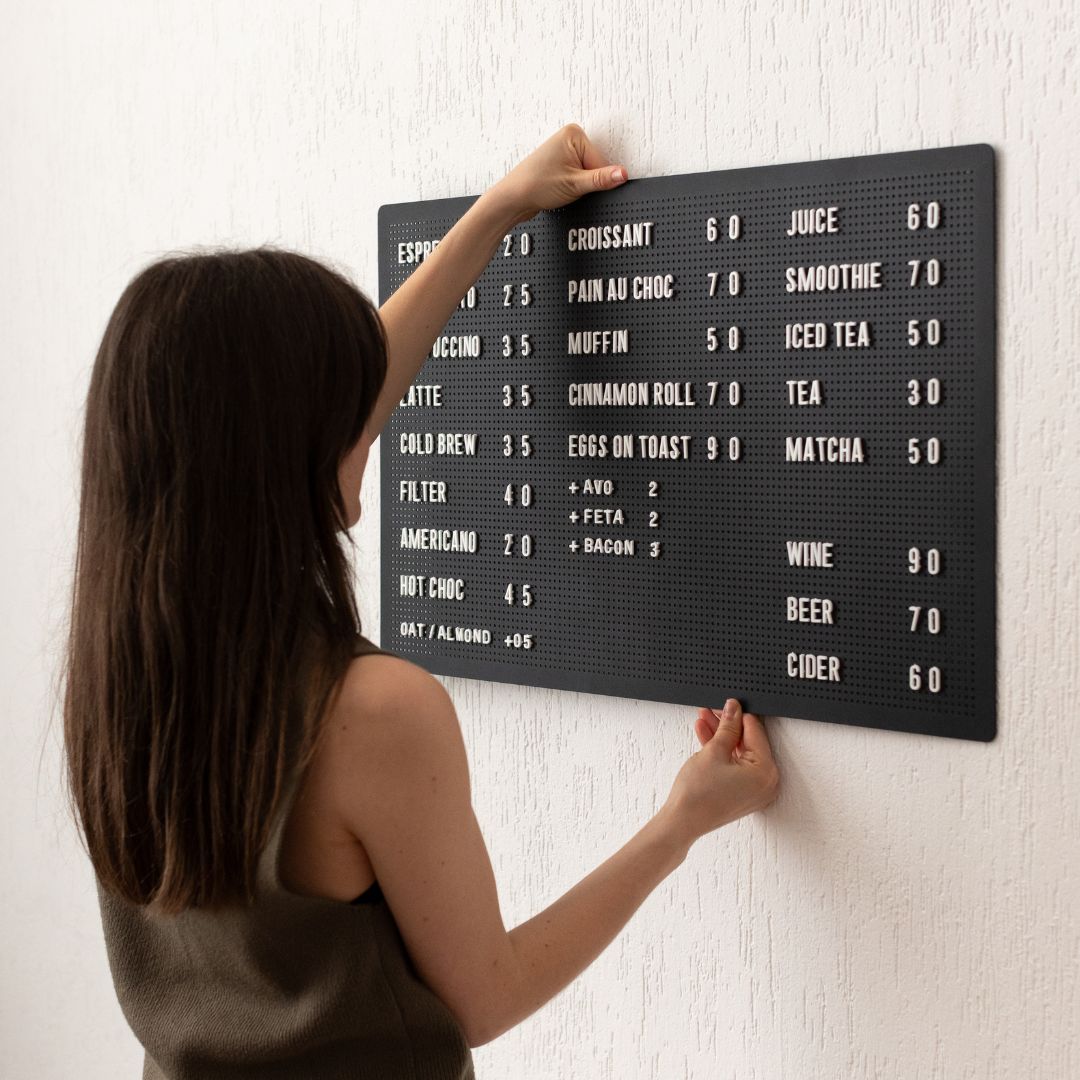
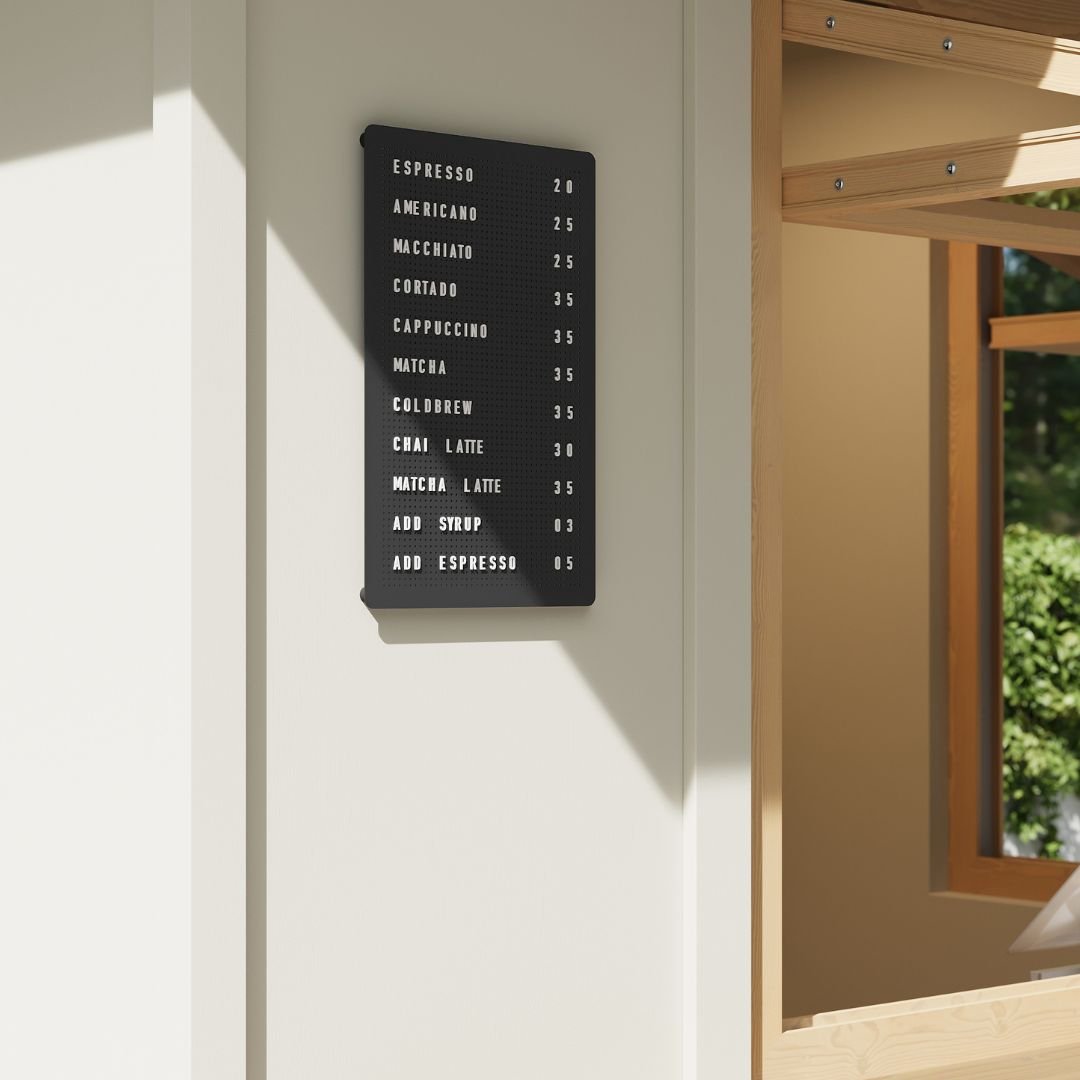
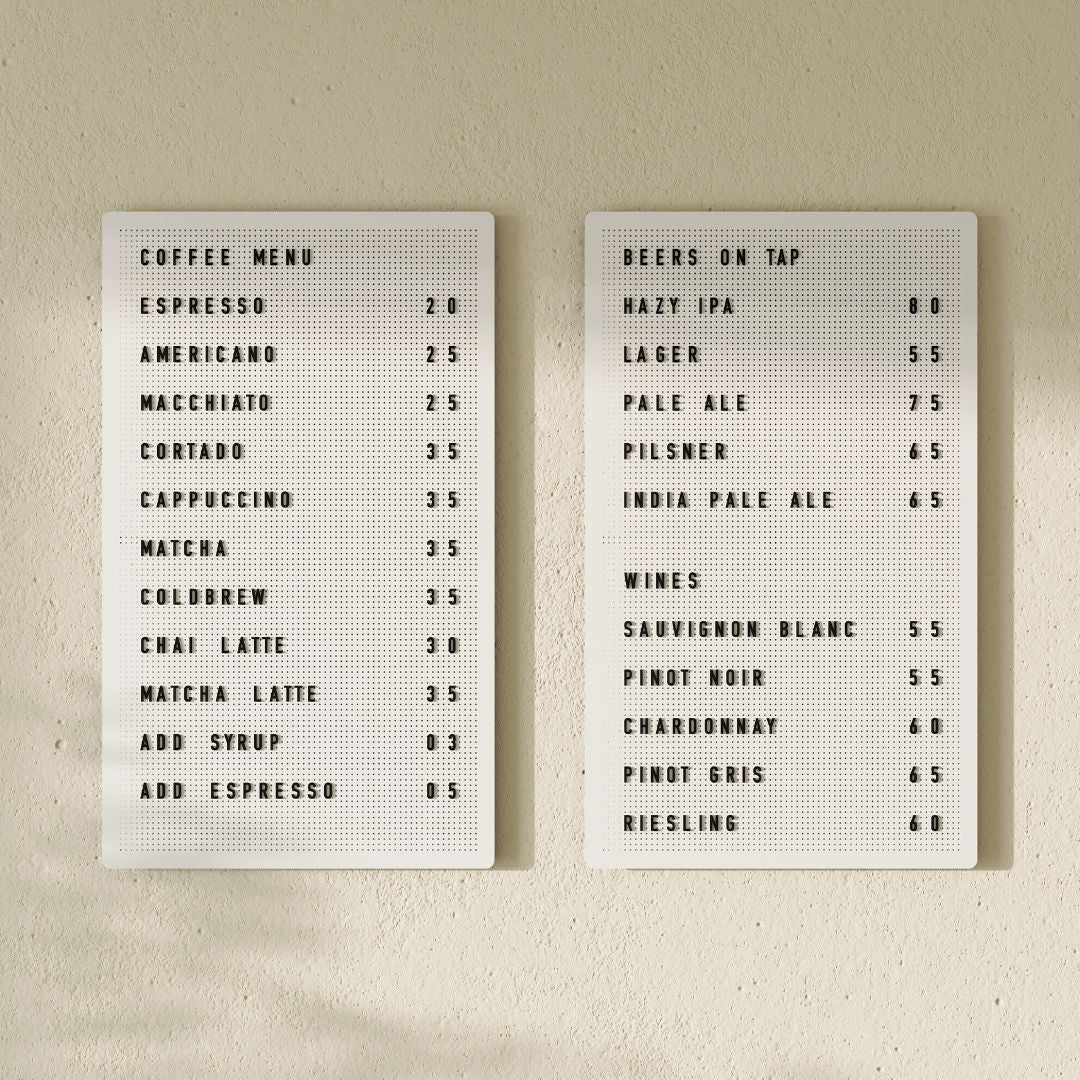
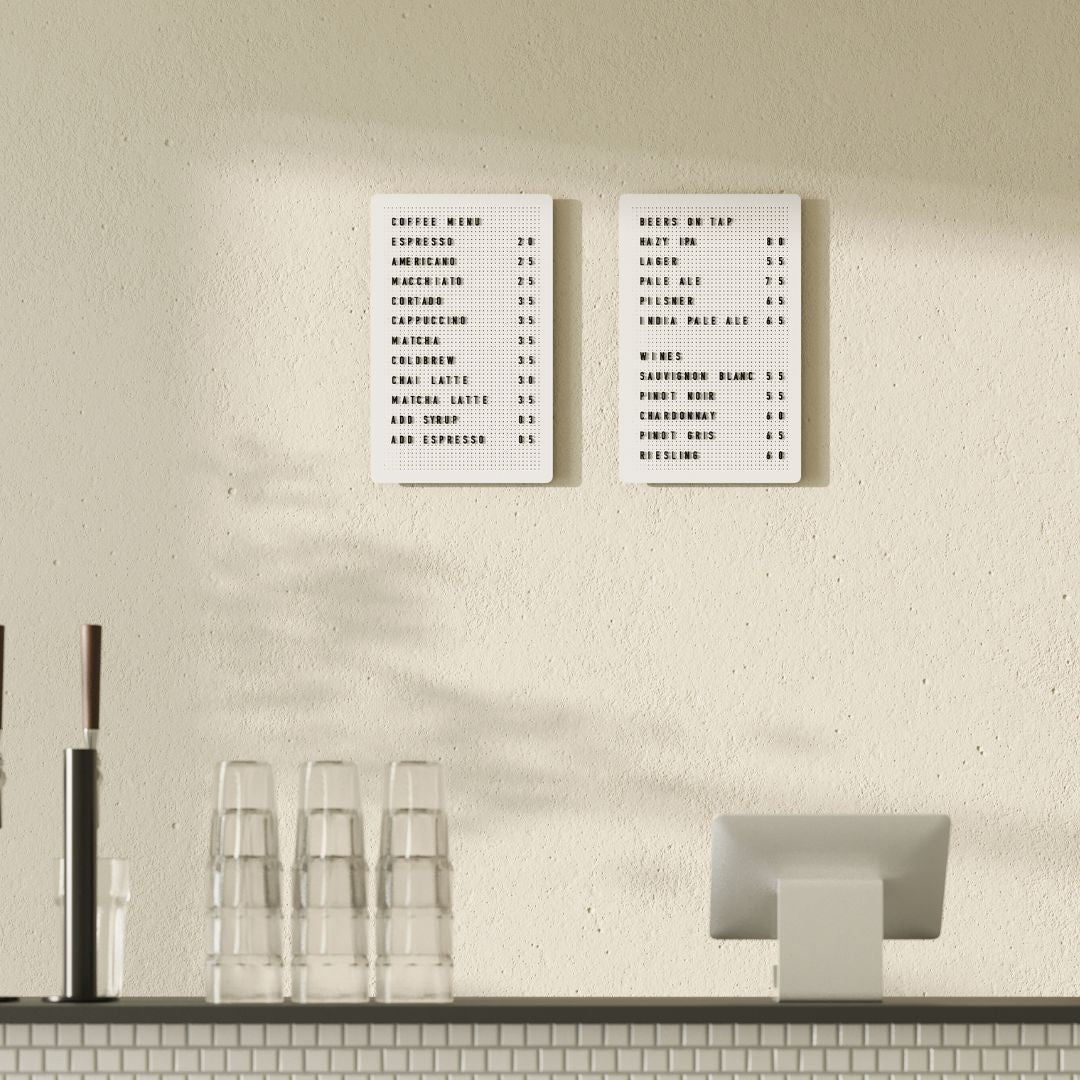
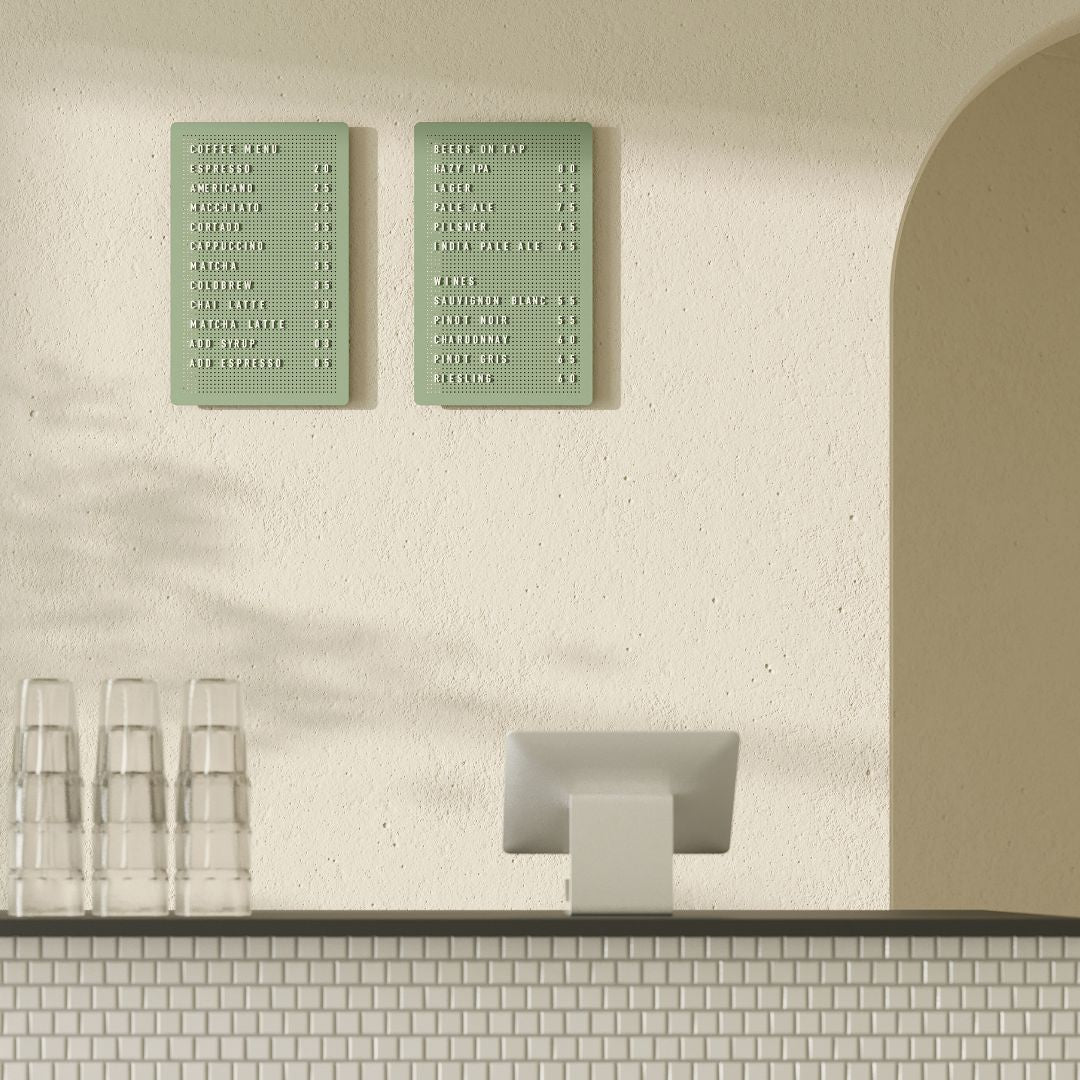
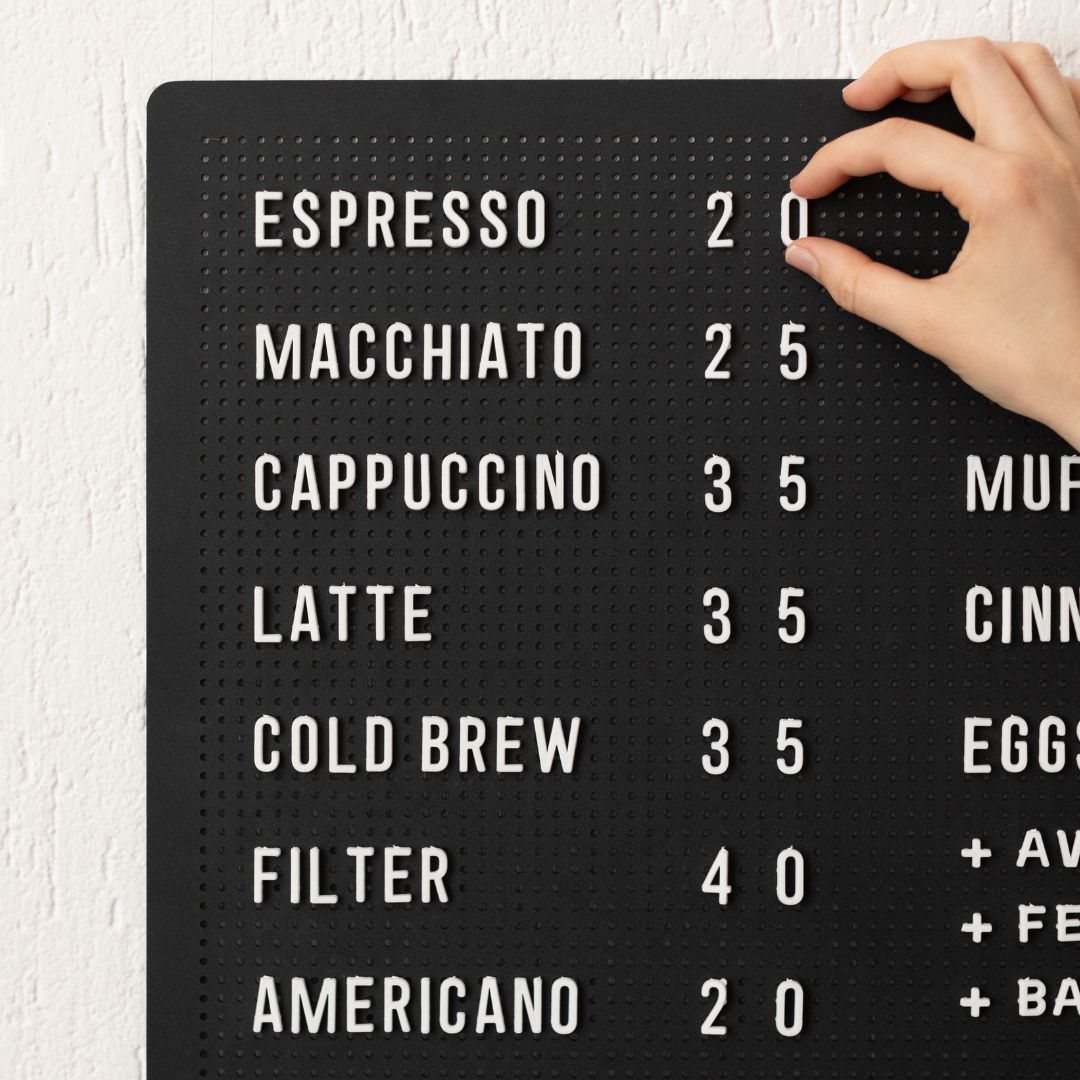
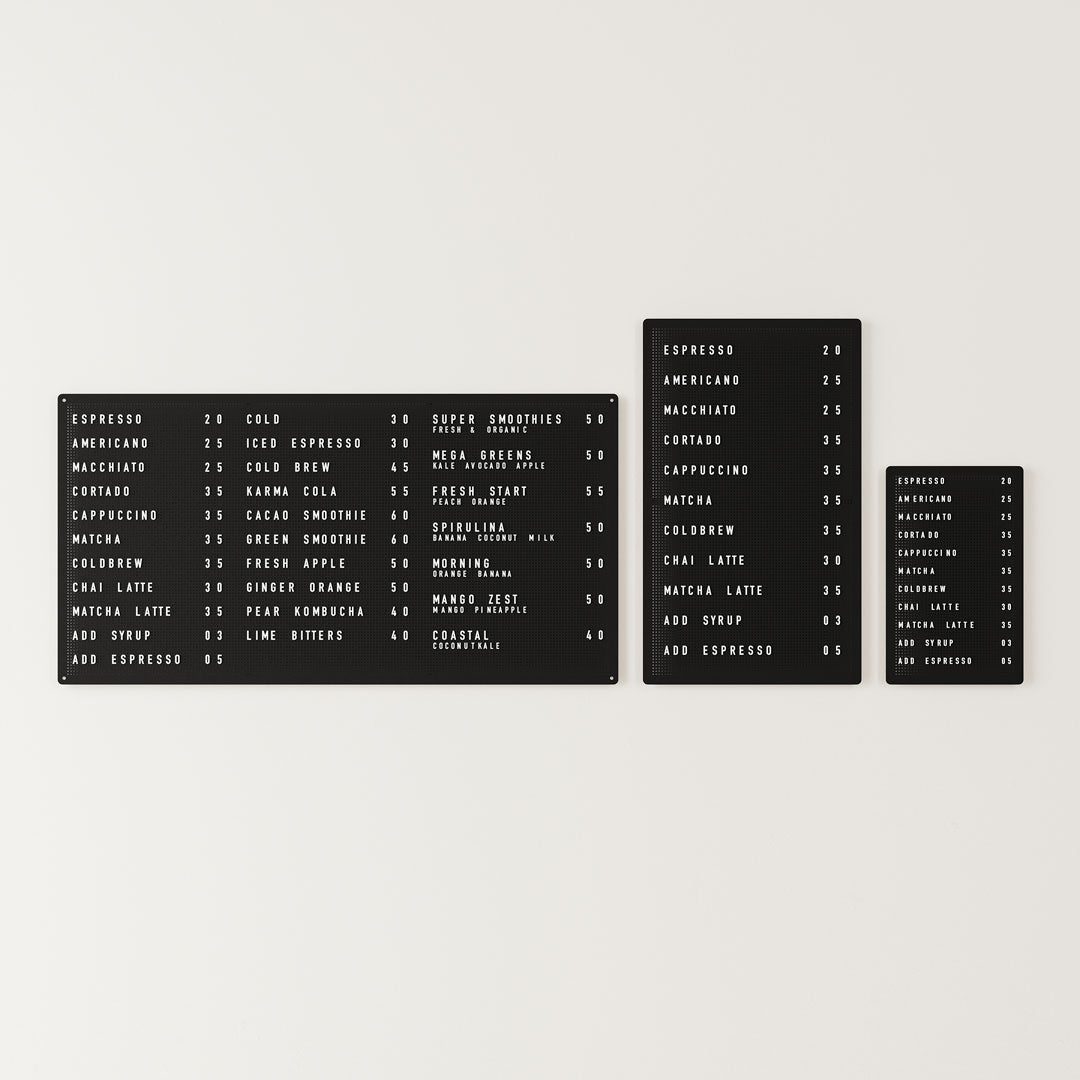
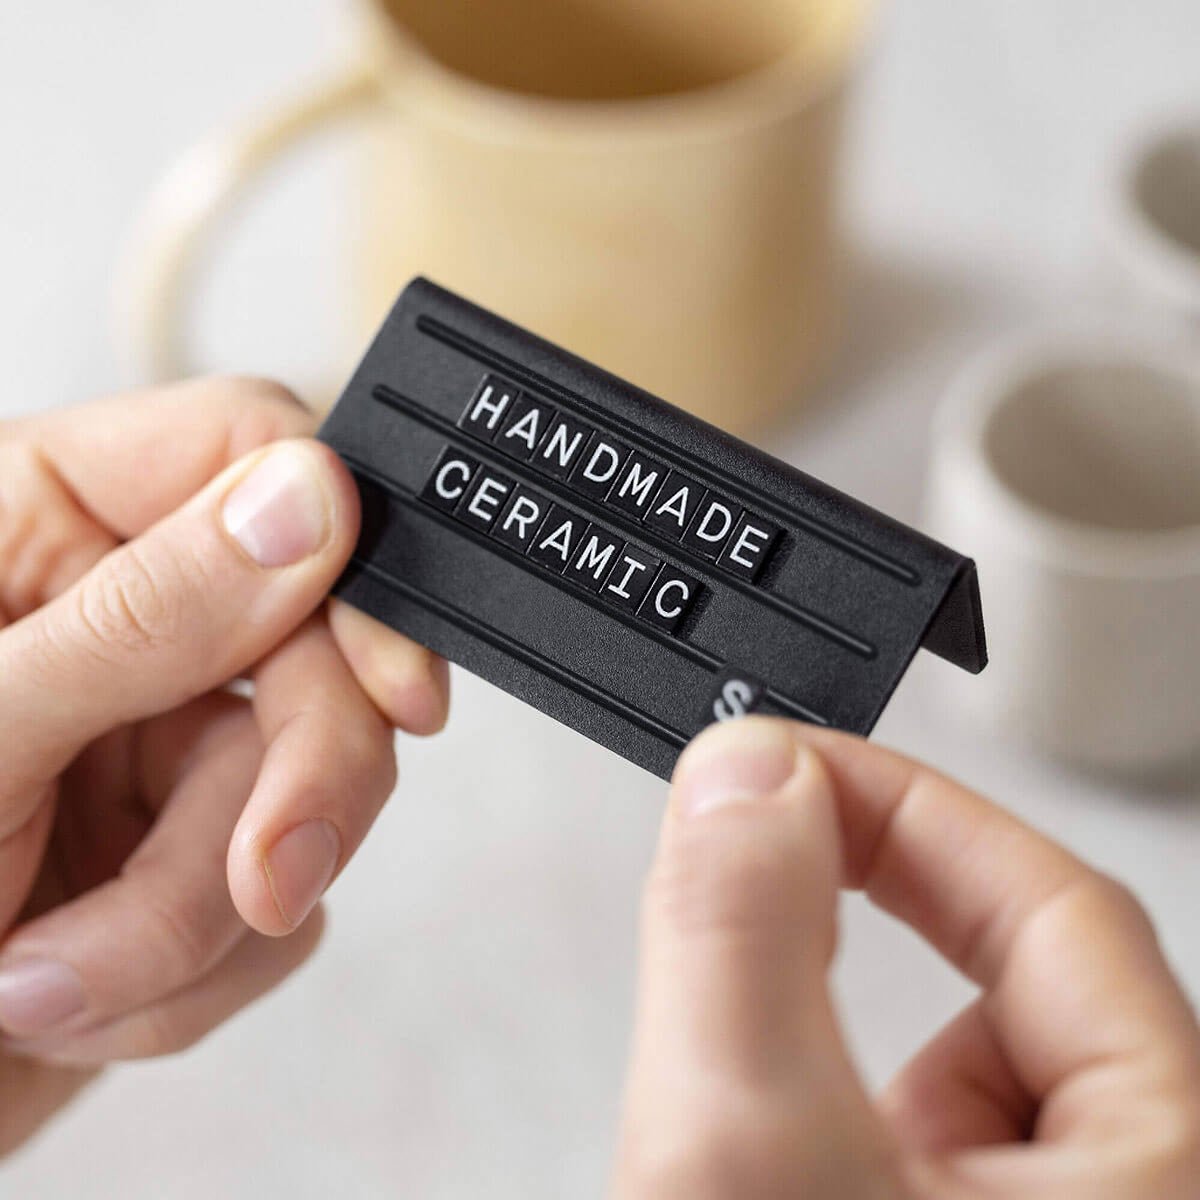
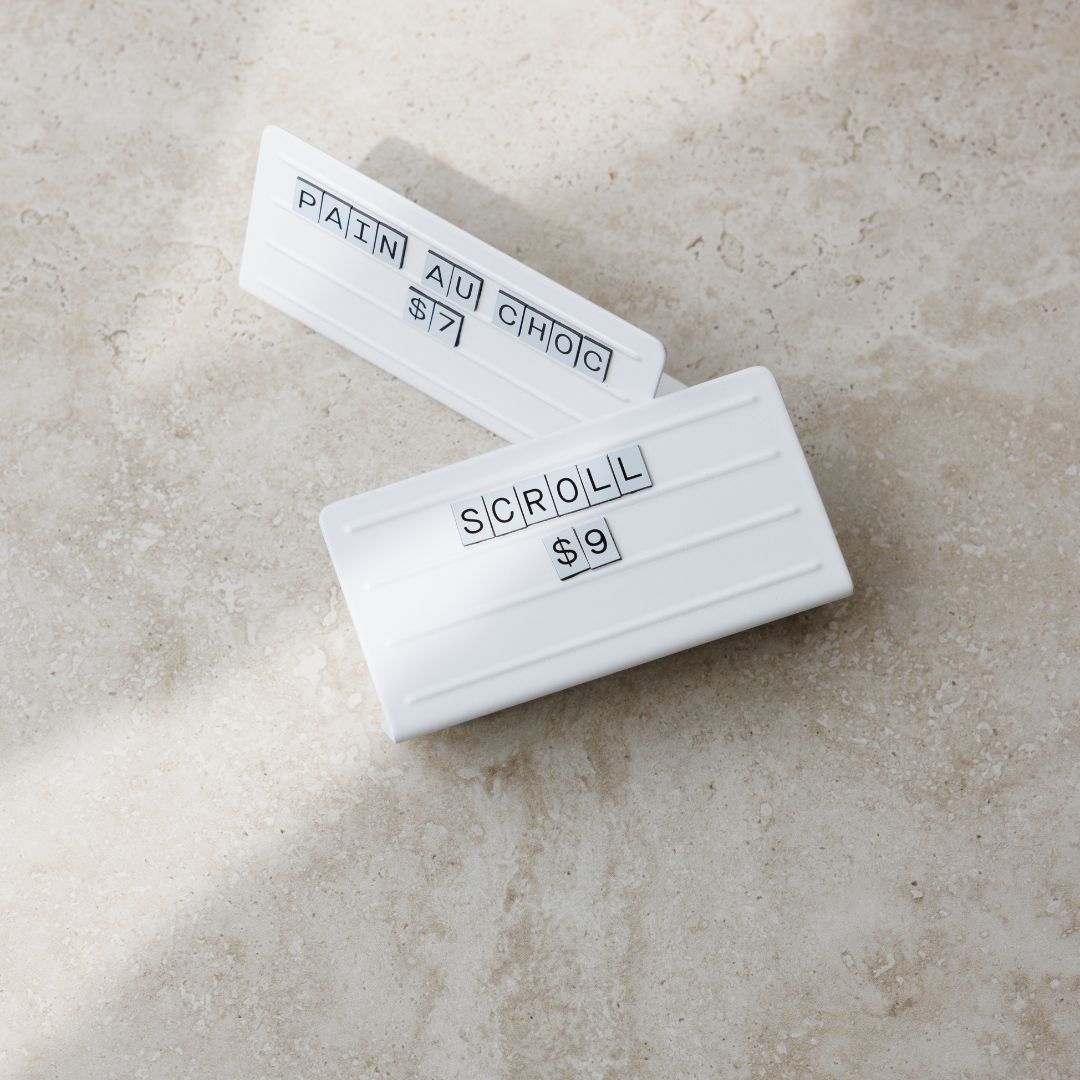
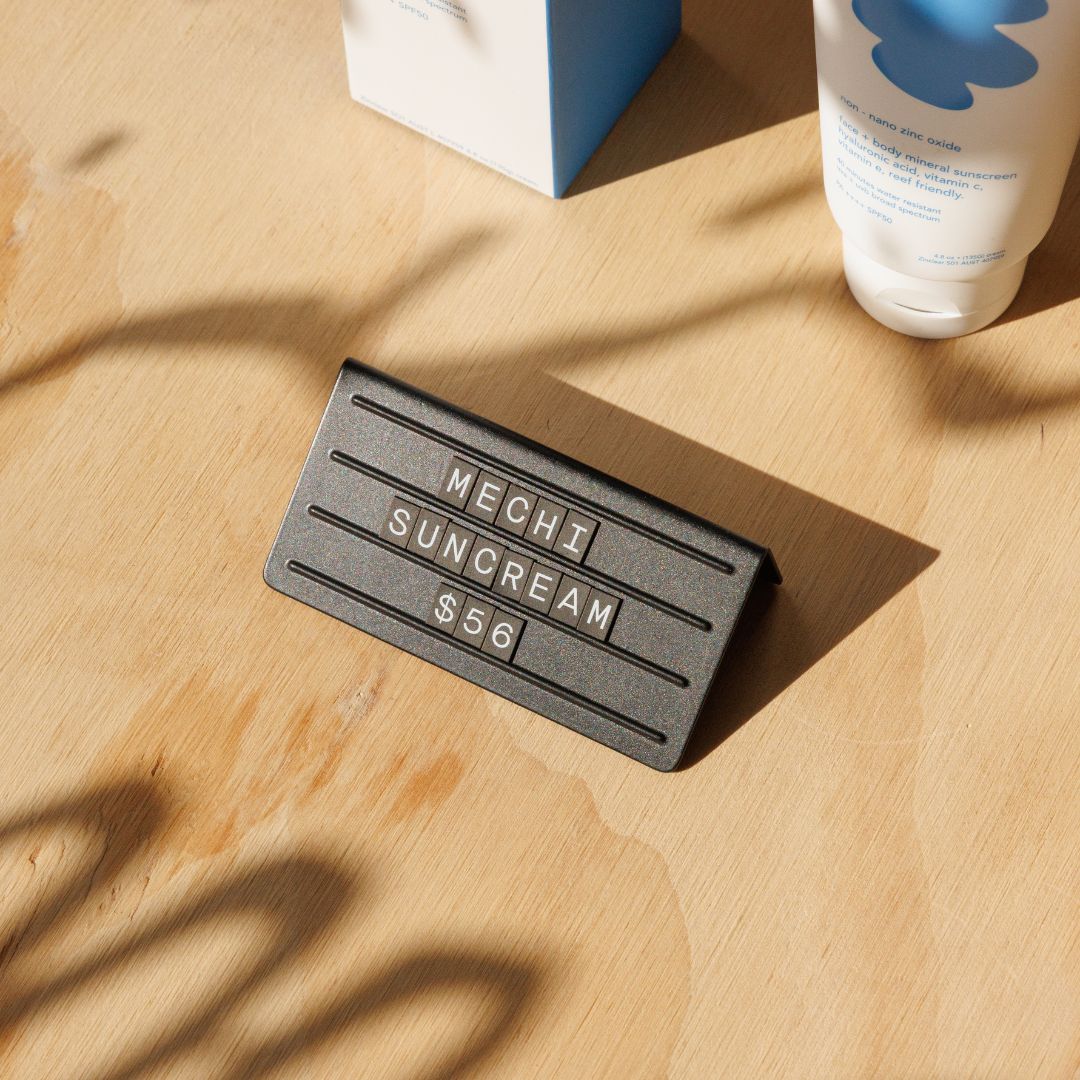
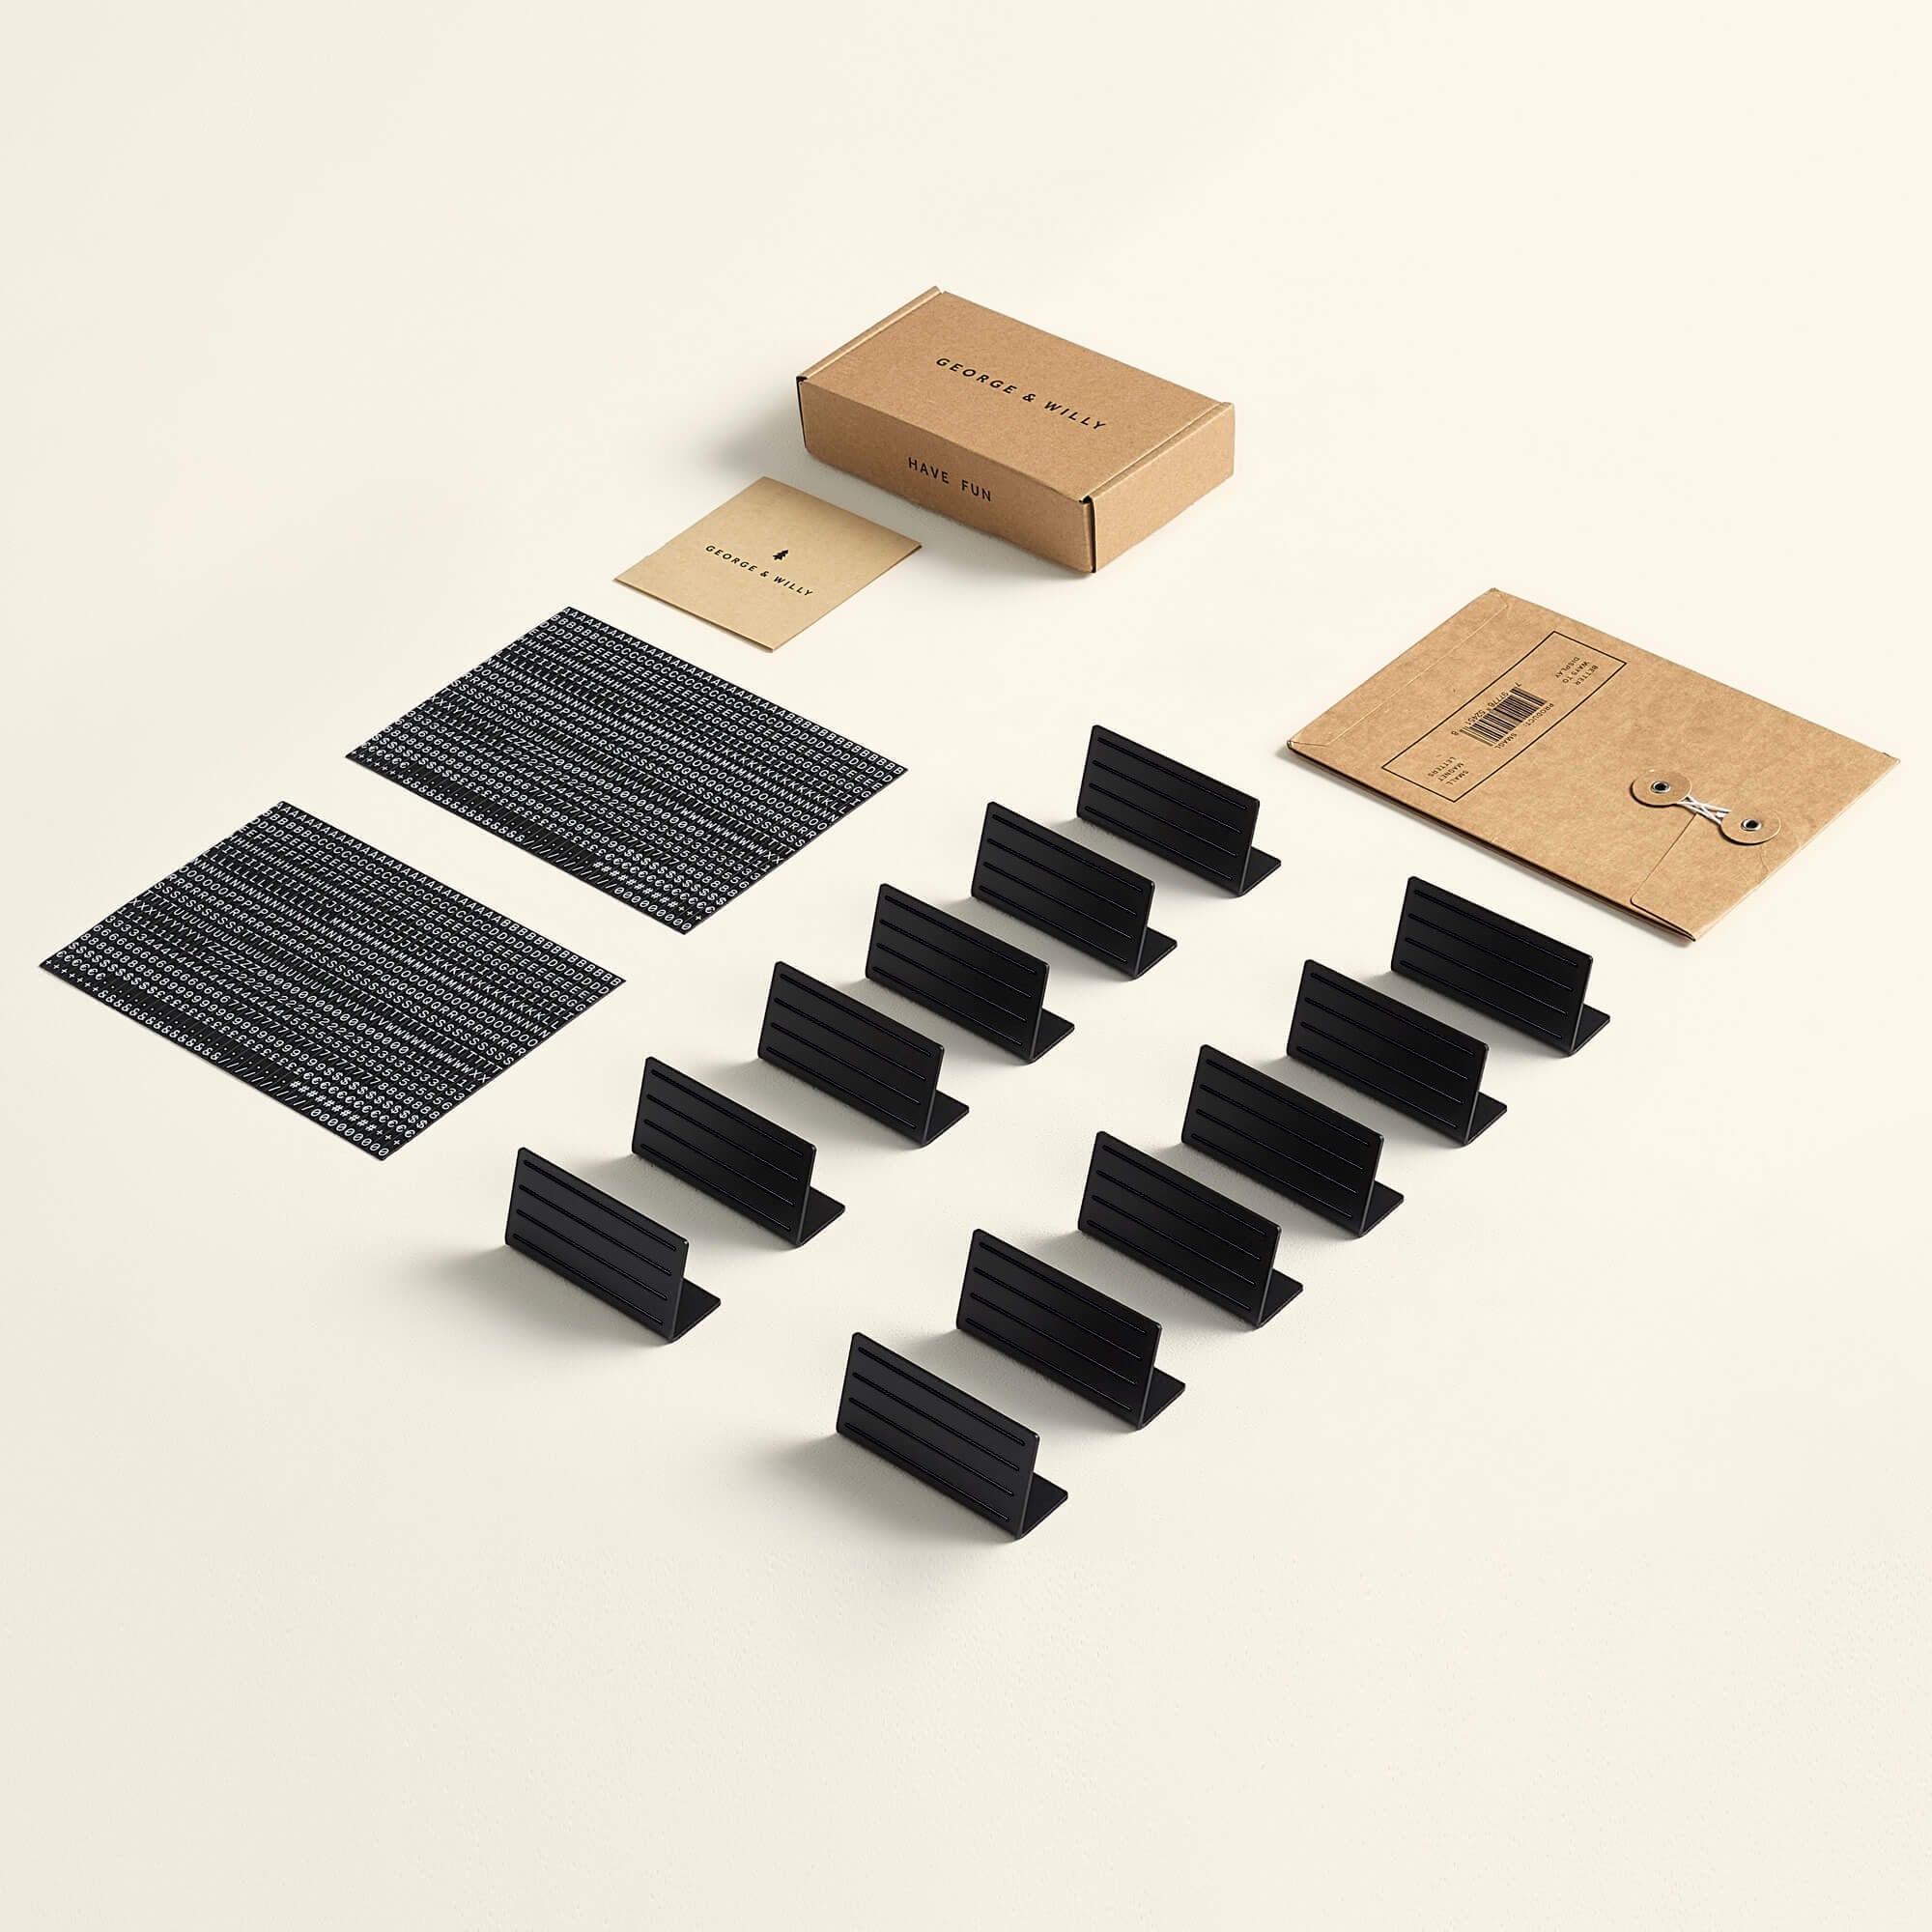
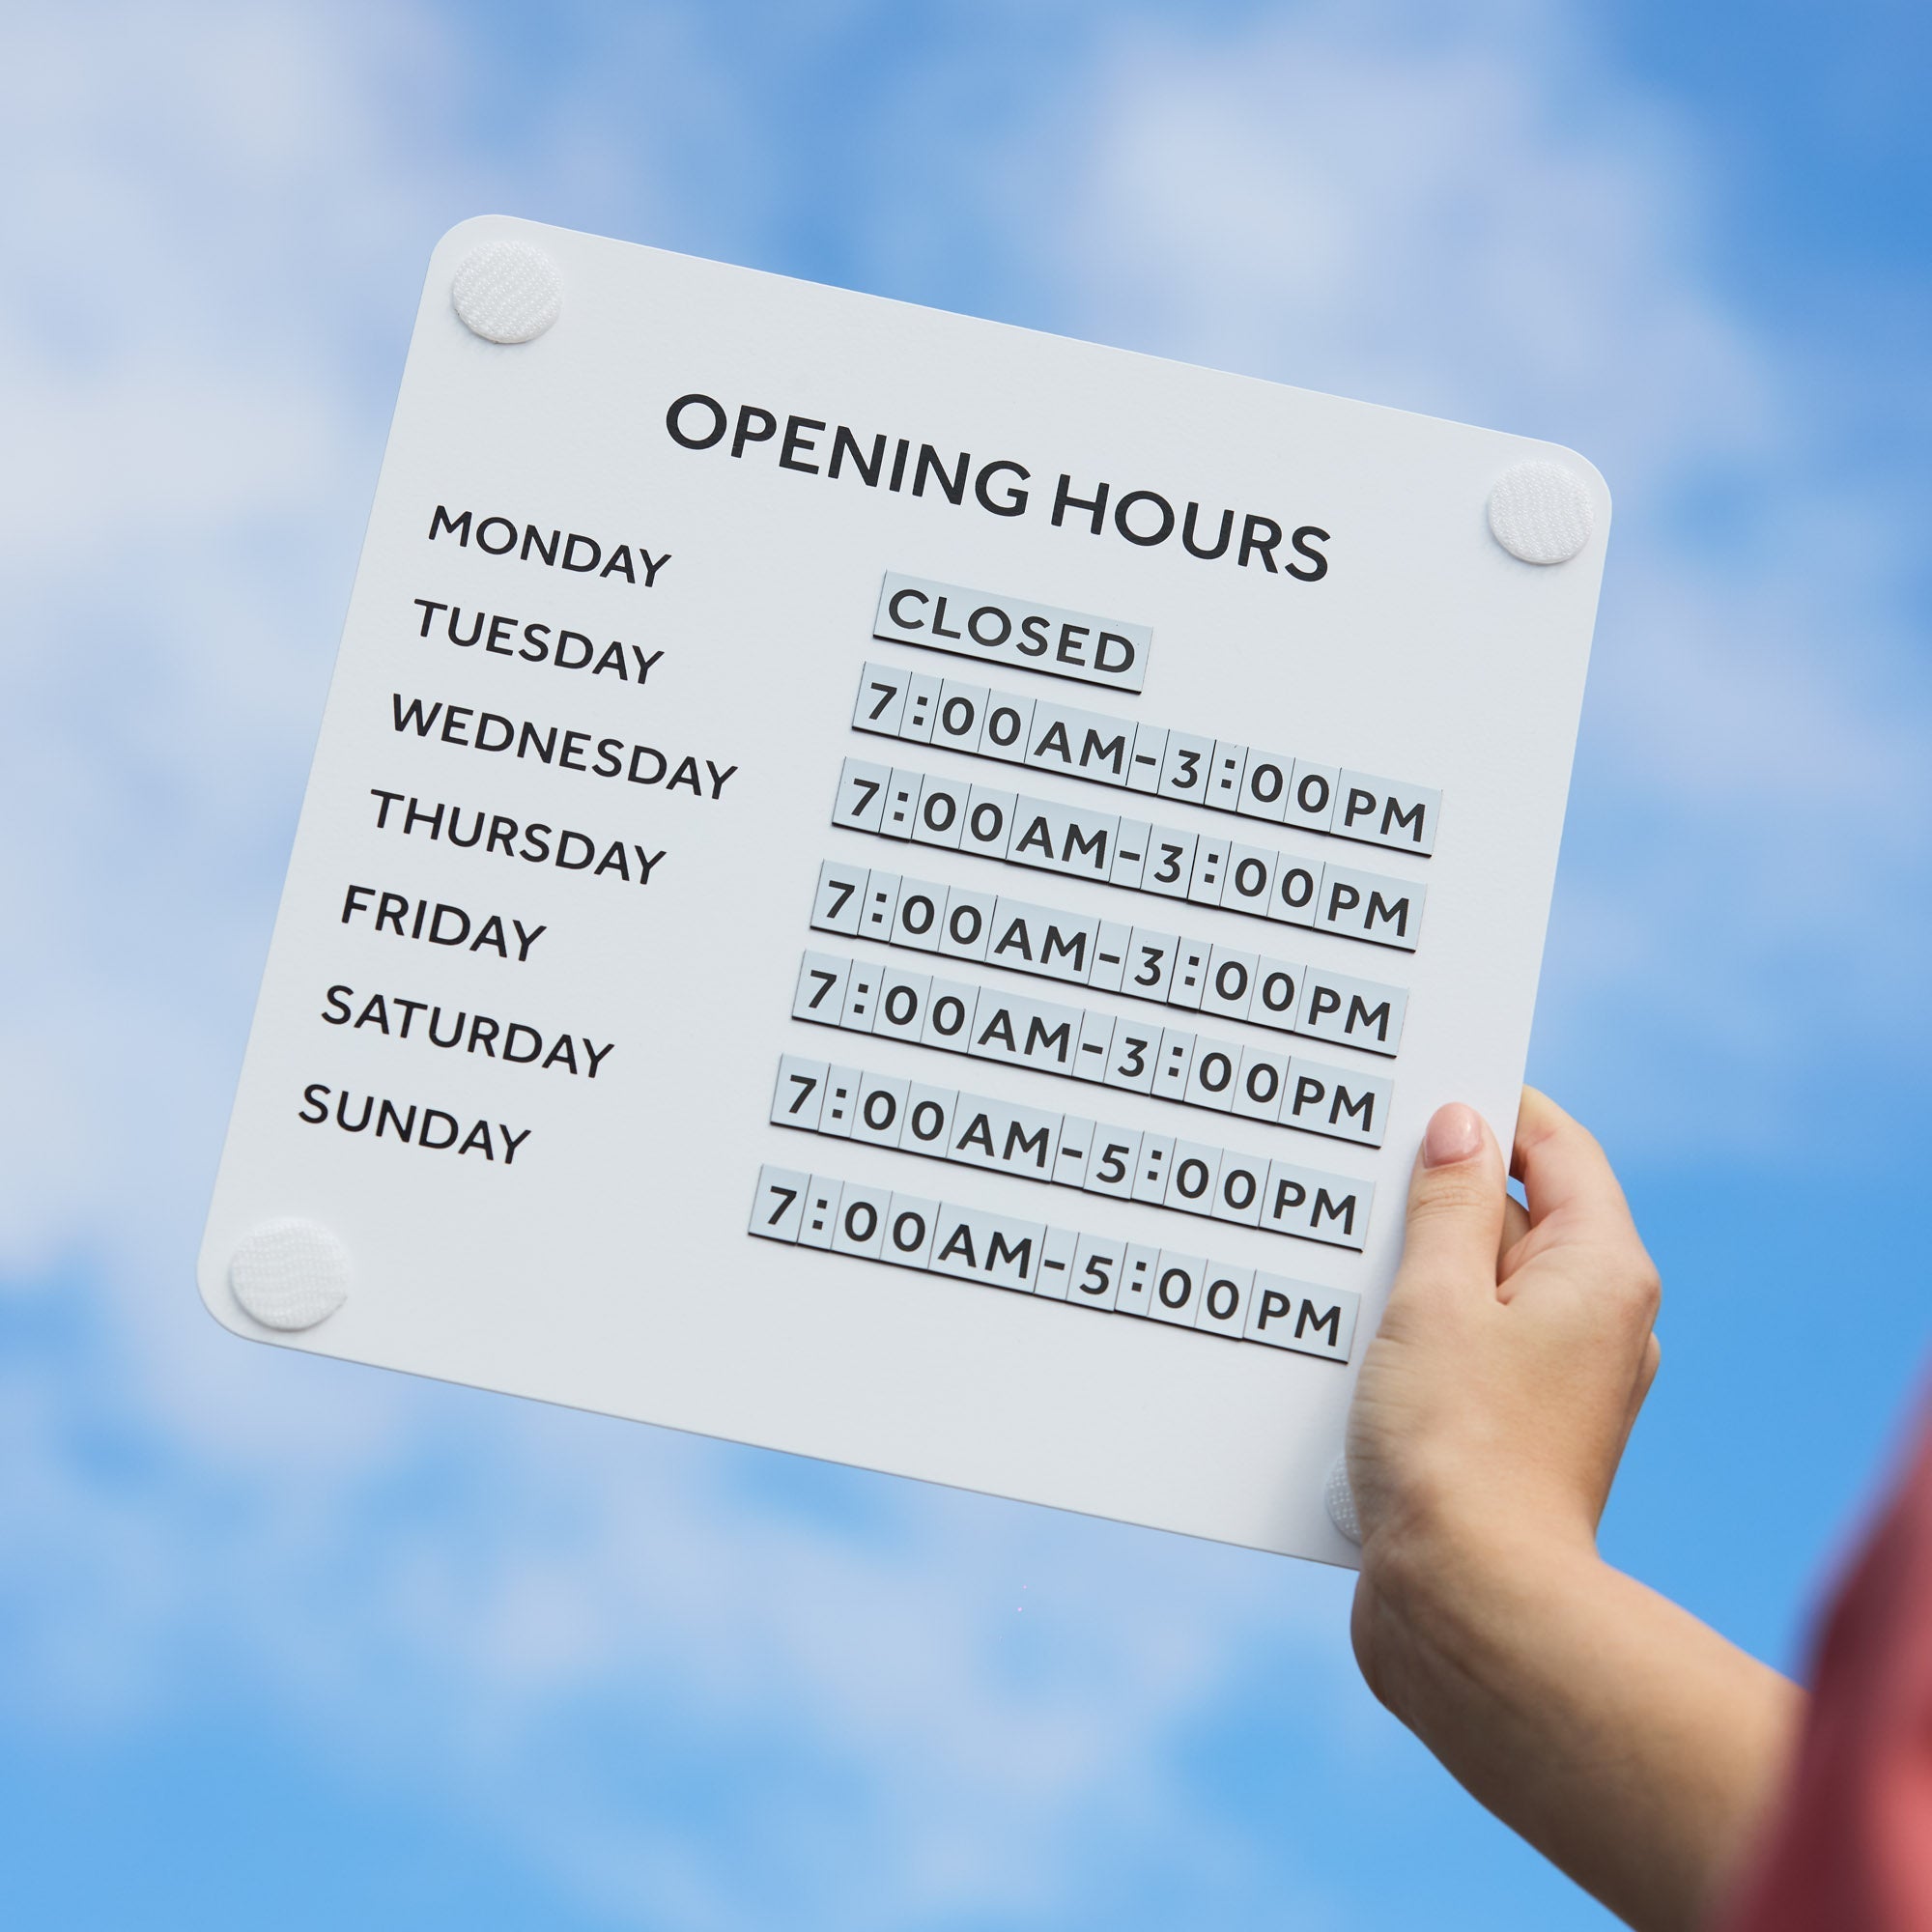
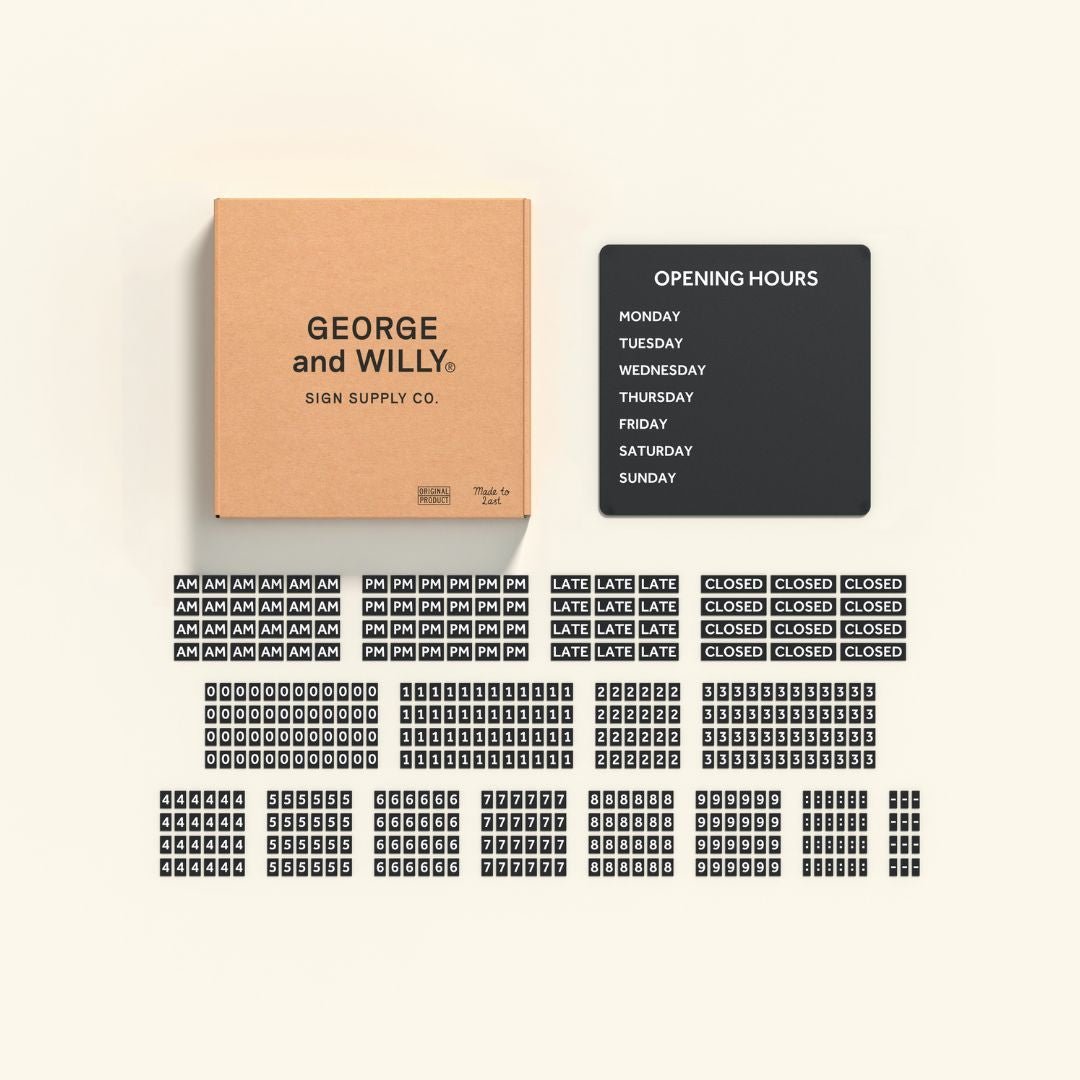
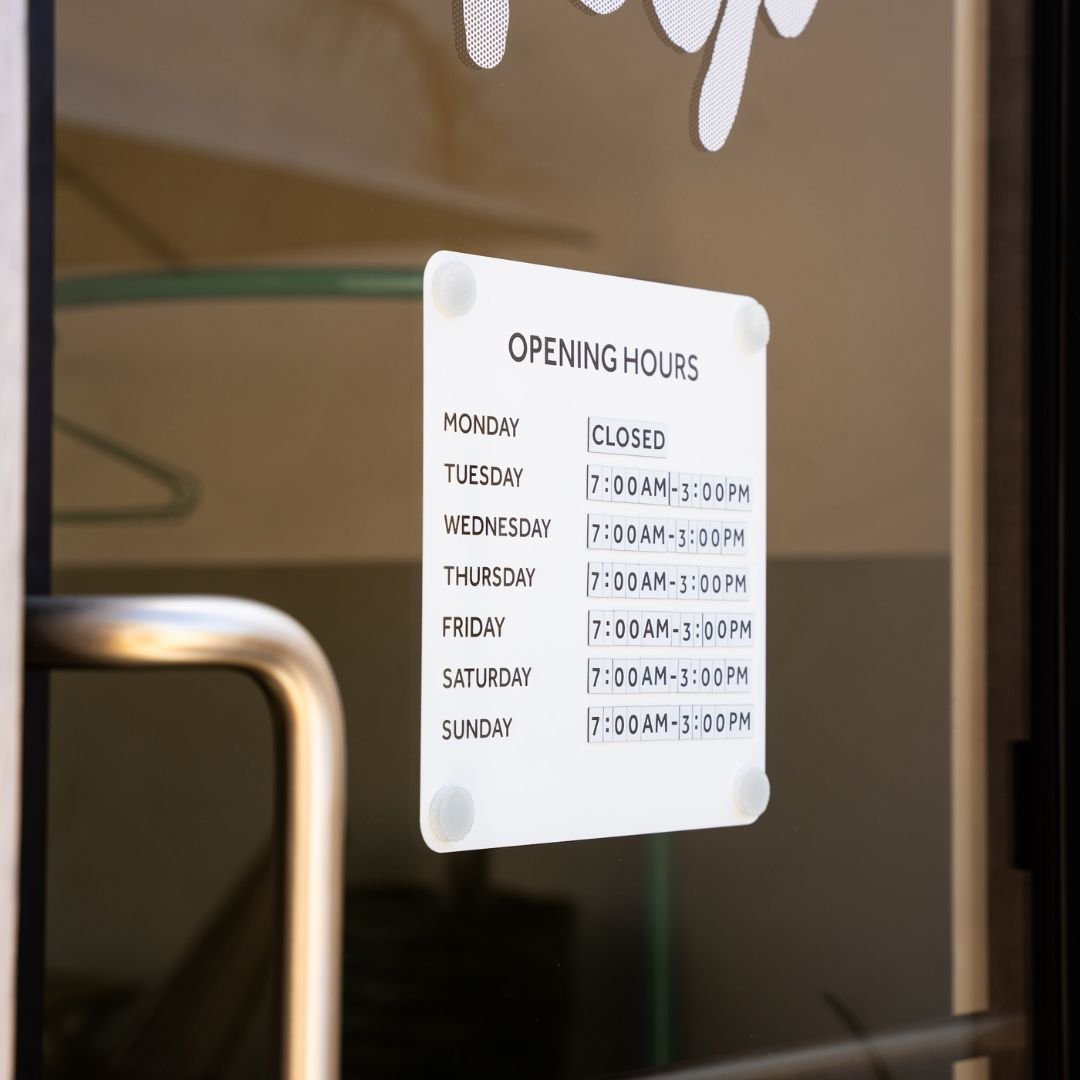
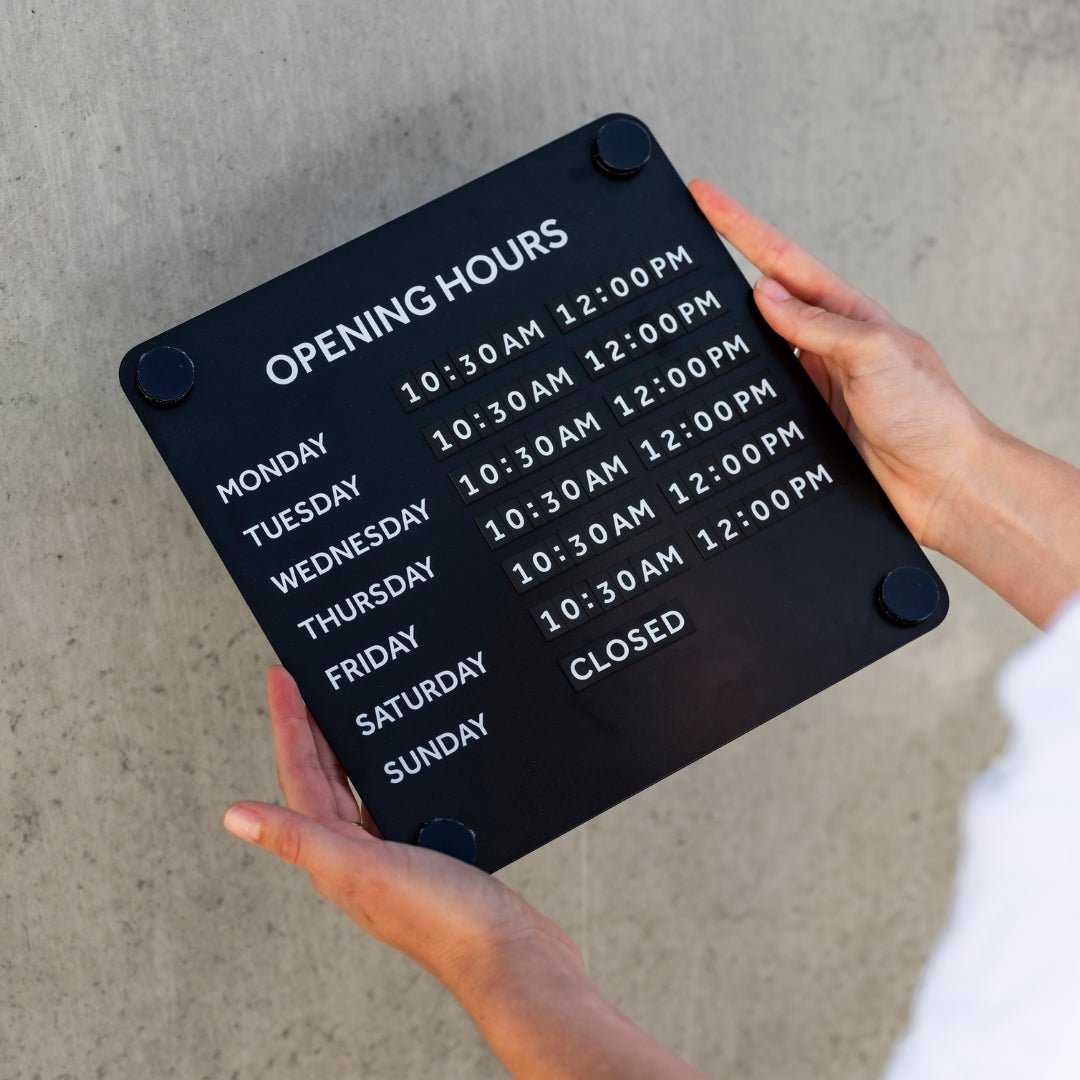
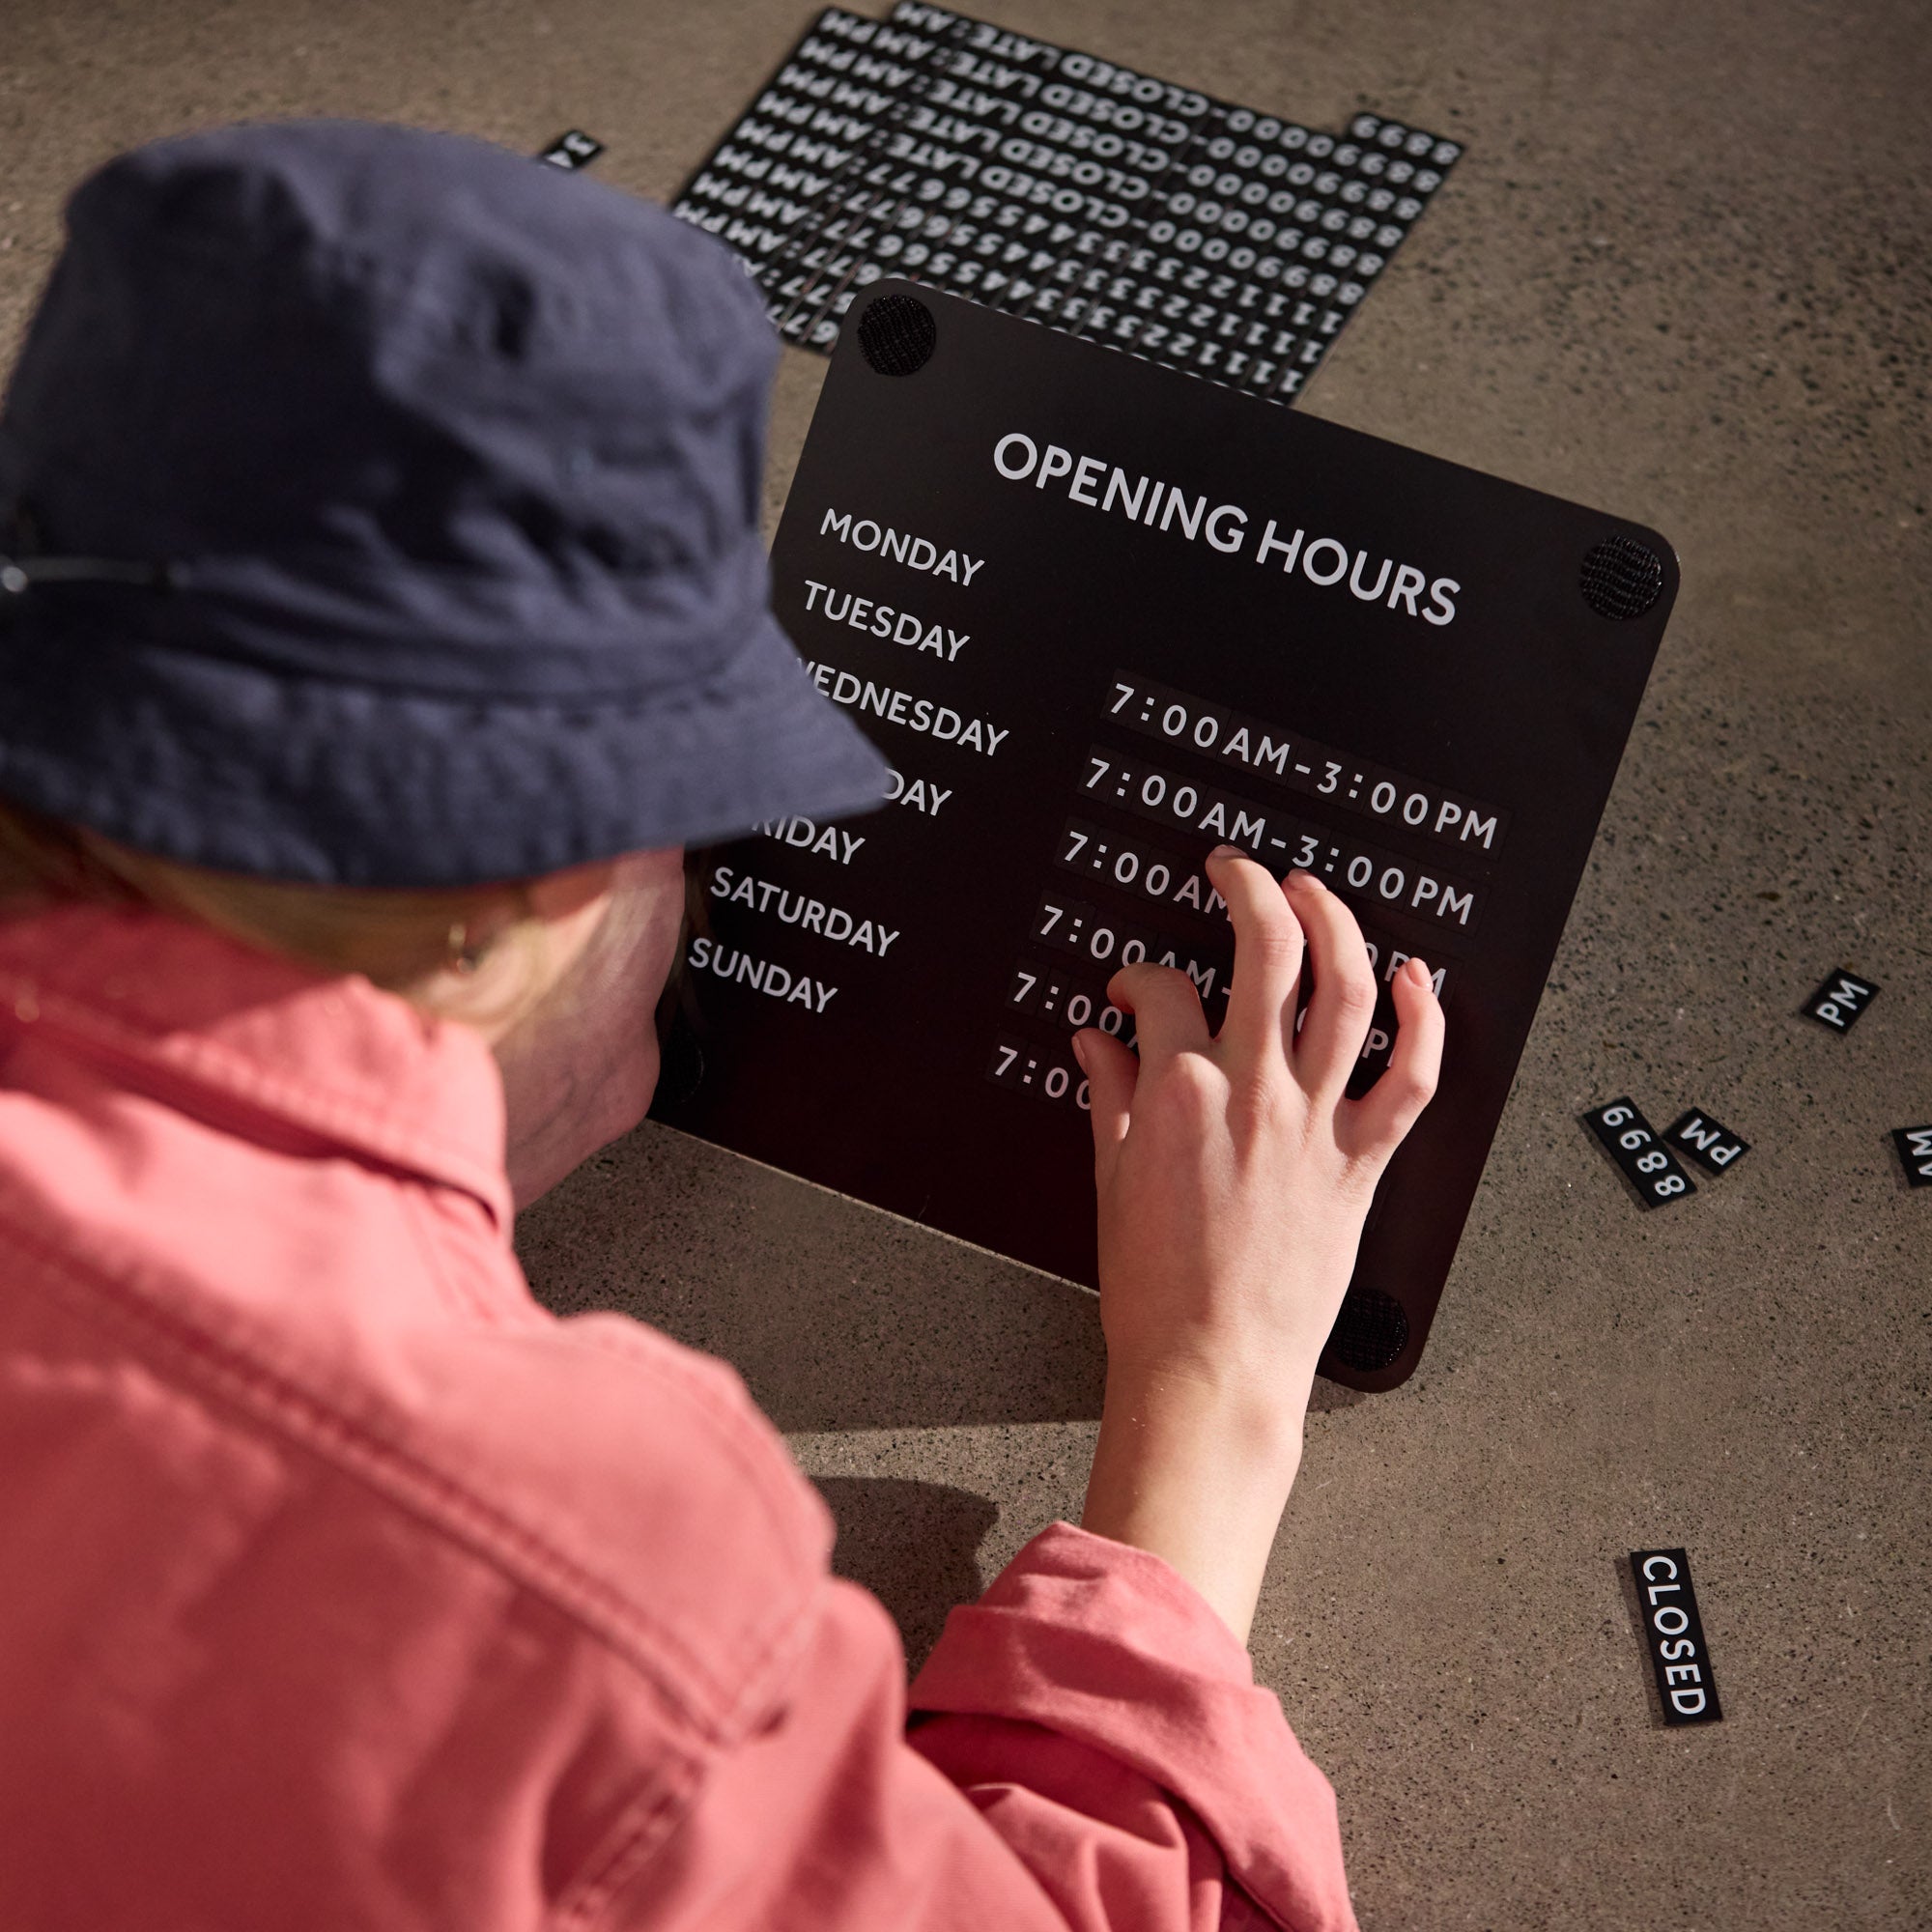
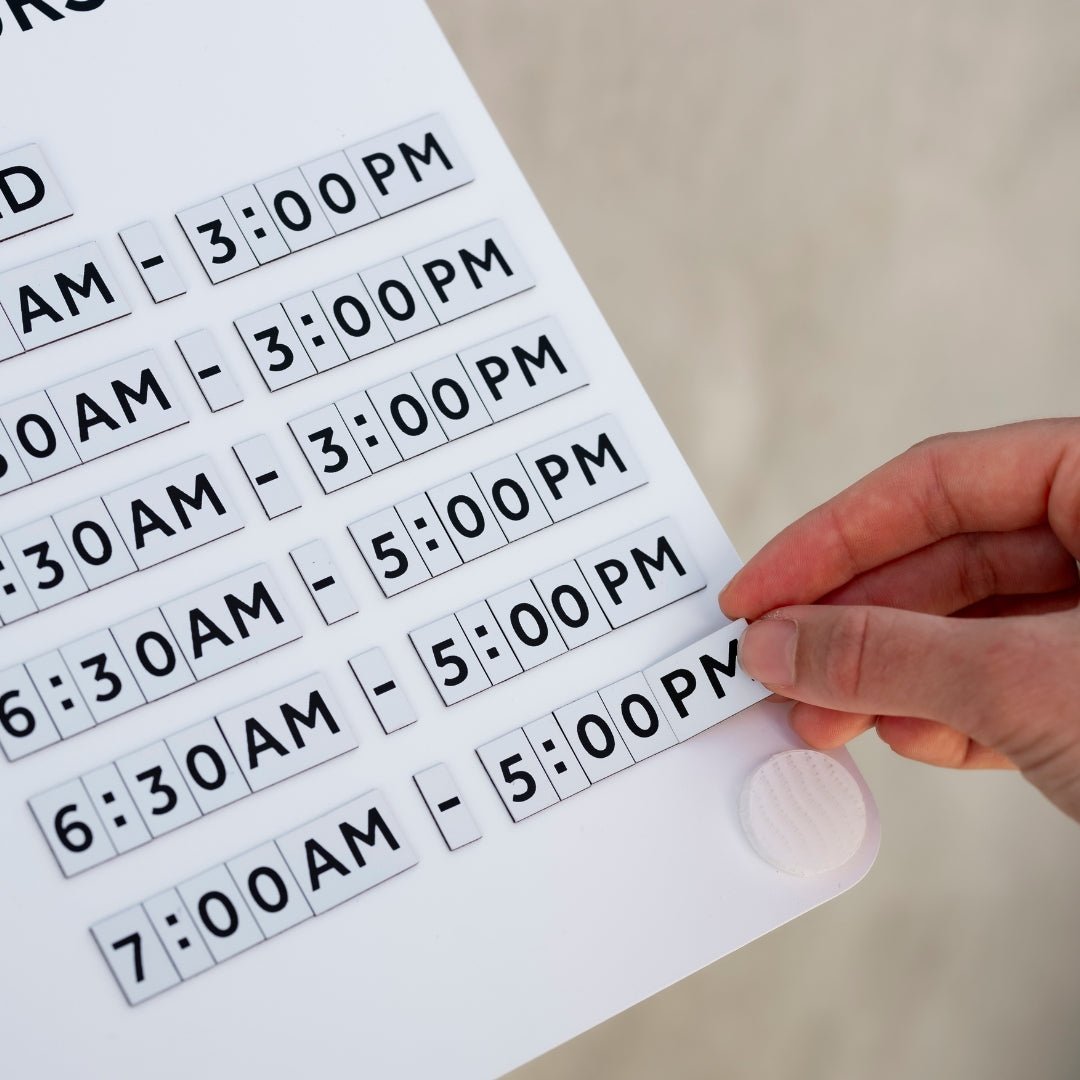
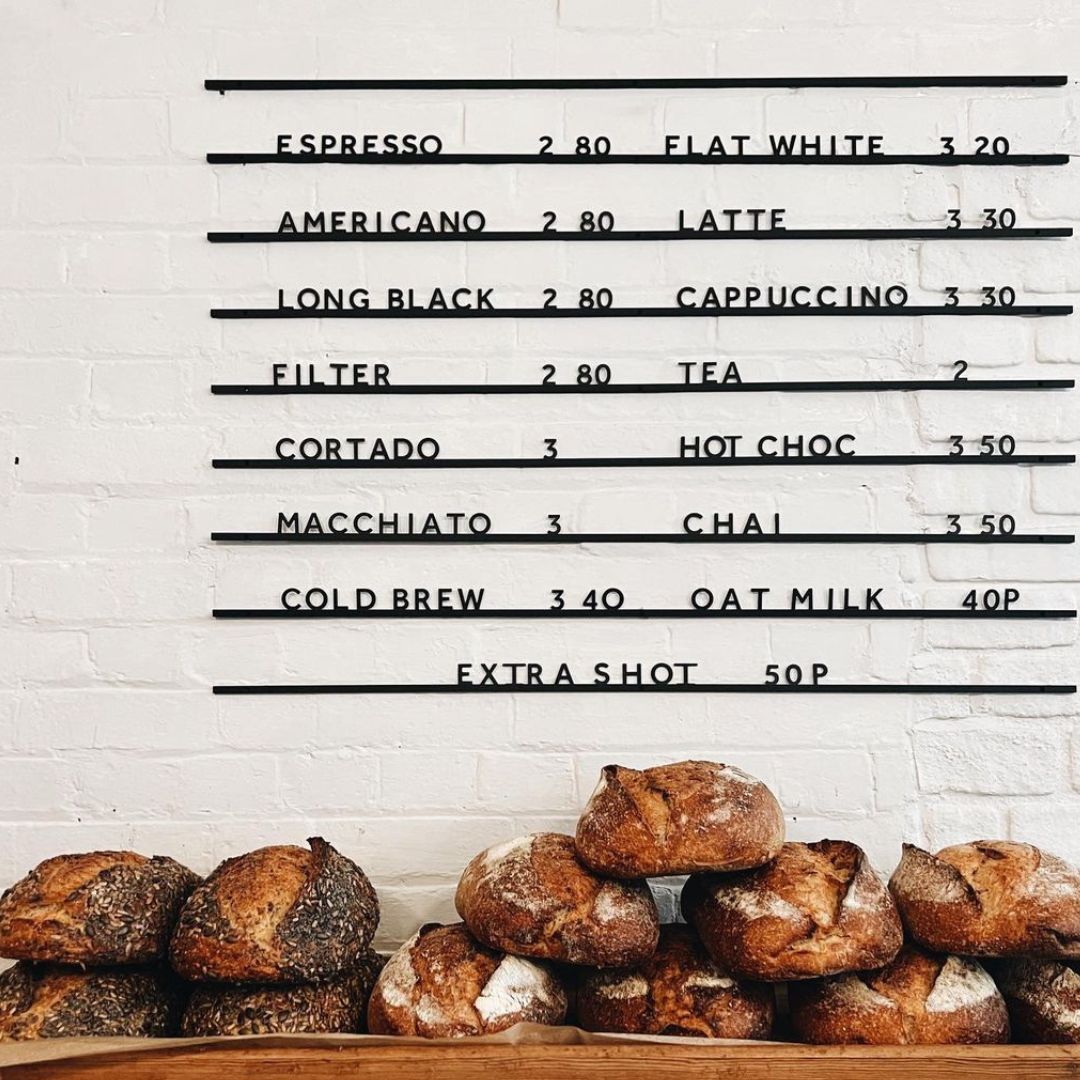
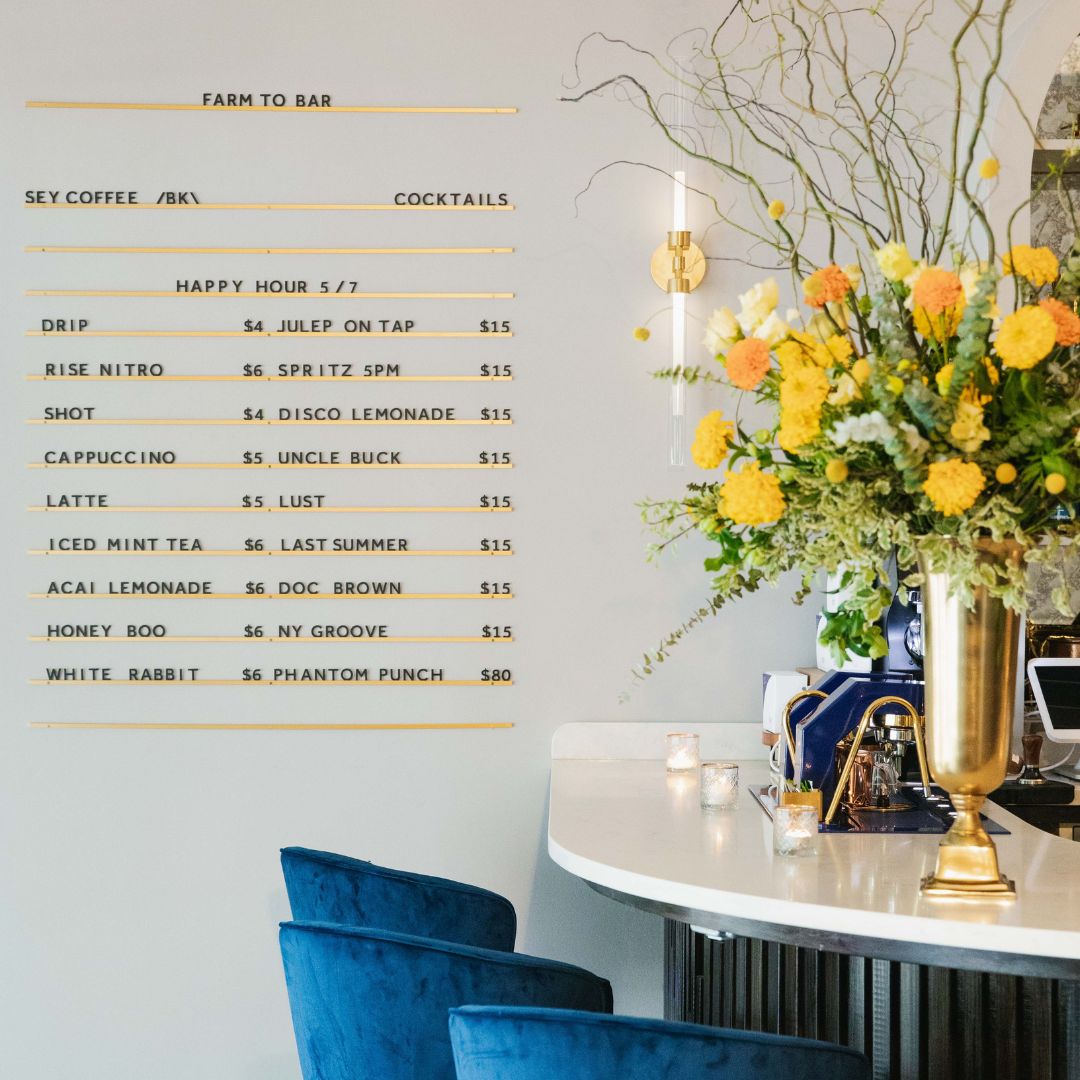
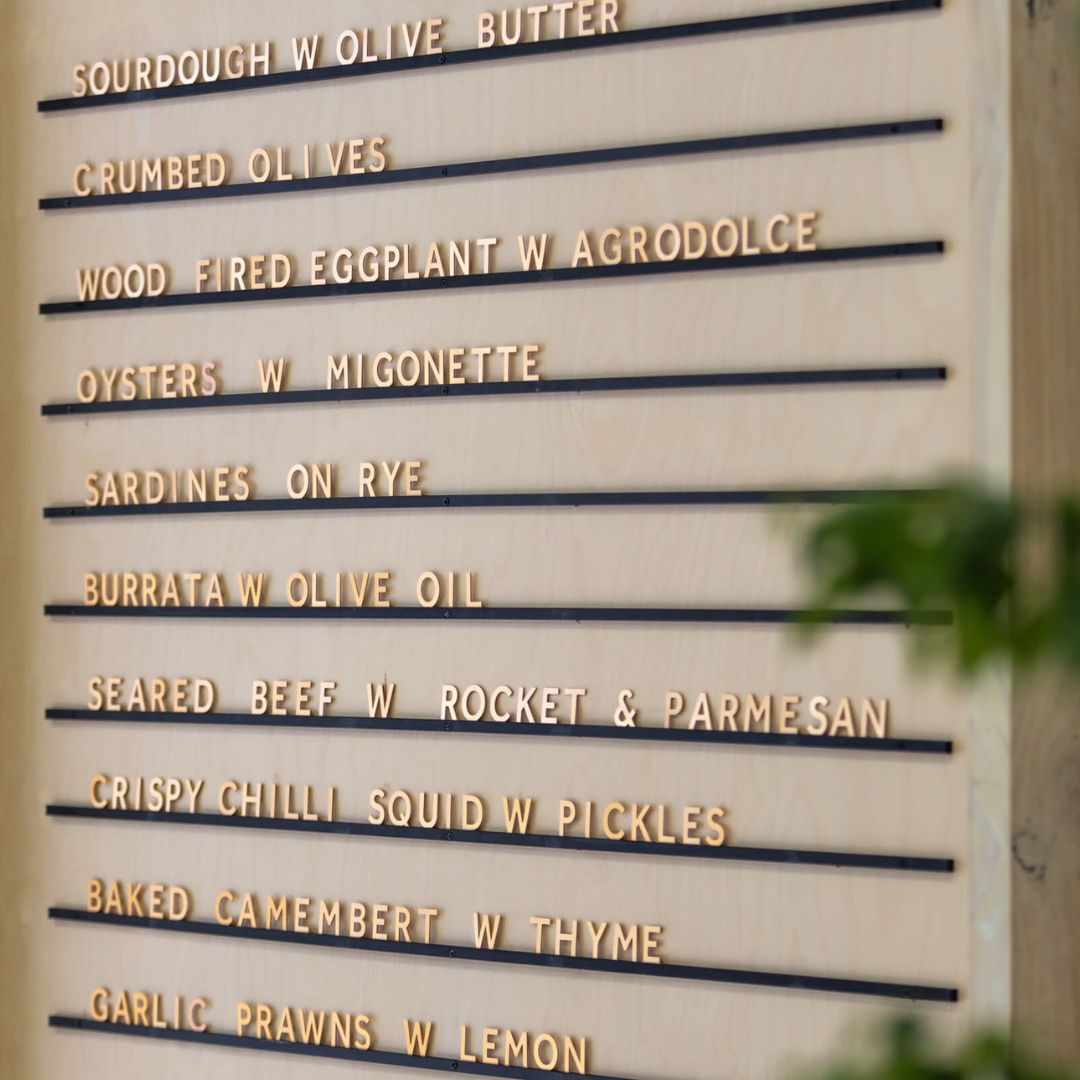
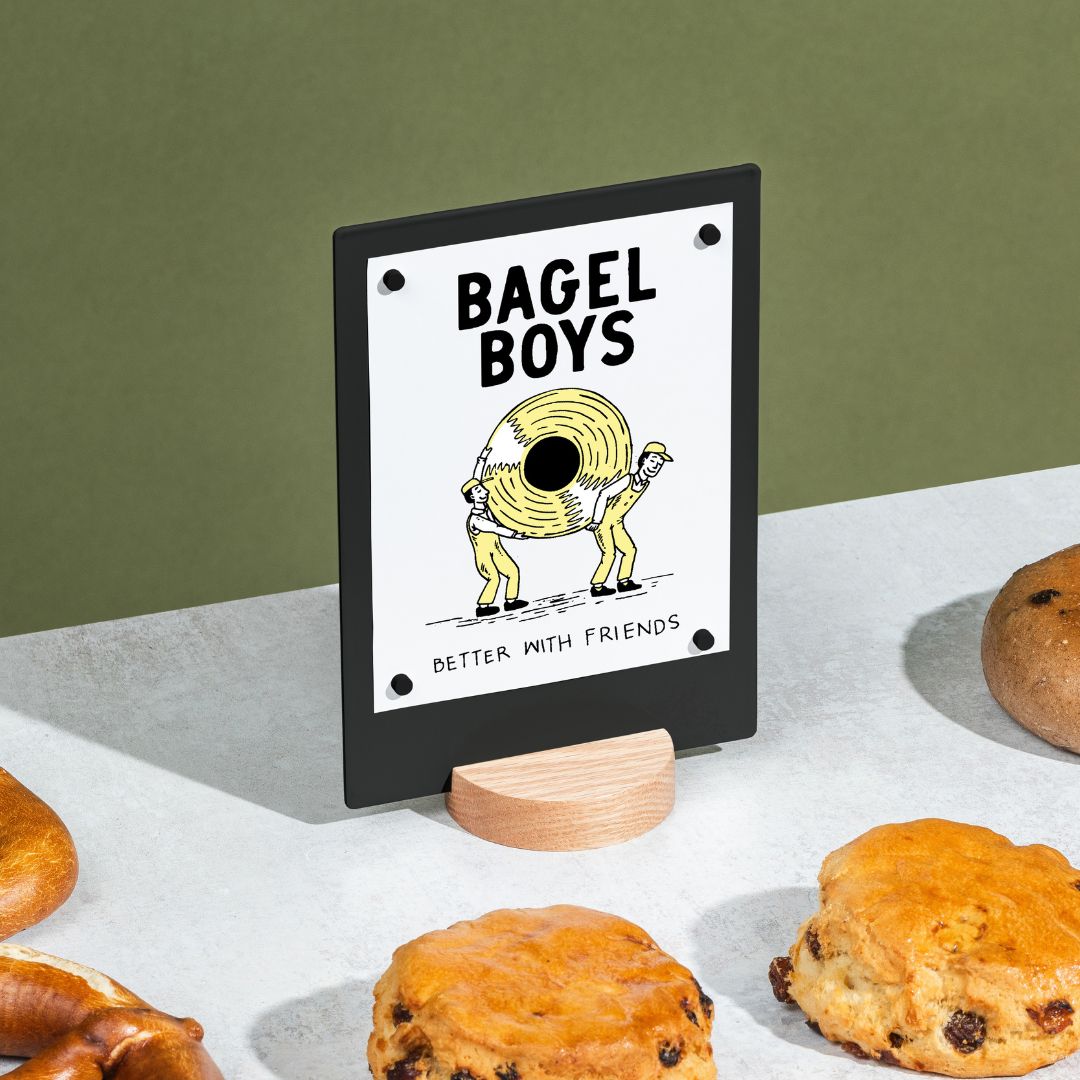
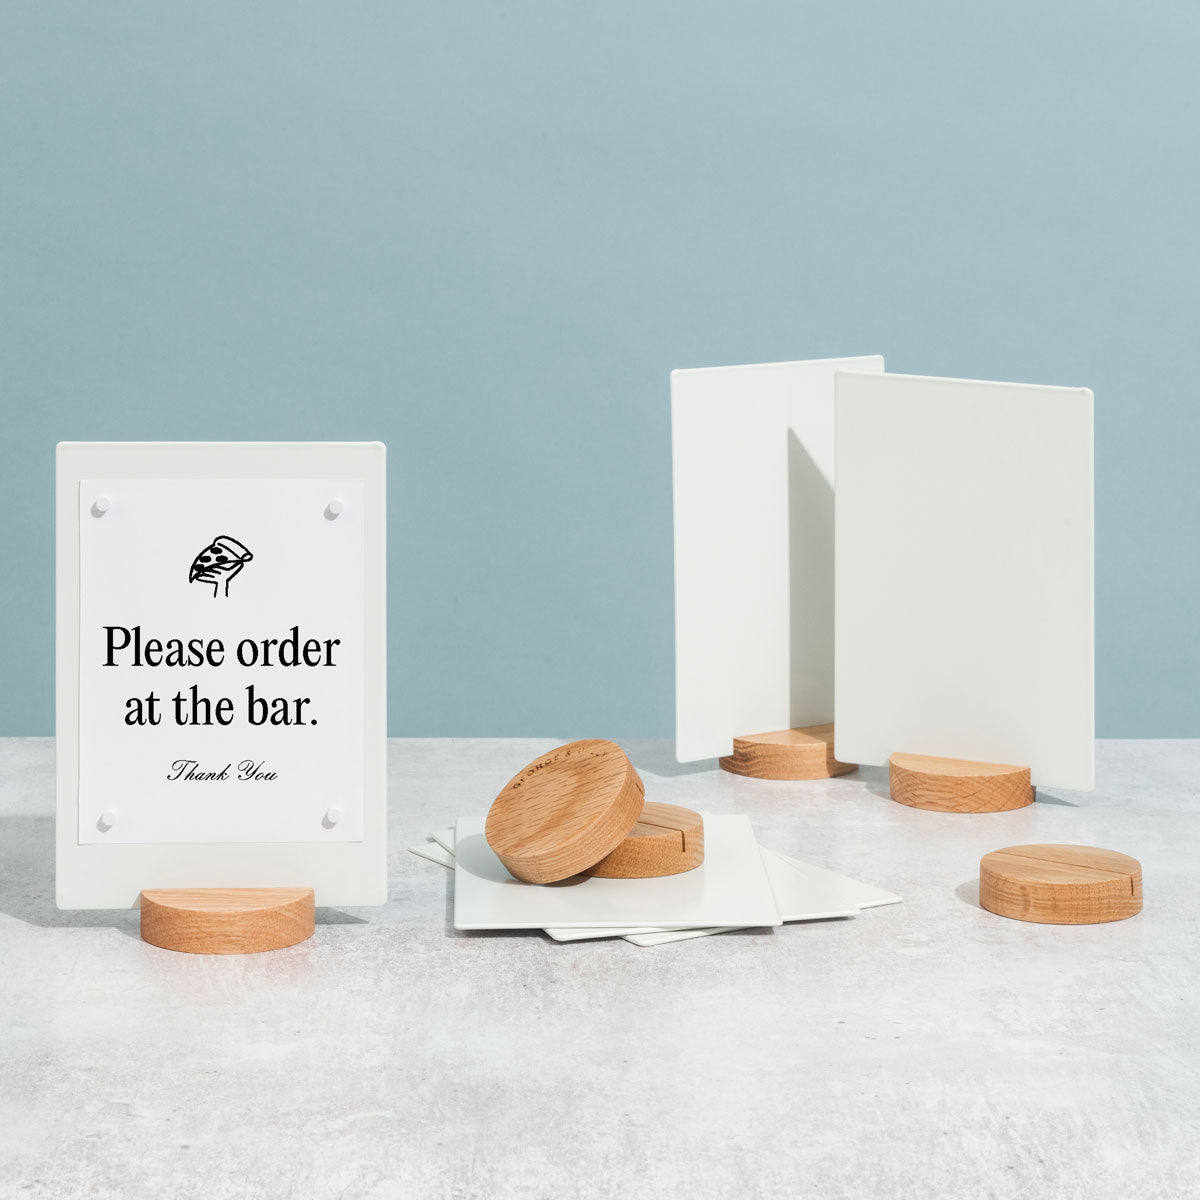
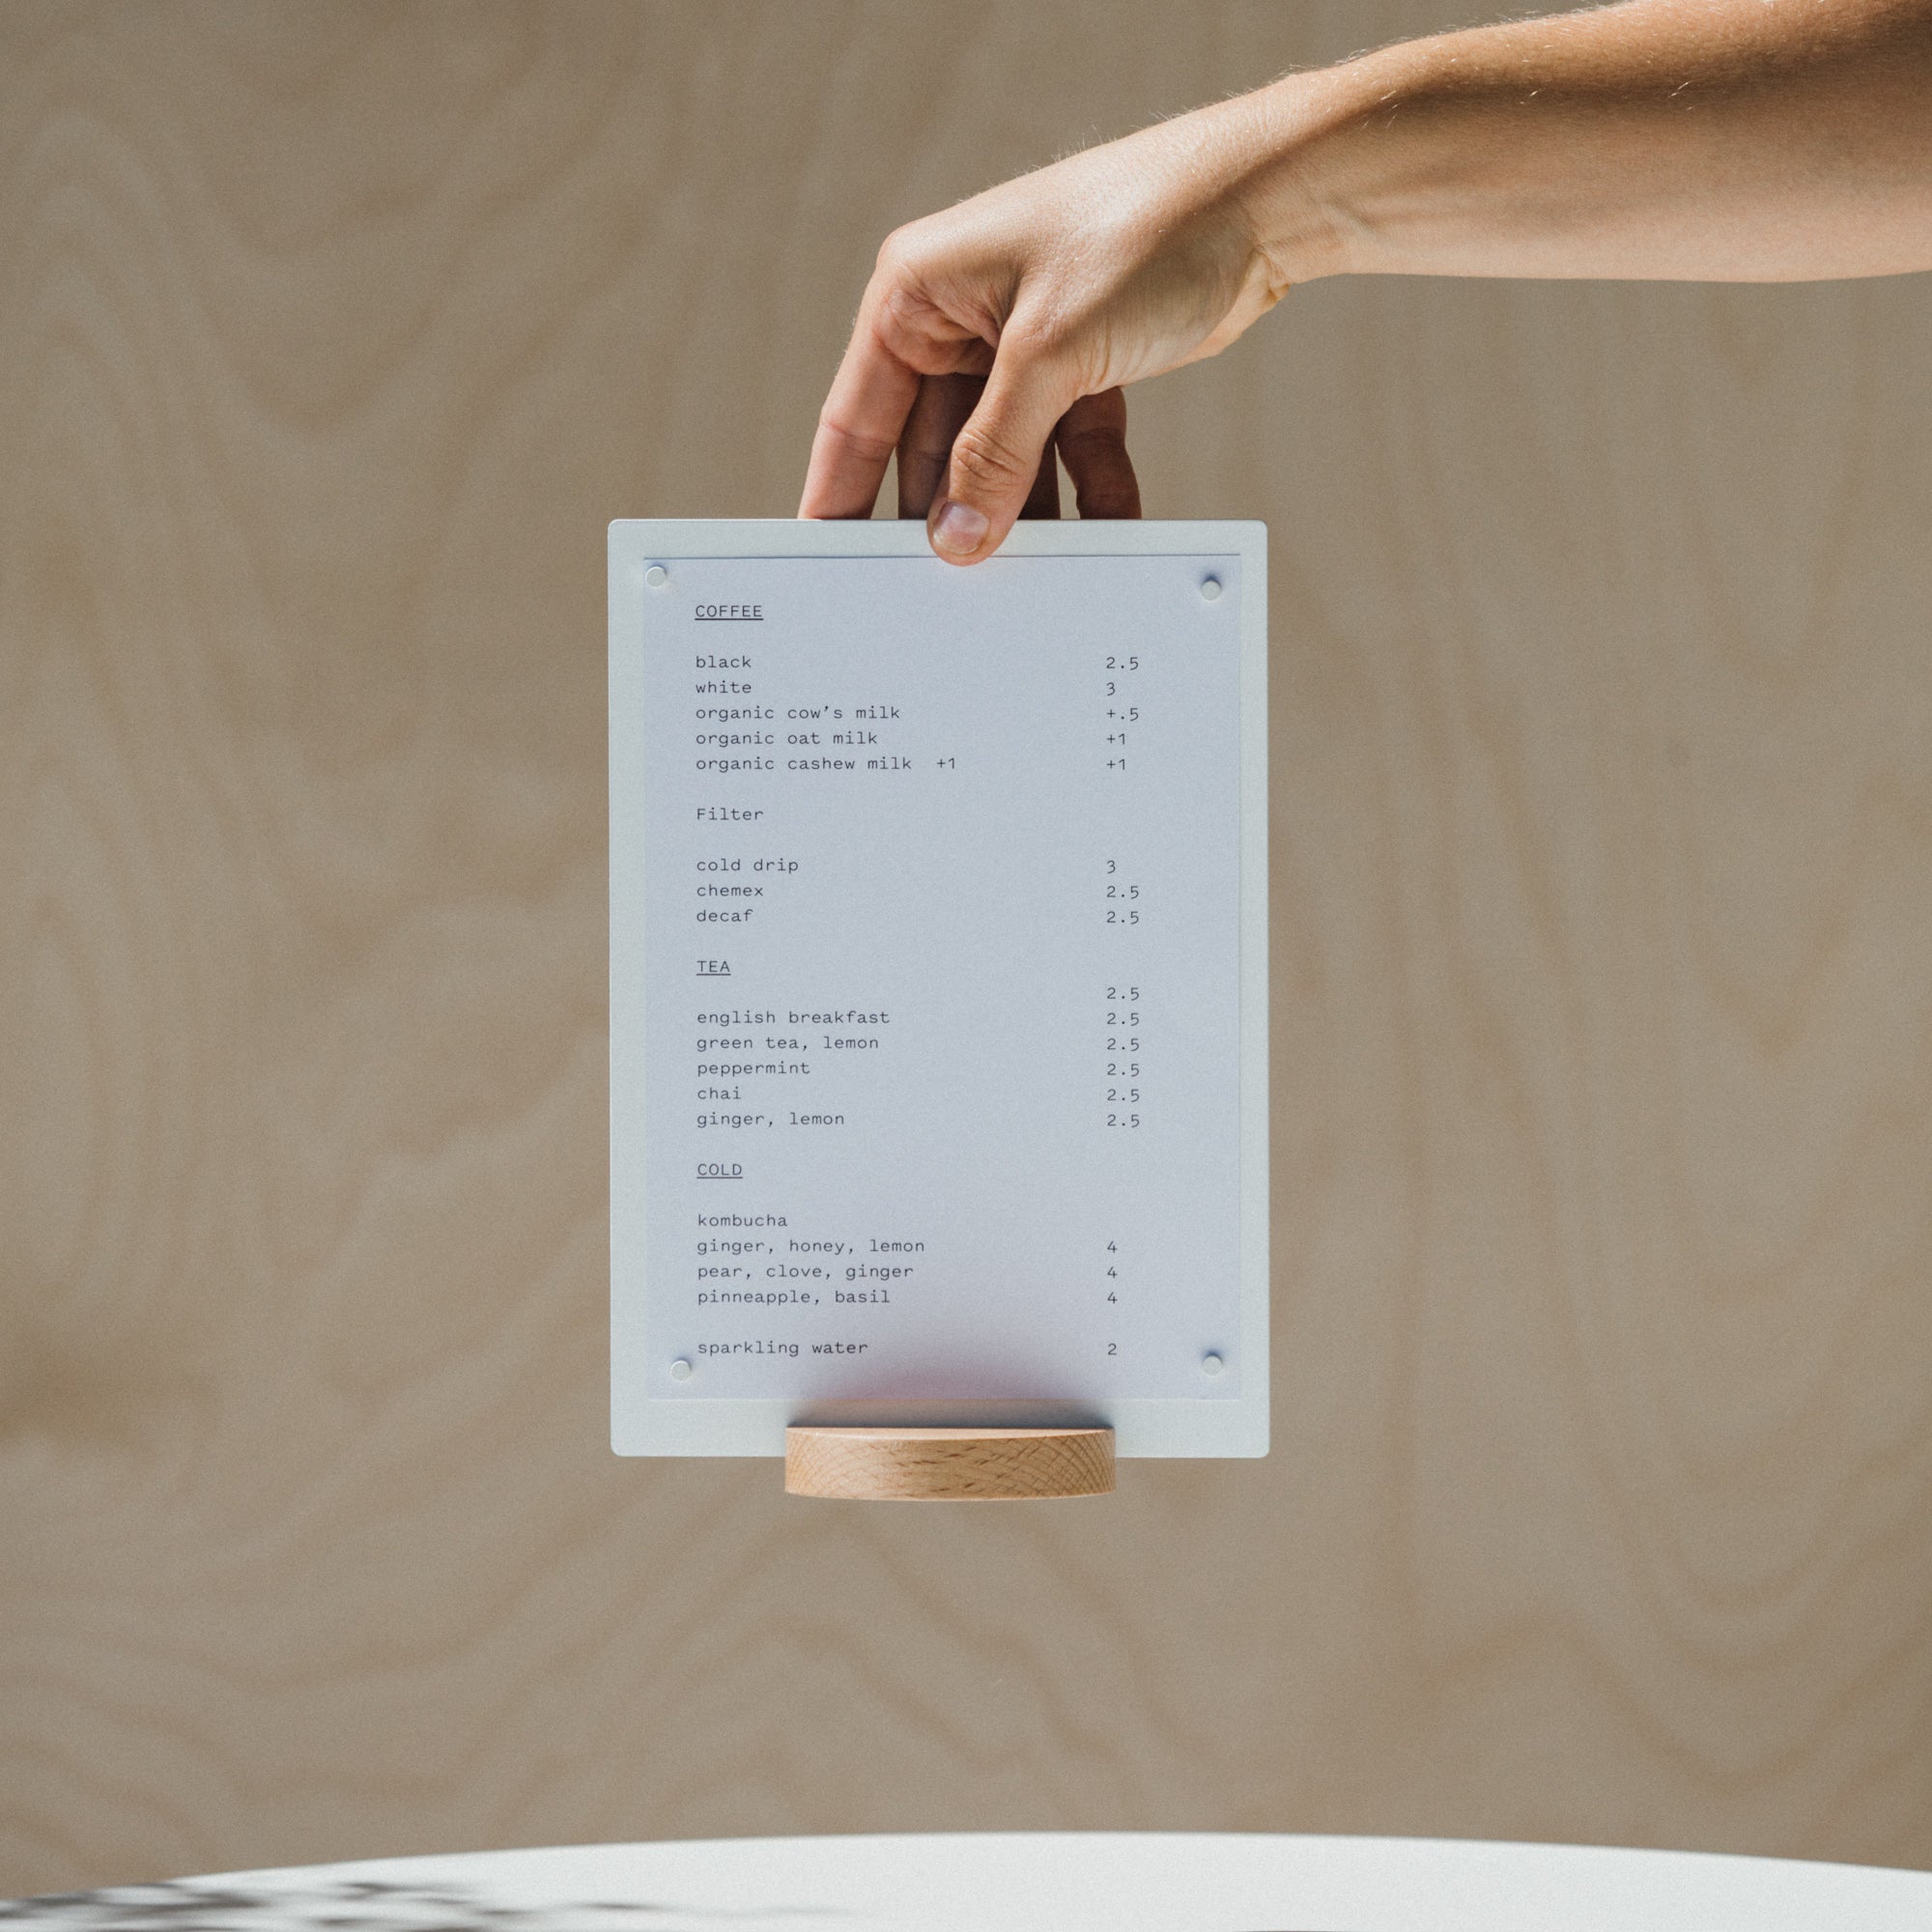
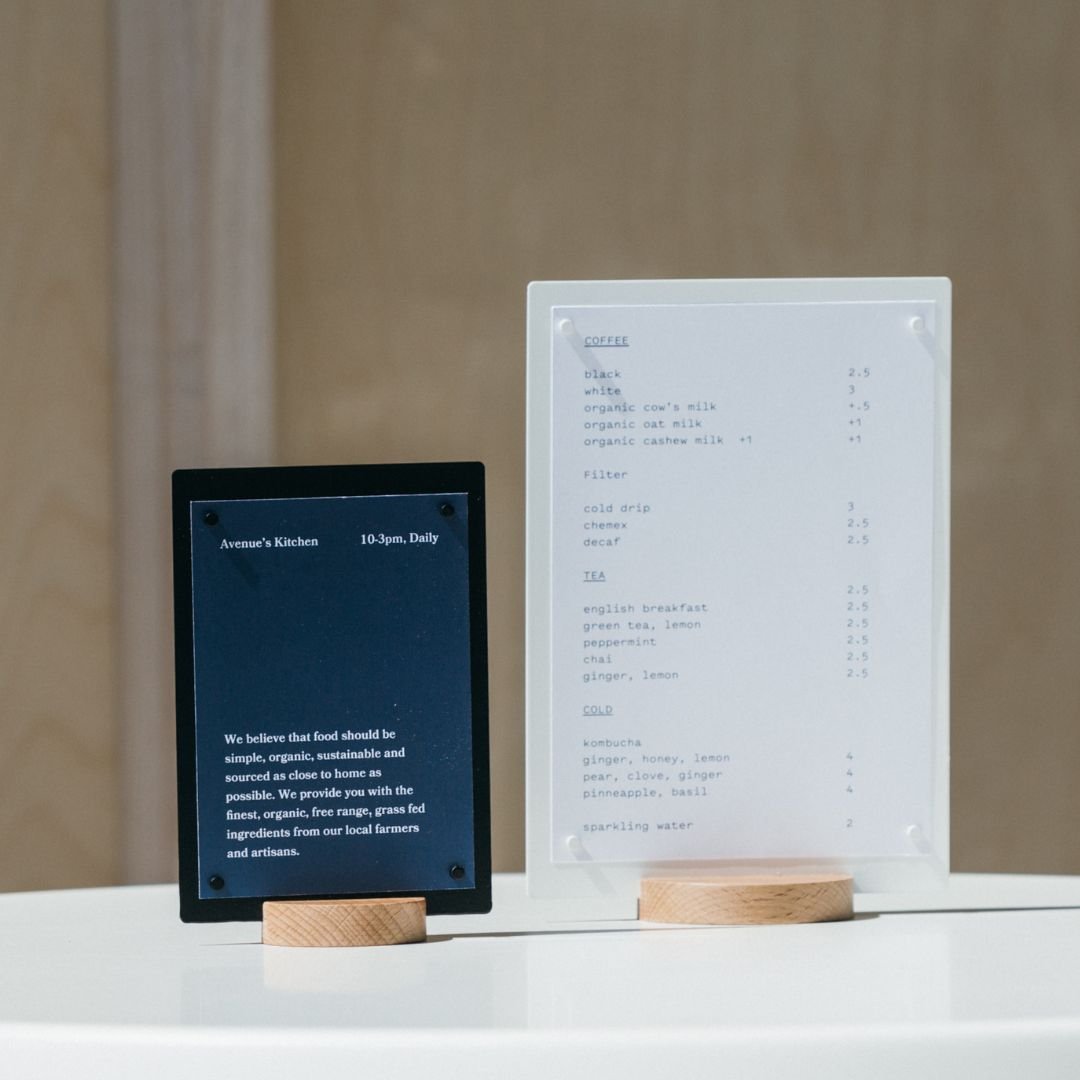
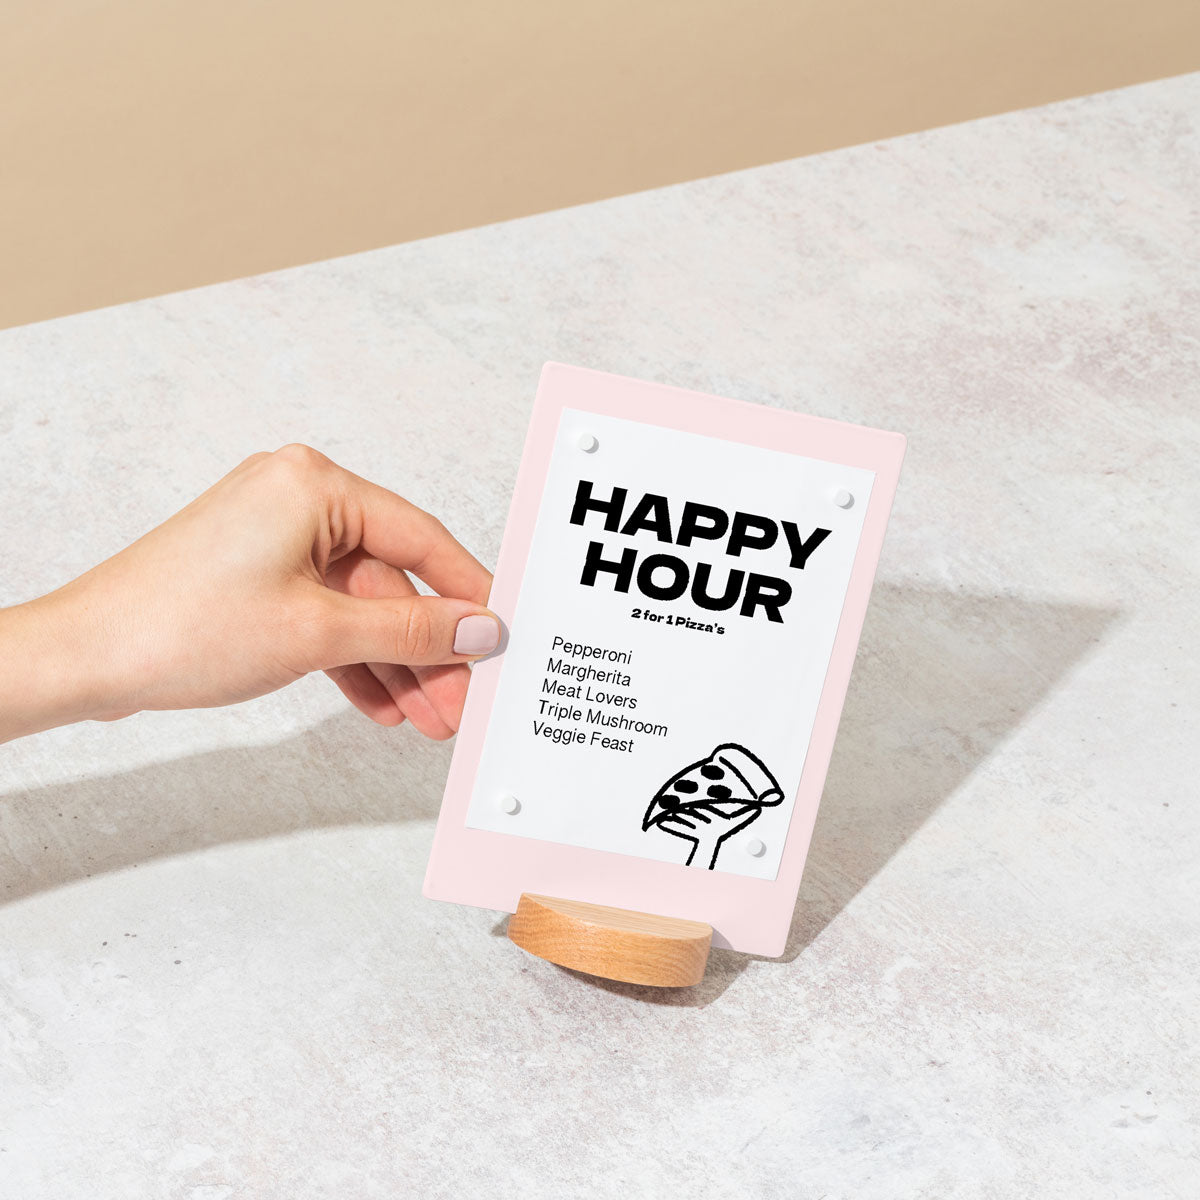
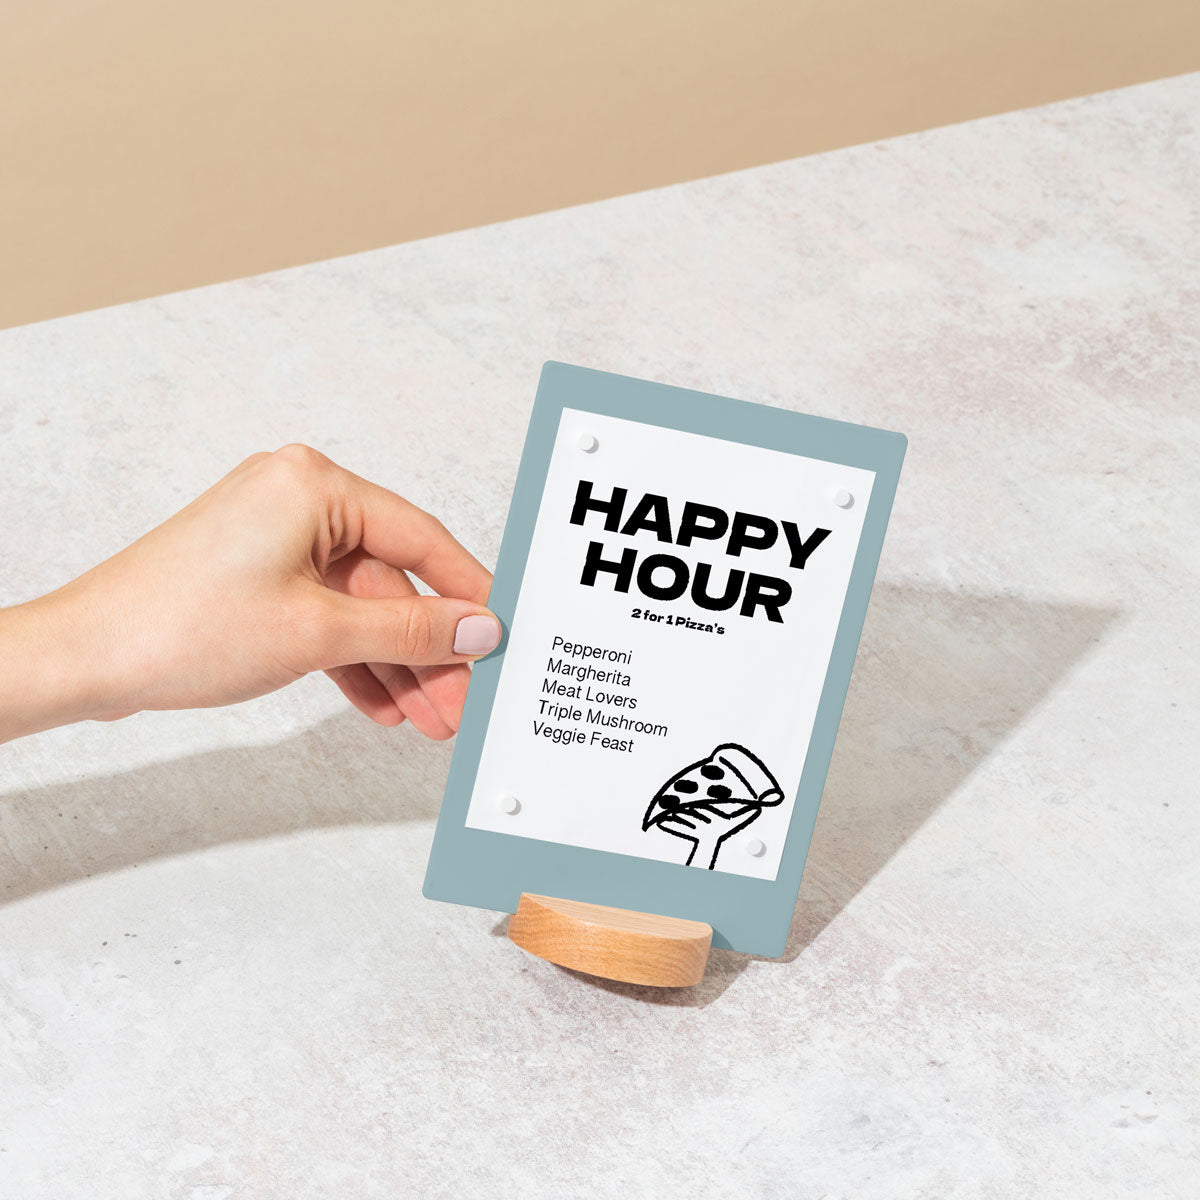
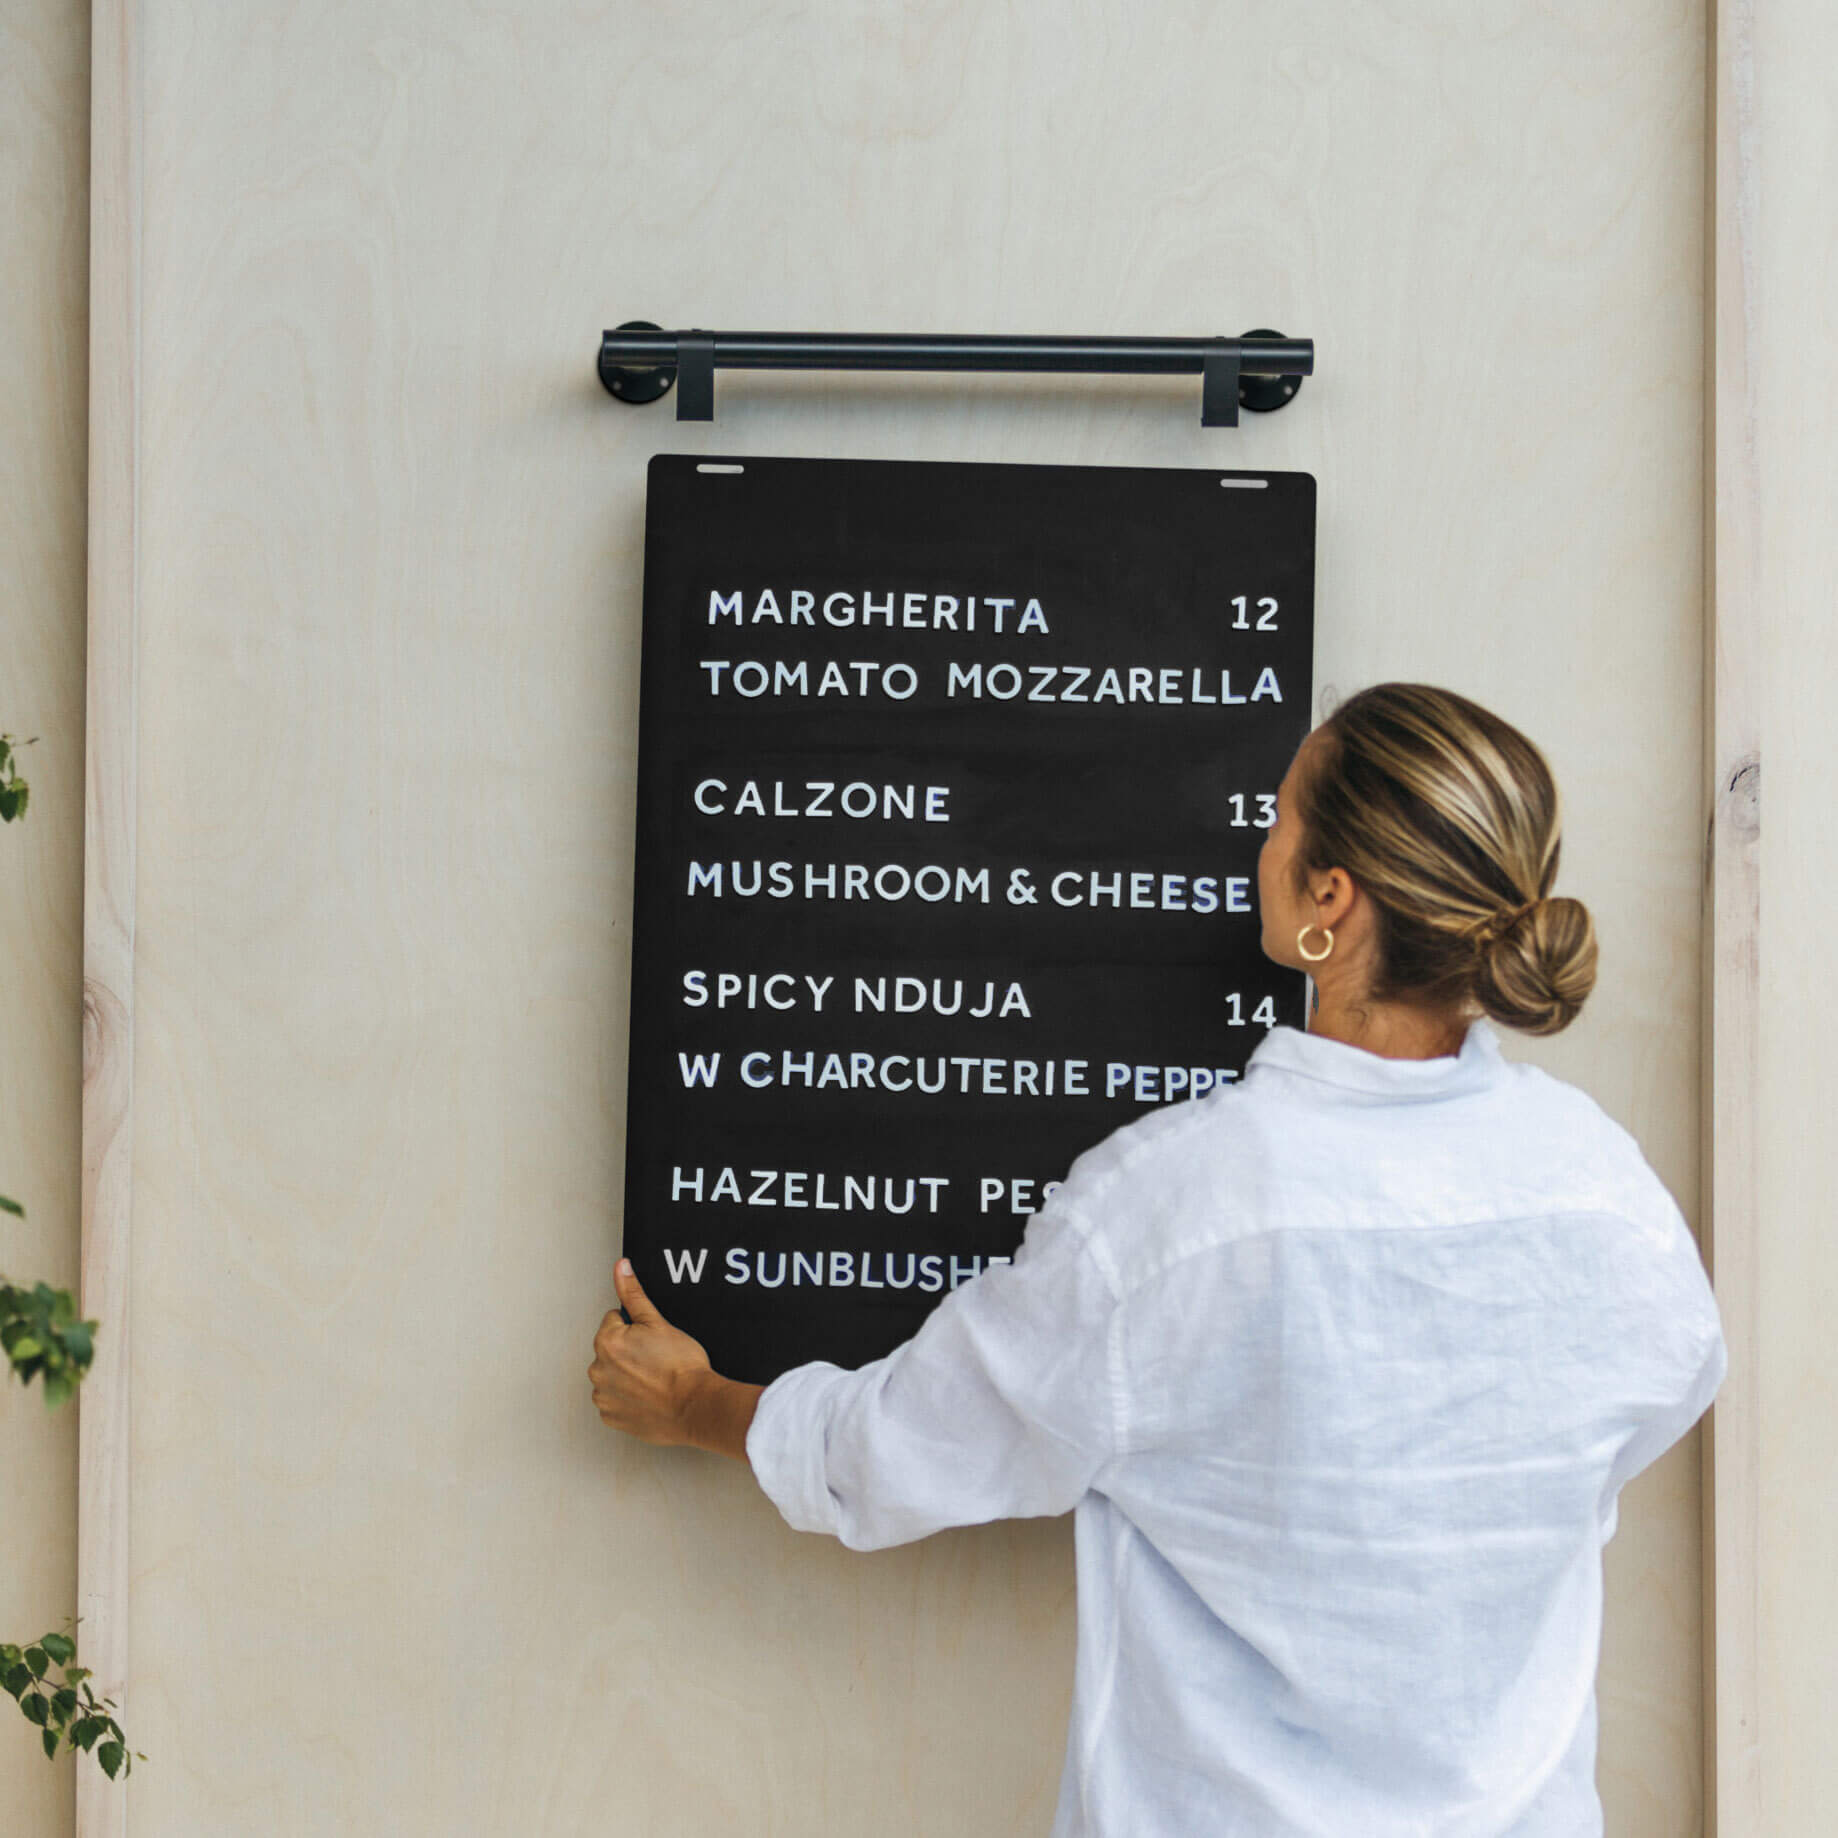
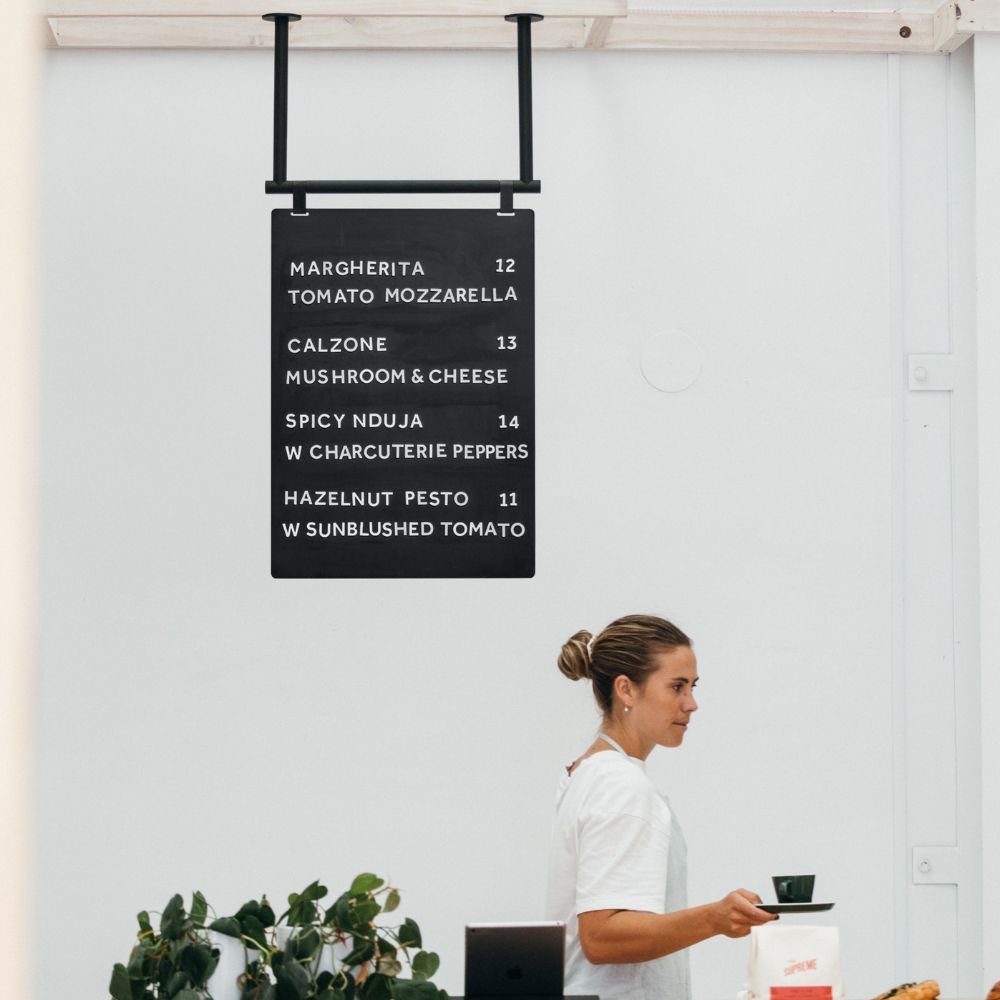
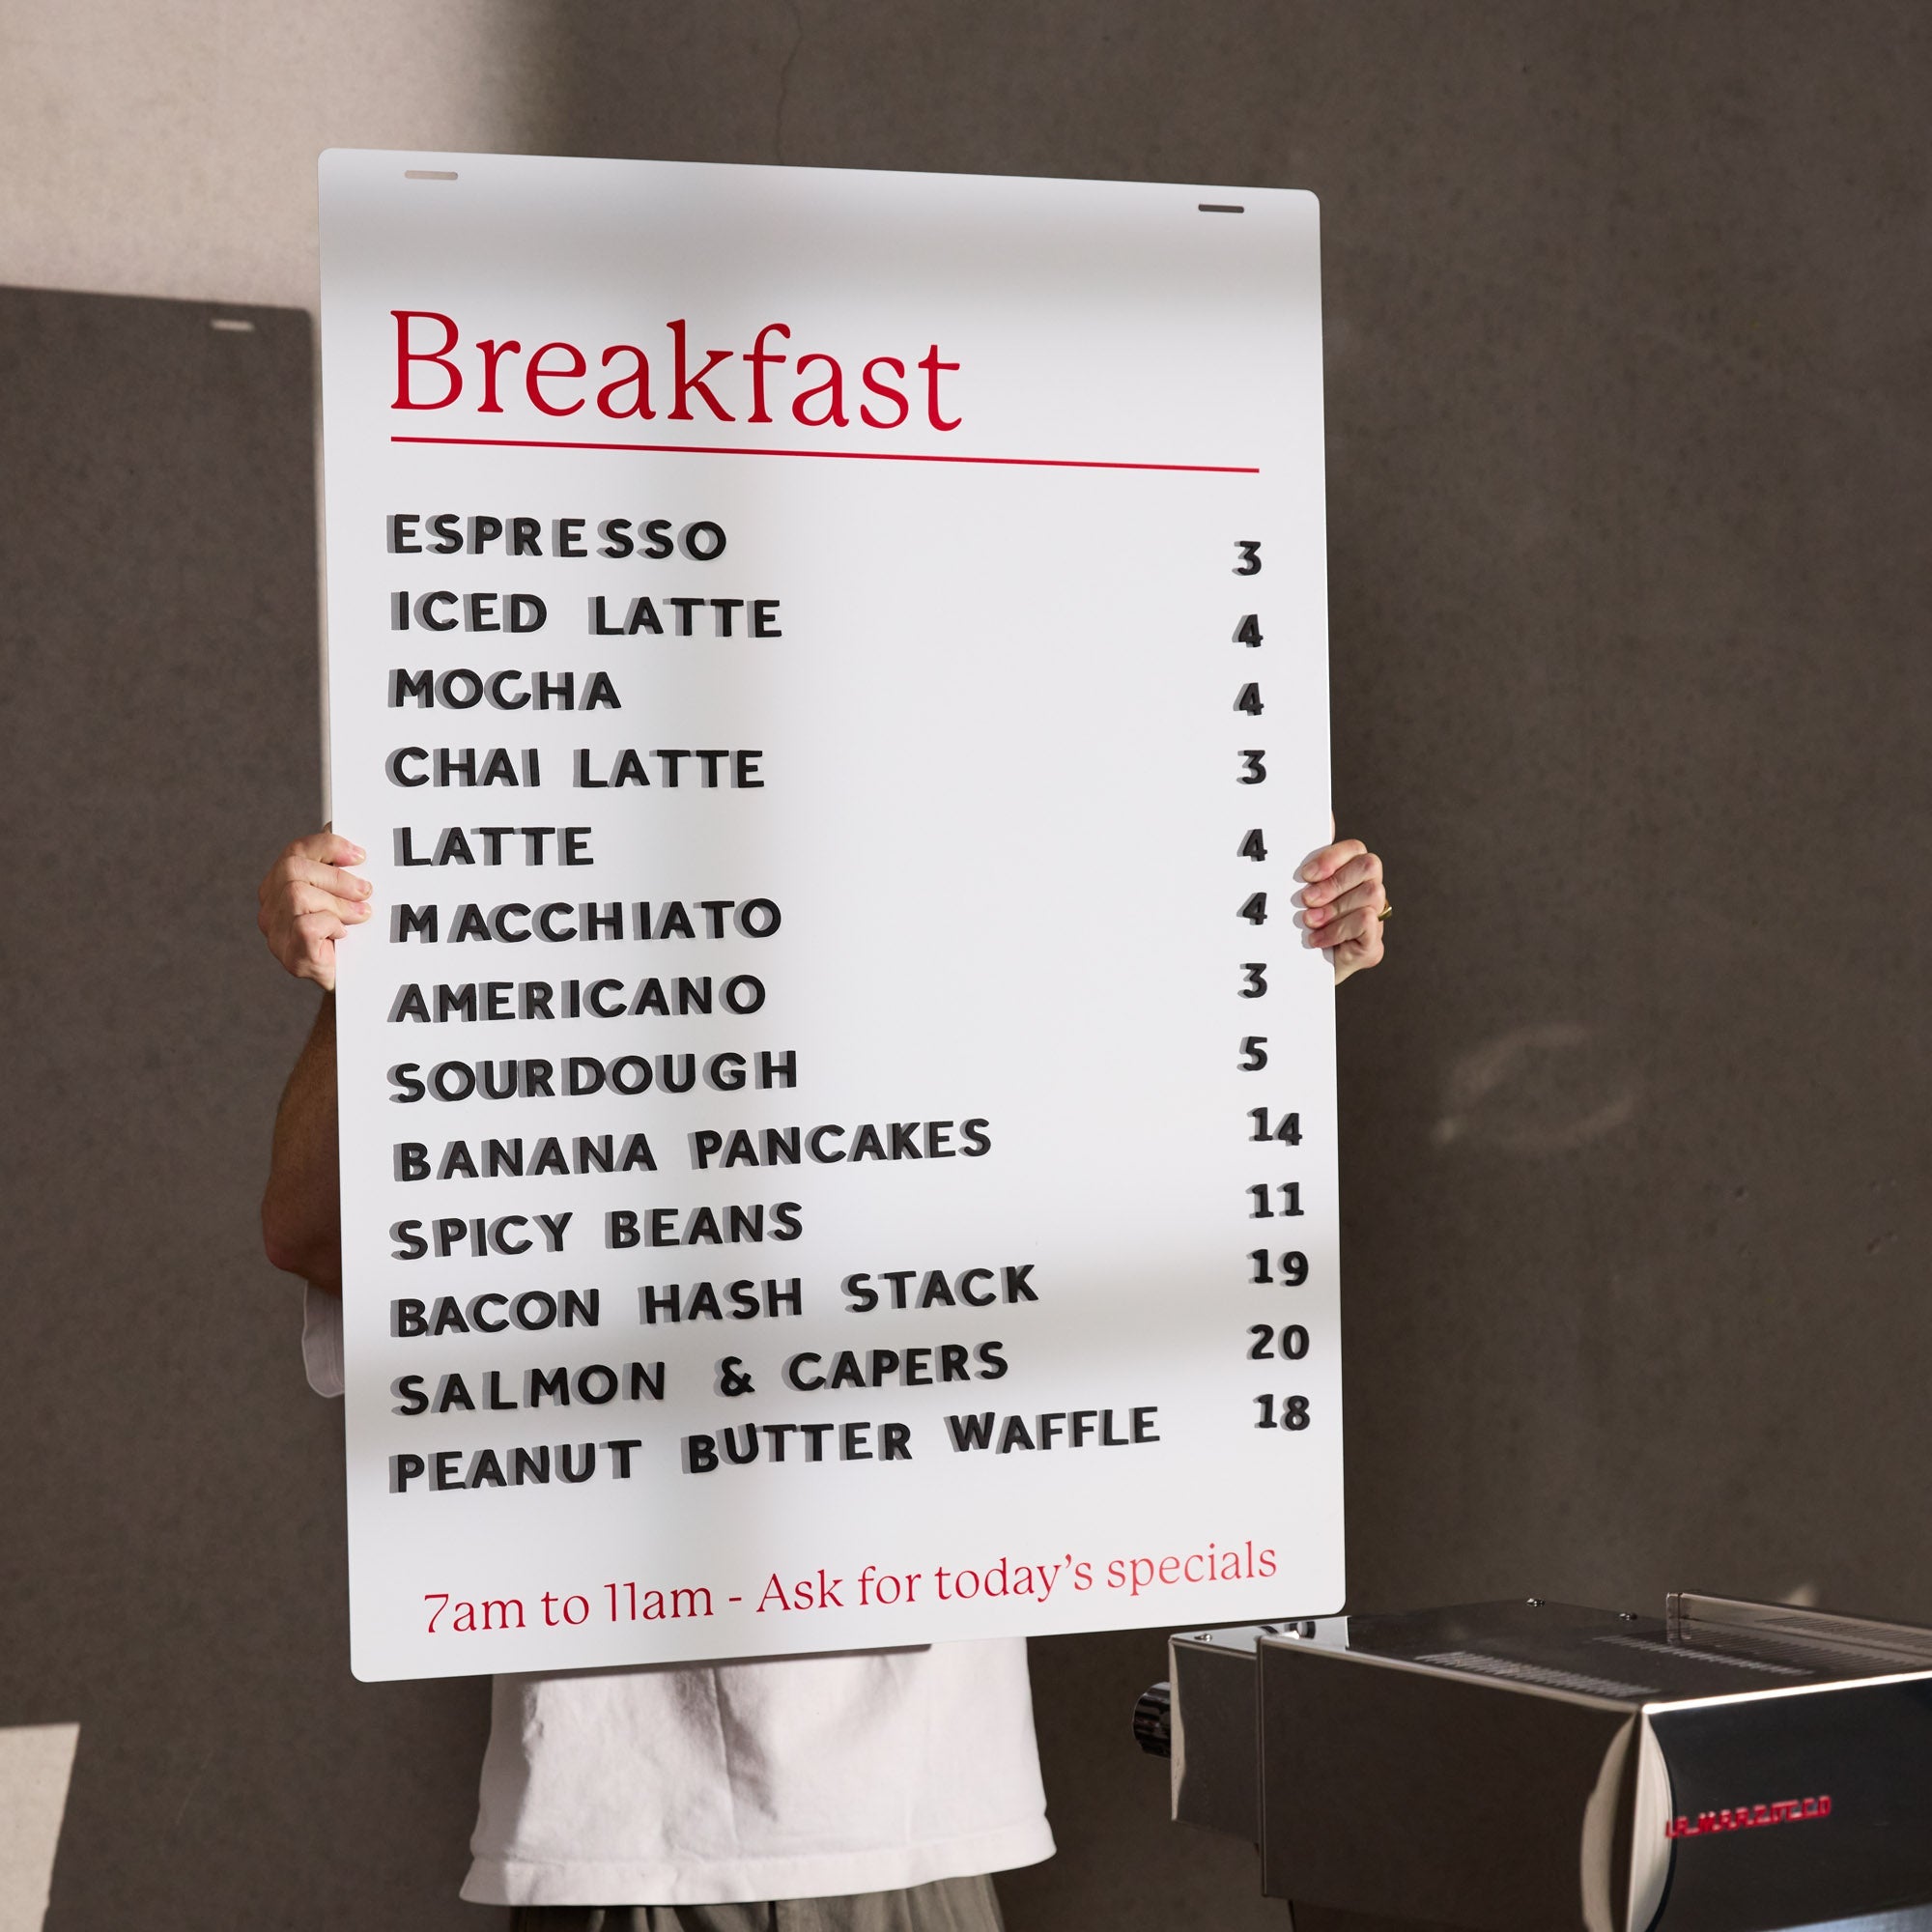
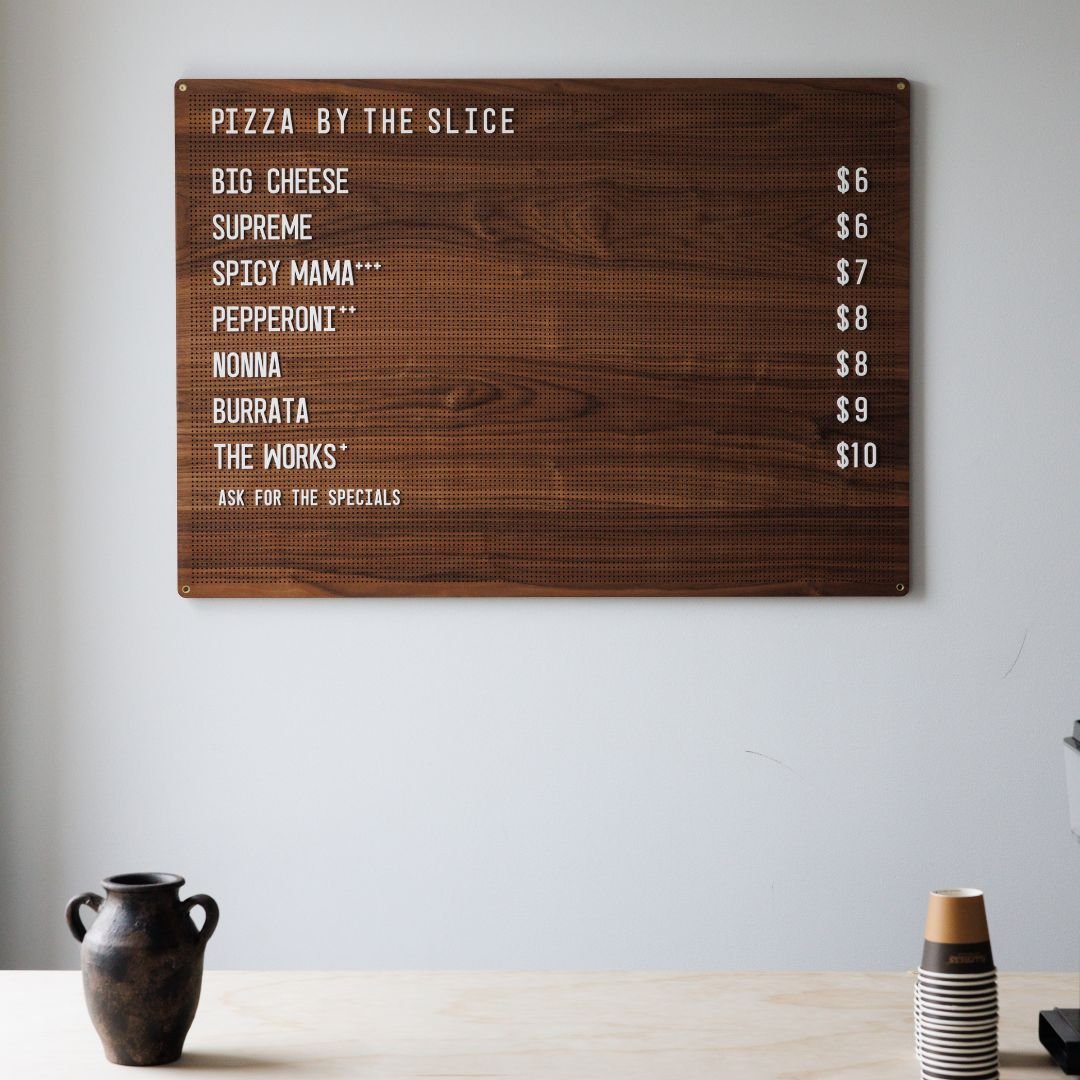
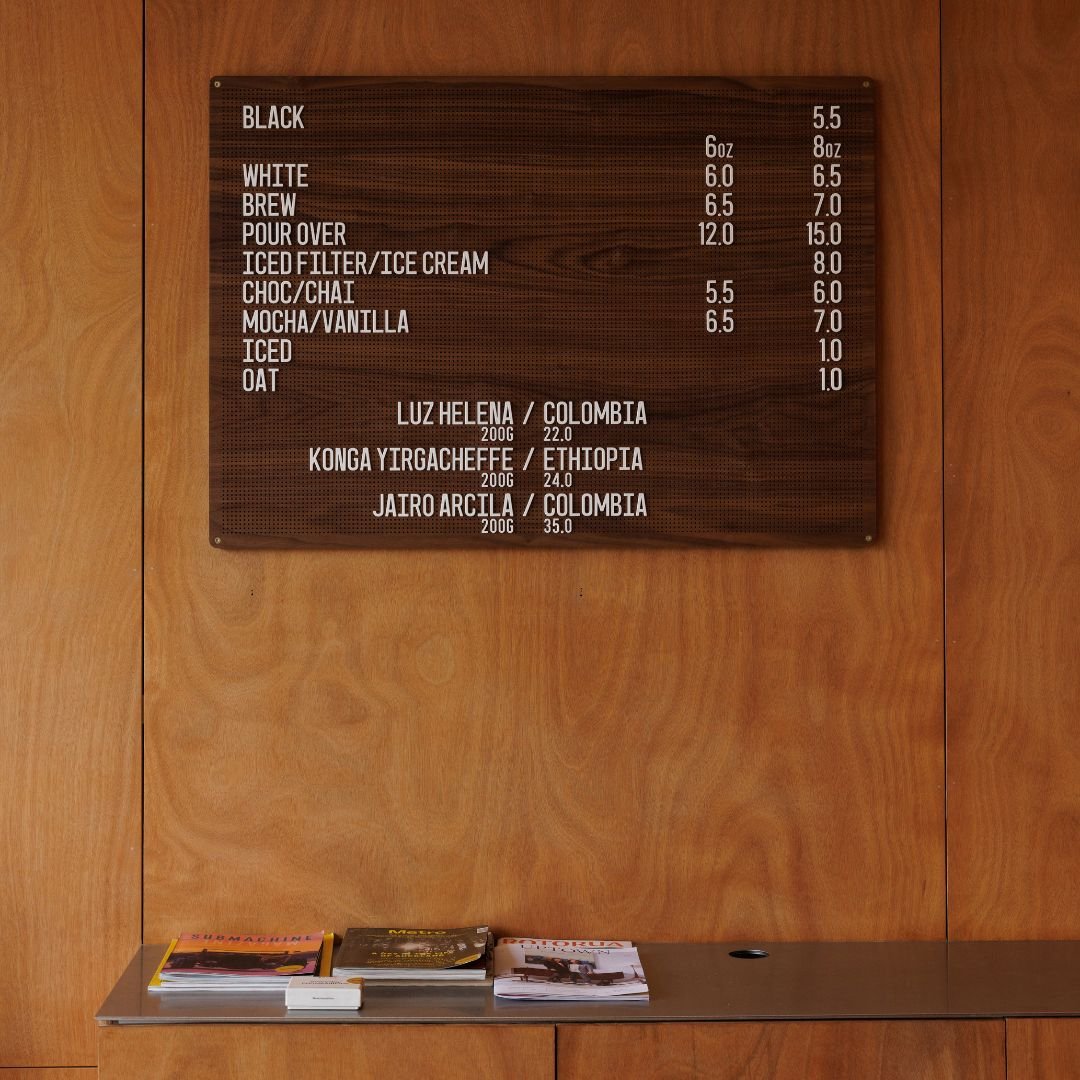
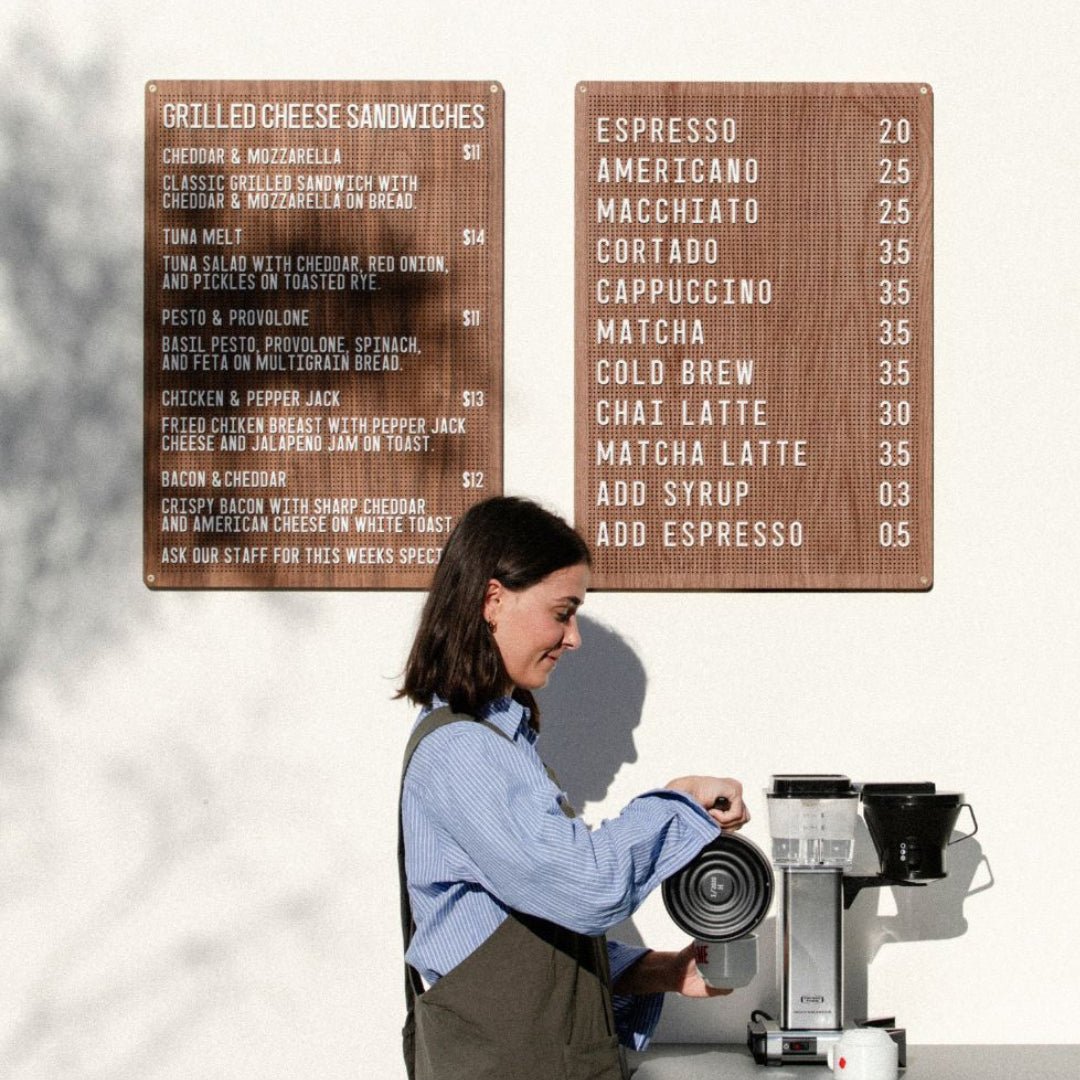
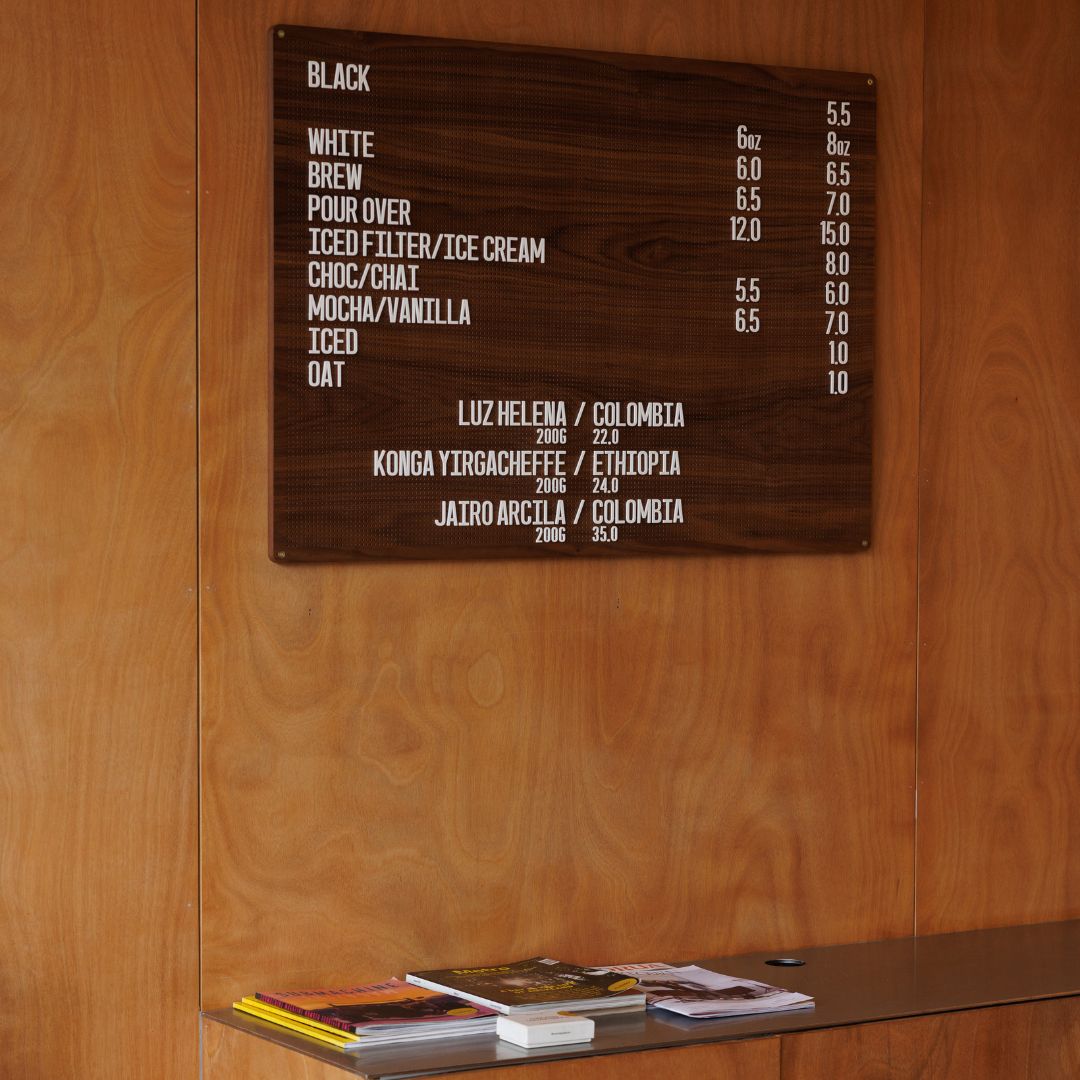
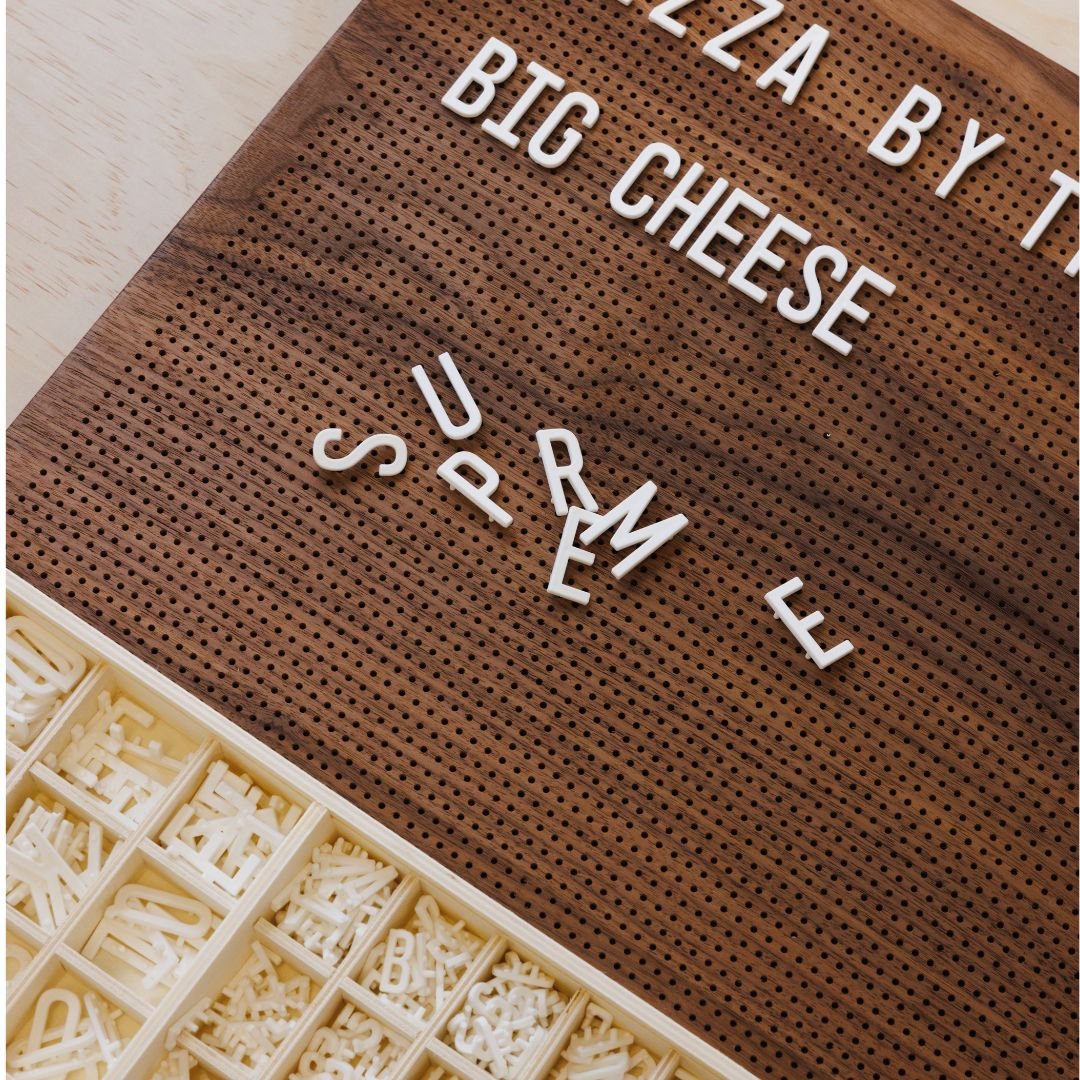
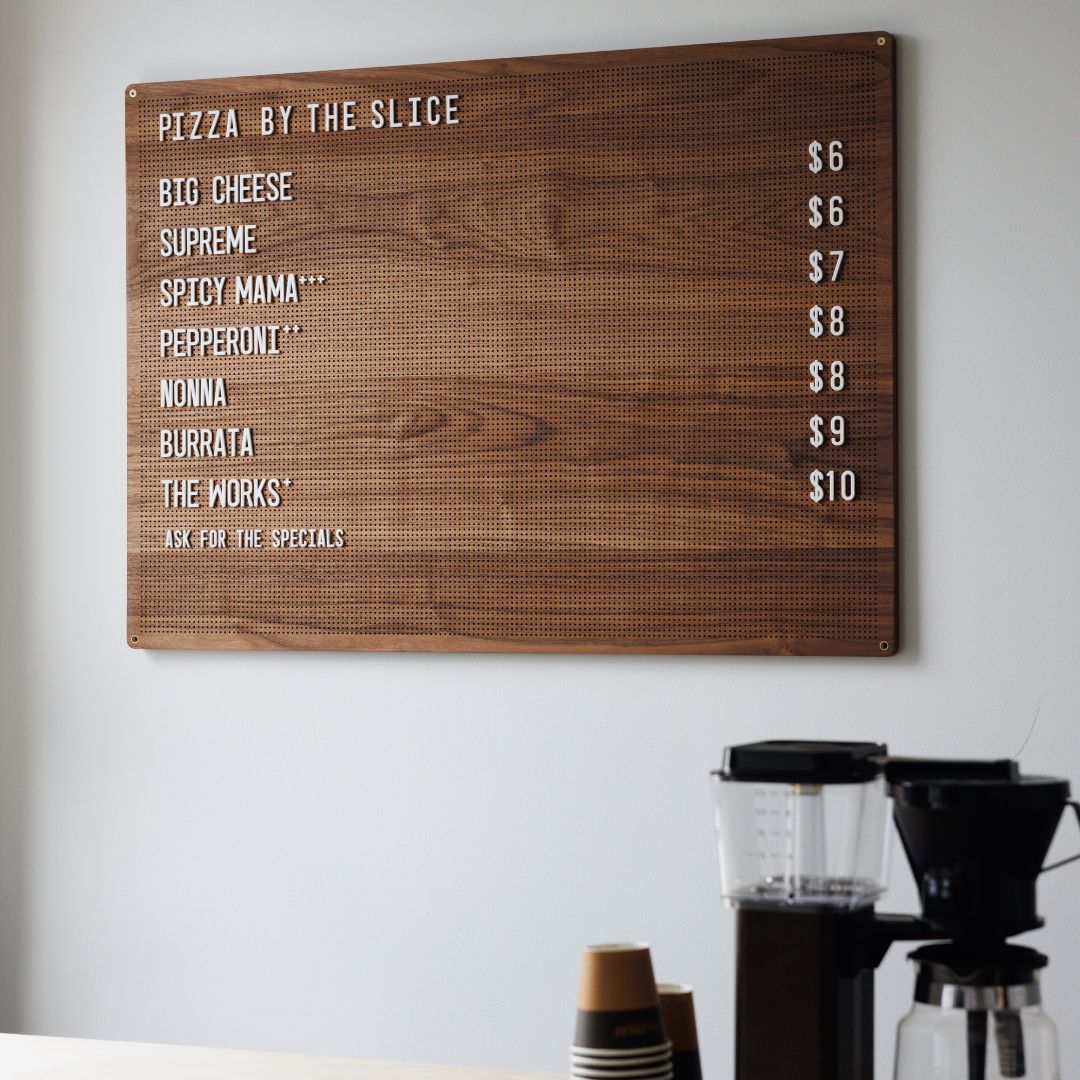
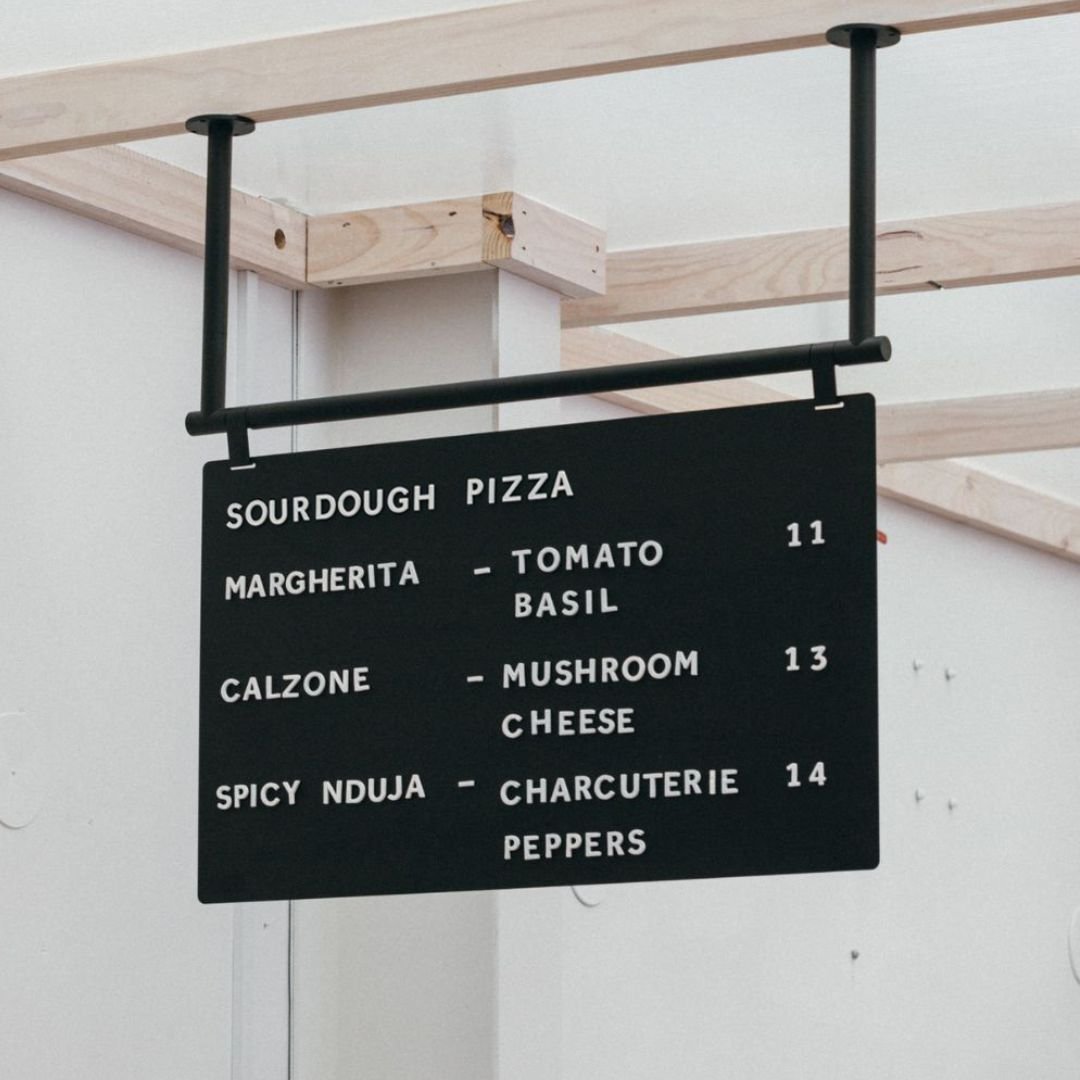
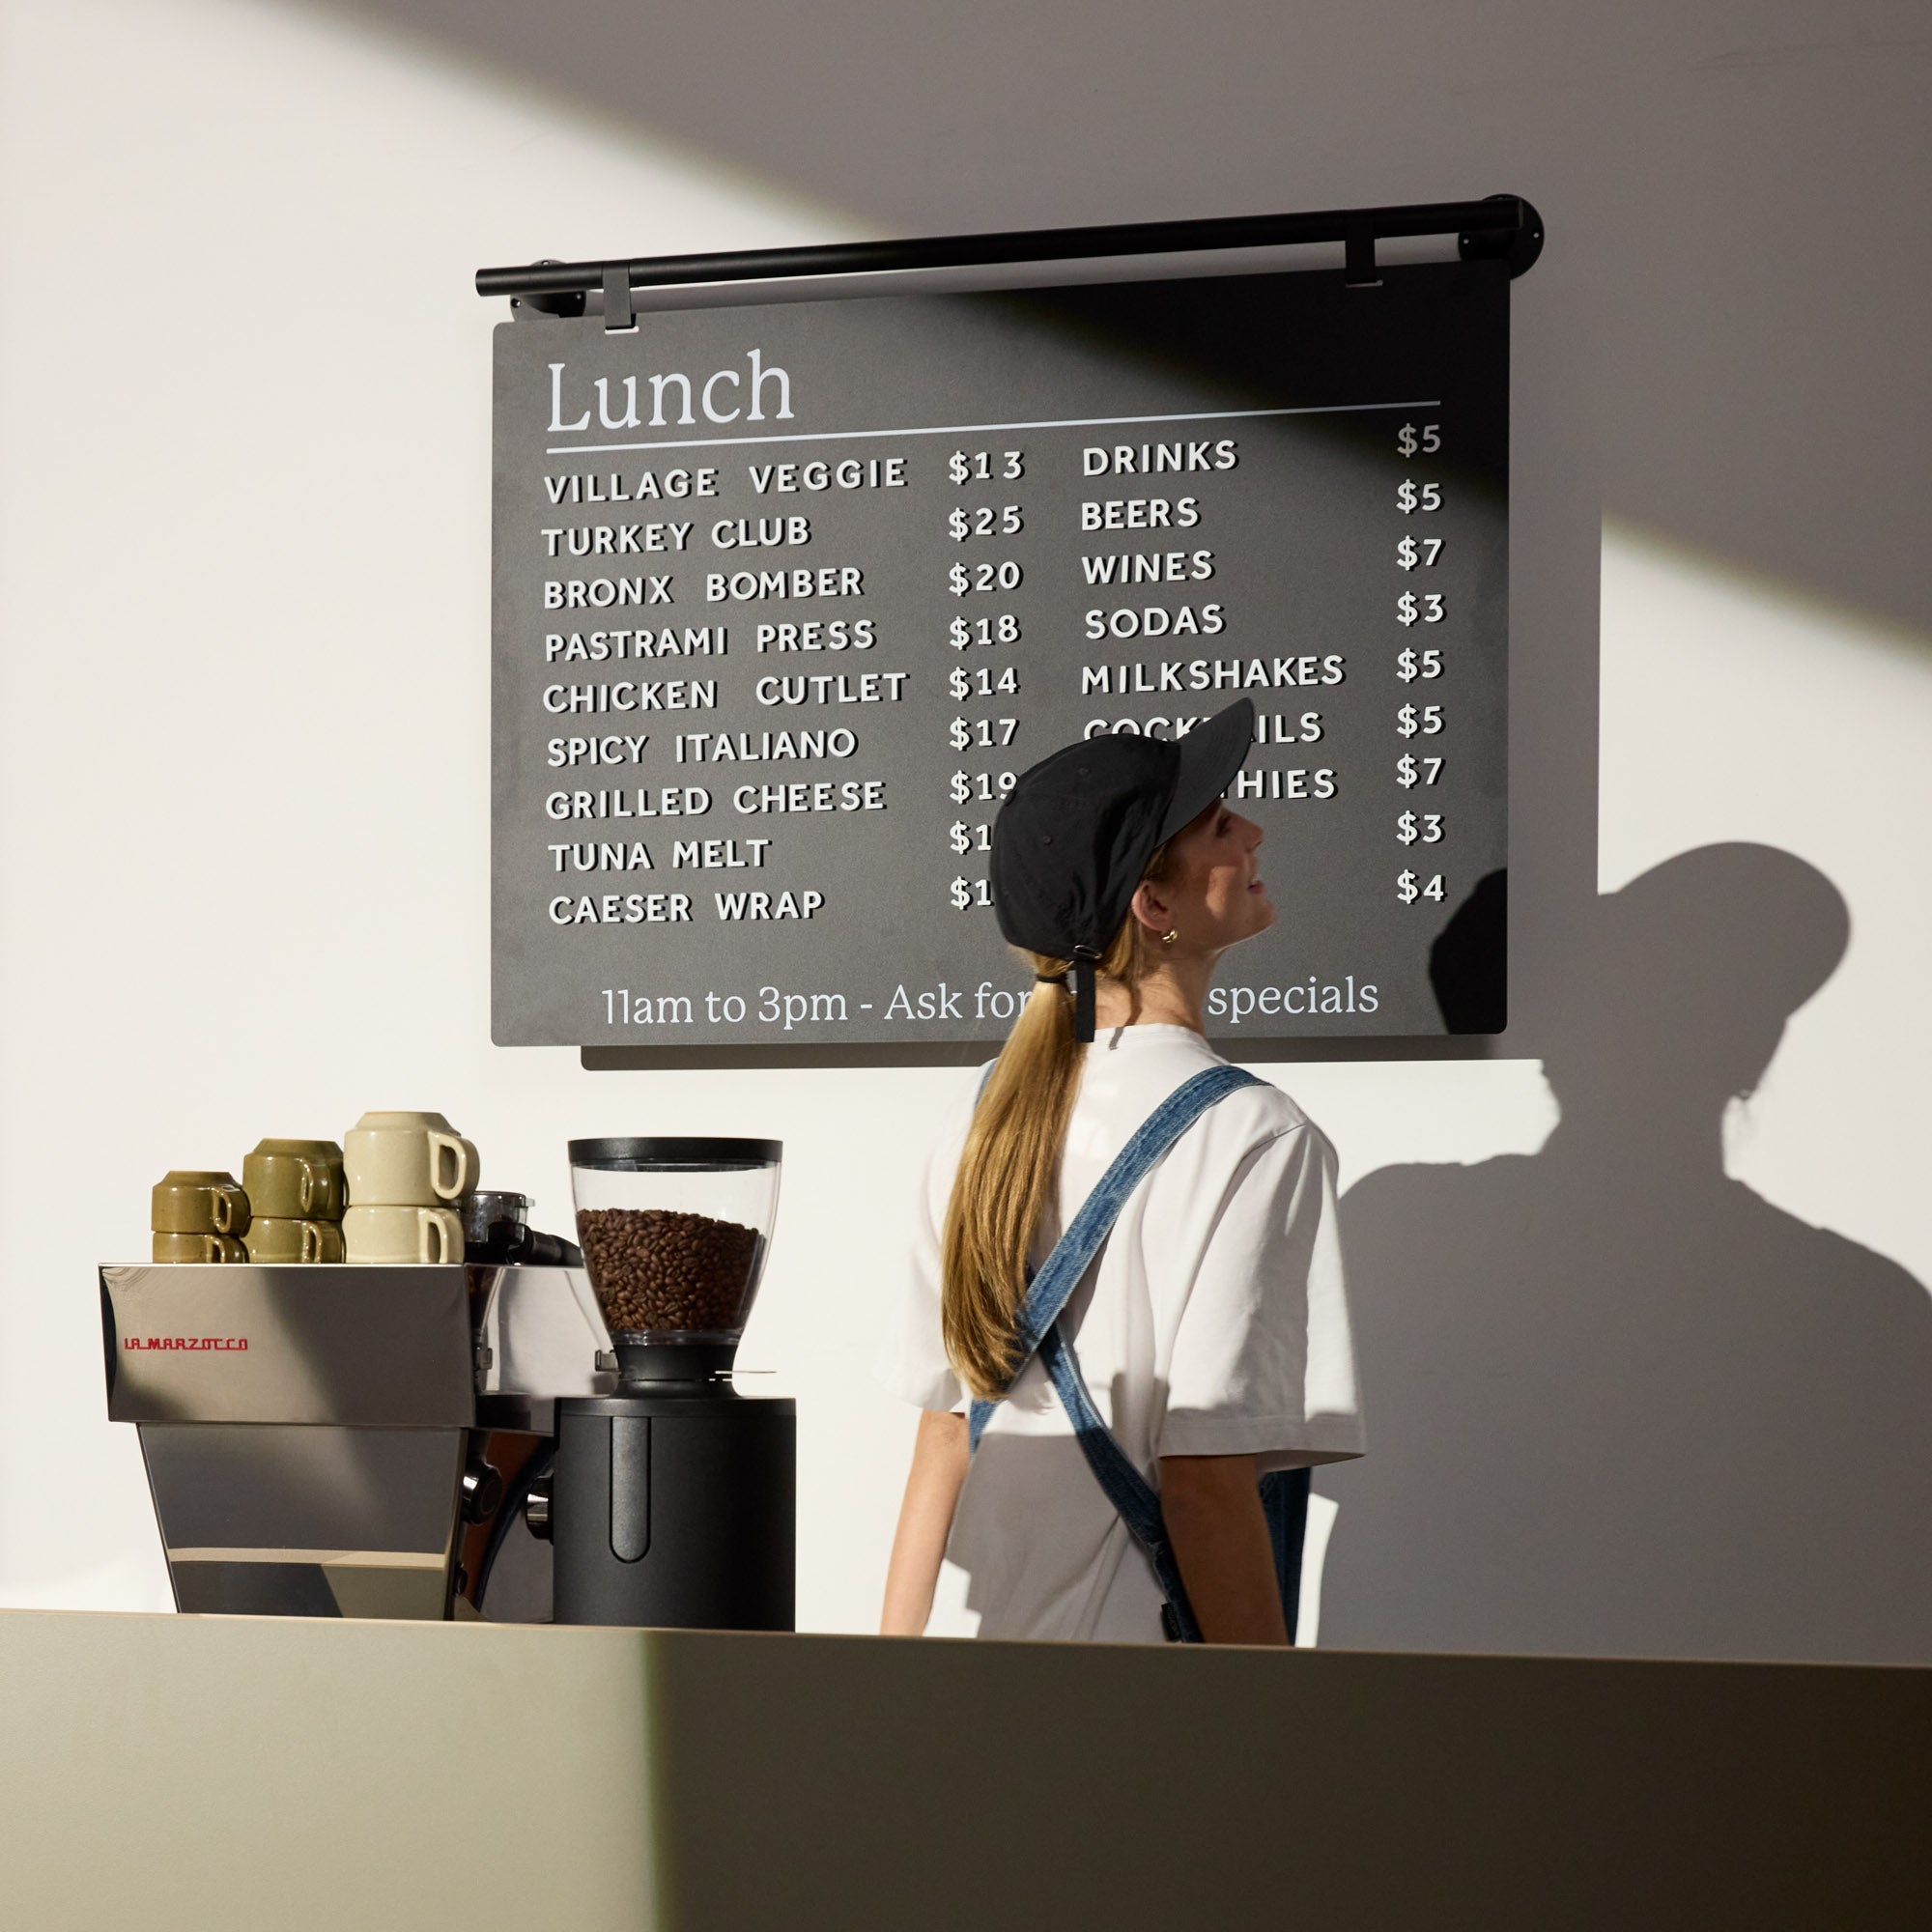
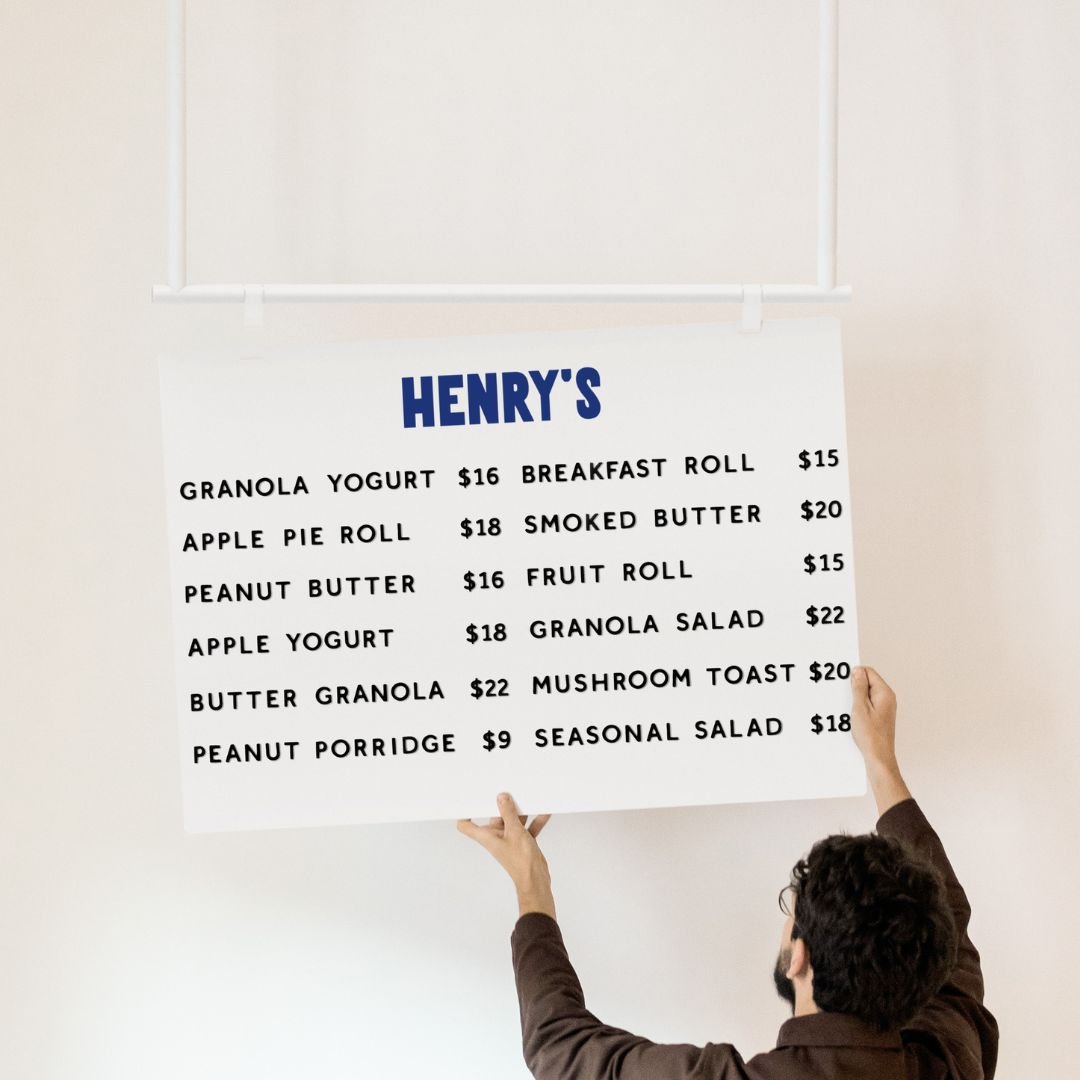
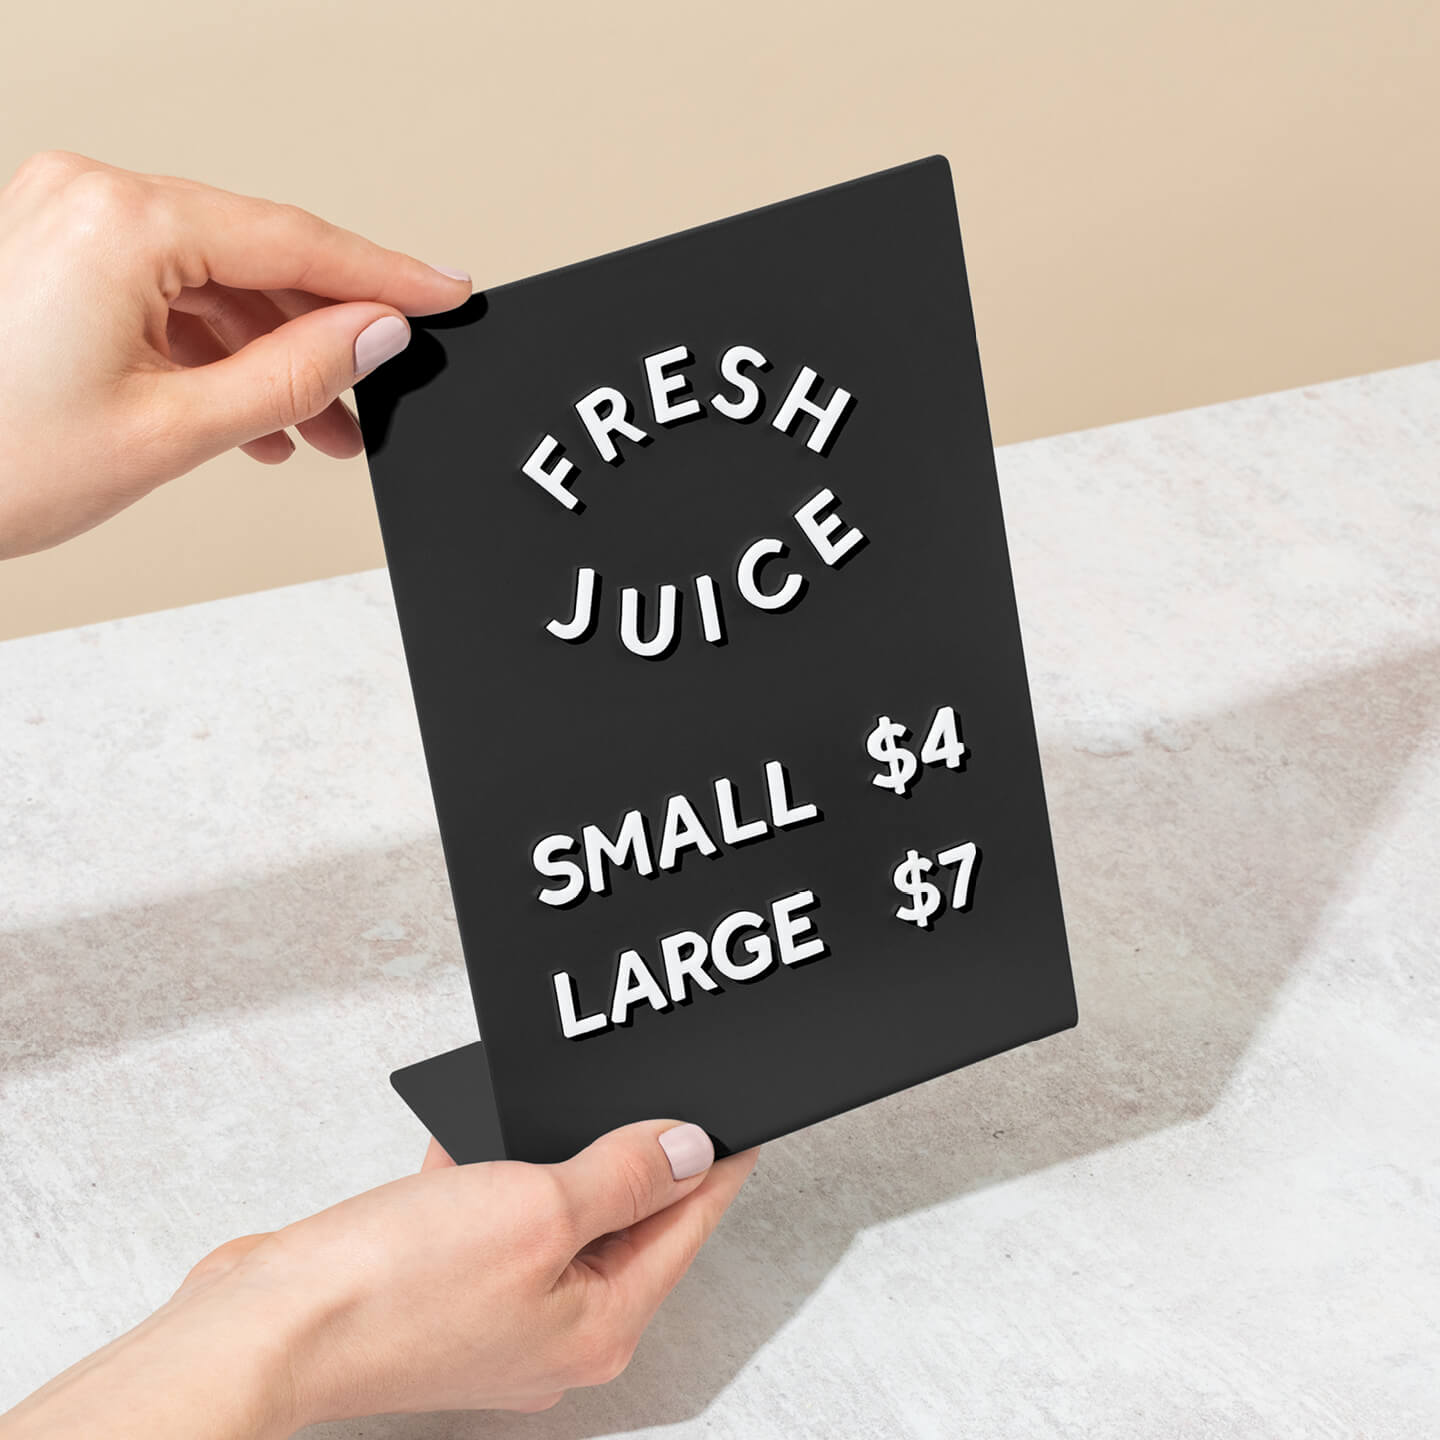
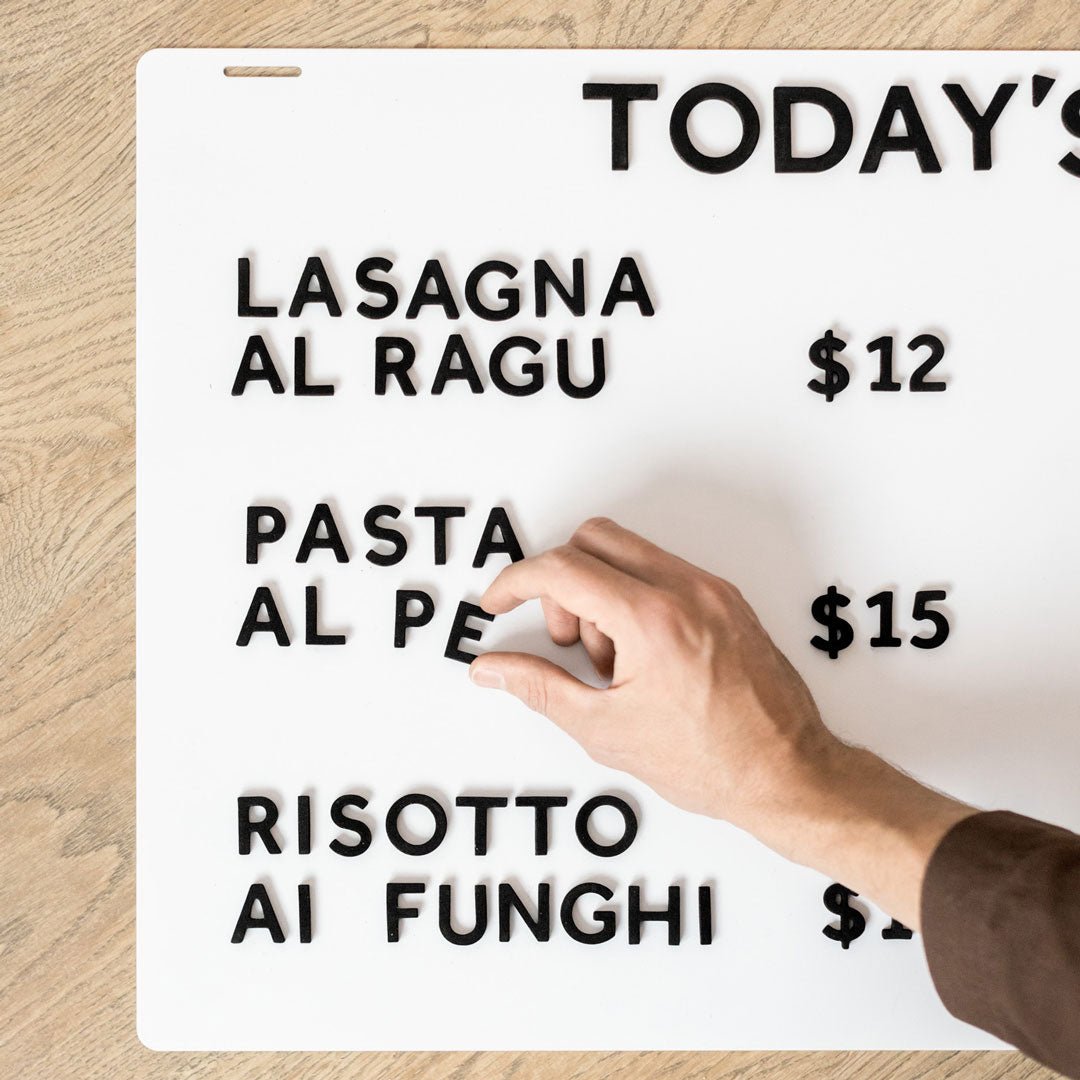
If you’re looking for inspiration for your business, you can explore George & Willy’s collection of signs and displays, including the Magnetic Letter Menu Board for quick menu updates, to see how effective, well designed metal signage can be.
Choosing a Laser Cutting Service
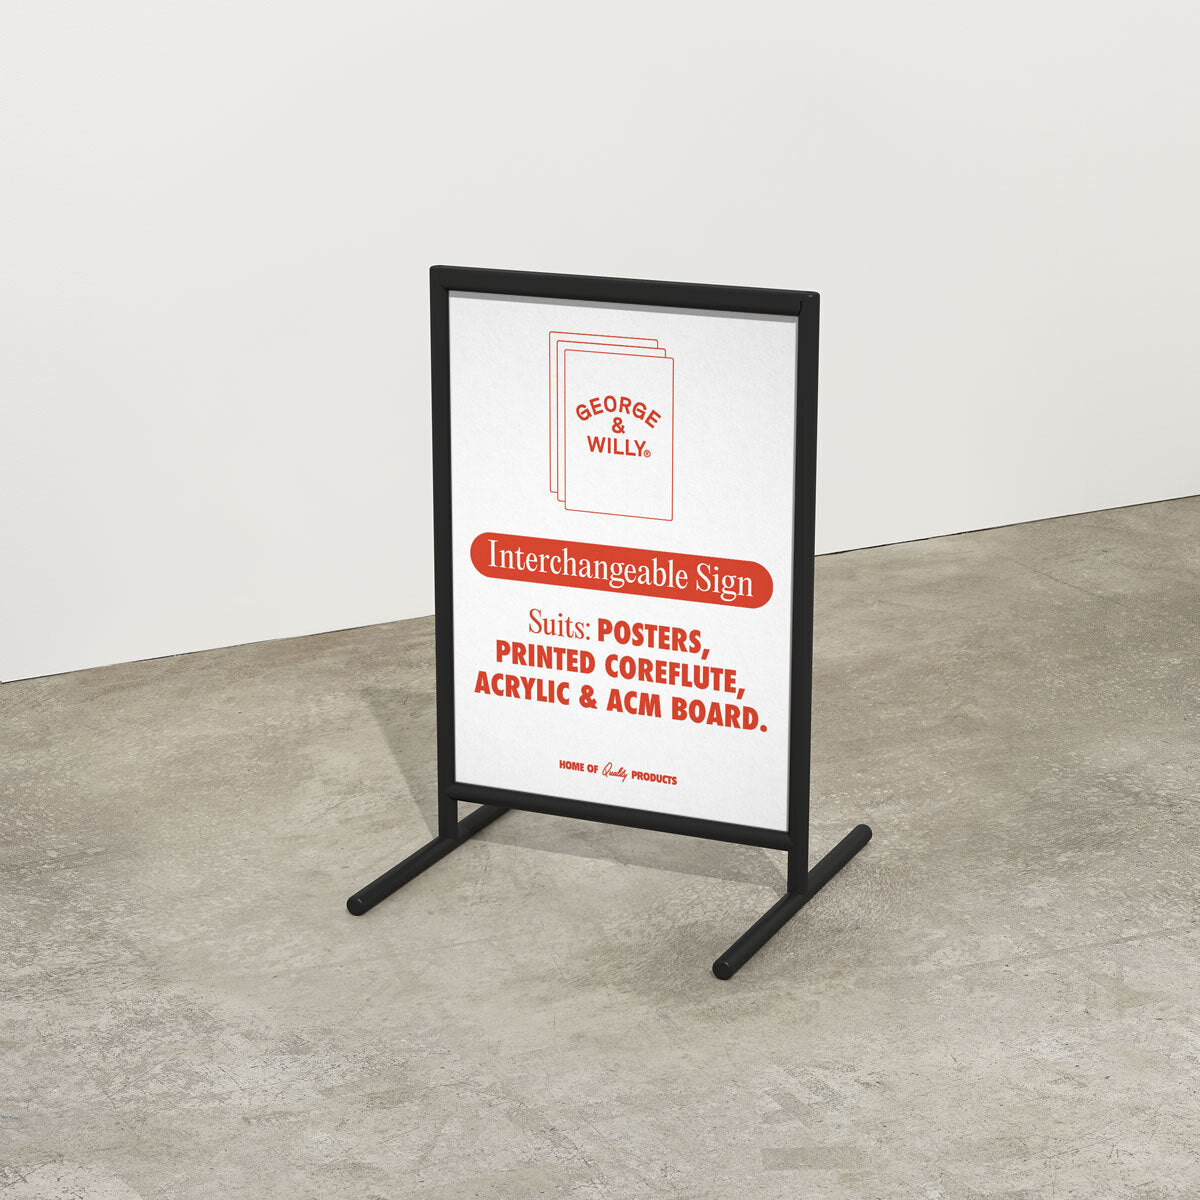
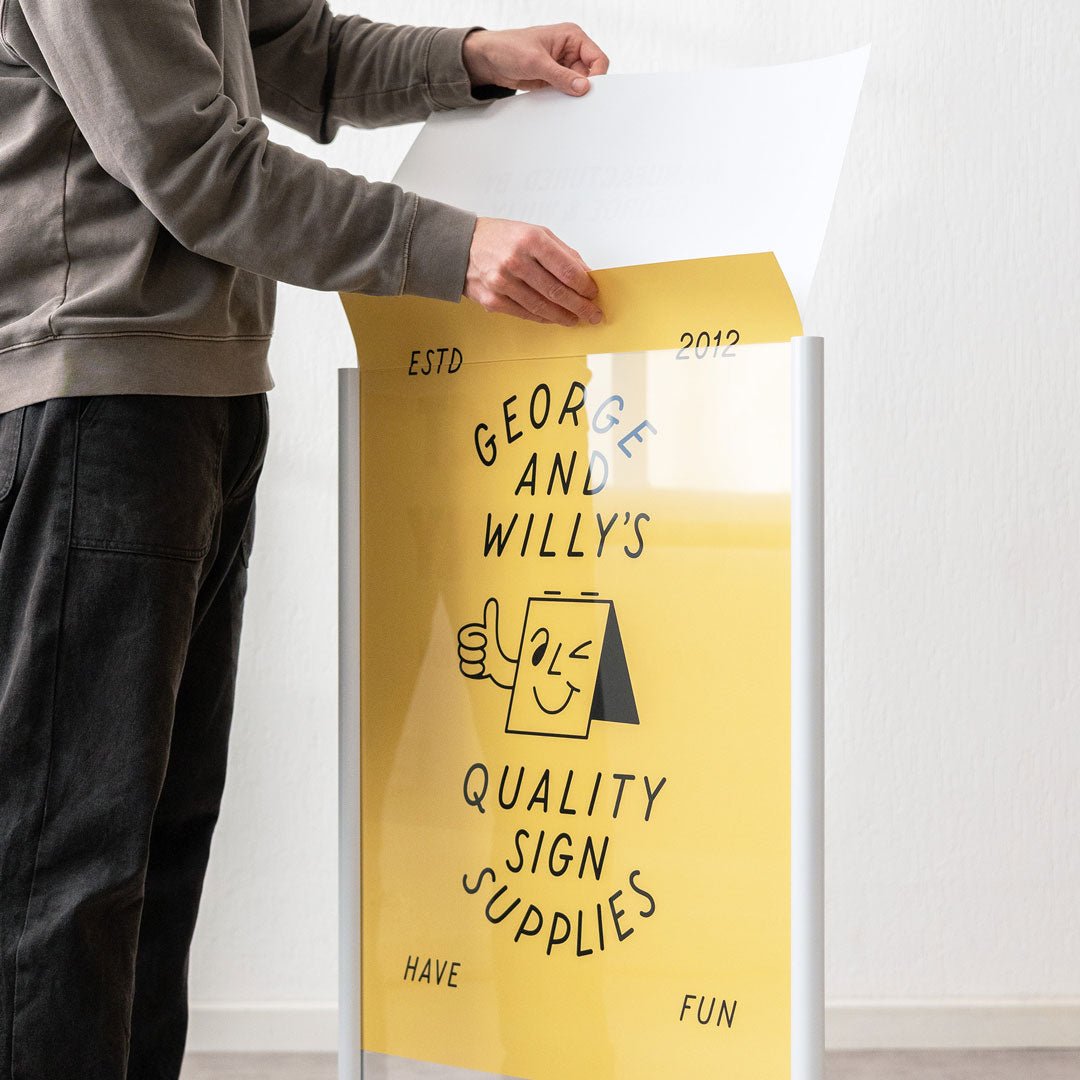
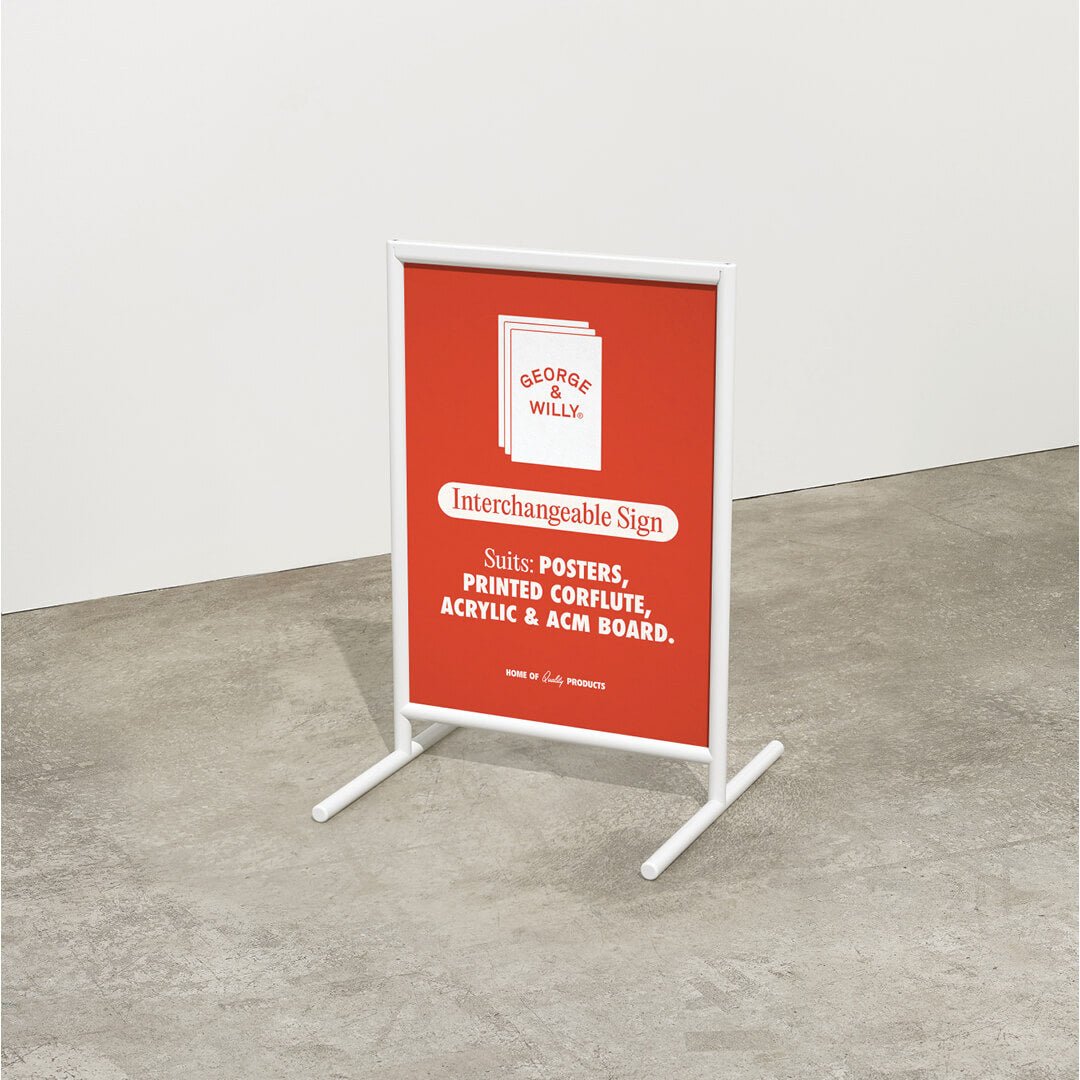
To create custom laser cut metal signs, you’ll need to find a laser cutting service. When choosing one, consider their capabilities (can they cut your desired metal and thickness?), whether they offer design assistance, and what finishing services they provide. Always get a clear quote that includes material, cutting time, and shipping costs. For those who prefer a ready to use solution without the hassle of custom fabrication, brands like George & Willy offer a range of beautifully crafted signs that ship directly to you.
Safety and Workspace Considerations
Operating a powerful laser involves serious safety protocols. Operators must use personal protective equipment (PPE), including laser safety glasses, heat resistant gloves, and sometimes respirators.
Proper ventilation and dust collection are also non negotiable. The laser cutting process creates fumes and microscopic metal particles that are hazardous to inhale. A robust fume extraction system is essential to capture these particulates at the source and keep the air in the workshop safe and clean.
Frequently Asked Questions About Laser Cut Metal Signs
1. What is the best metal for an outdoor sign?
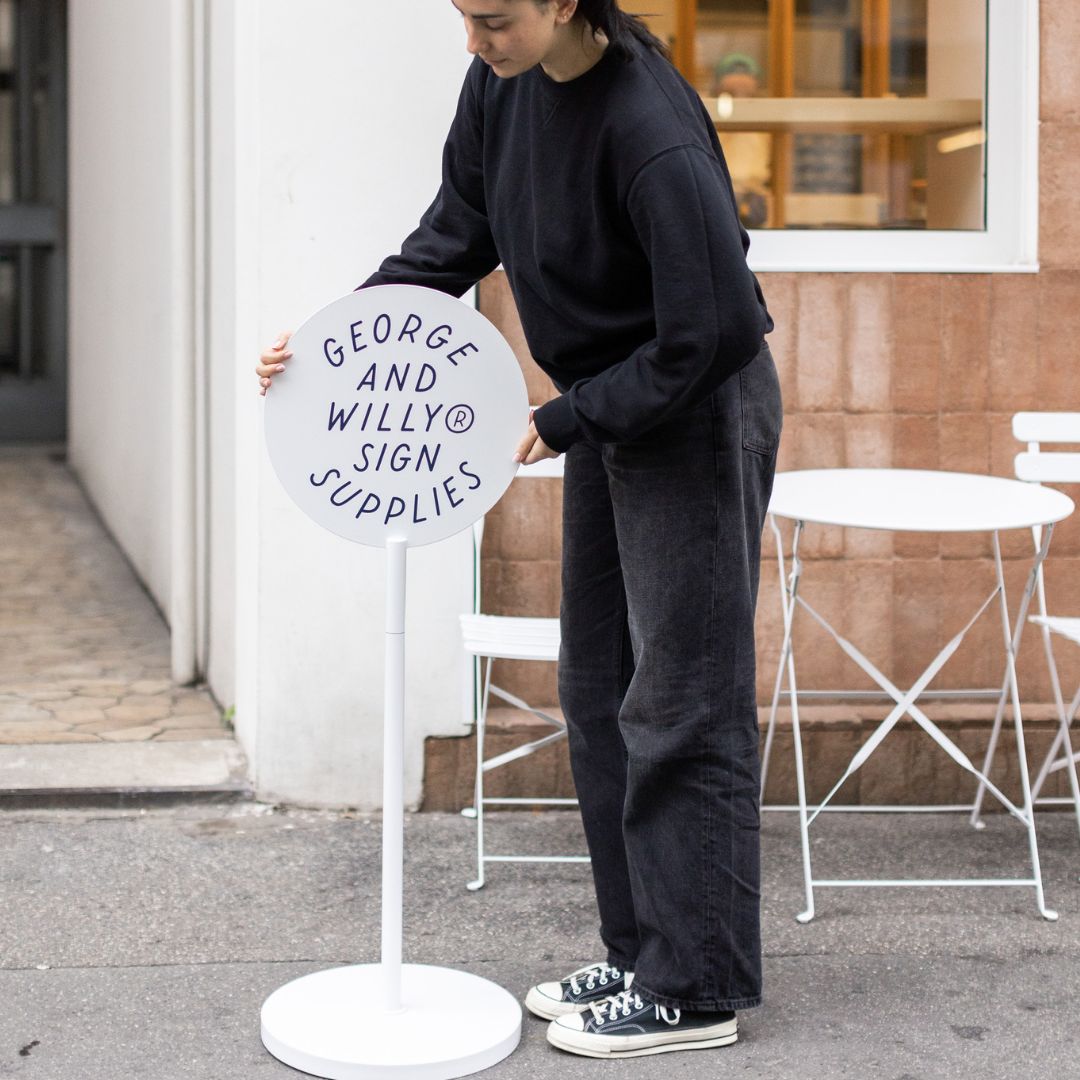
Aluminum and stainless steel are the top choices for outdoor signs. Both are naturally resistant to rust. For ultimate longevity, powder coated aluminum offers excellent protection against all weather conditions. For example, the Rounded Sidewalk Sign is built for outdoor use.
2. How thick should a laser cut metal sign be?
For most signs, a thickness between 0.04 and 0.25 inches is suitable. For larger outdoor signs, a thickness of at least 0.1 inches (or 2.5 mm) is recommended to prevent warping from wind and weather.
3. What is the most durable finish for a metal sign?
Powder coating is widely considered the most durable and long lasting finish for metal signs. It creates a hard, protective layer that is highly resistant to chipping, scratching, and UV damage, making it perfect for outdoor exposure.
4. Can any design be cut into a metal sign?
Almost any 2D design can be laser cut, but some adjustments may be needed. Extremely fine details may need to be thickened for durability, and letters with enclosed centers (like ‘O’ or ‘P’) require either stencil bridges or a multi layer design with a backer plate to hold the centers in place.
5. What file format do I need to provide for laser cutting?
You will need a vector file. The most universally accepted format is DXF, but many services also accept SVG, AI, EPS, or vector PDF files.
6. Are laser cut metal signs expensive?
The cost varies widely based on the size of the sign, the type and thickness of the metal, the complexity of the design, and the finish required. While a custom sign is an investment, its durability often makes it a cost effective choice in the long run.
7. How do I clean and maintain my metal sign?
For most finishes, simply wipe the sign down periodically with a soft cloth and mild, soapy water. Avoid abrasive cleaners. A yearly inspection of the mounting hardware is also a good idea to ensure everything remains secure.