


Welcome to the world of sign fabrication. It’s the journey of turning a simple idea into a physical sign that represents your brand, guides customers, and makes a first impression. This process blends artistry with engineering, involving everything from initial designs and material choices to high tech manufacturing and final installation. Whether you’re a business owner ordering your first sign or just curious about how these essential pieces of branding come to life, this guide covers it all.
The Sign Fabrication Process: An Overview
At its core, sign fabrication is the end to end process of creating a sign. It’s a multi stage journey that requires careful planning, design, engineering, material selection, manufacturing, and finishing. The complexity can vary greatly. A simple flat sign with a digital print might be produced quickly, while a complex 3D sign with internal lighting involves many more steps. Modern sign fabrication is a fascinating mix of computer controlled precision and skilled craftsmanship. While machines like CNC routers handle cutting with incredible accuracy, the human touch is still essential for welding, painting, and detailed assembly.
Concept and Design: Turning Ideas into Plans
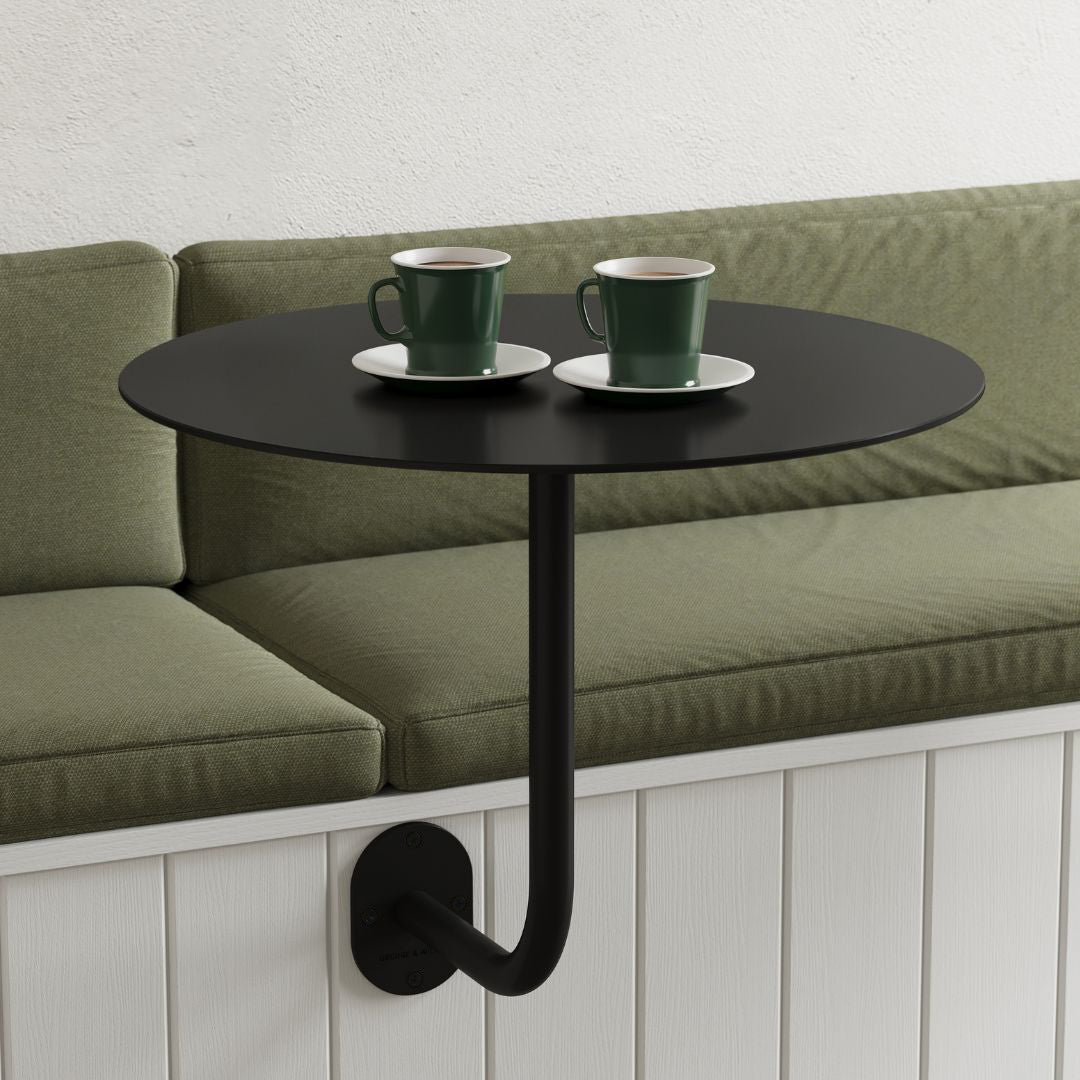
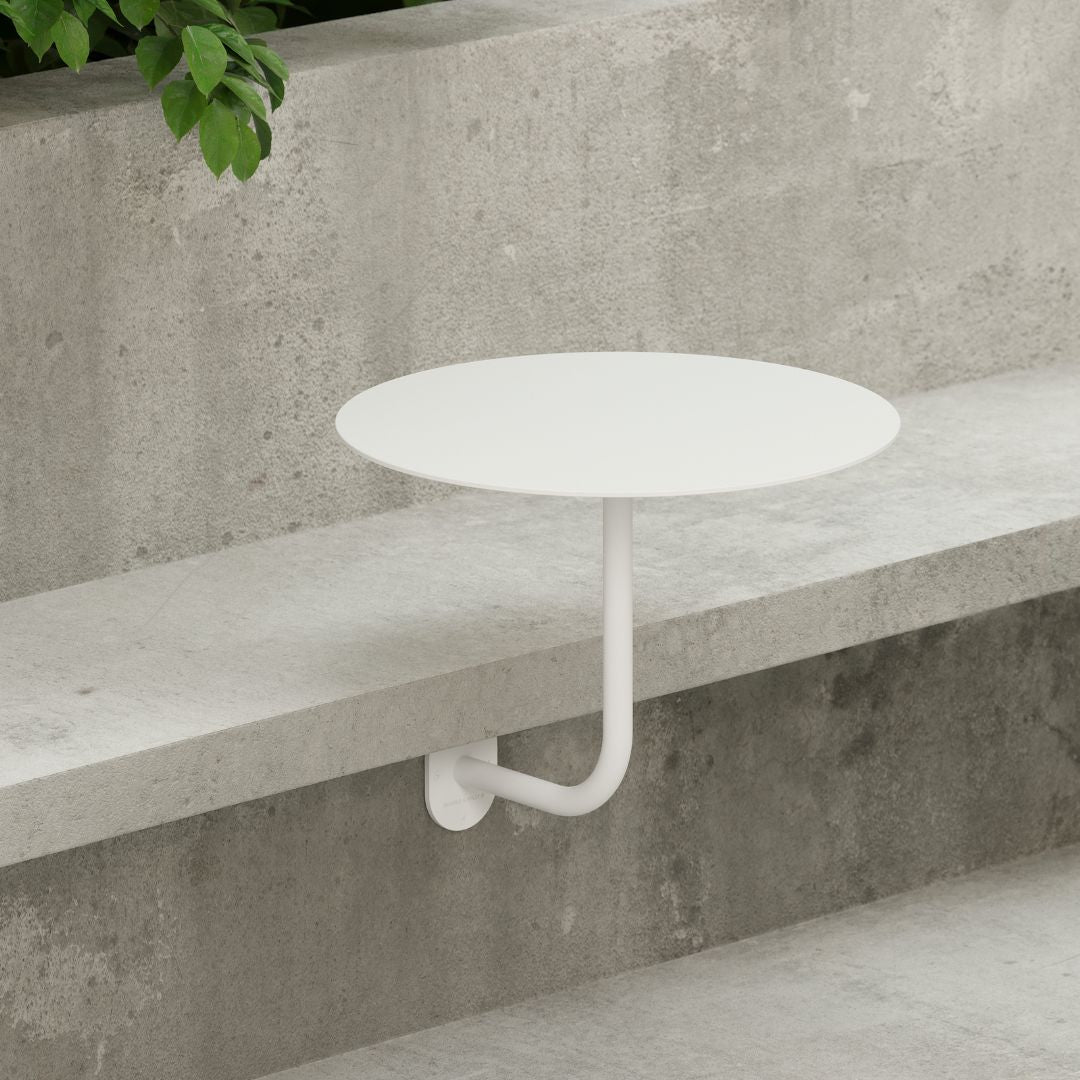
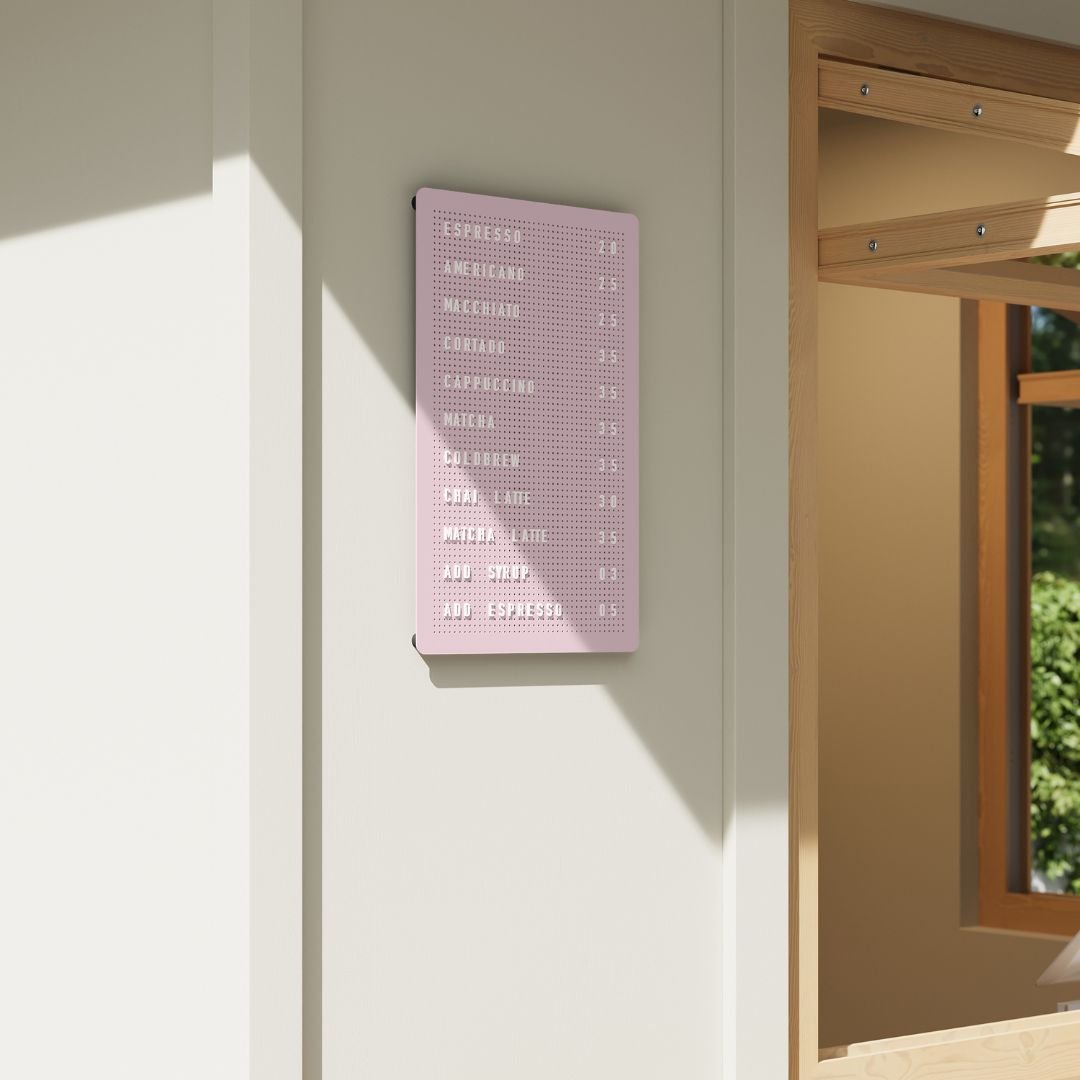
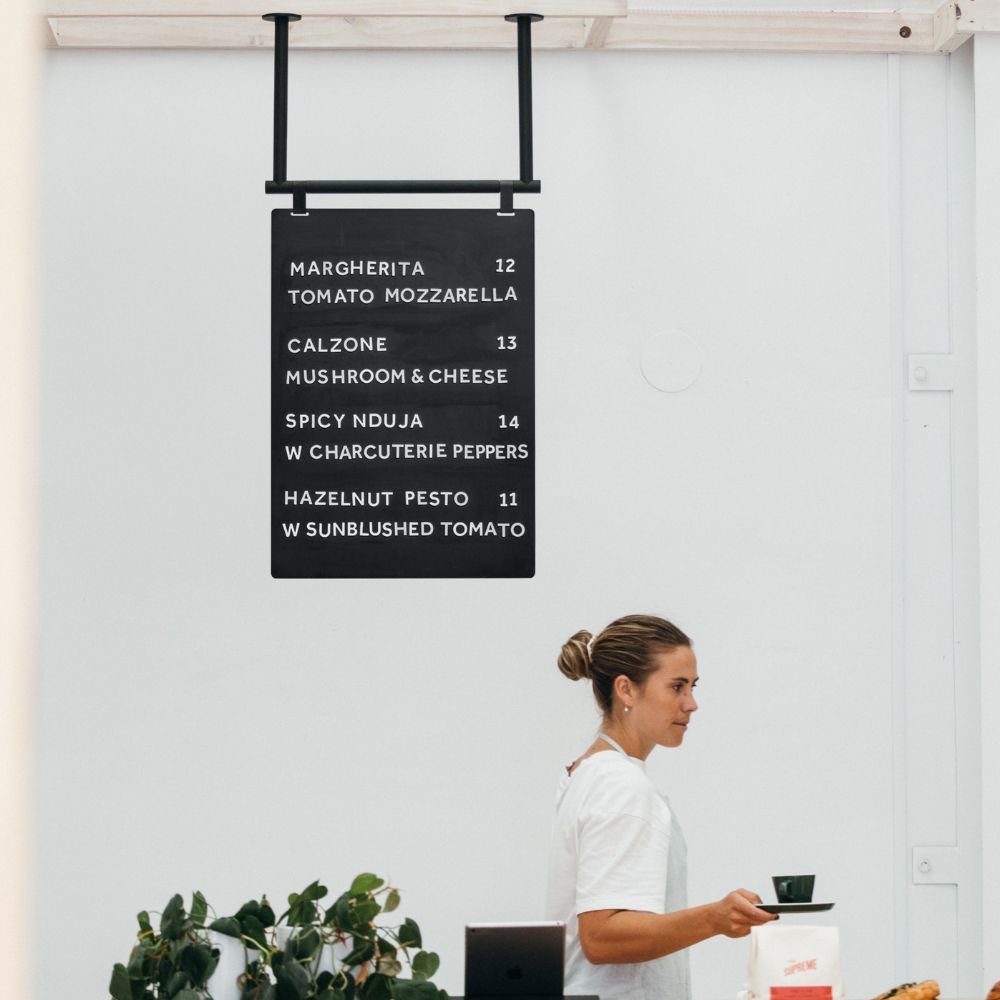
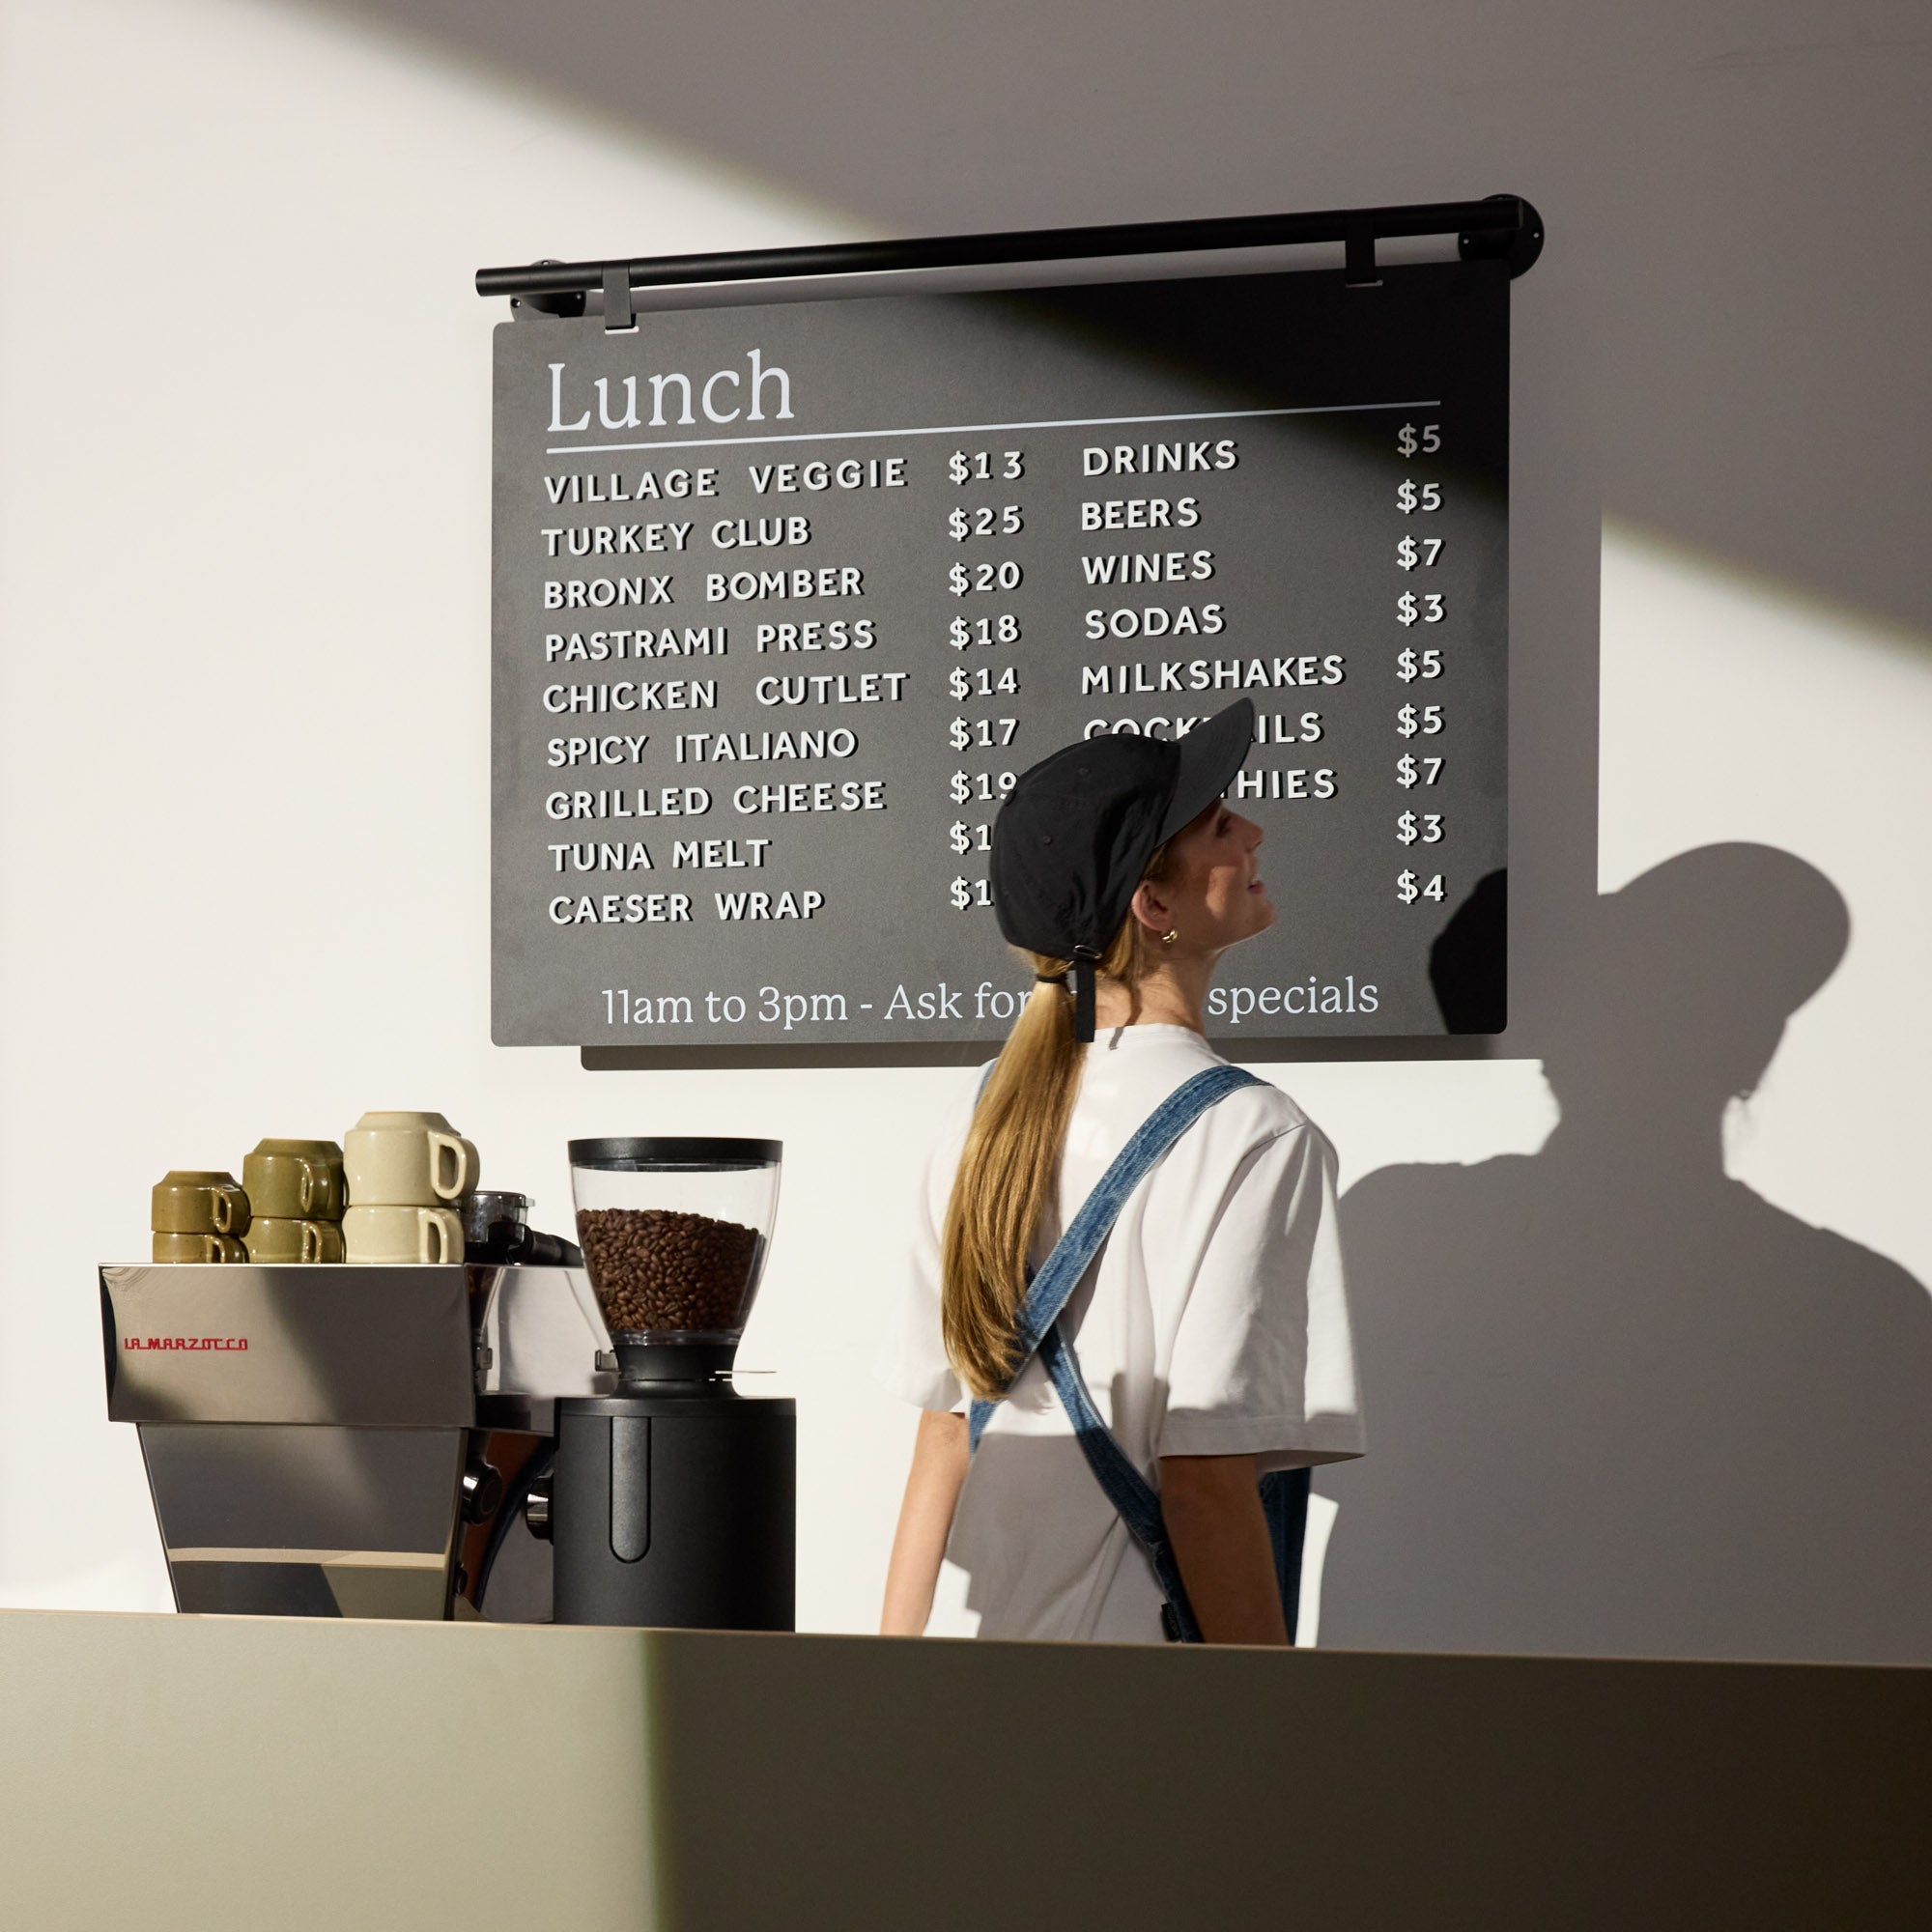
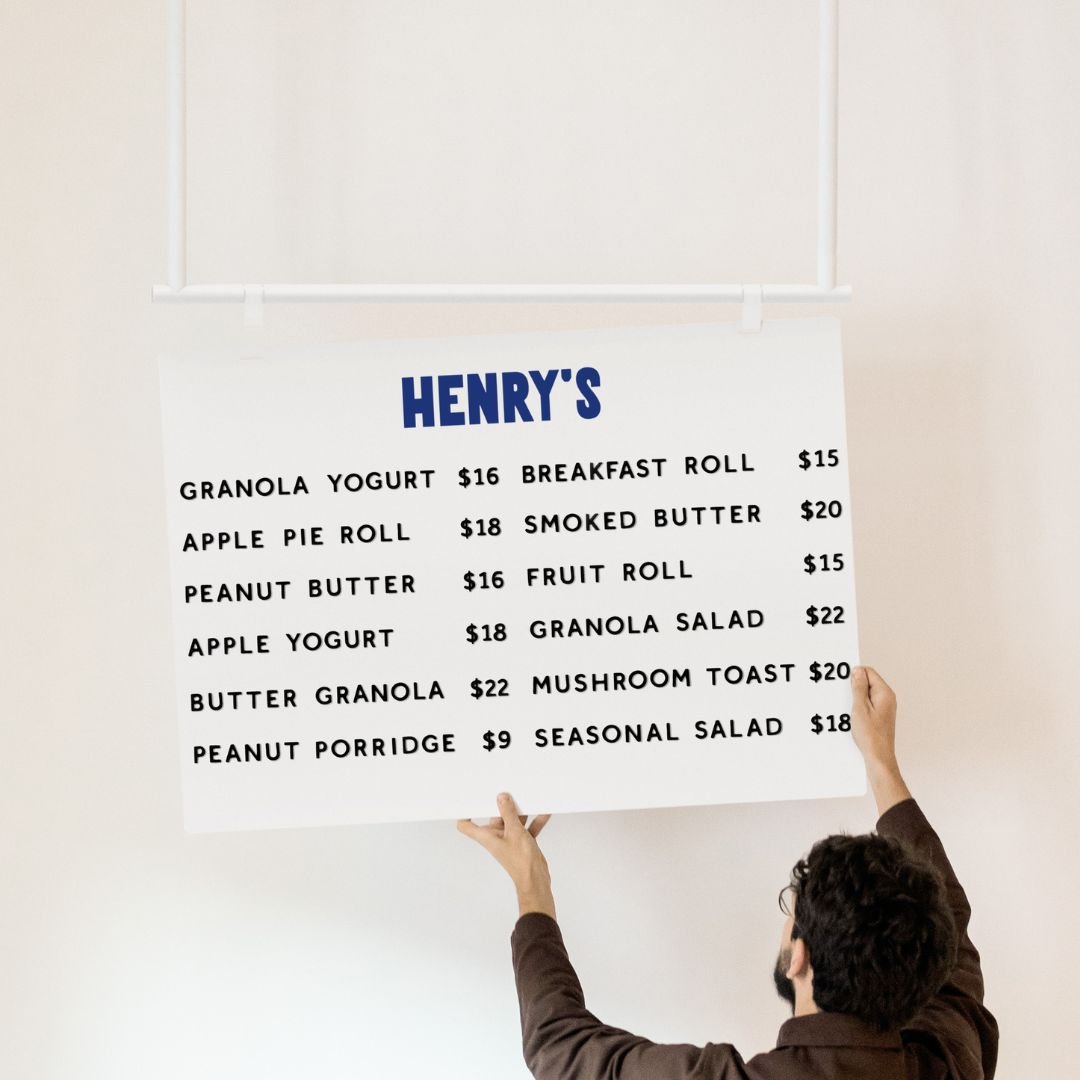
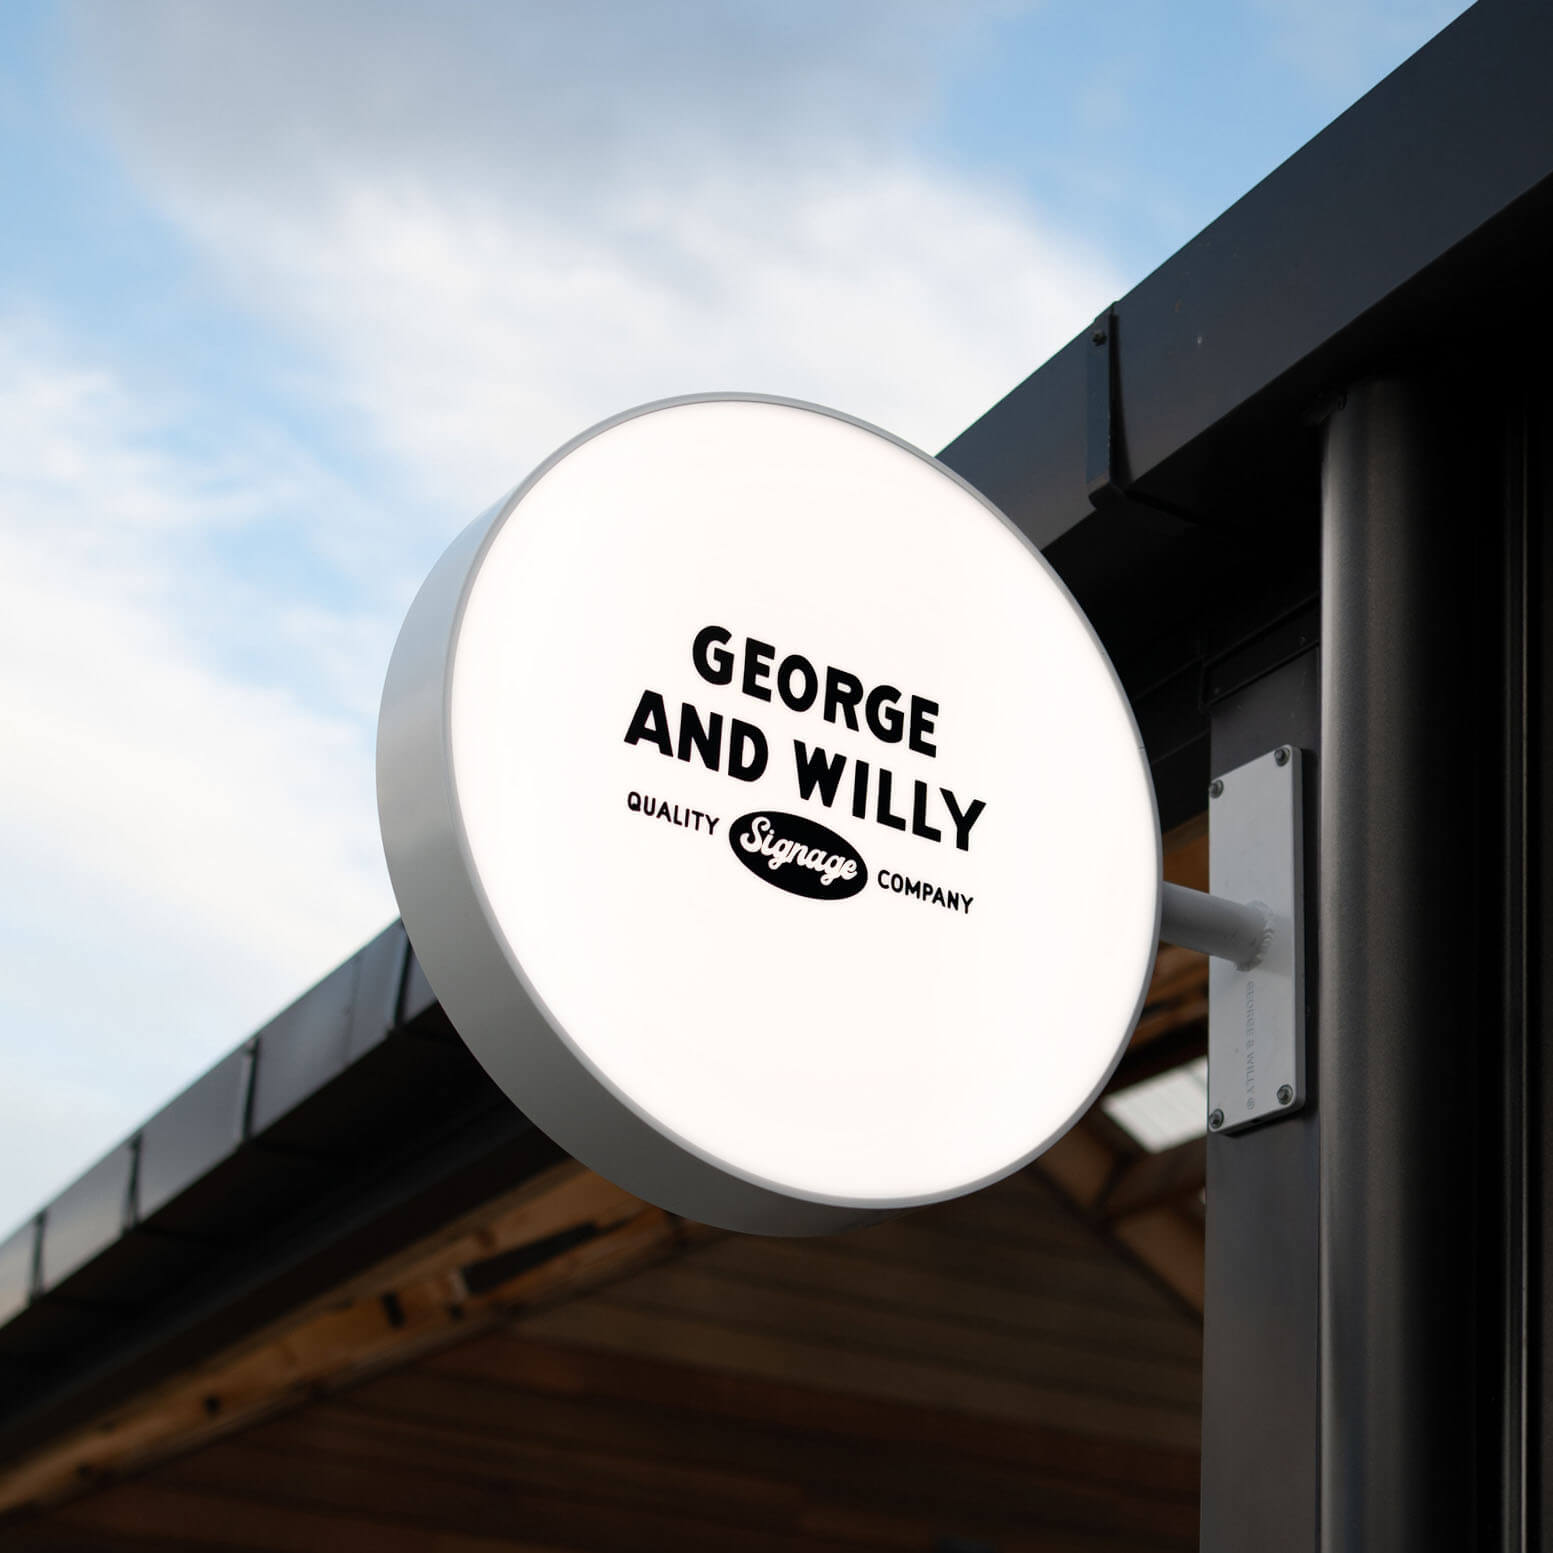
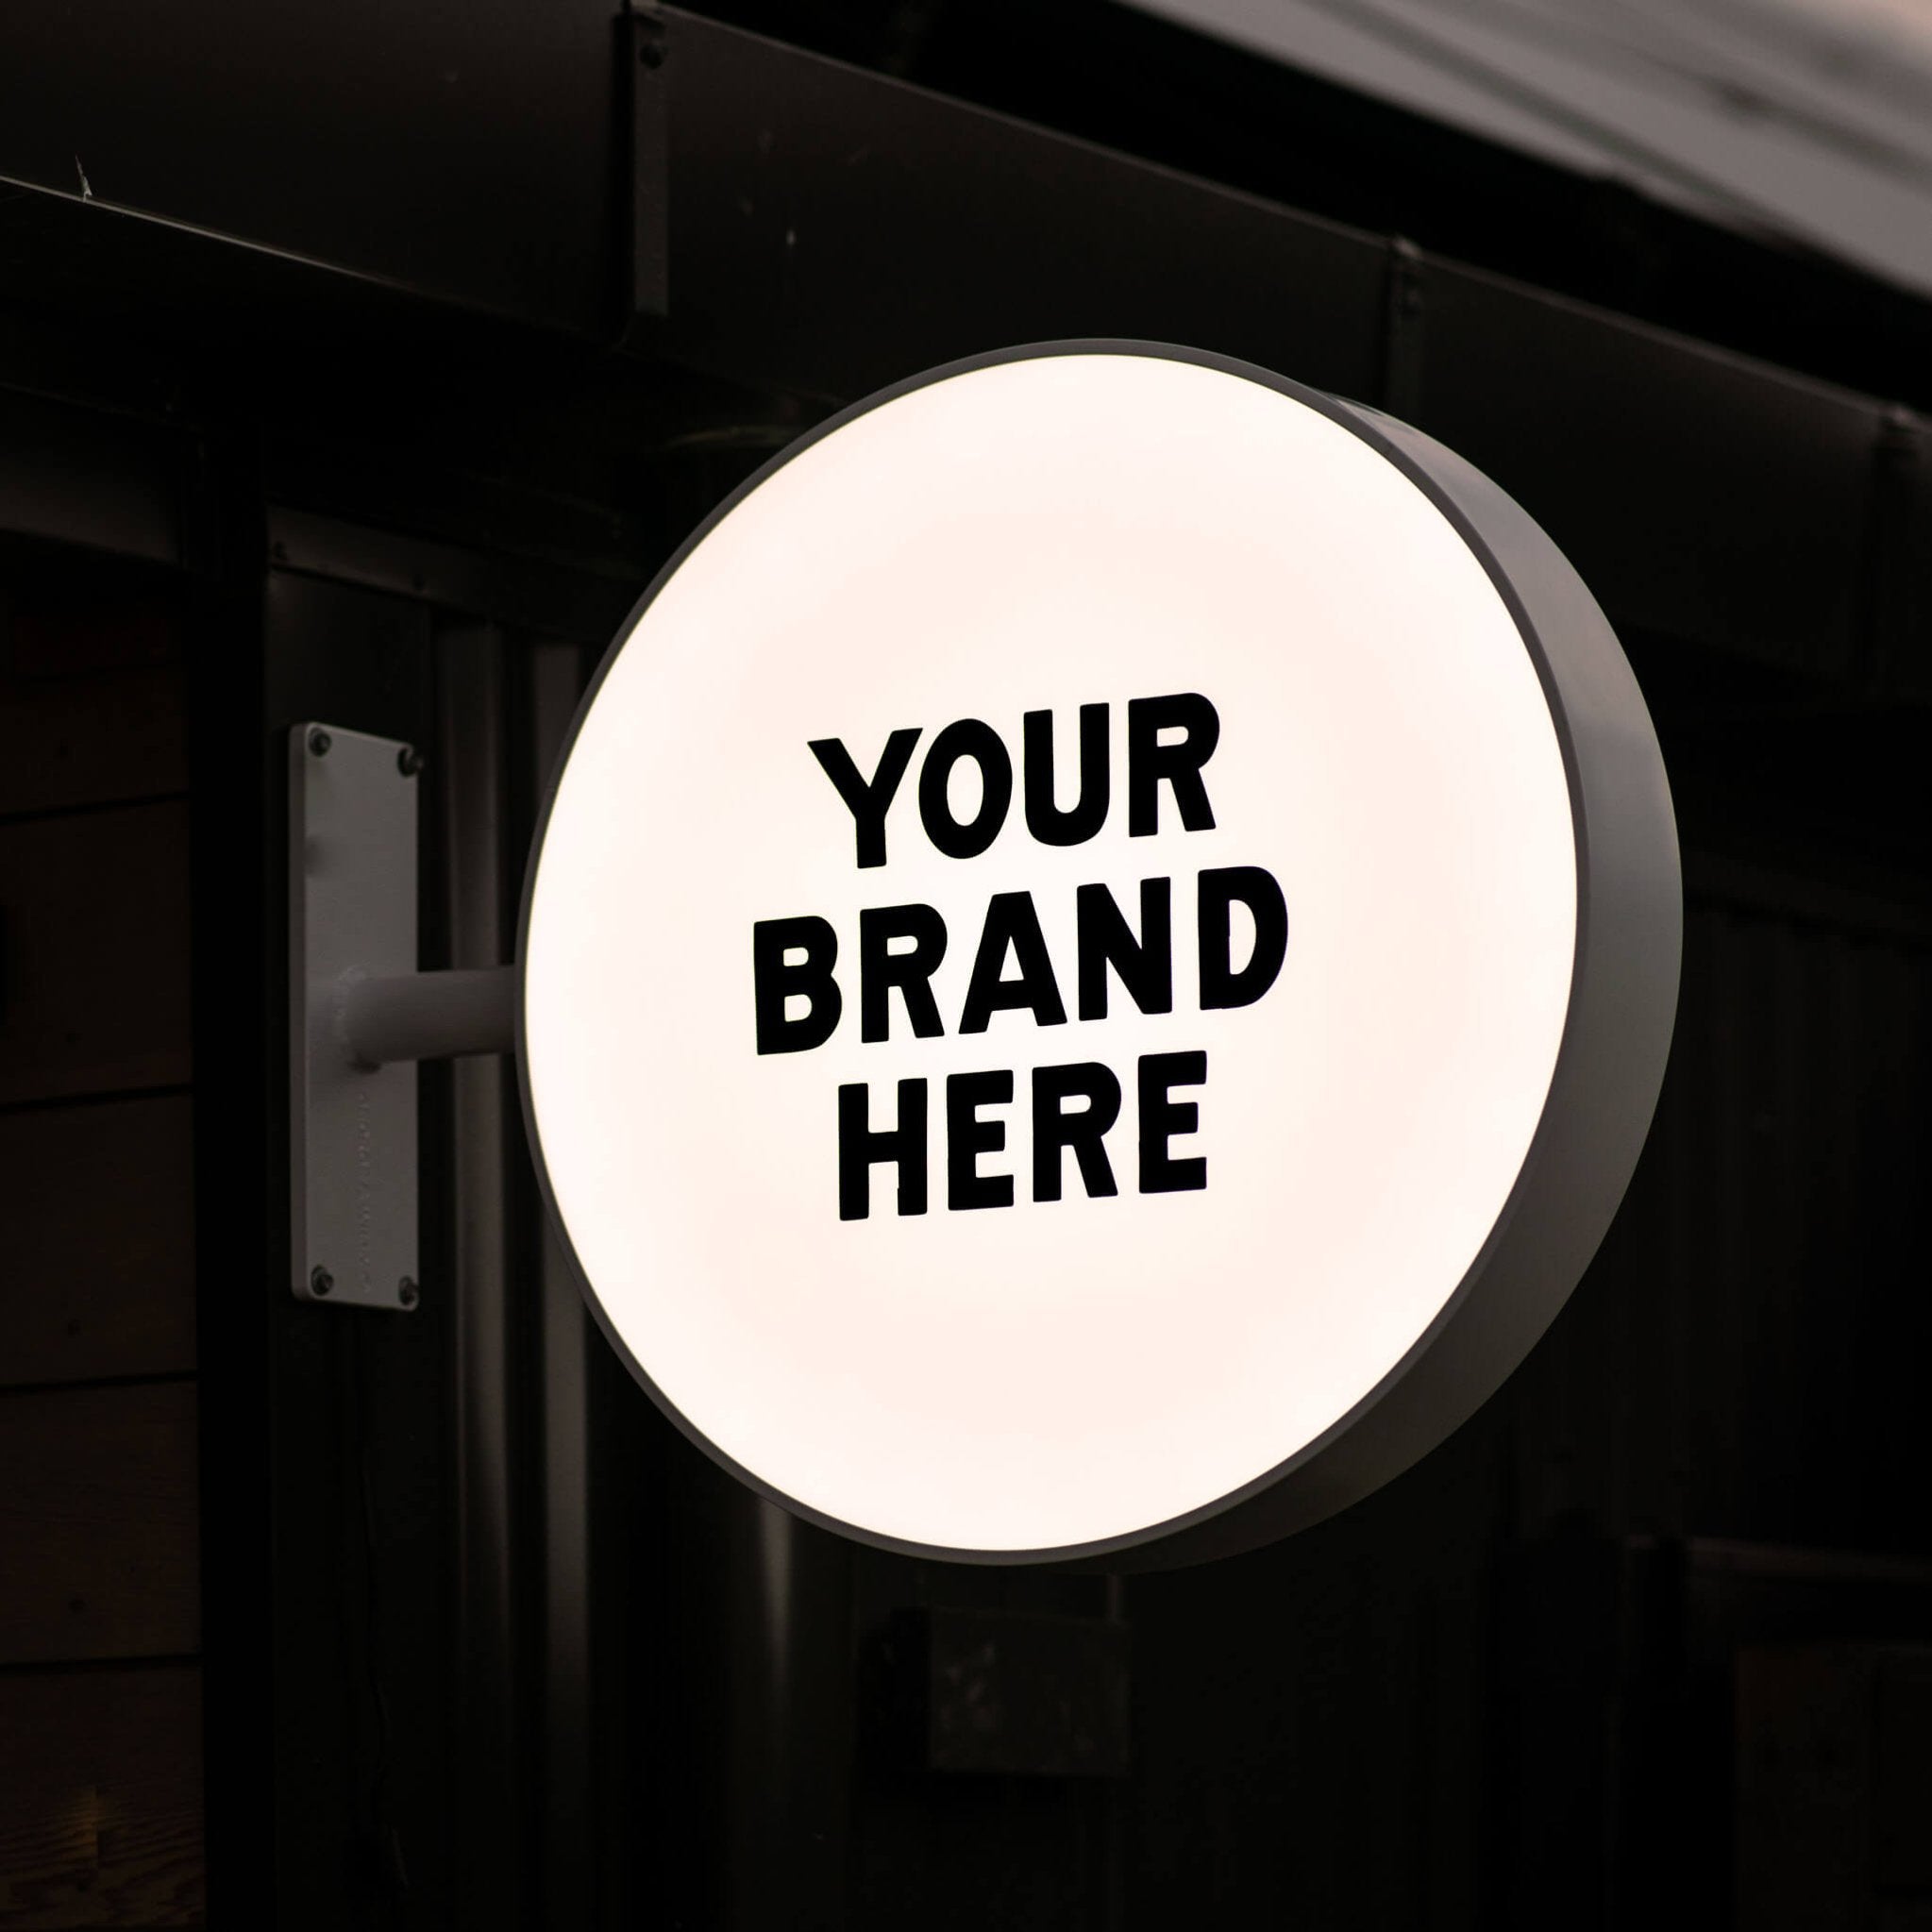
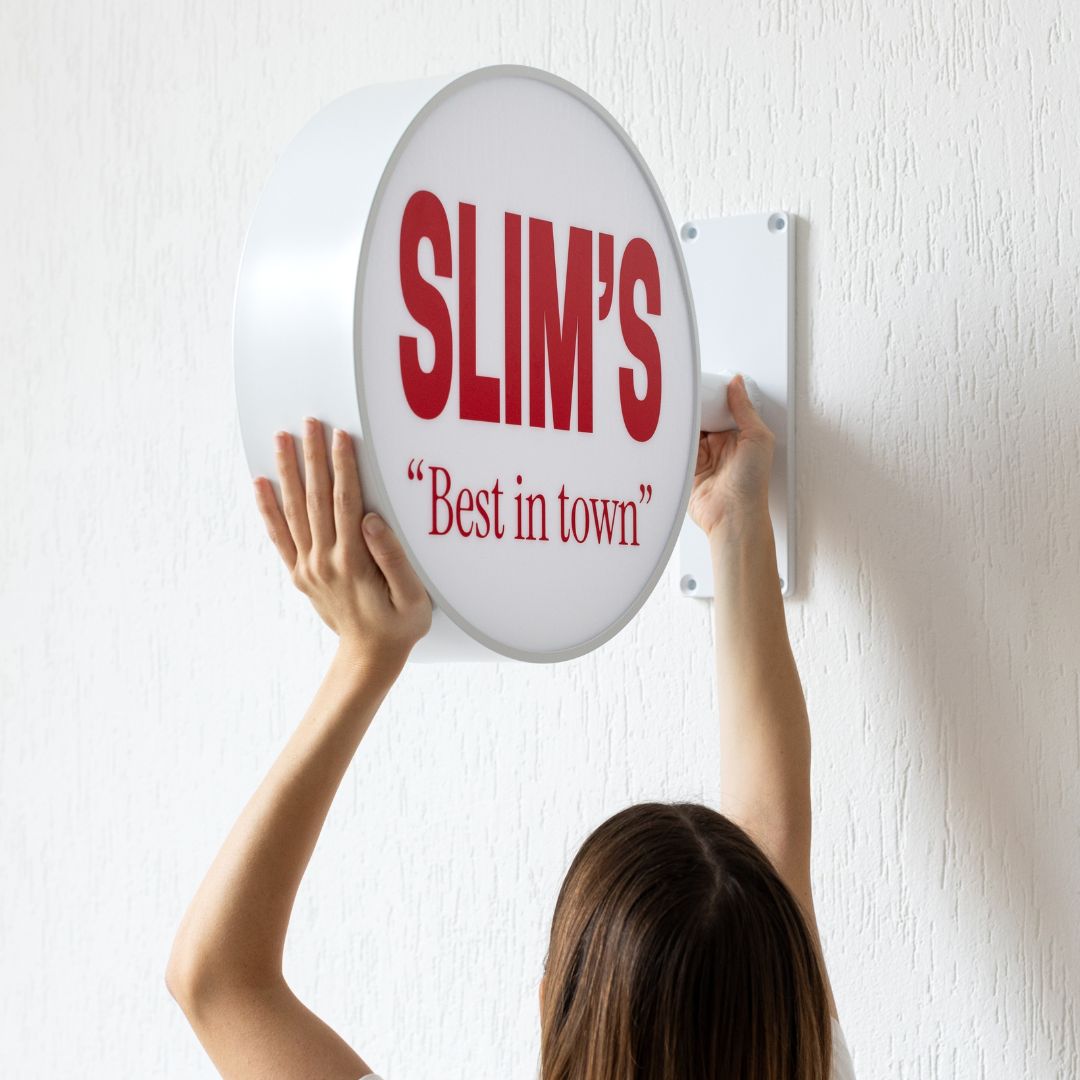
Every great sign starts with a great concept. The design phase is where a client’s vision, branding, and practical needs are translated into a workable blueprint. A designer consults with the client to define the sign’s size, style, colors, and content. They consider real‑world factors like viewing distance and lighting; on pedestrian streets, a perpendicular Wall Sign boosts visibility down the sidewalk.
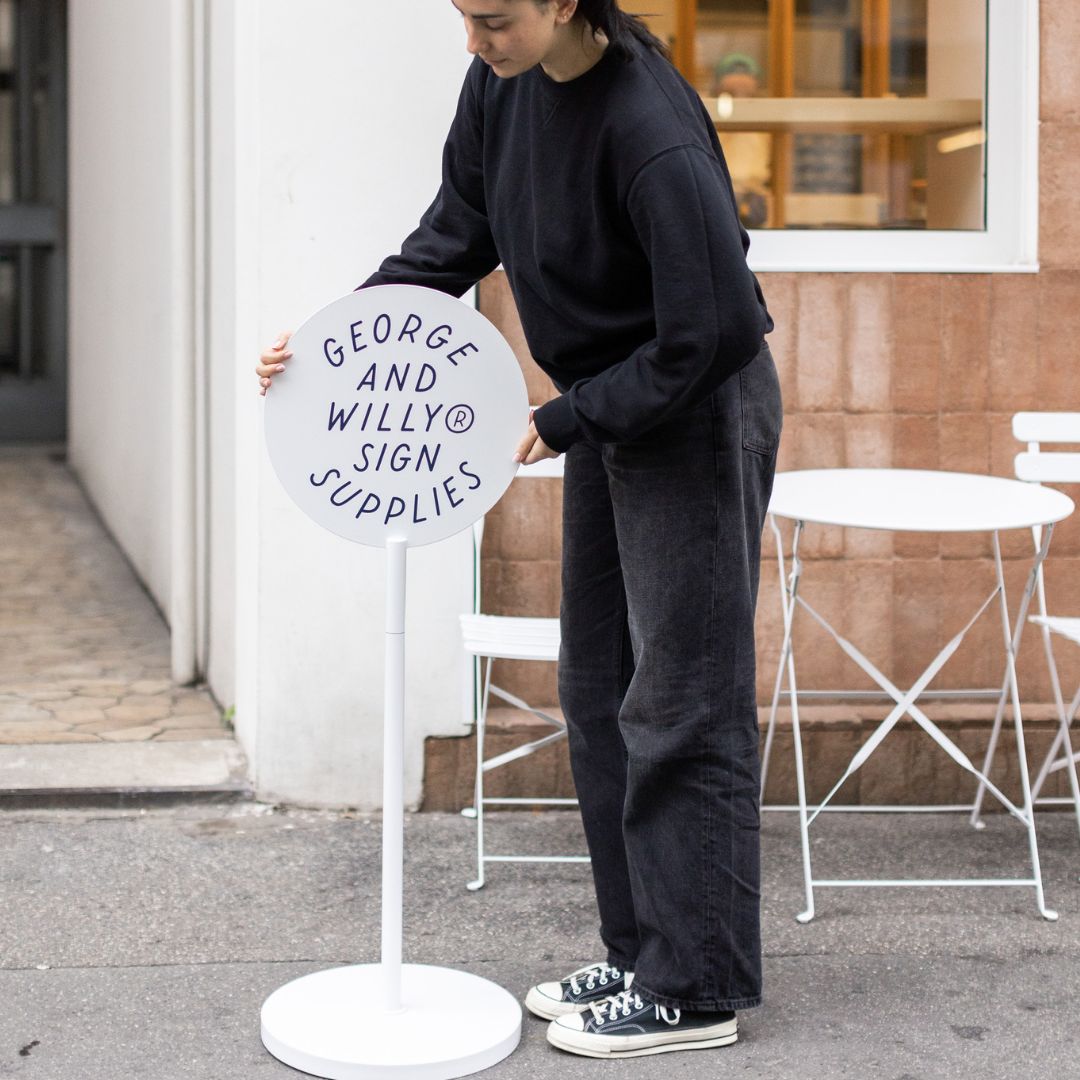
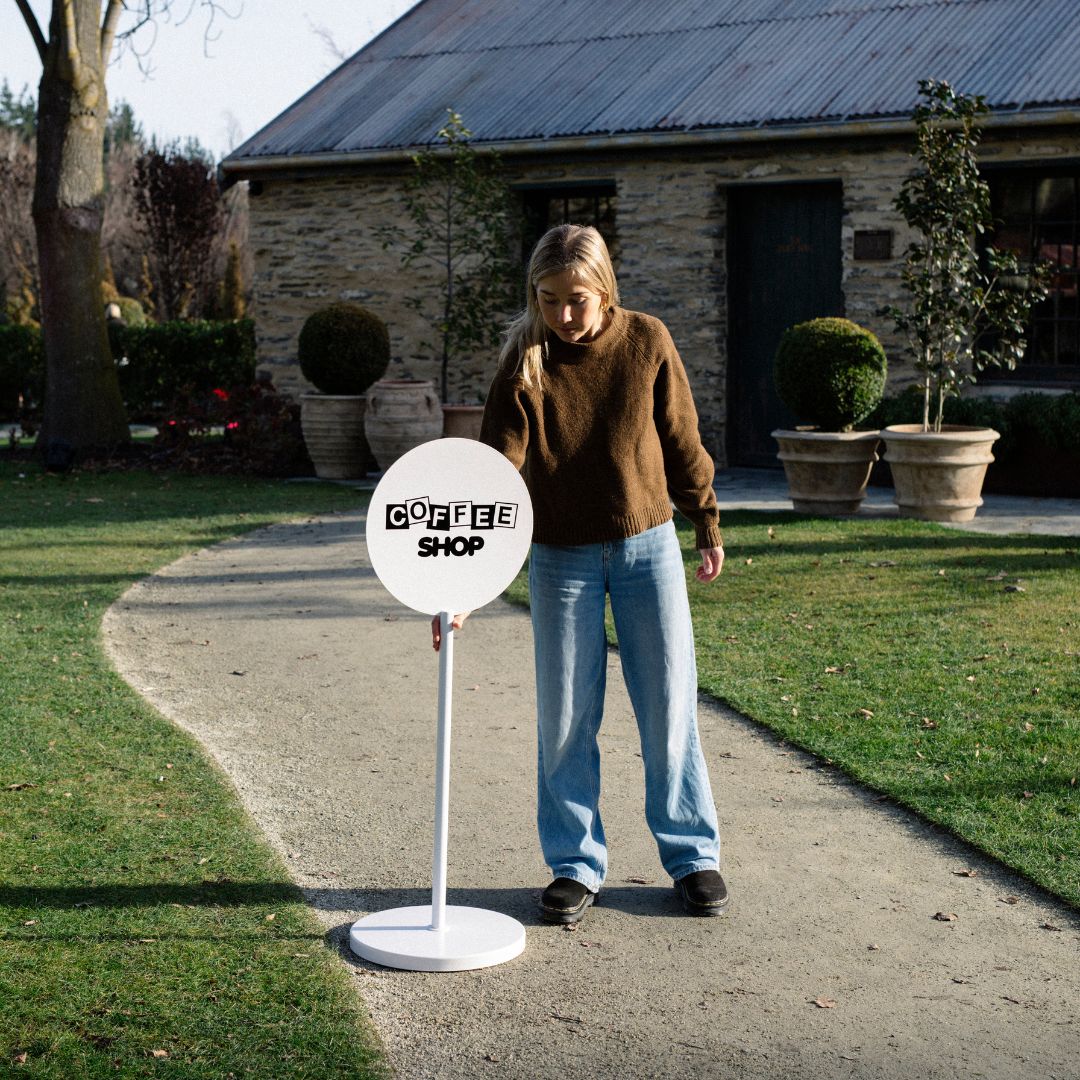
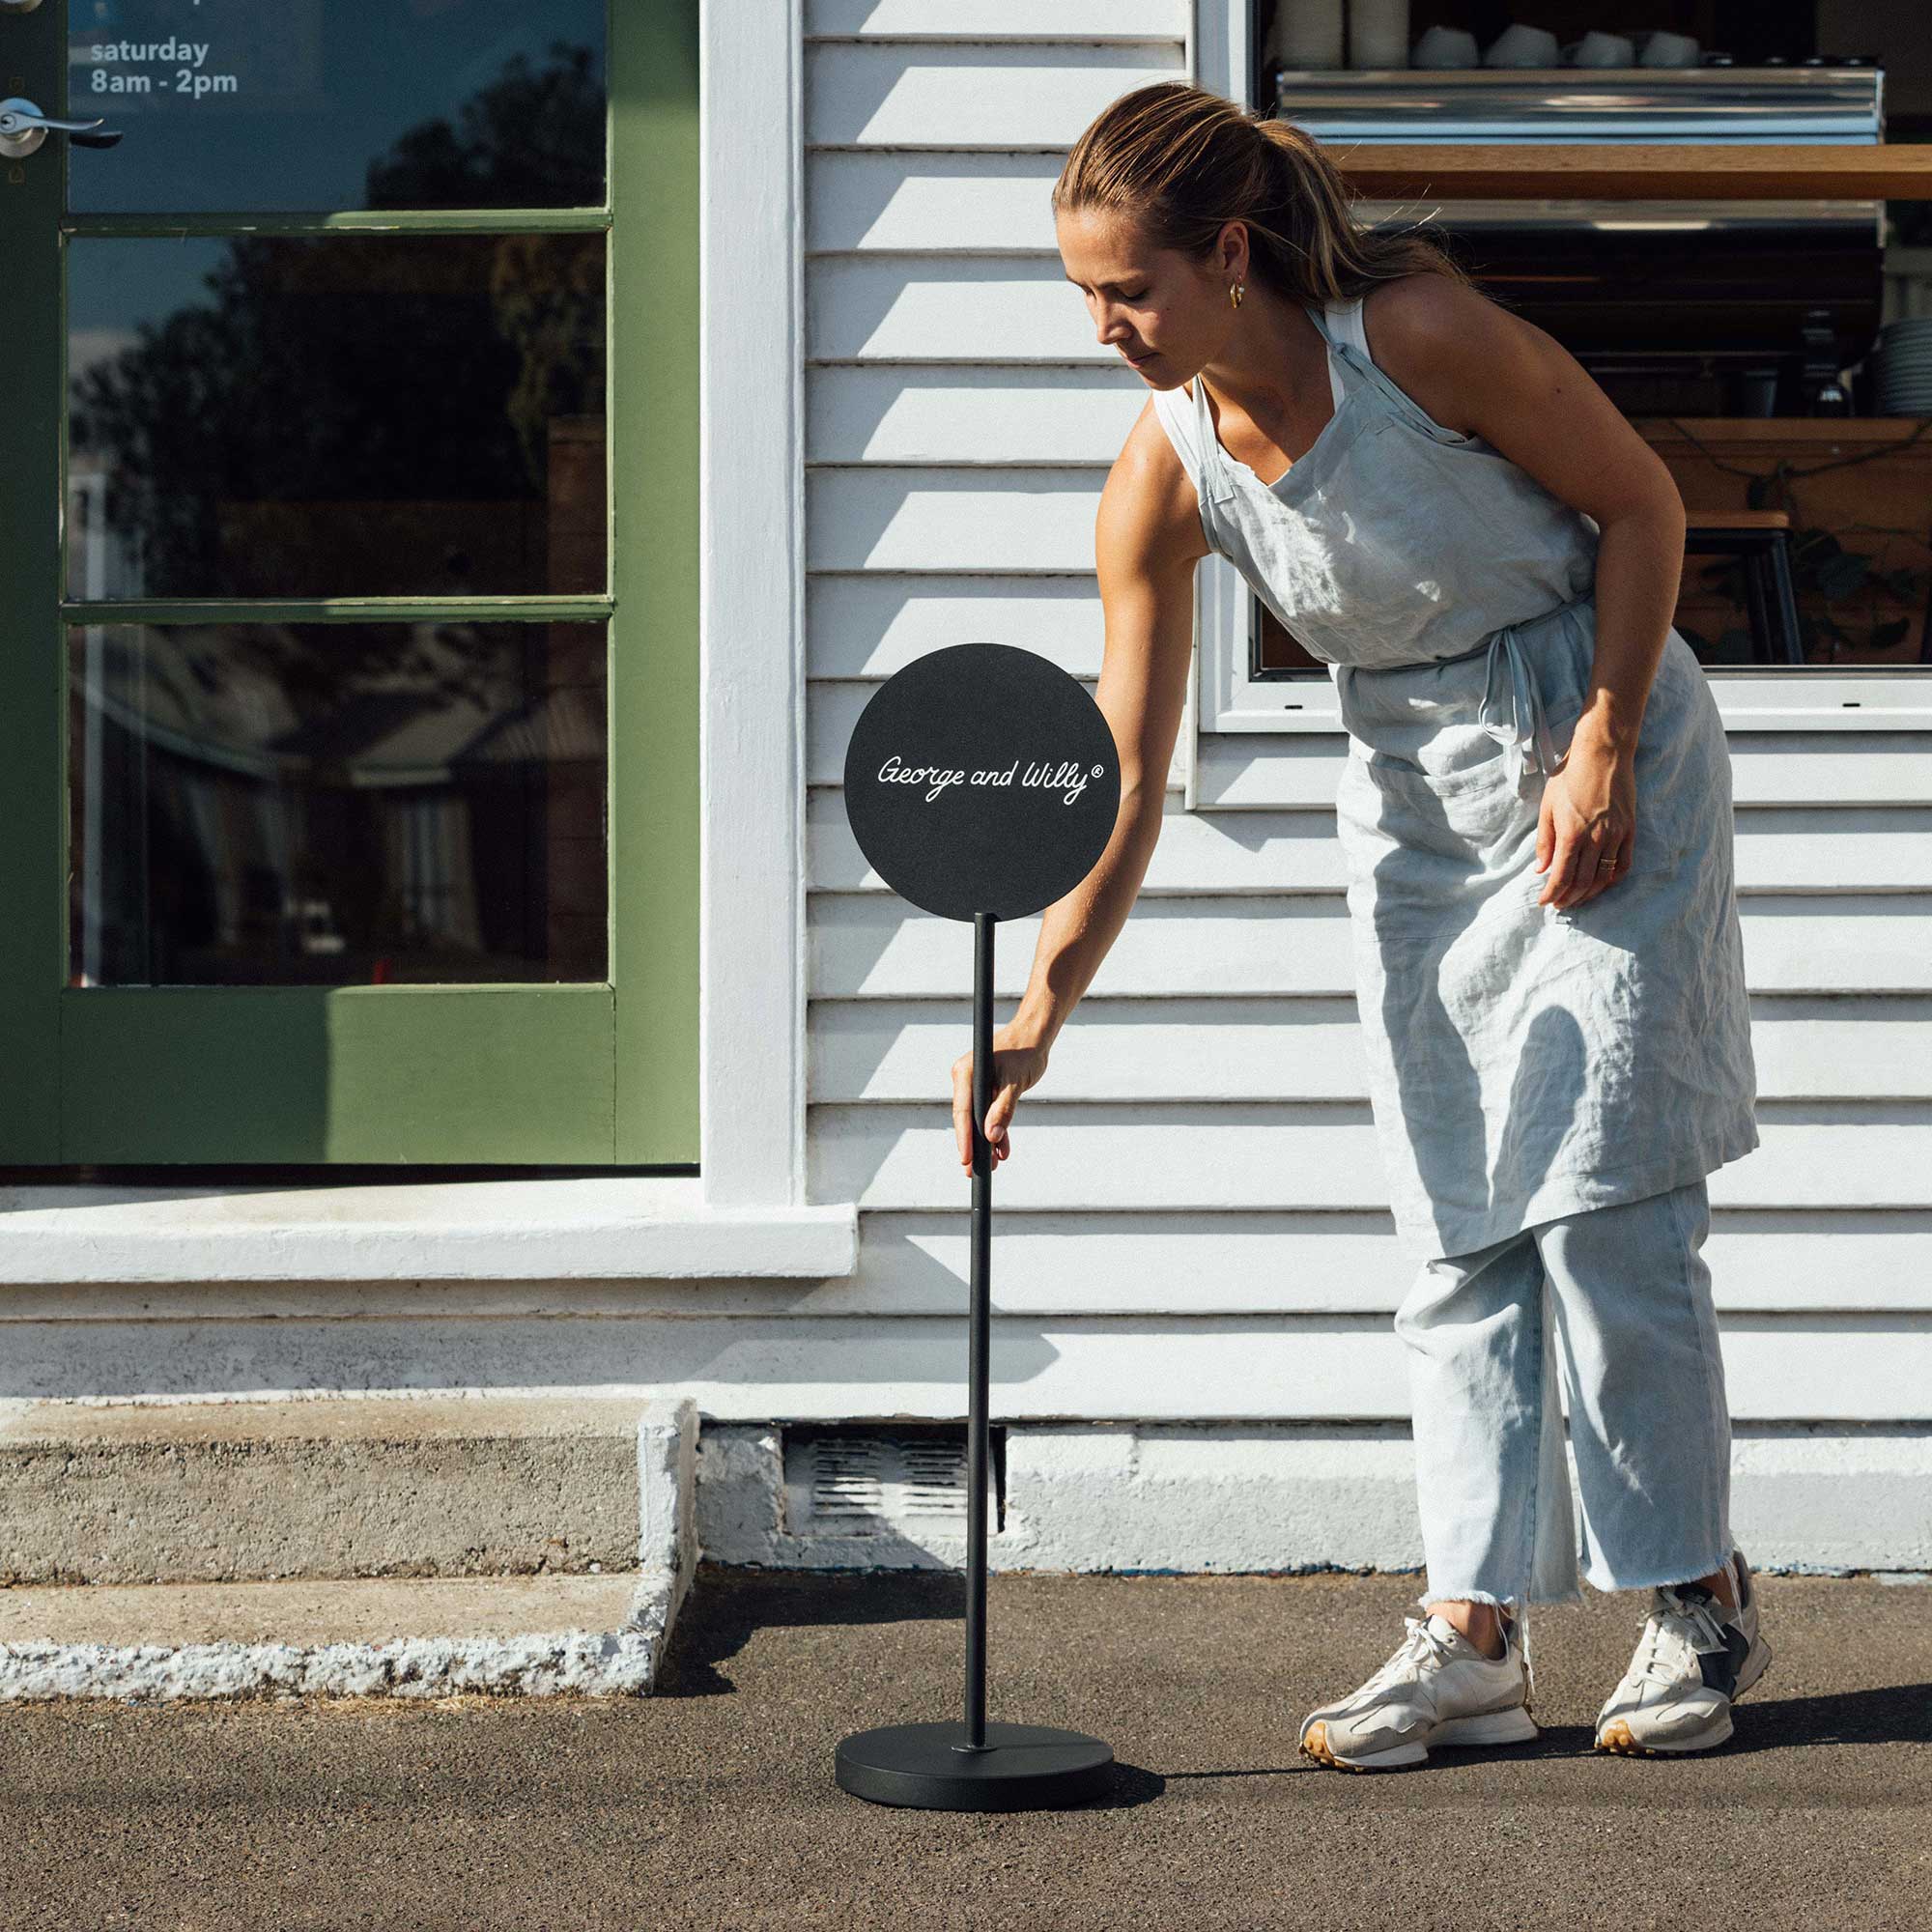
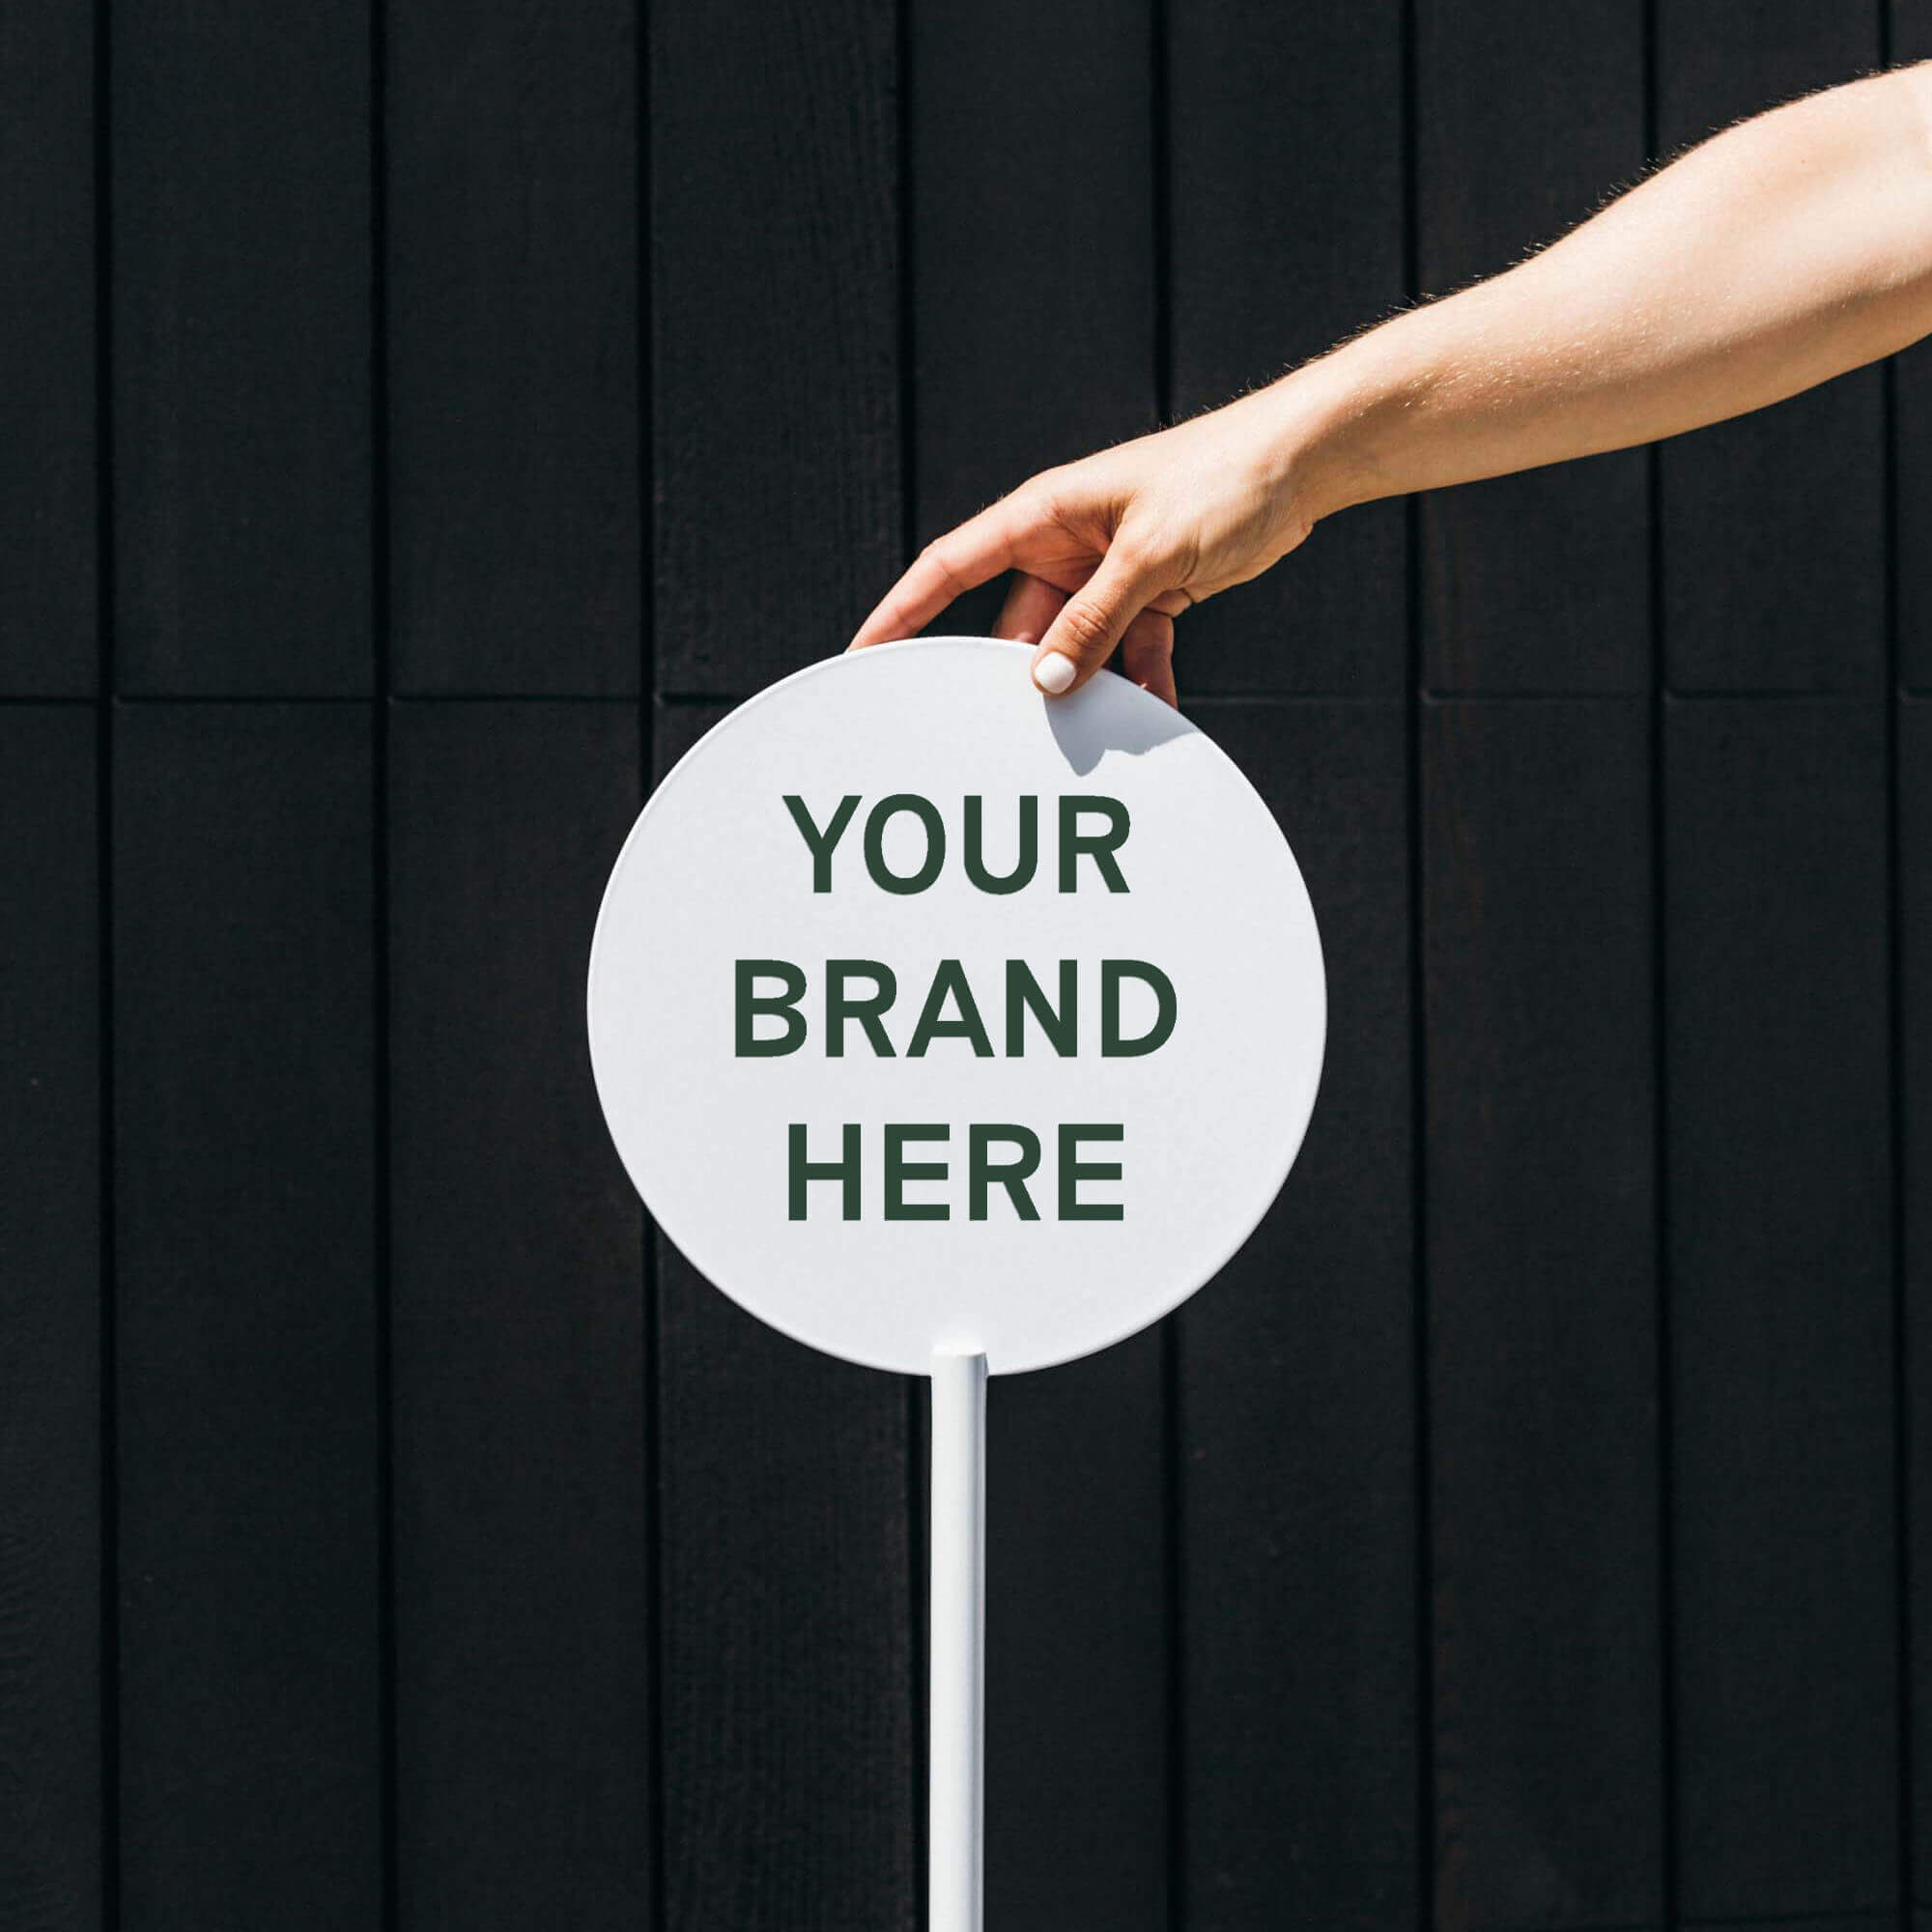
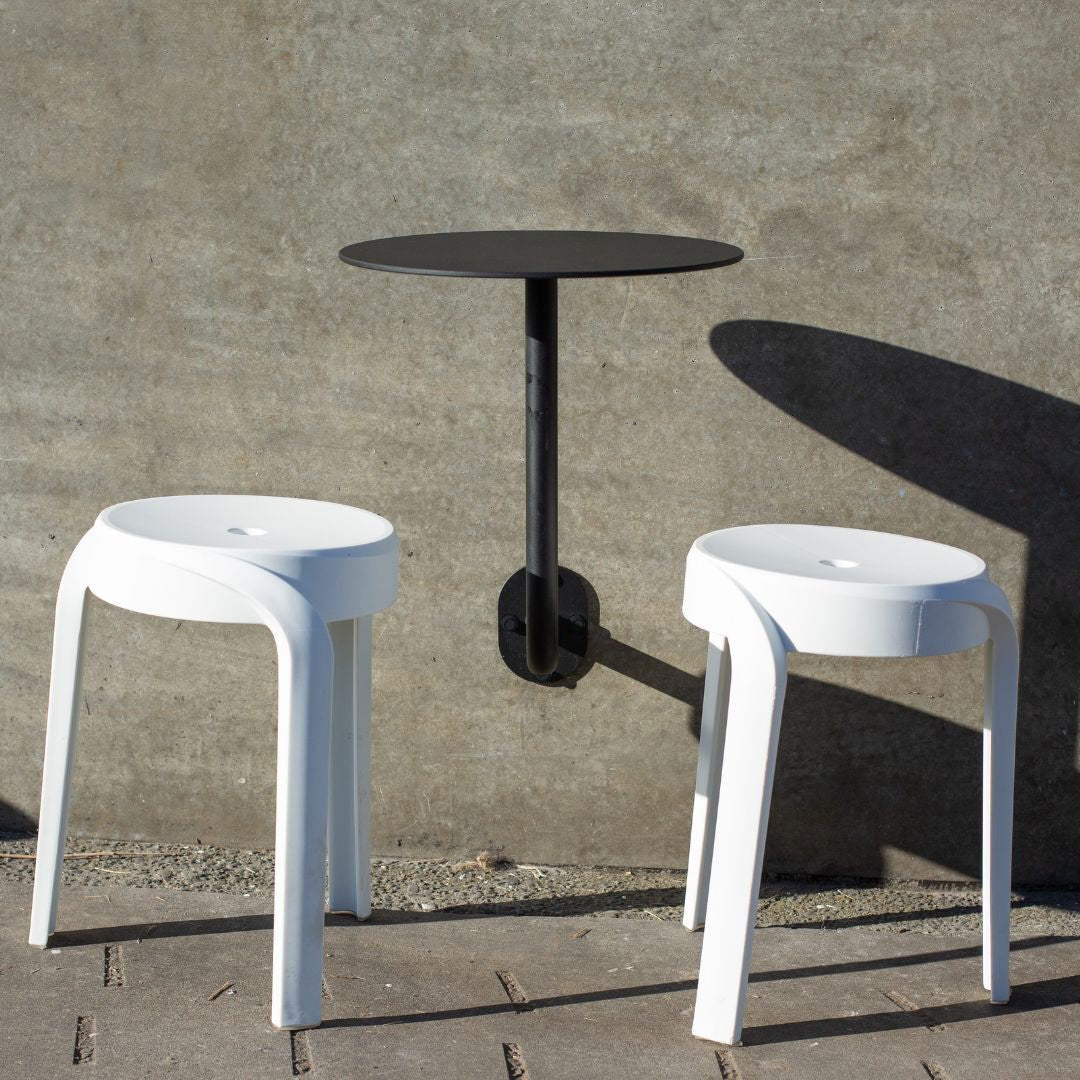
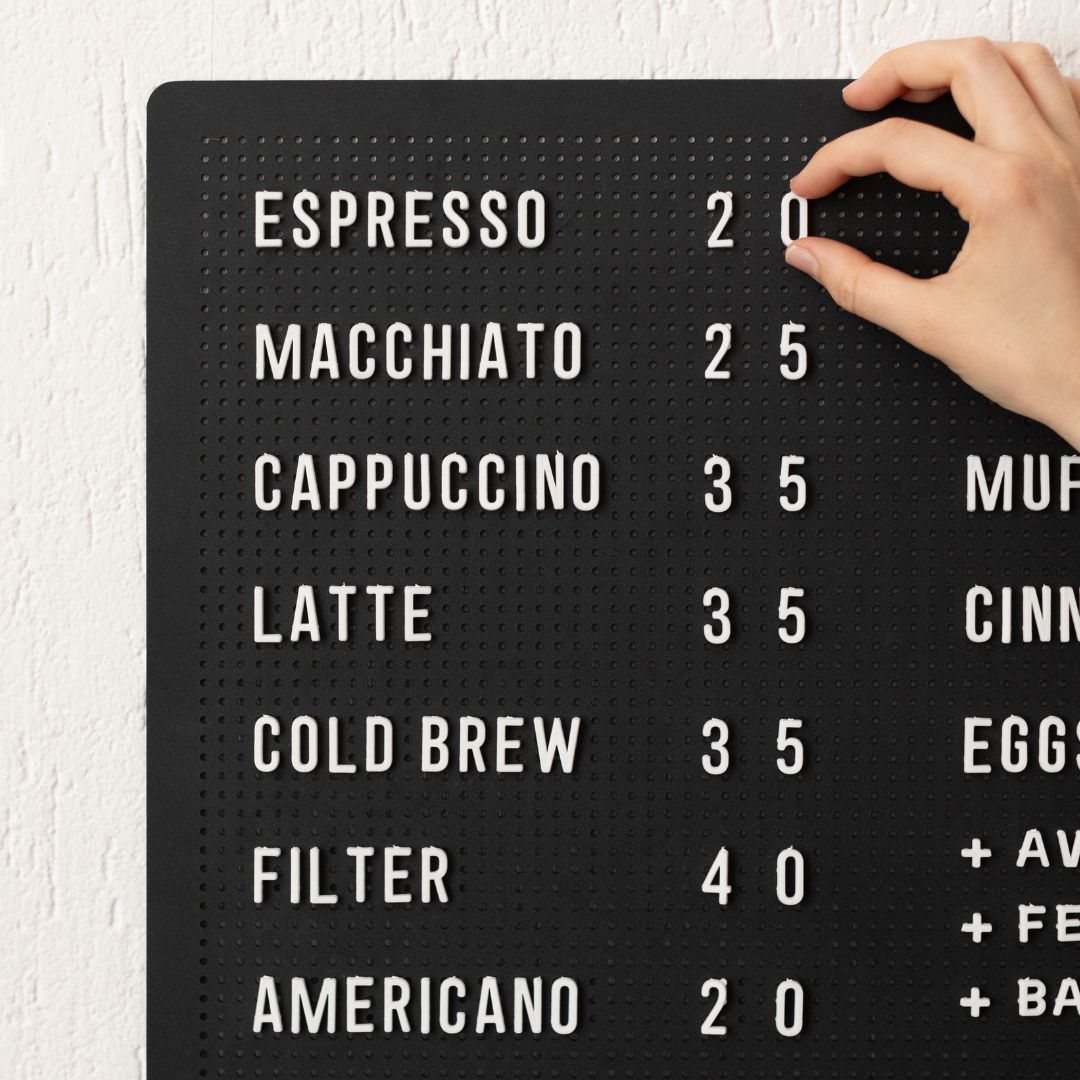
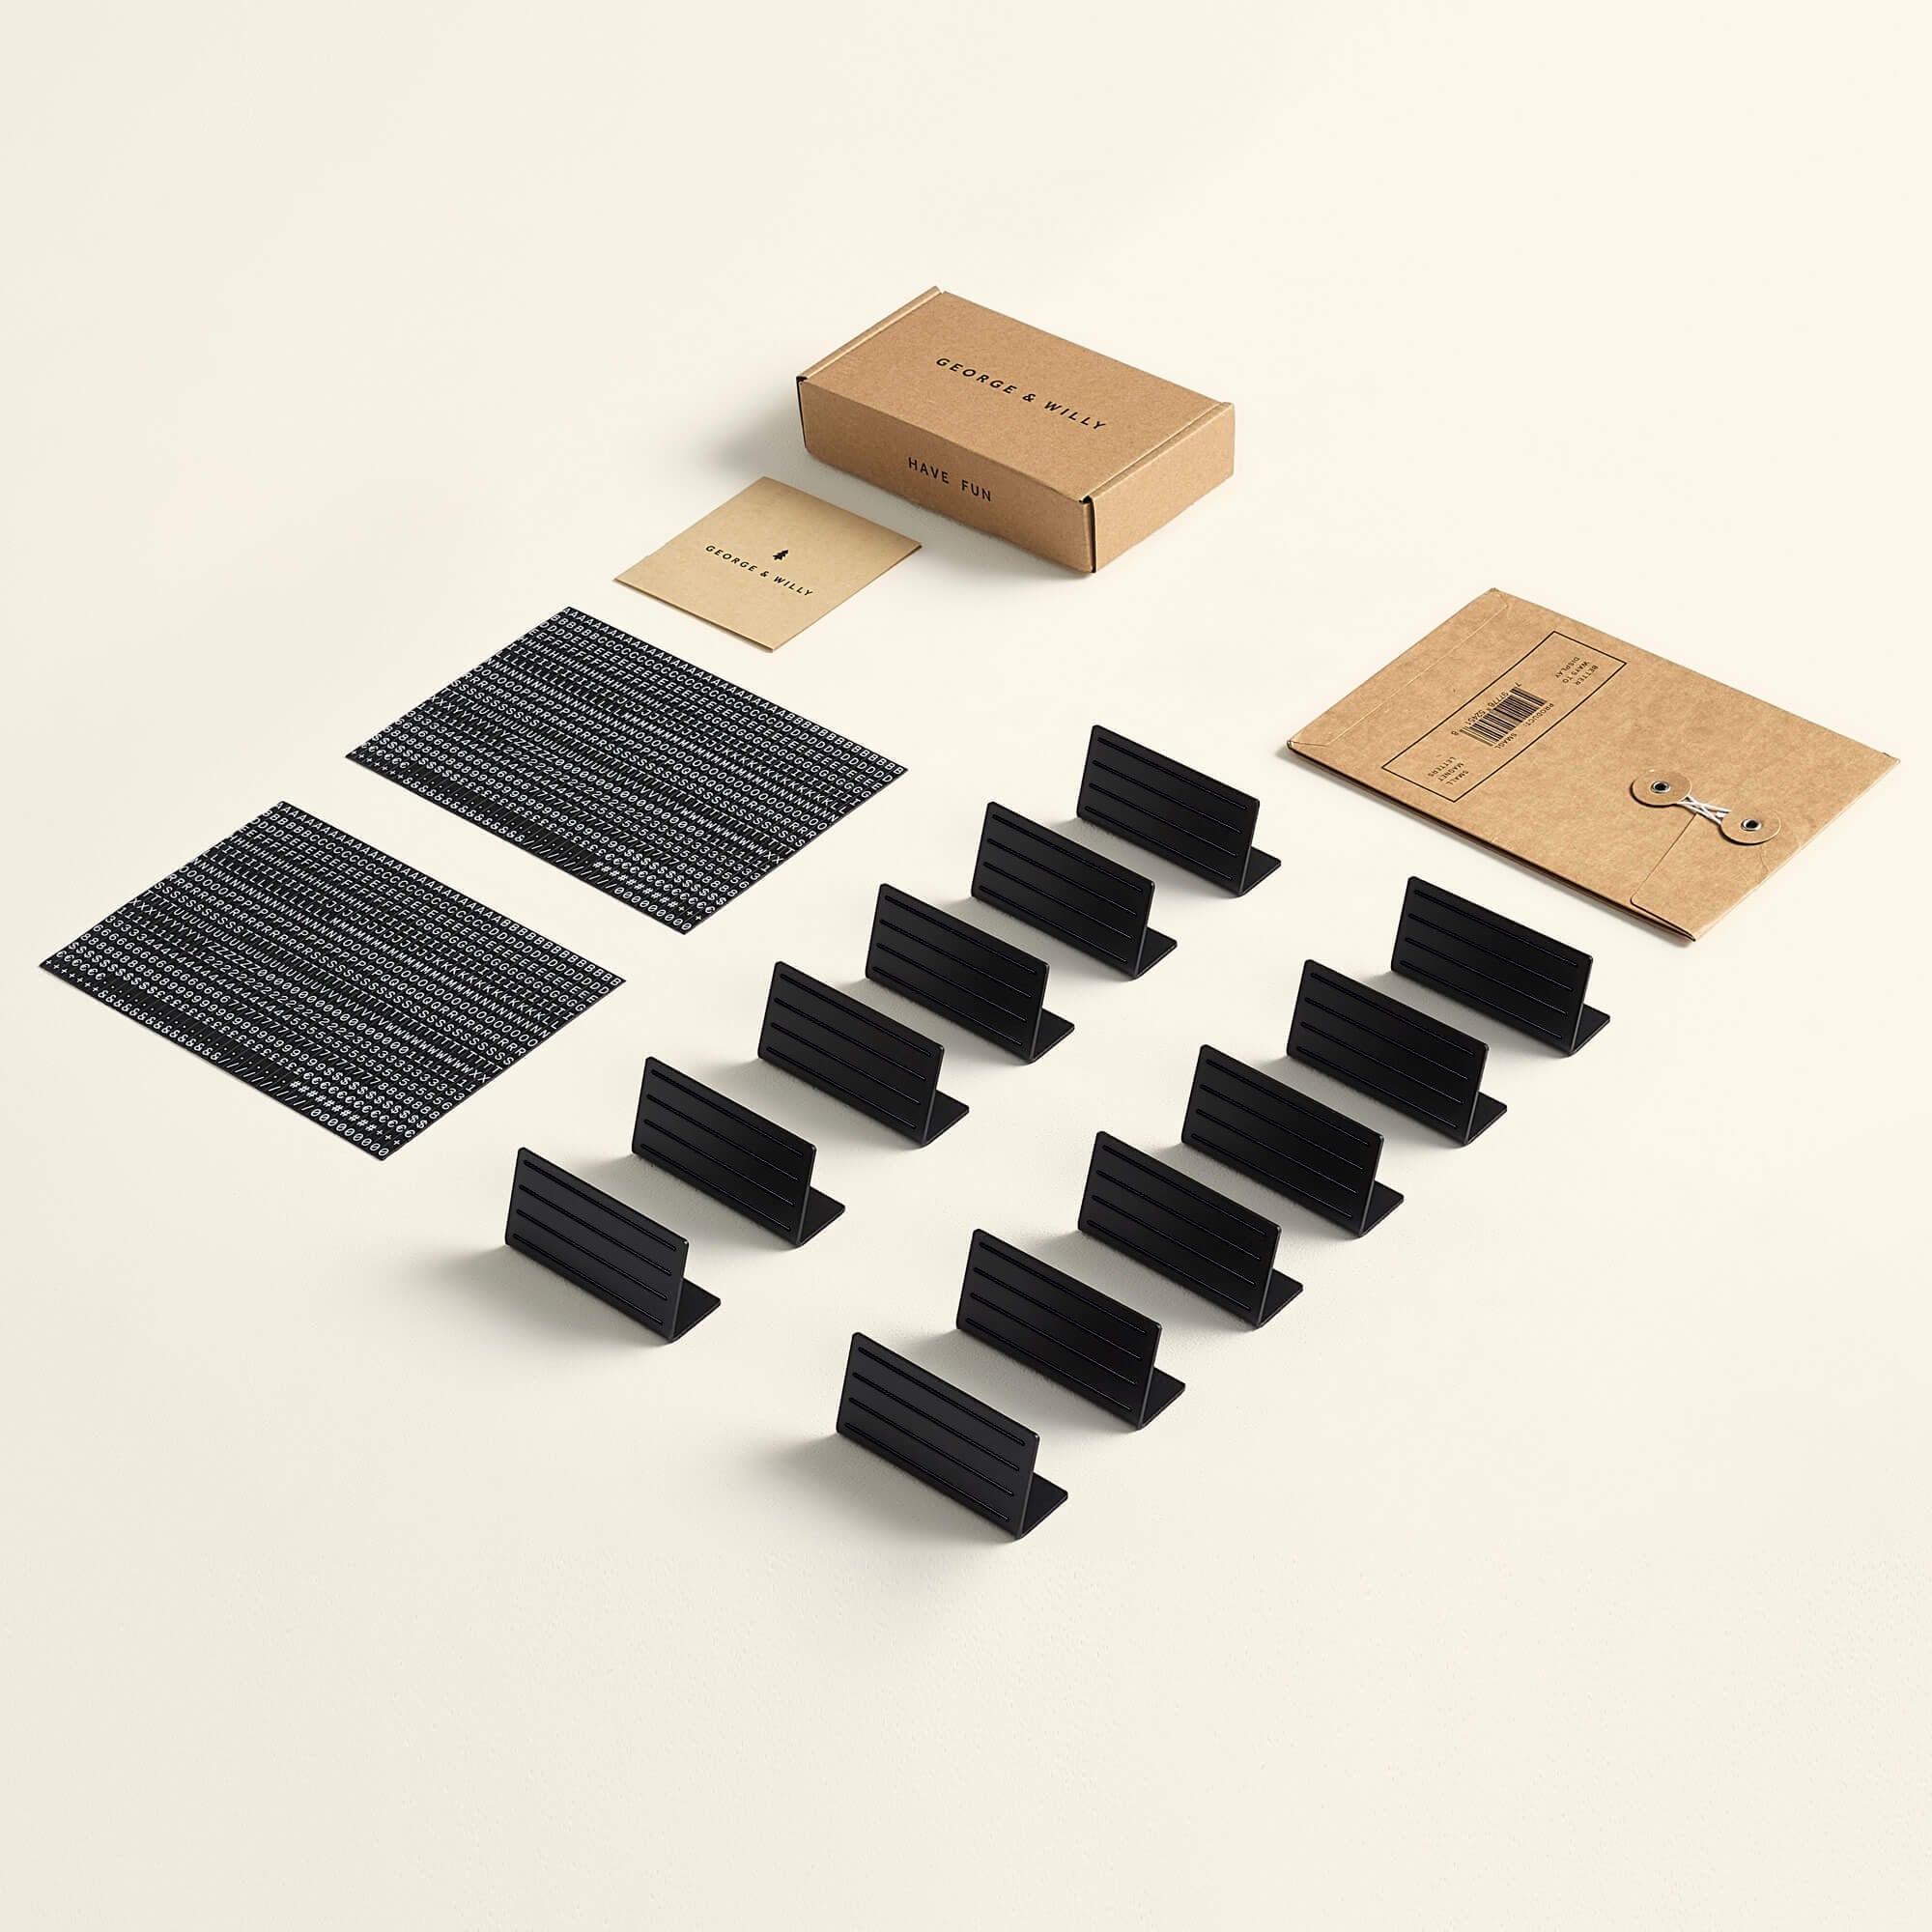
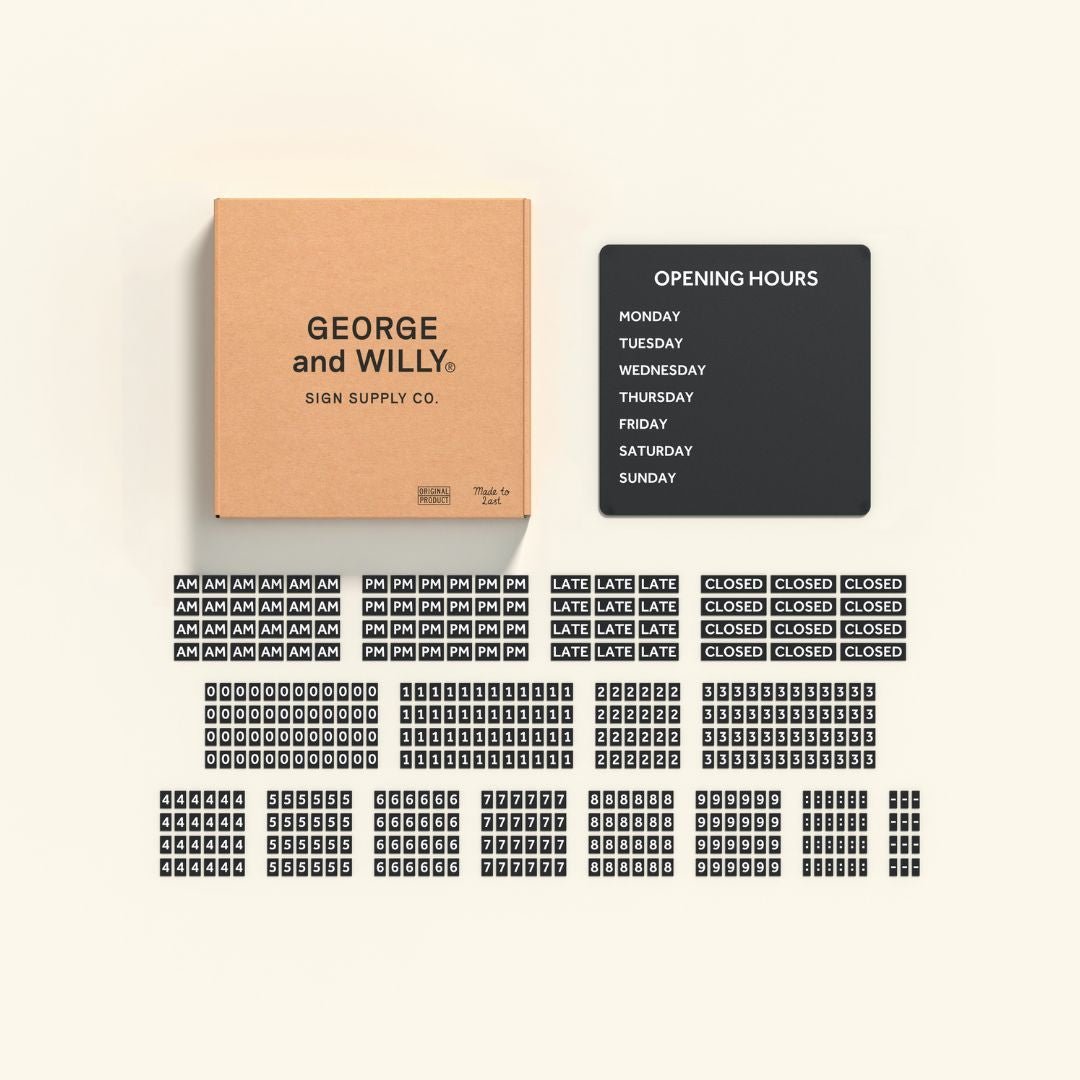
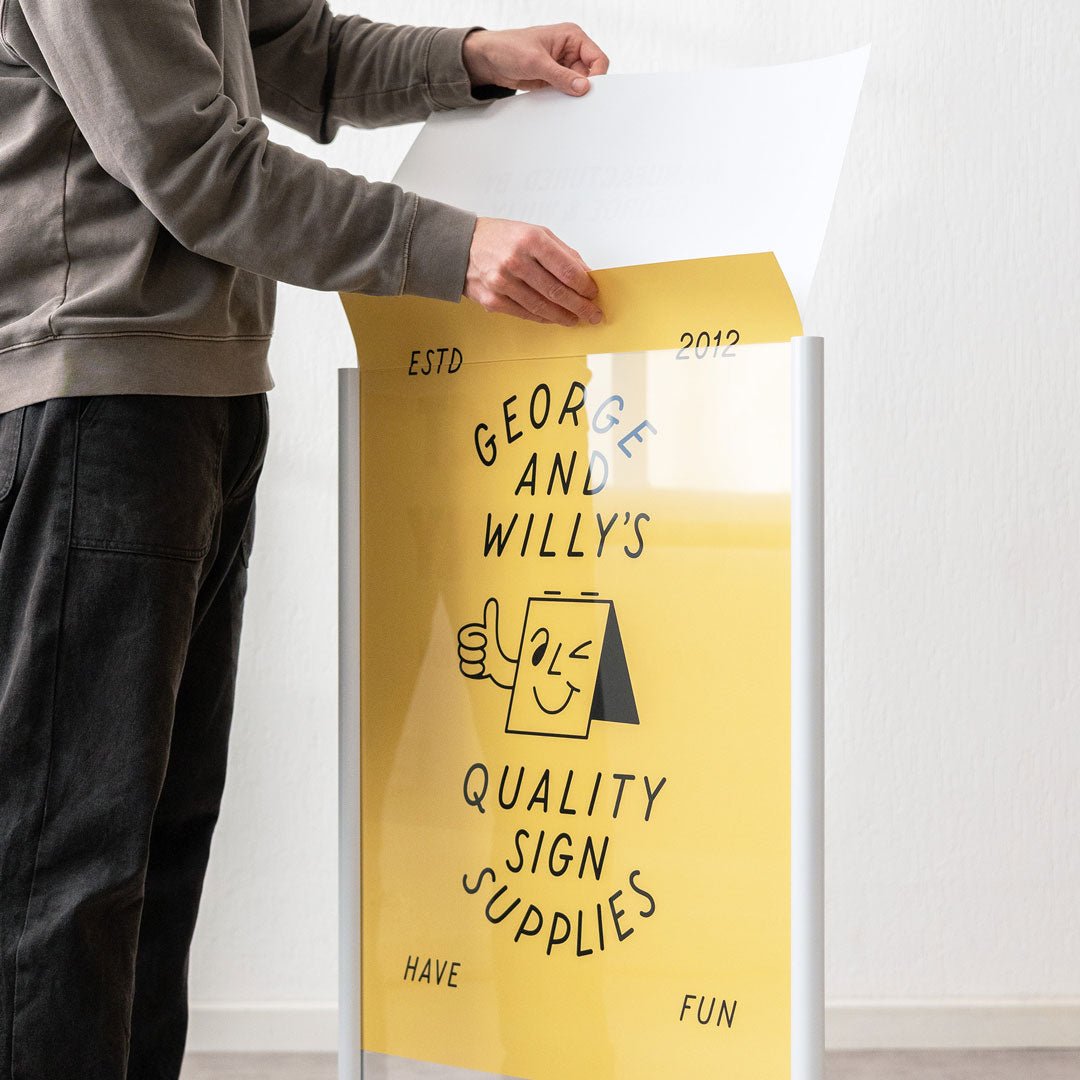
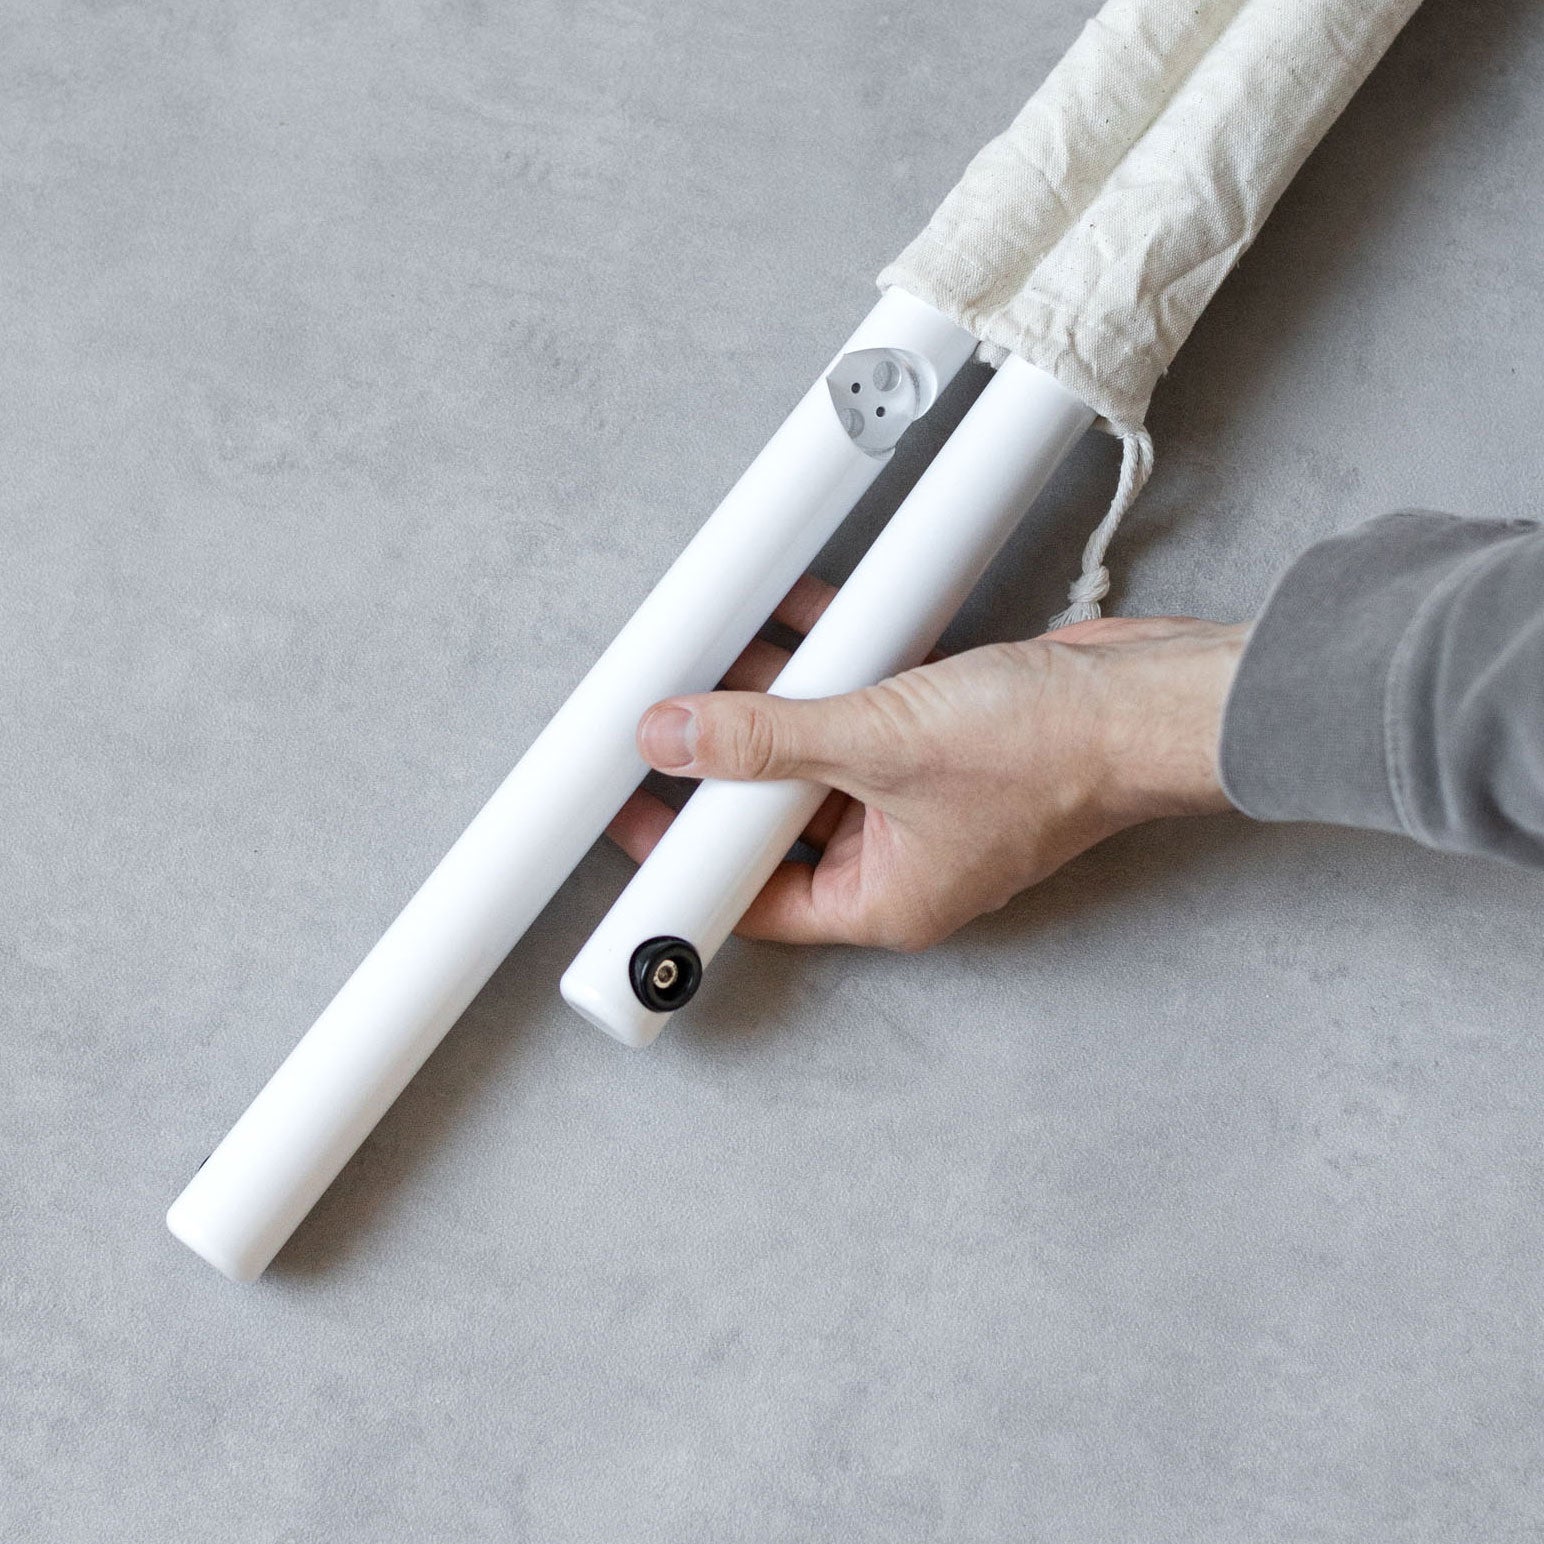
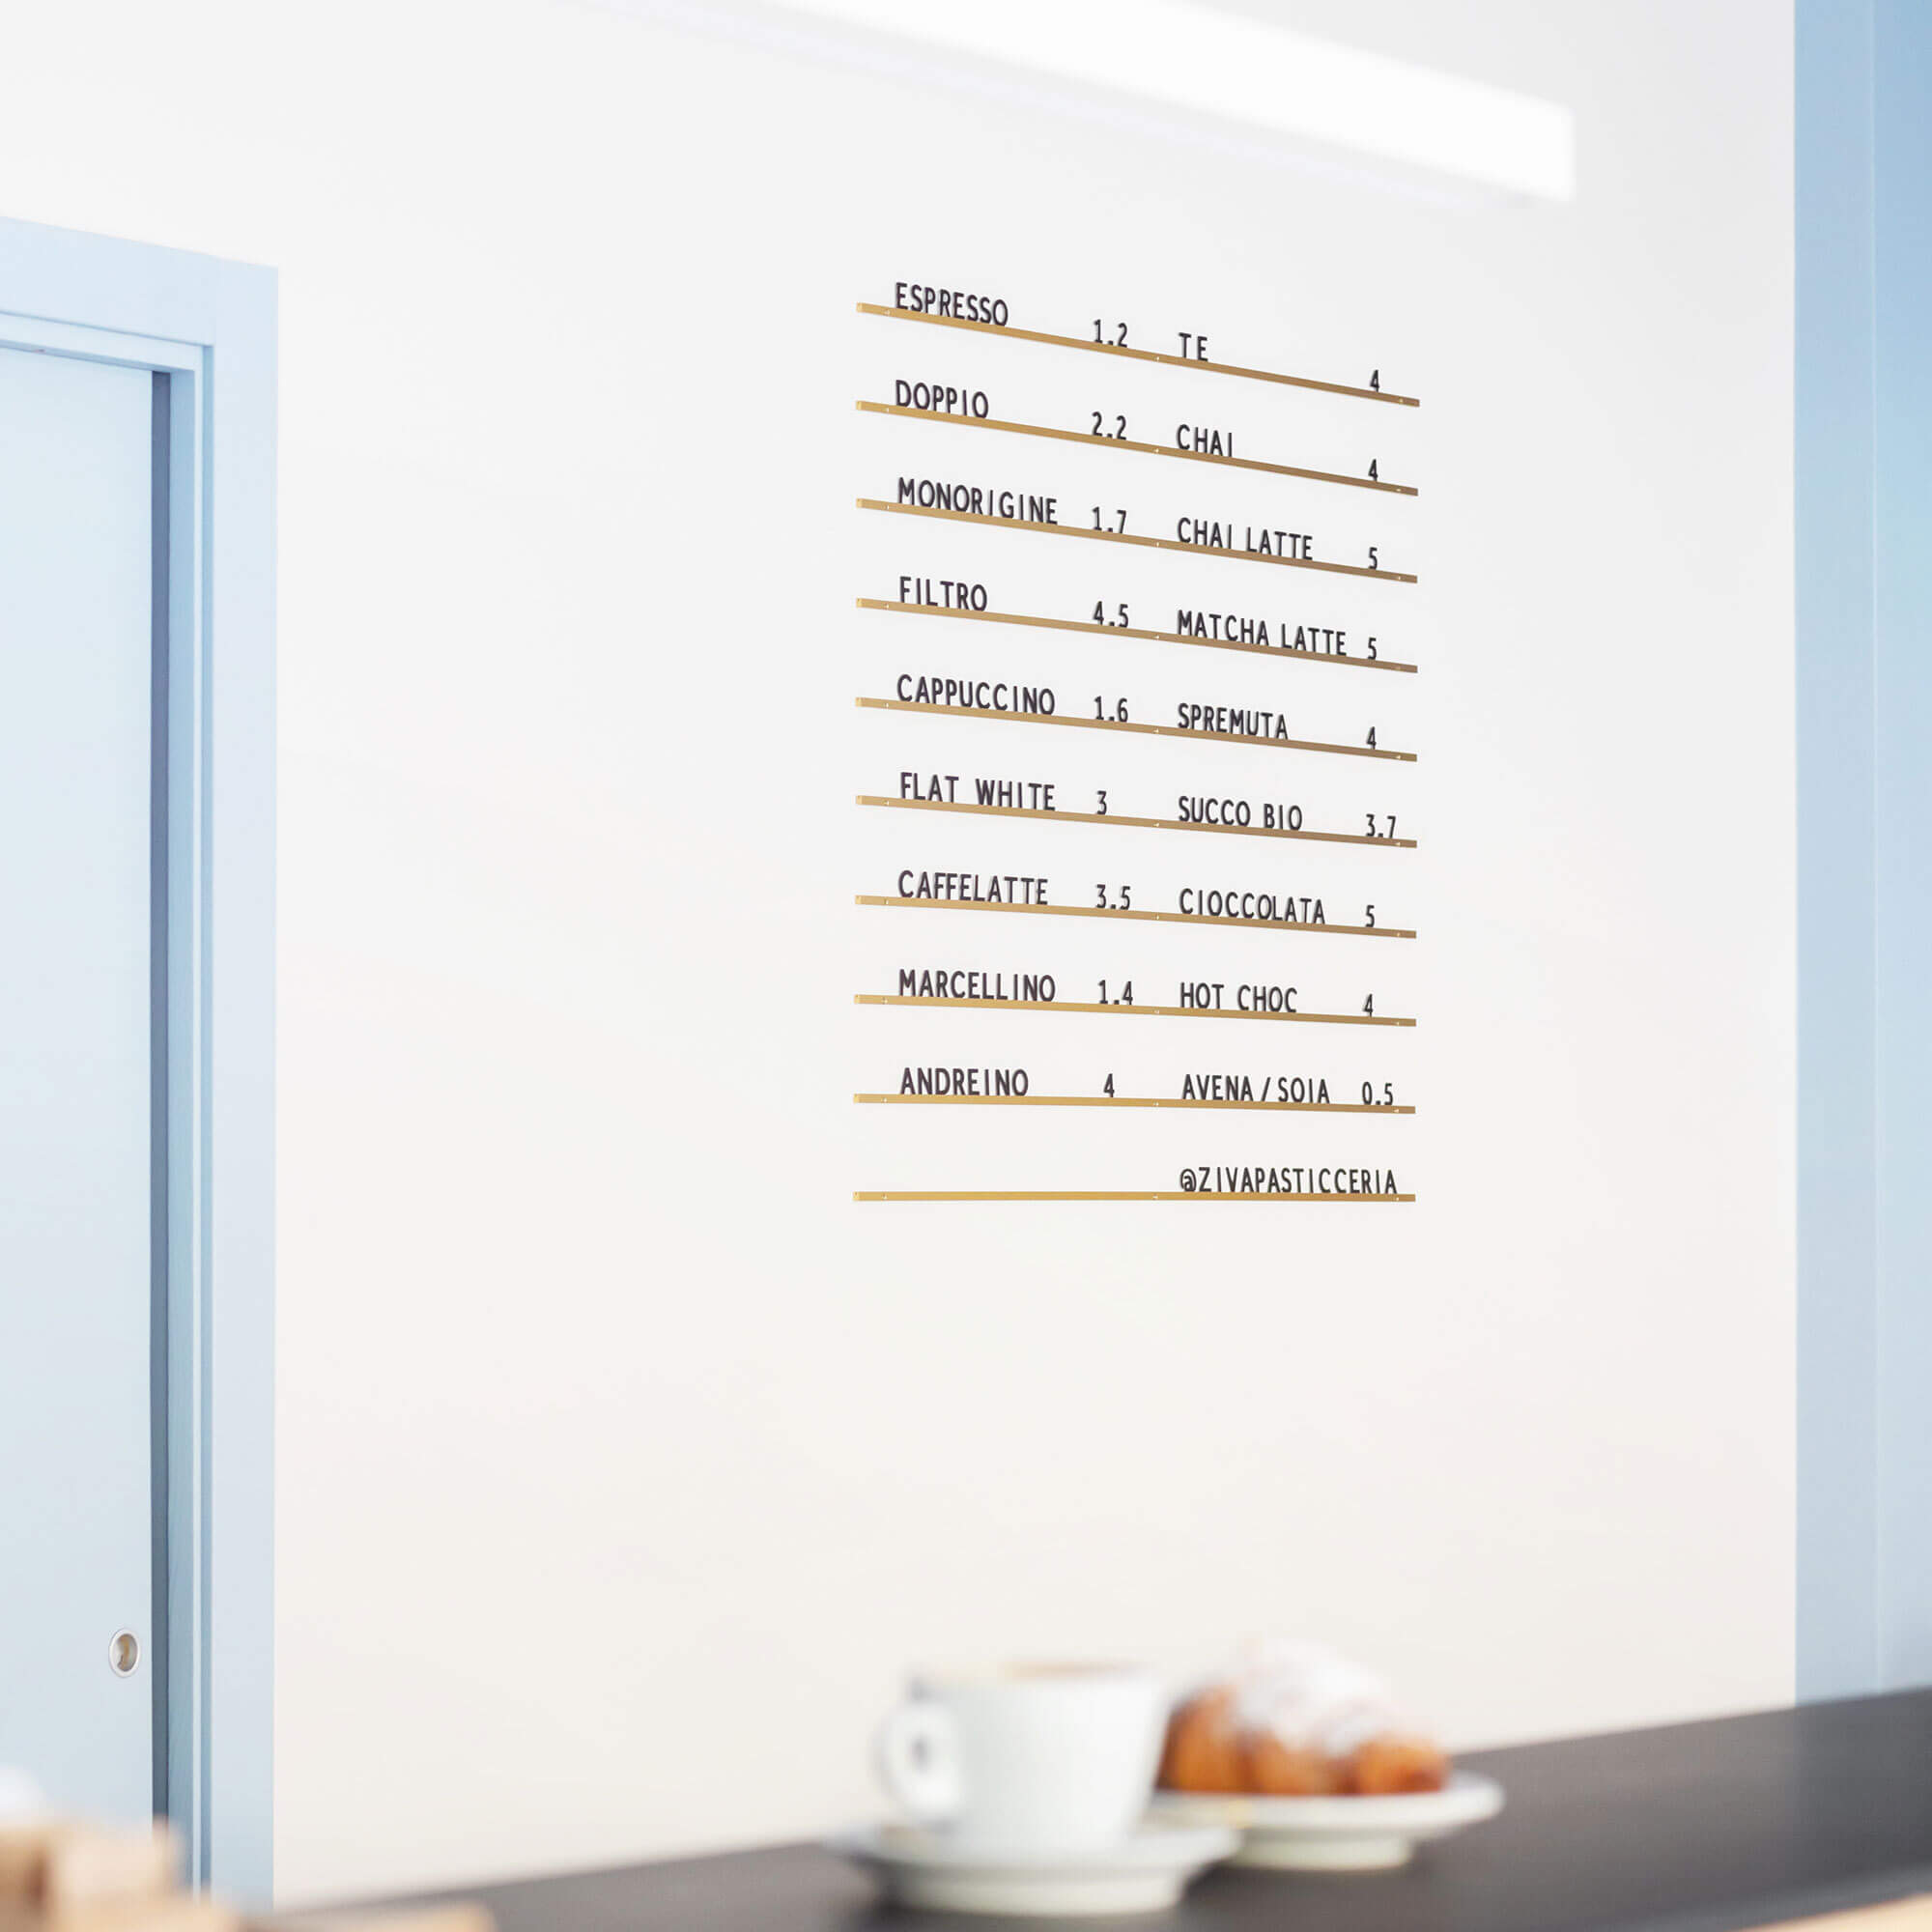
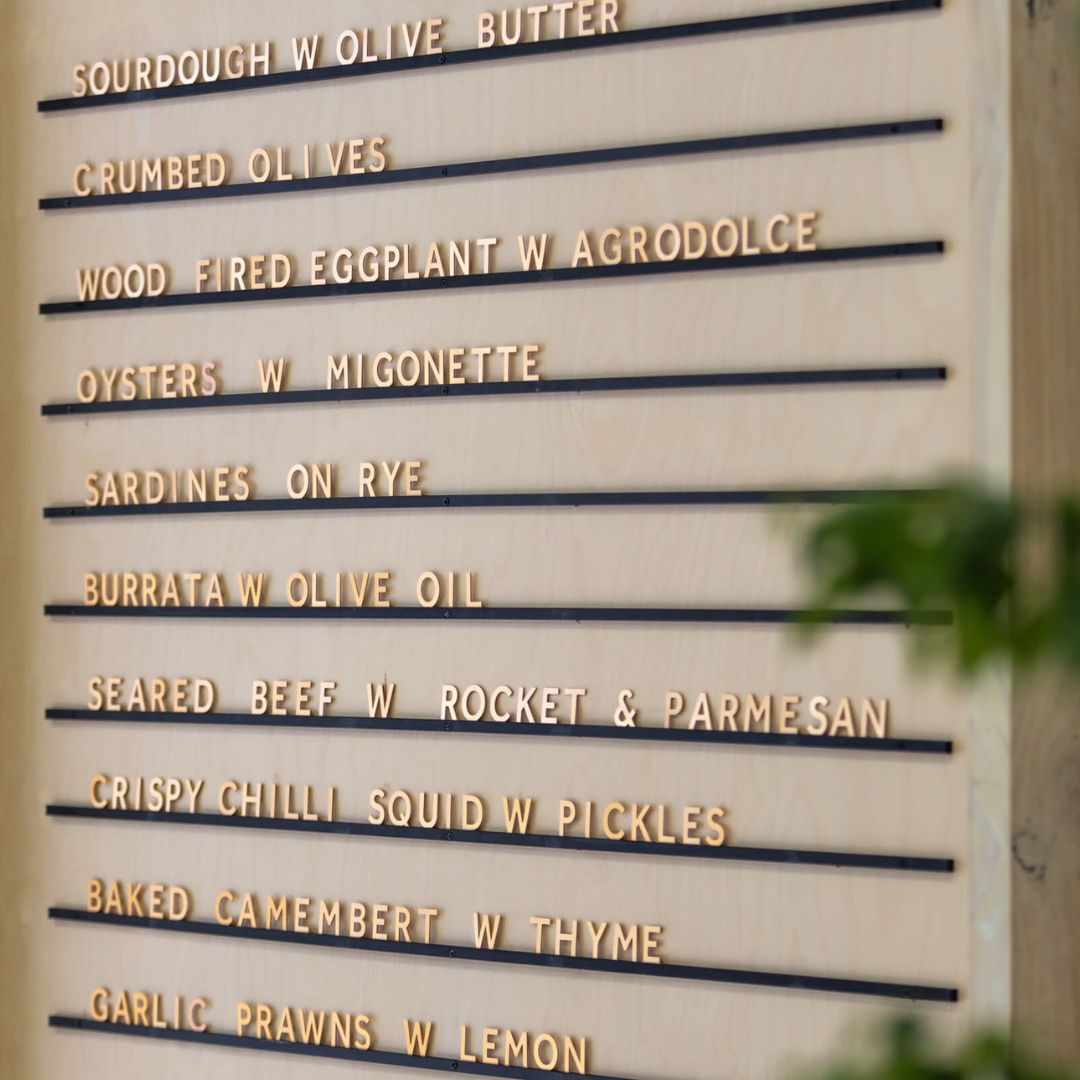
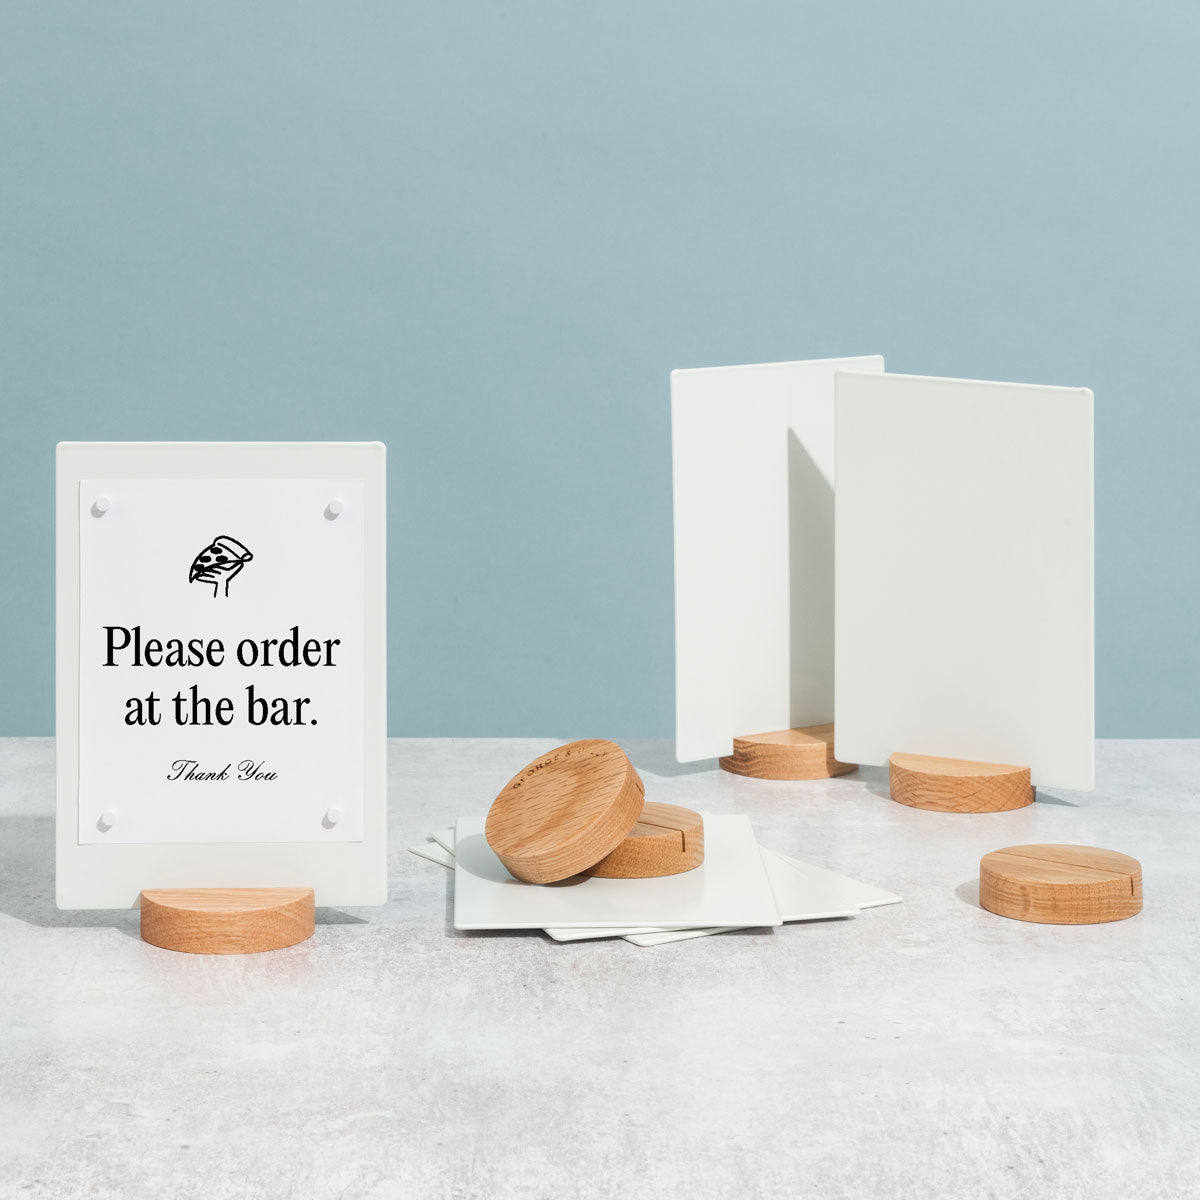
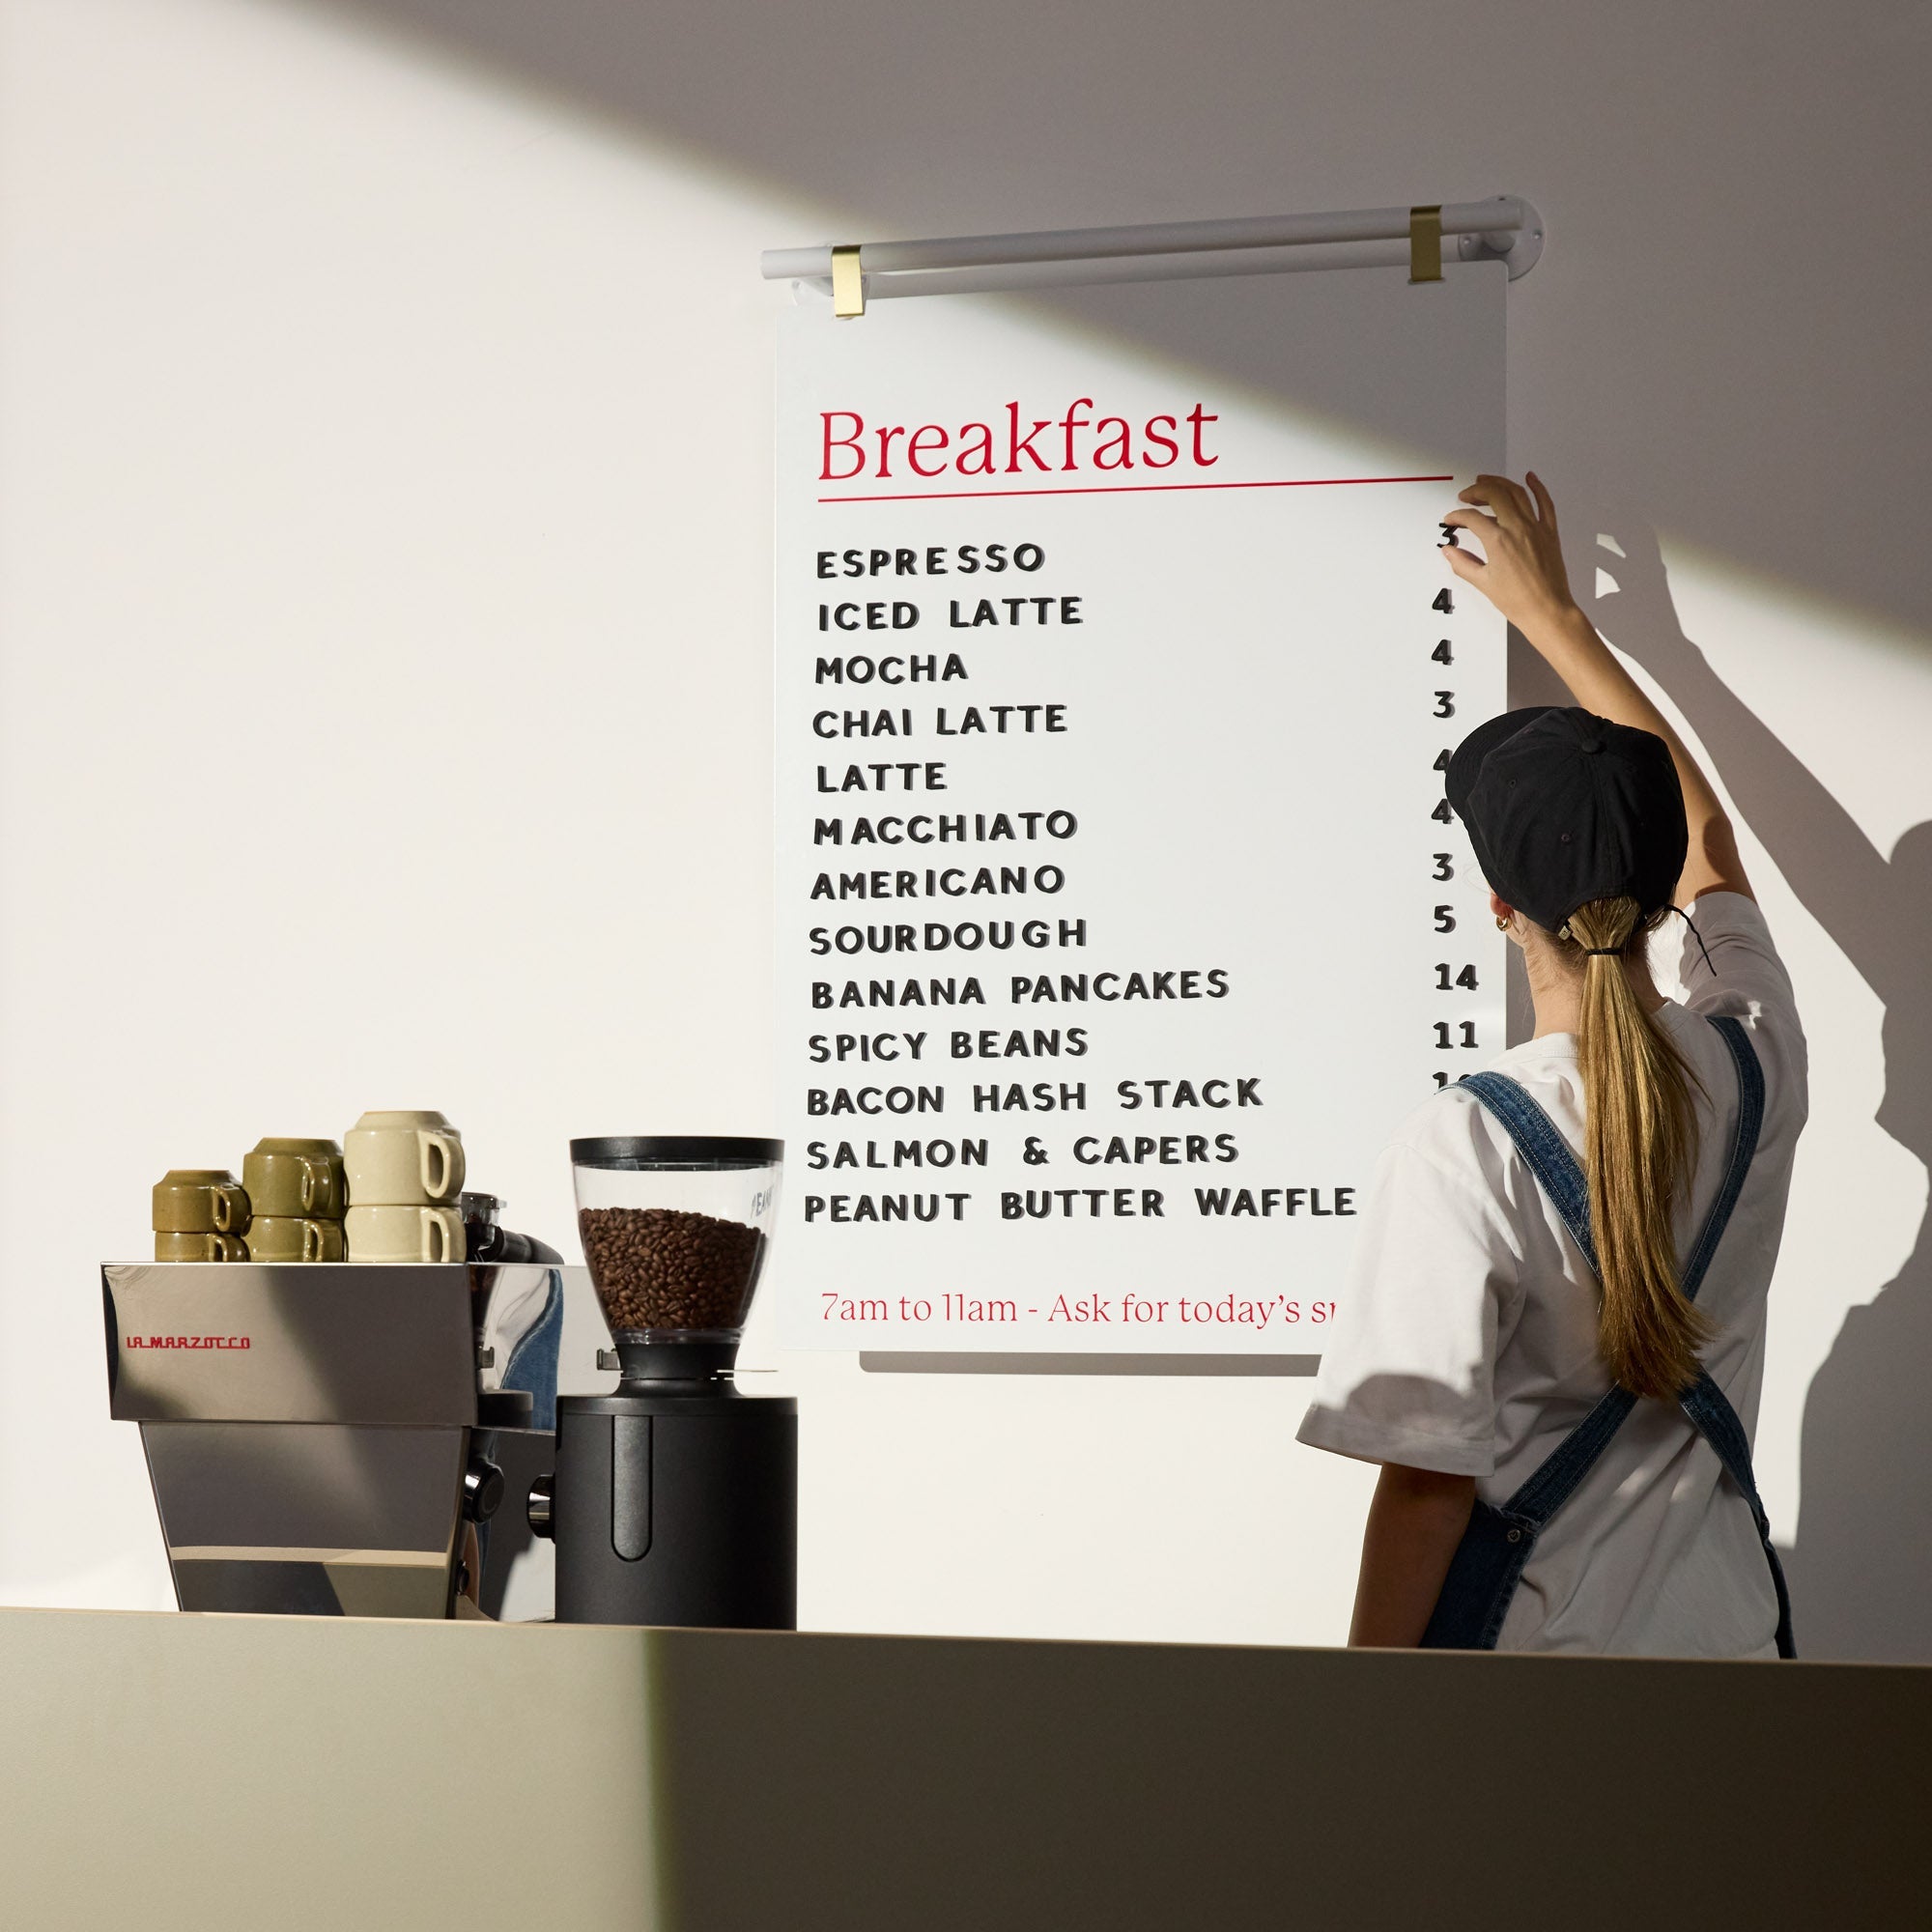
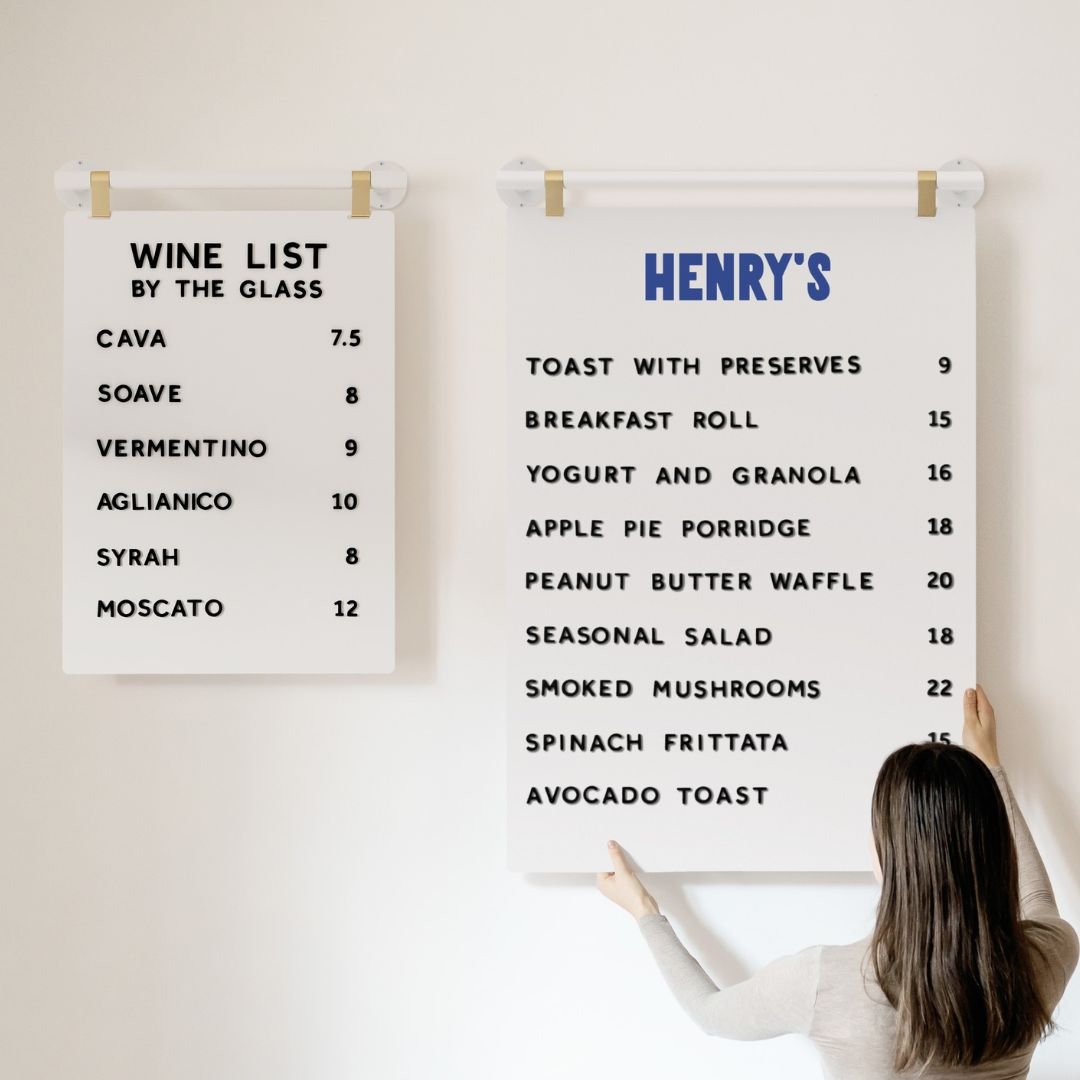
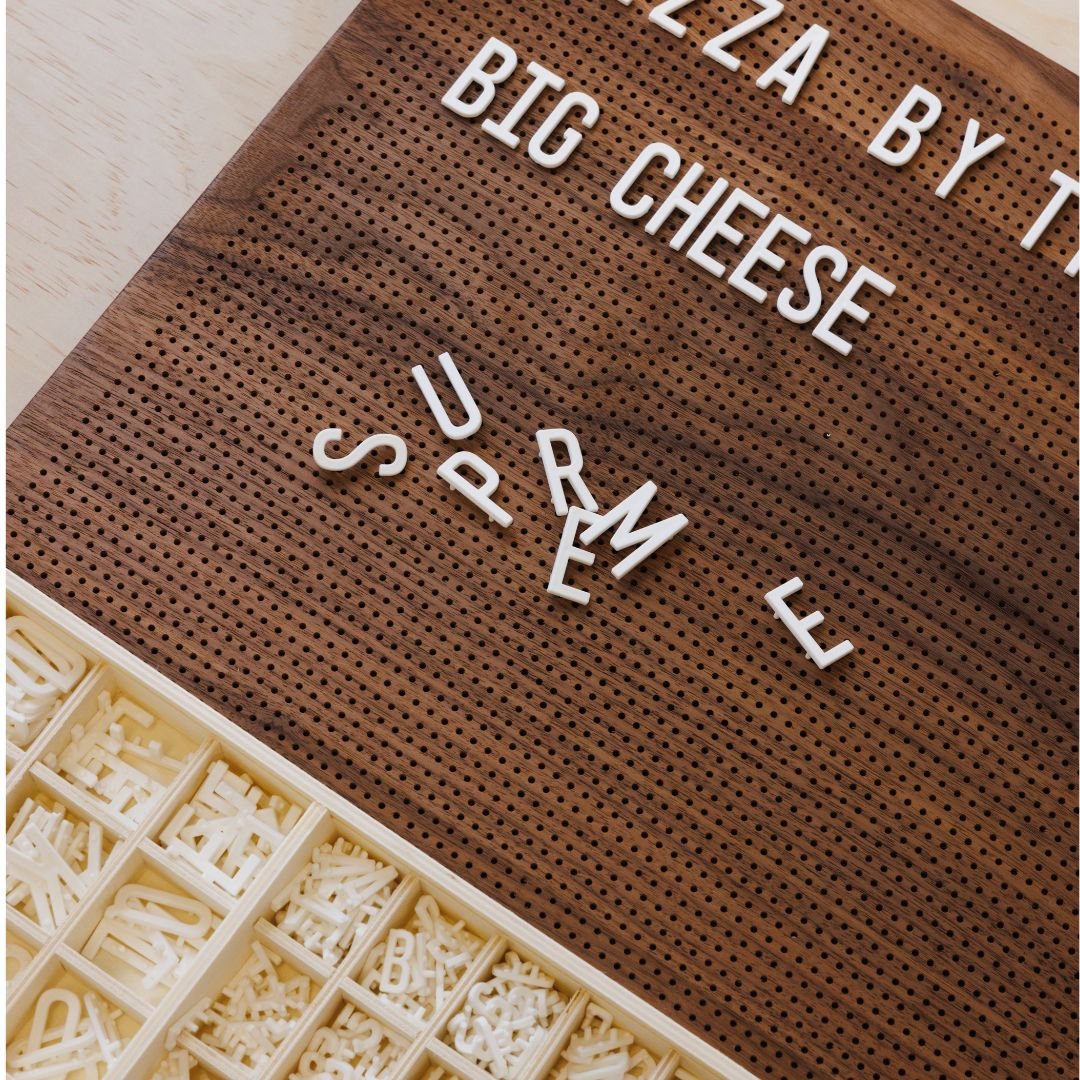
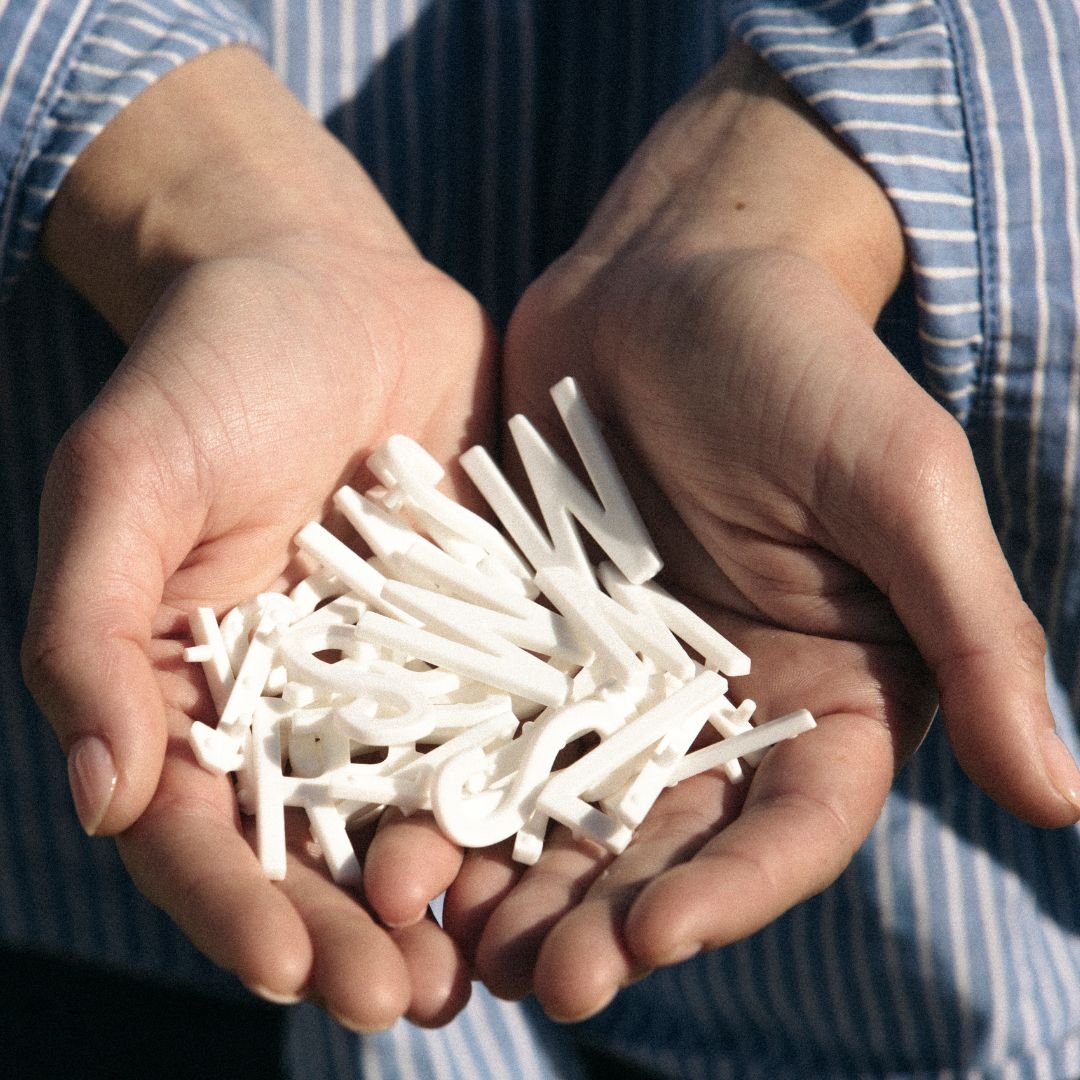
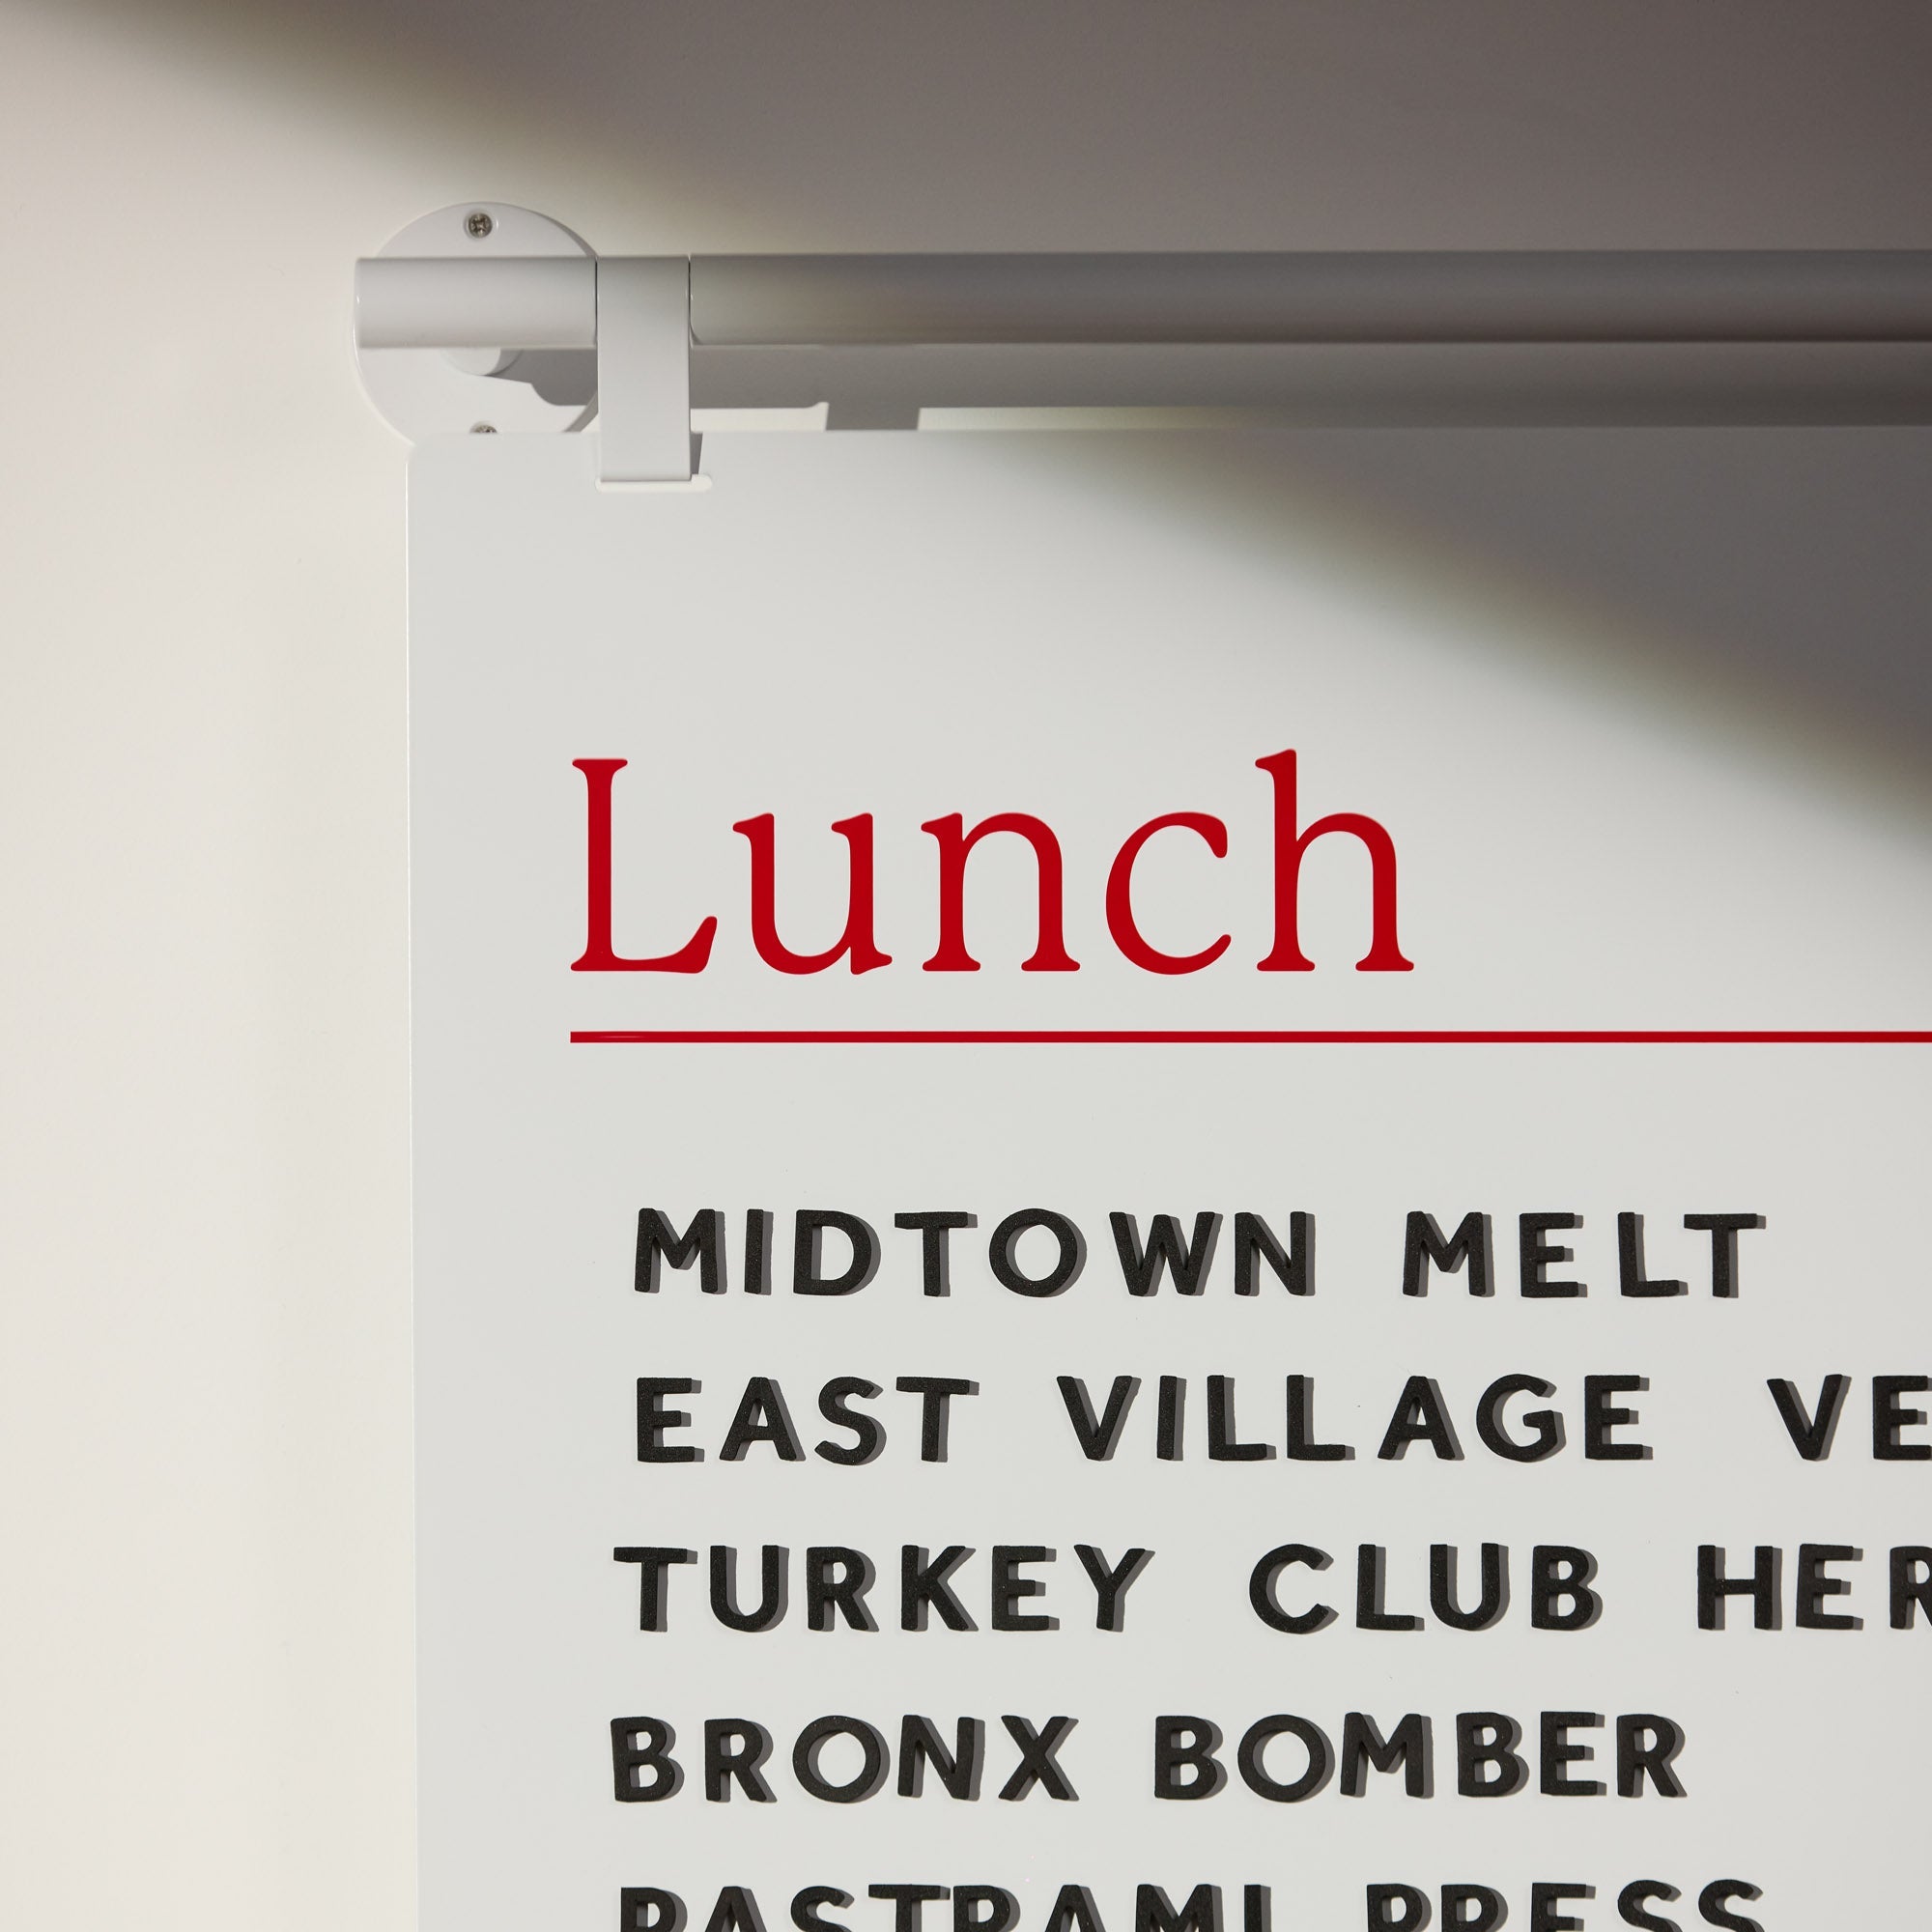
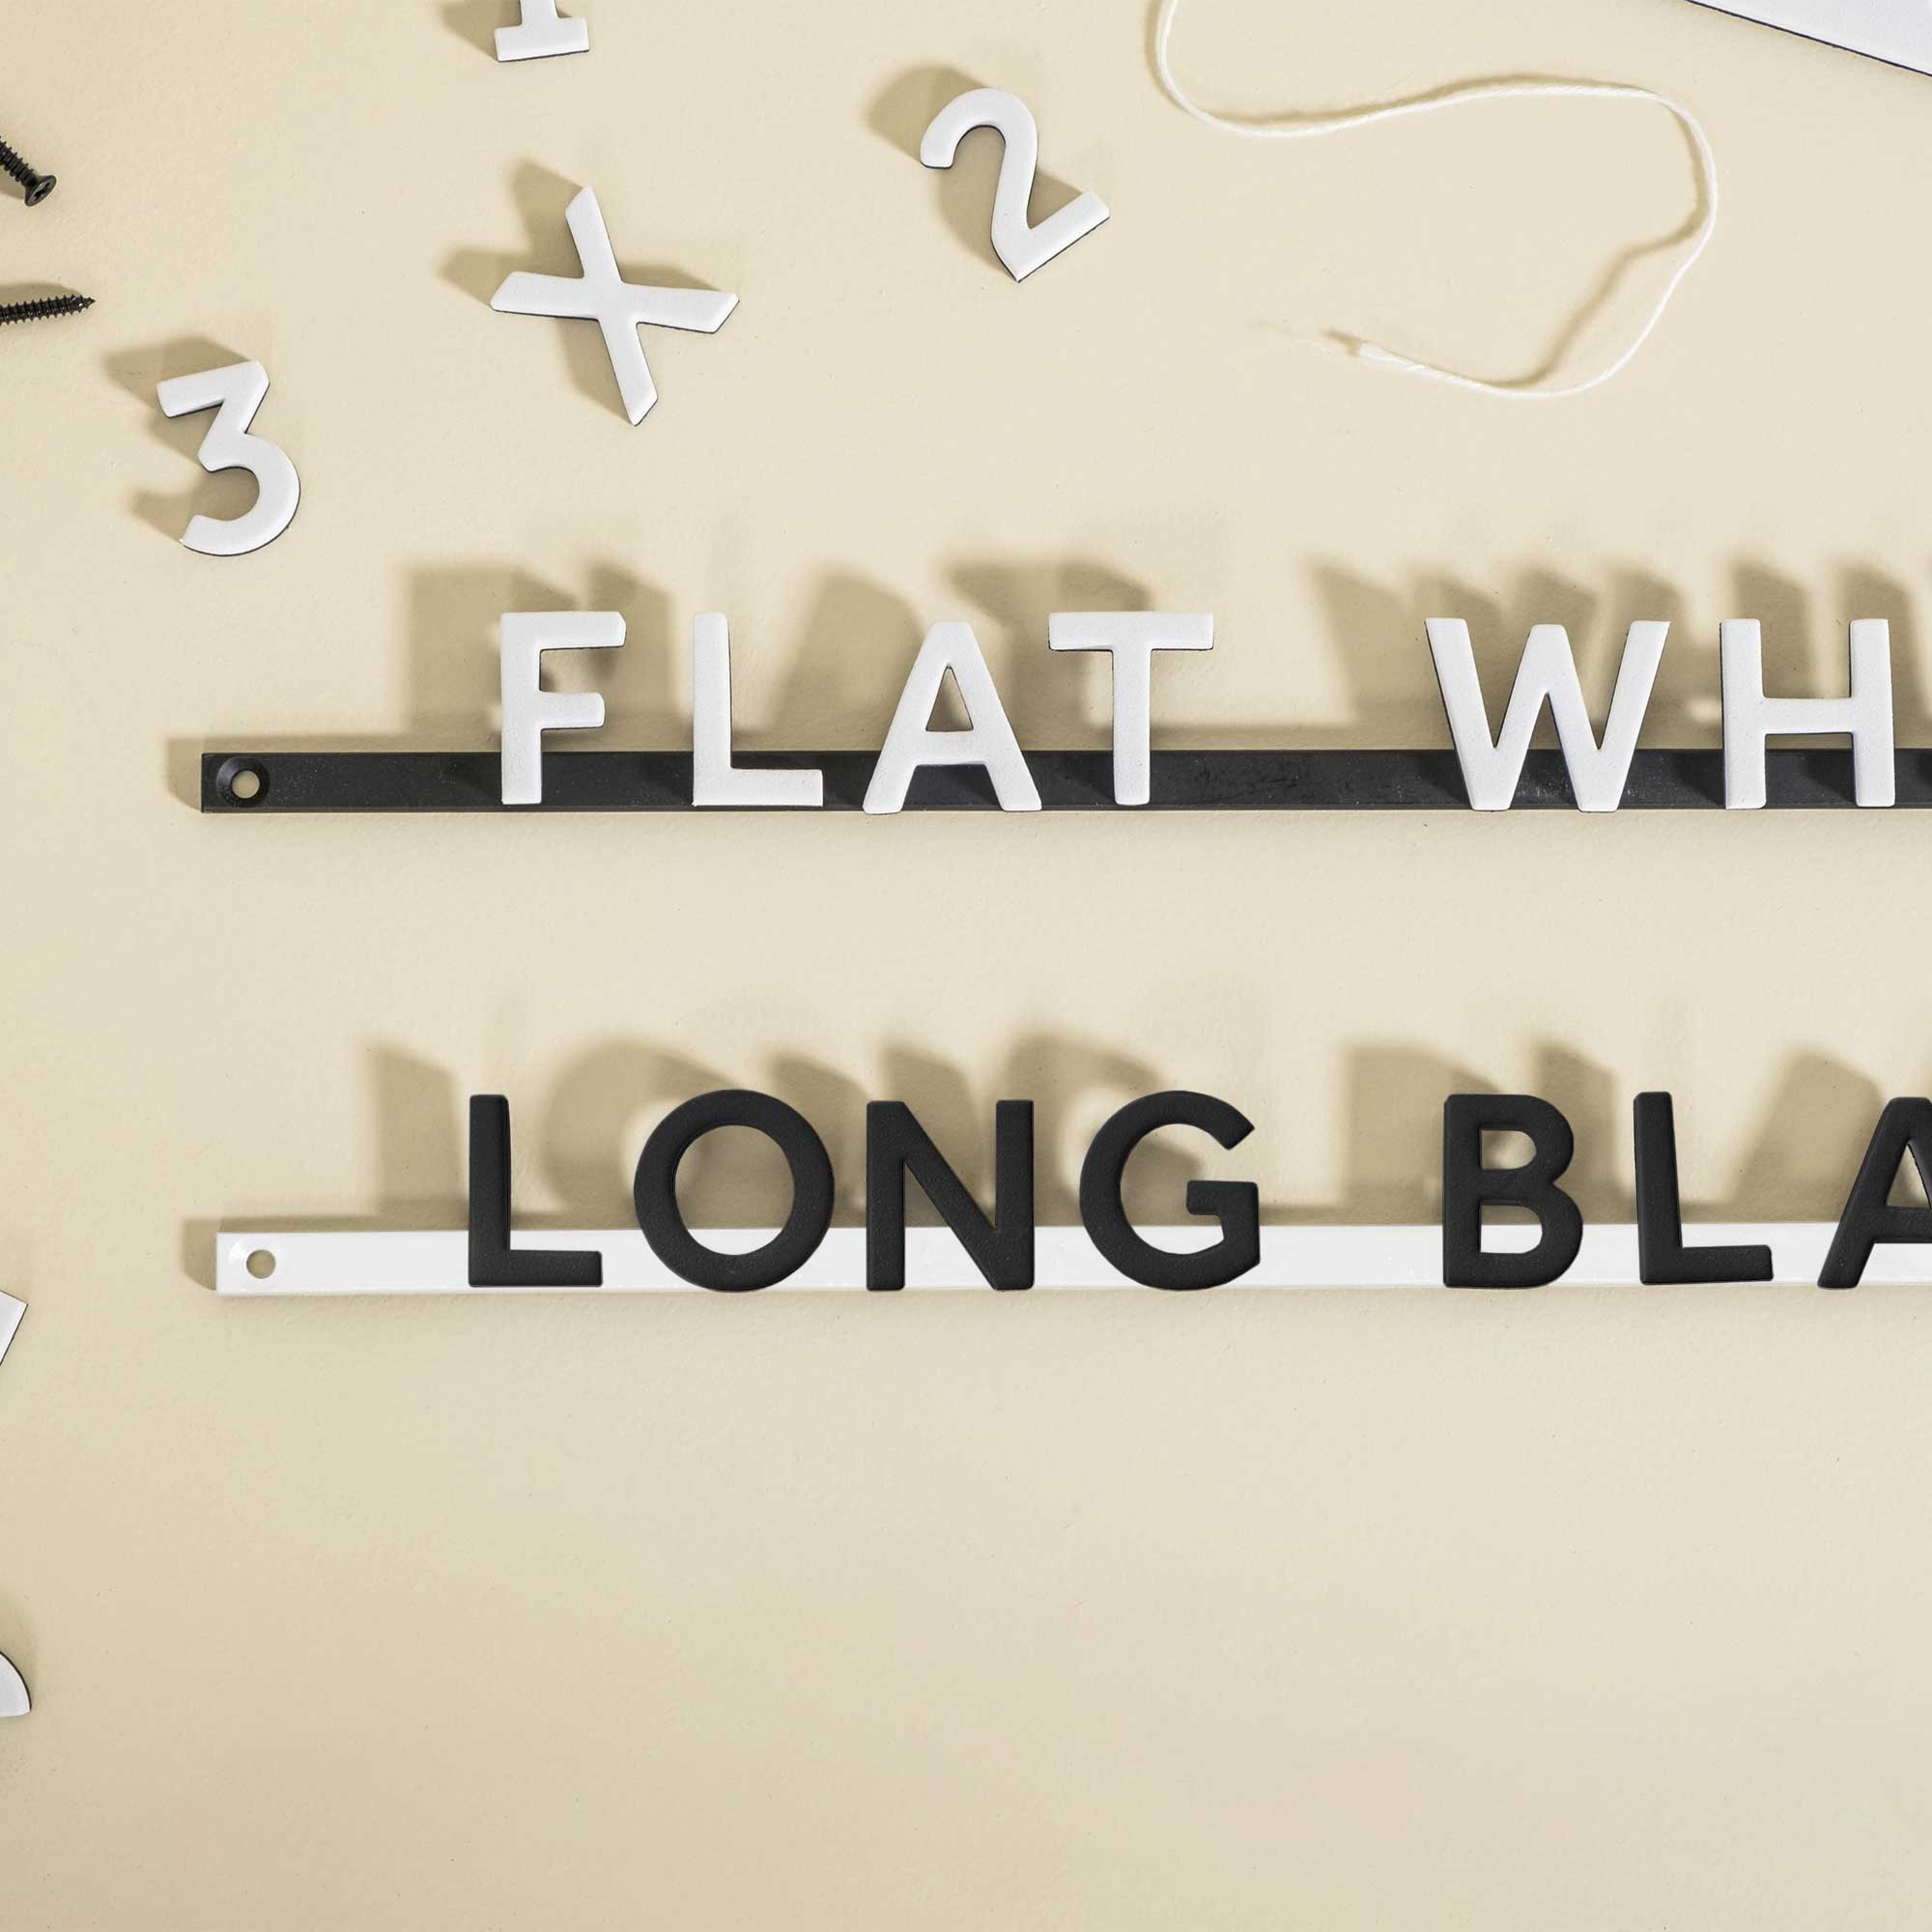
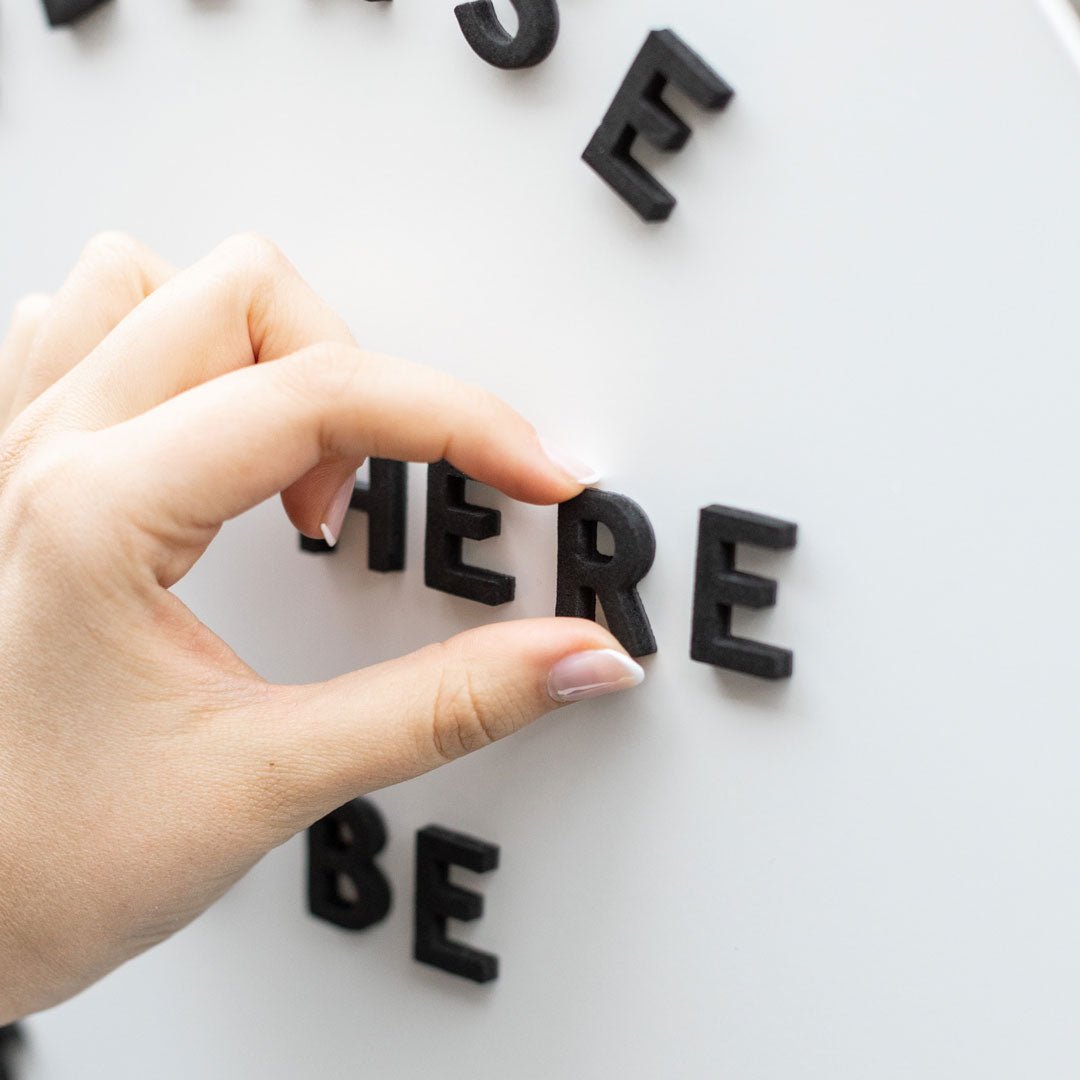
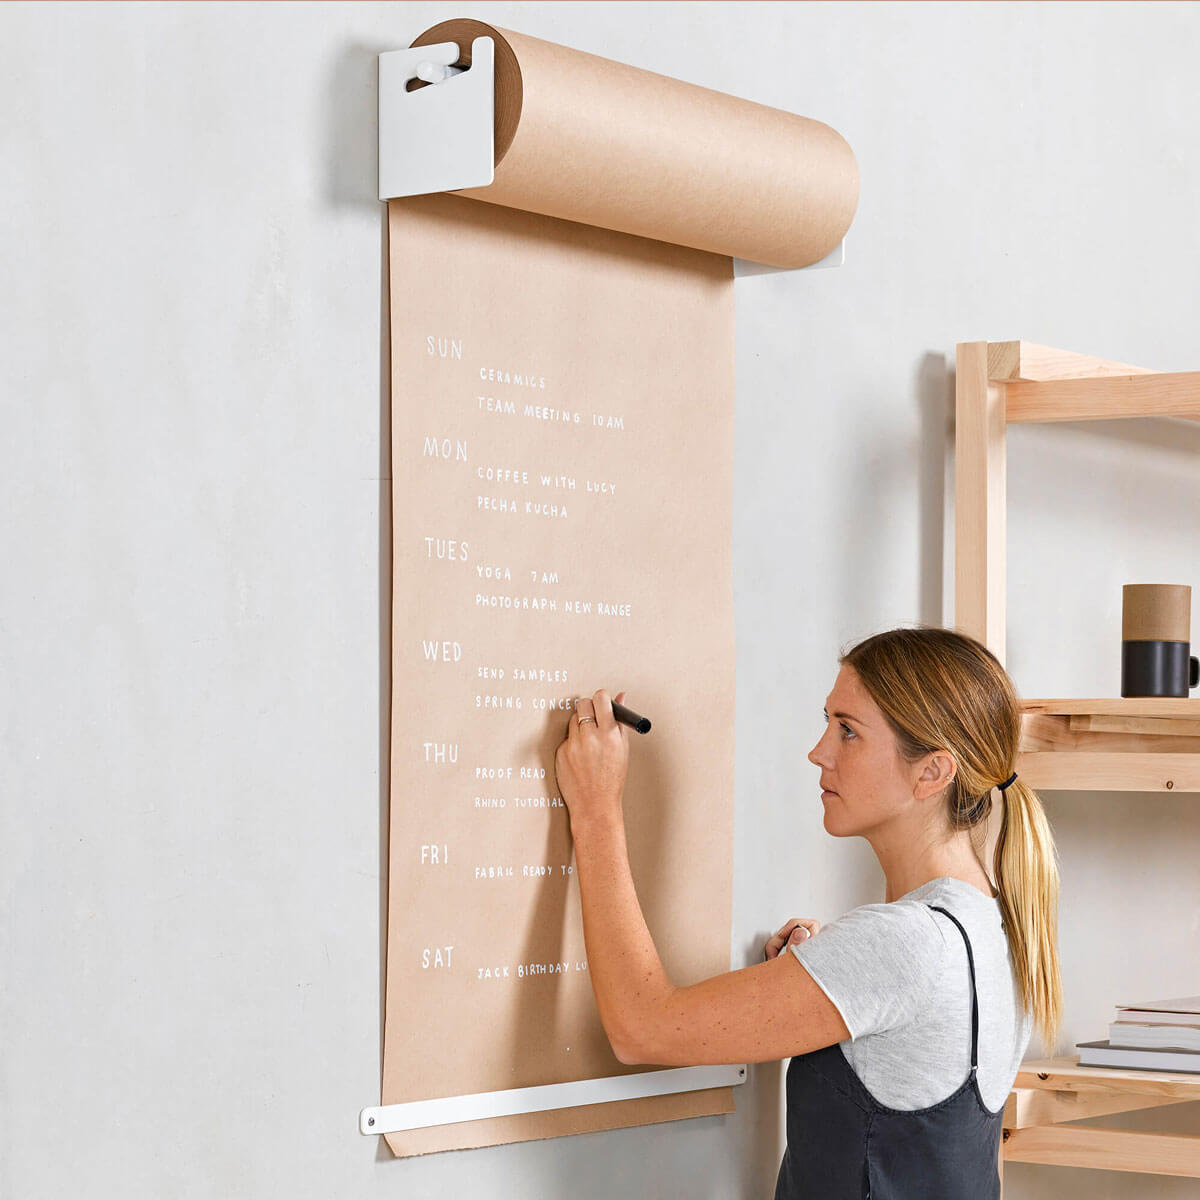
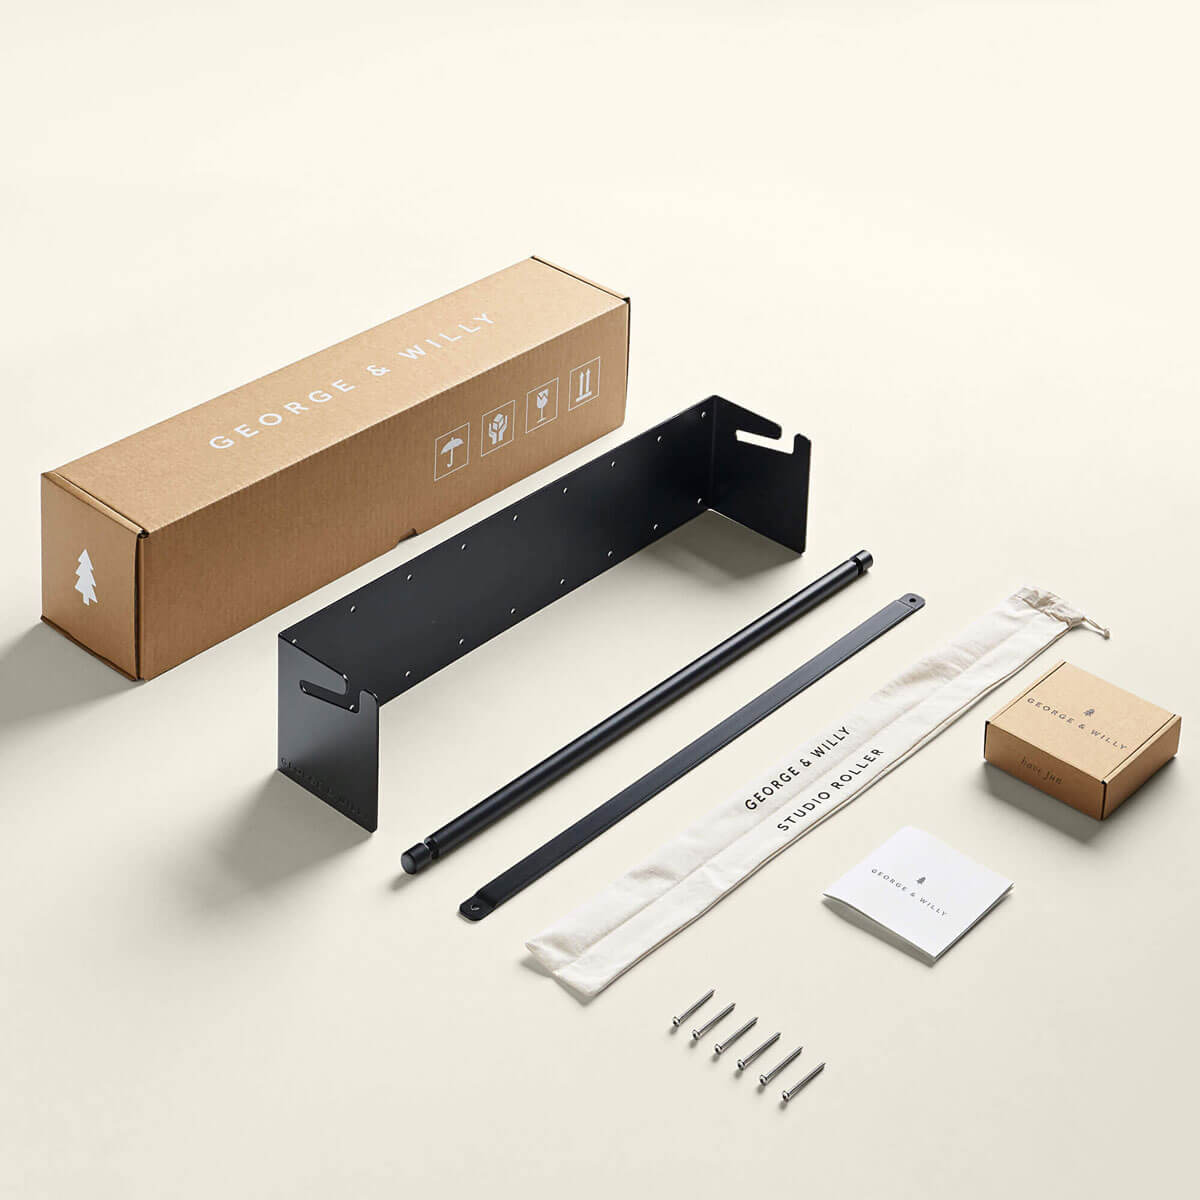
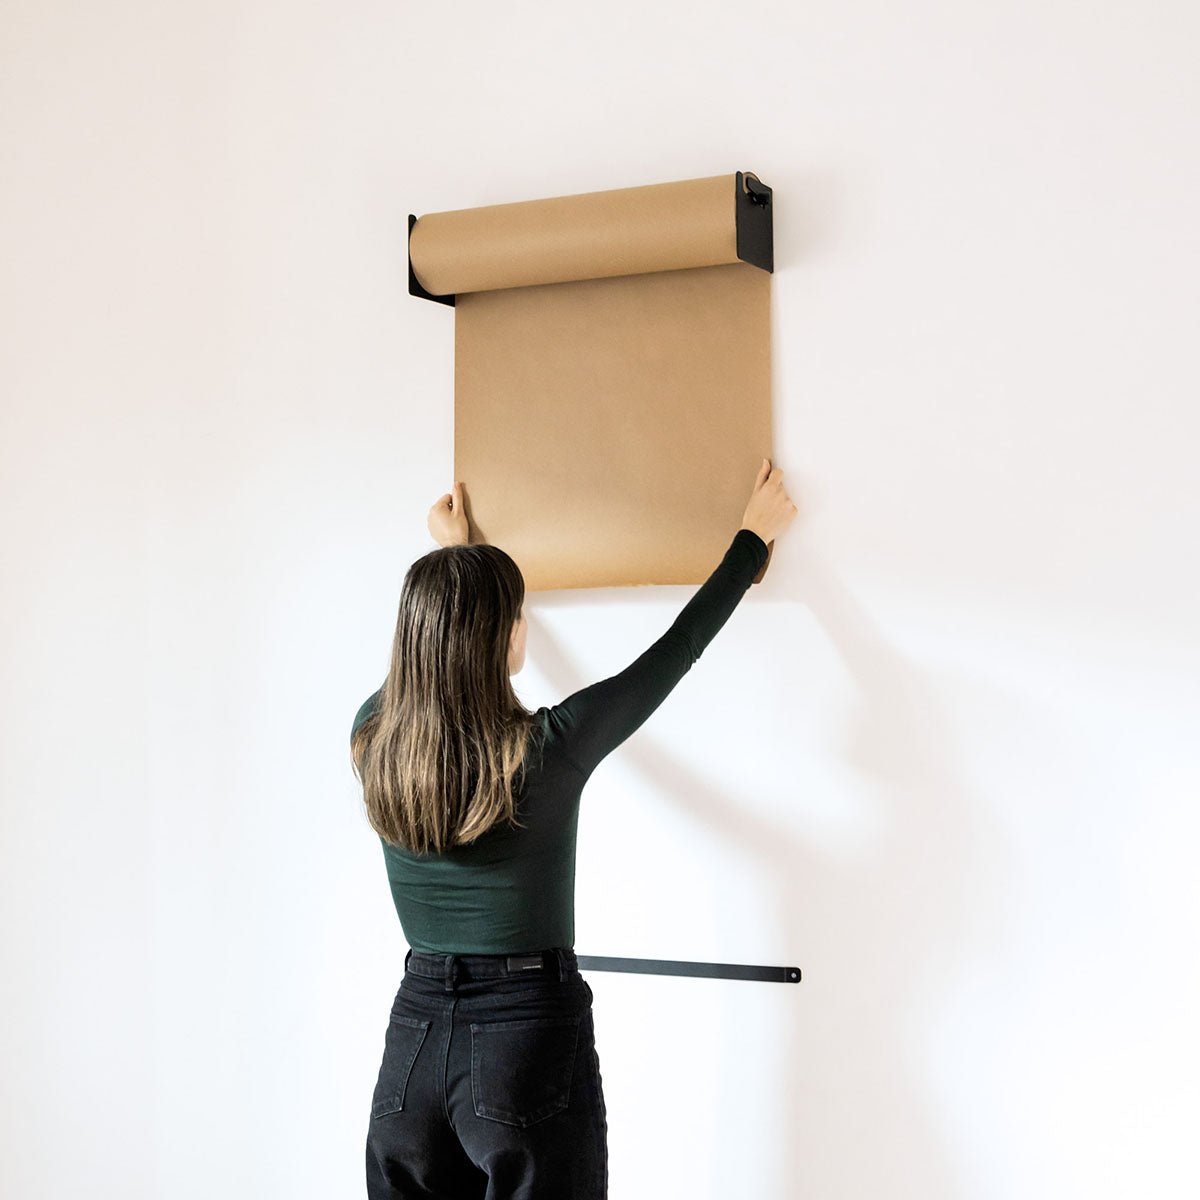
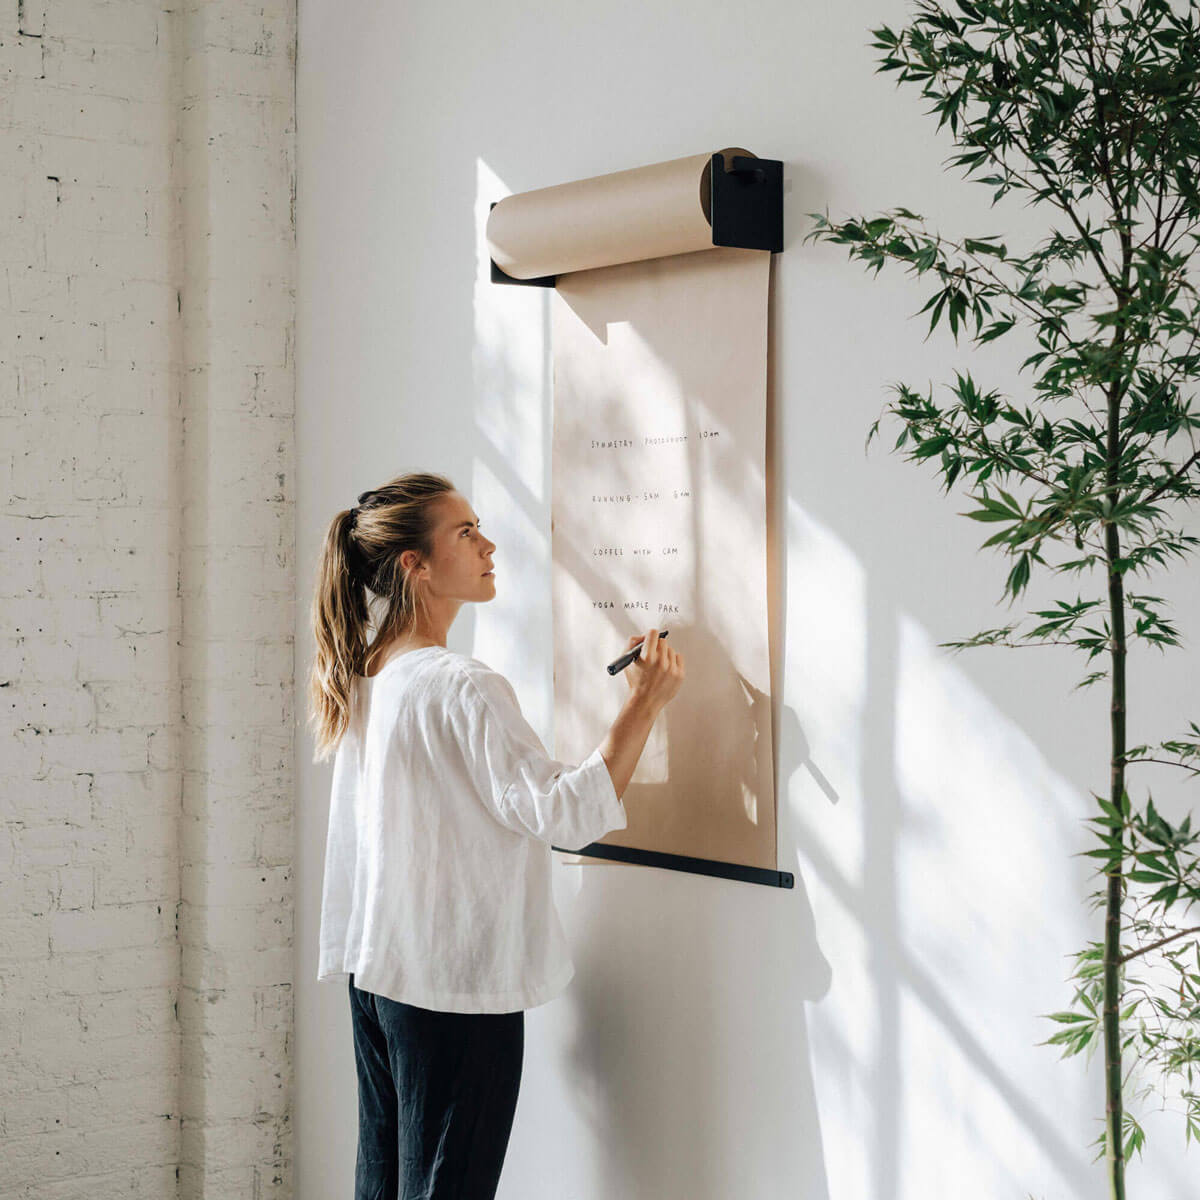
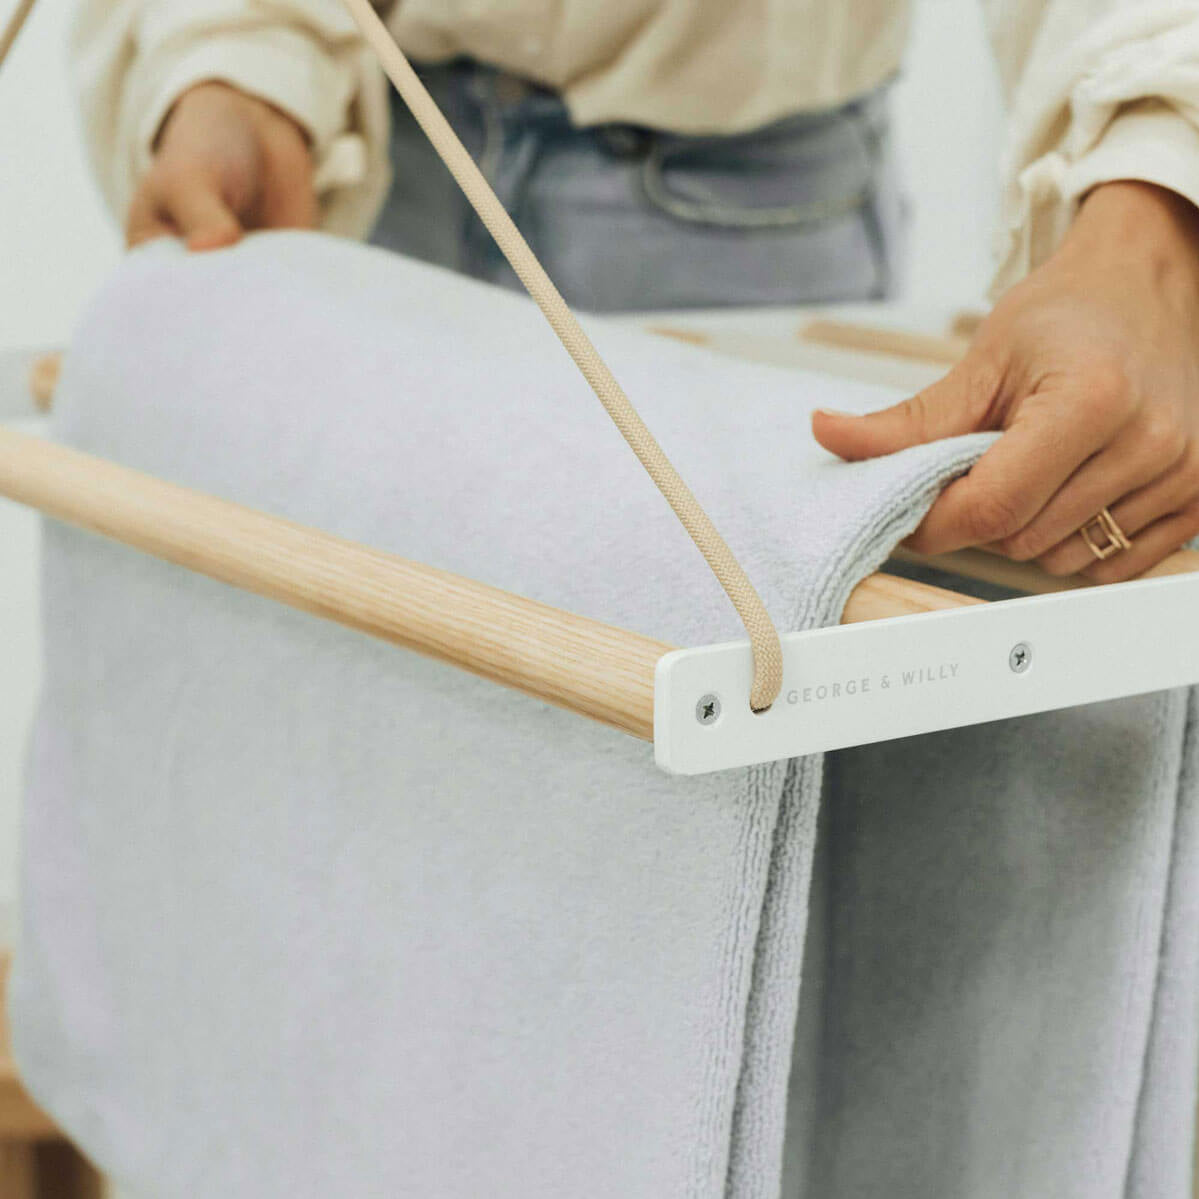
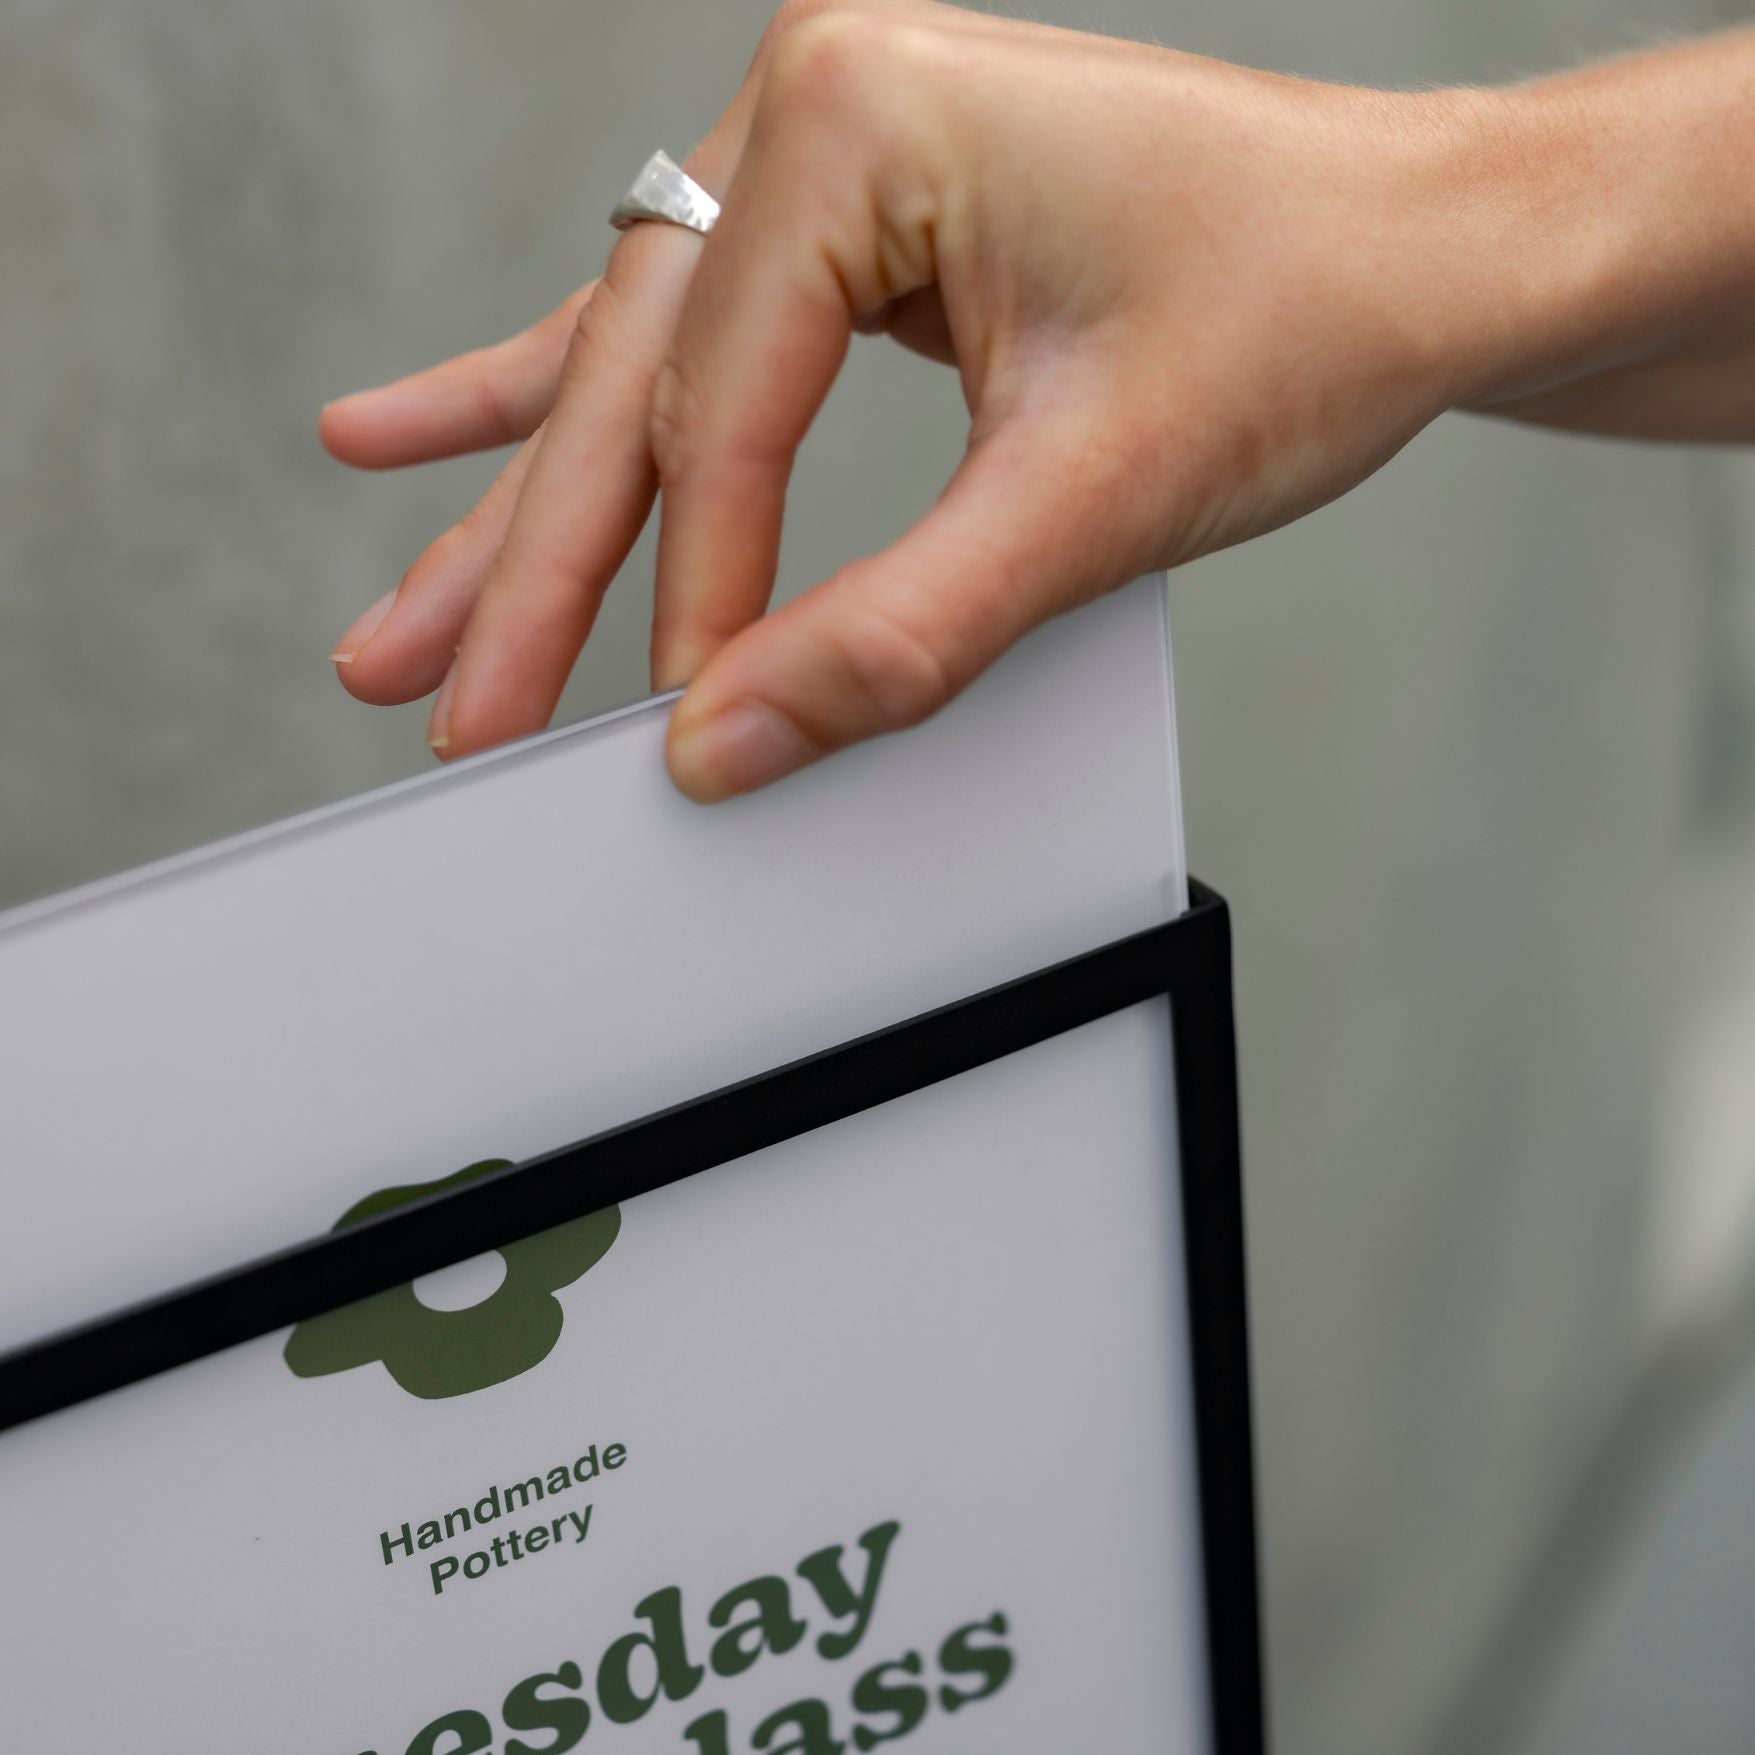
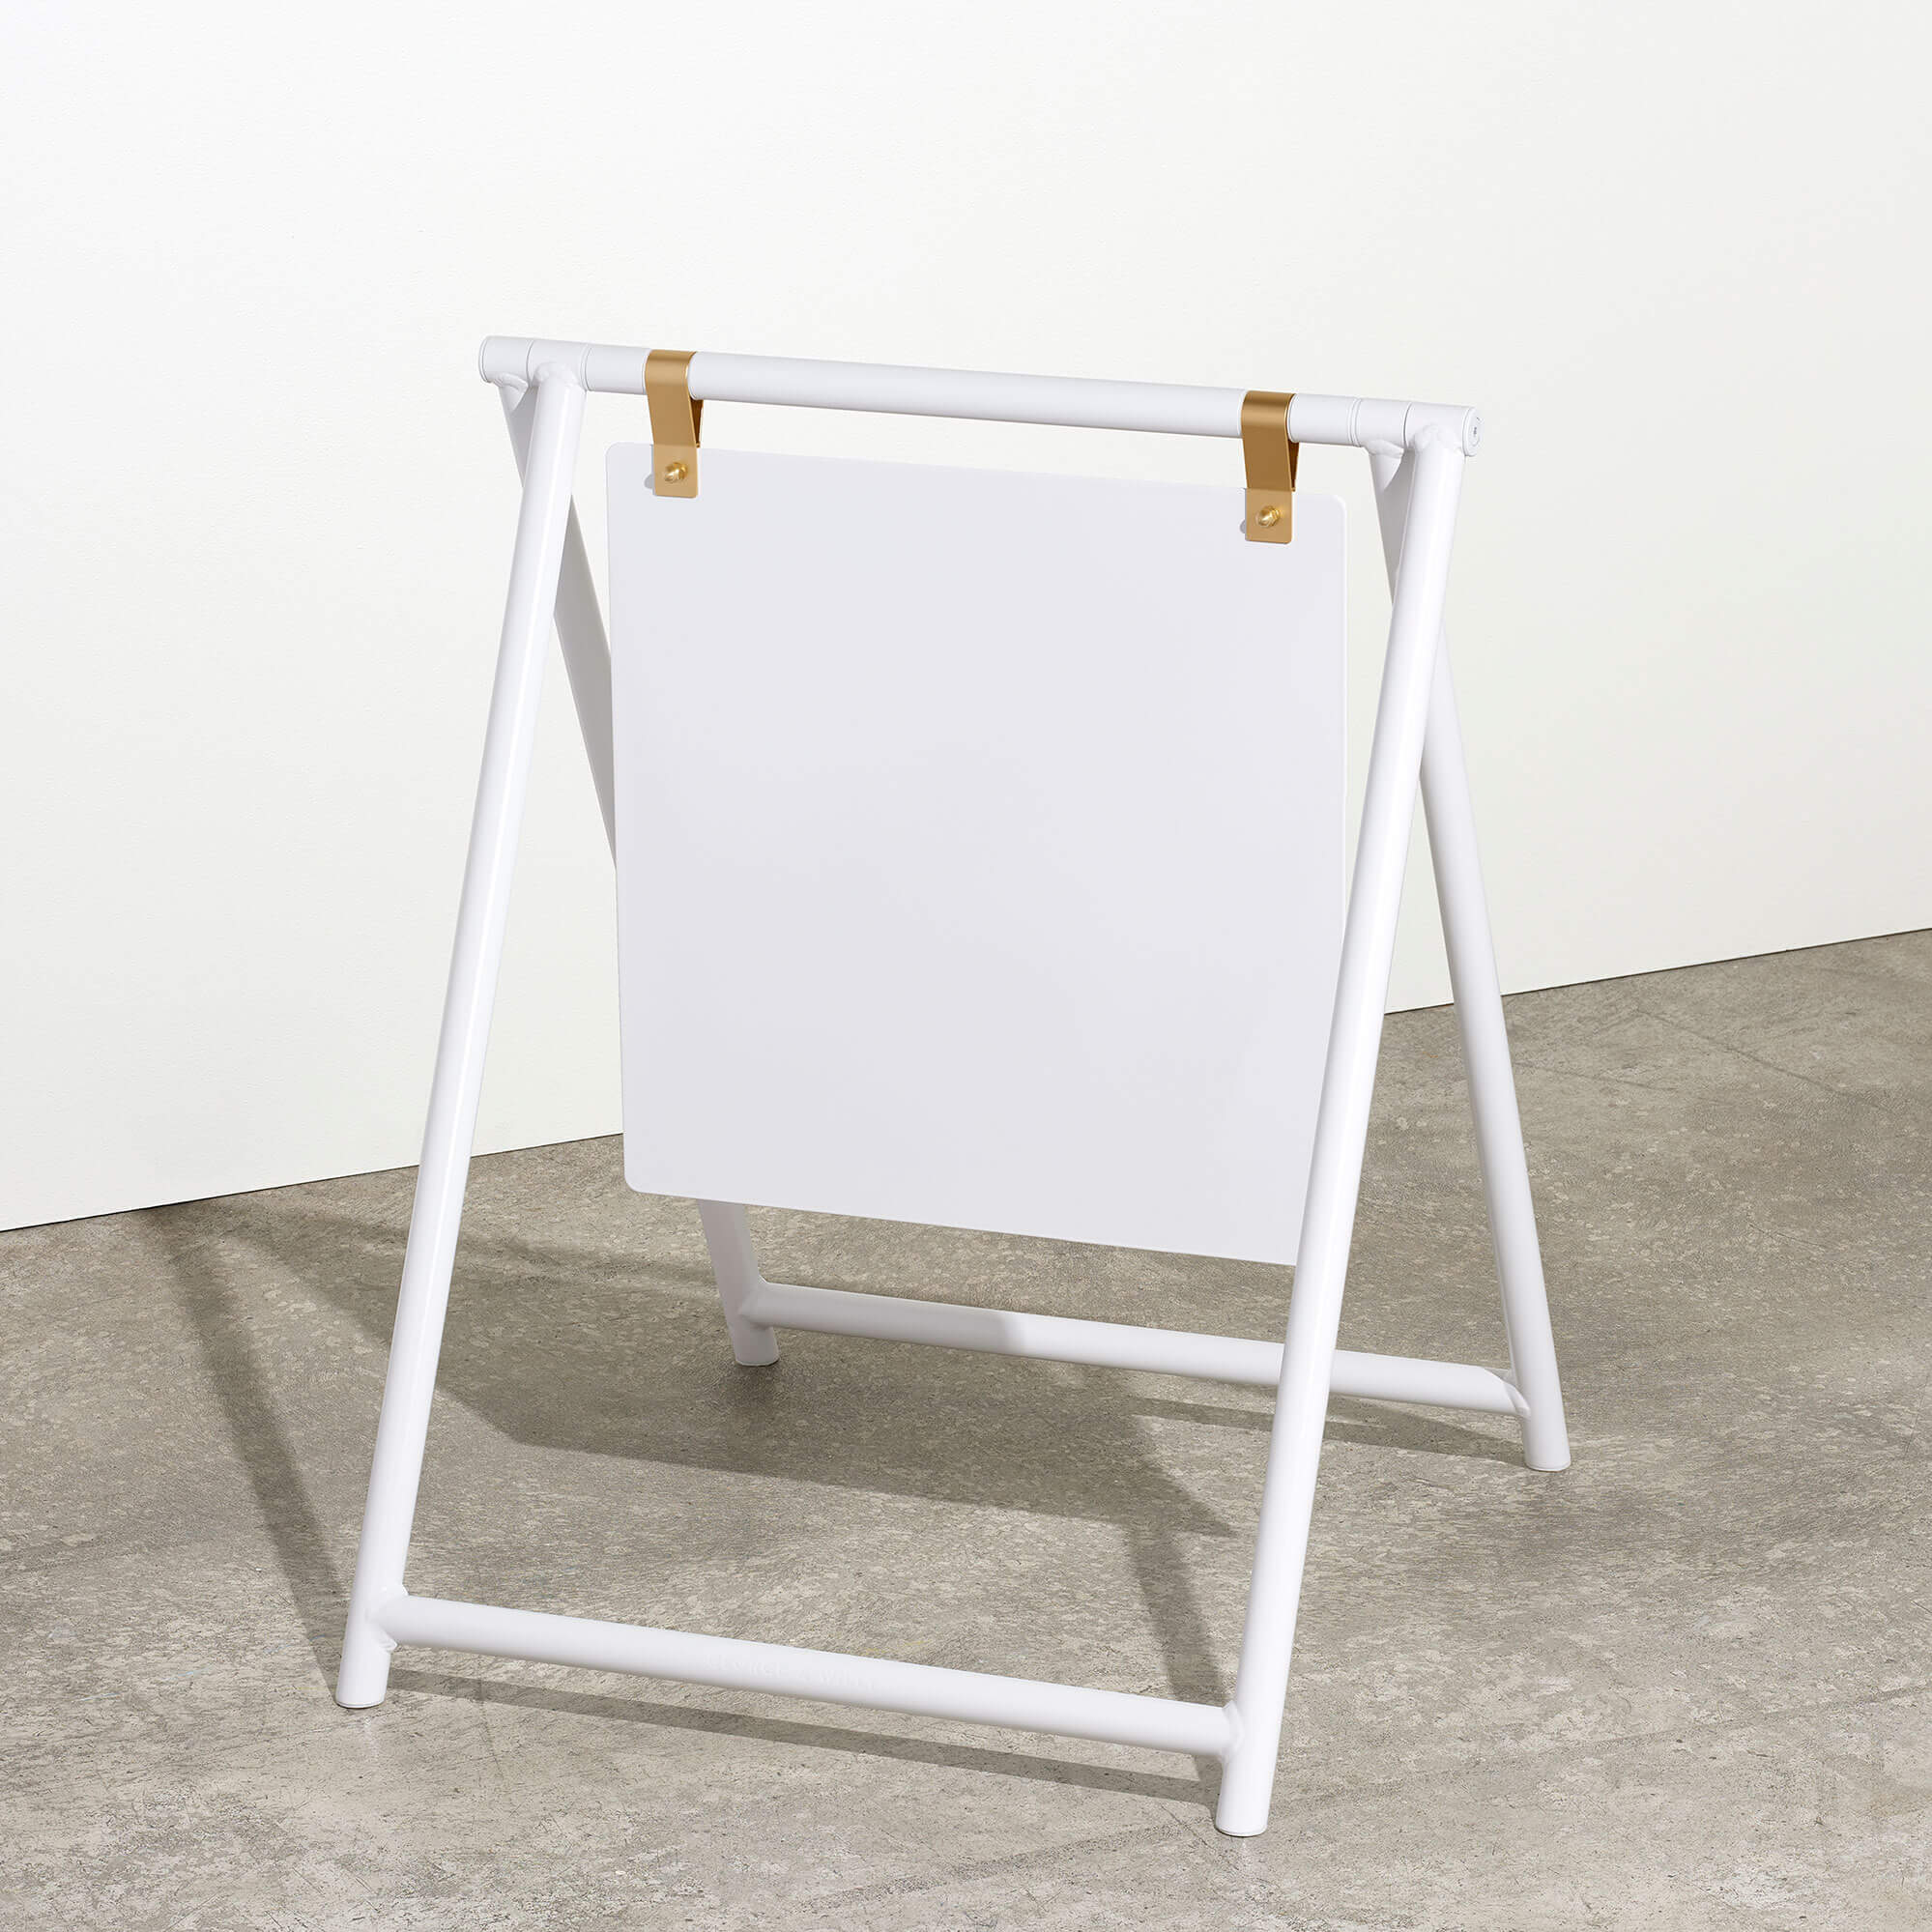
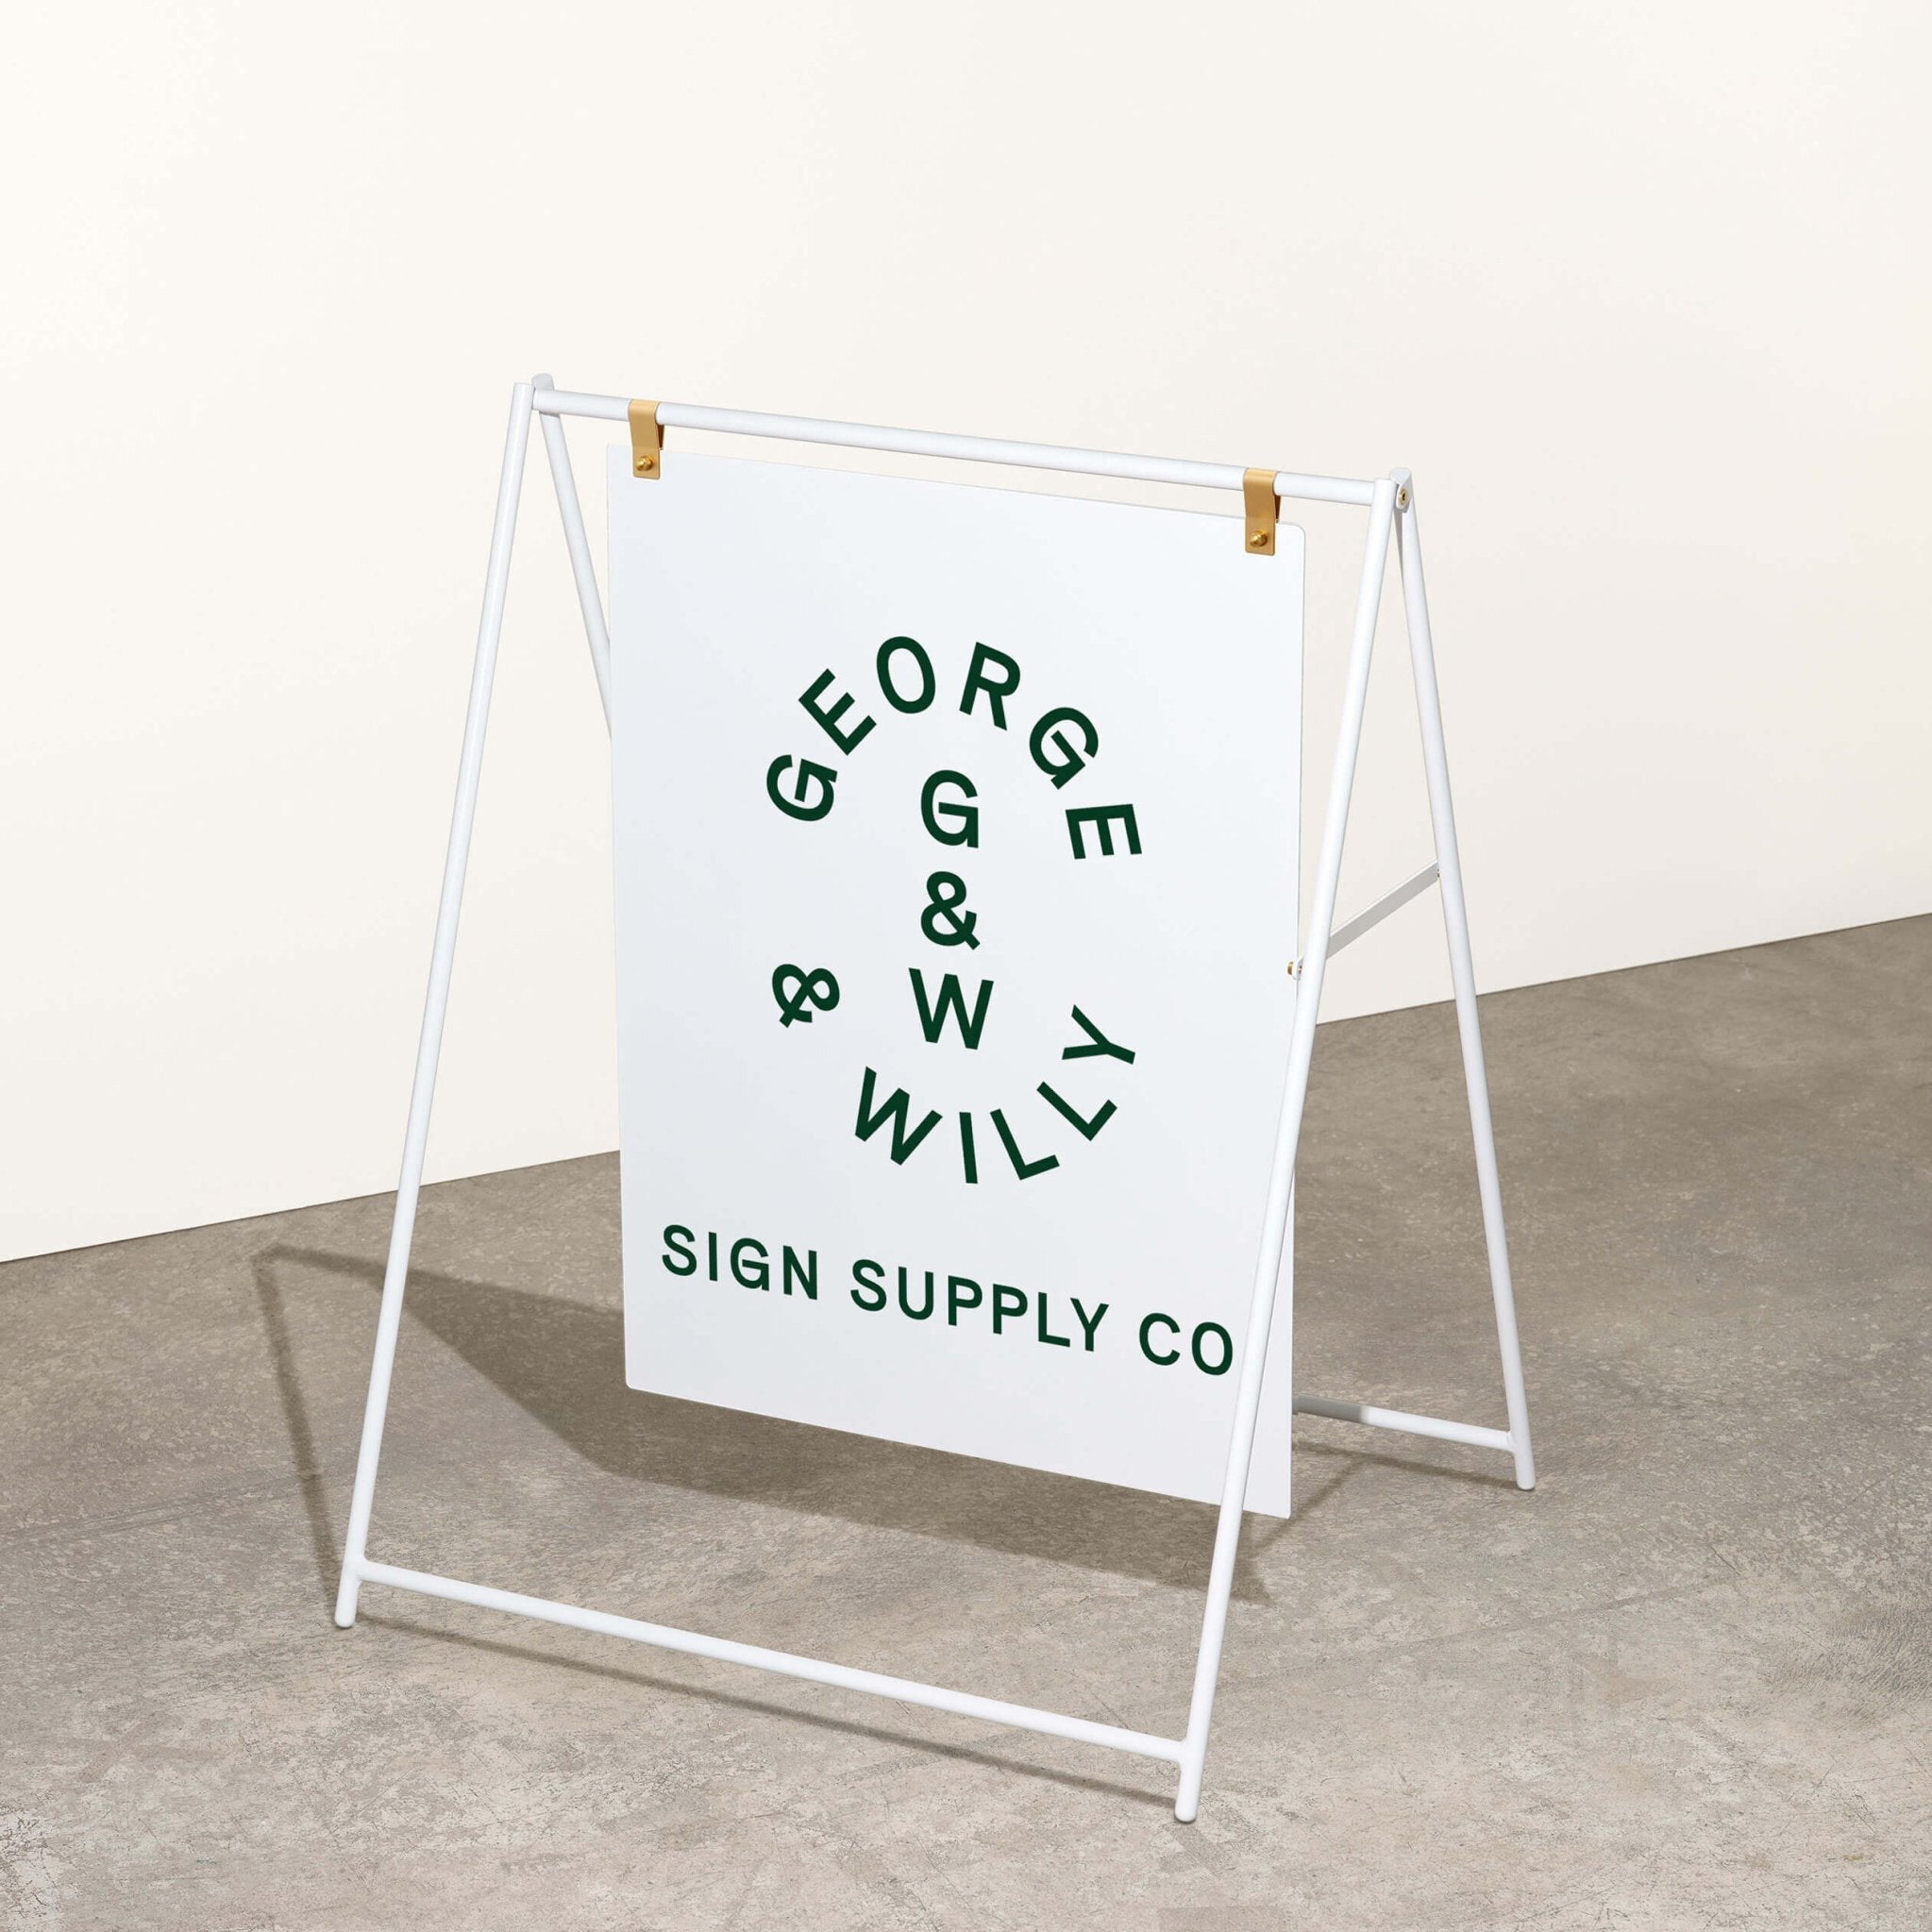
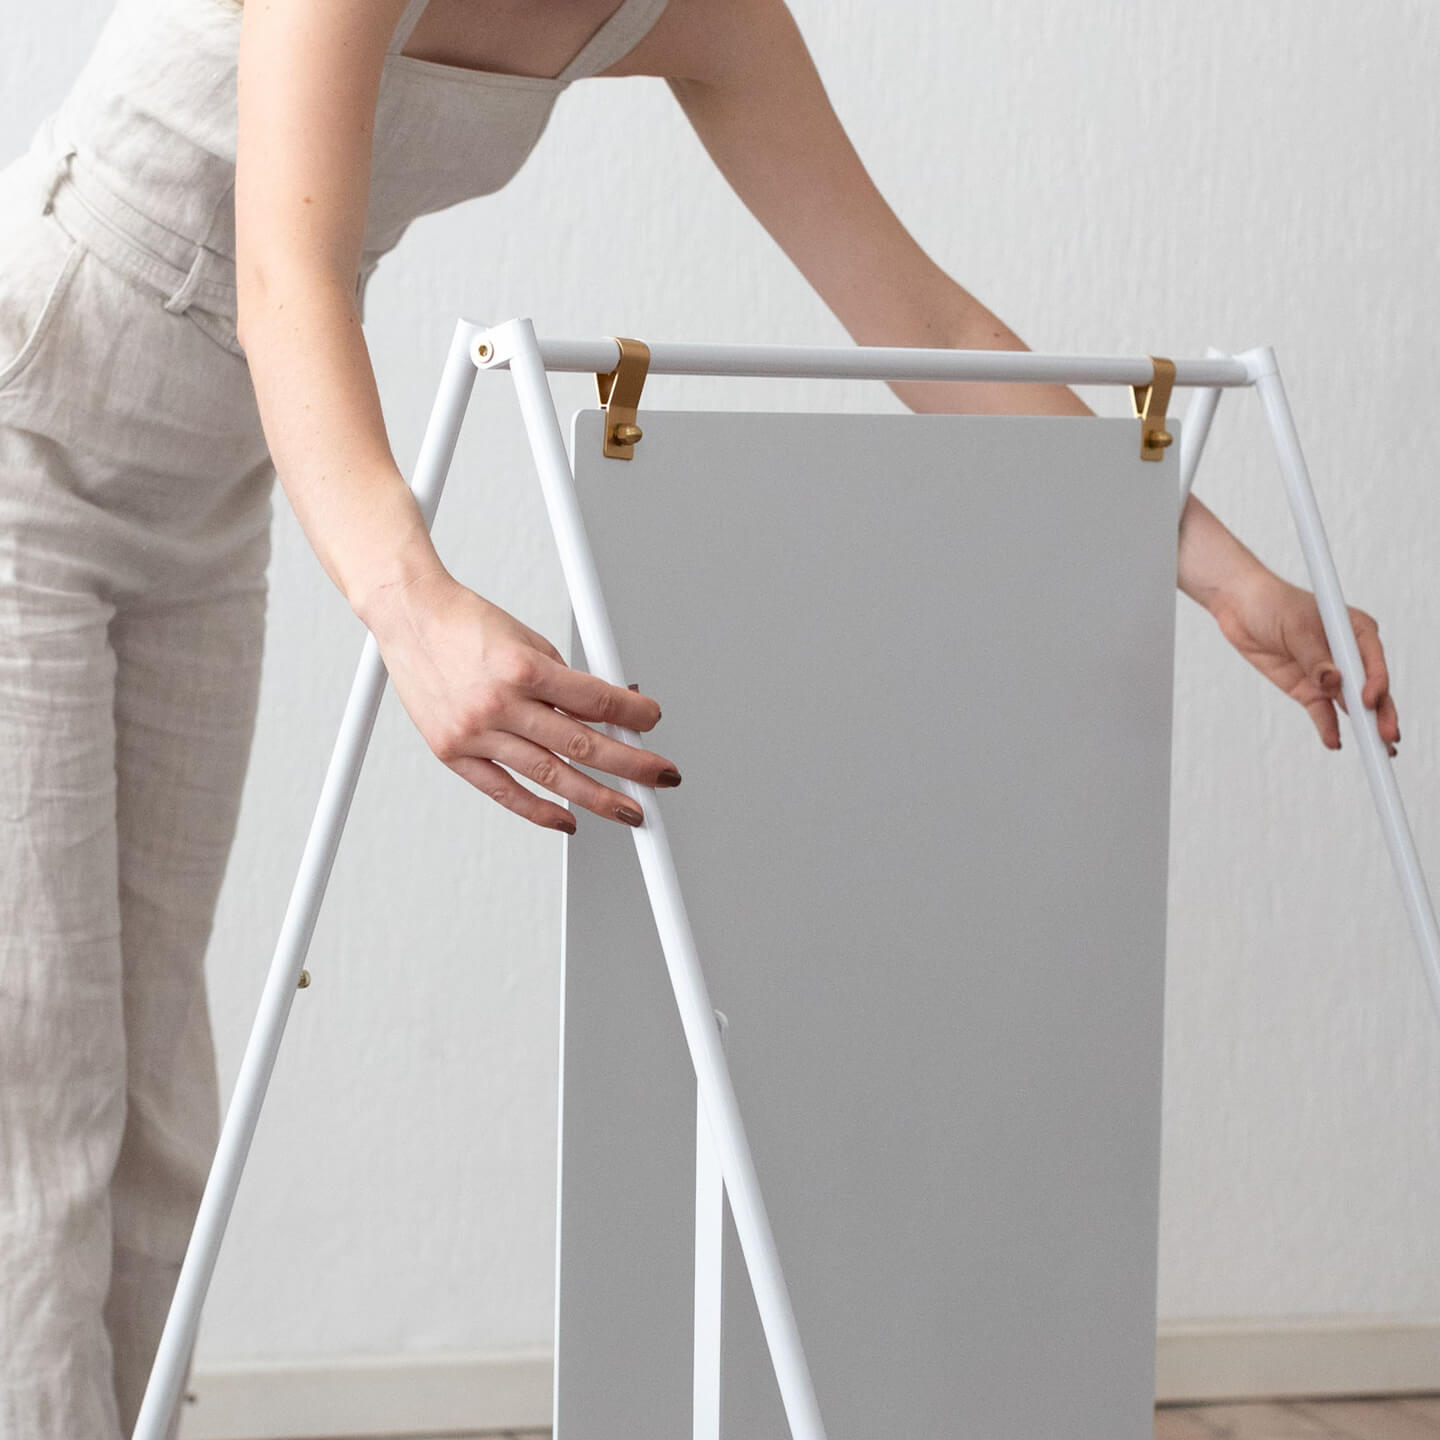
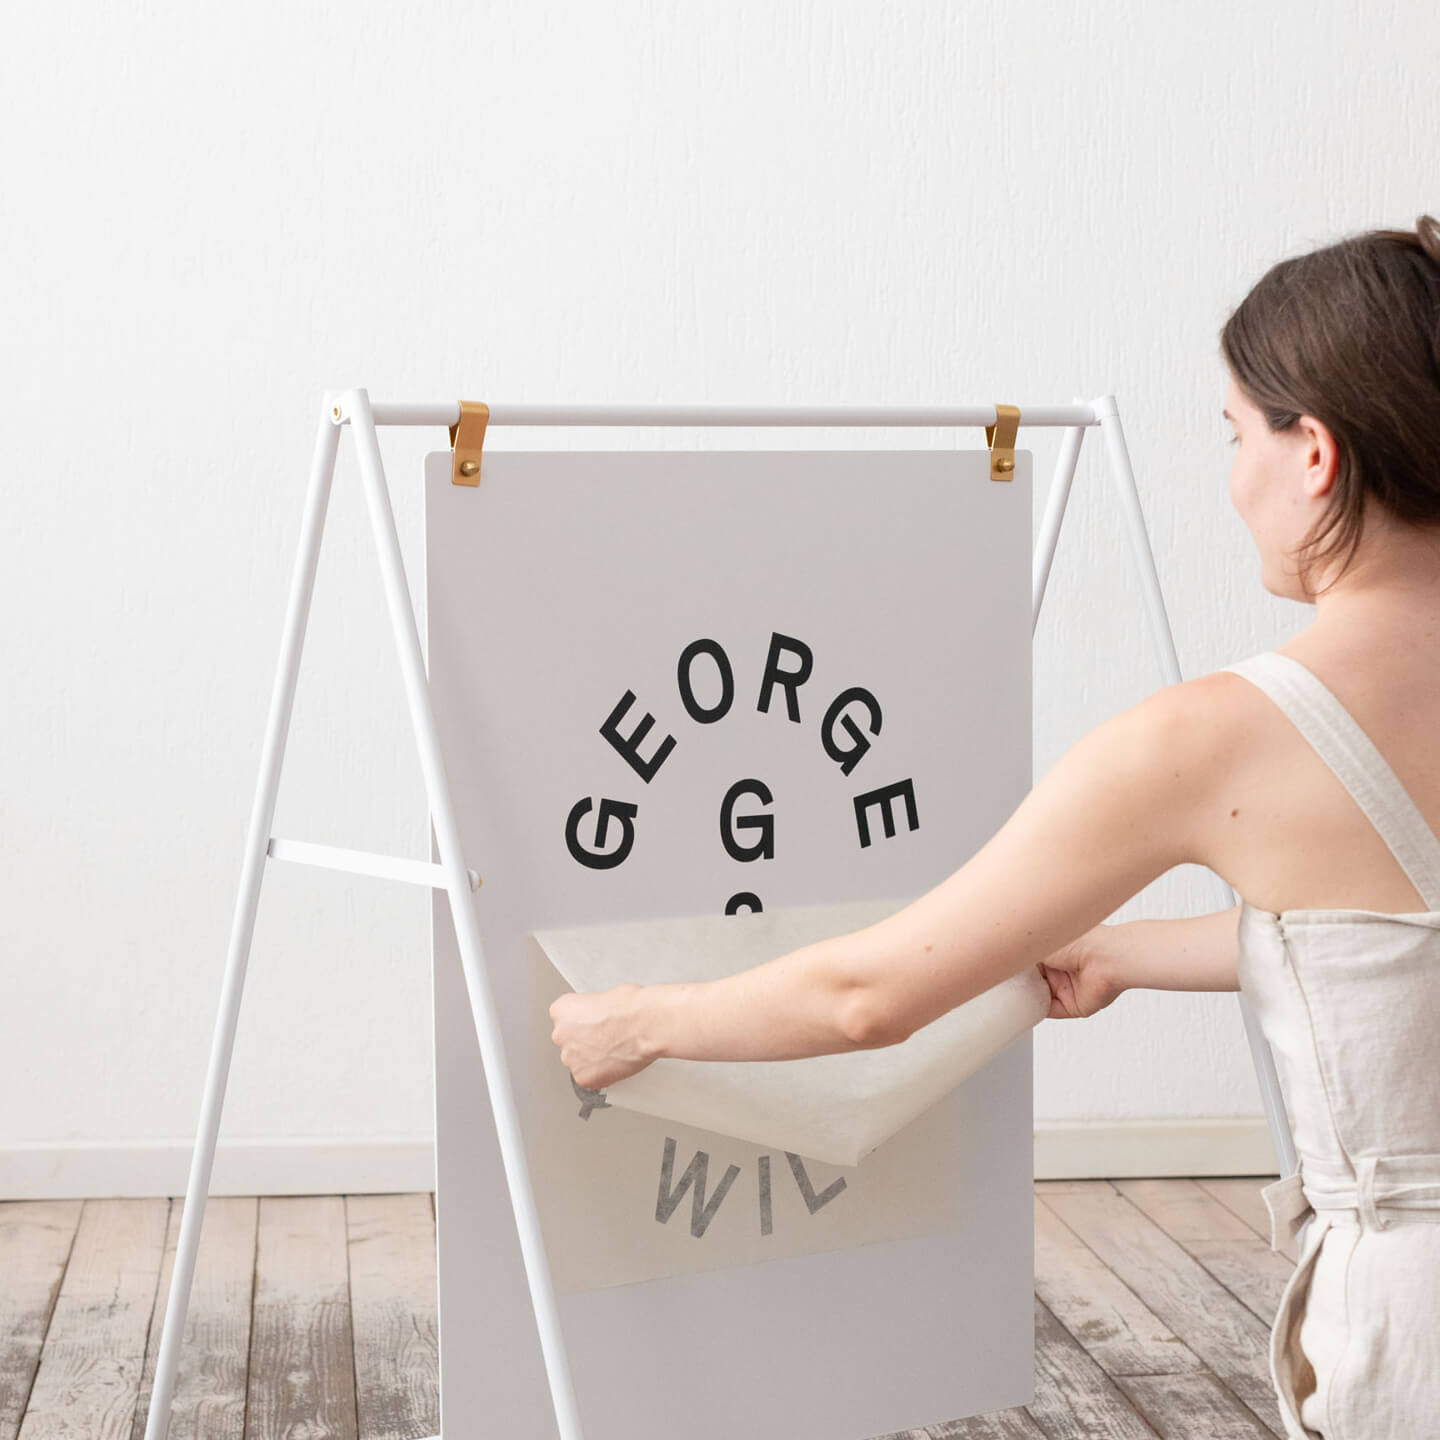
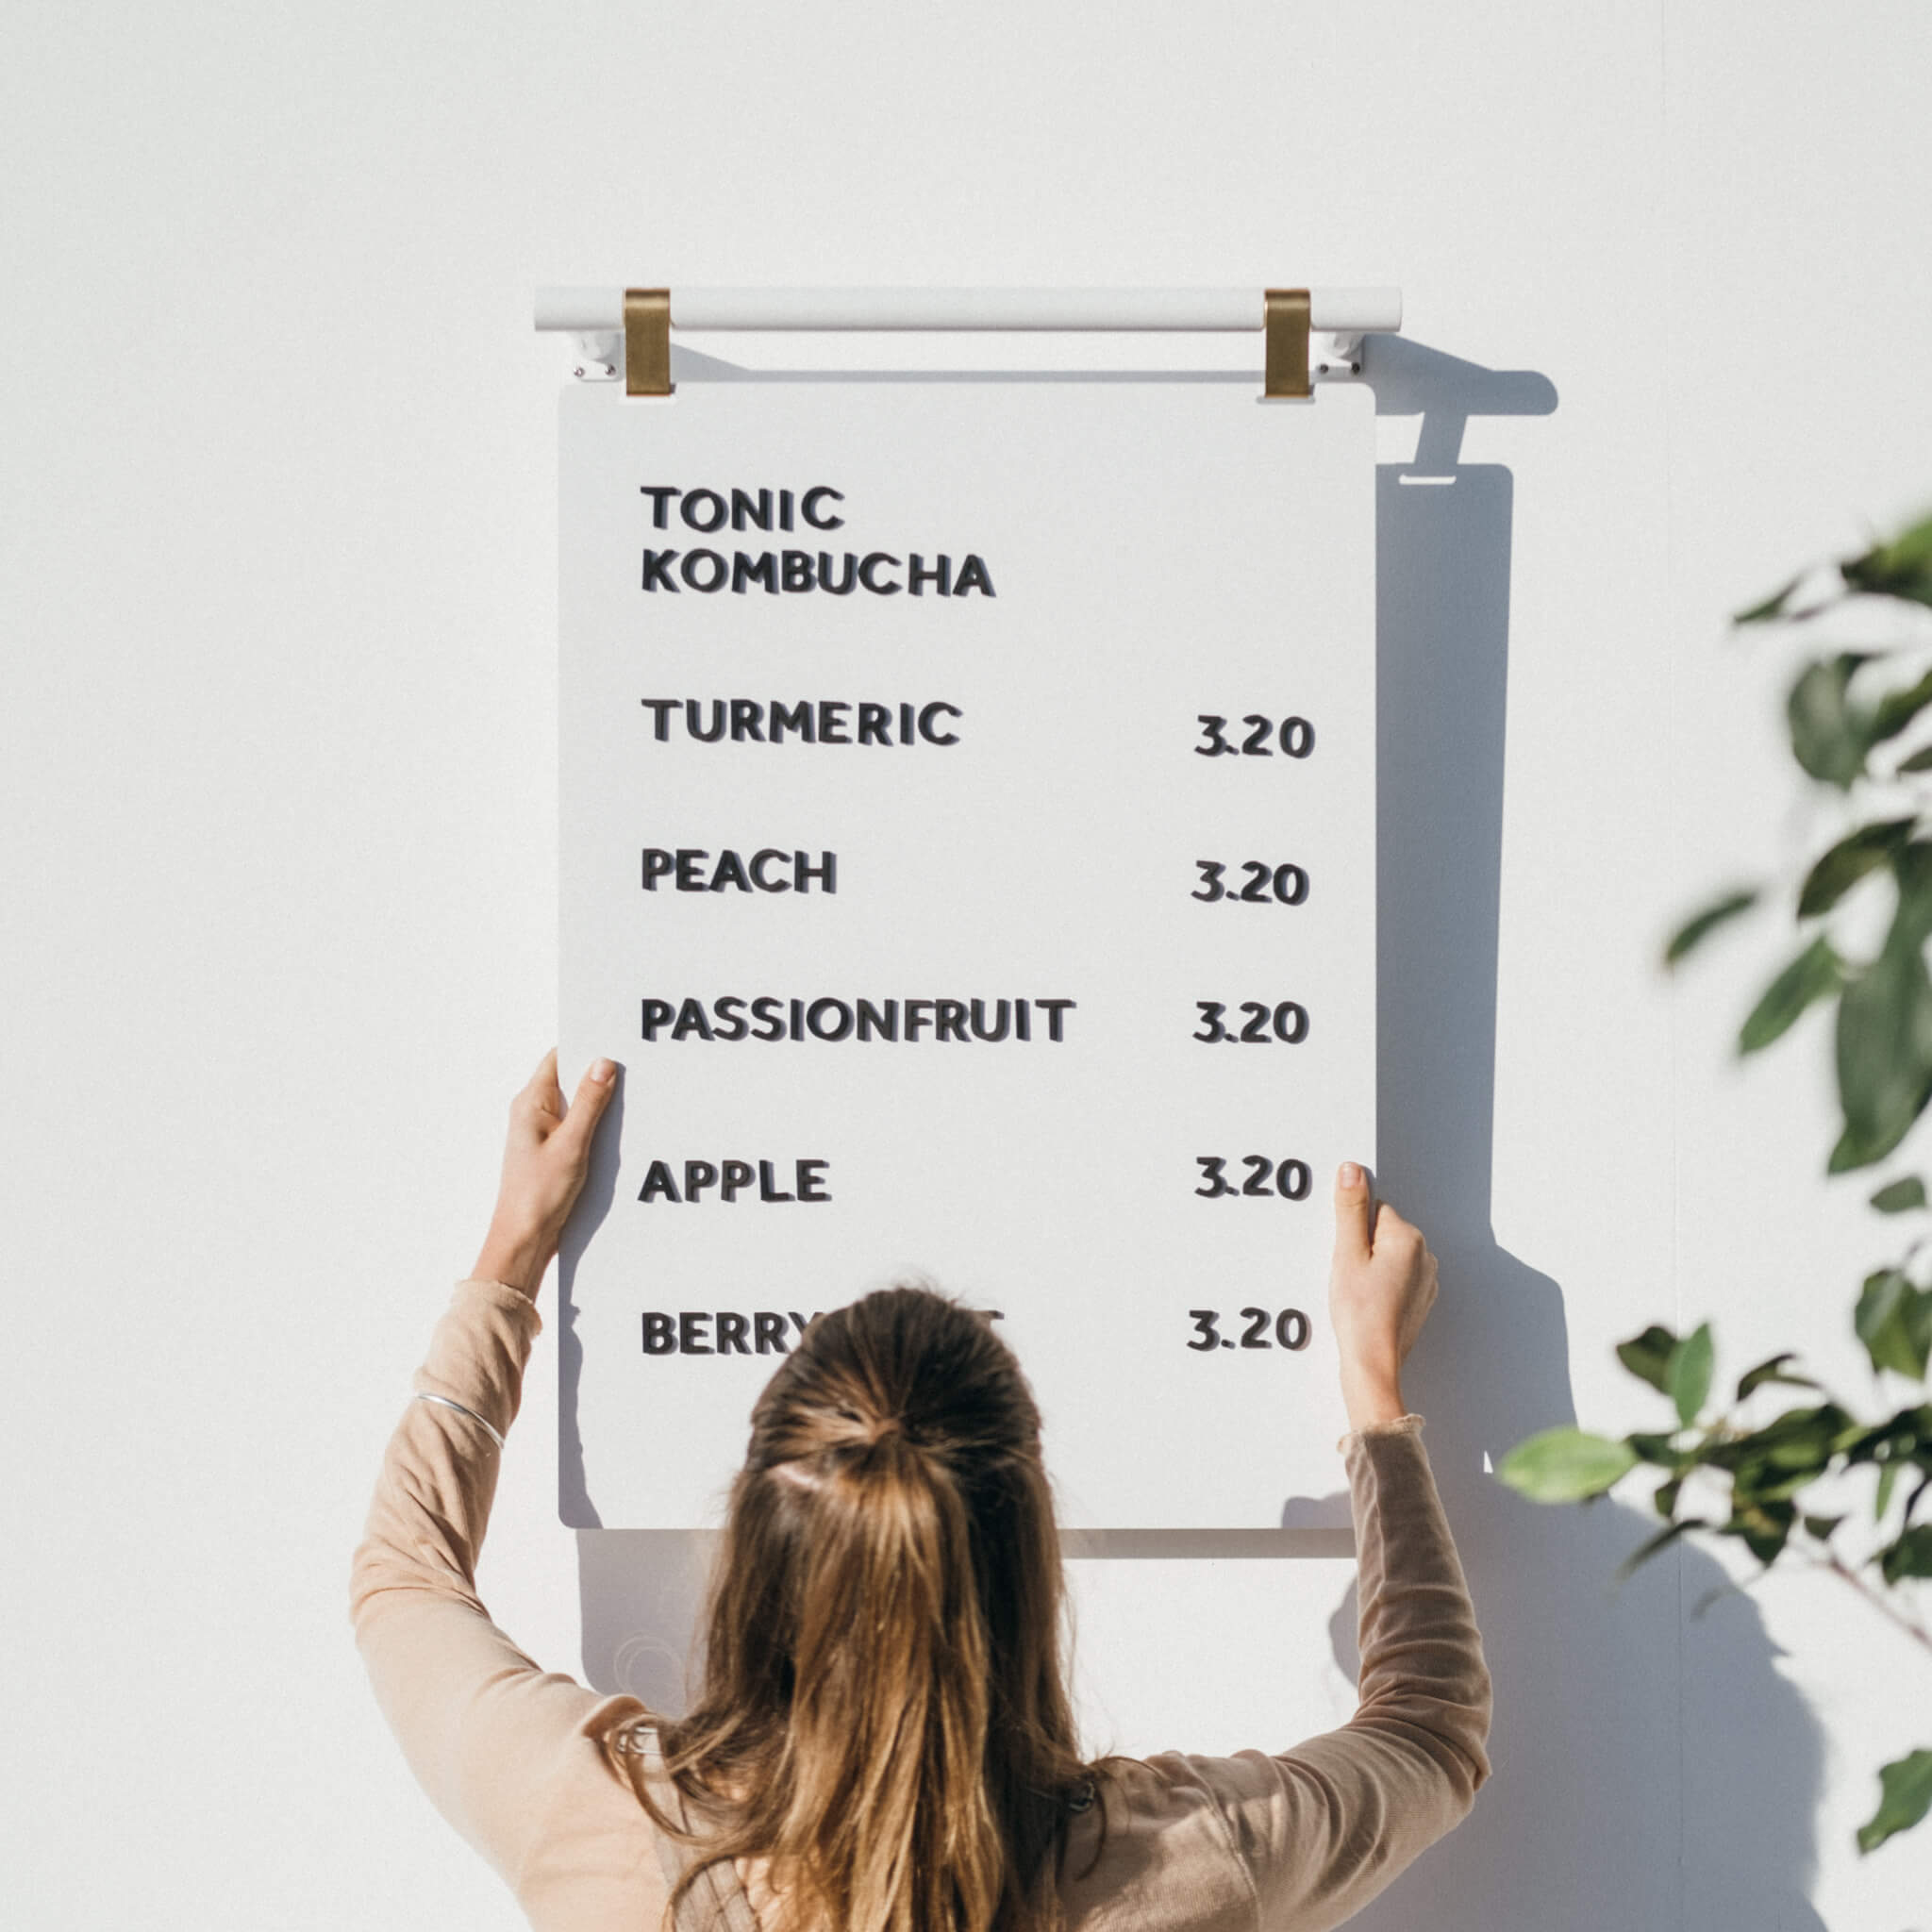
This collaborative process often involves creating detailed mockups or proofs to ensure every element, from the font to the material, aligns with the brand’s identity. Getting this stage right is crucial because a misunderstanding here can affect the entire project. Sometimes, prototypes are even created to test how a sign might look and feel in reality. Sketching layouts at scale on a Wall Mounted Paper Roller is a quick way to refine copy and letter height before committing. For business owners who want a professional look without starting from scratch, companies like George & Willy offer beautifully designed blank signage that simplifies this phase, providing a perfect canvas for personalization.
Material Selection: Choosing the Right Stuff
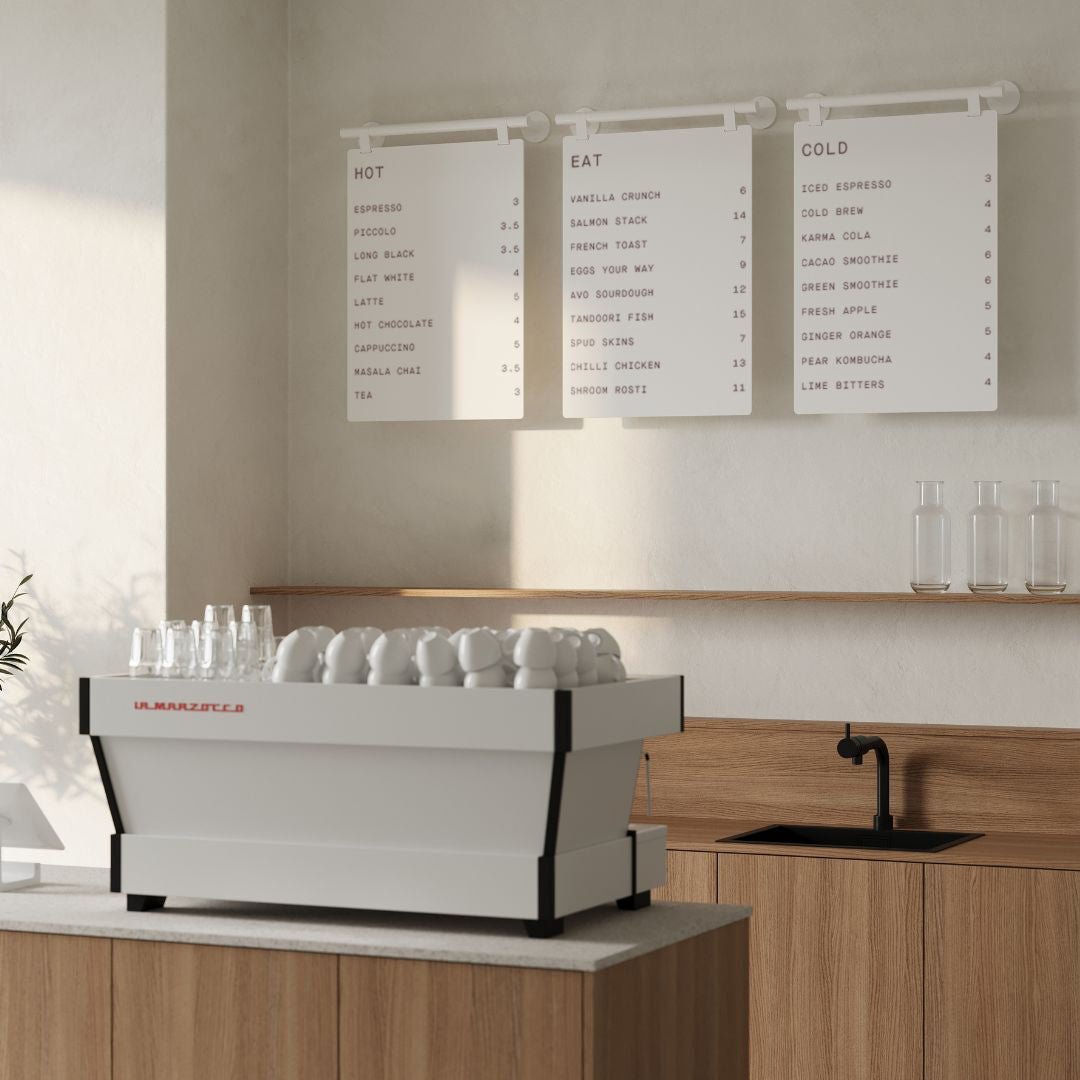
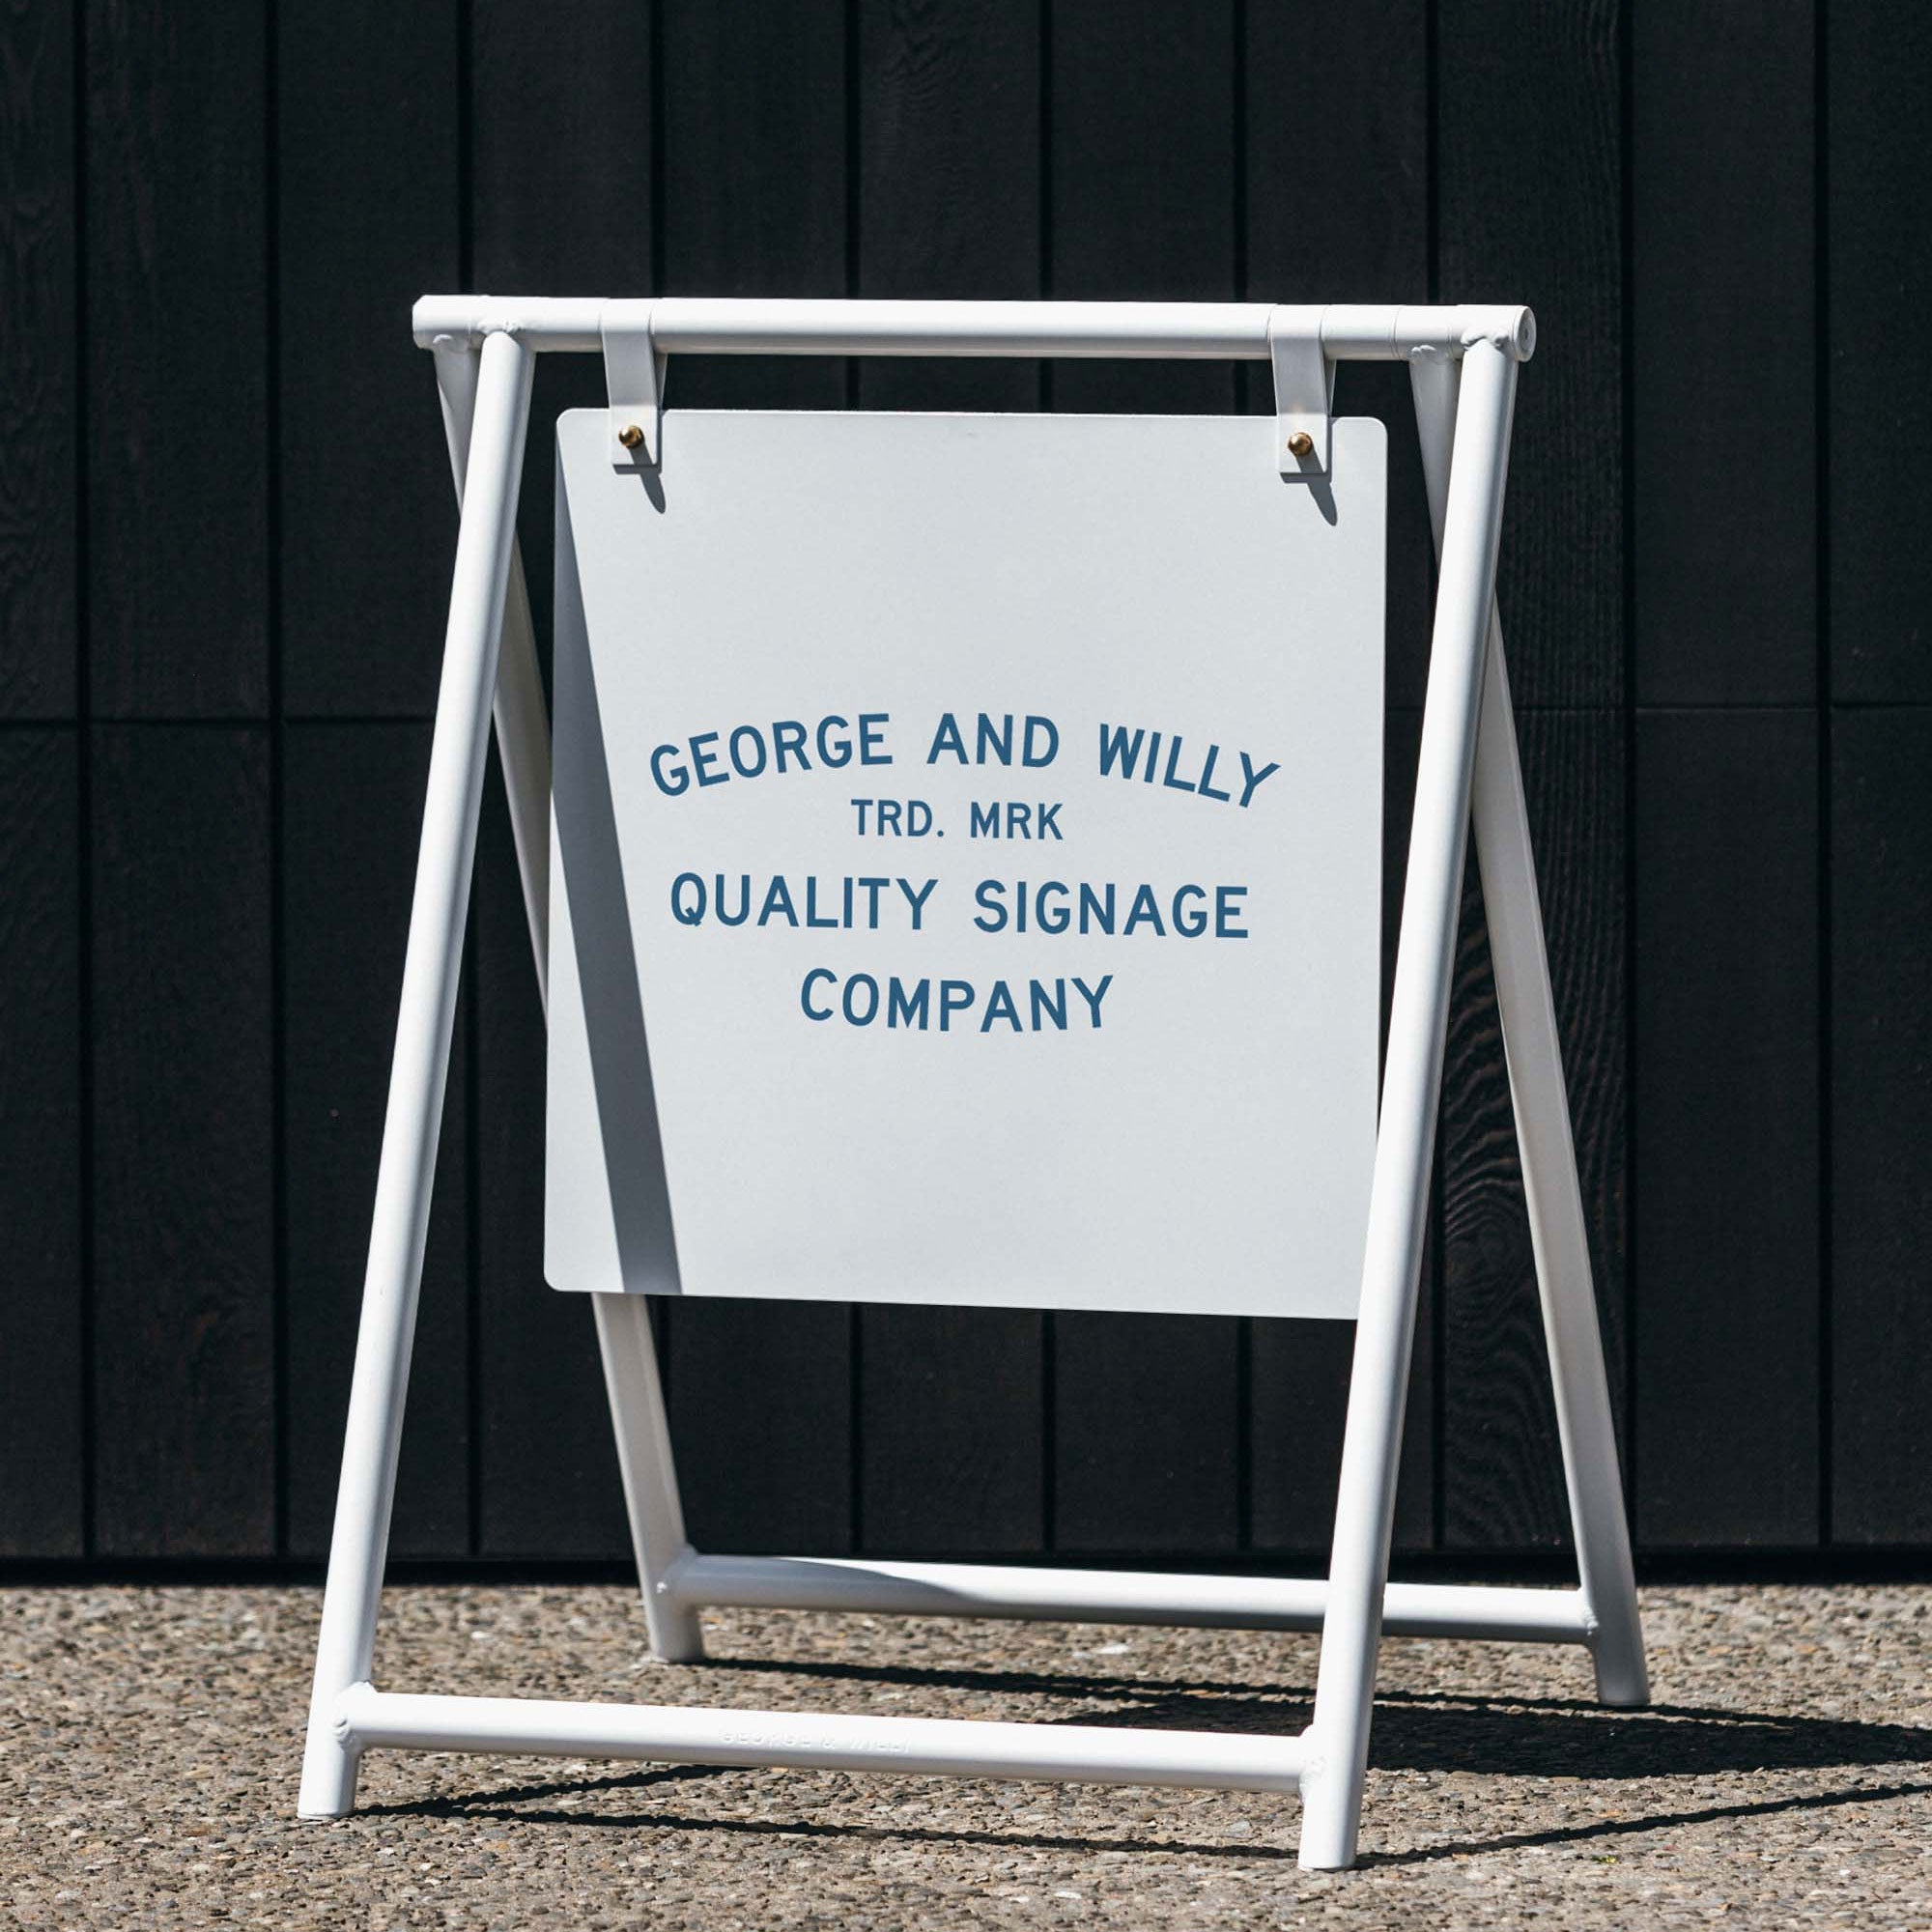
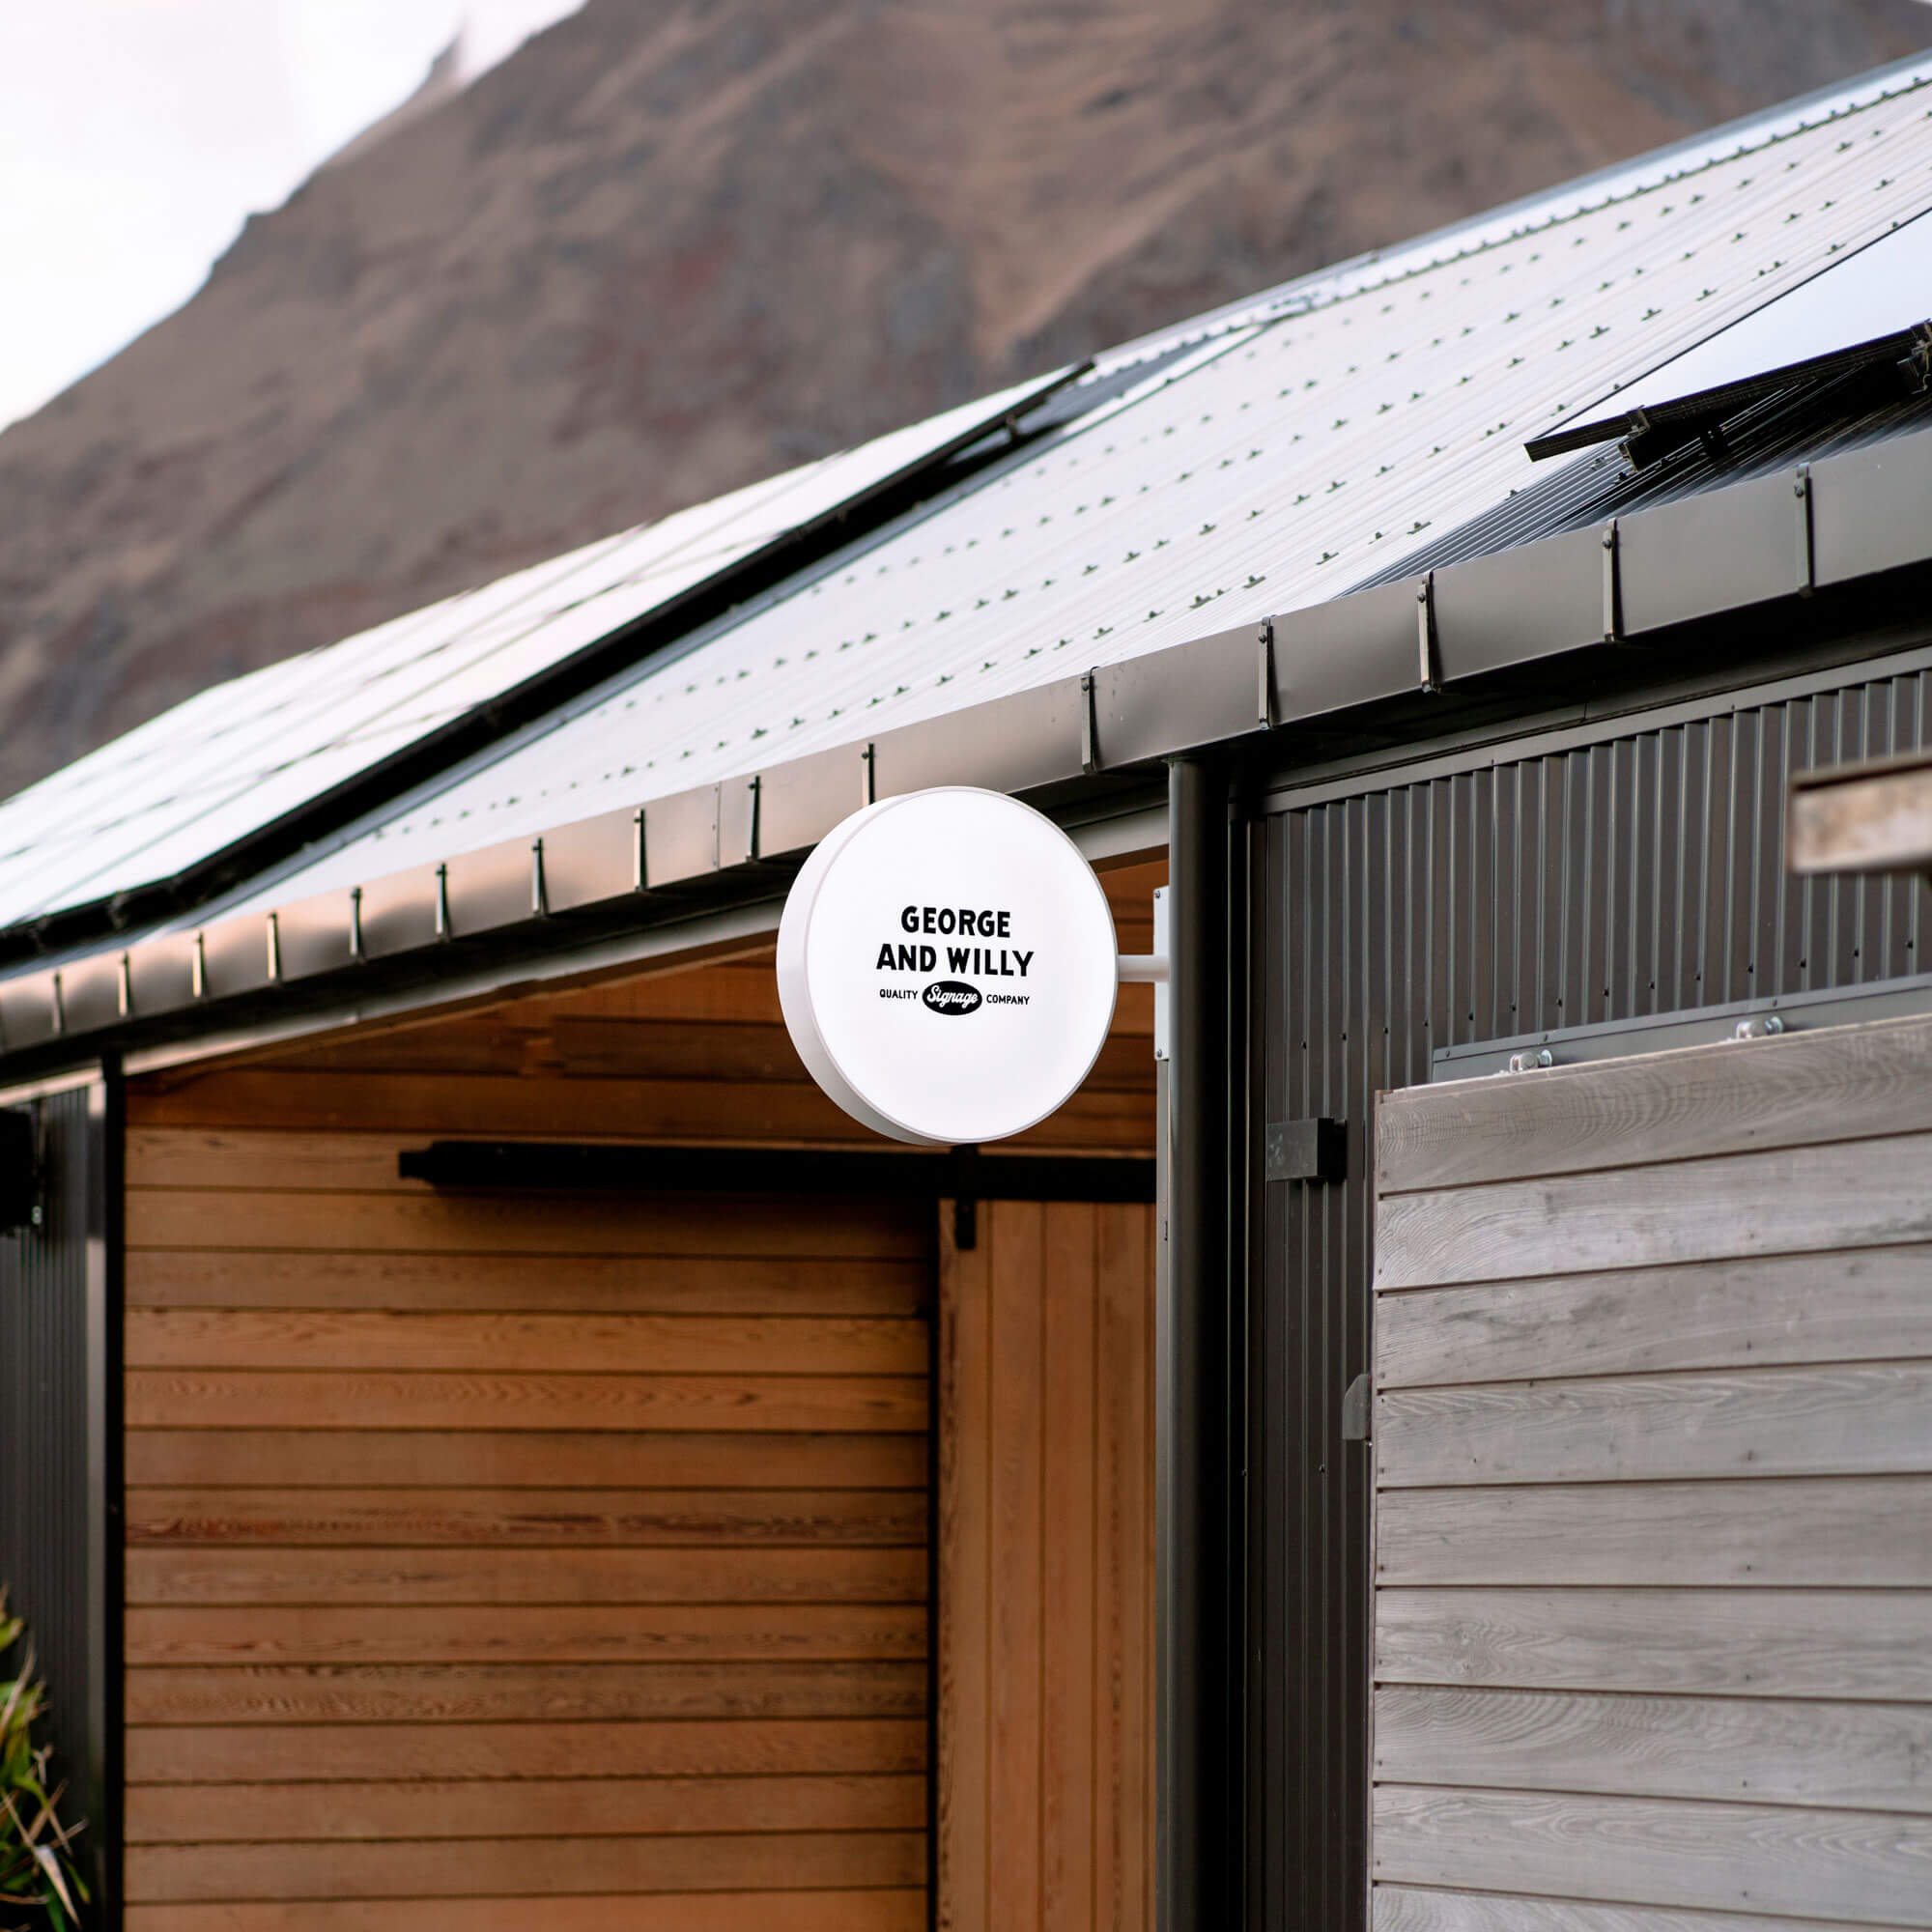
Choosing the right material is critical to a sign’s appearance and longevity. Common materials in sign fabrication include aluminum, steel, acrylic, and wood. Each has unique properties. Aluminum, for example, is lightweight and rust proof, making it a fantastic choice for outdoor signs like the Hanging Sign. In fact, due to its strength and cost effectiveness, aluminum now accounts for over 43% of the signage material market.
The sign’s environment is a major factor. A sign in a coastal area needs corrosion resistant materials like stainless steel or aluminum to withstand salt air. For overall longevity, top contenders include aluminum, durable plastics like HDPE, and classic metals like bronze that can last for decades.
Sustainable Materials: Signs That Do Good and Look Good
Sustainability in signage often comes down to one key principle: making signs that last. A durable sign that doesn’t need frequent replacement creates less waste. Eco friendly options are also becoming more common. Materials like renewable bamboo offer a unique, natural look. Substrates made from recycled plastics are another great way to reduce landfill waste.
Even traditional materials can be sustainable. Aluminum is highly recyclable, with a recycling rate over 95%, and can be reused endlessly without losing its quality. Using recycled aluminum significantly reduces the environmental footprint of a sign.
Understanding Sign Substrates
The sign substrate is the backbone of the sign. It’s the base material that holds the graphics and provides structural support.
-
Corrugated Plastic (Coroplast): A lightweight and budget friendly option, perfect for temporary outdoor signs like event notices.
-
Aluminum Sheet: A robust and rust proof metal panel, excellent for permanent outdoor signs.
-
Aluminum Composite Material (ACM): A rigid yet lightweight panel made of a plastic core sandwiched between two aluminum sheets. It’s a versatile choice for many commercial signs.
-
Acrylic and Polycarbonate: Clear or colored plastics used for the faces of illuminated signs, providing a glossy, modern finish.
-
PVC Foam Board: A smooth, lightweight board ideal for indoor displays and wall mounted graphics.
Prepping for Perfection: Surface Preparation
Before any graphics or paint can be applied, the sign’s surface must be perfectly prepared. This is one of the most critical steps in quality sign fabrication.
Sign Blank Prep and Cleaning
Proper preparation ensures that paint and vinyl graphics adhere correctly and last for years. A dirty or oily surface can cause paint to peel and vinyl to bubble. The process typically involves degreasing the sign blank with a solvent, removing all dust, and sometimes lightly sanding the surface to create better adhesion. Skipping this step can drastically shorten a sign’s lifespan.
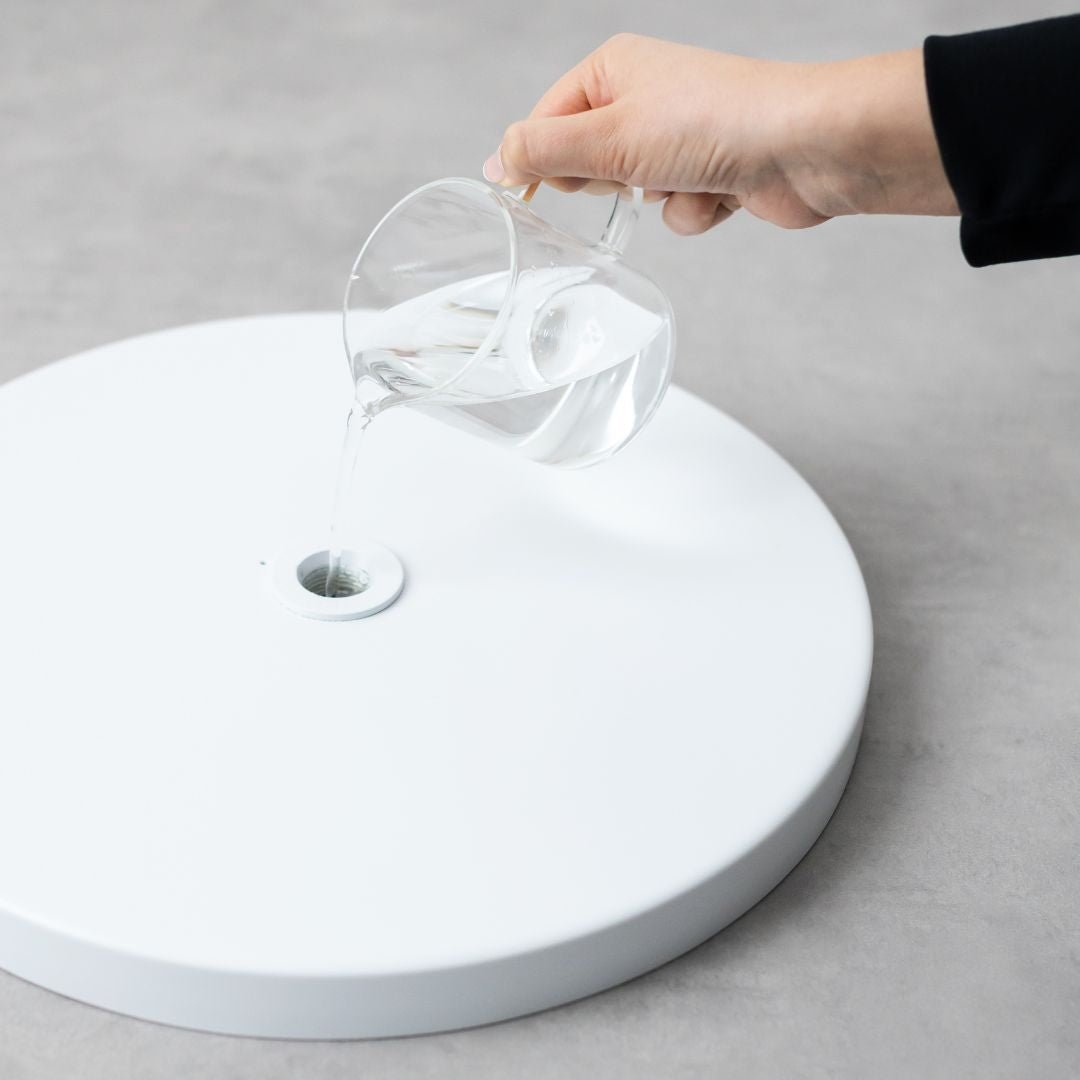
Quality Checks: The Tape Snap and Water Break Tests
Sign makers use simple but effective tests to confirm a surface is ready.
-
The Tape Snap Test: After cleaning, a piece of clear tape is pressed onto the surface and quickly snapped off. If the tape comes away with any dust or particles, the surface needs more cleaning. It’s a fast, low tech way to check for solid contaminants.
-
The Water Break Test: Water is misted onto the surface. If it forms a continuous, unbroken sheet, the surface is free of oils. If the water beads up or breaks into droplets, it means greasy residue is still present and more degreasing is needed.
Cutting and Shaping: The Core of Fabrication
Once materials are prepped, they need to be cut and shaped. This is where modern technology plays a huge role in sign fabrication.
CNC Machining: Precision by the Numbers
Computer Numerical Control (CNC) machines use computer programs to automatically cut, drill, and shape materials with incredible accuracy. A CNC router can carve intricate letters from a sheet of aluminum or wood far more precisely than is possible by hand. This technology ensures that every component is made to exact specifications, which is essential for consistent quality.
Laser Cutting: Intricate Details with Light
Laser cutting uses a focused beam of light to slice through materials like acrylic, wood, and thin metal. It’s known for creating exceptionally clean edges and achieving fine details. Lasers are perfect for producing delicate script lettering or complex logos with sharp, polished edges, offering incredible design freedom.
Waterjet Cutting: Power and Precision Without Heat
Waterjet cutting uses a high pressure stream of water, often mixed with an abrasive grit, to cut through almost any material, including thick metal, stone, and glass. A key advantage is that it’s a cold cutting process, so there is no heat affected zone. This means materials won’t warp or discolor, making it ideal for heat sensitive materials or very thick components.
Bringing Designs to Life: Graphics and Assembly
With the components shaped, it’s time to add graphics and put everything together.
UV Printing: Durable, Direct to Surface Graphics
UV printing is a digital process that uses ultraviolet light to instantly cure ink as it’s printed. This allows for printing vibrant, high resolution images directly onto a wide range of substrates, from wood to metal. The cured ink is scratch resistant and weather resistant, often lasting for years outdoors without fading.
Vinyl Printing: Versatile and Vibrant Decals
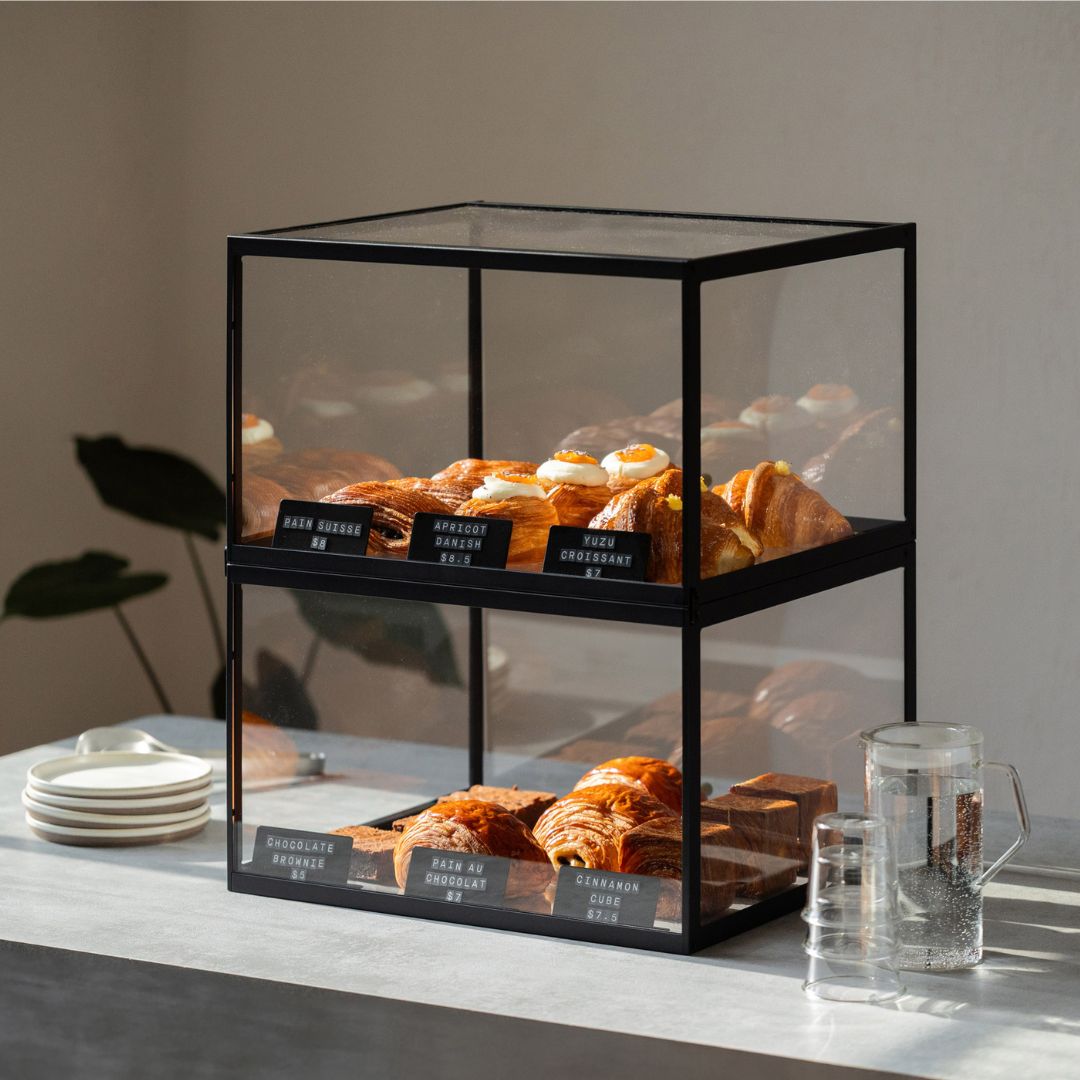
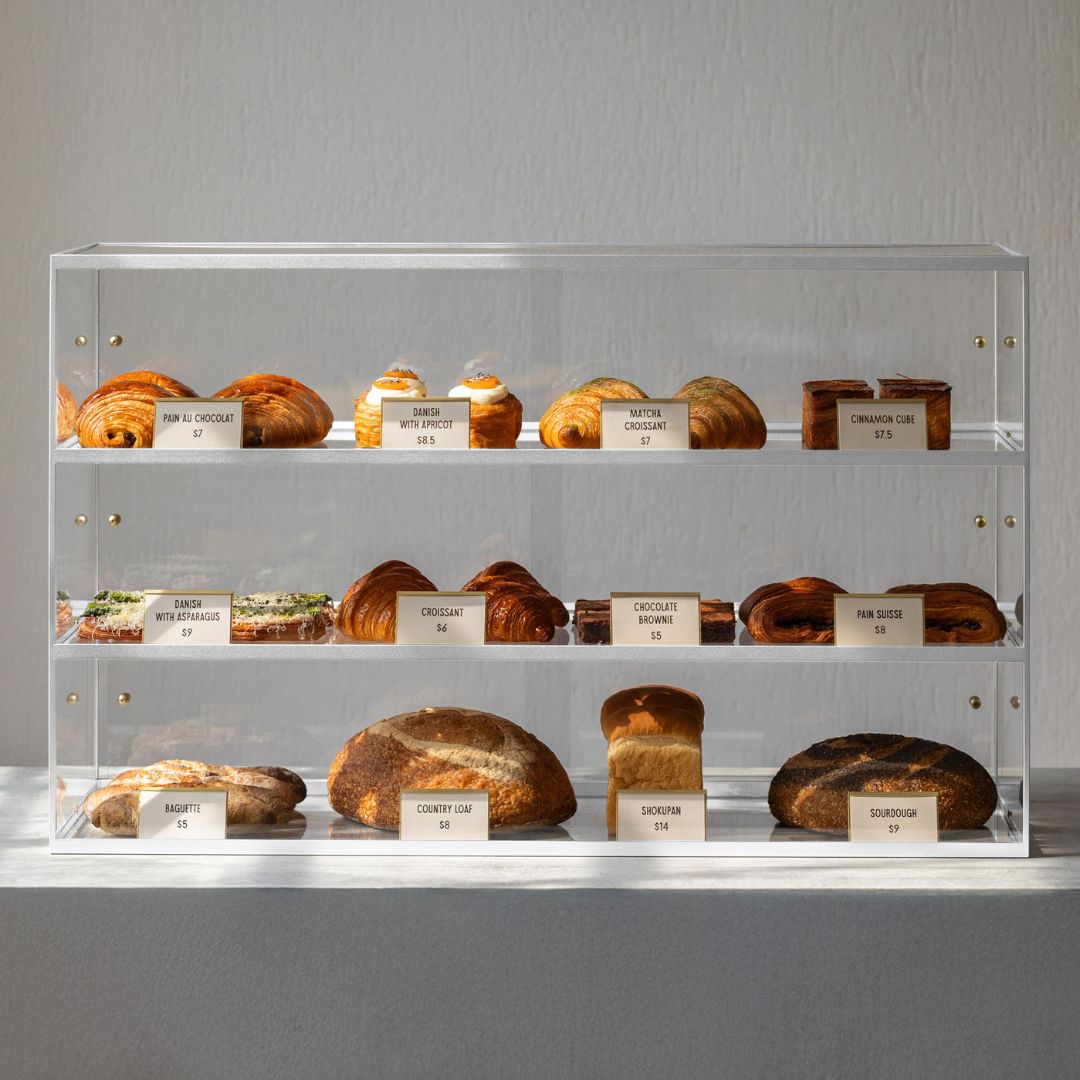
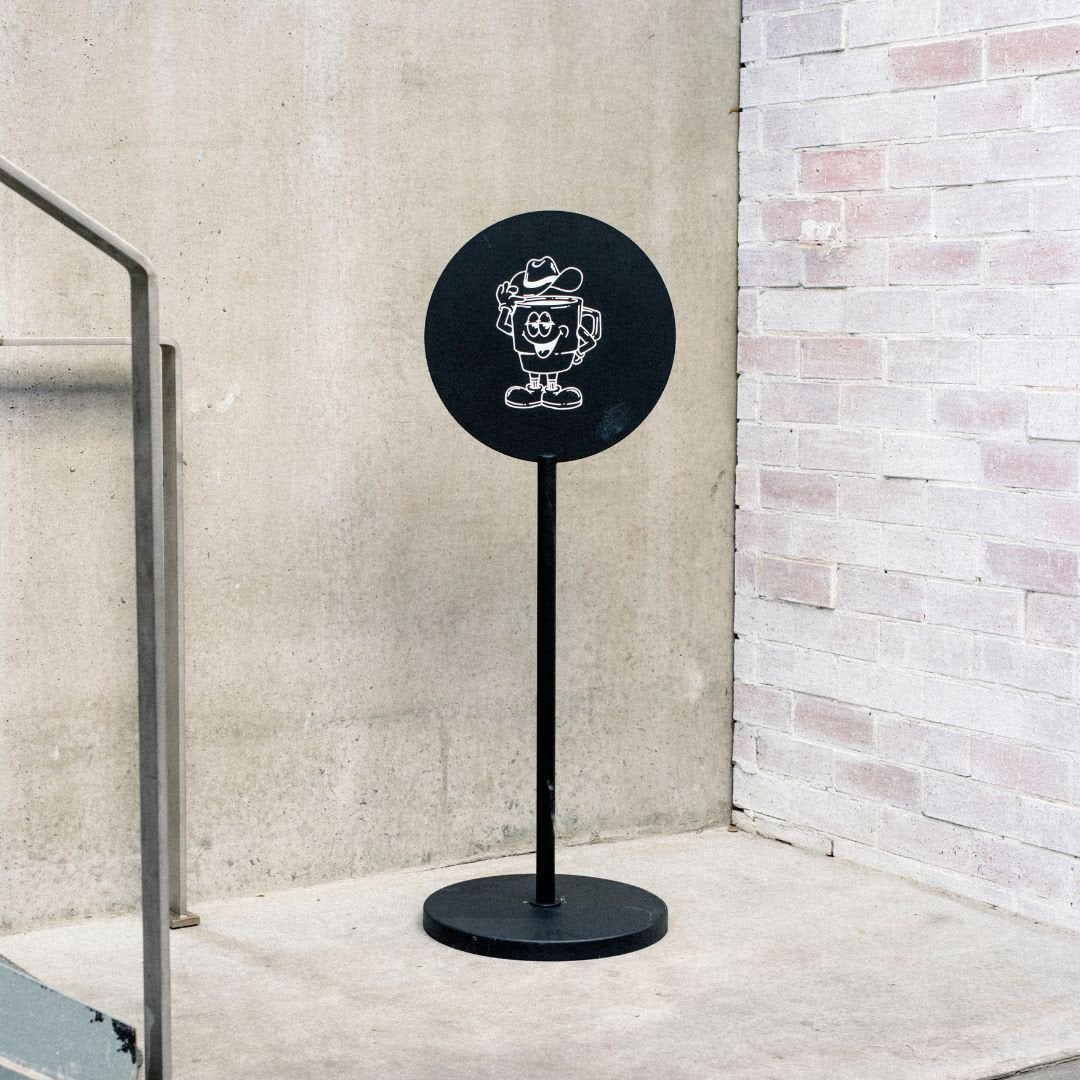
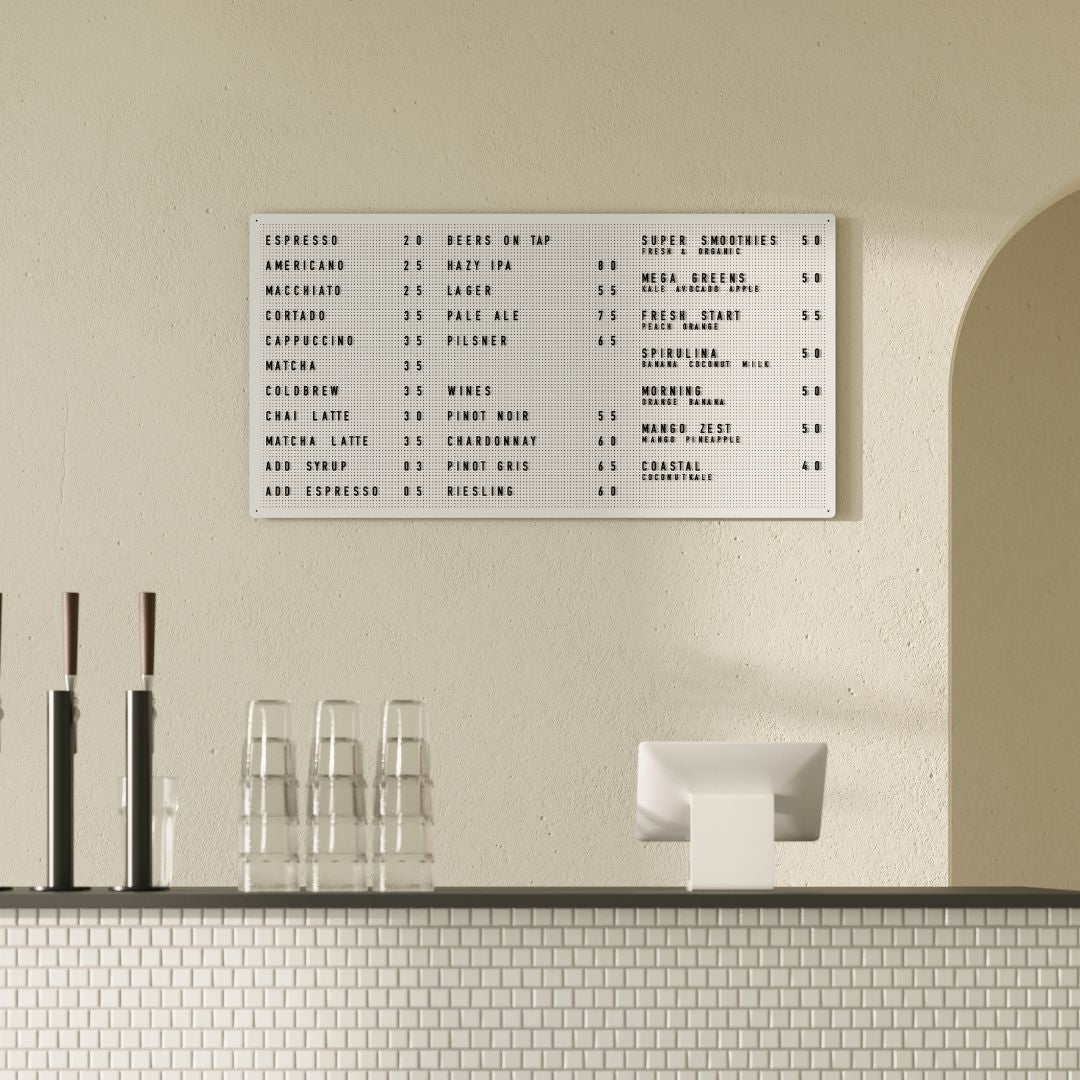
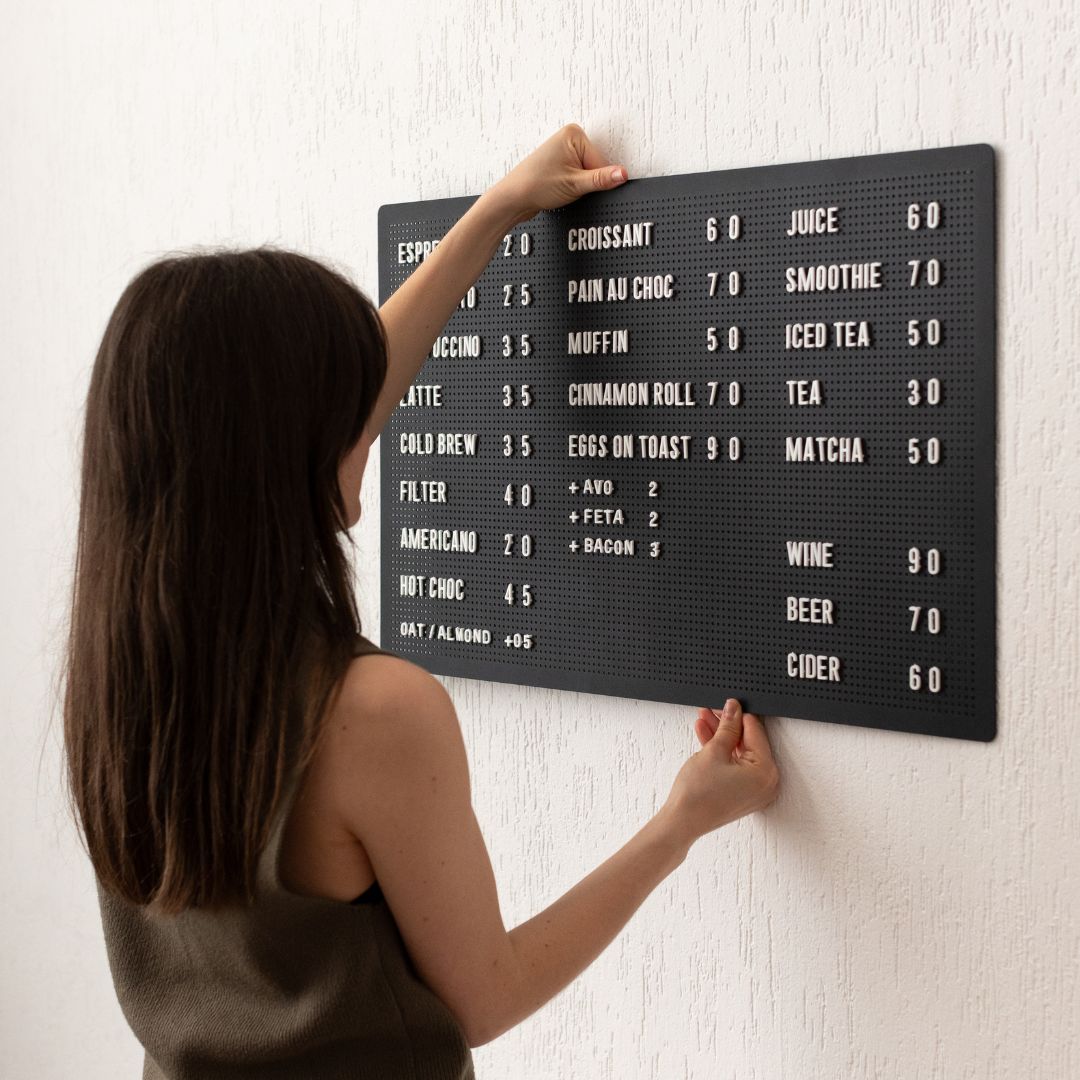
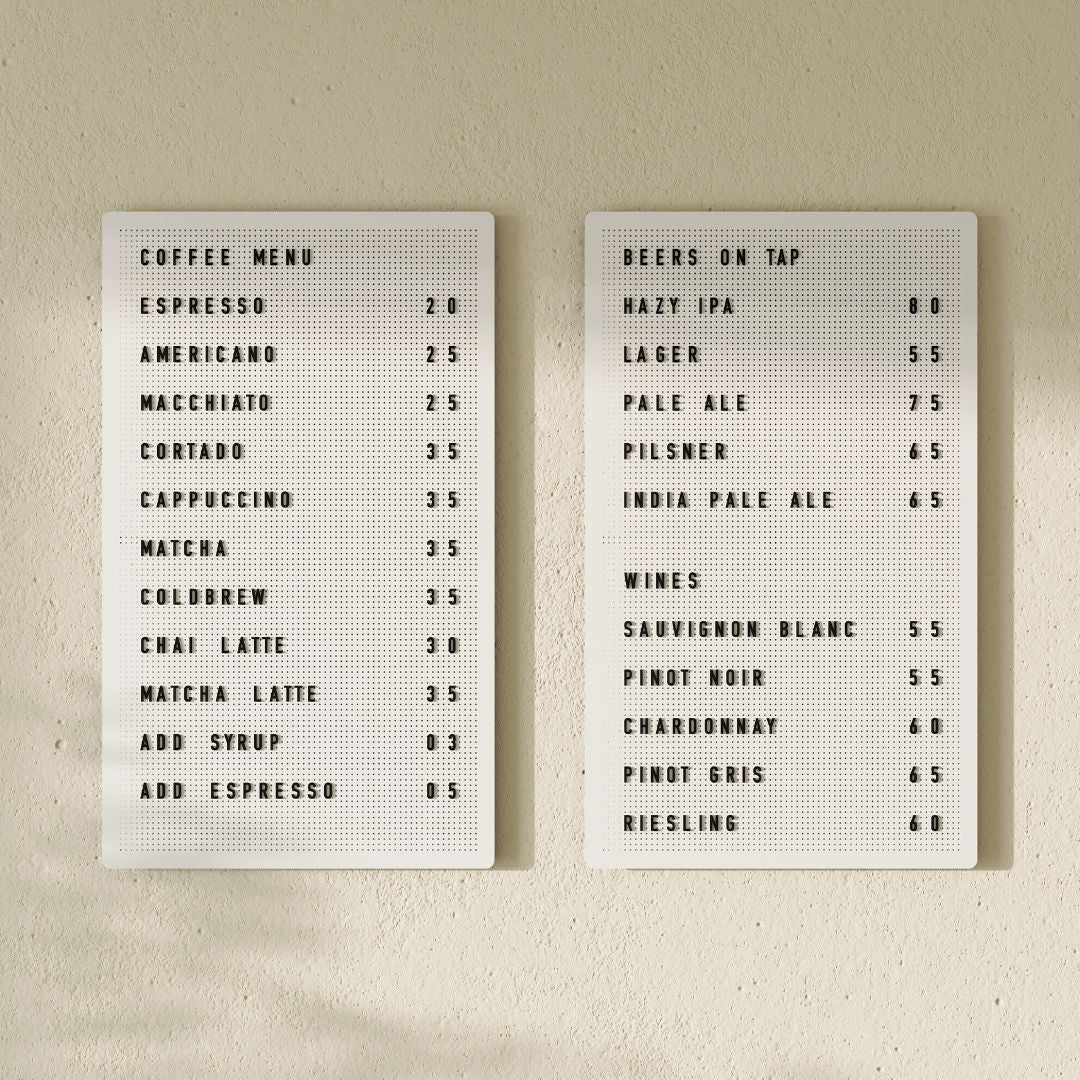
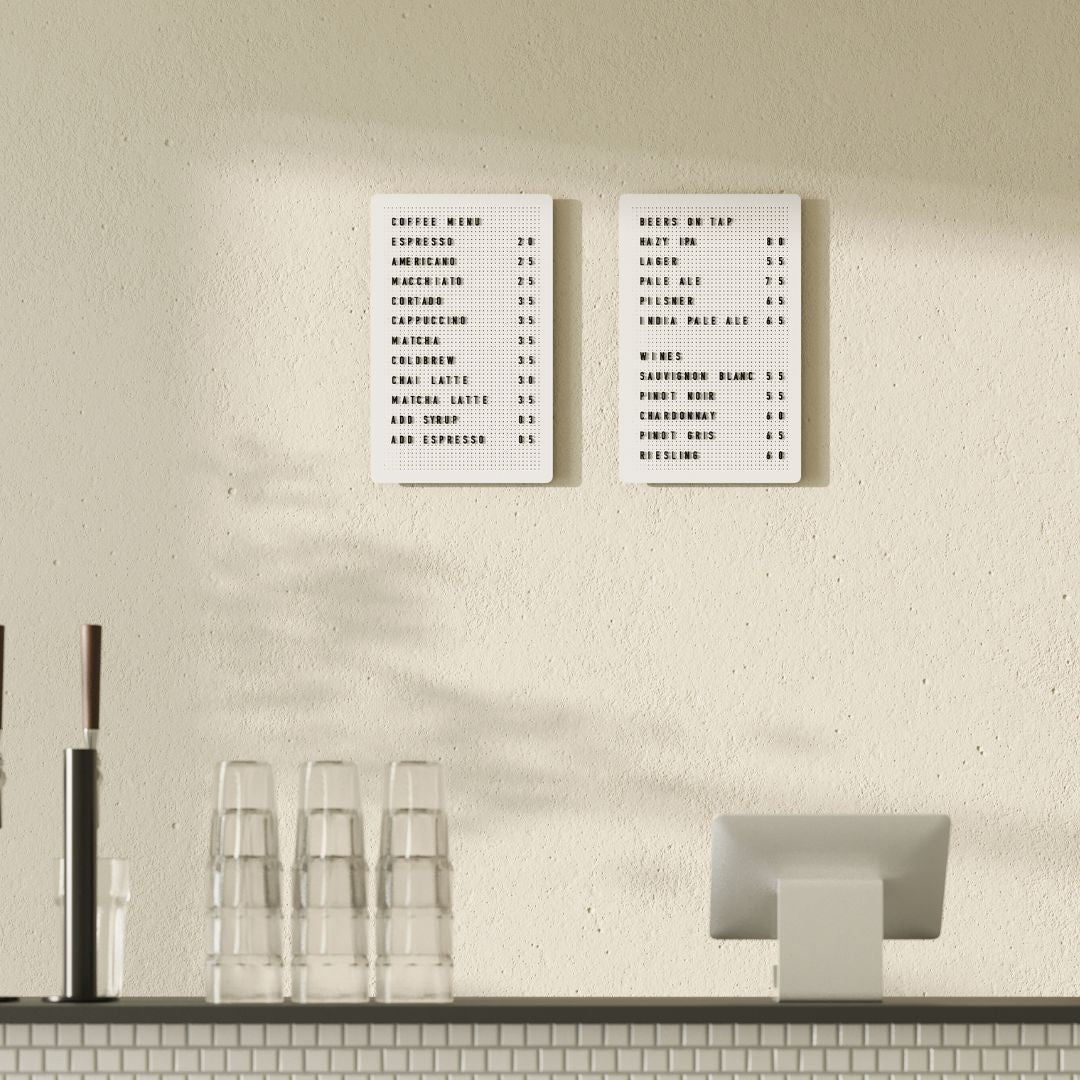
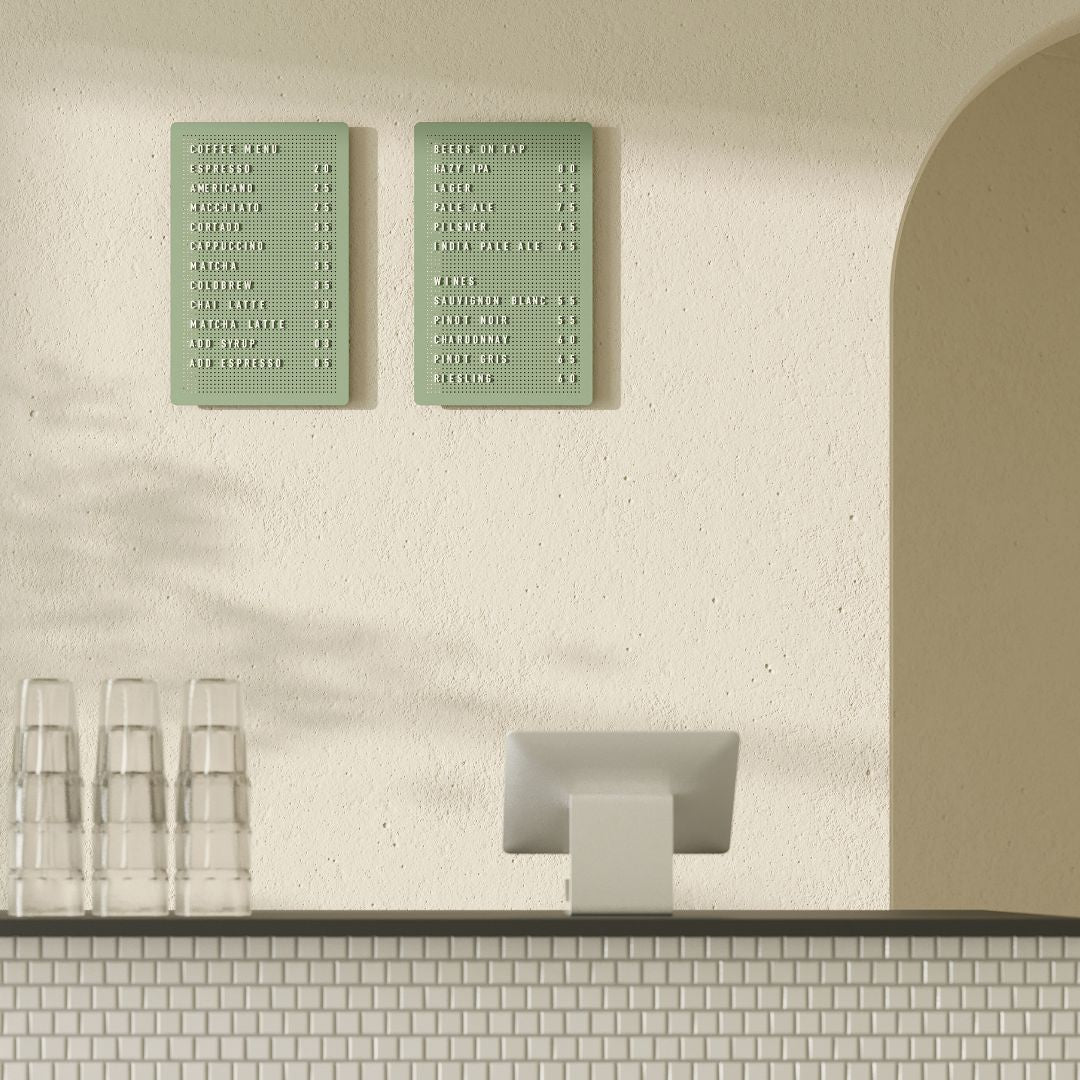
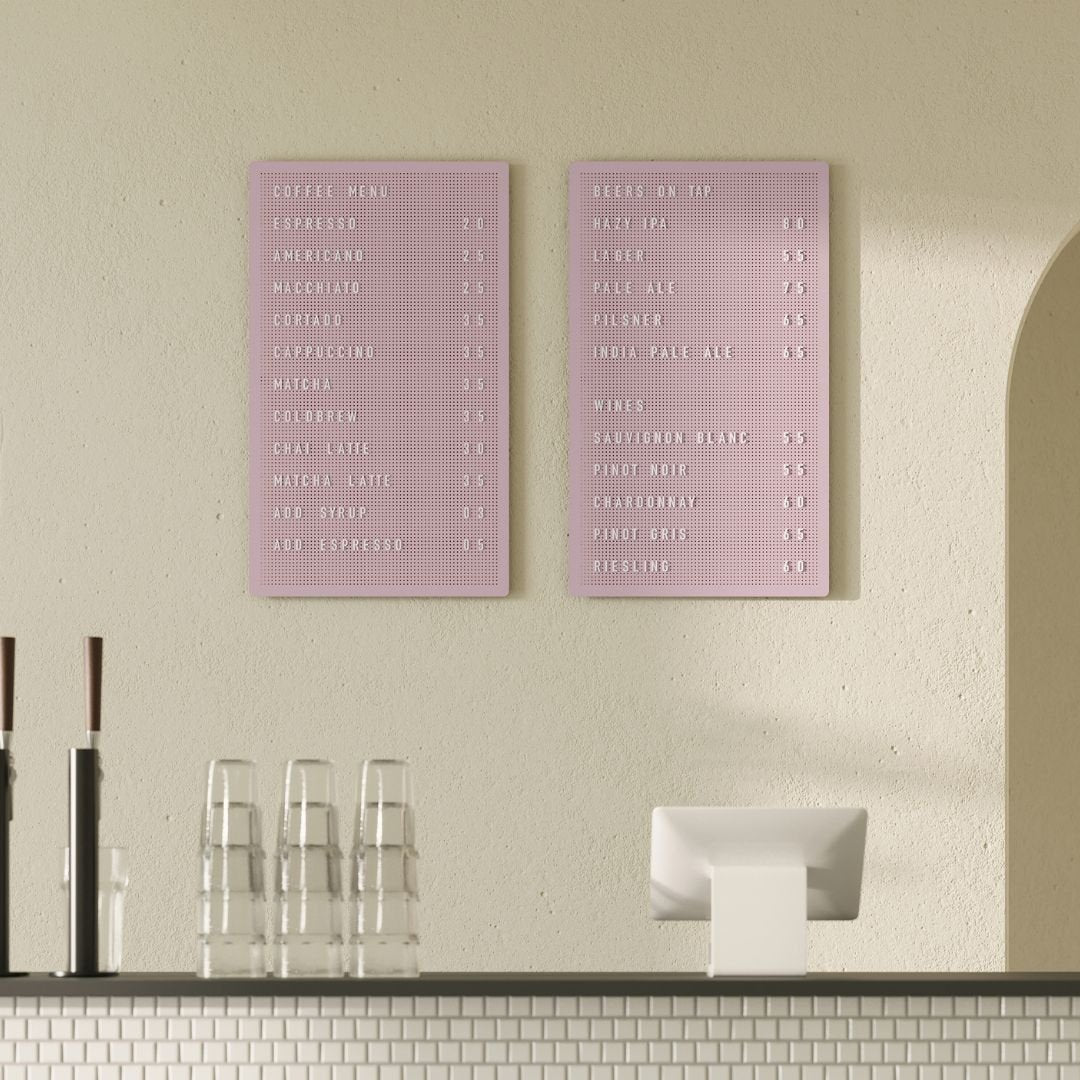
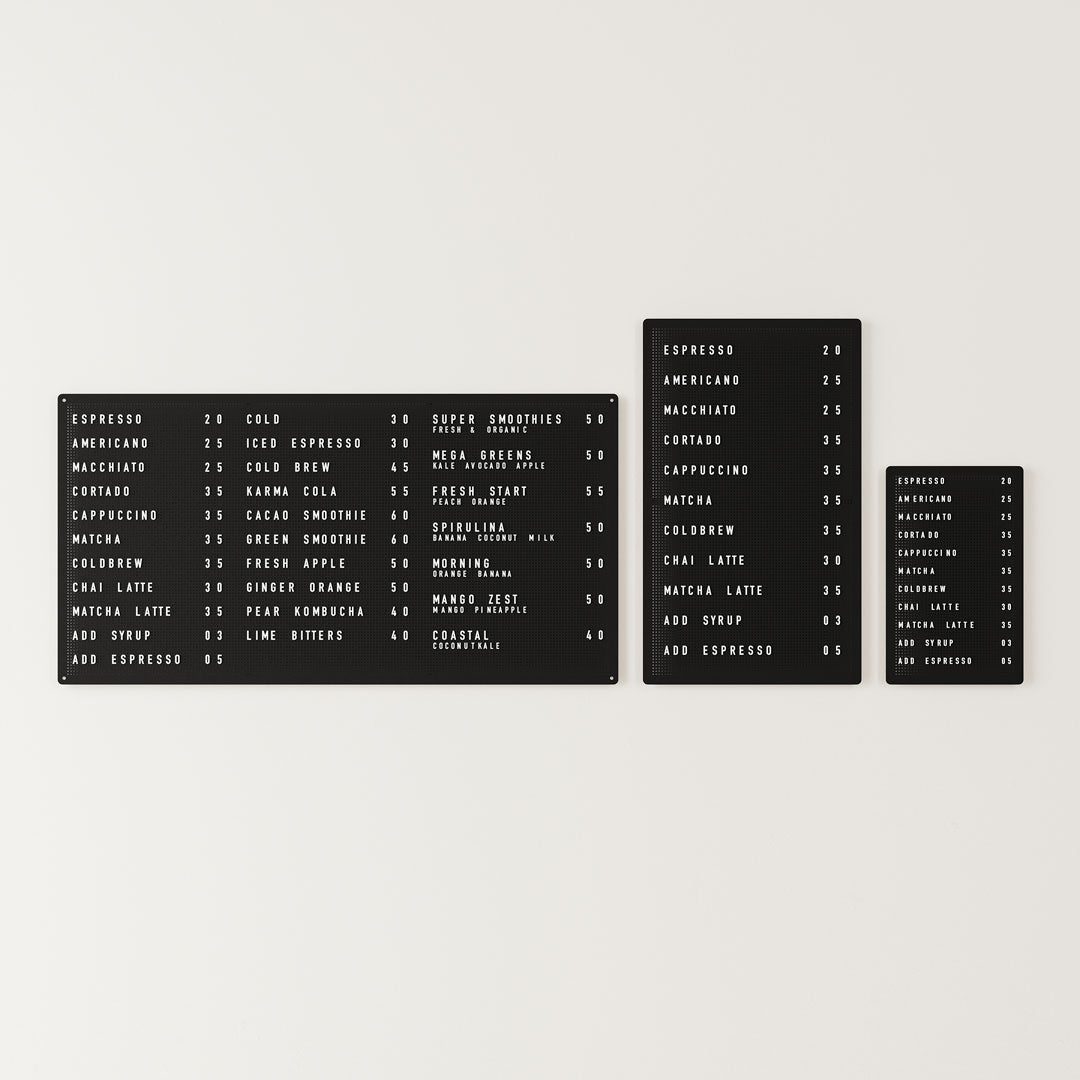
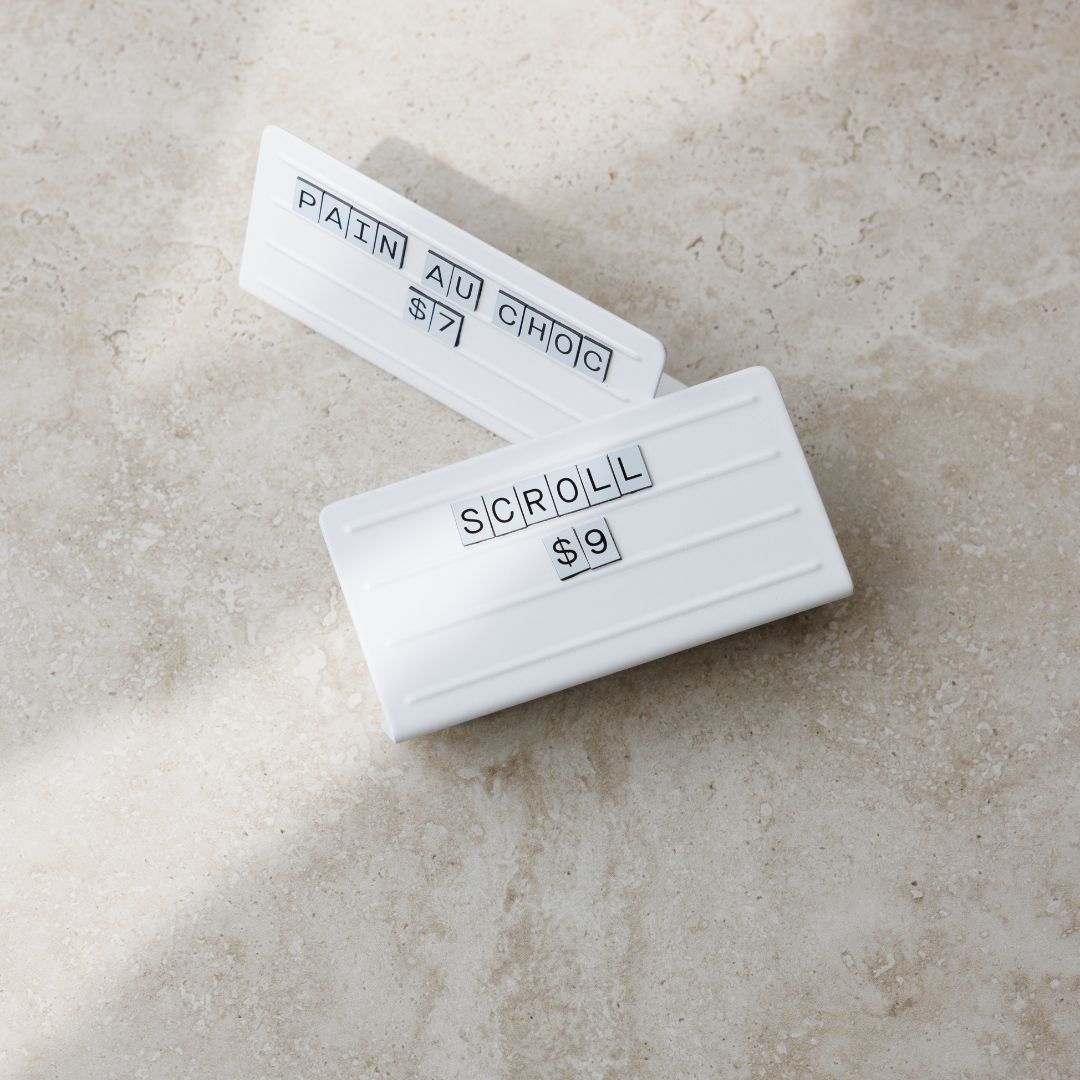
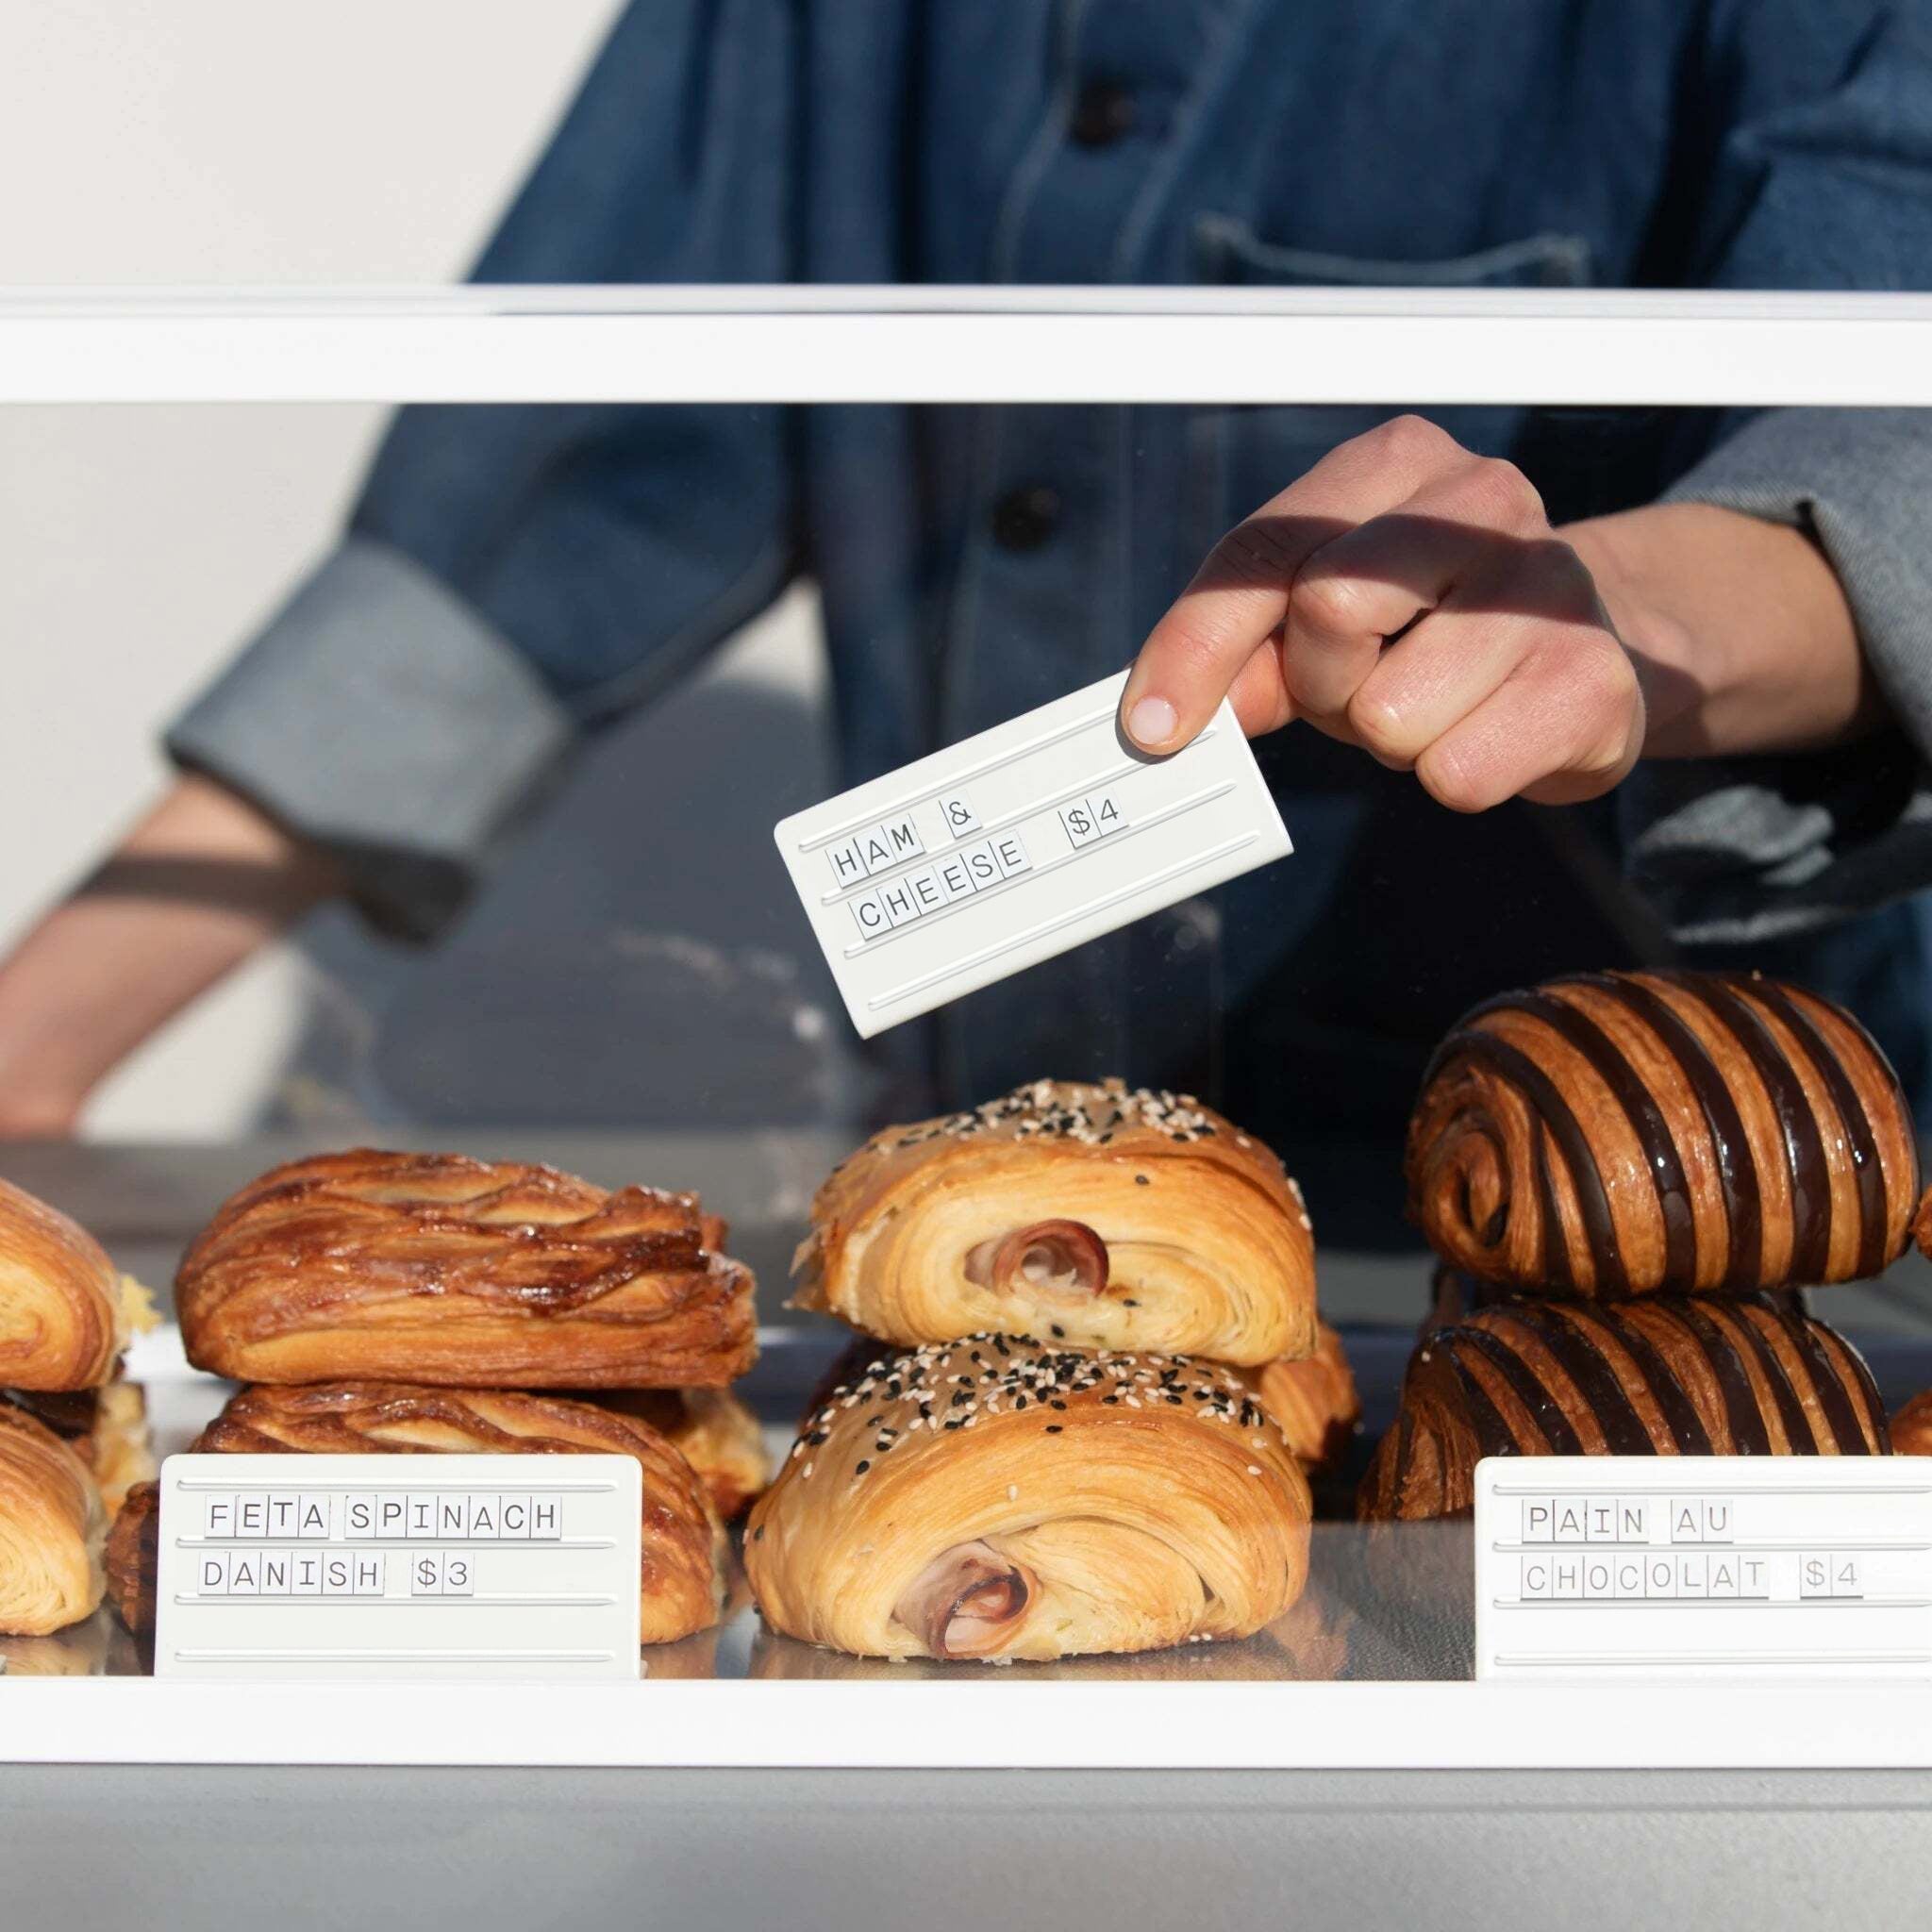
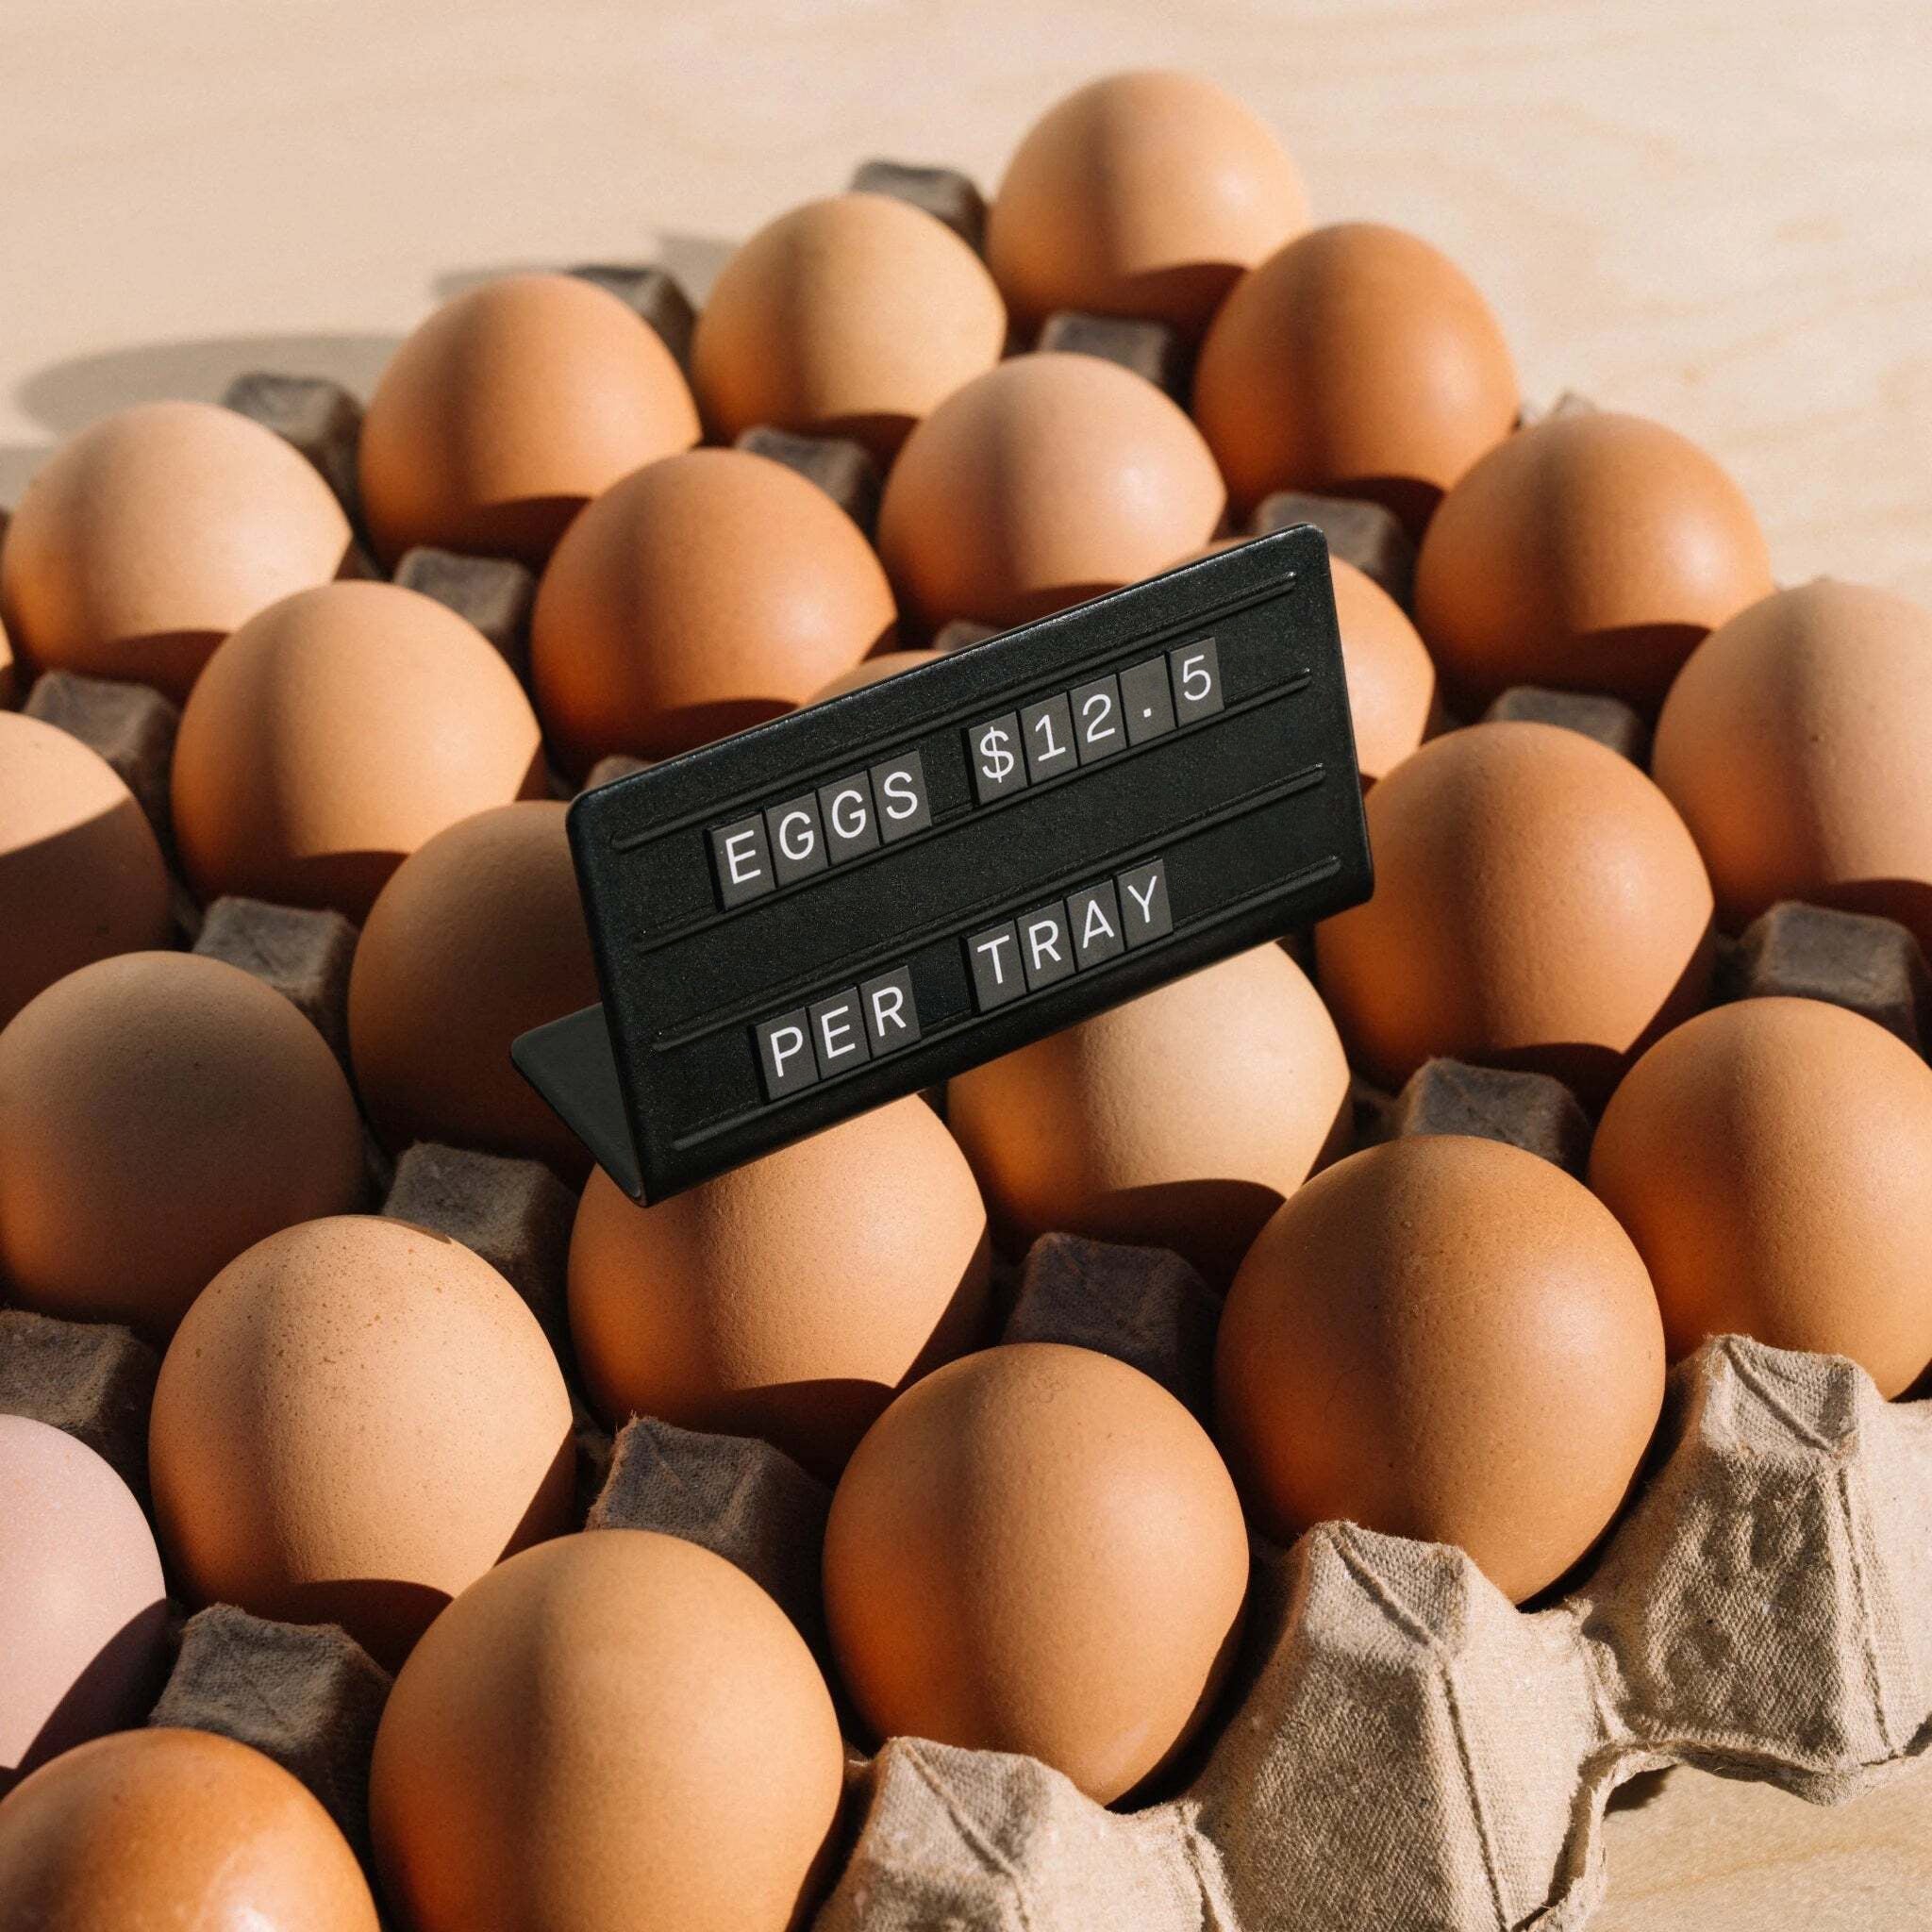
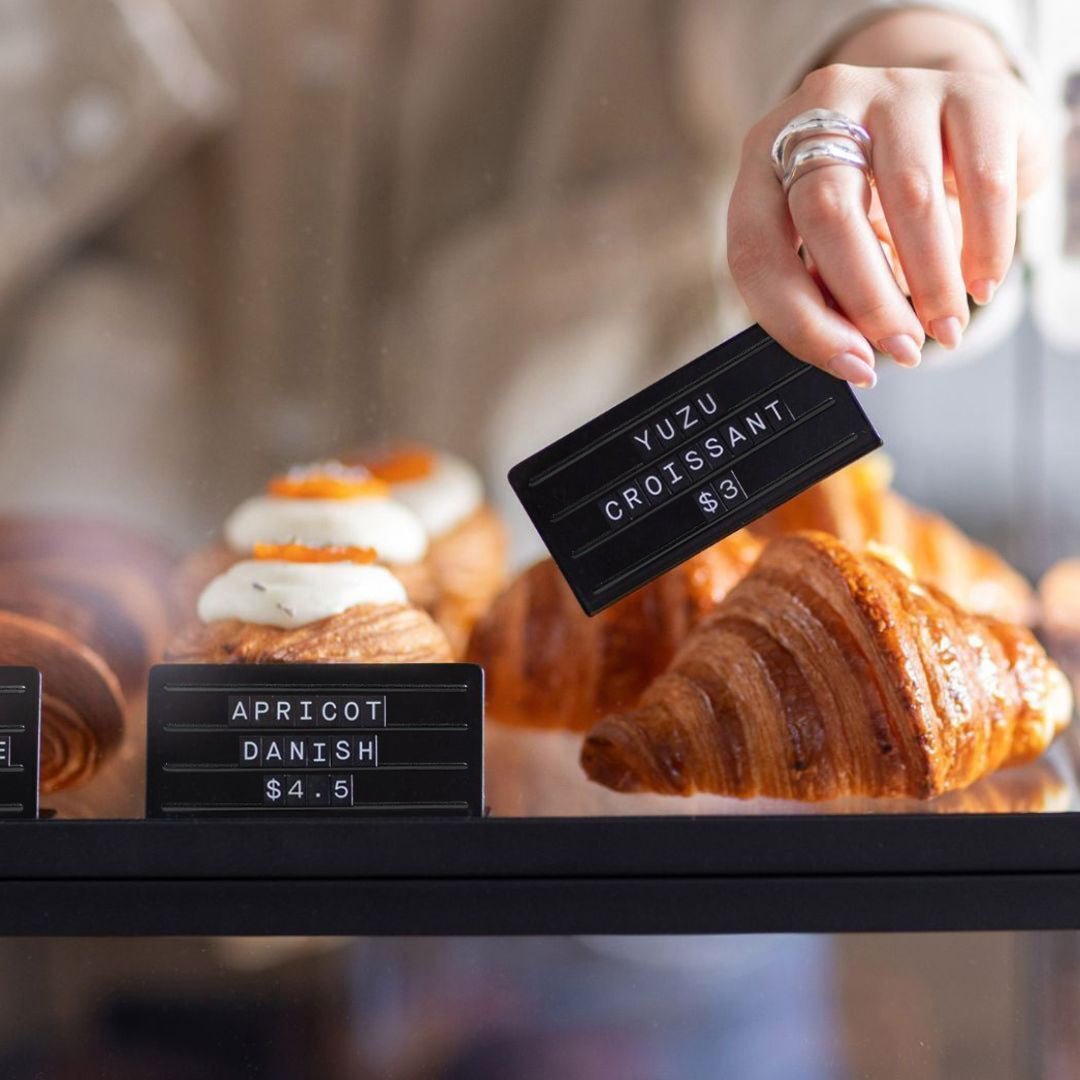
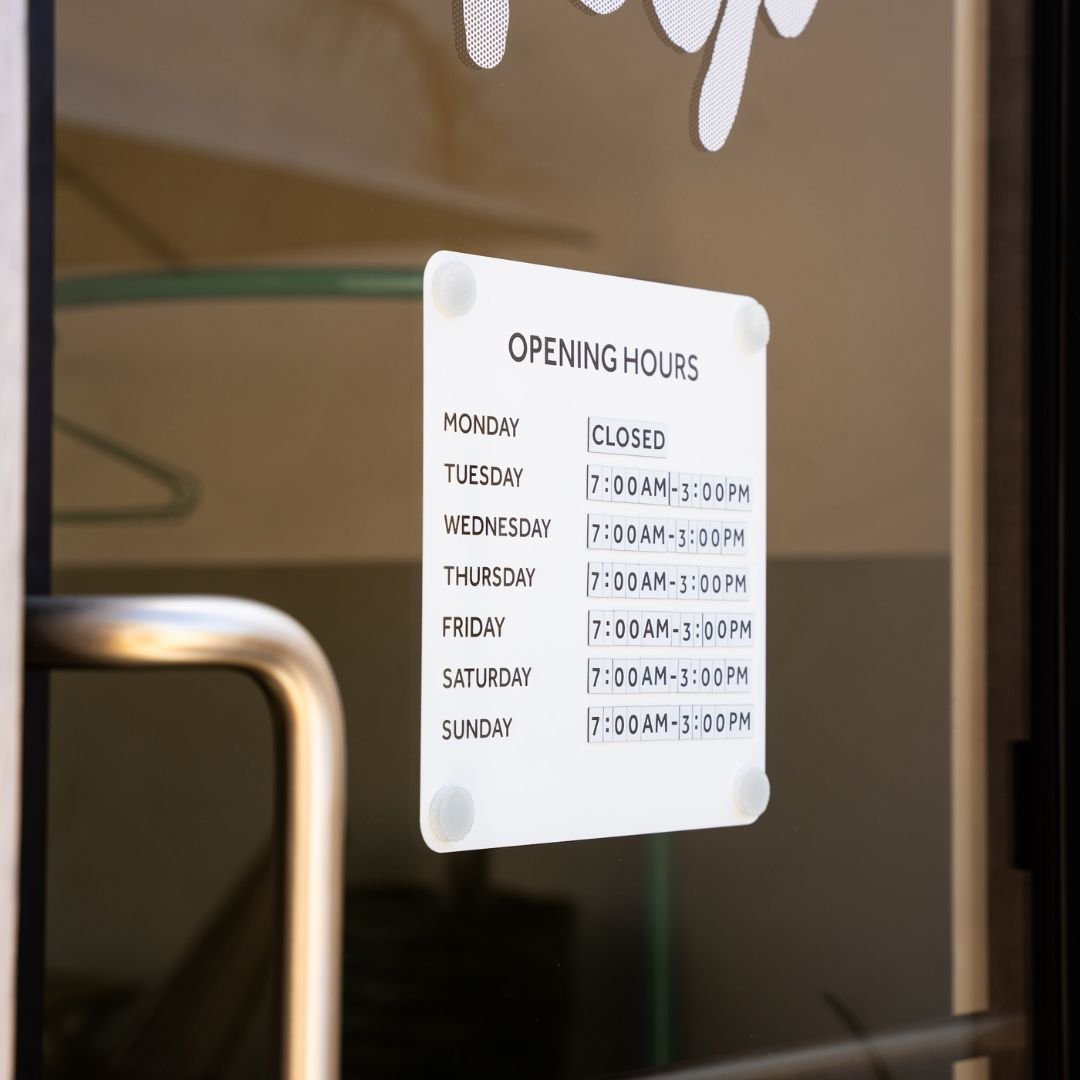
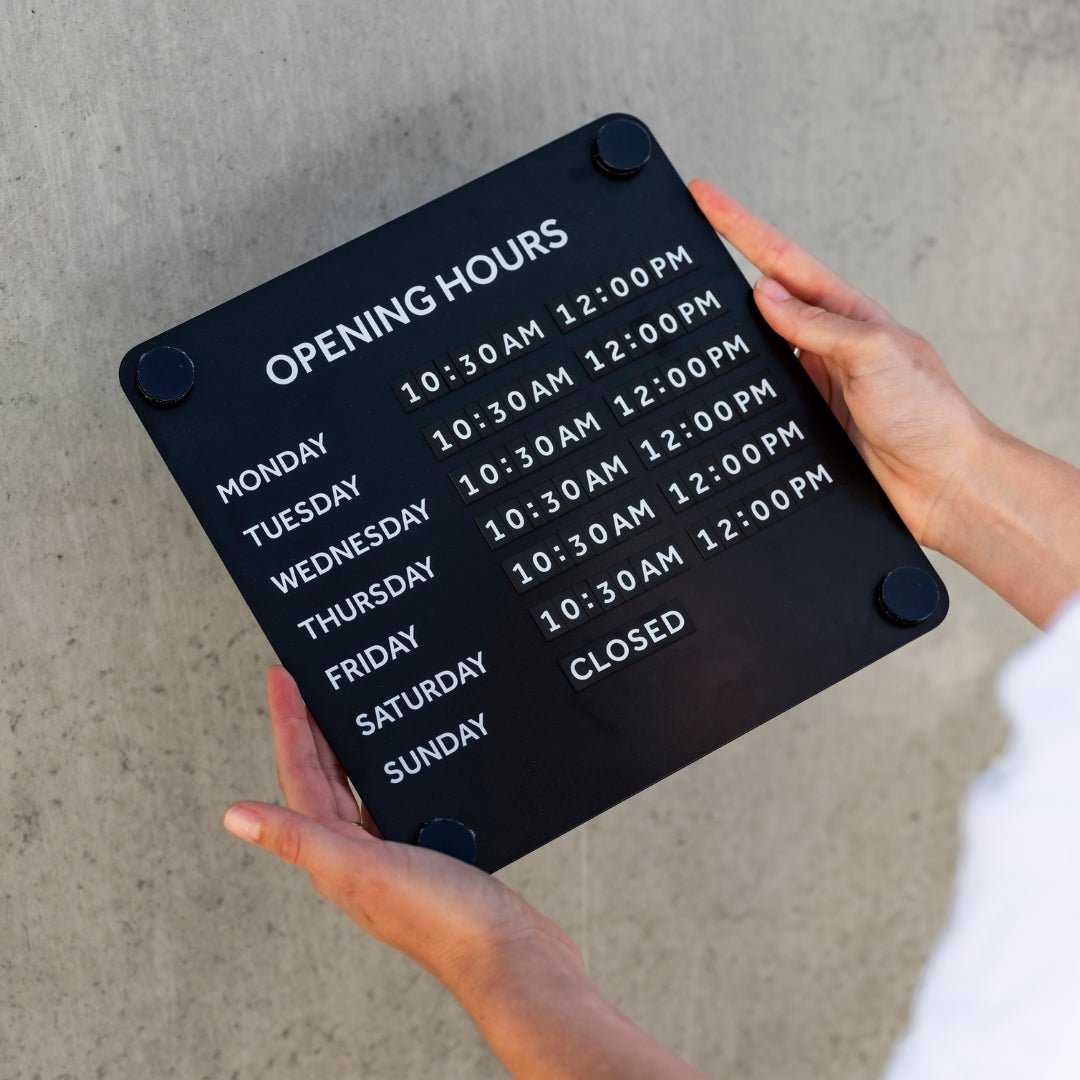
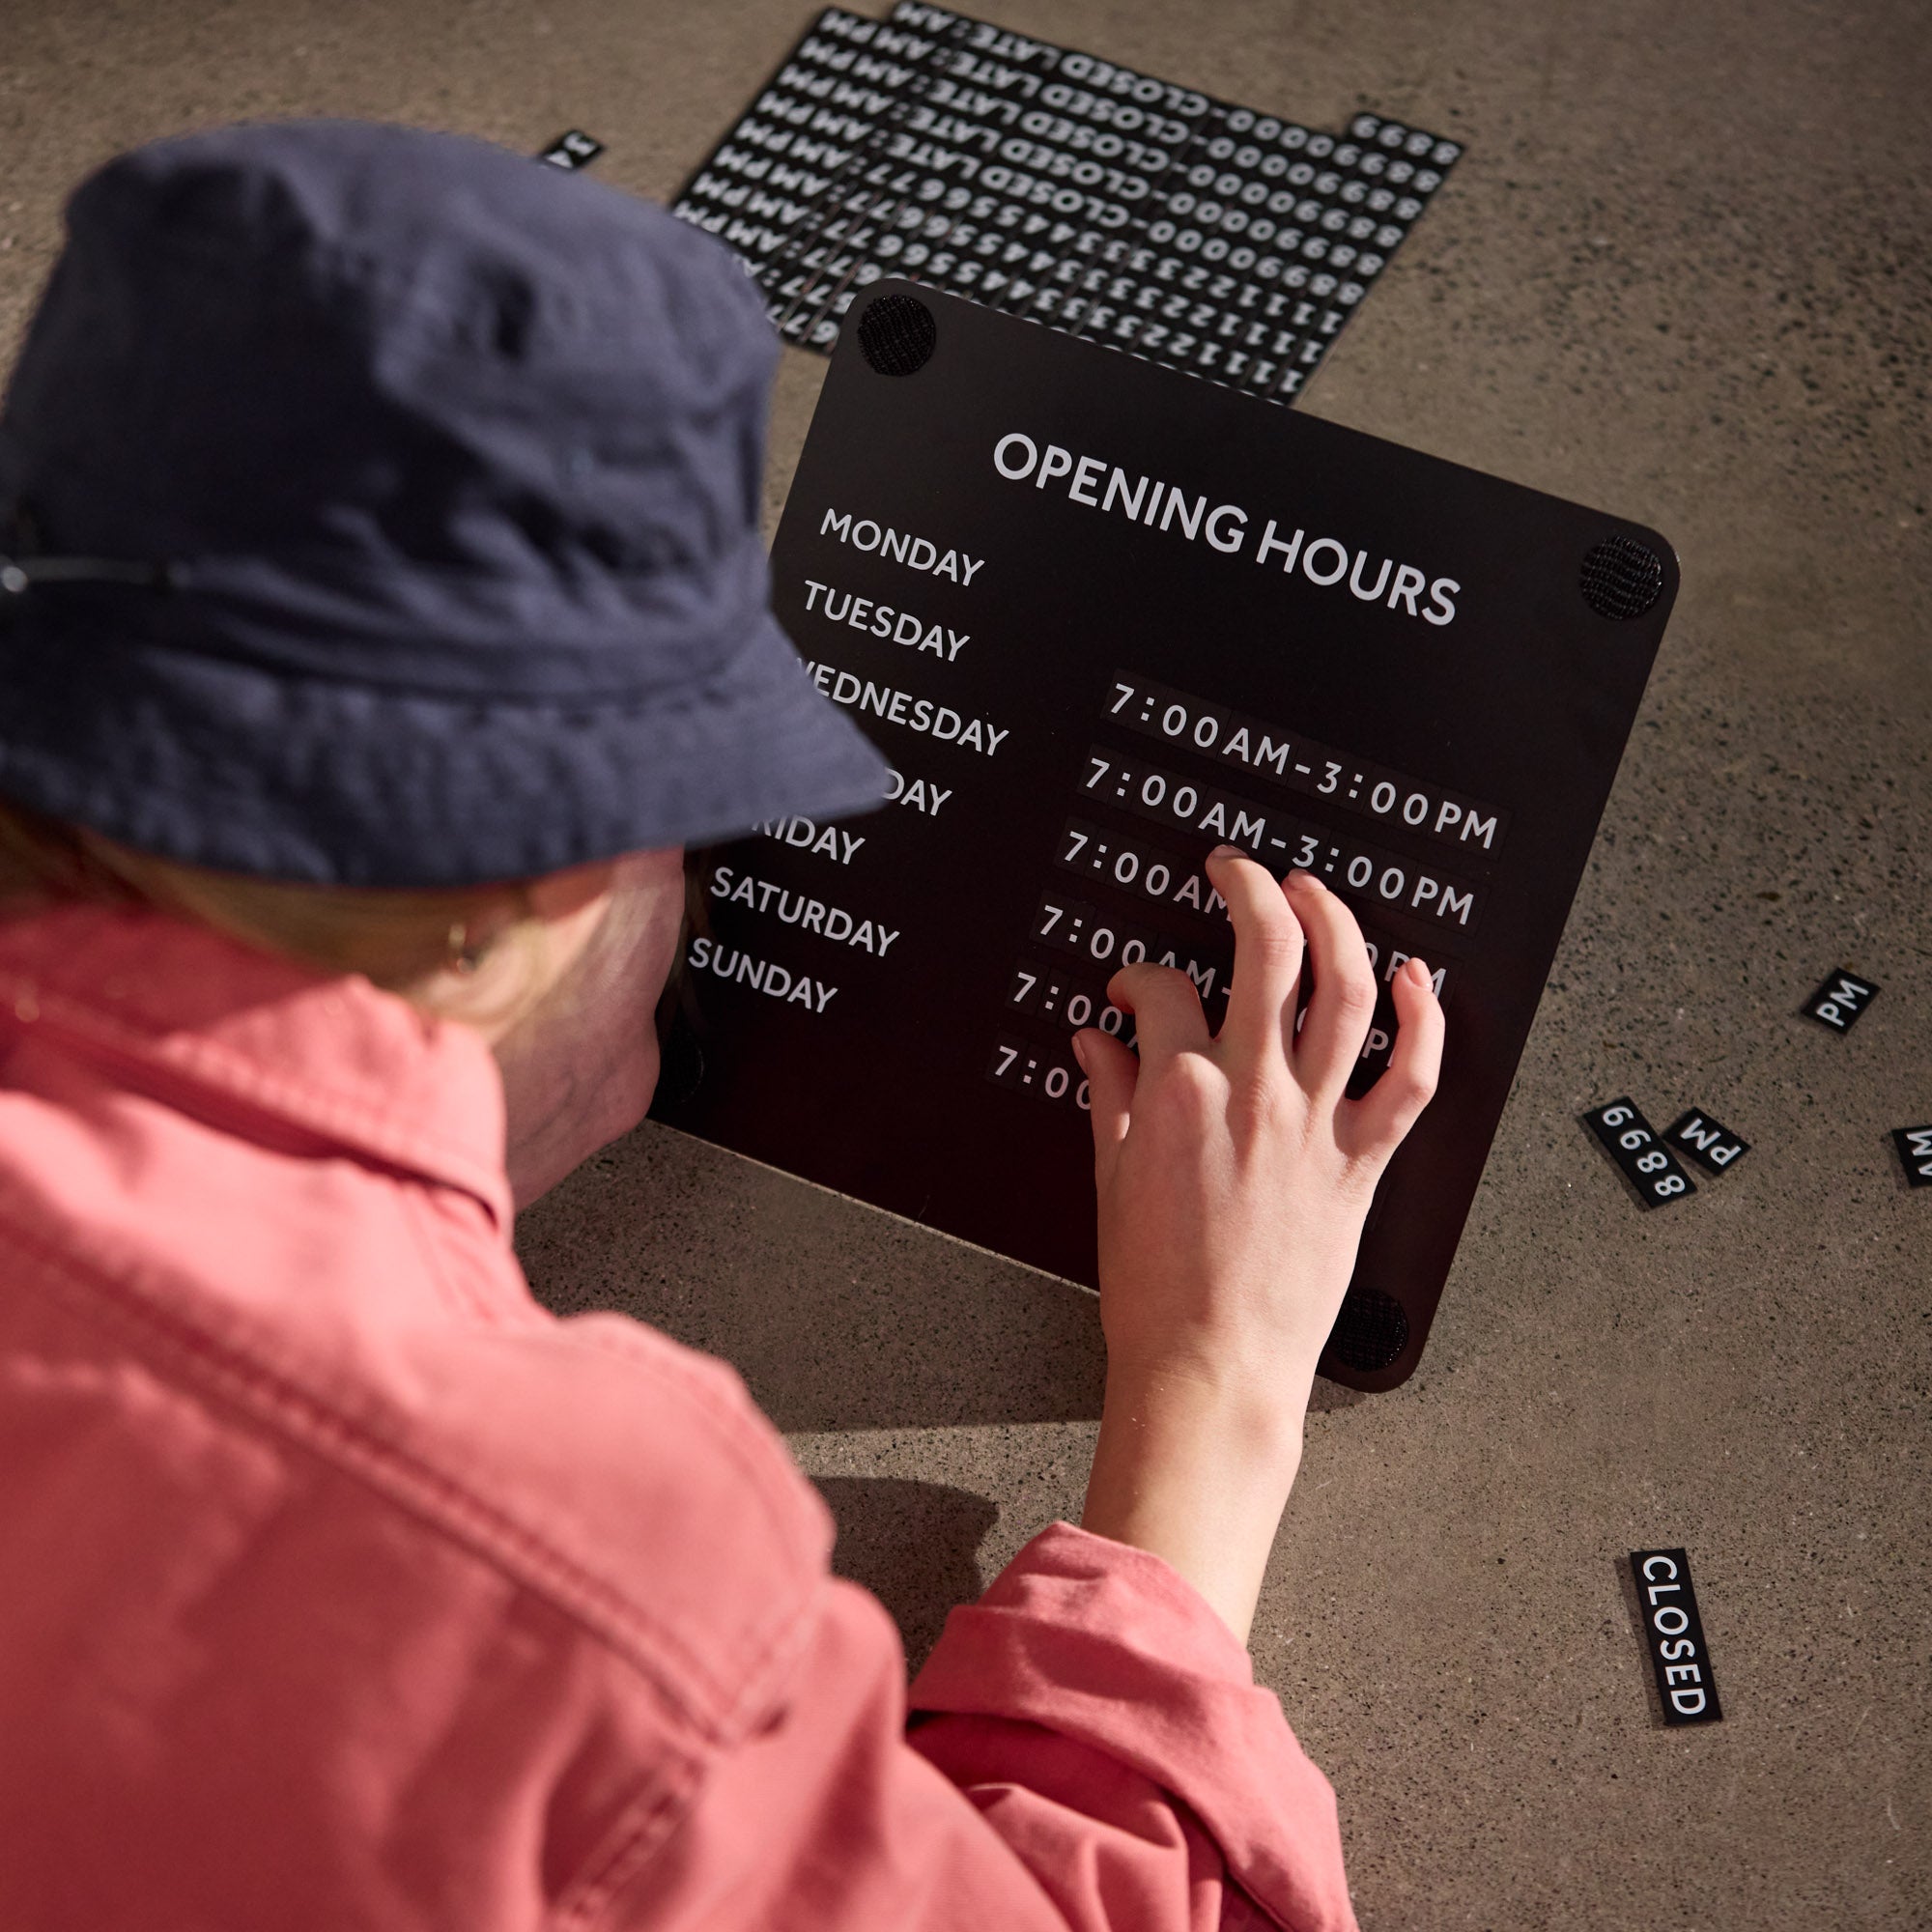
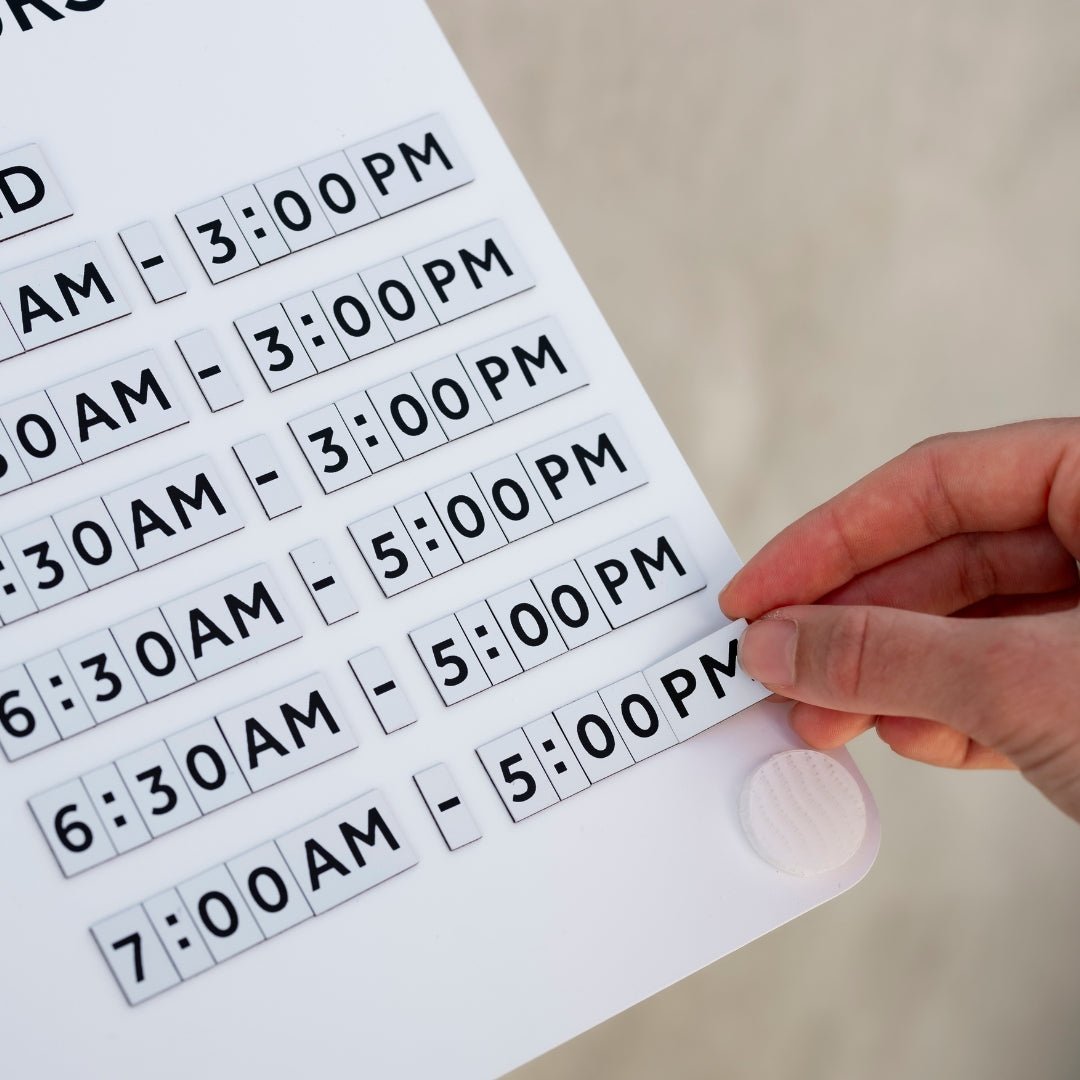
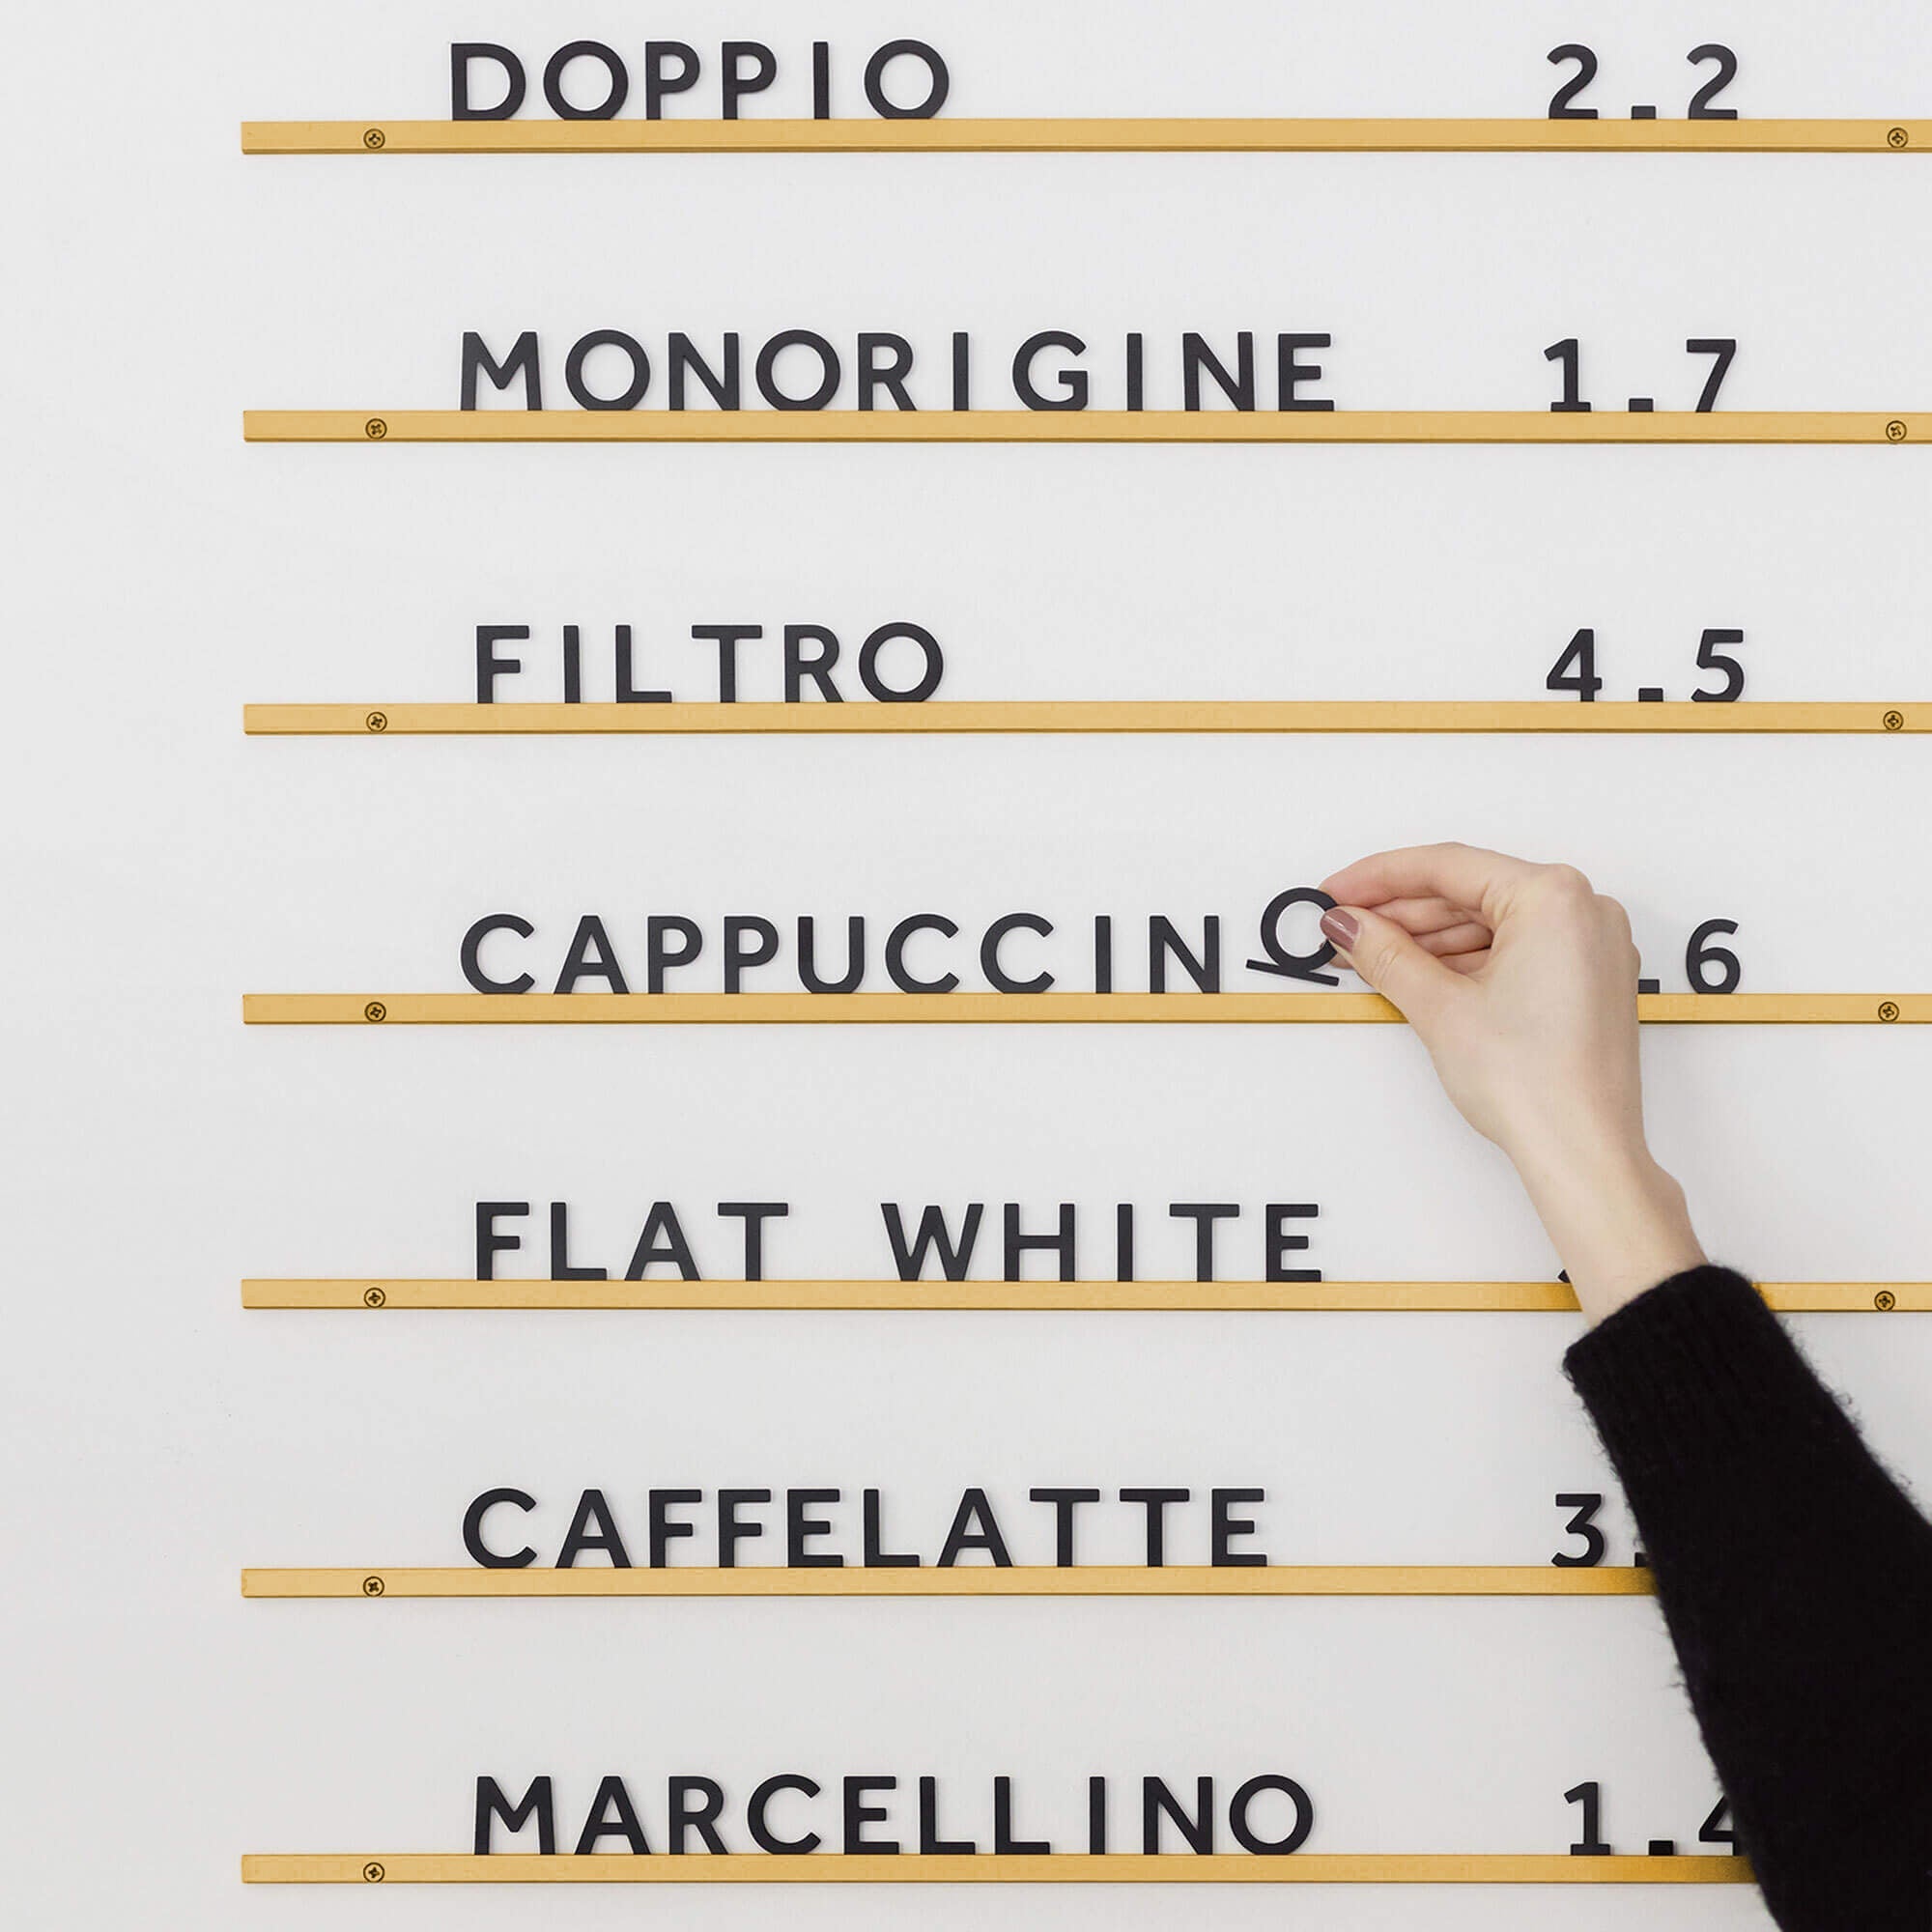
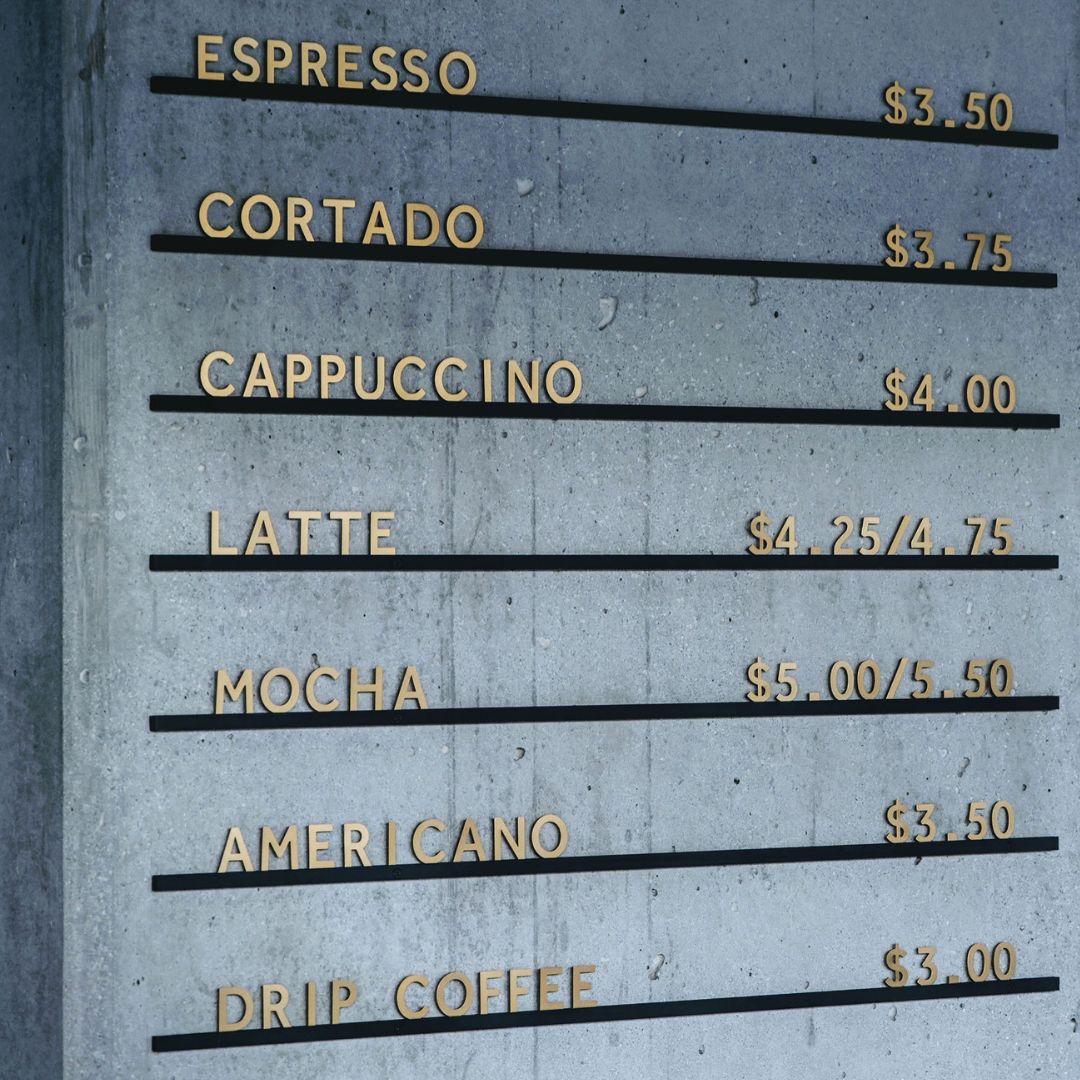
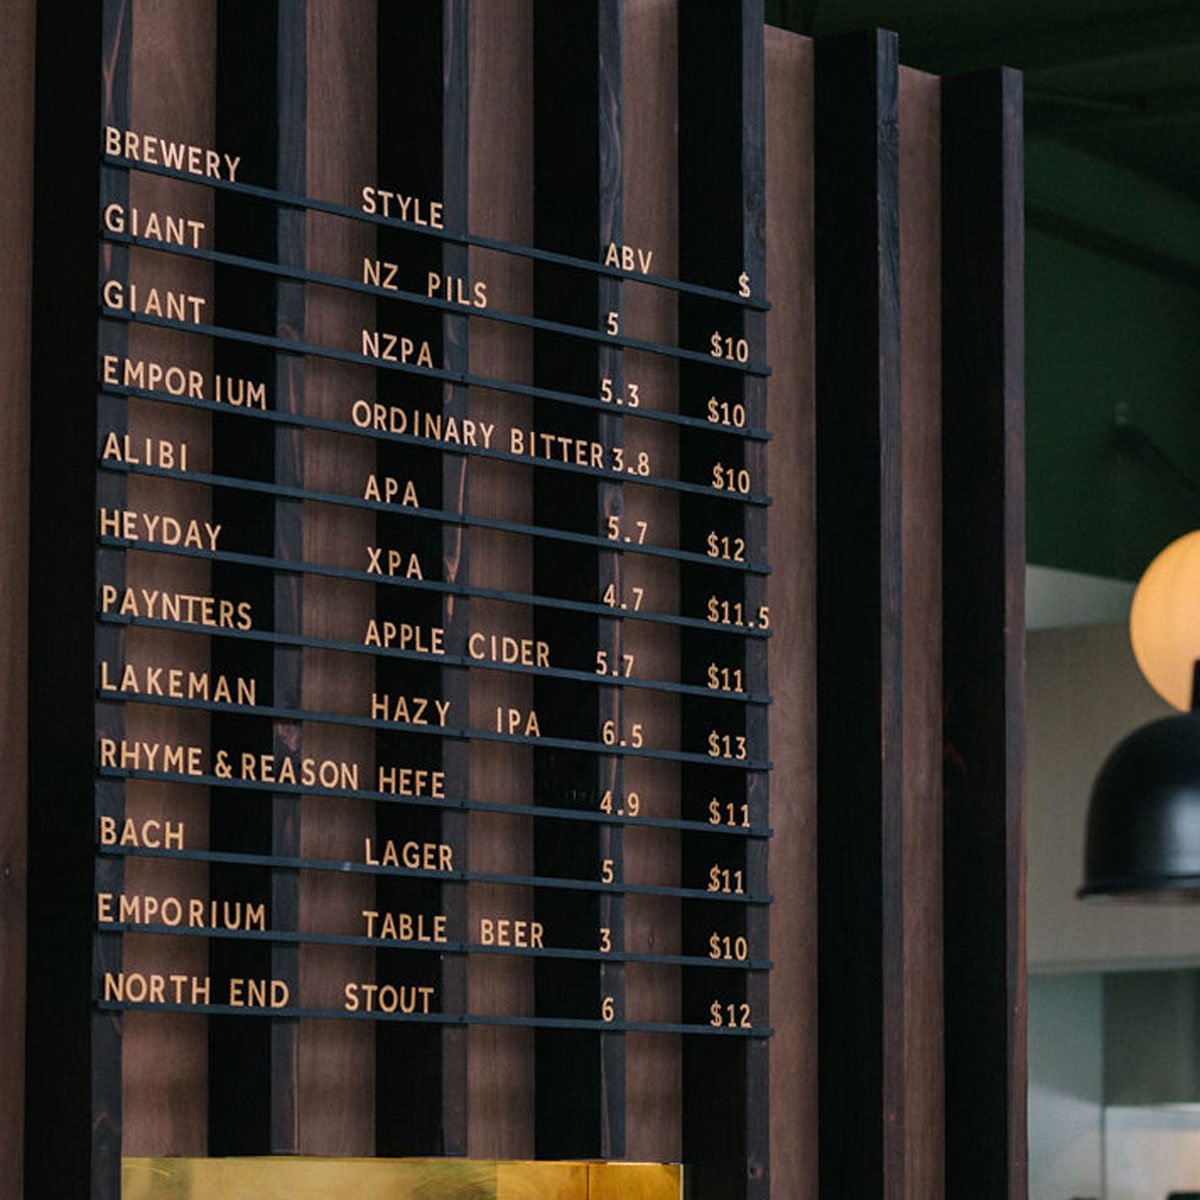
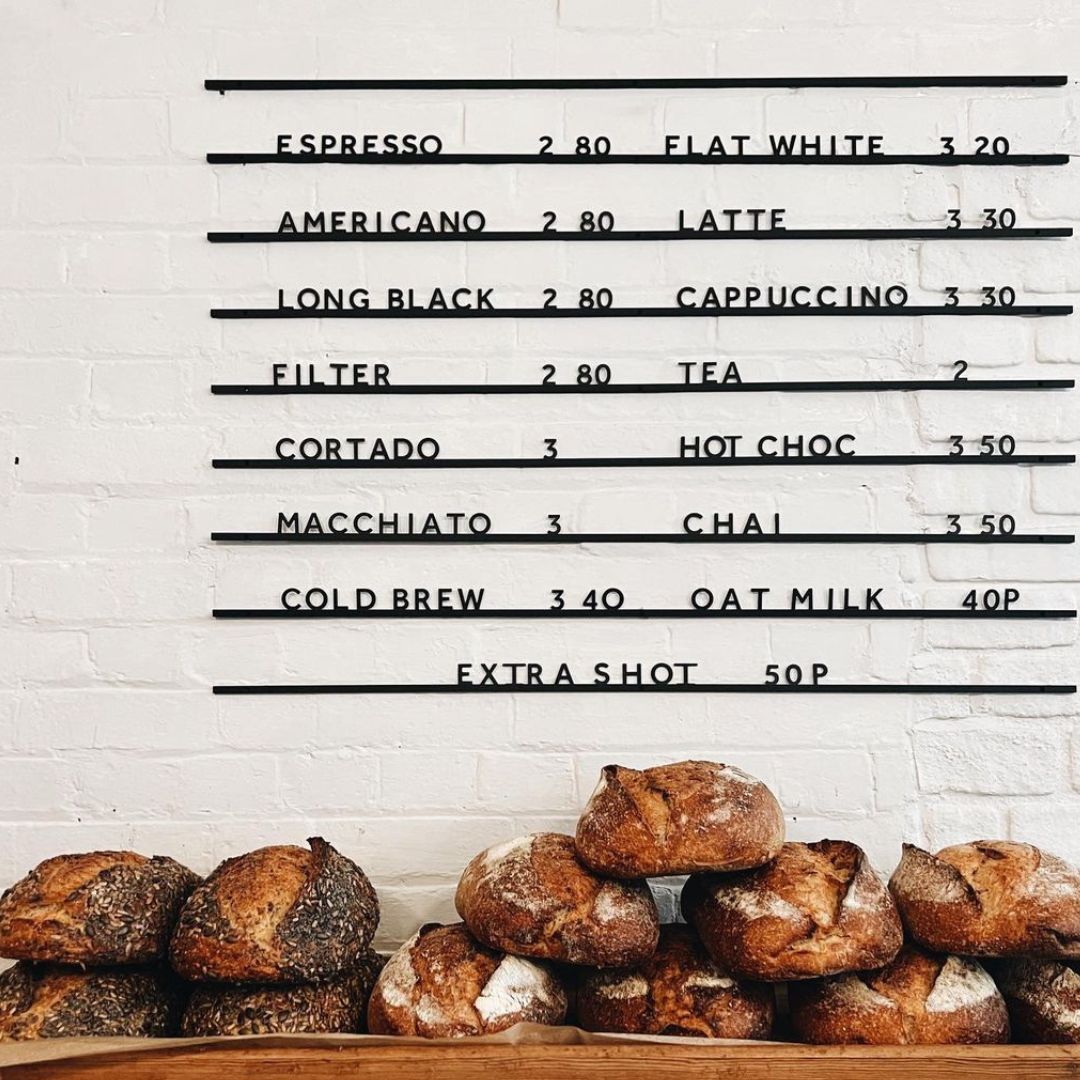
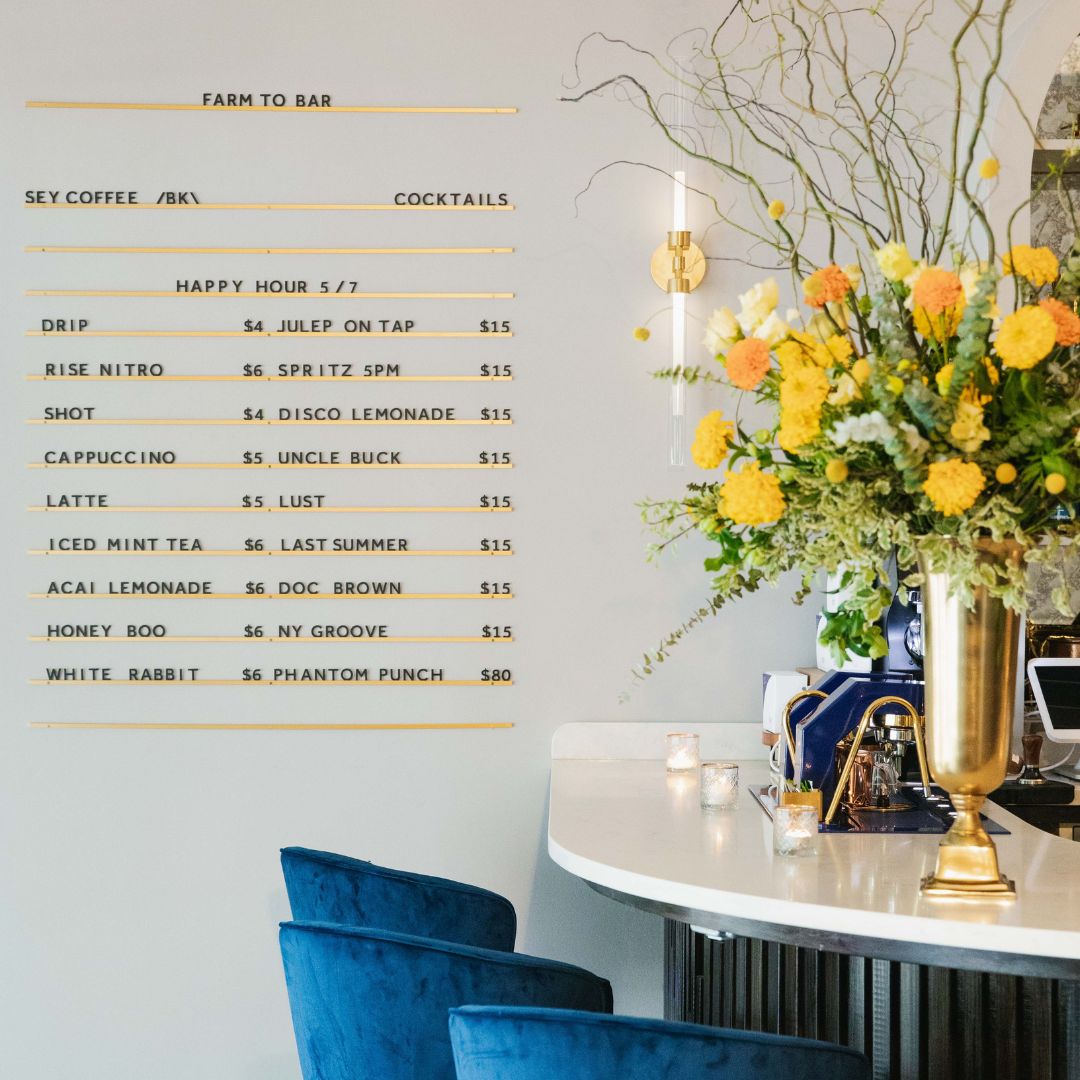
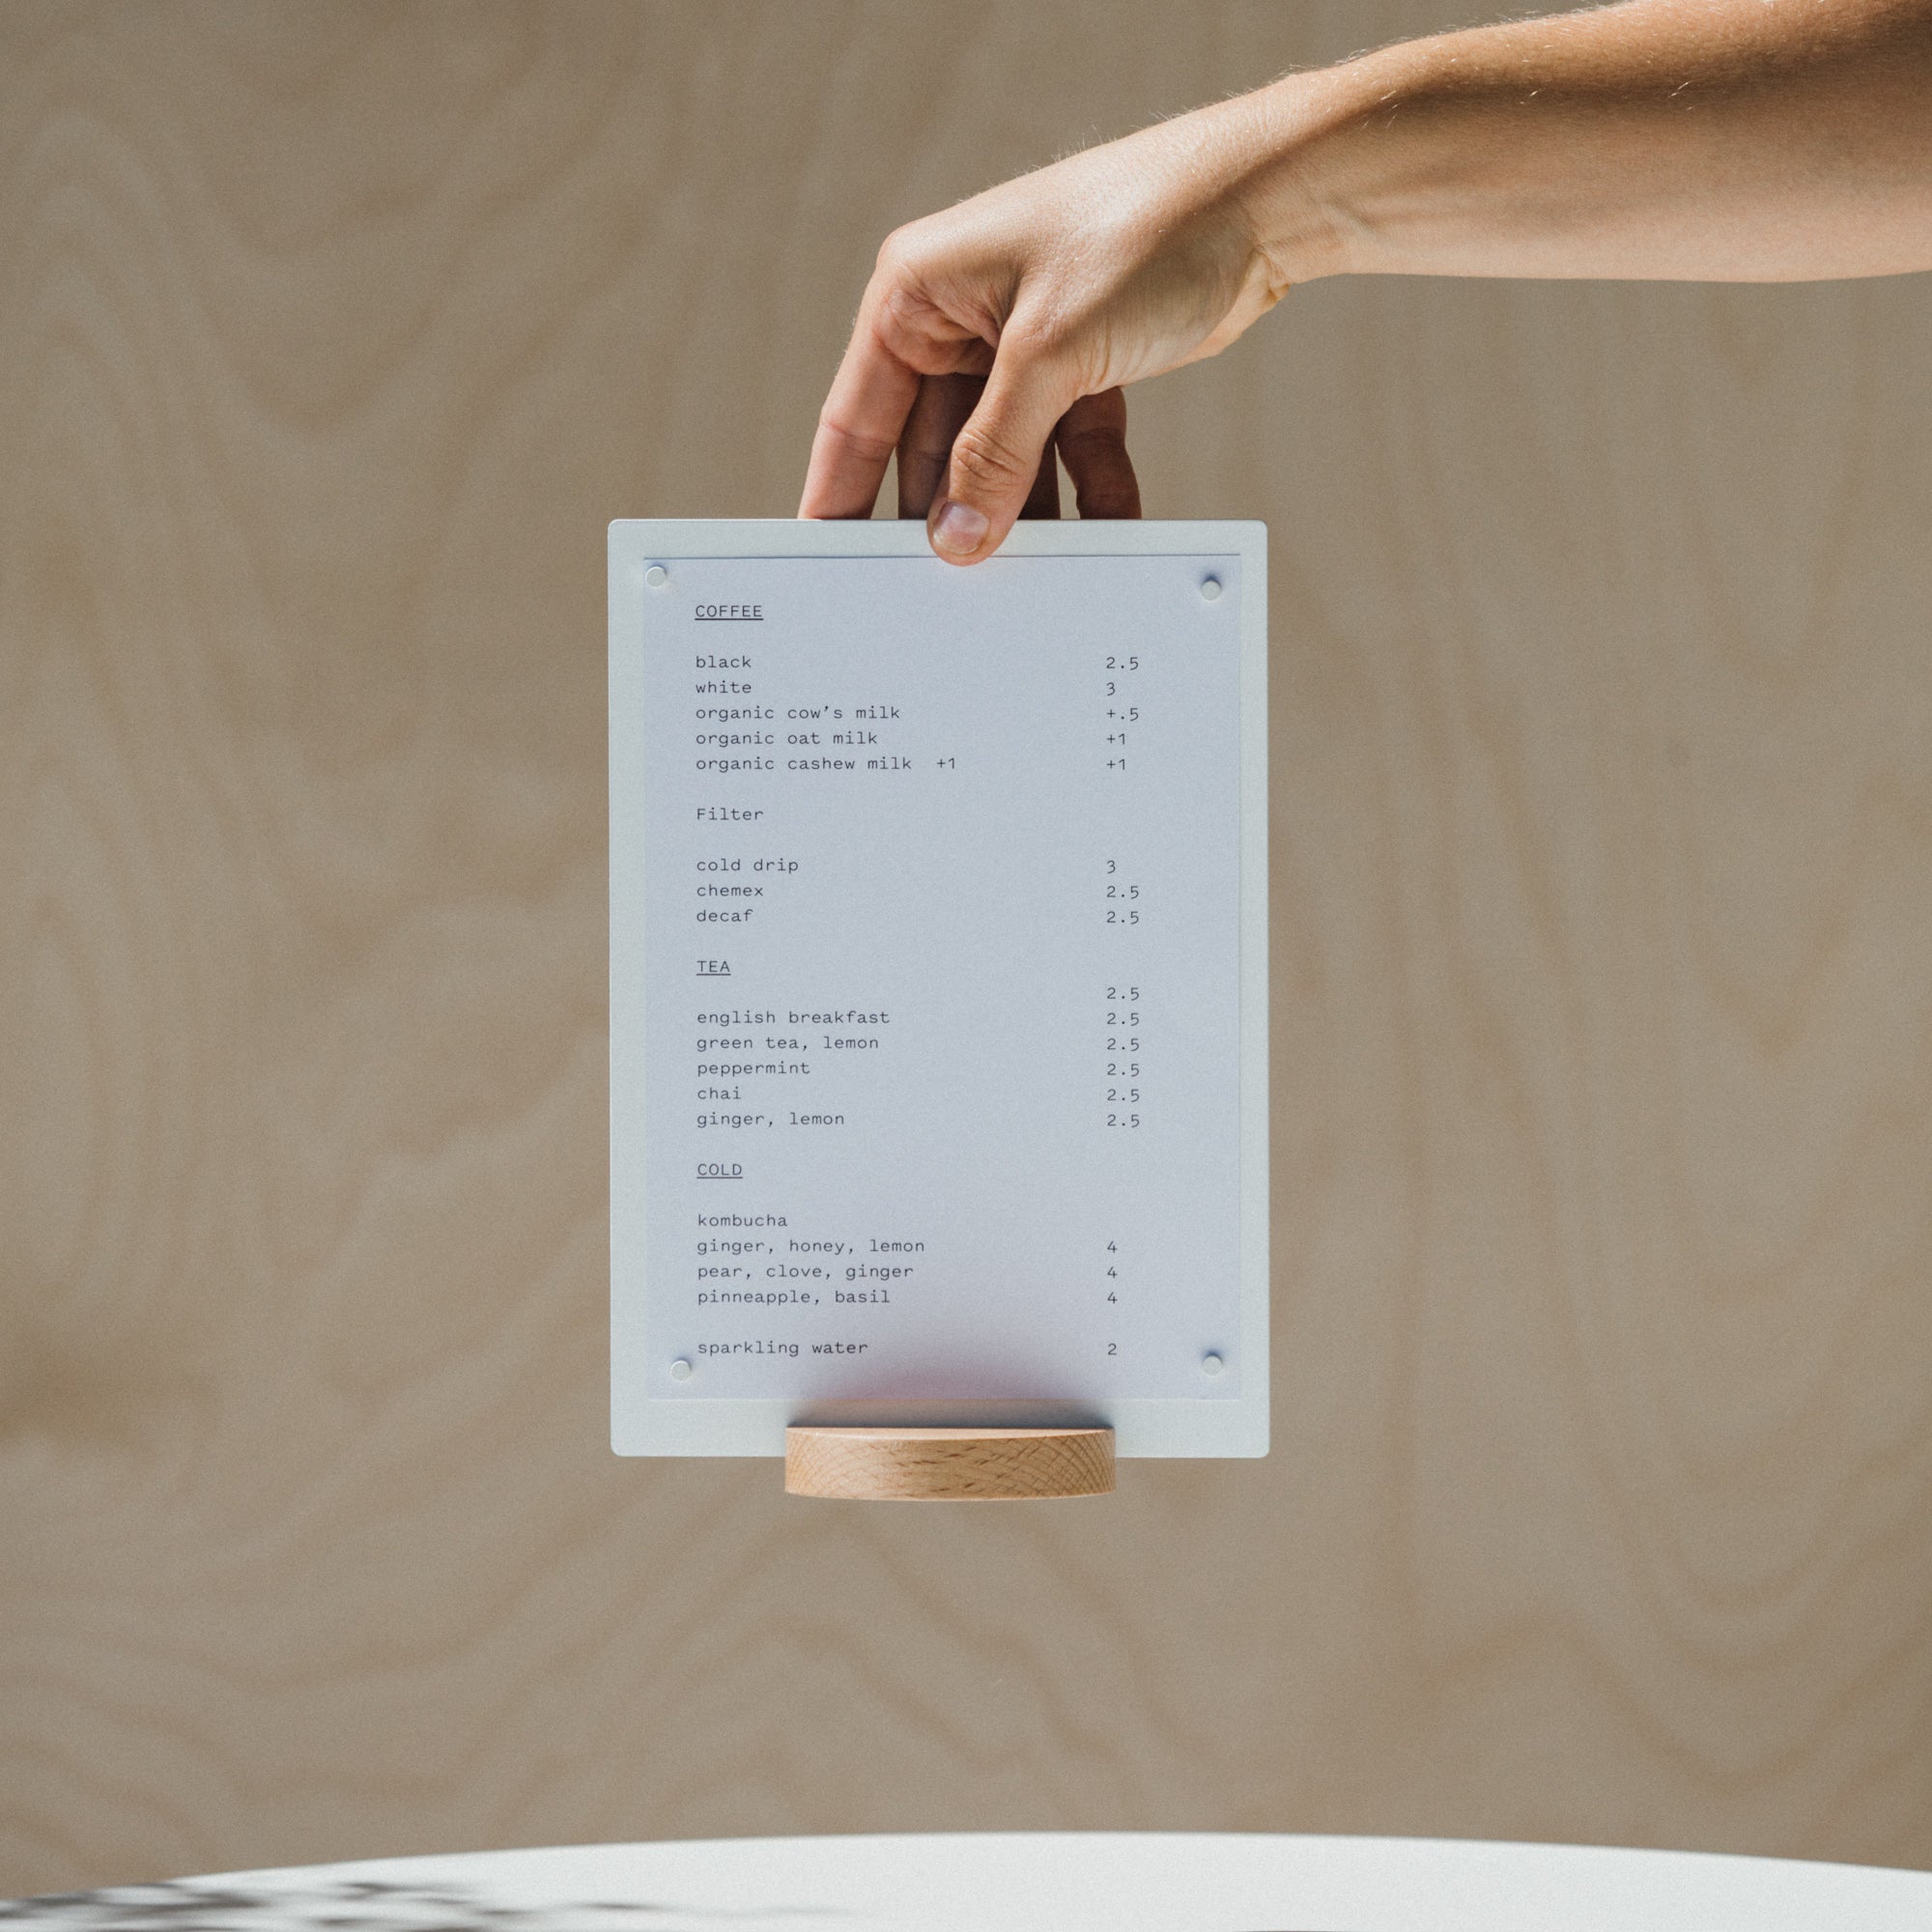
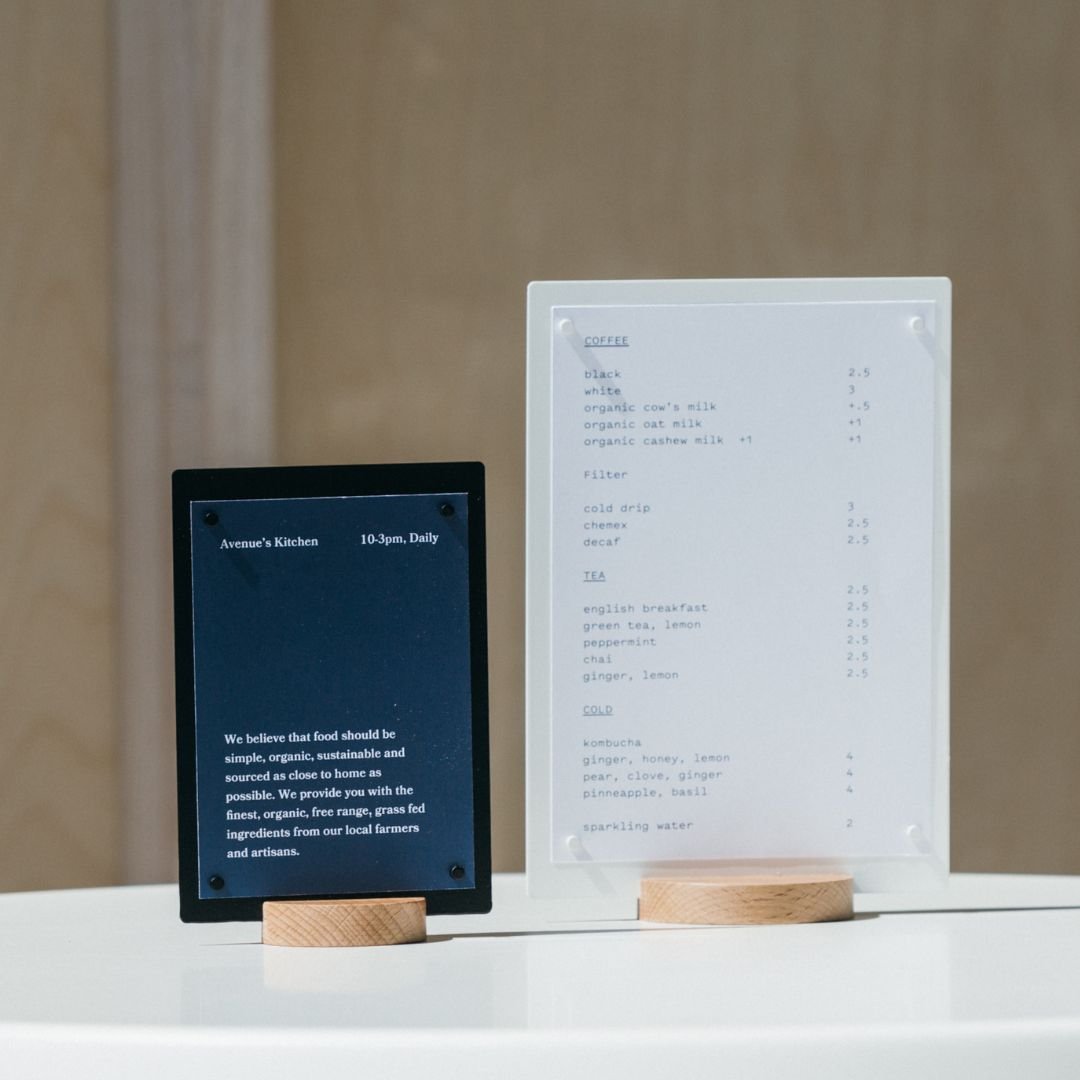
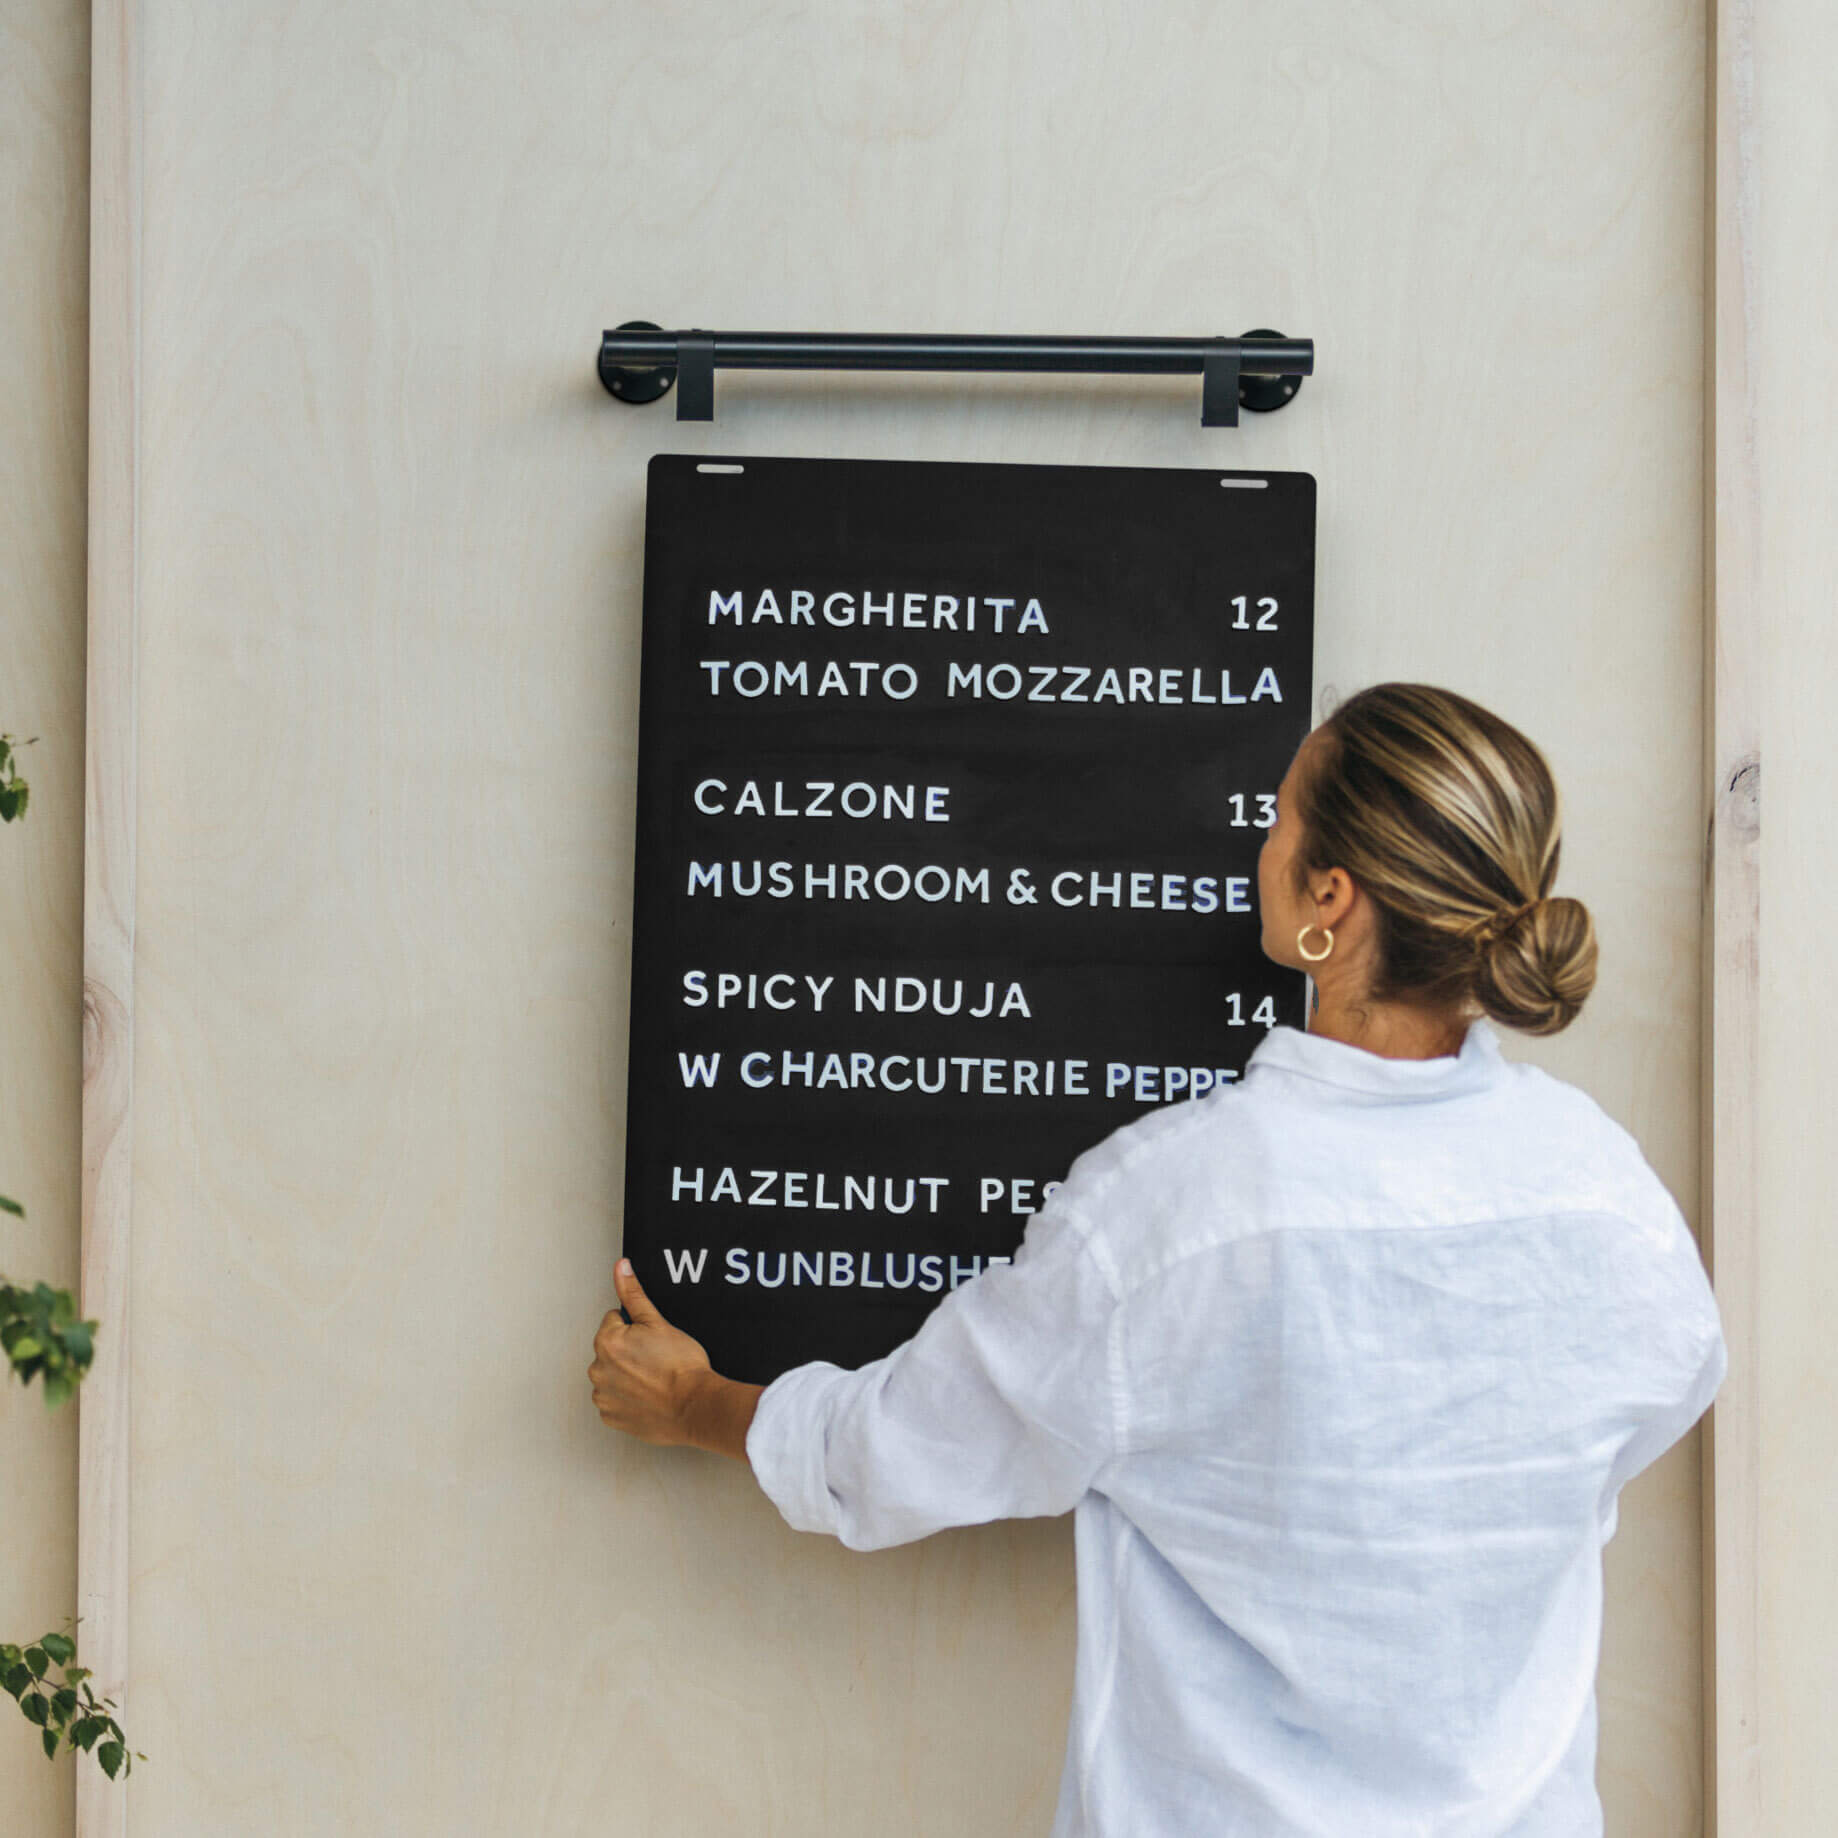
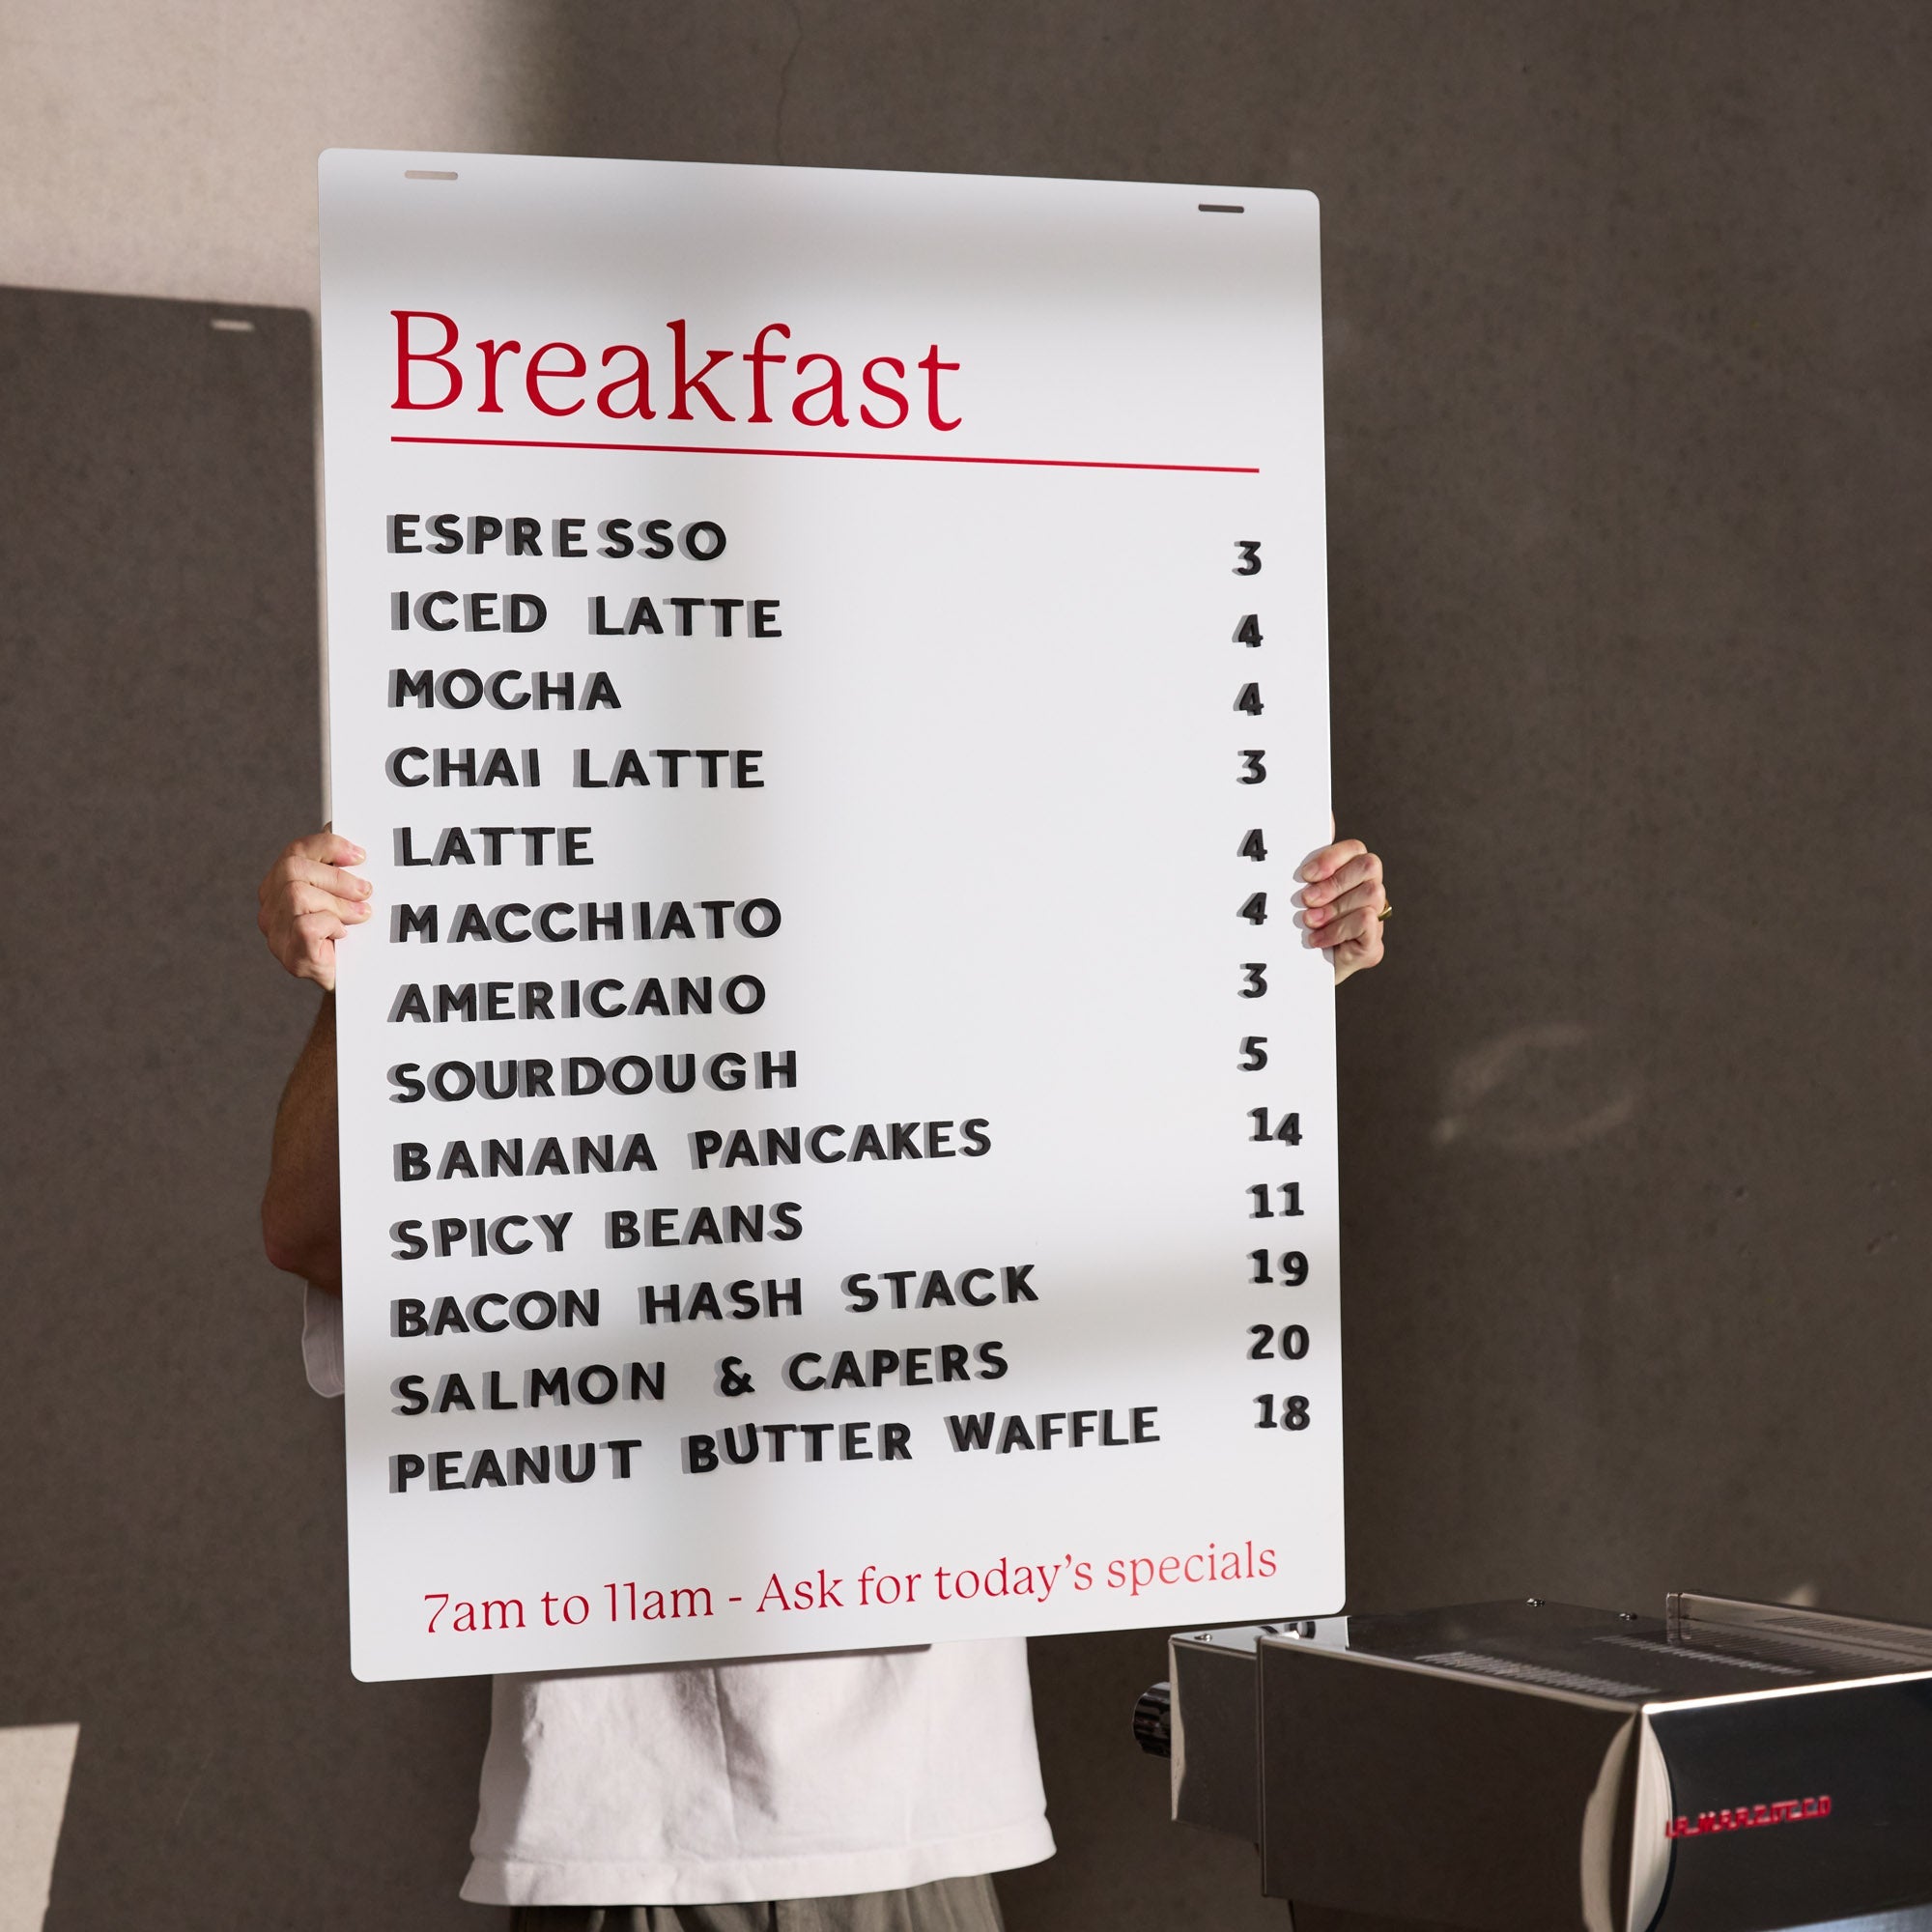
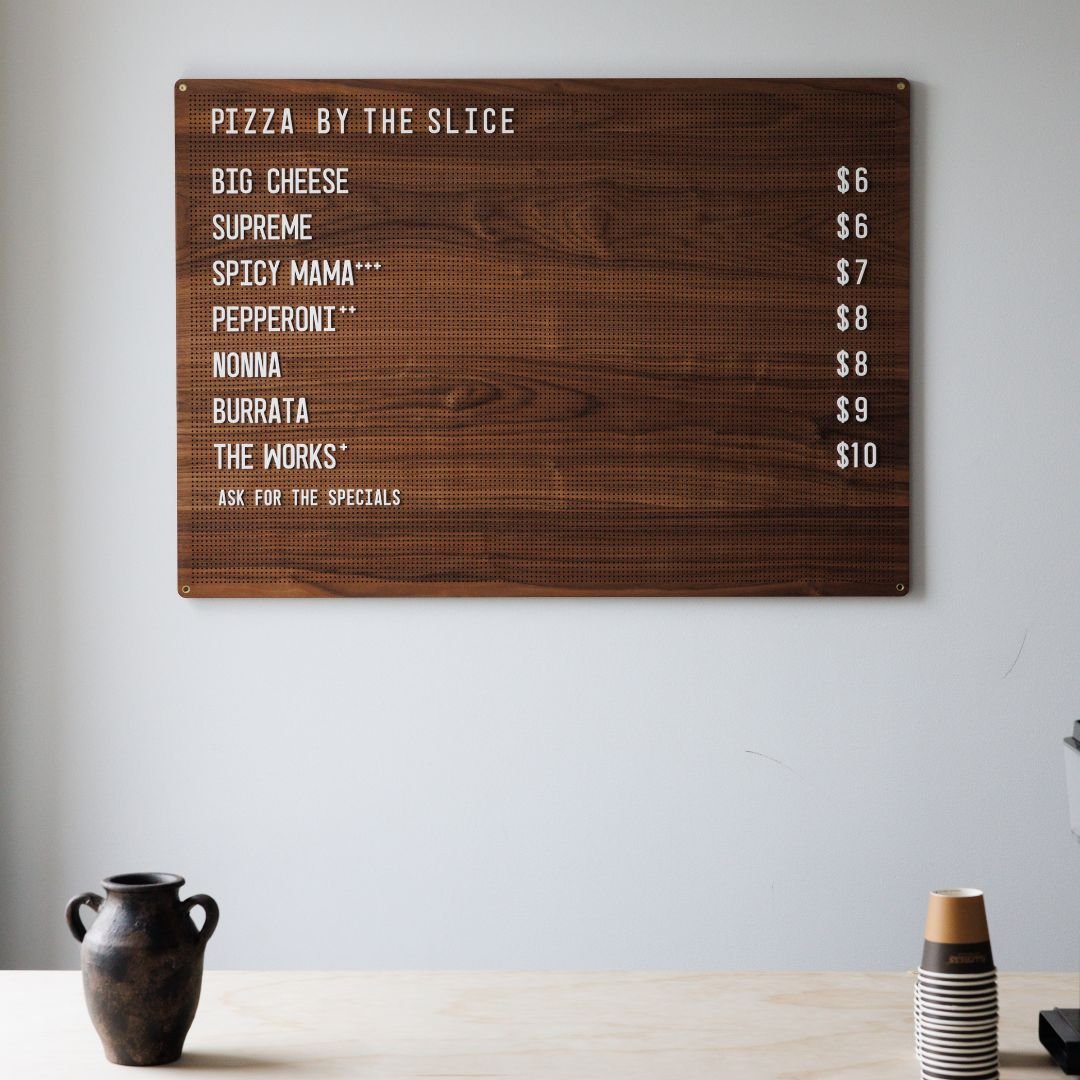
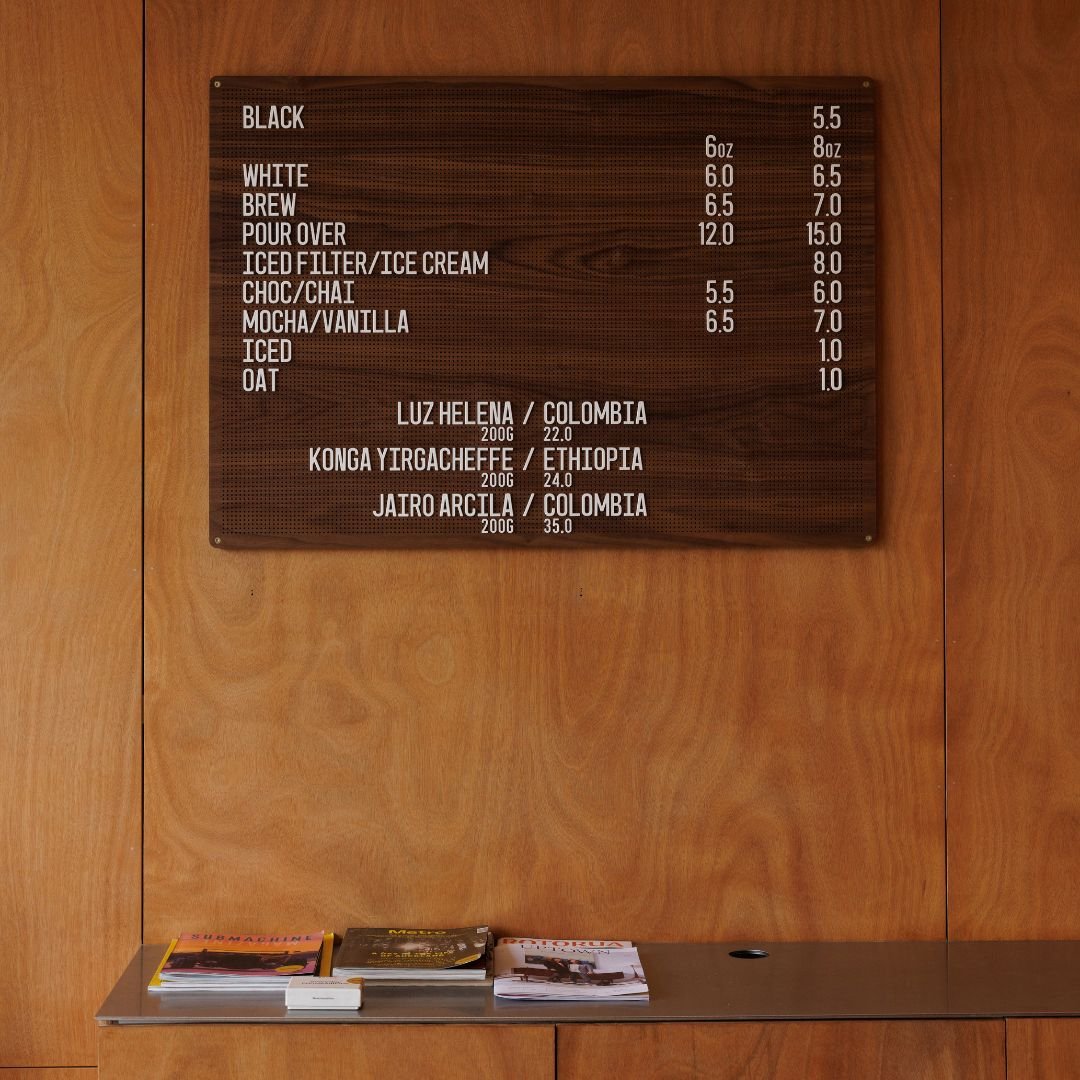
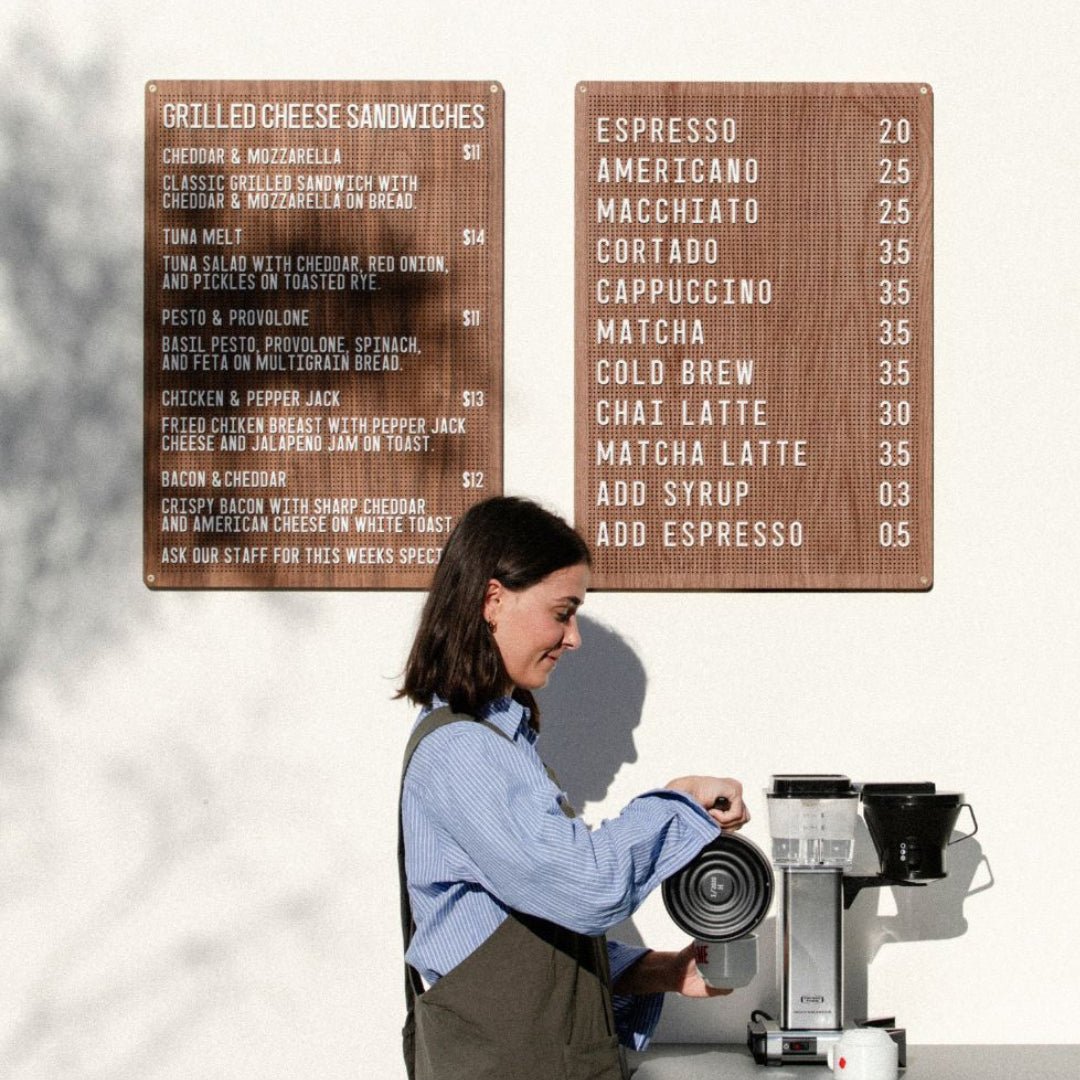
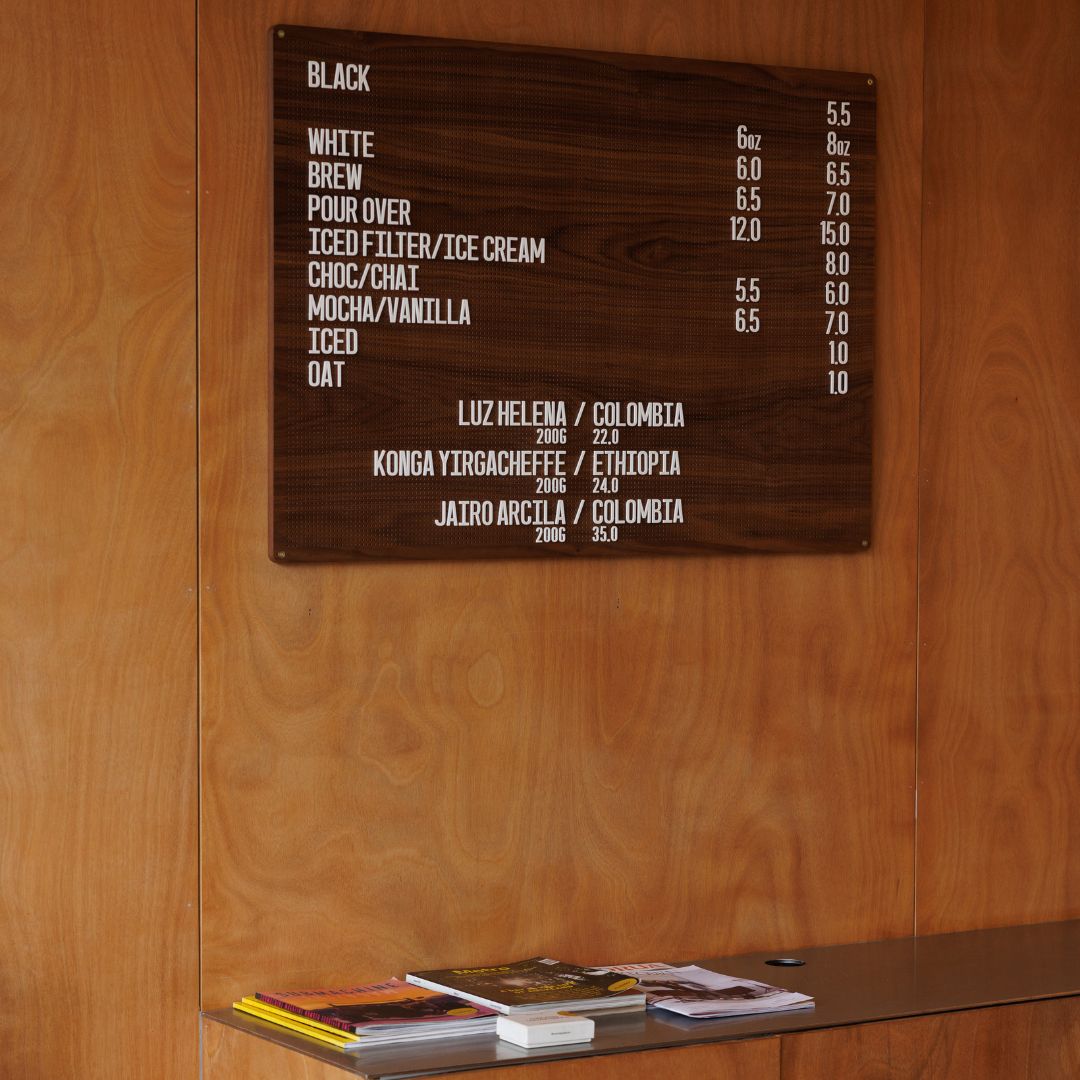
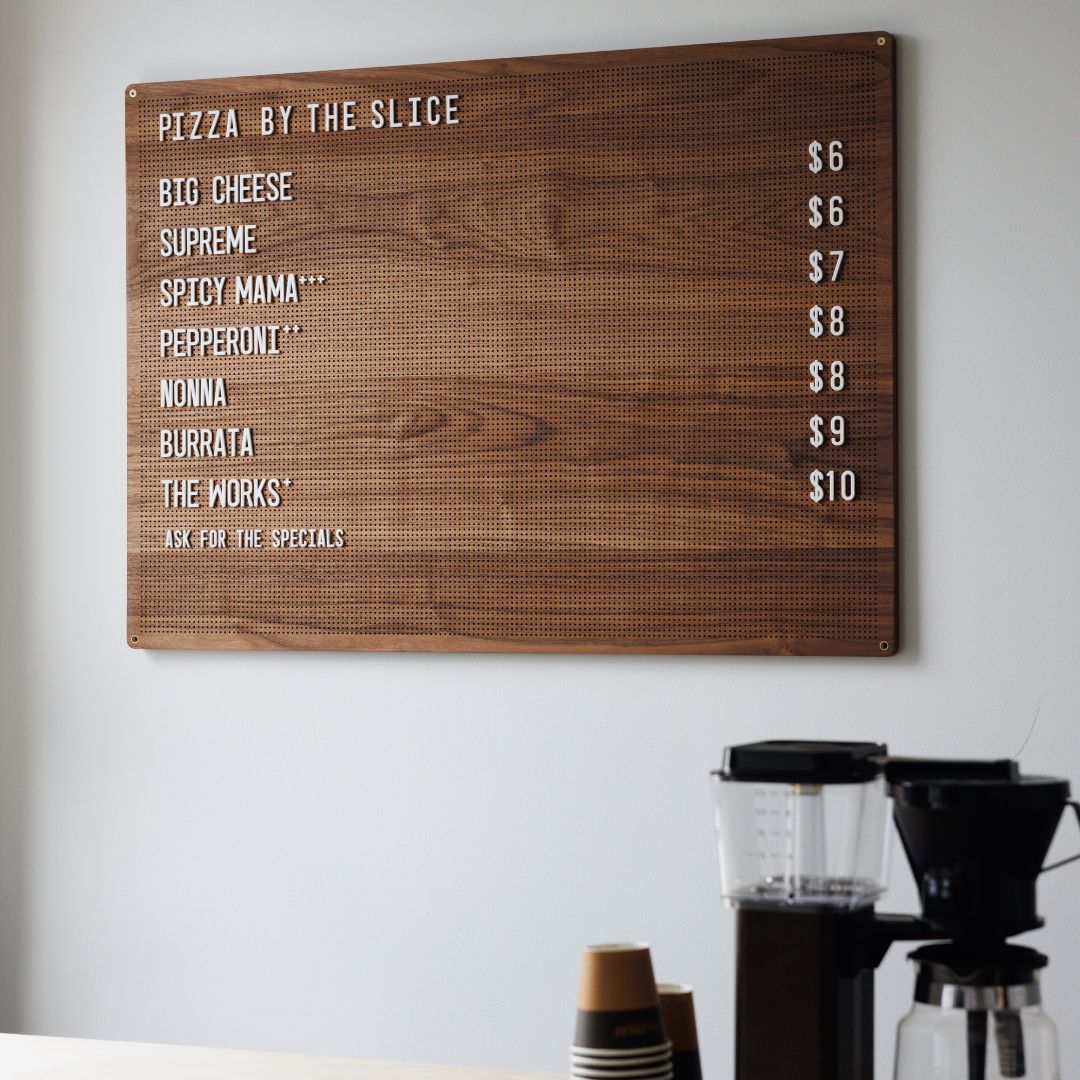
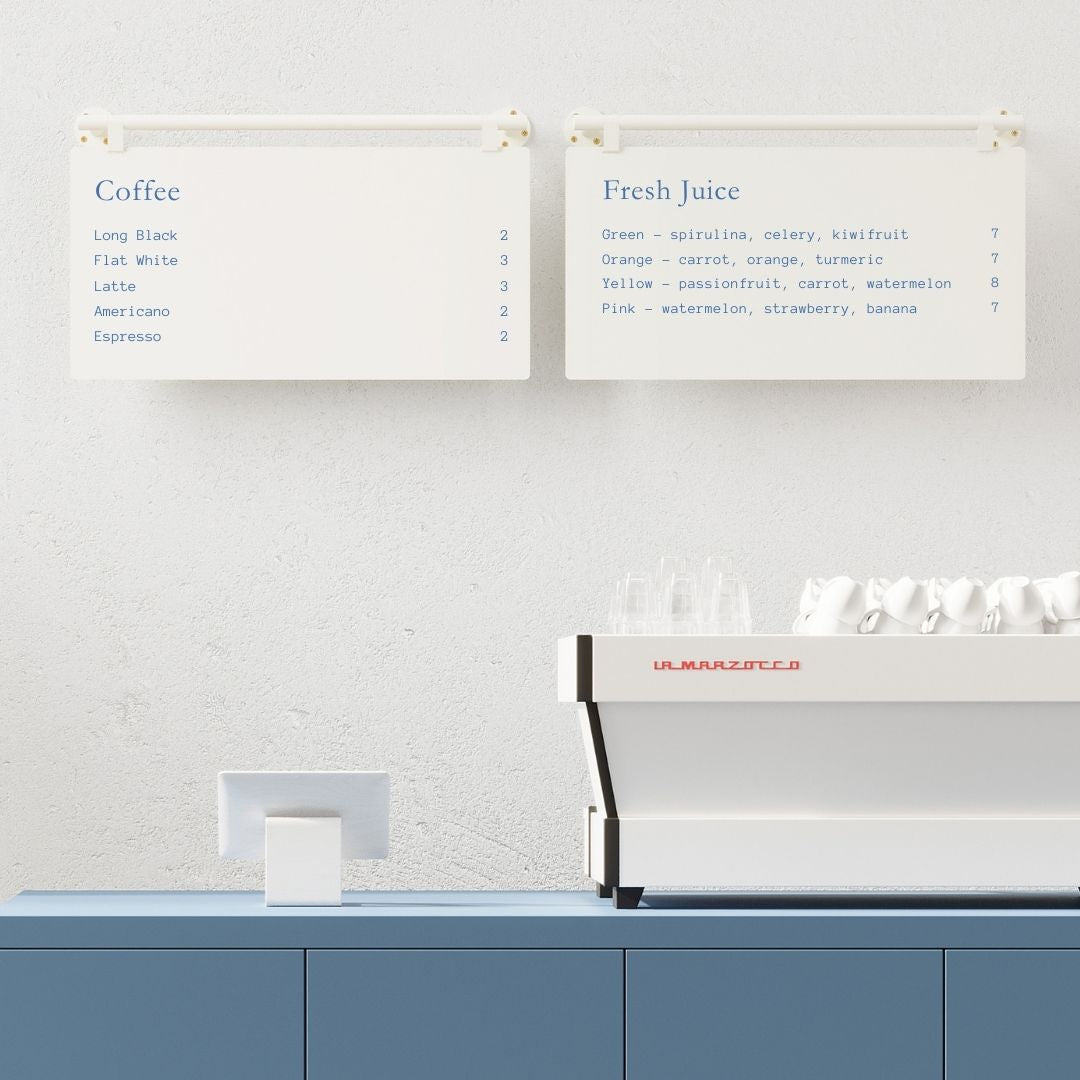
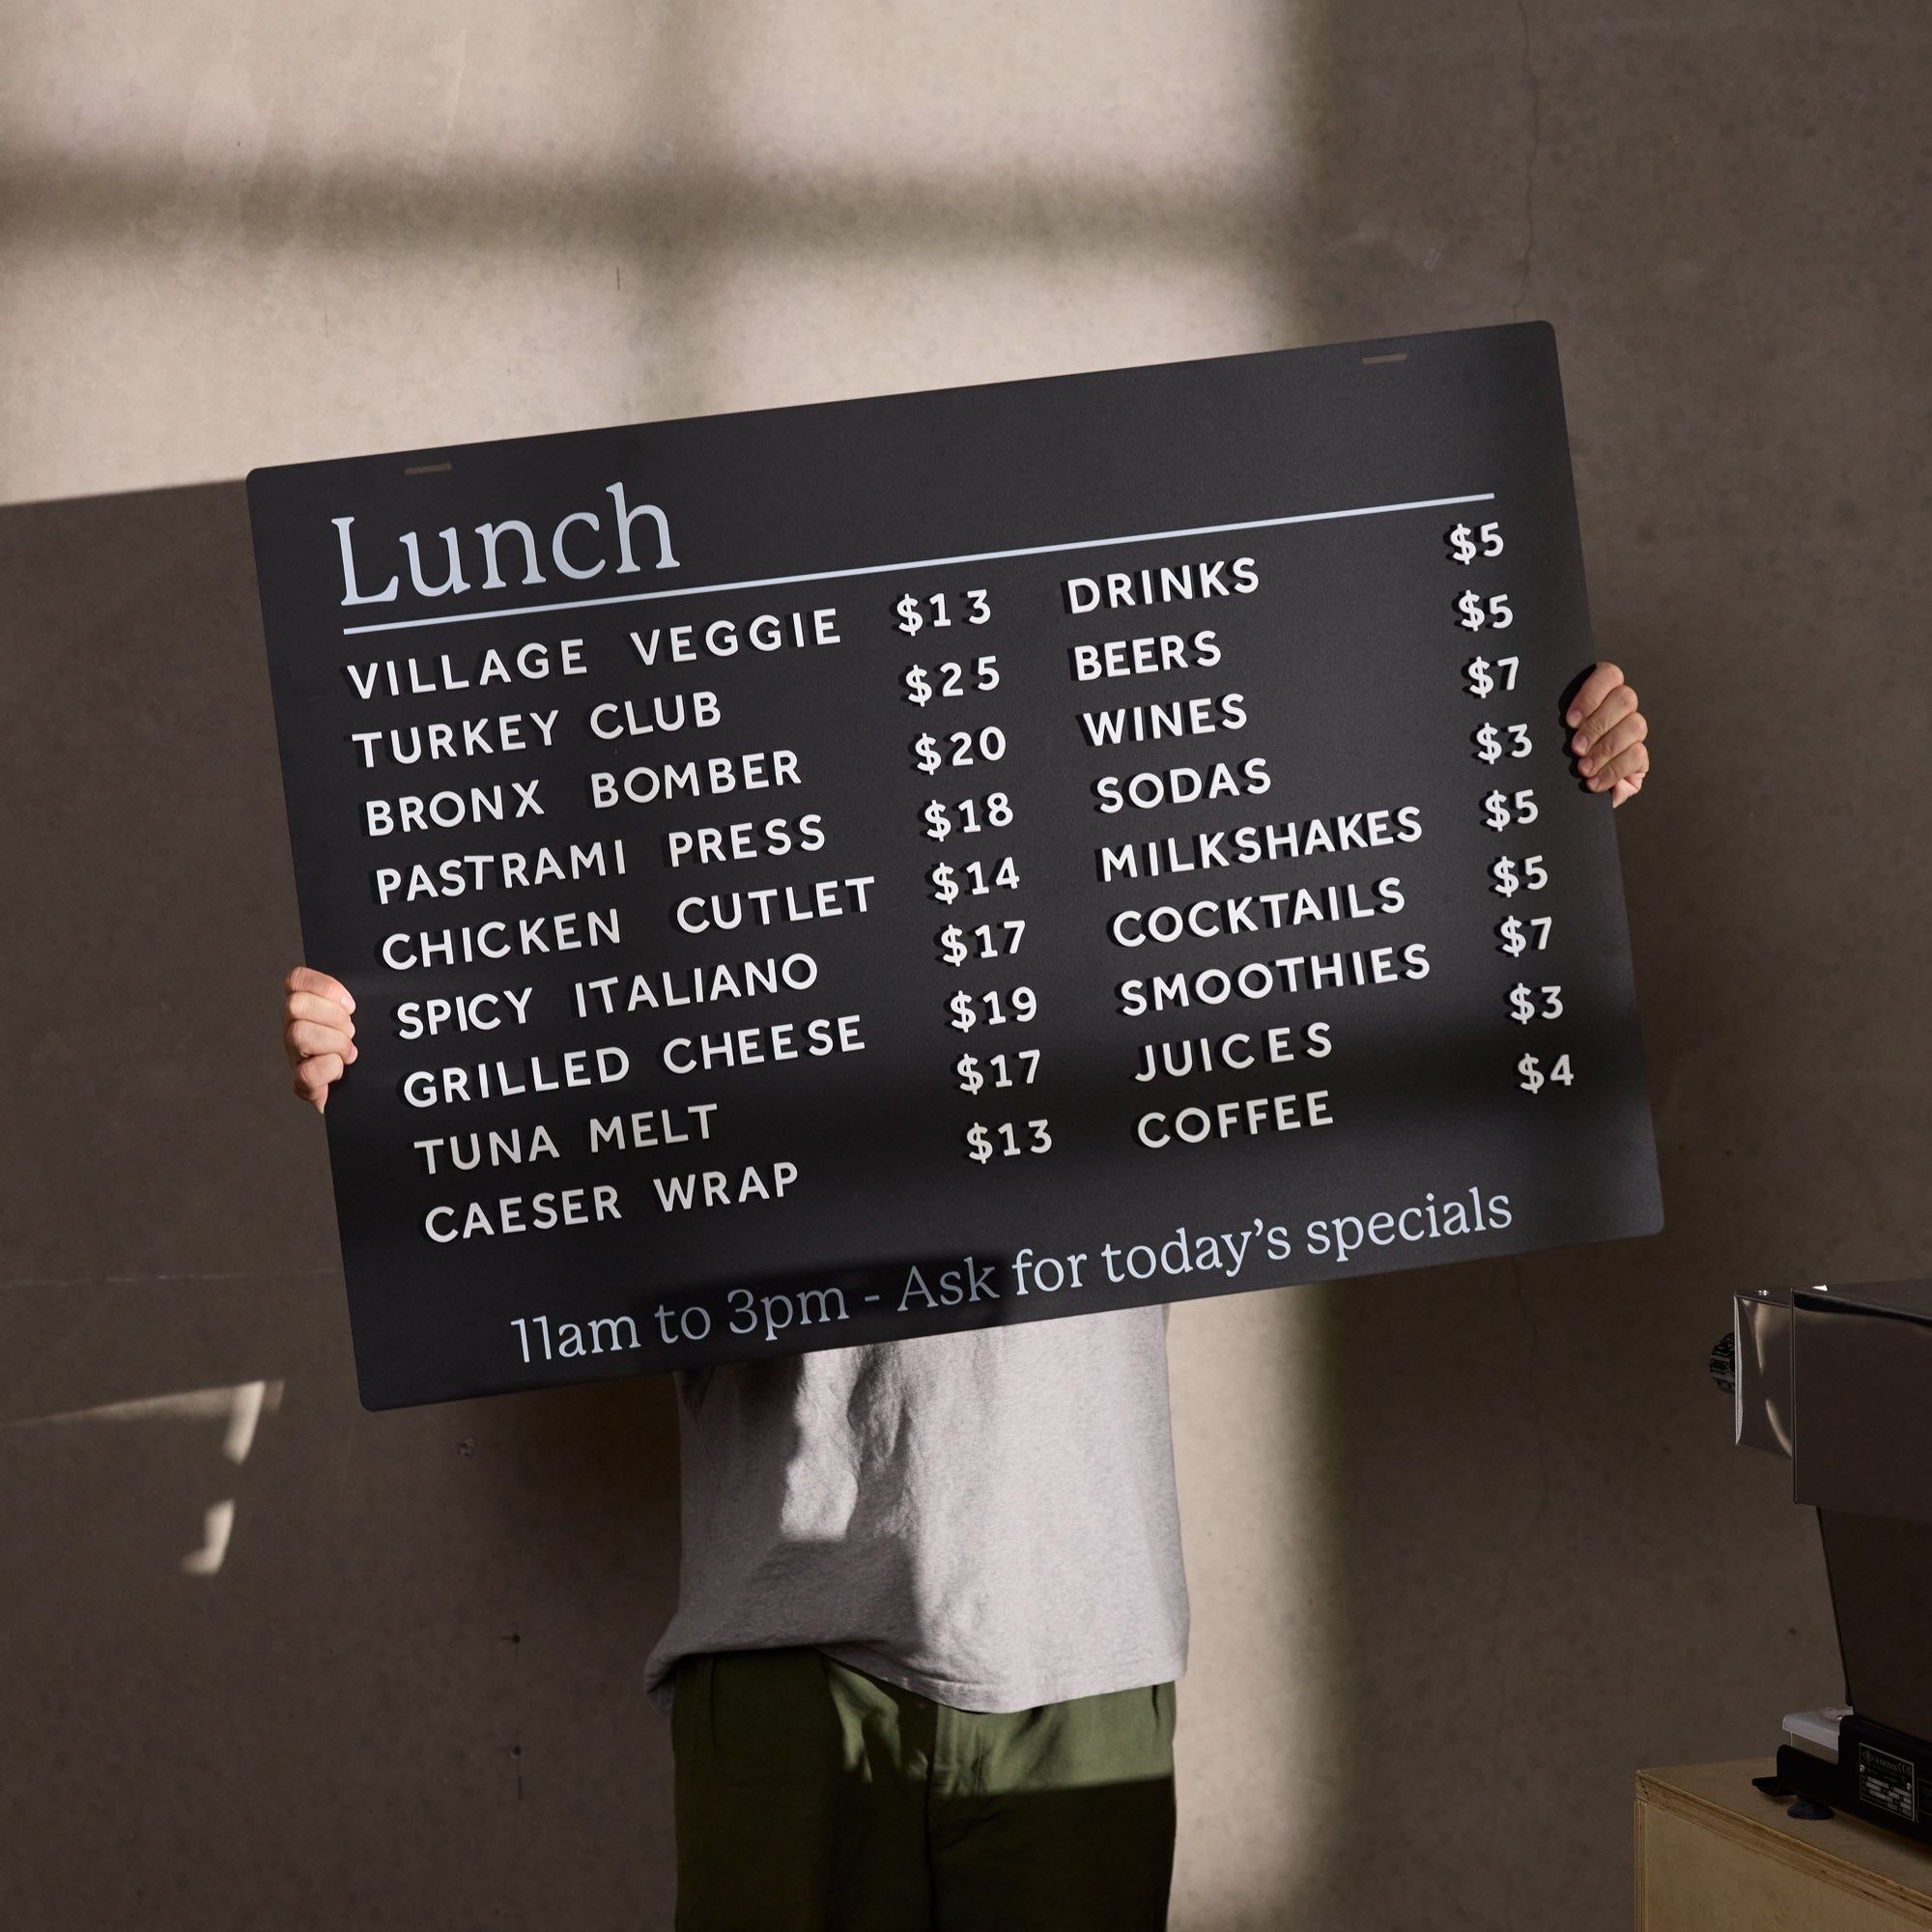
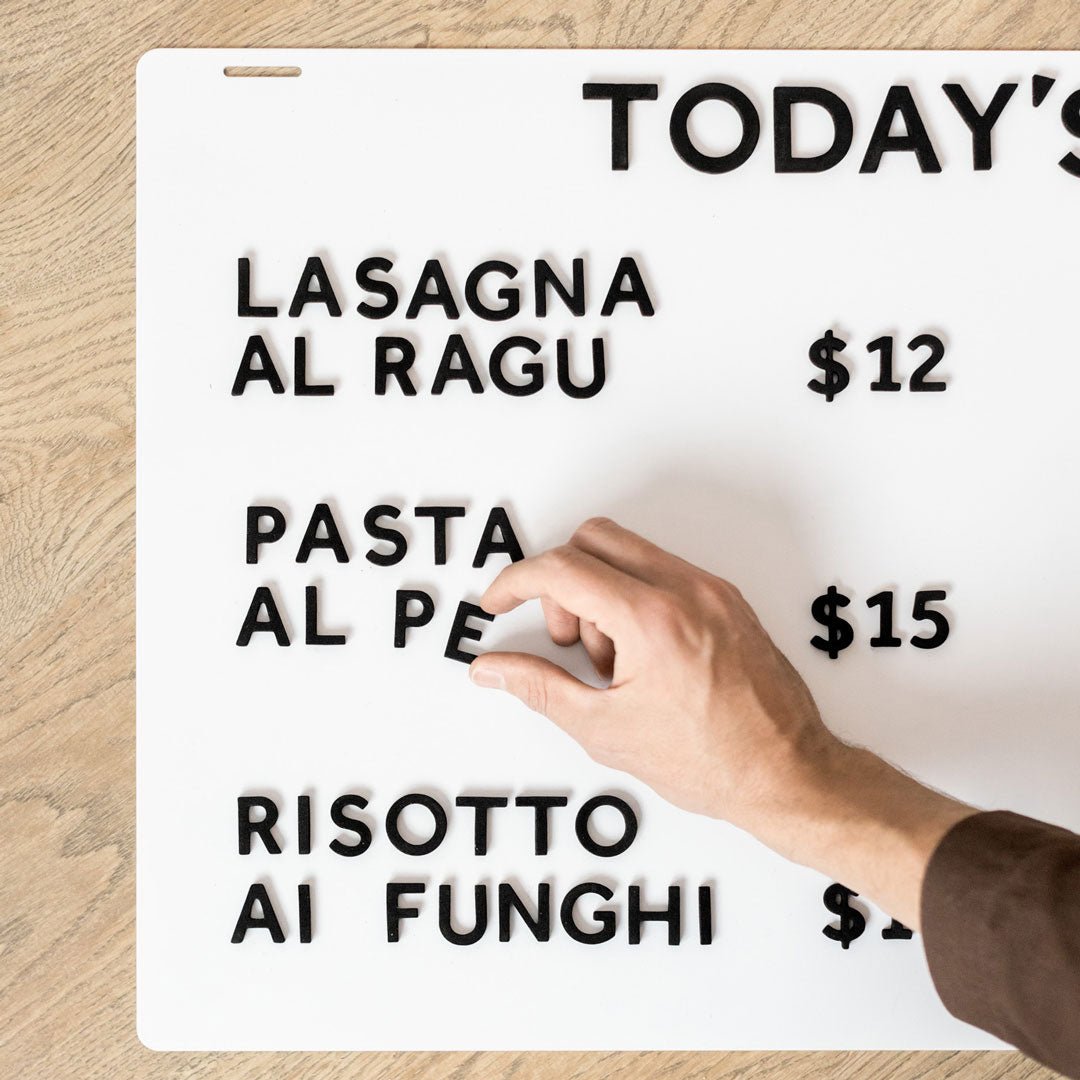
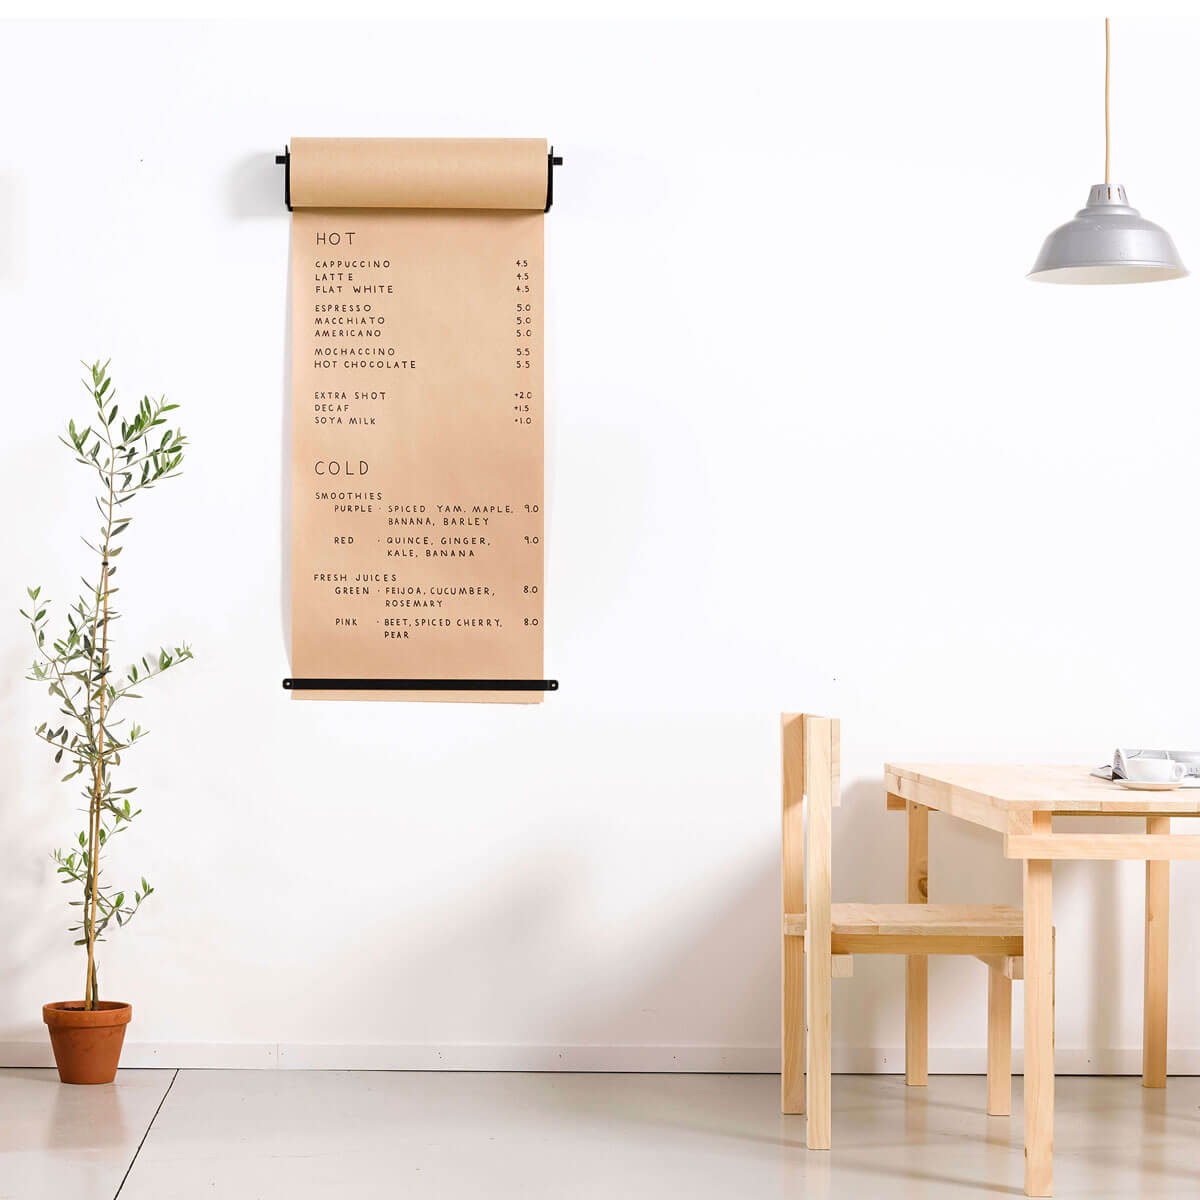
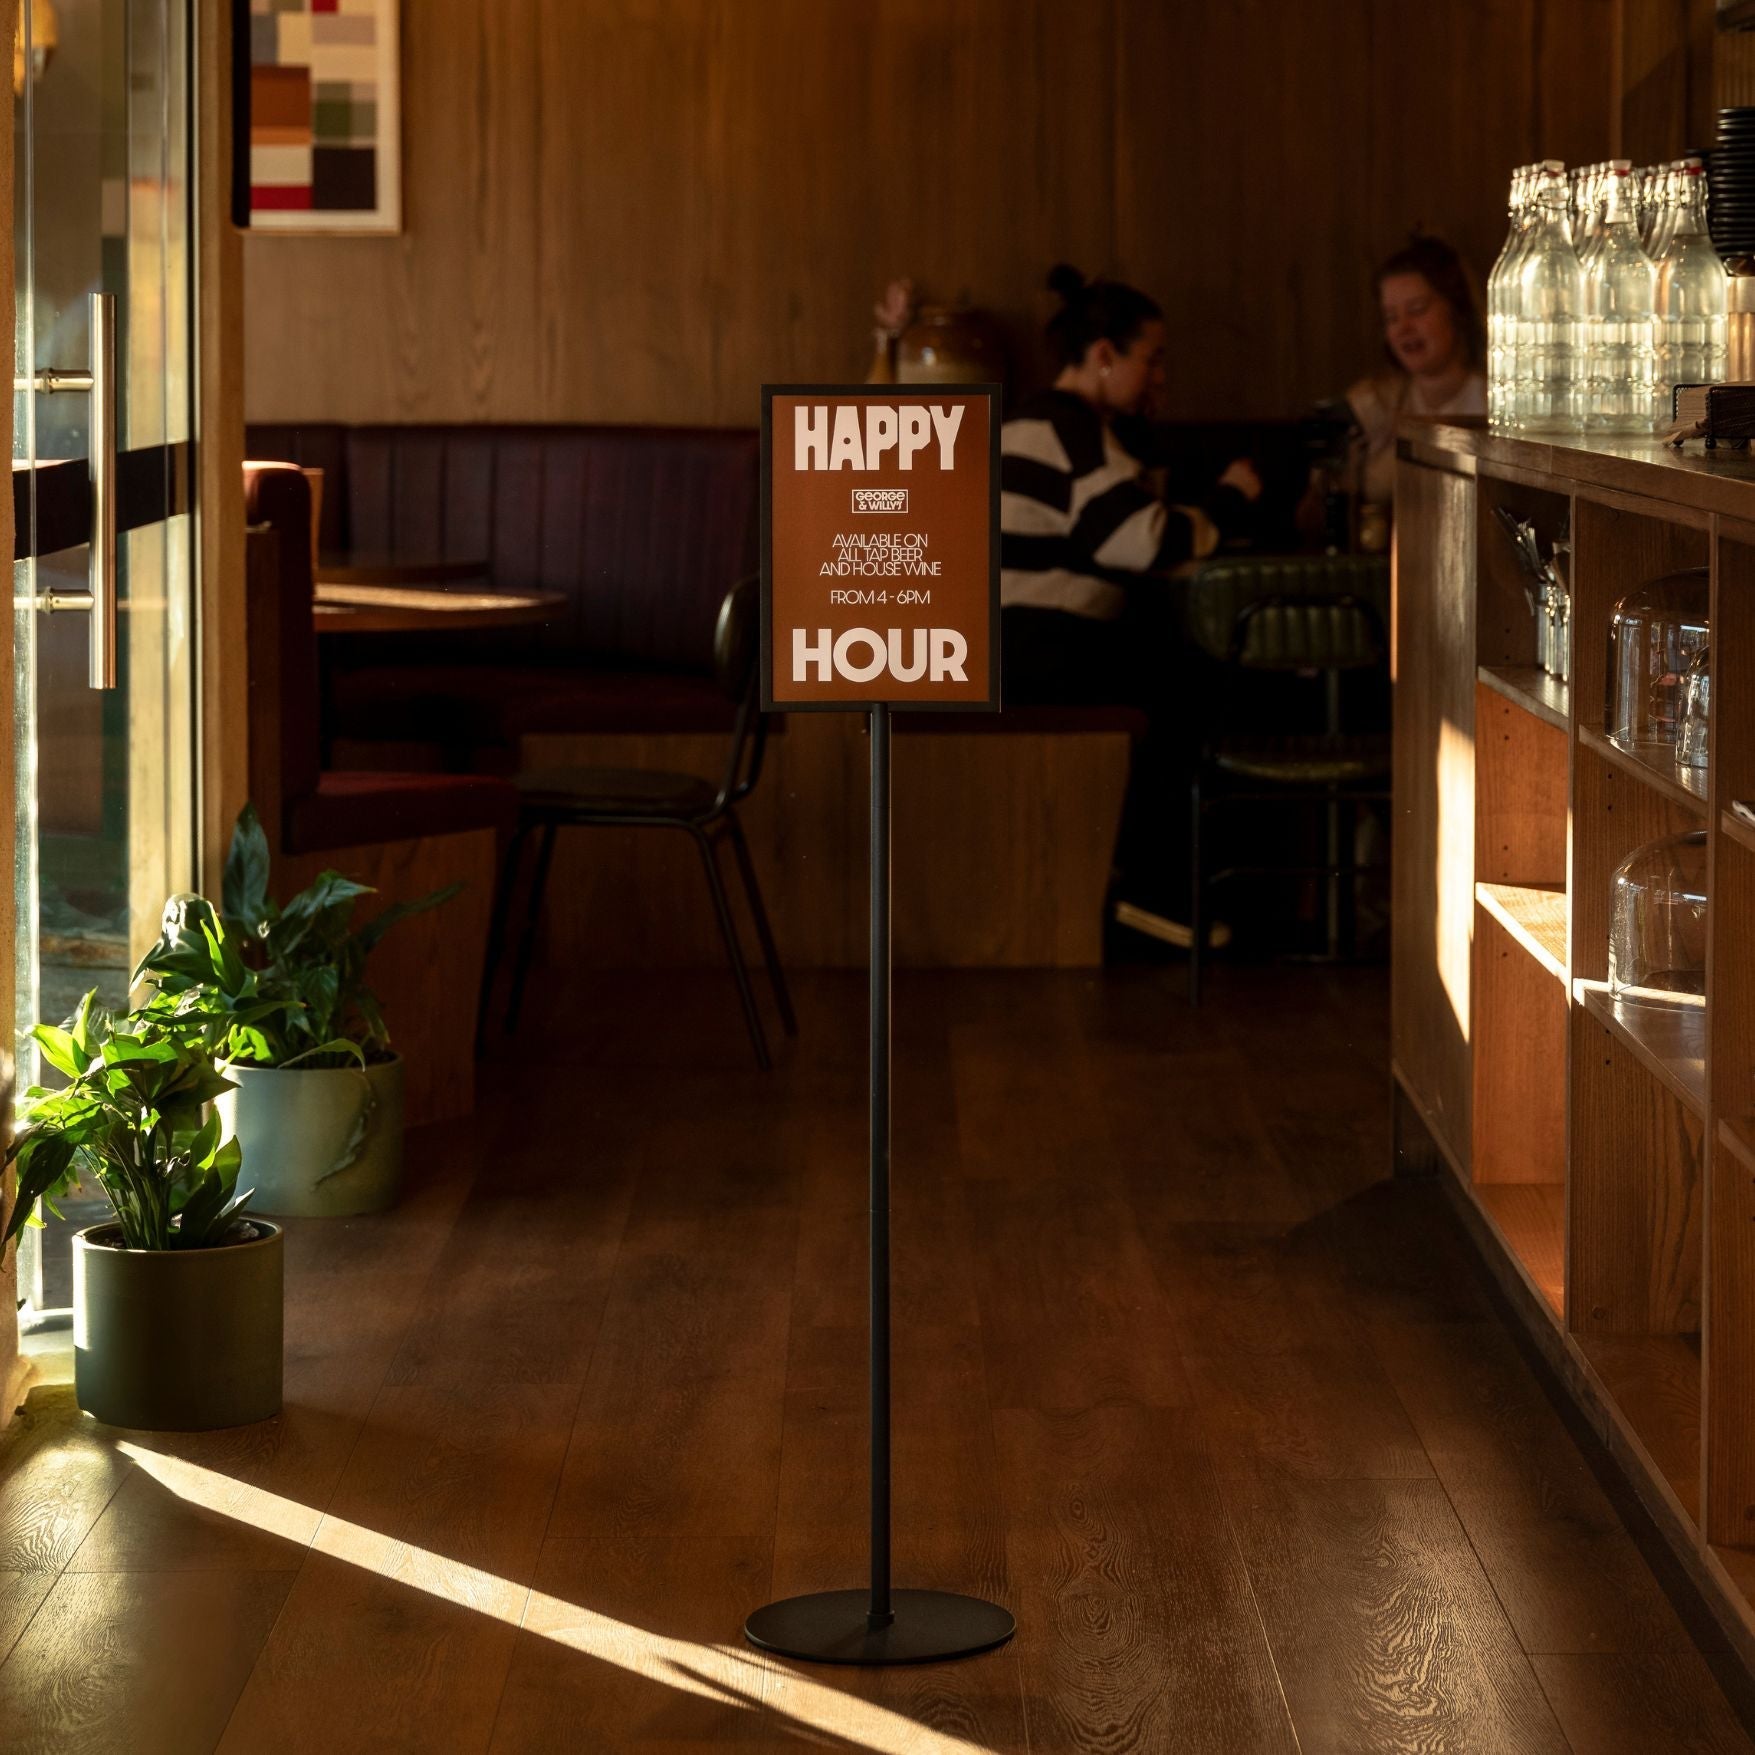
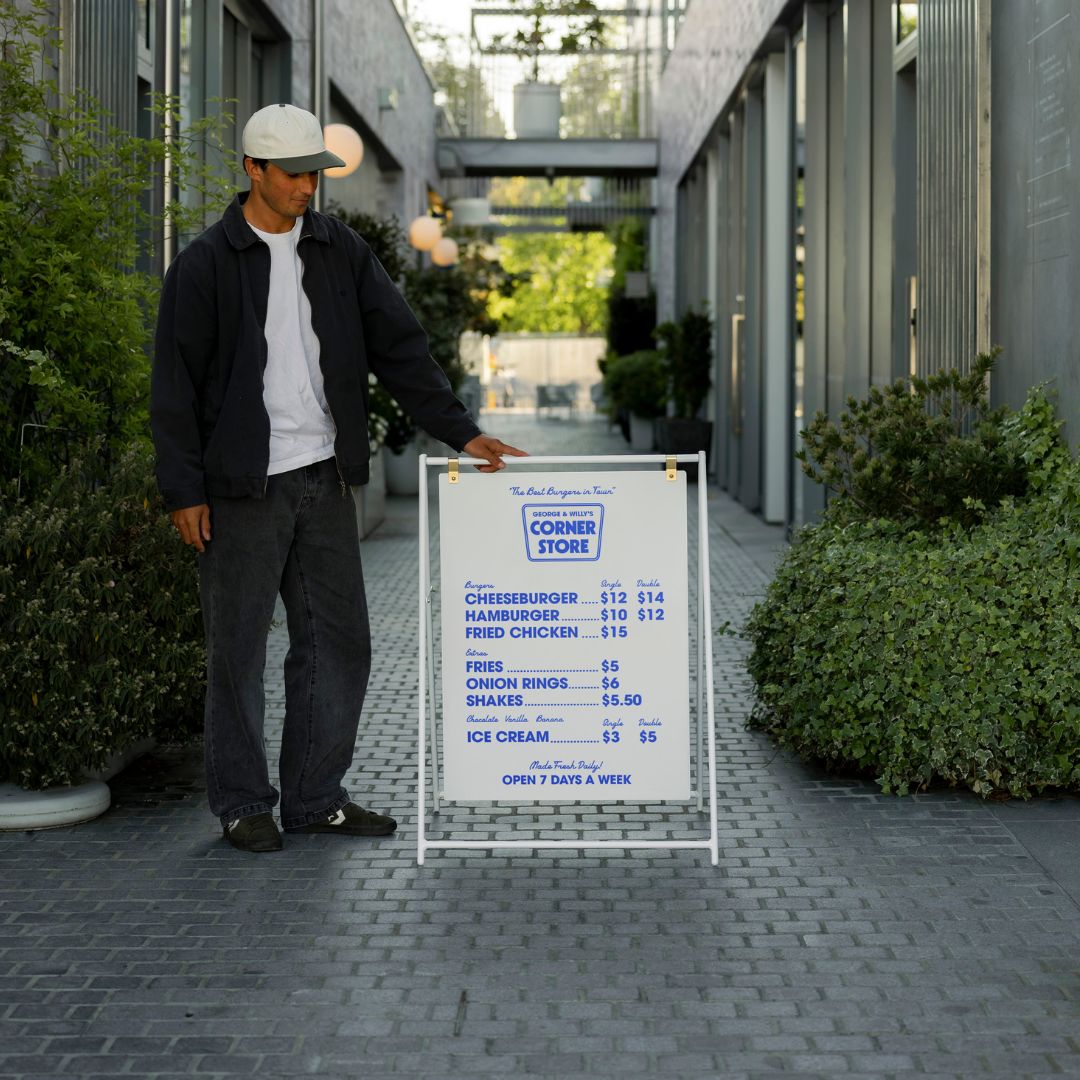
Vinyl printing involves printing graphics onto an adhesive backed vinyl material, which is then applied to the sign substrate. This is a popular method for creating full color logos, photos, and text. A high quality printed vinyl with a protective laminate can last five to eight years outdoors. This approach offers great flexibility, as business owners can apply custom vinyl decals to a blank sign, like the ones offered by George & Willy, to create a personalized look on a durable, professionally made base. Alternatively, a Menu Board lets you update content quickly without reprinting.
Screen Printing: The Classic Choice for Volume
Screen printing is a traditional technique where ink is pushed through a stenciled mesh screen onto the sign. It’s extremely efficient for large production runs of the same design, like real estate or safety signs. Screen printed inks are known for their vibrancy and exceptional durability, with some signs lasting a decade or more.
Welding in Sign Fabrication: The Art of Joining Metal
Welding is used to join metal pieces together to create strong, durable sign structures and frames. The framework inside a large pylon sign or the body of a metal channel letter is often welded. It’s a skill that requires a high degree of craftsmanship to ensure the sign can withstand wind and weather for years to come.
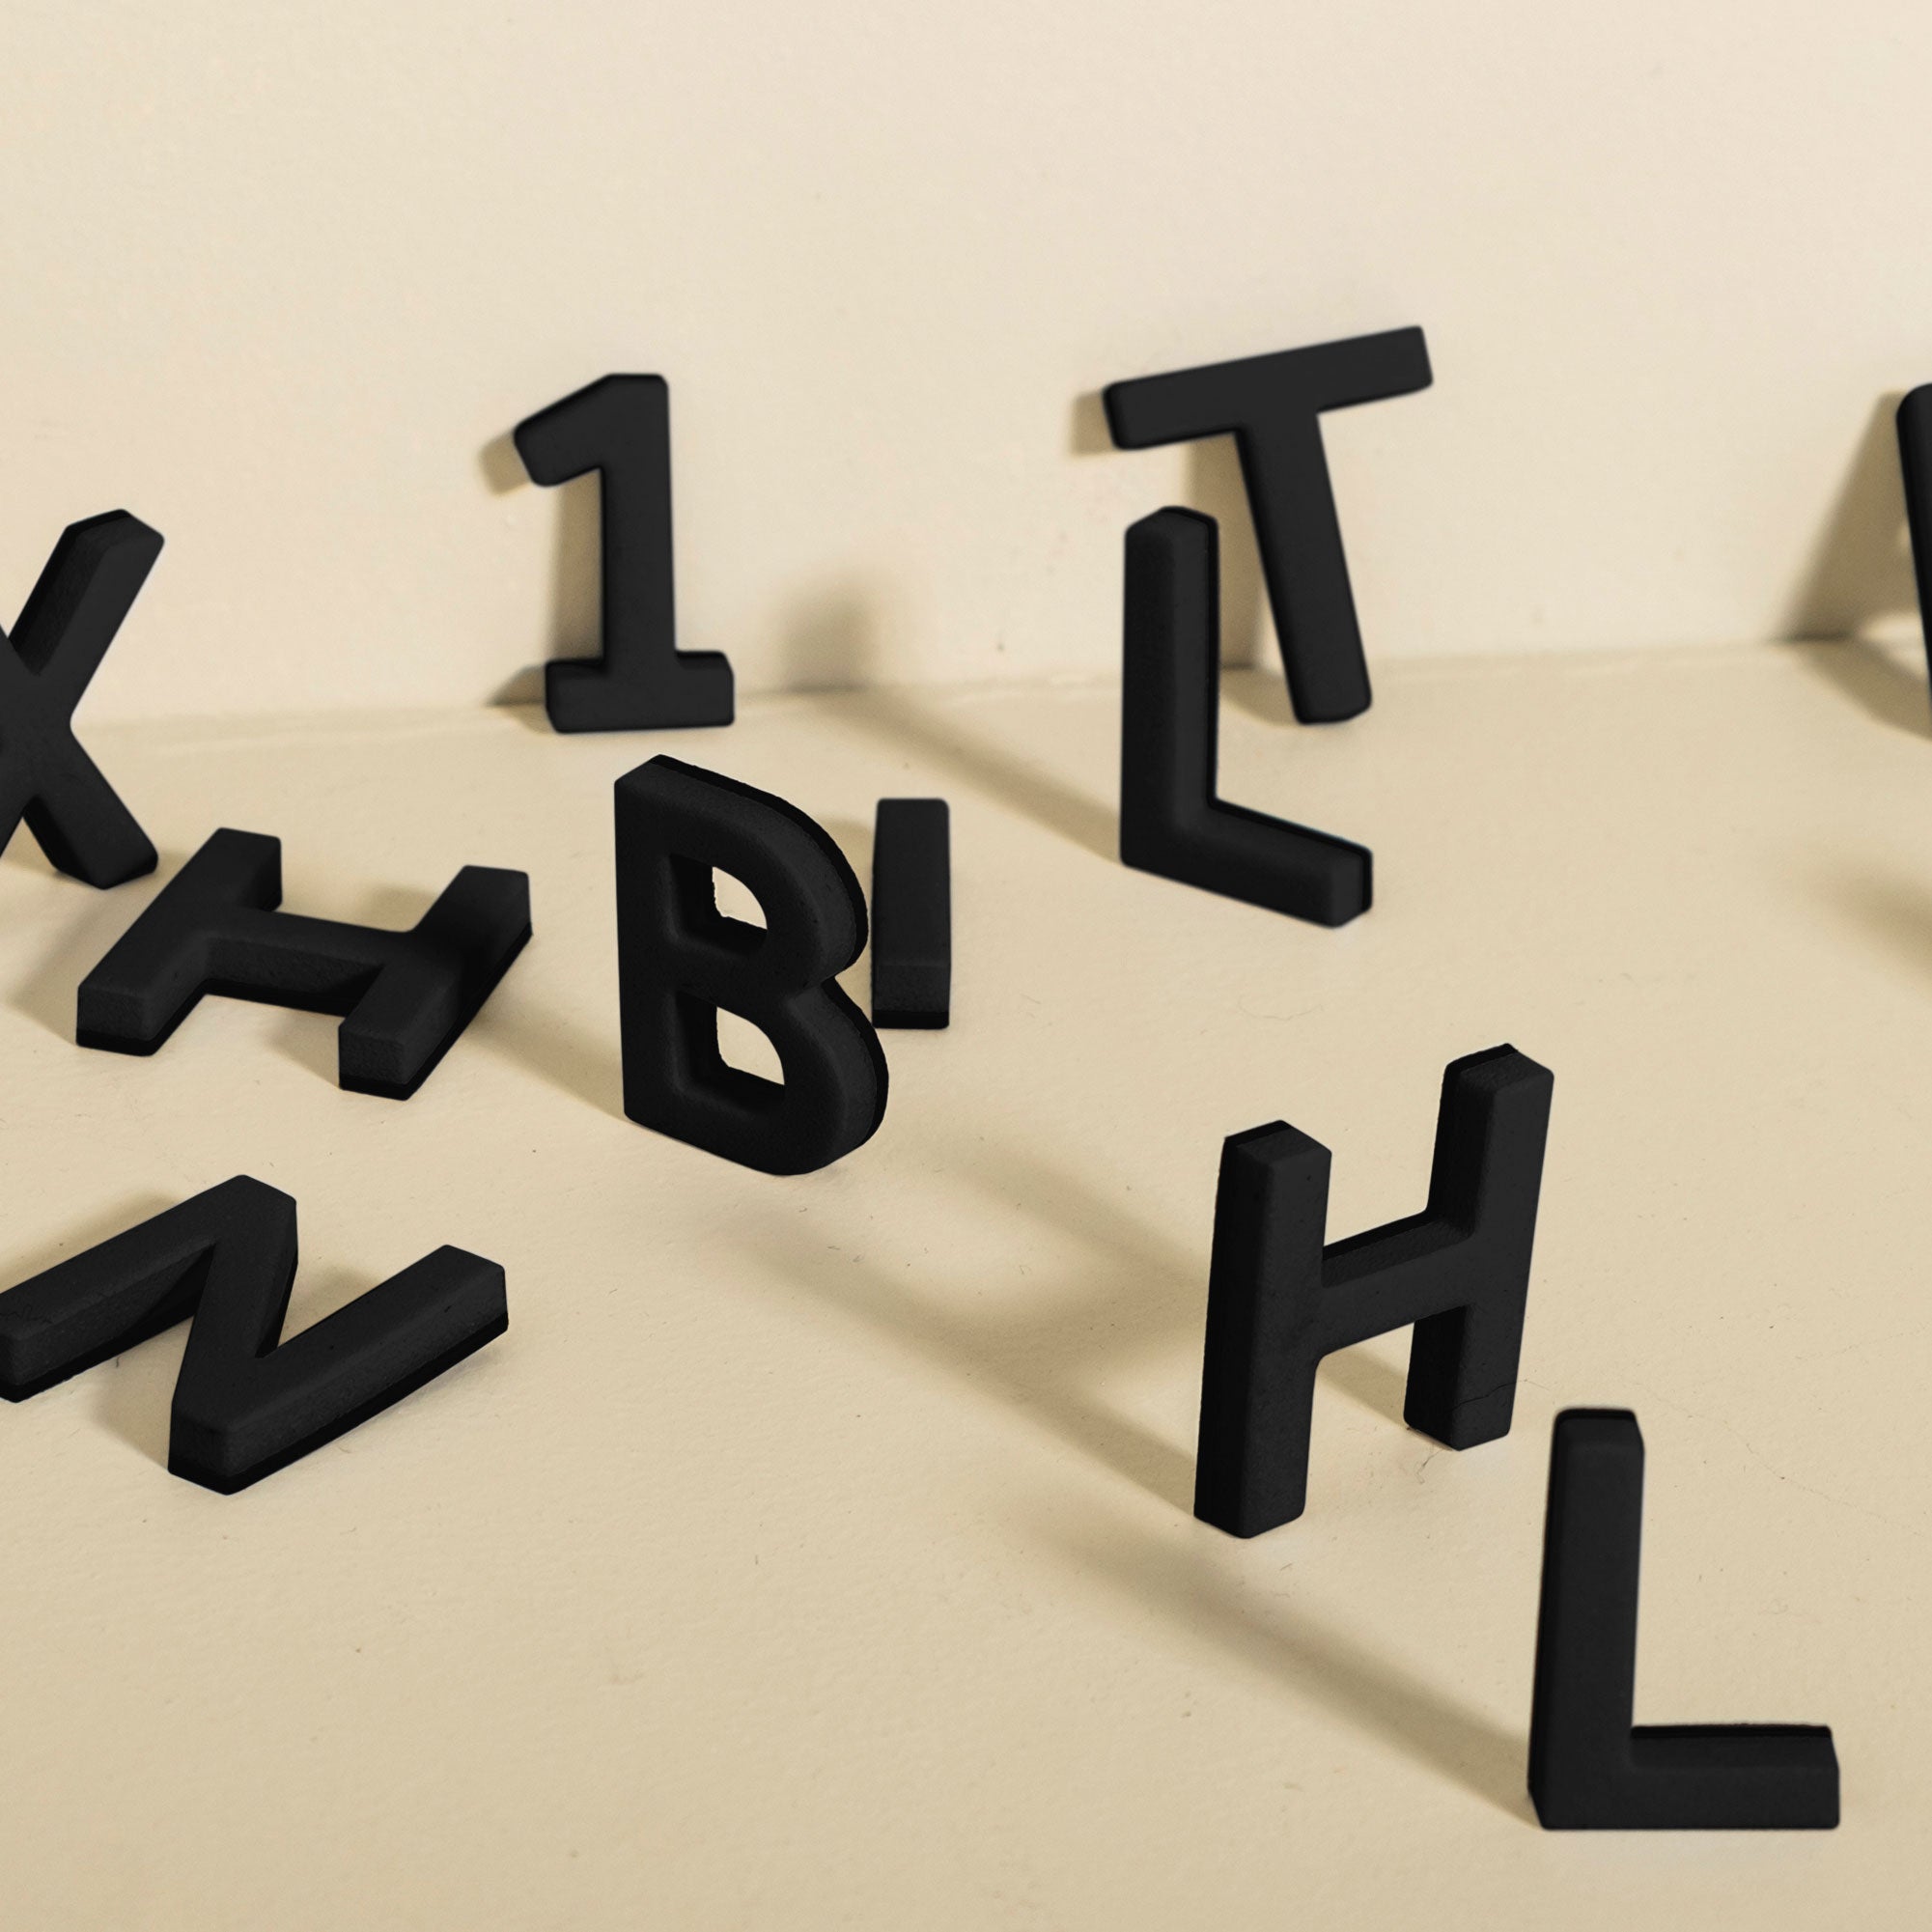
A Closer Look: Channel Letter Fabrication
Channel letters are the 3D, individually crafted letters often seen on storefronts. Fabricating them involves cutting the letter faces (typically acrylic) and backs (aluminum), bending metal strips to form the sides (returns), and then assembling everything. When illuminated, energy efficient LEDs are placed inside, making the sign glow. This type of sign fabrication requires precision at every step to ensure all the letters are uniform and fit together perfectly.
Finishing: The Secret to Durability and Style
The finishing stage is what protects the sign from the elements and gives it a polished, professional look.
Painting and Metal Finishing
After fabrication, metal parts are often sanded, primed, and painted. Professional sign painters use high quality polyurethane or enamel paints that can be mixed to match any brand’s specific colors. A good paint job not only adds color but also provides a crucial protective barrier against rust and UV damage.
Powder Coating: The Ultimate Armor
Powder coating is a finishing process that creates a finish that is much tougher than conventional paint. A dry powder is electrostatically applied to a metal part, which is then baked in an oven. The powder melts and cures into a hard, uniform, and incredibly durable coating that resists scratching, chipping, and fading. It’s an excellent choice for any outdoor metal sign intended to last.
Faux Finishing: The Art of Illusion
Faux finishing involves artistic painting techniques to make a surface look like something else. For example, a sign made of modern foam can be painted to look like aged, weathered wood or rusted metal. These custom finishes can add unique character and help a sign fit a specific theme, such as for a historic district or a rustic themed restaurant.
Anodizing: Fusing Protection into Aluminum
Anodizing is an electrochemical process that thickens the natural protective oxide layer on the surface of aluminum. This creates an extremely hard, corrosion resistant, and scratch resistant finish that is integrated with the metal itself, so it won’t chip or peel. Anodized aluminum can maintain its appearance outdoors for over 20 years.
Galvanizing: Rust Proofing Steel Structures
Galvanizing involves coating steel or iron with a layer of zinc to protect it from rust. This is most often done for structural components like sign posts, brackets, and support beams. The zinc coating sacrificially corrodes before the steel, dramatically extending the life of the structure, often for 25 to 50 years.
Sandblasting: For Texture and Prep
Sandblasting, or abrasive blasting, has two main uses in sign fabrication. First, it’s used to clean and prepare metal surfaces for painting or powder coating, creating a perfectly prepped surface for maximum adhesion. Second, it’s used to carve dimensional signs from wood or high density urethane foam, creating a beautiful textured background with raised letters and graphics.
Getting It Right: Design and Legibility Rules
A sign is useless if it can’t be easily read. Professionals follow established guidelines to ensure maximum impact.
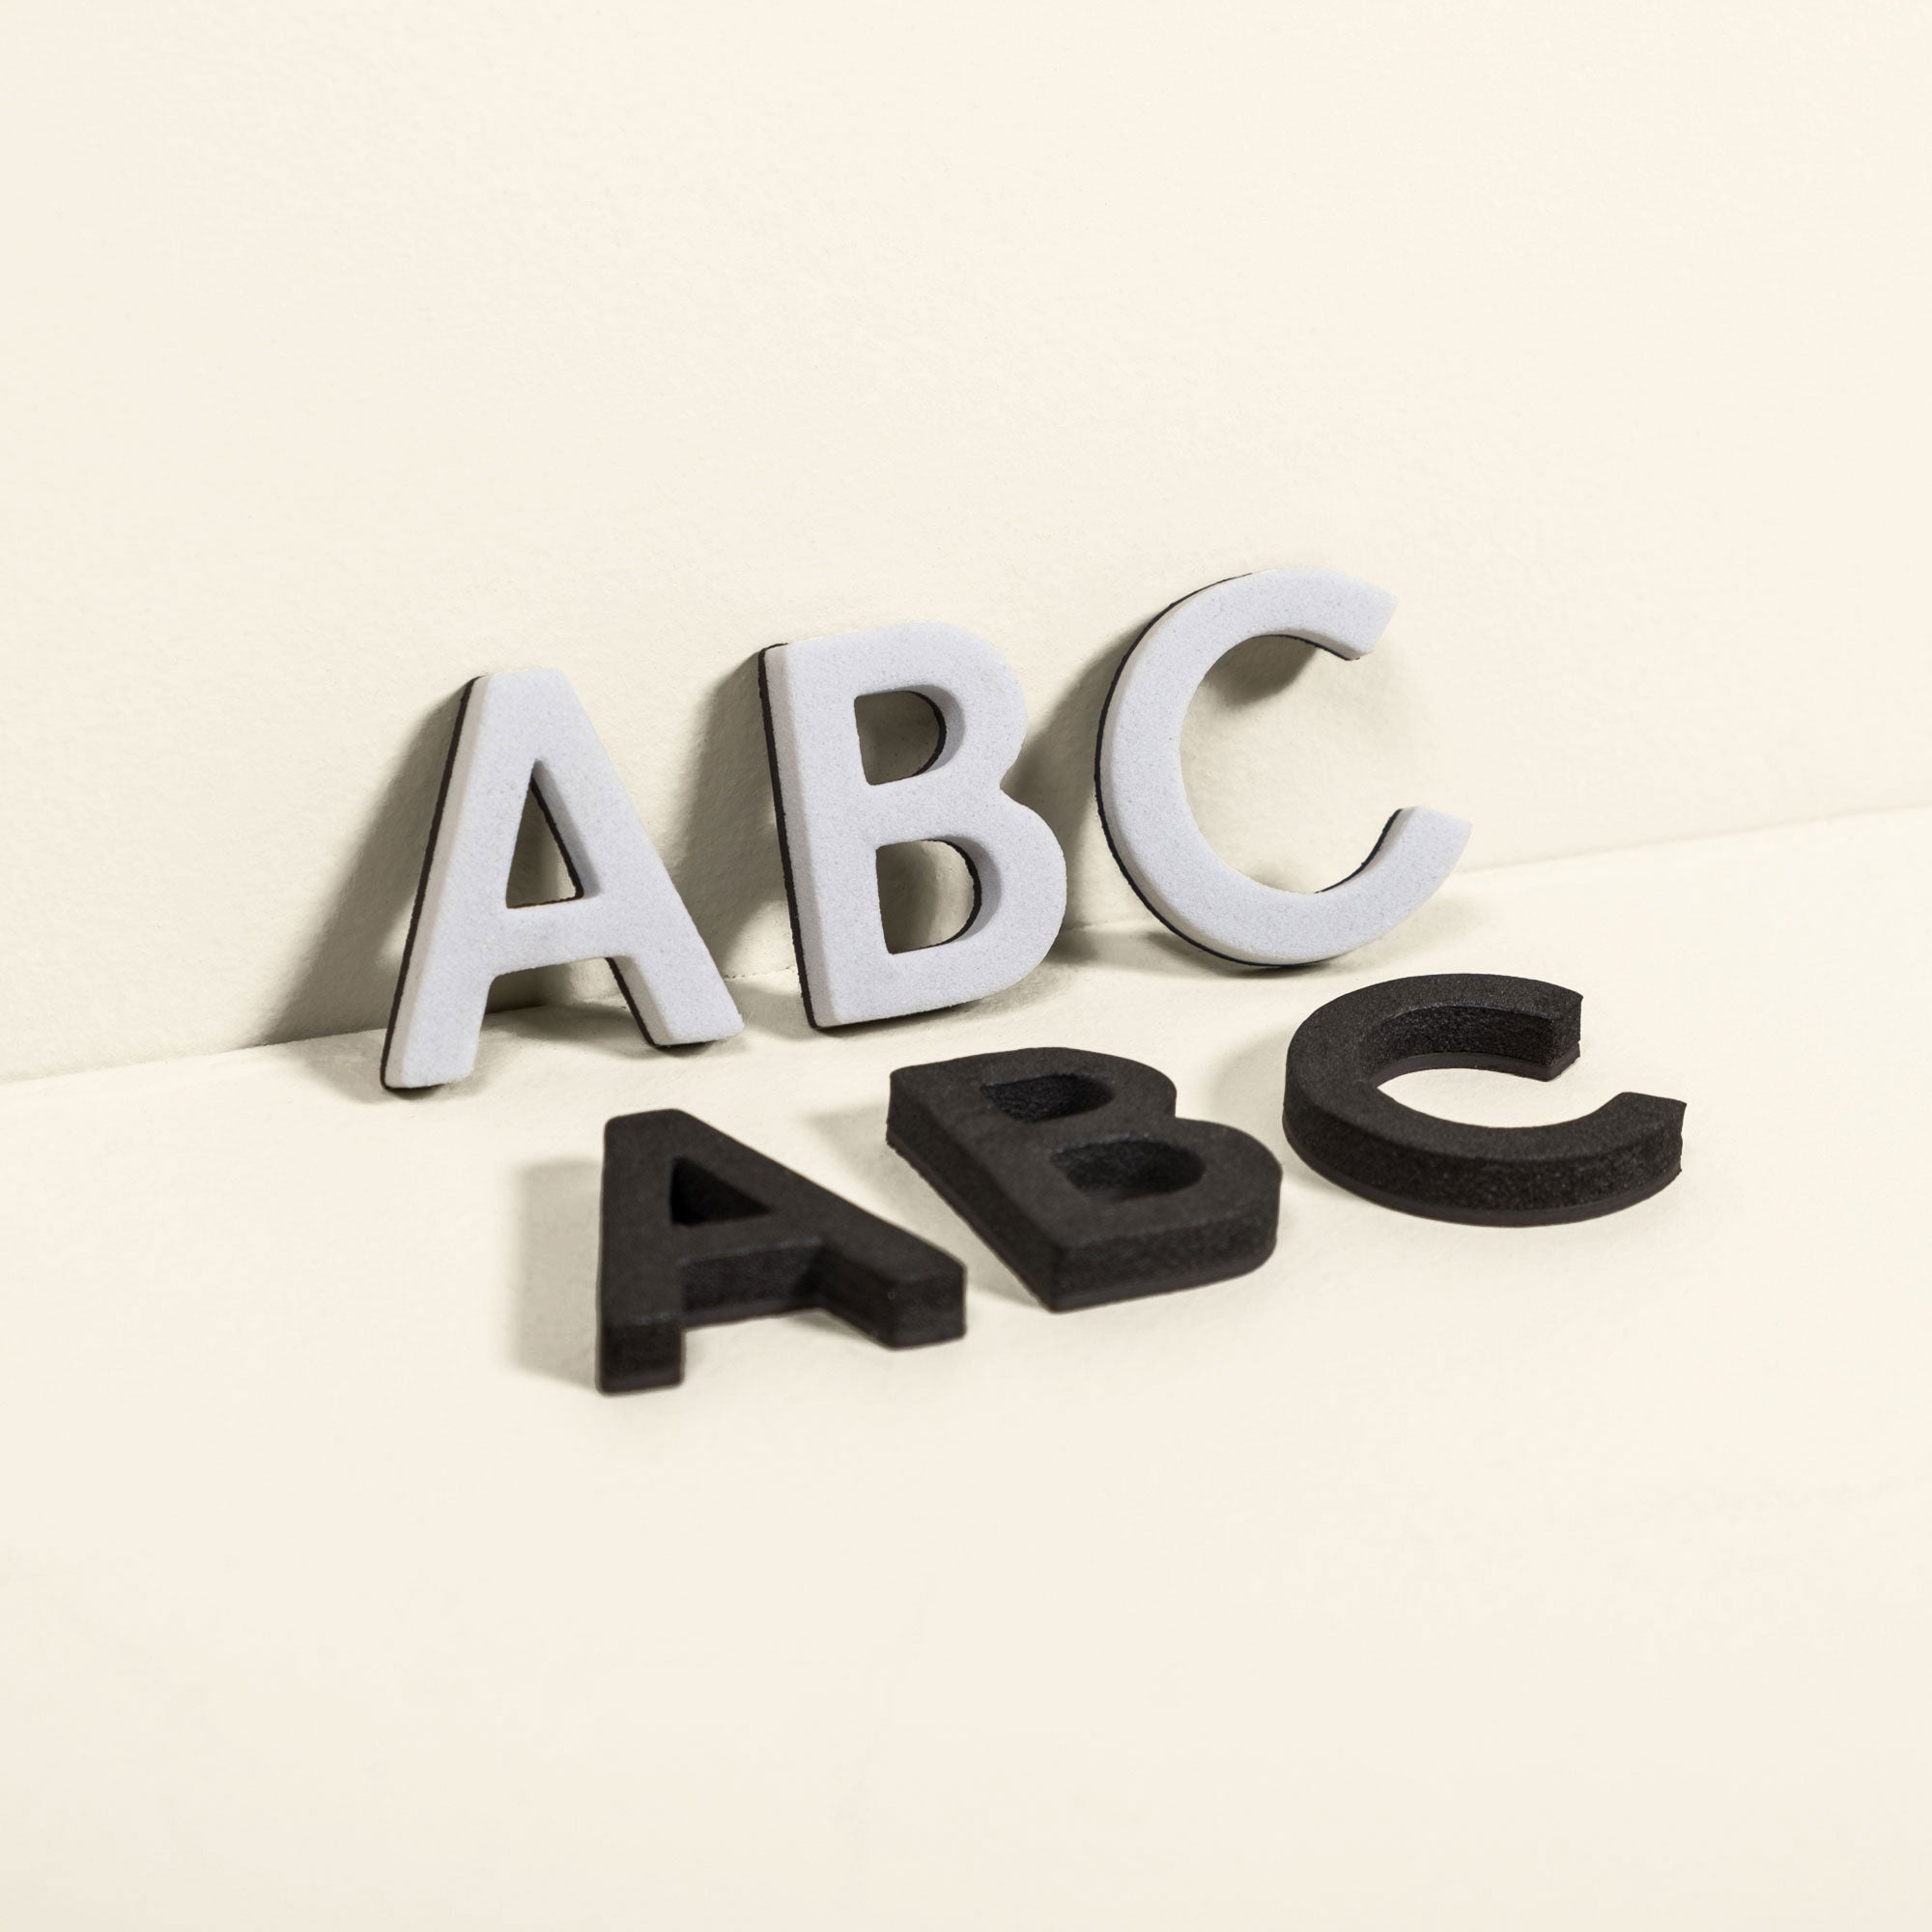
Letter Height and Legibility Standards
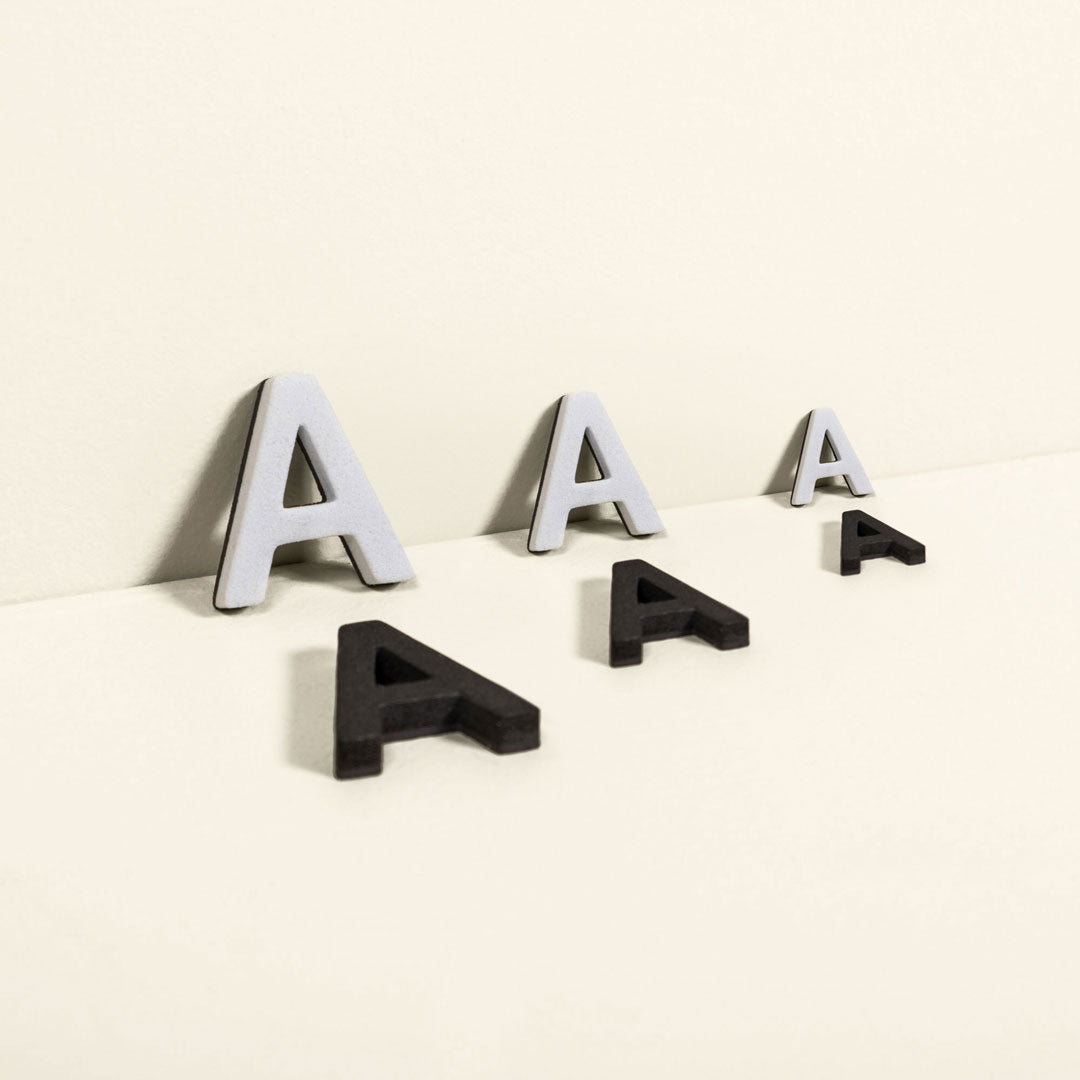
The farther away a viewer is, the larger the letters on a sign need to be. A common rule of thumb is to have one inch of letter height for every 25 to 30 feet of viewing distance. Official standards, like the Manual on Uniform Traffic Control Devices (MUTCD), provide detailed guidelines for road signs based on viewing distance and vehicle speed.
The FHWA Alphabet: Fonts Made for the Road
The Federal Highway Administration (FHWA) developed a series of fonts, often called Highway Gothic, specifically for road signs. These simple, sans serif typefaces were engineered for maximum legibility at a distance, ensuring drivers can read them quickly and clearly.
Spacing and Border Rules for Readability
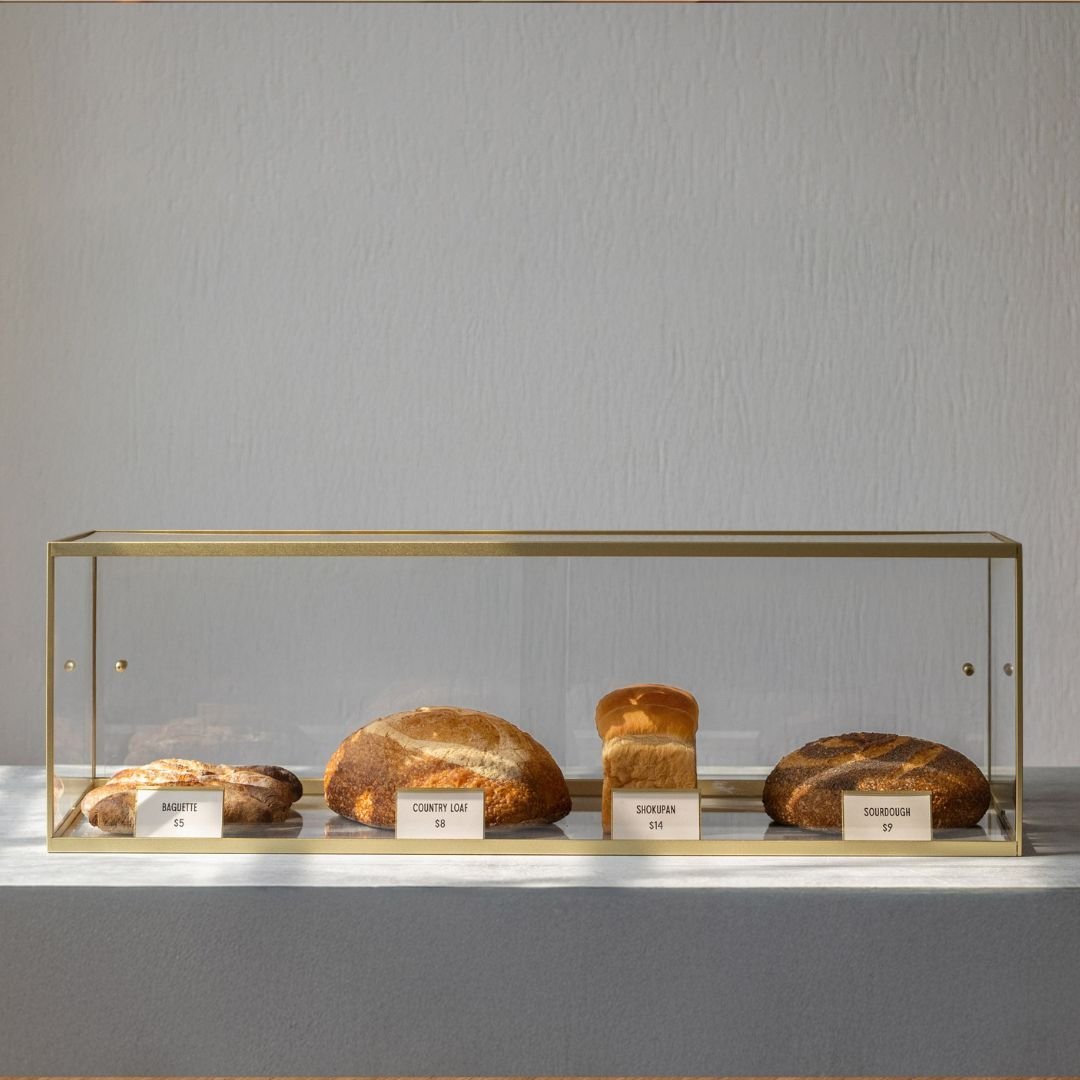
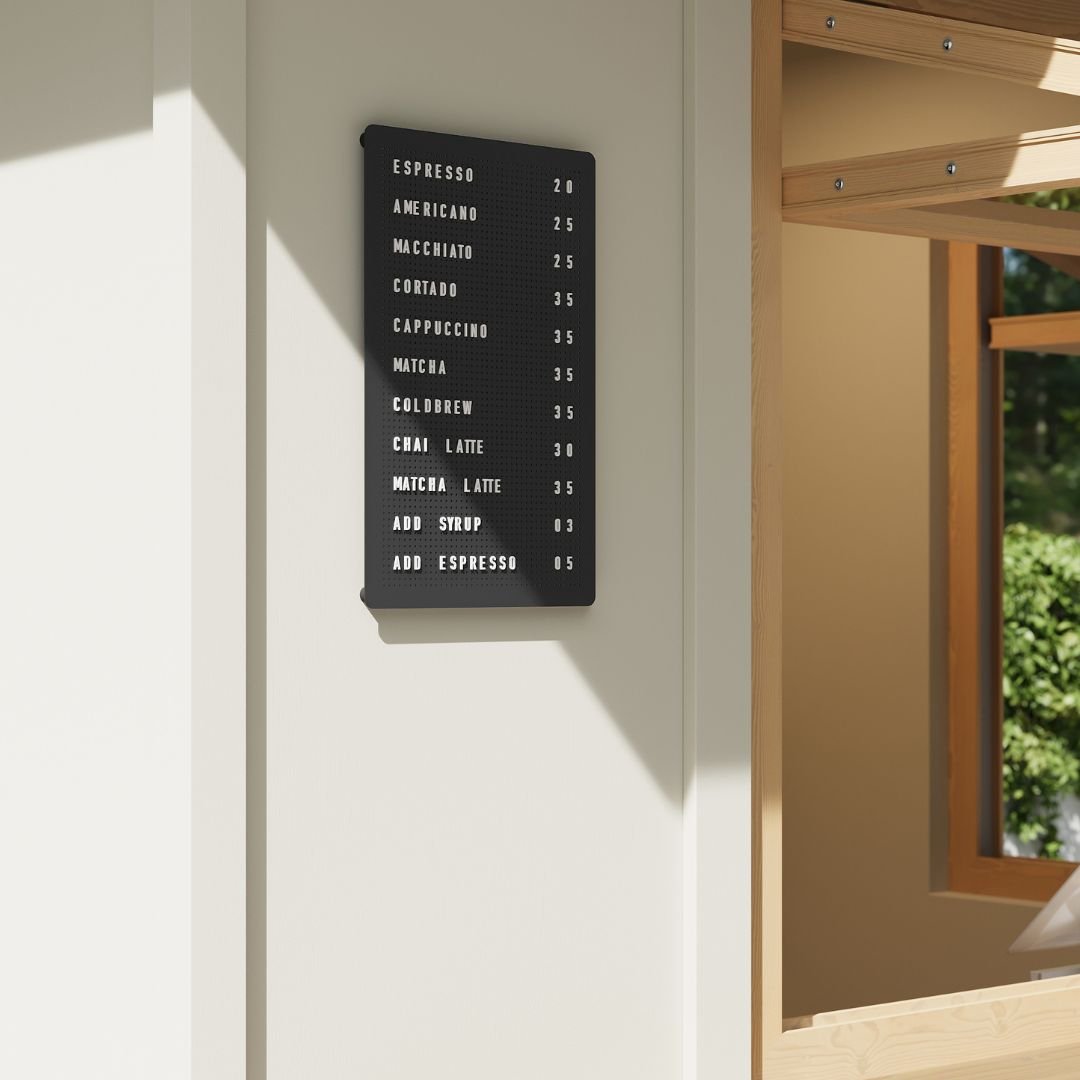
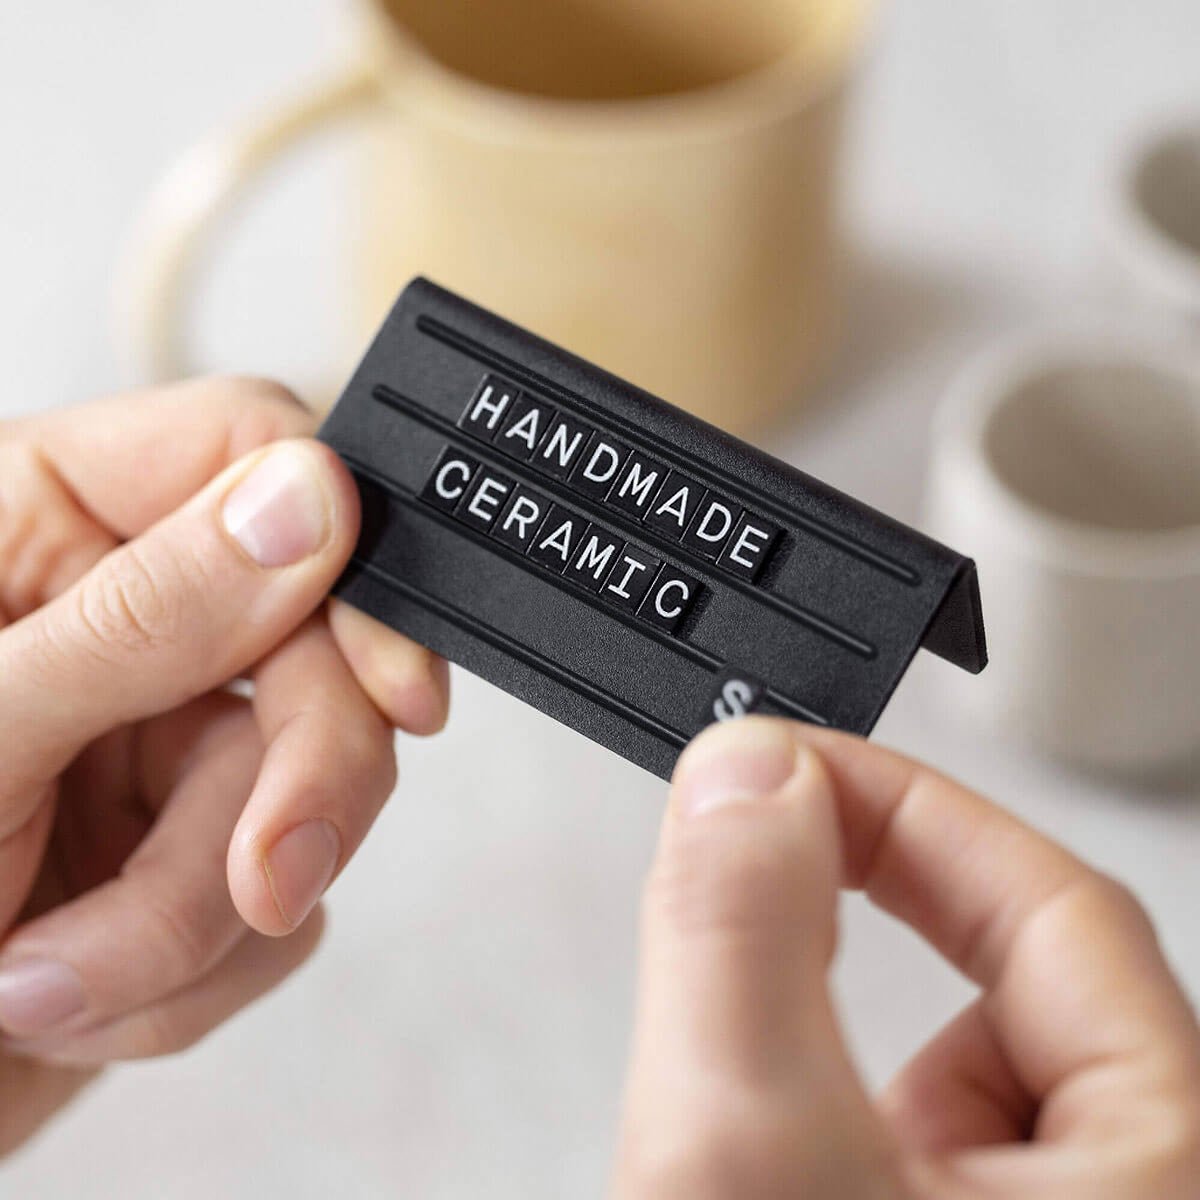
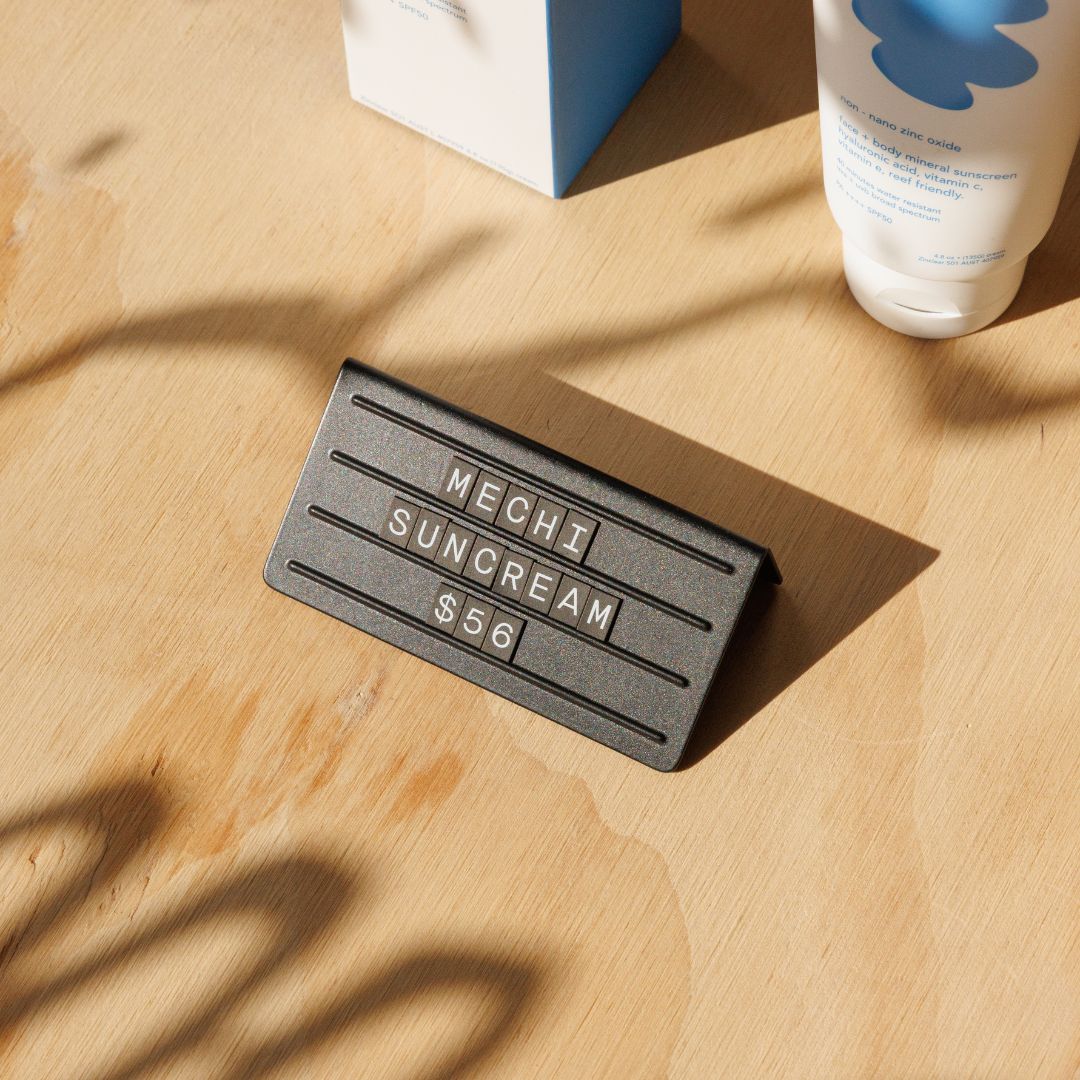
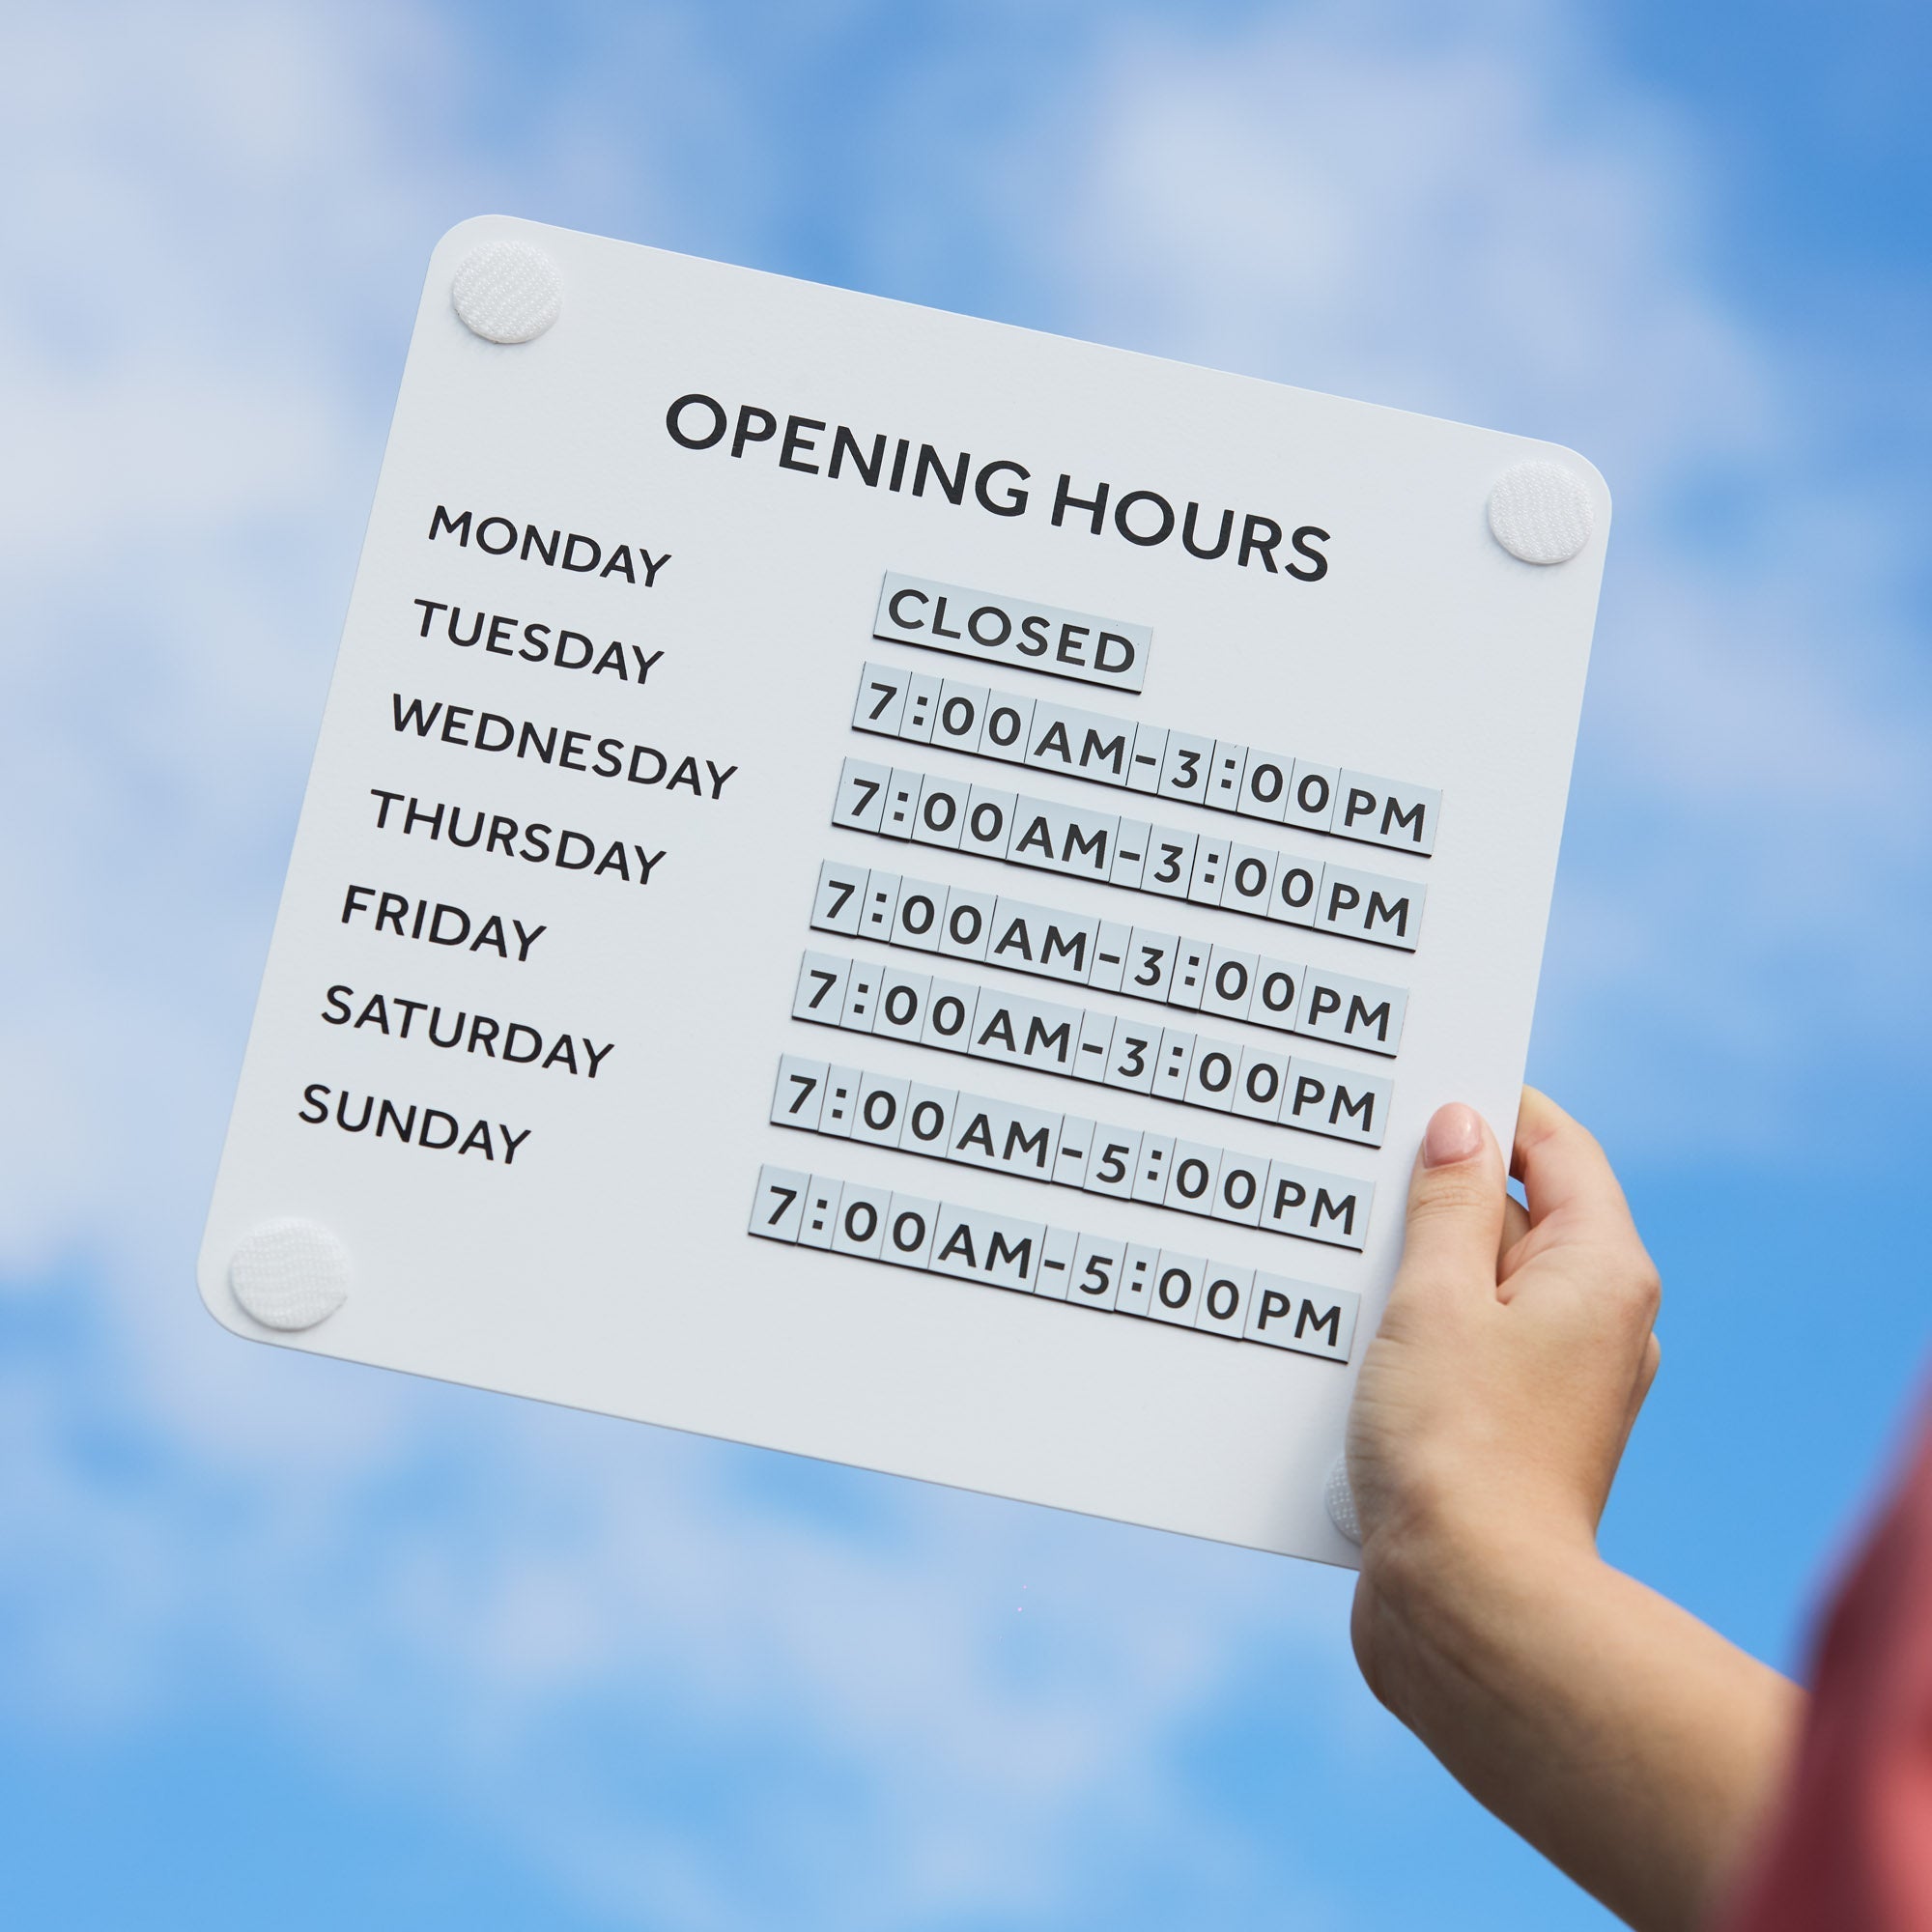
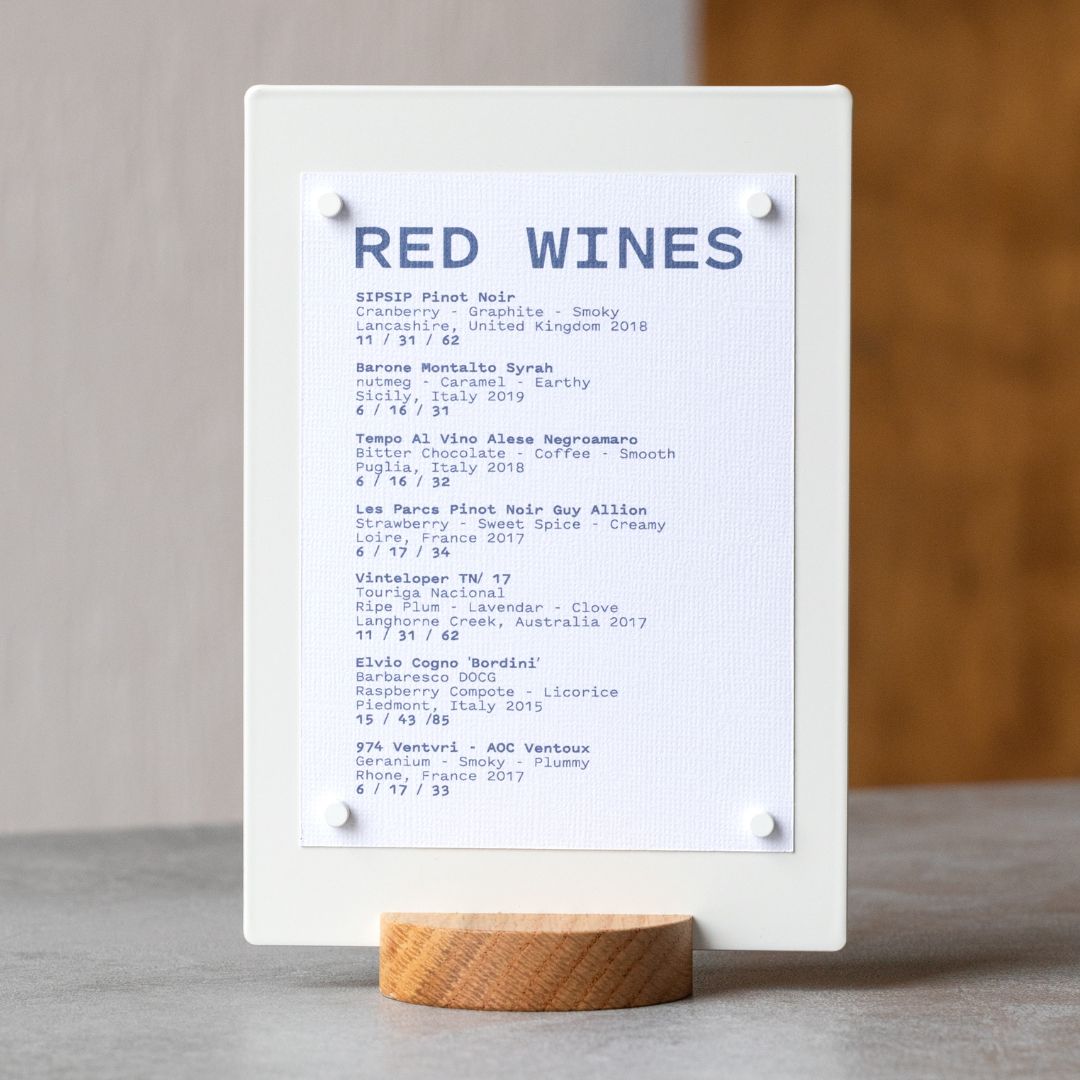
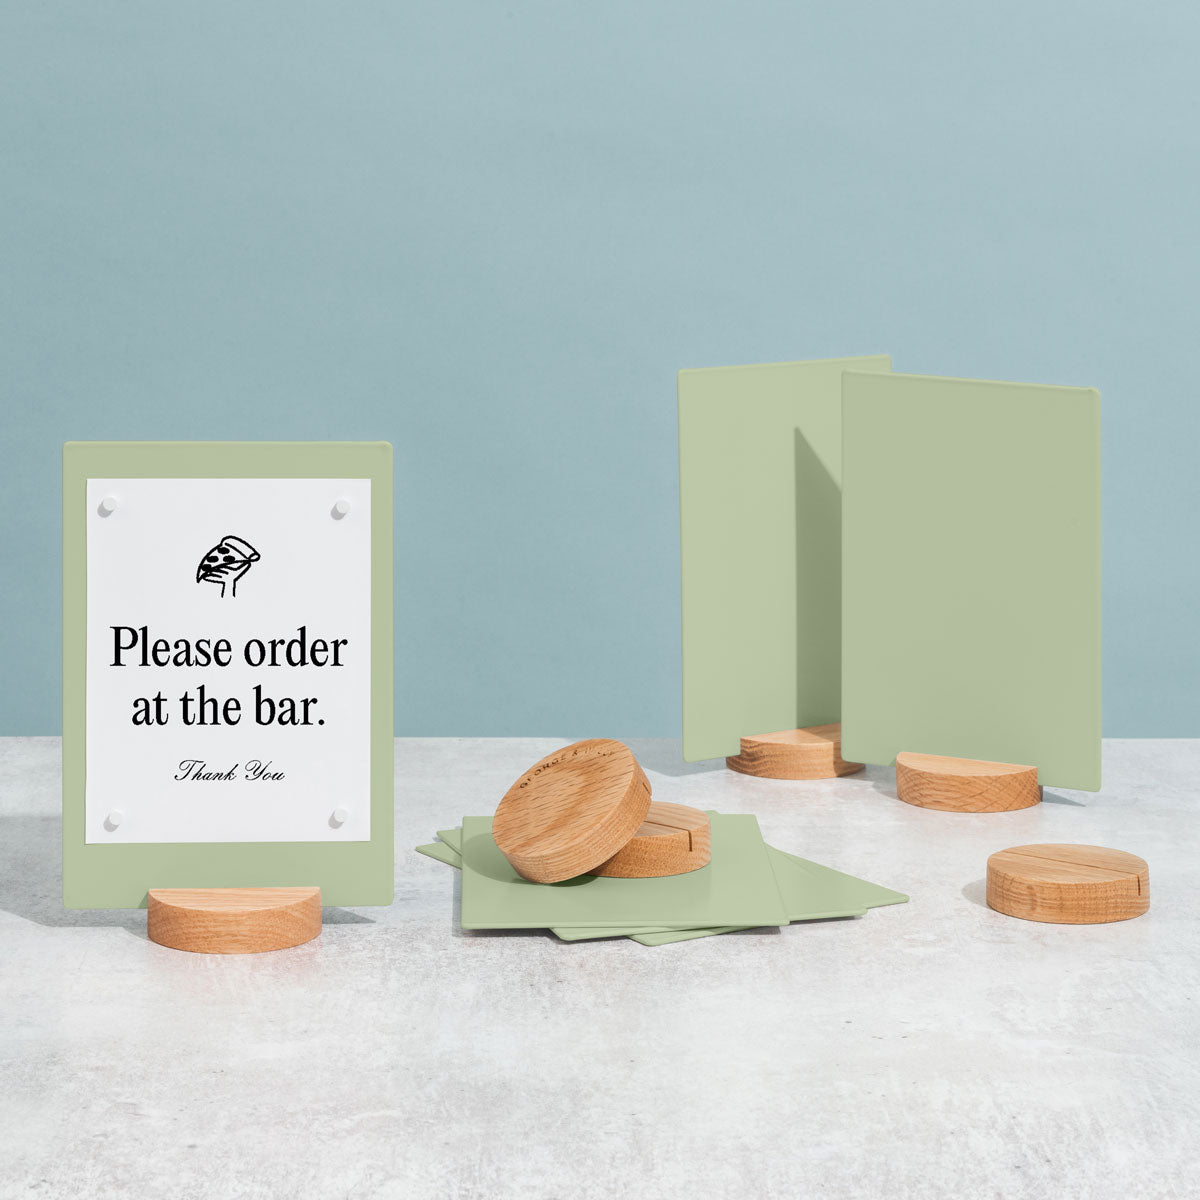
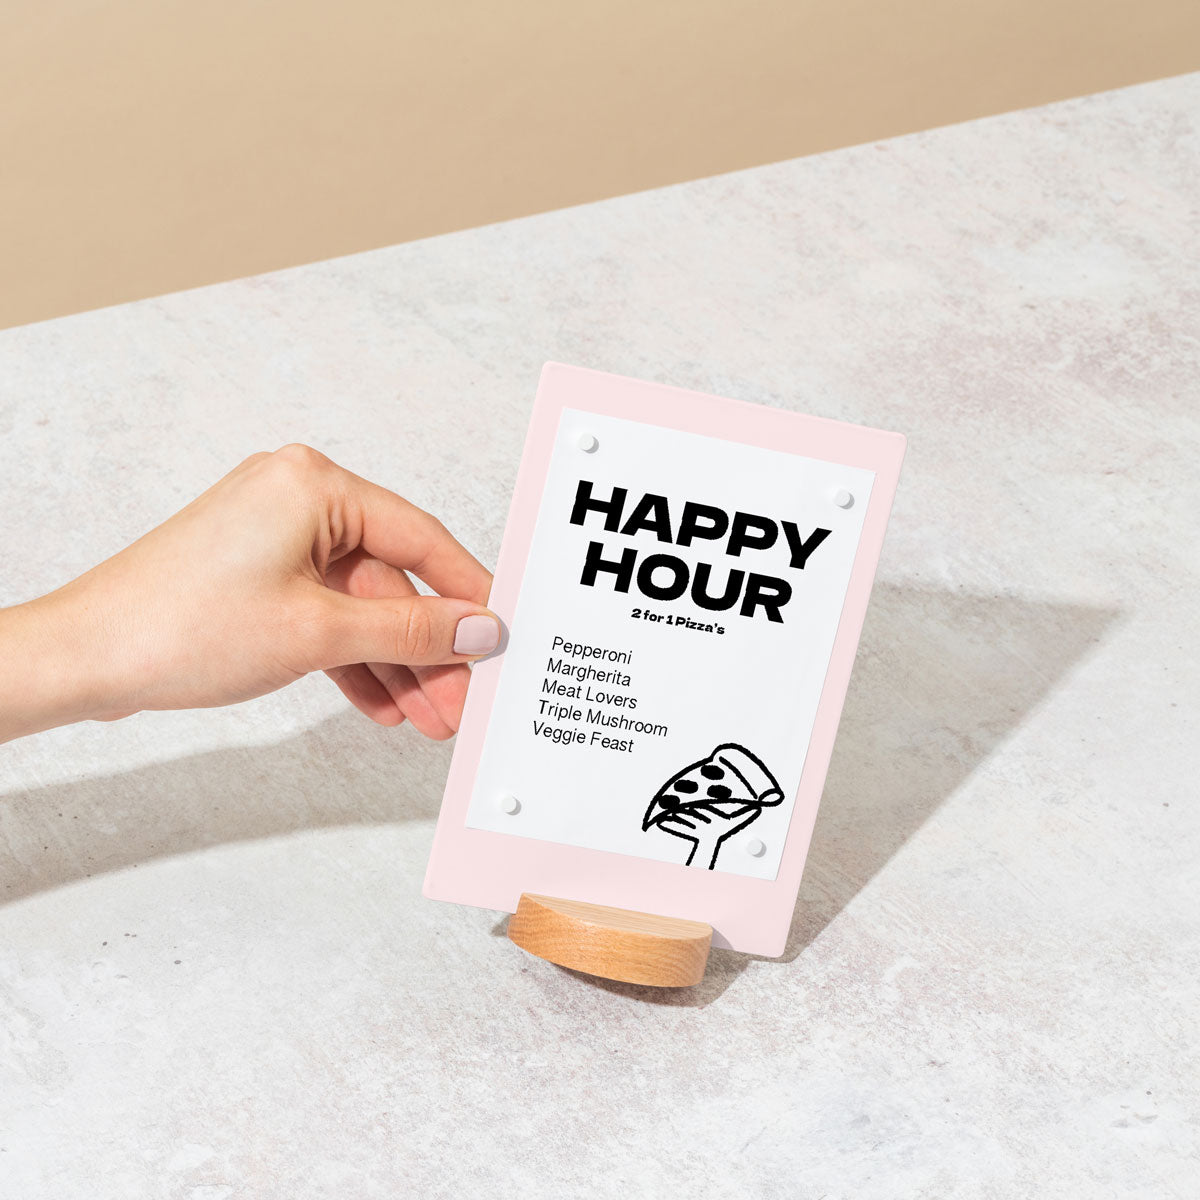
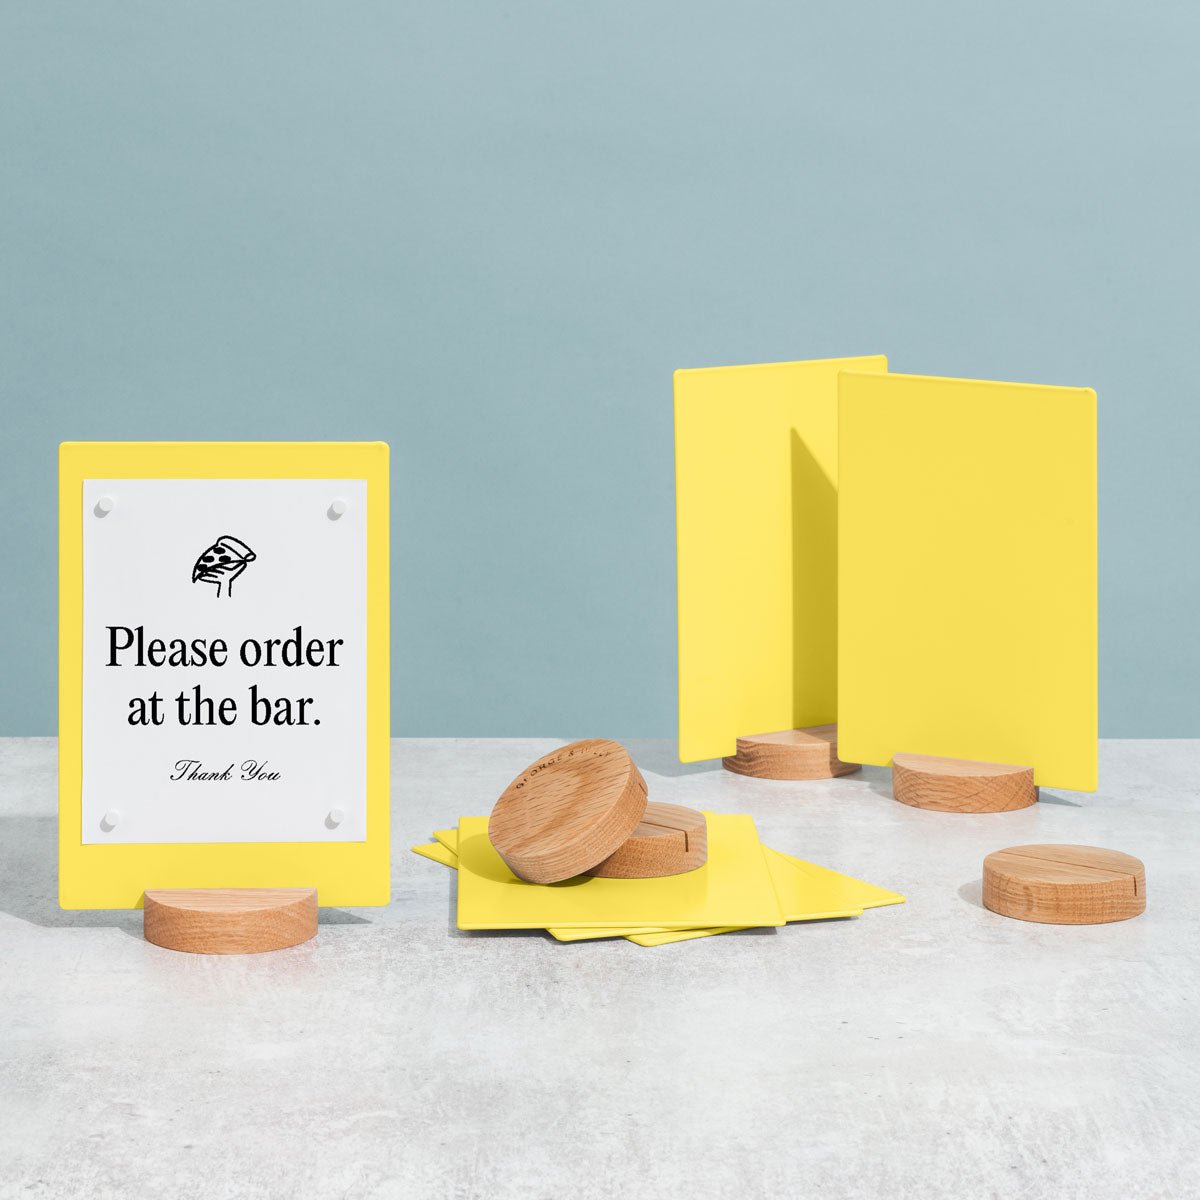
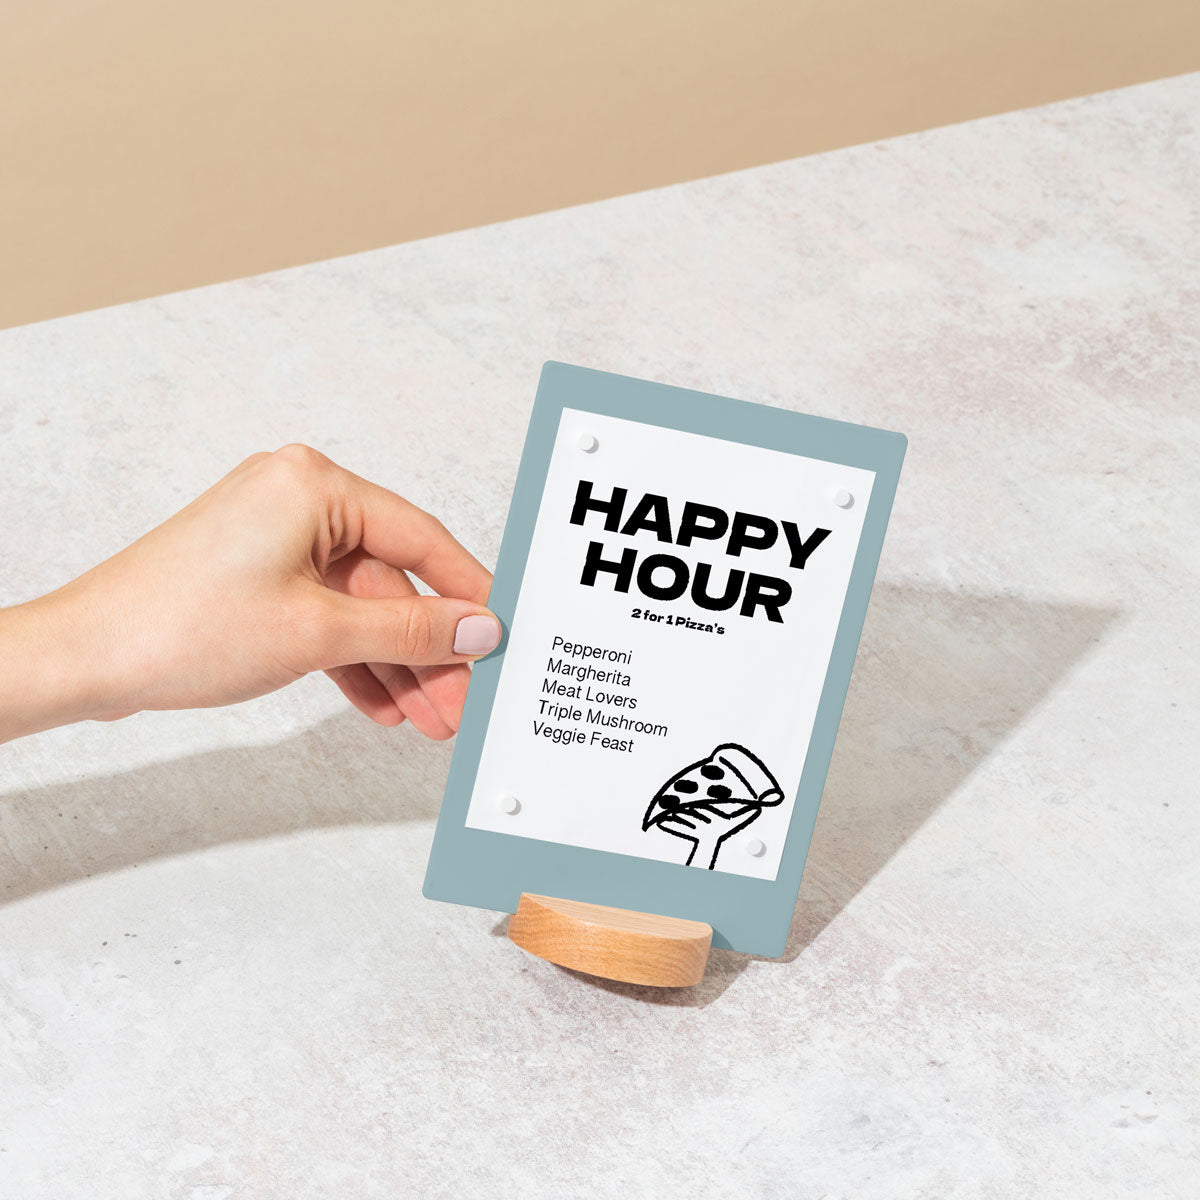
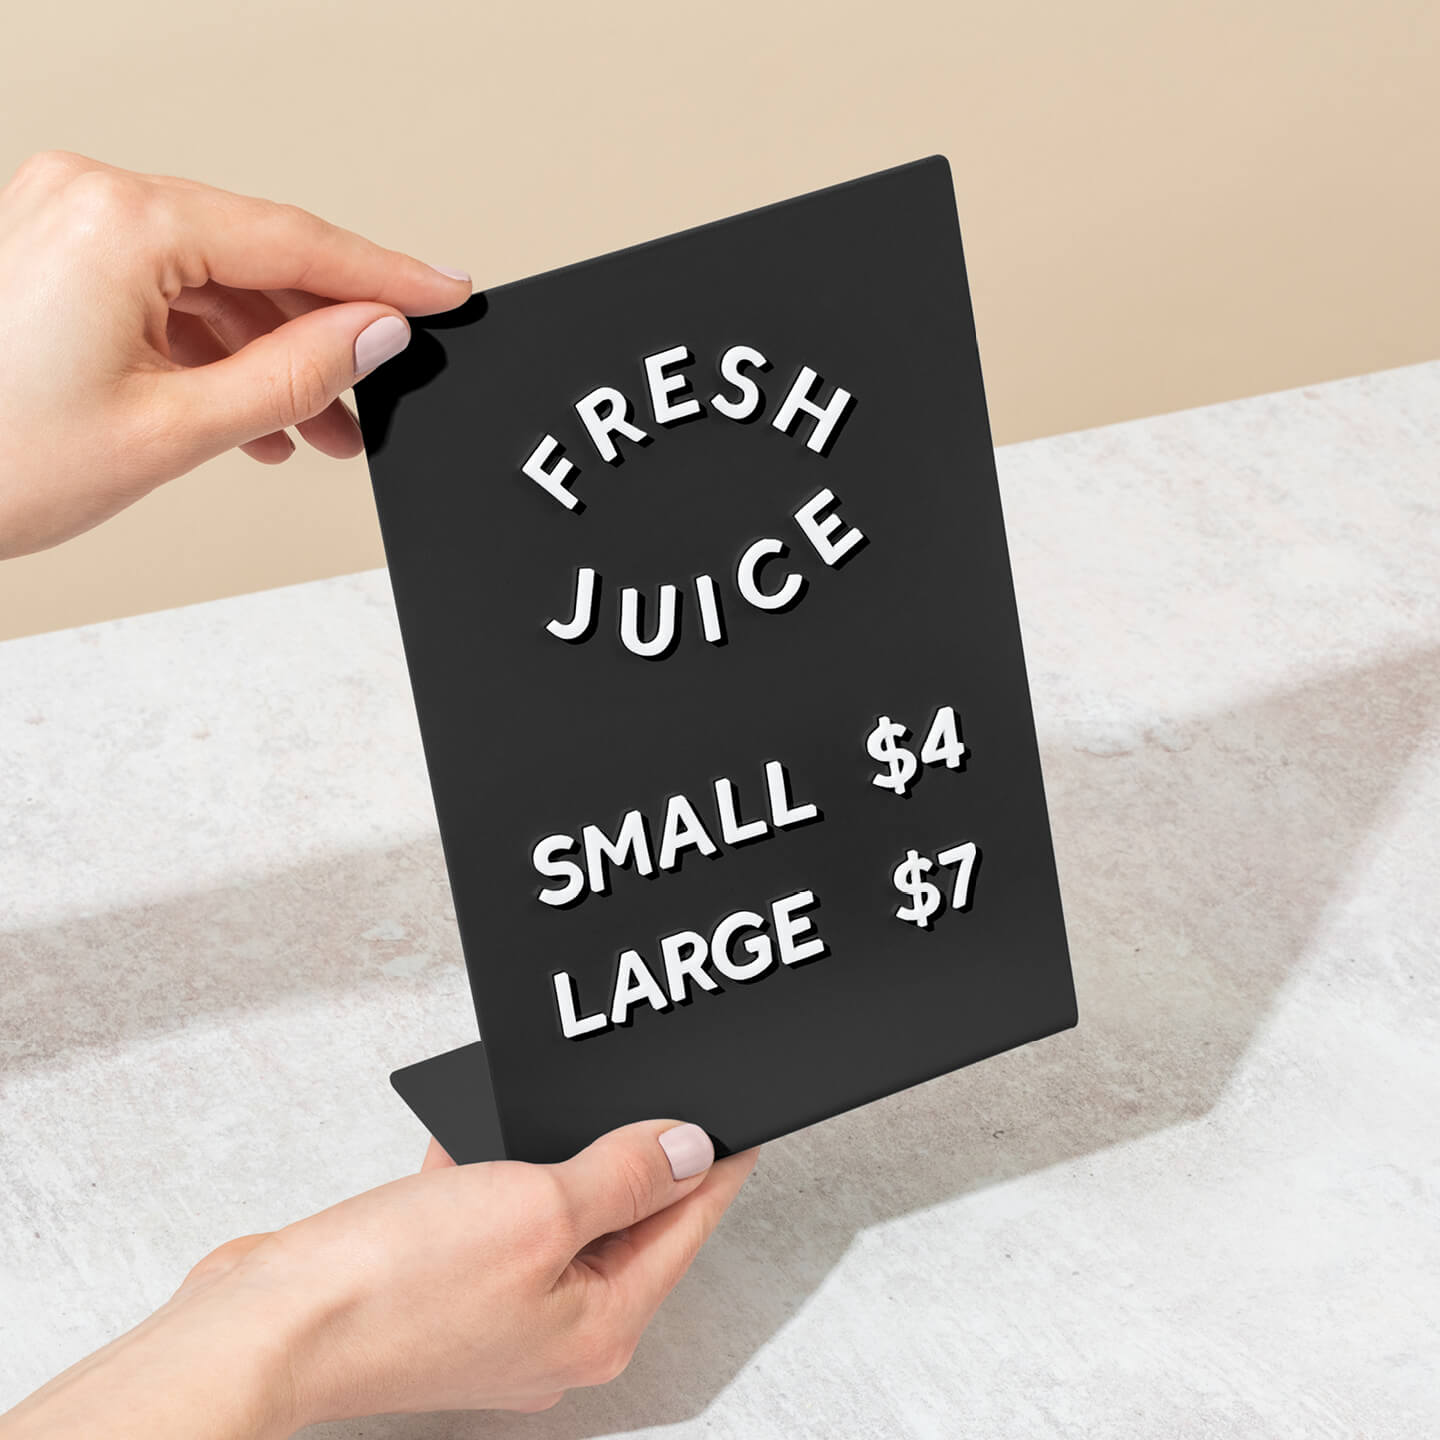
Good design isn’t just about what you put on a sign; it’s also about the empty space. Proper spacing between letters, words, and lines of text is essential for readability. A clear margin around the content helps focus the viewer’s eye. A general guideline is that at least 40% of a sign’s face should be background space for optimal comprehension. Even small point‑of‑sale displays like Counter Signs benefit from this proportion.
From the Shop to the Street: Installation
The final step in sign fabrication is getting the sign installed safely and correctly.
Site Surveys and Installation Planning
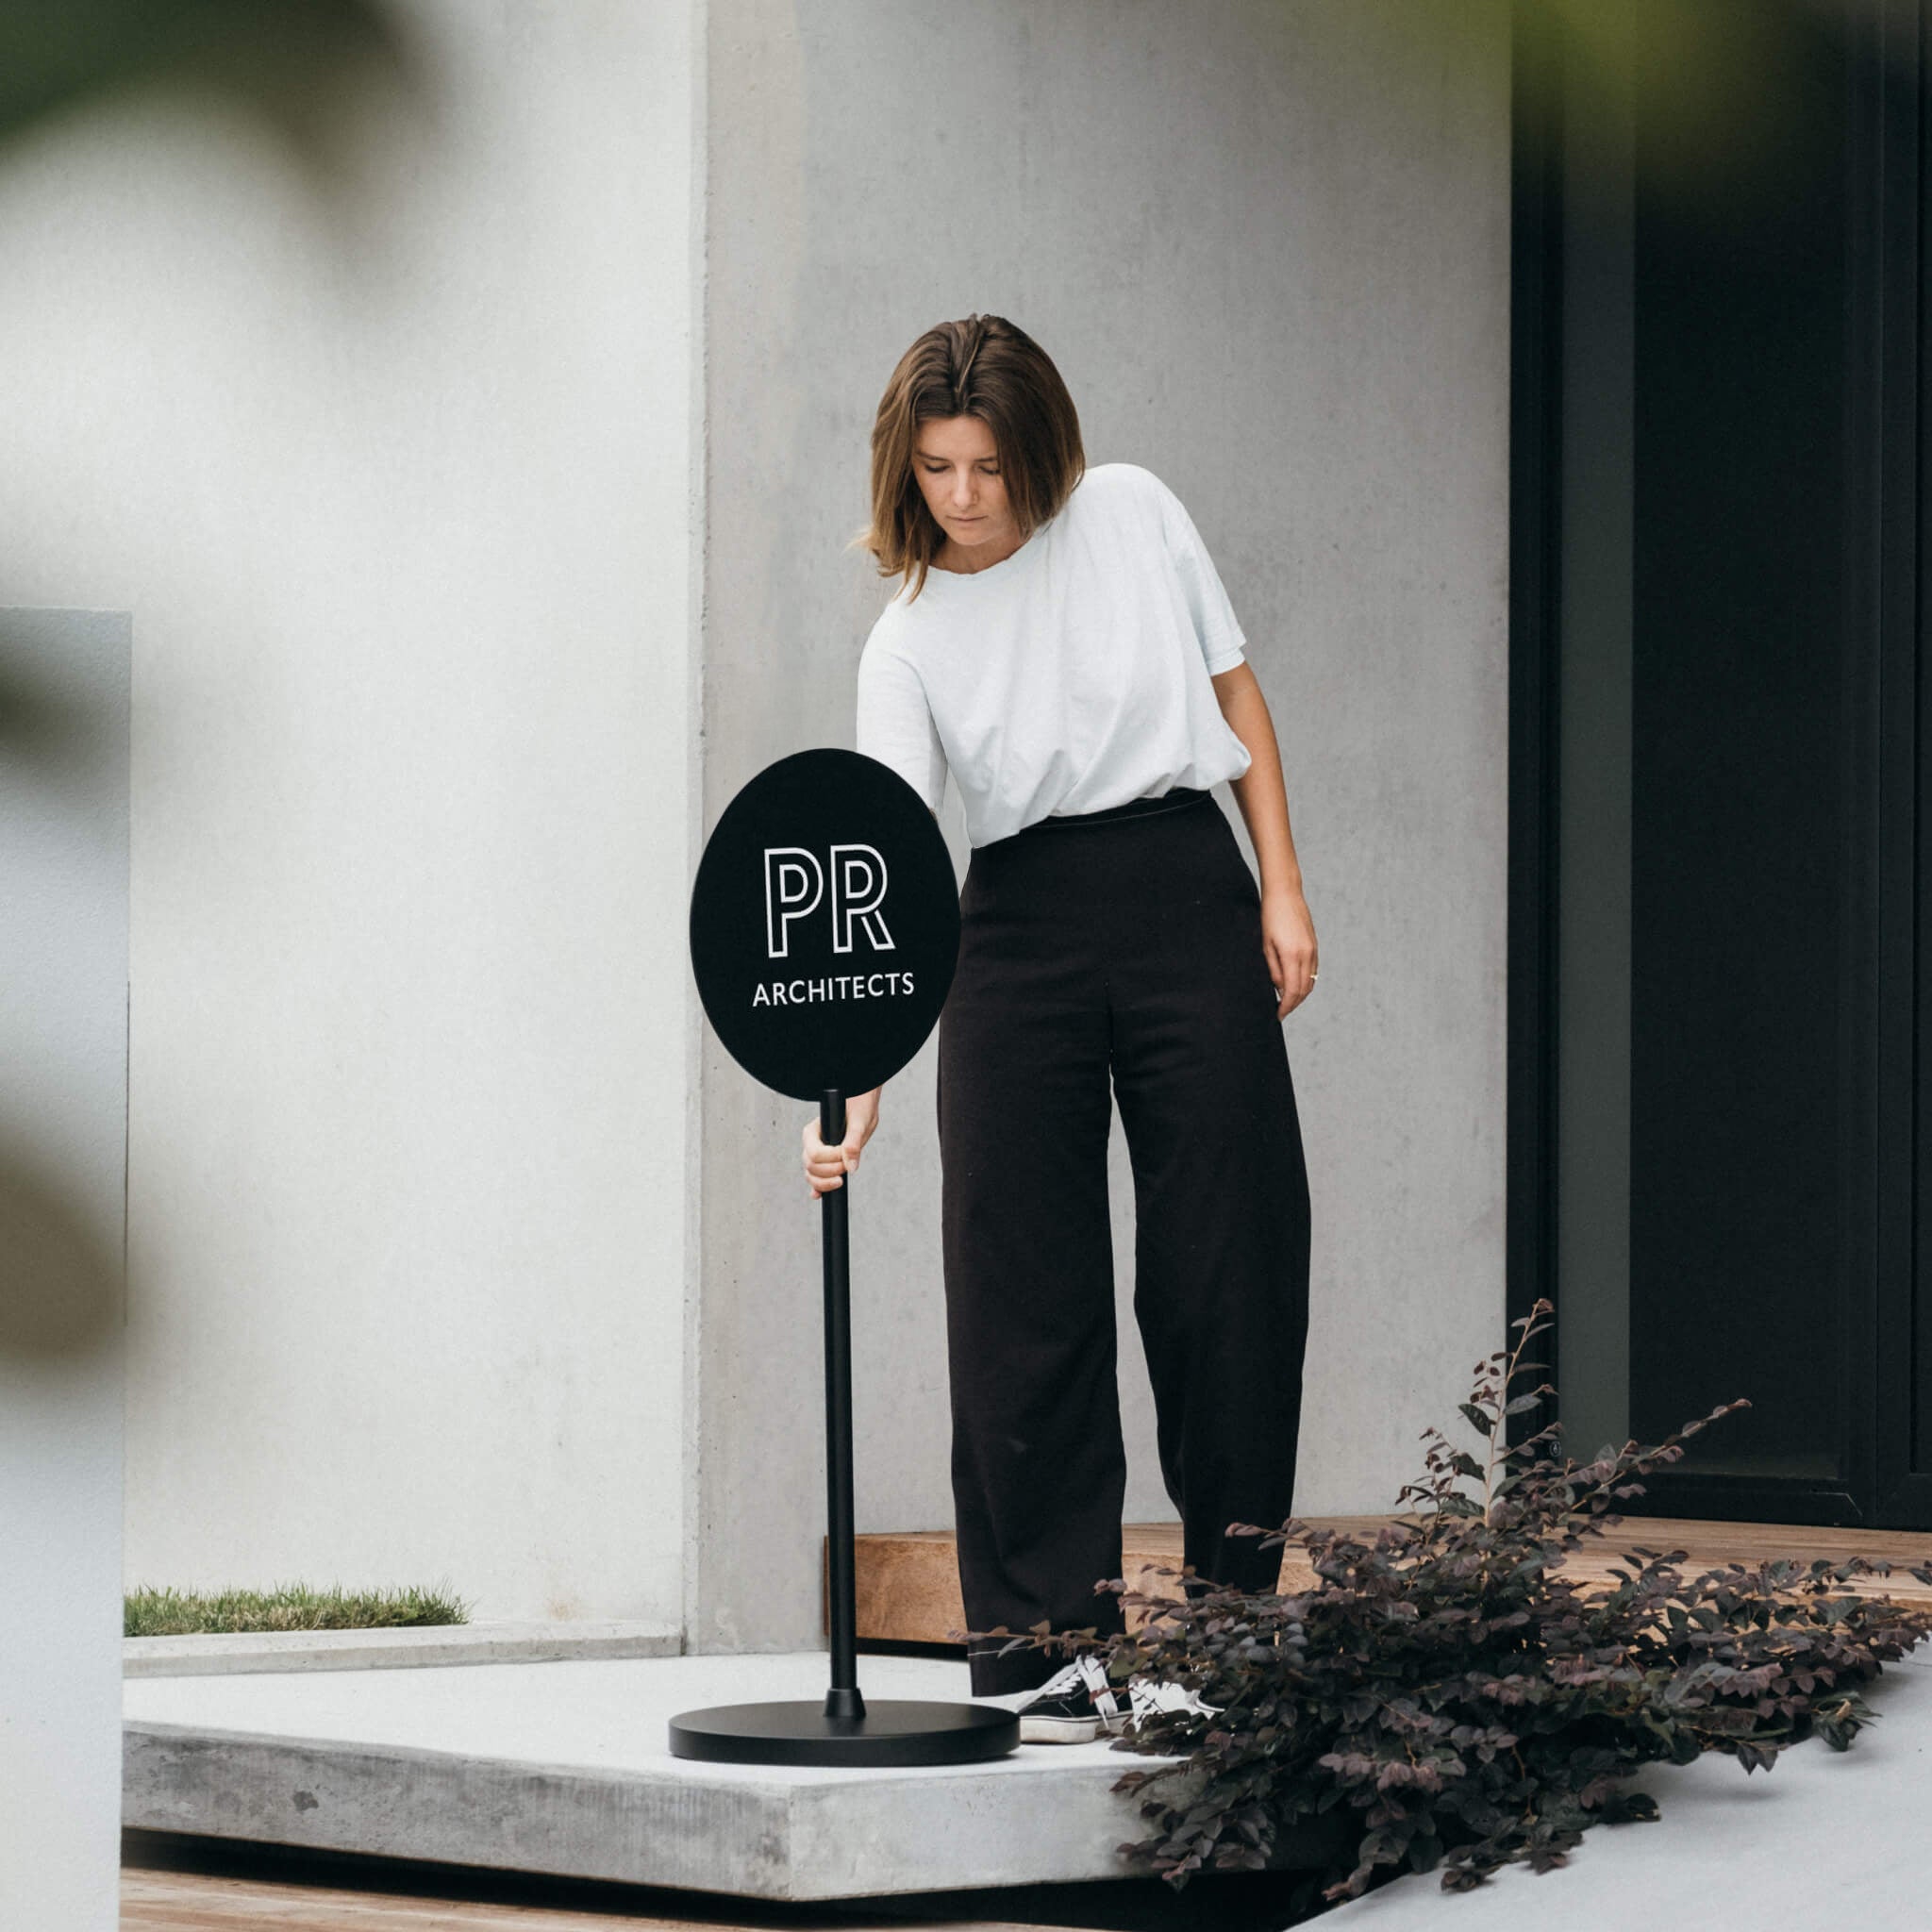
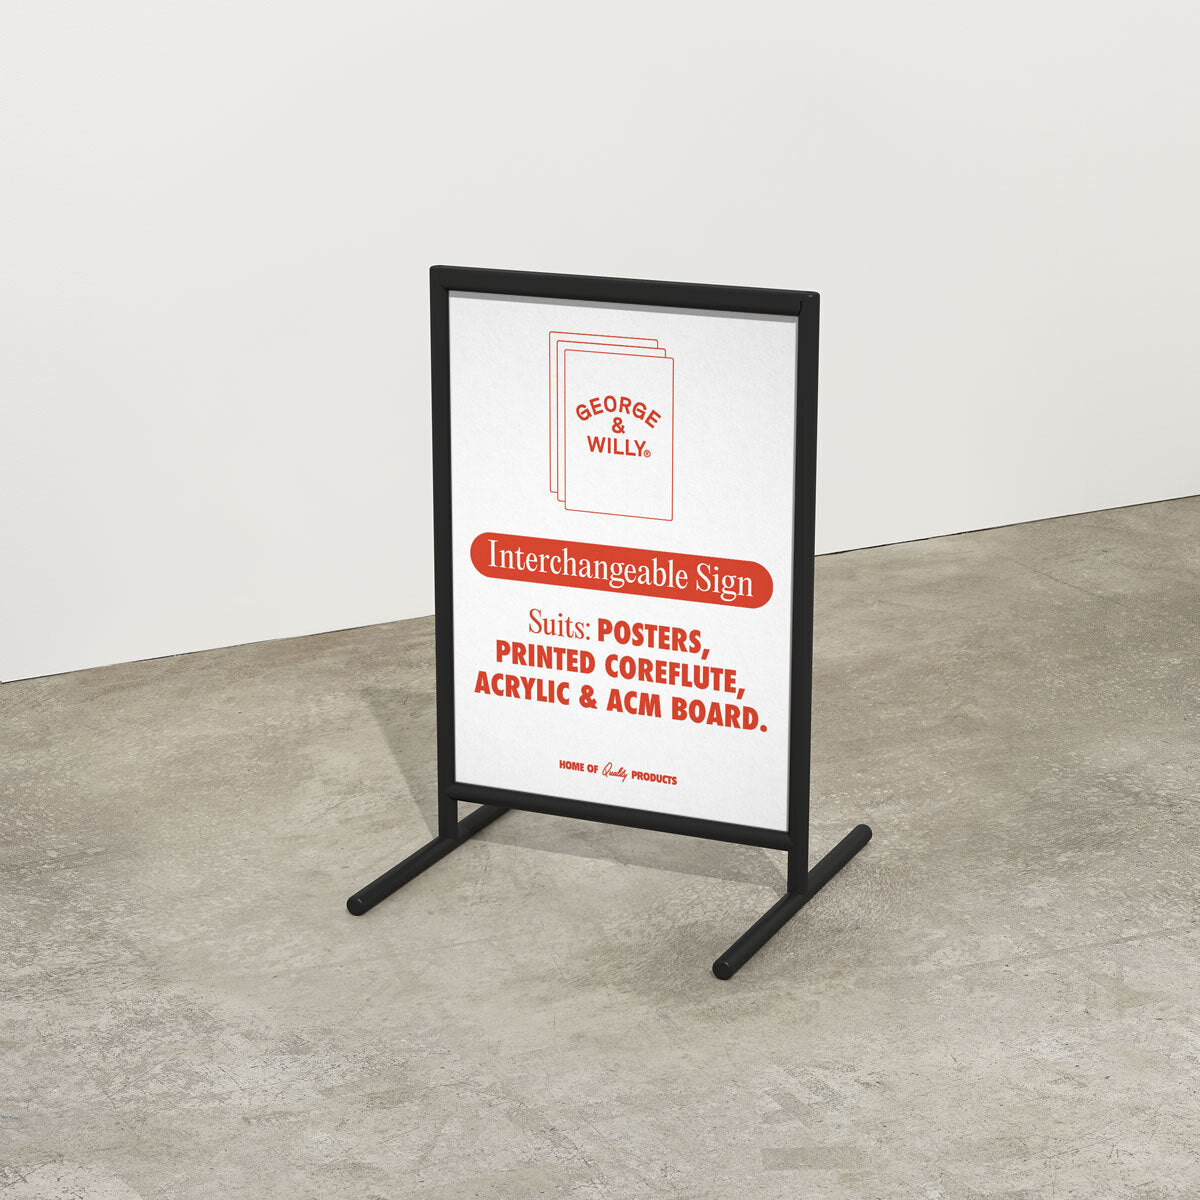
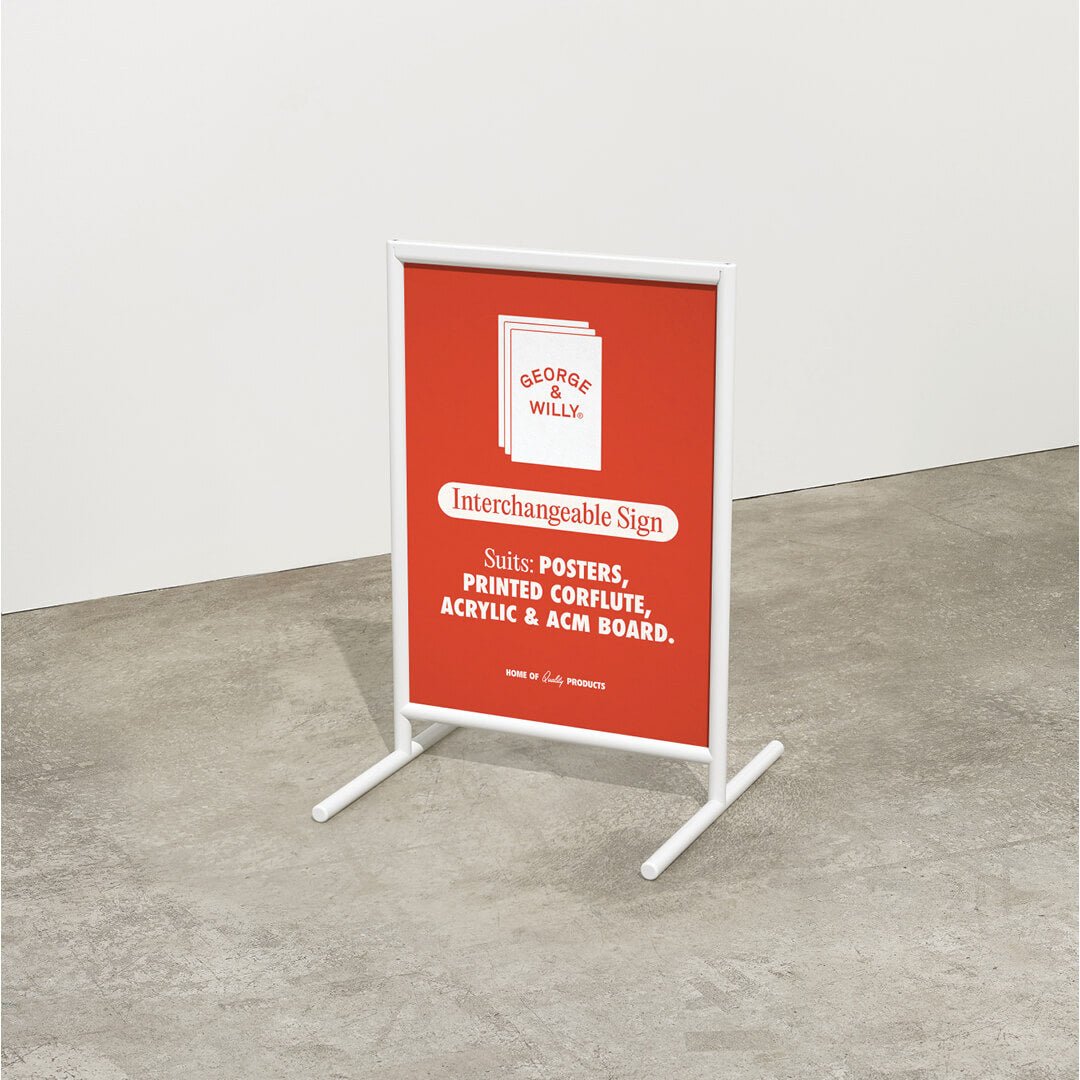
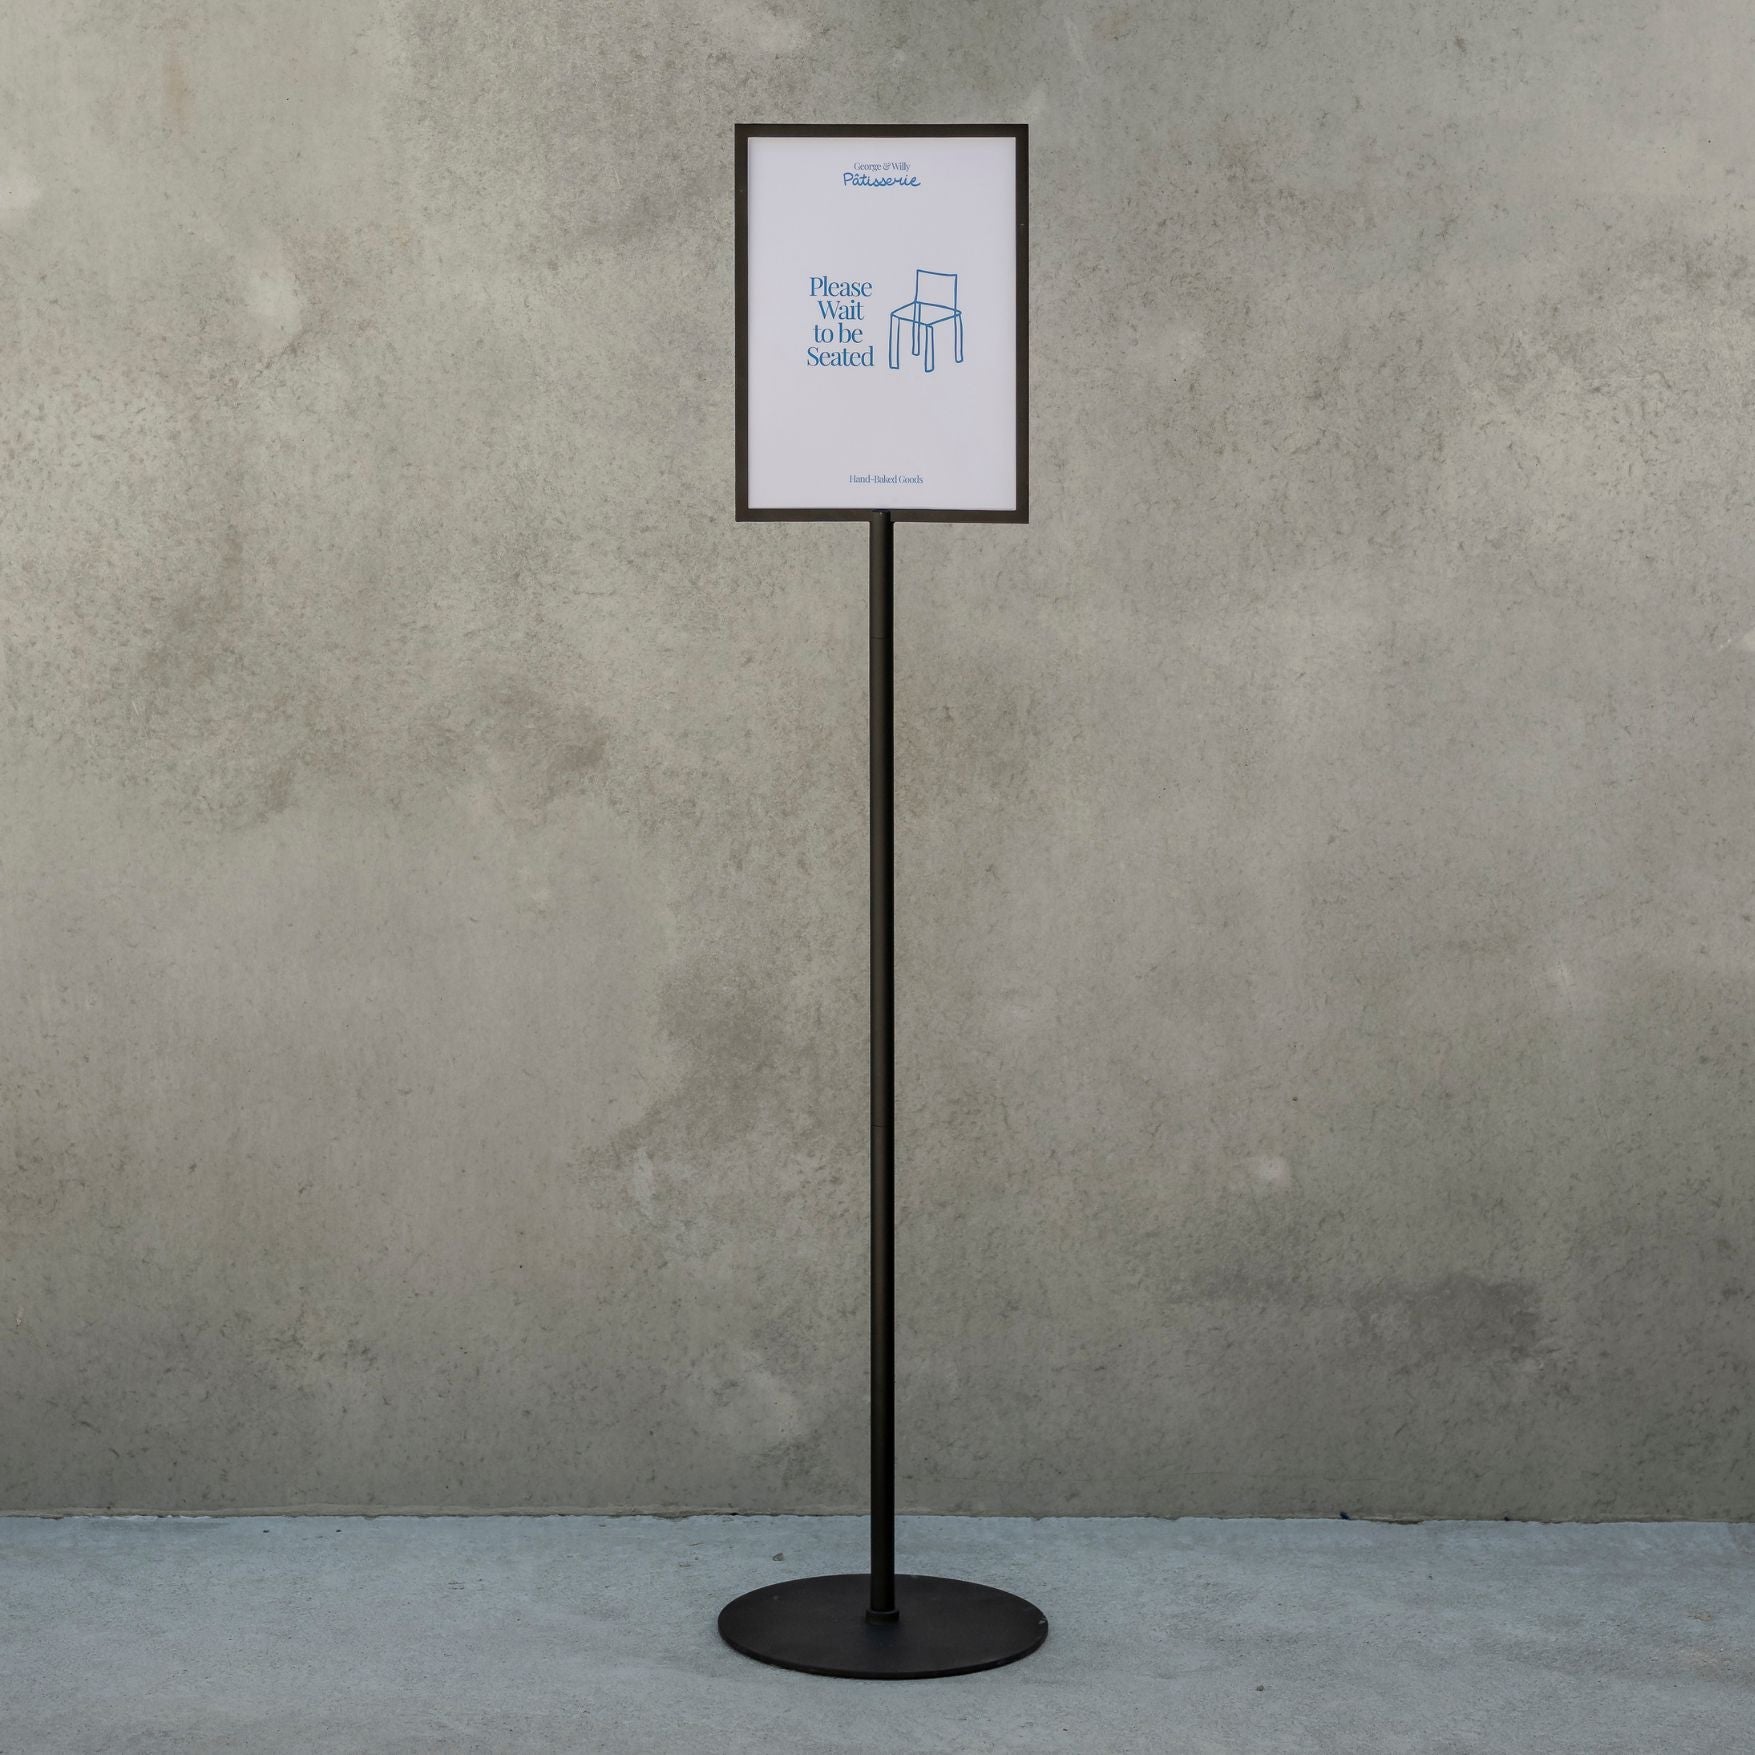
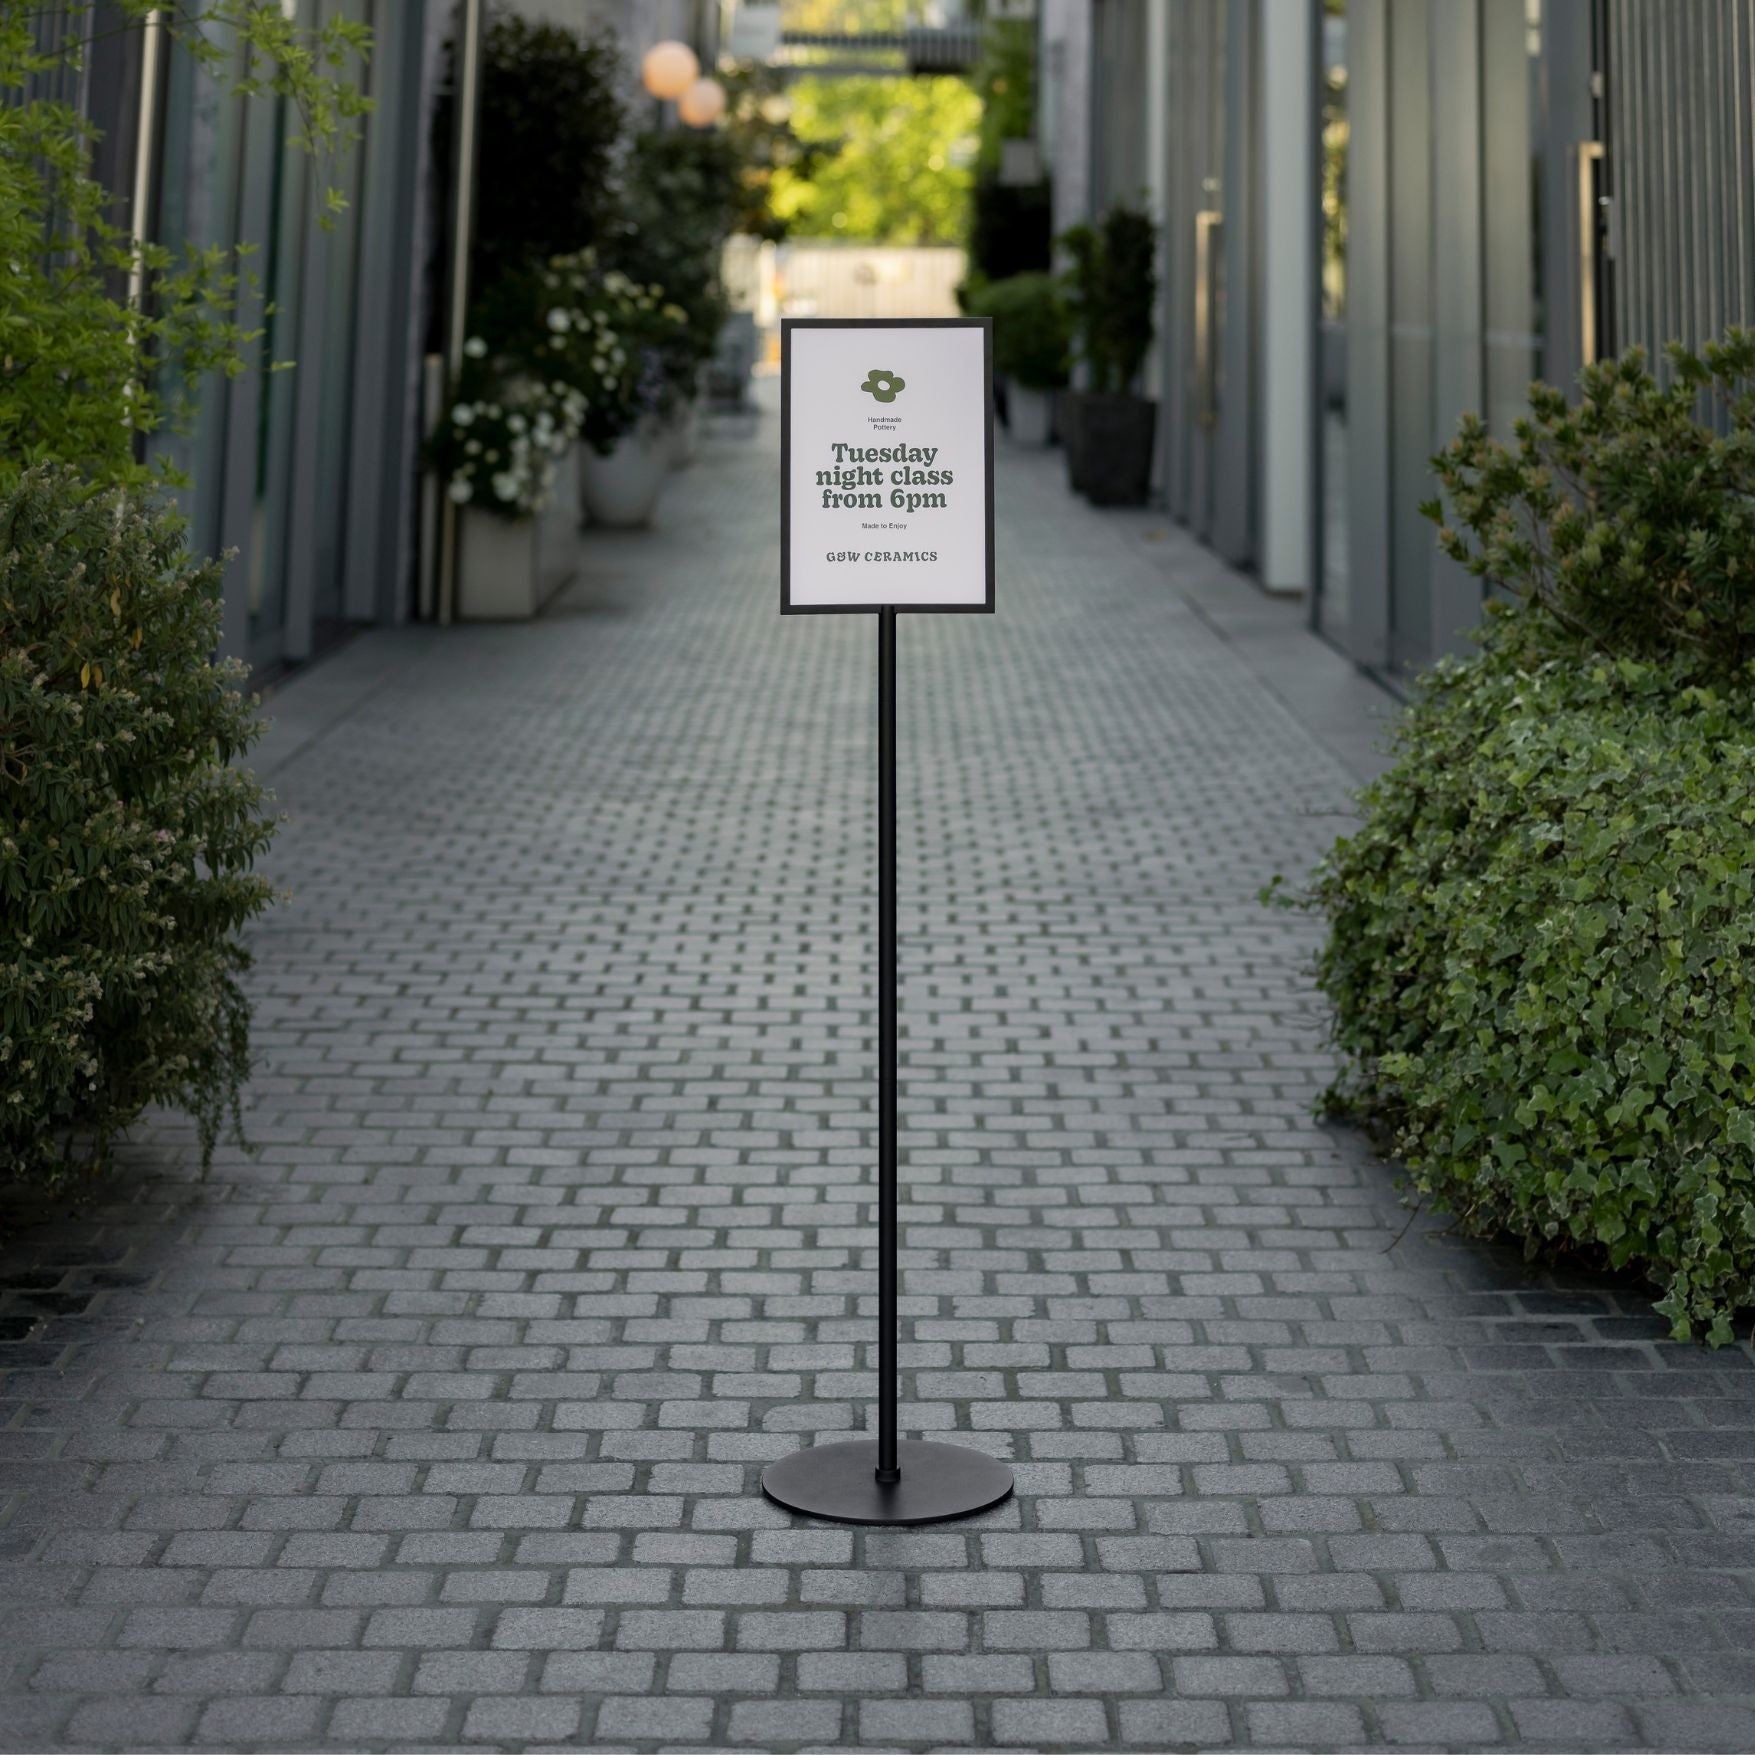
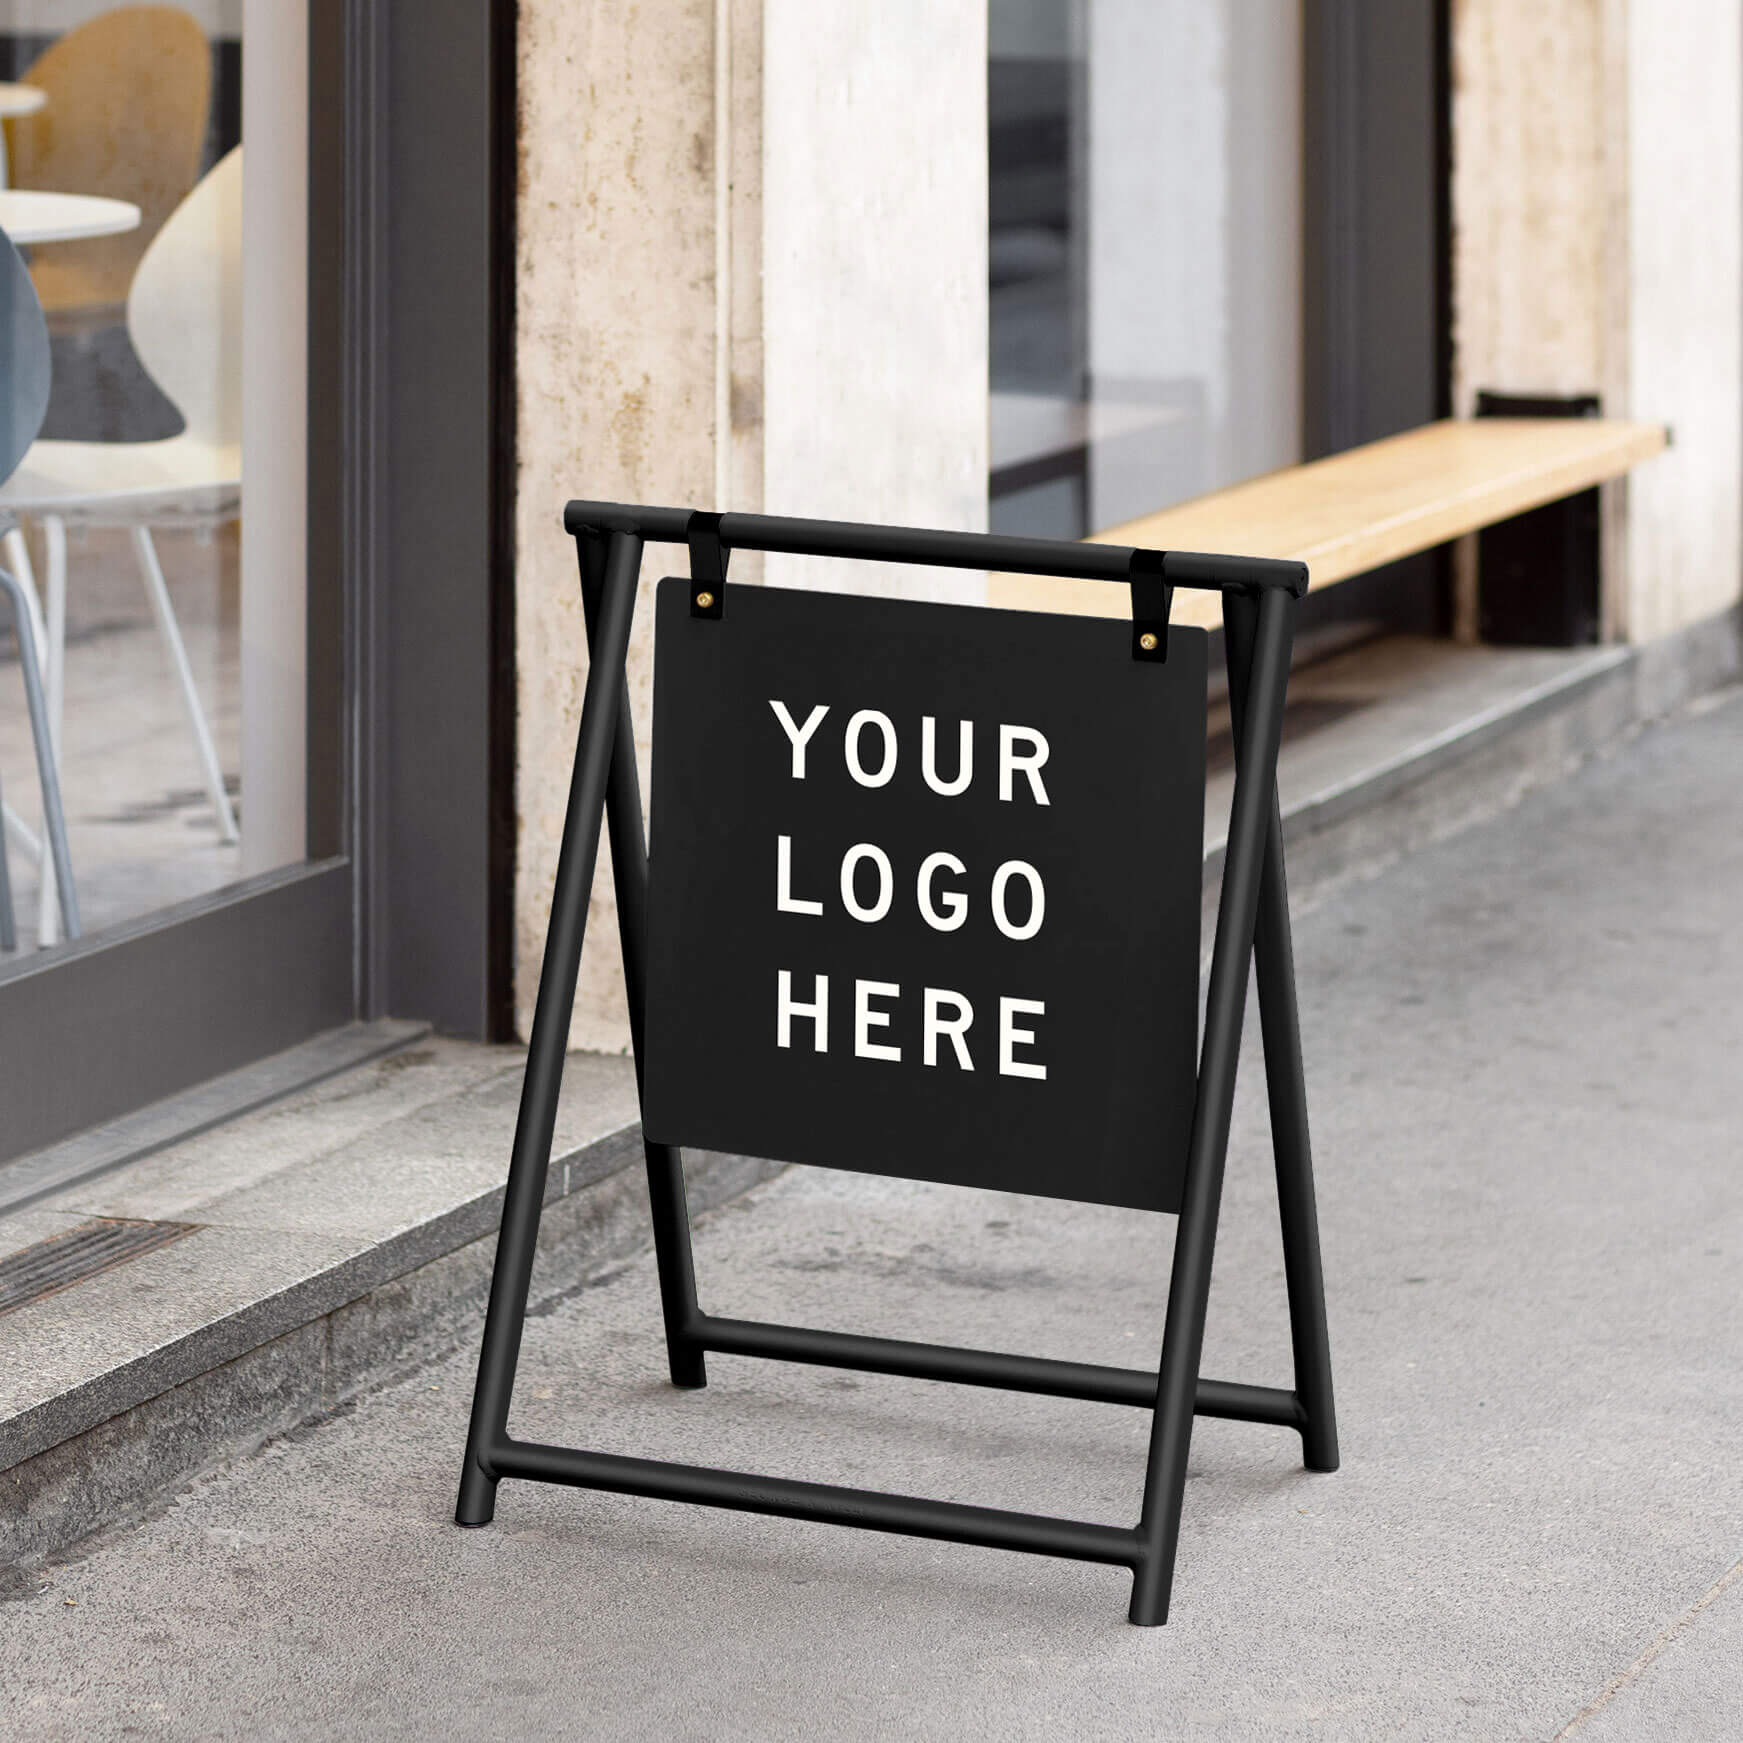
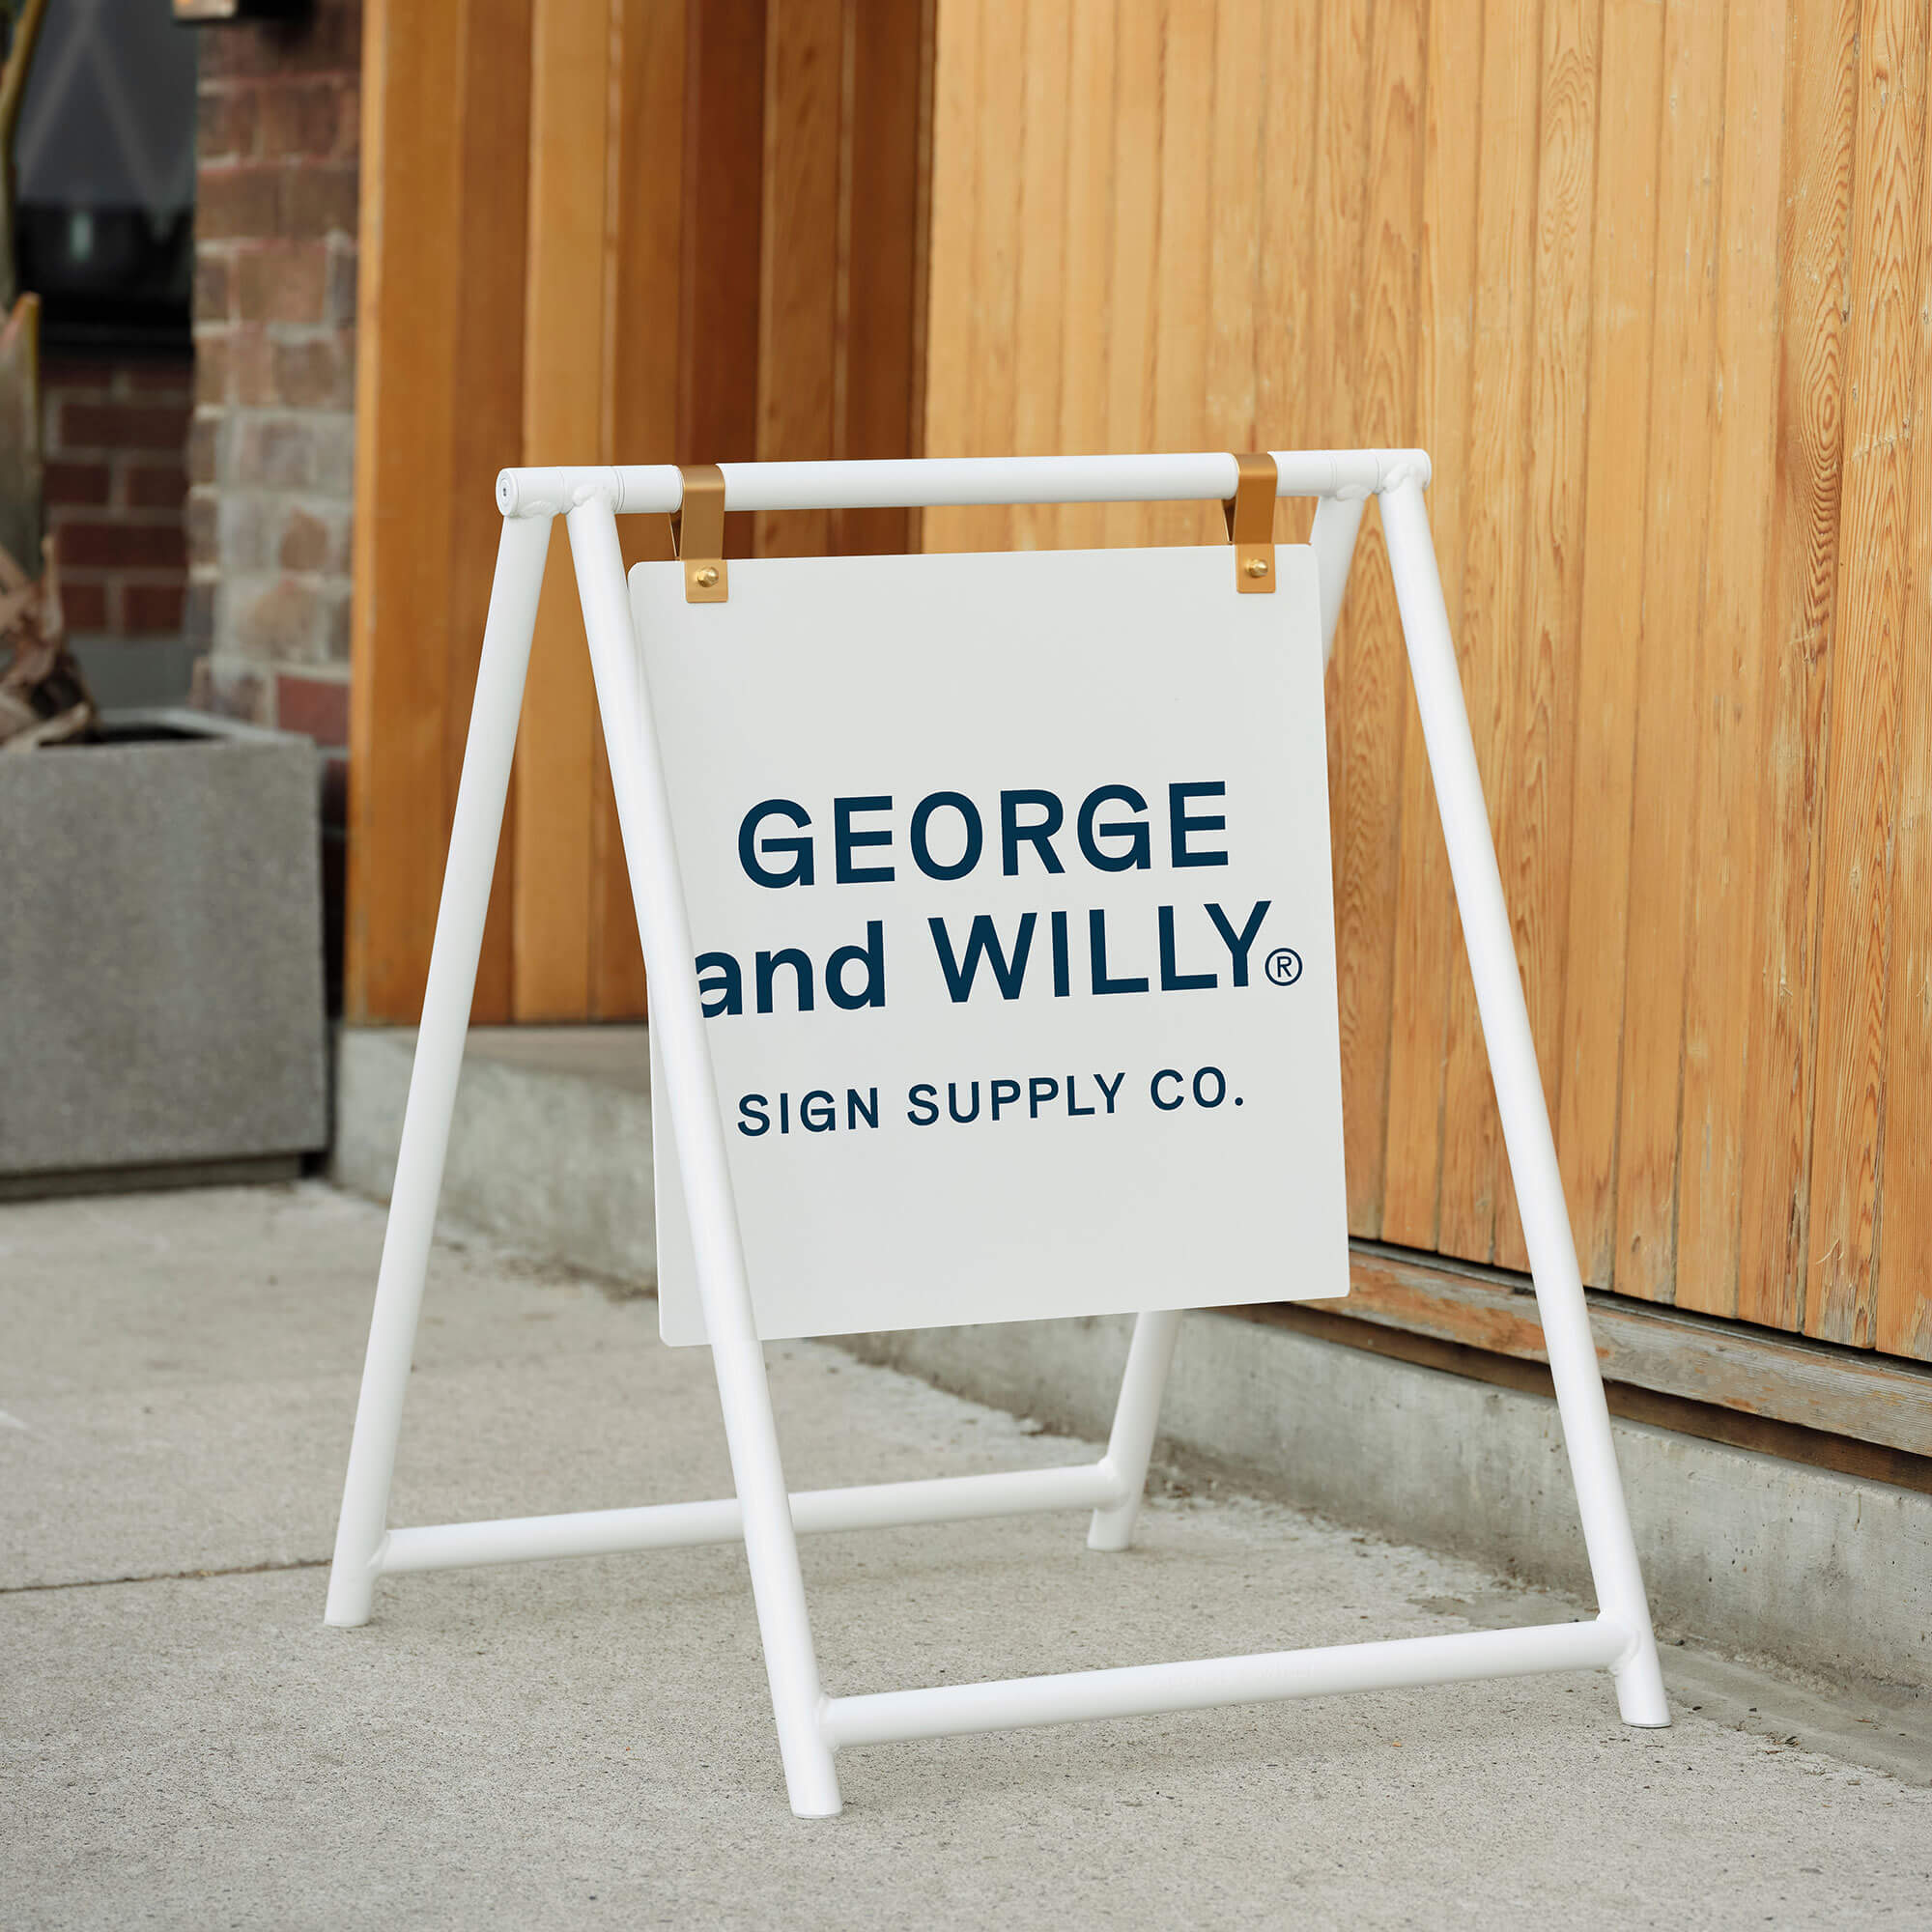
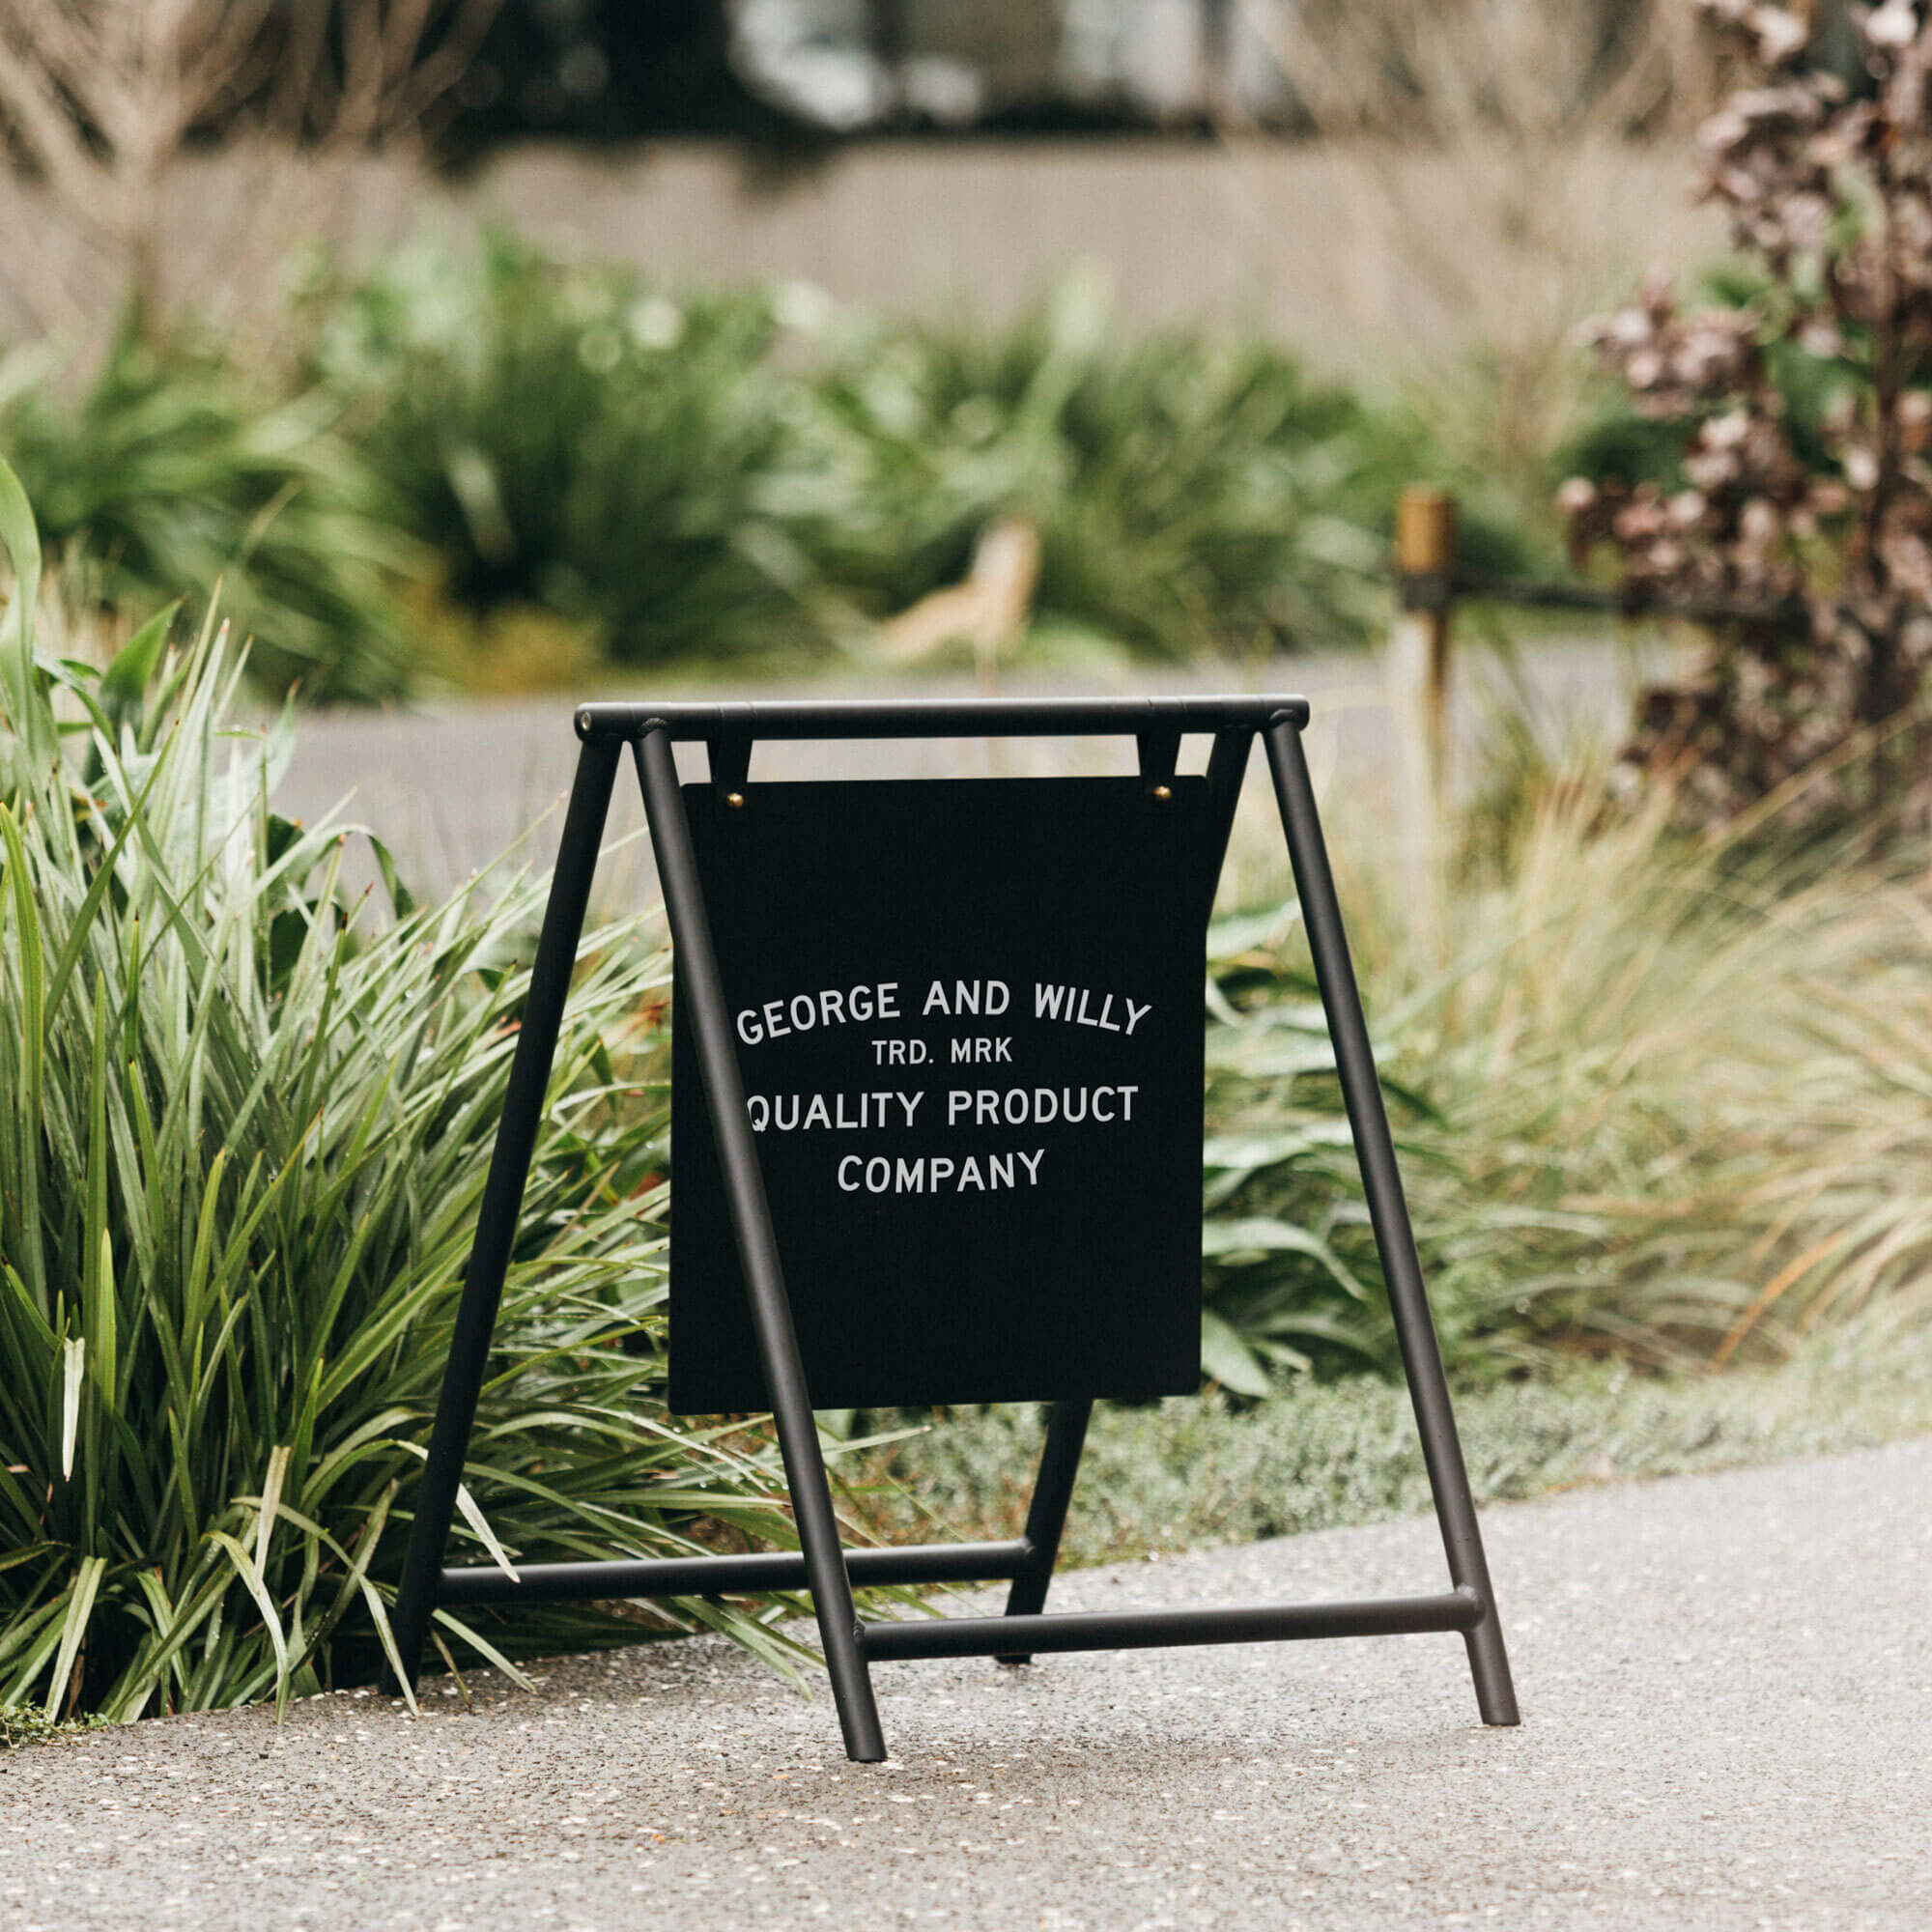
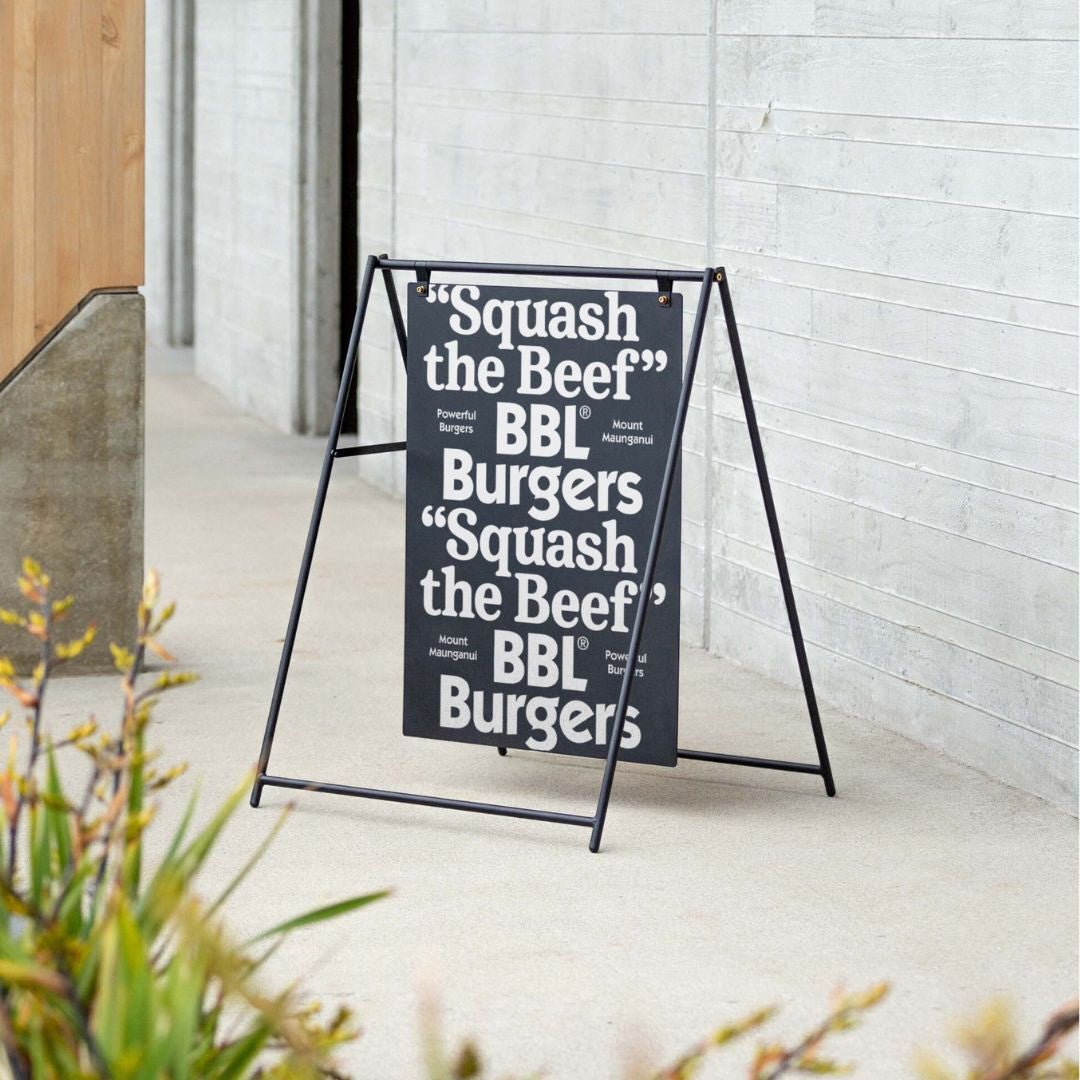
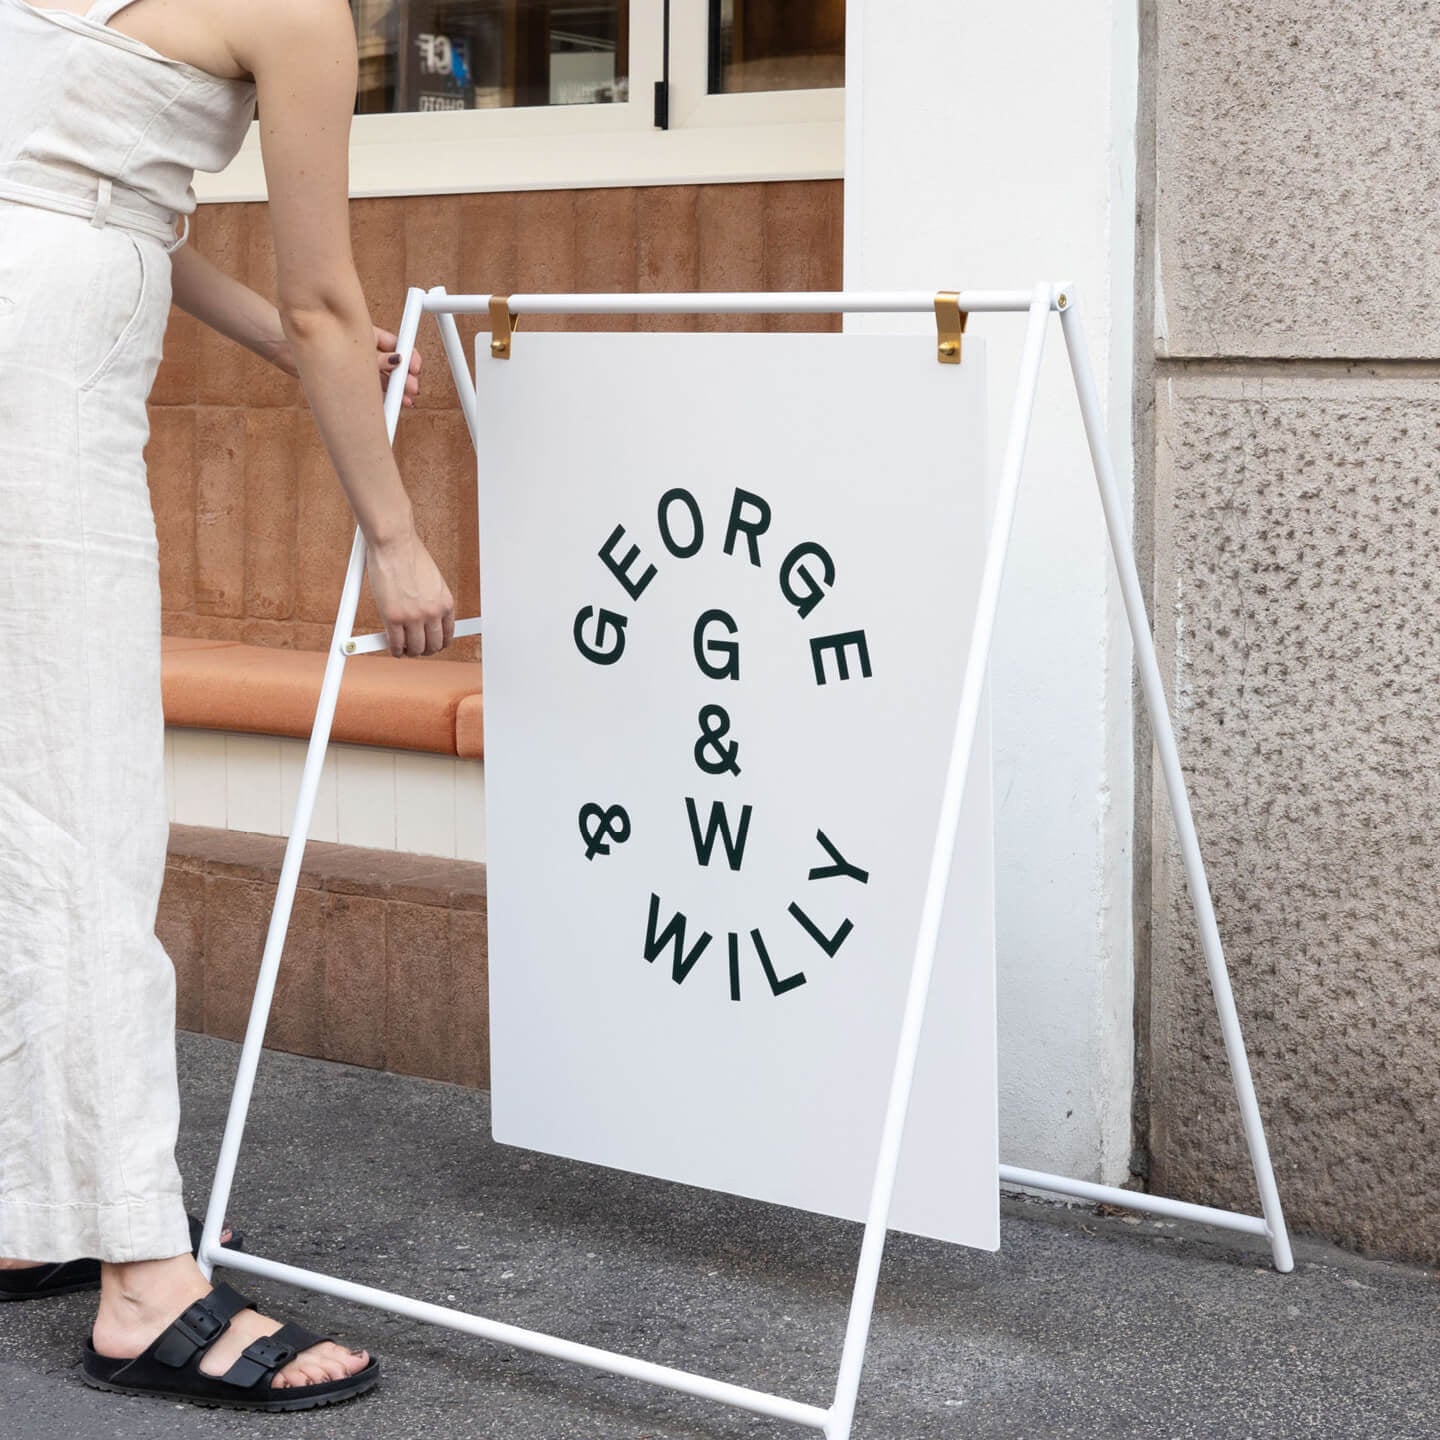
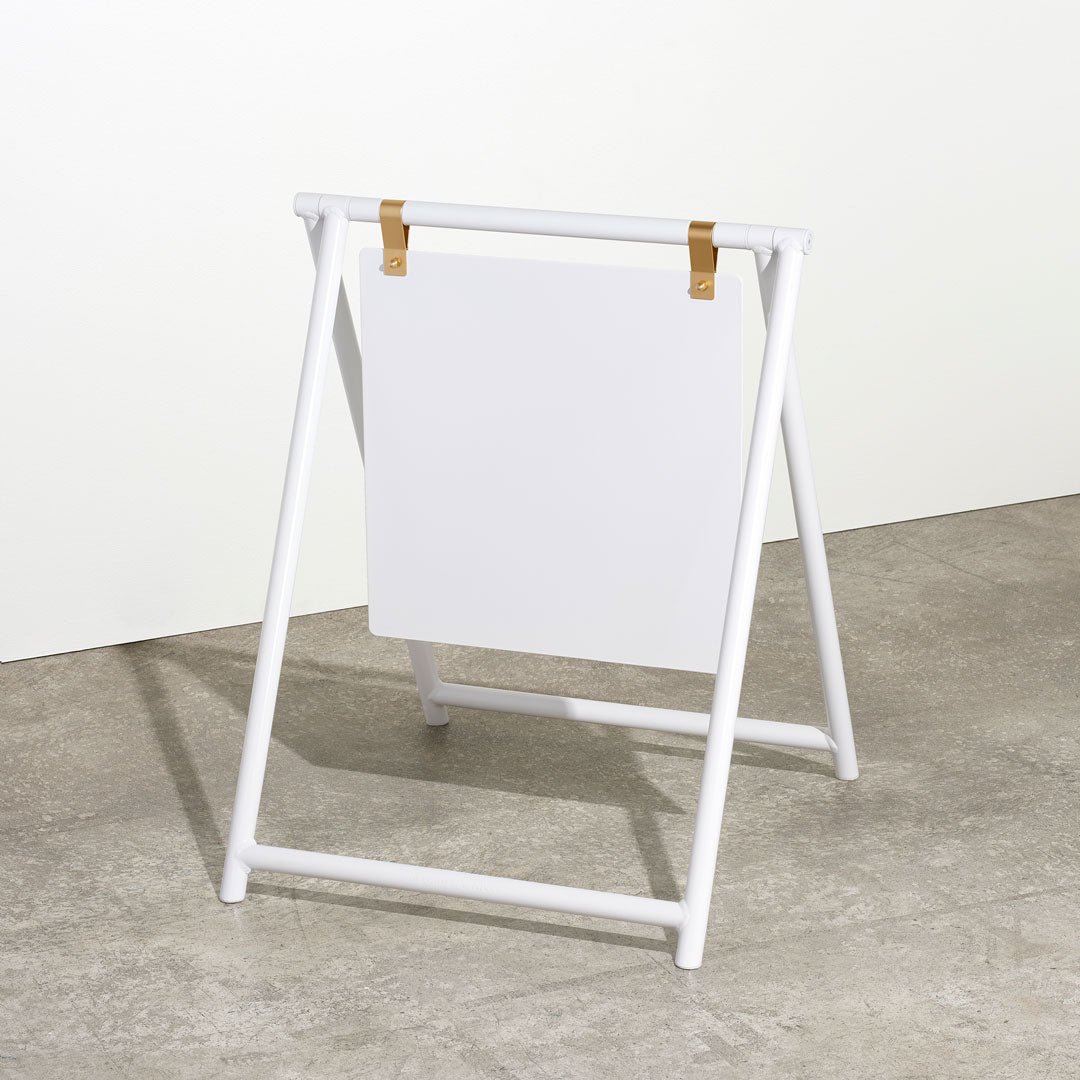
Before installation day, a thorough site survey is conducted. A professional will visit the location to take precise measurements, assess the mounting surface, check for obstacles, and locate power sources for illuminated signs. This detailed planning ensures a smooth, surprise‑free installation. If permanent mounting isn’t possible, a portable A‑Frame Sign offers temporary street‑level visibility.
Permits and Code Compliance: Playing by the Rules
Most cities have sign ordinances that regulate the size, placement, and type of signs allowed. Before installing most permanent business signs, a permit must be obtained from the local government. A professional sign company will typically handle this process, ensuring the sign complies with all zoning, building, and electrical codes.
Installation Best Practices: A Safe and Secure Finish
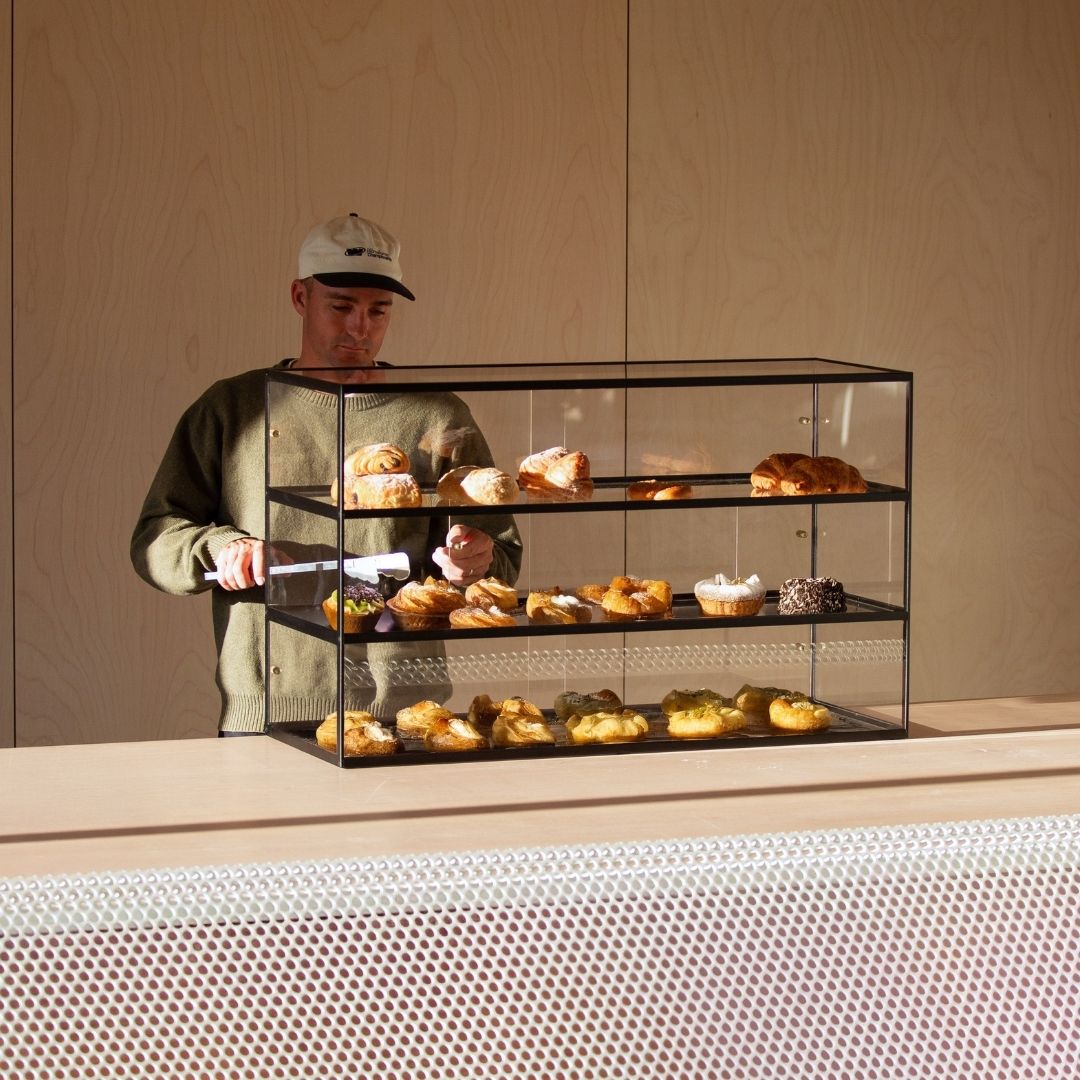
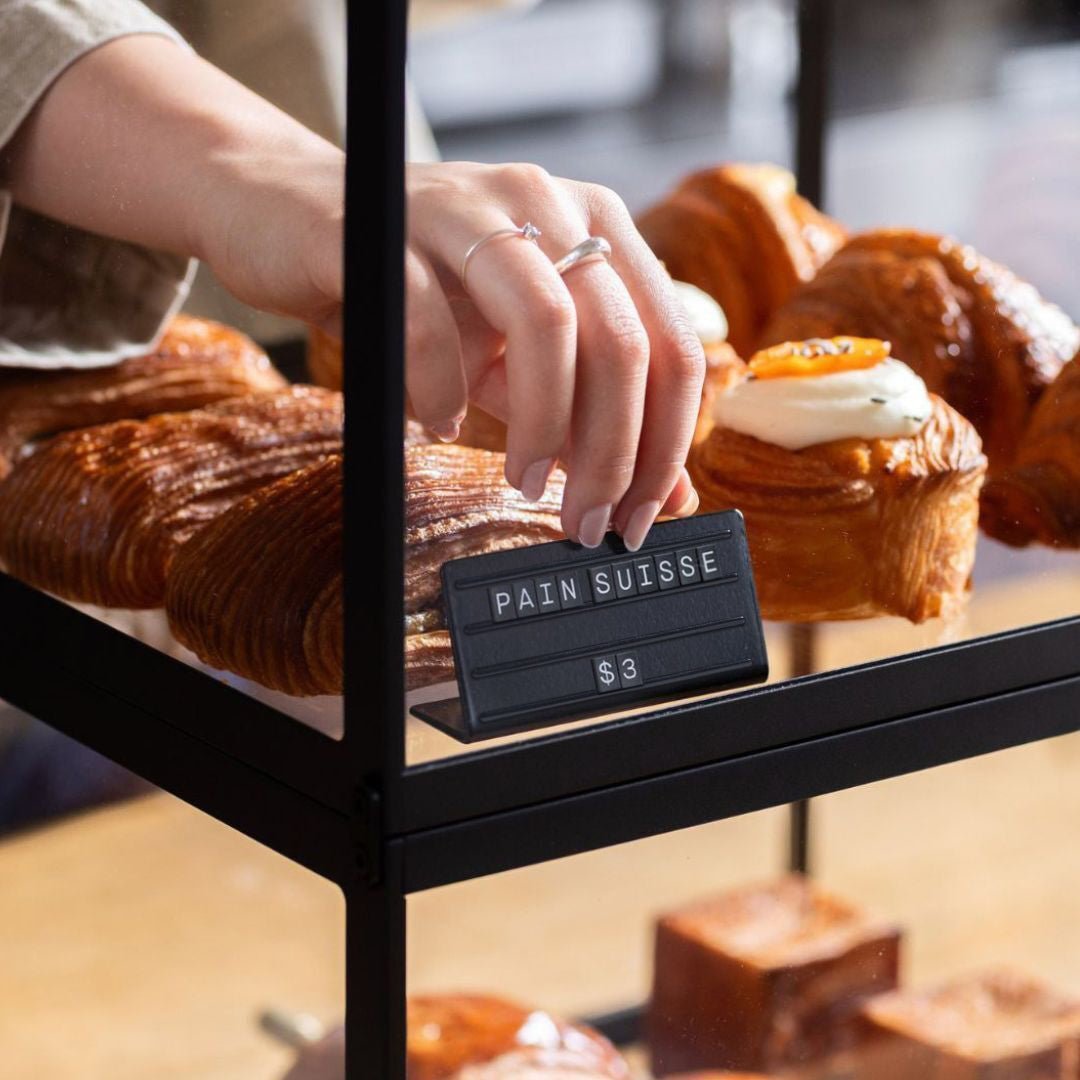
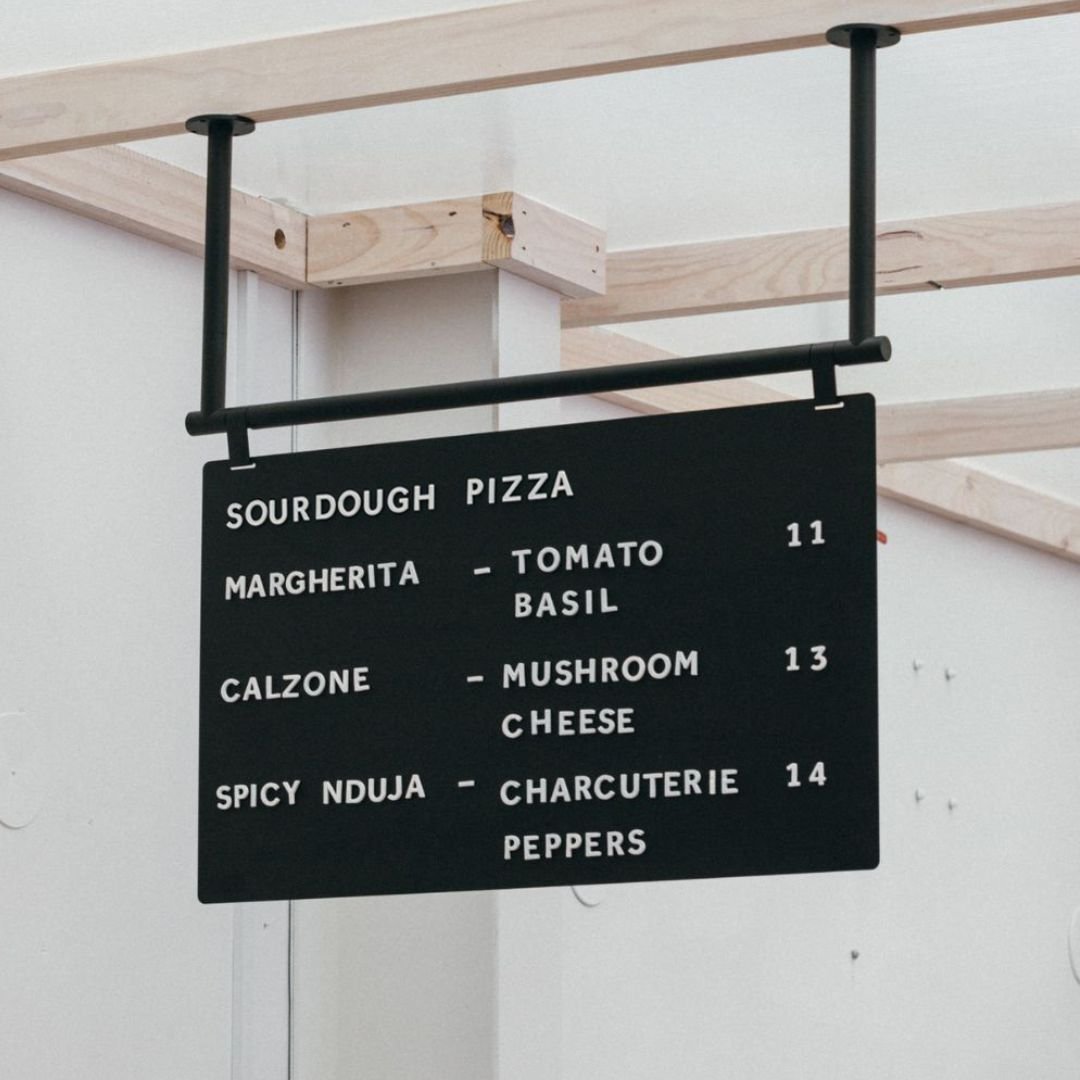
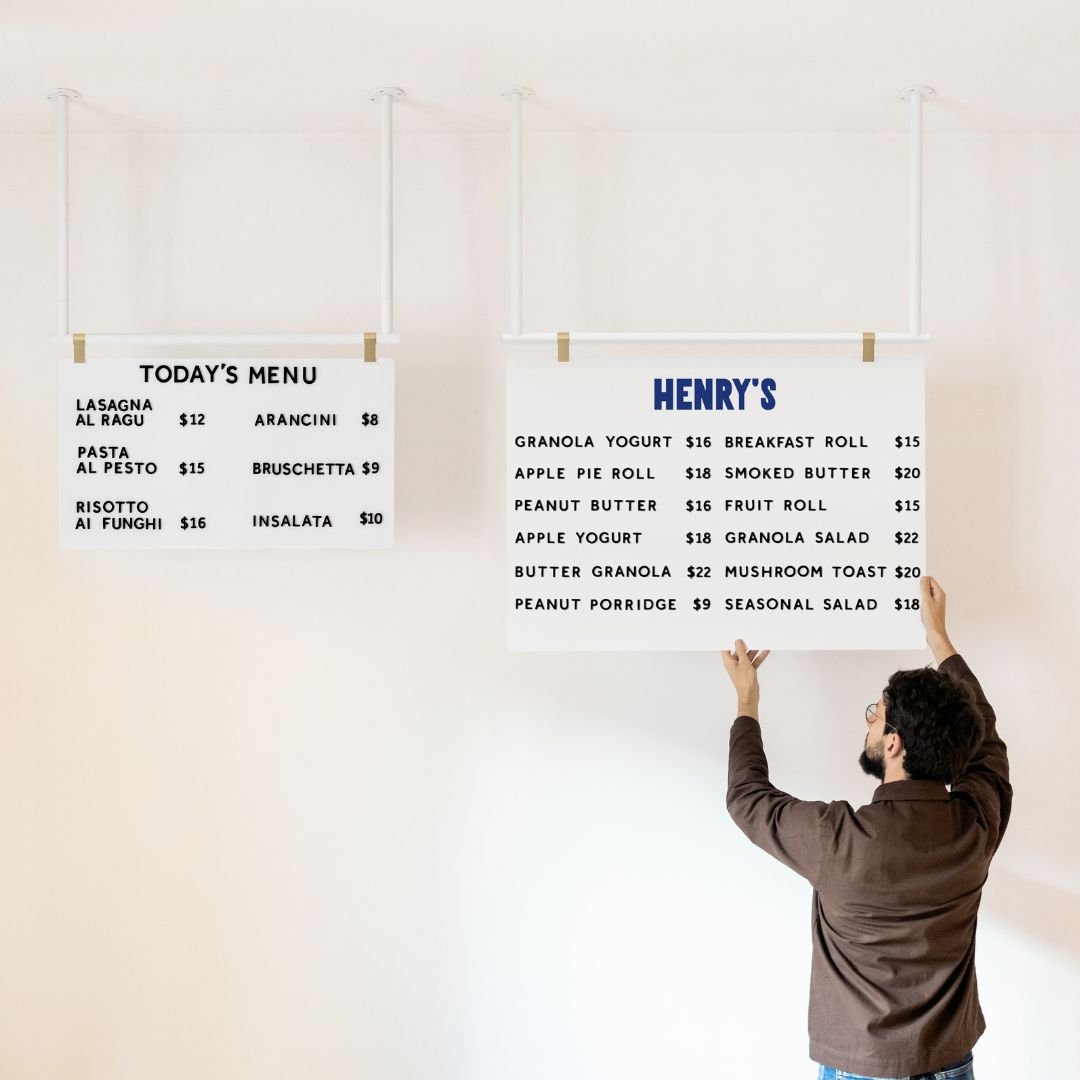
Professional installation crews follow strict safety protocols, using the correct hardware and mounting techniques for every job. Best practices include ensuring the sign is perfectly level, sealing any wall penetrations to prevent water damage, and performing a final quality check to make sure everything looks and works as intended. For overhead wayfinding in tight spaces, a Ceiling Menu Board keeps counters clear while remaining highly visible.
Sign Lighting and Wiring
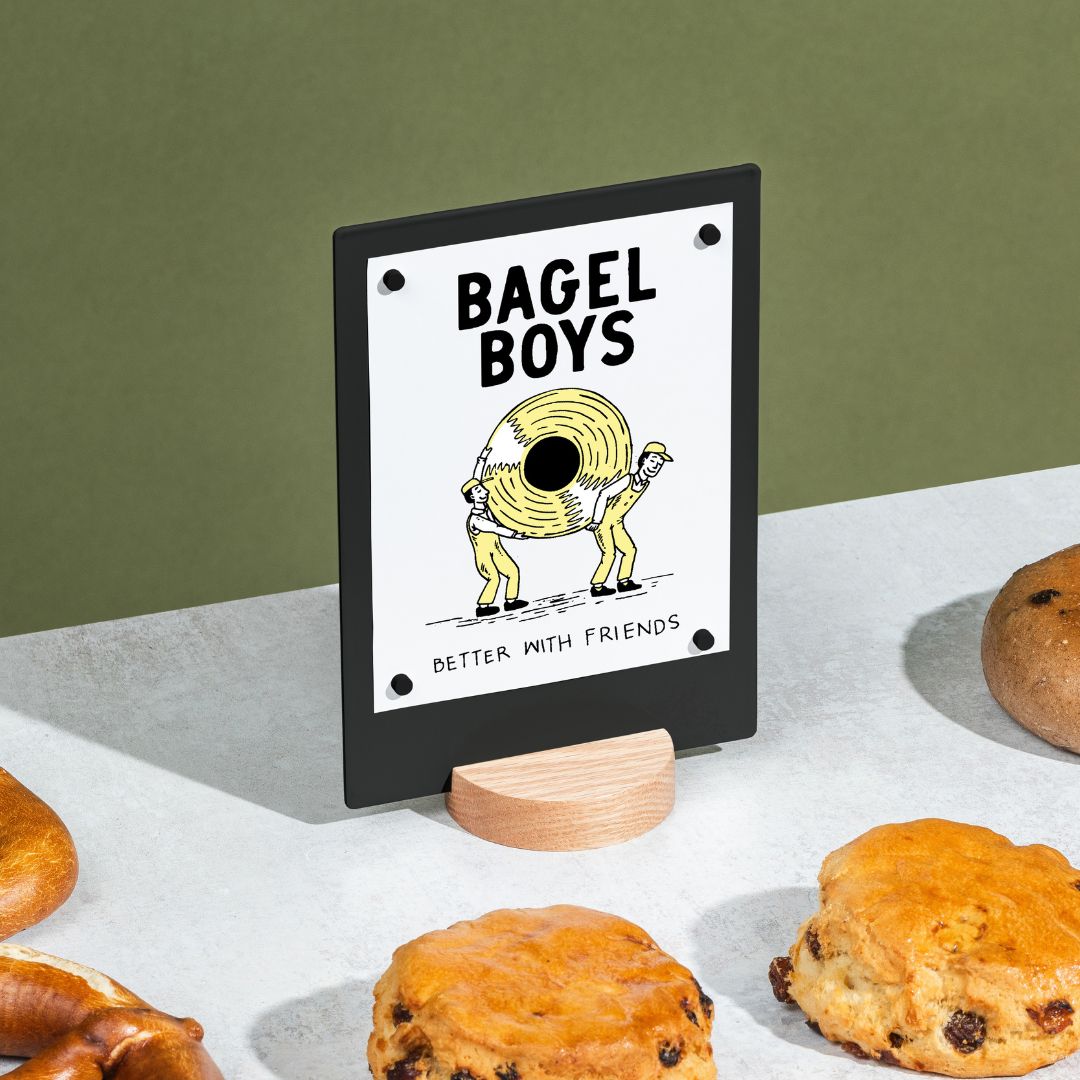
For illuminated signs, proper wiring is essential for safety and reliability. Today, most signs use energy efficient LED modules. A licensed electrician should handle the final electrical connections to ensure everything is up to code. Modern illuminated signs, like the light boxes from George & Willy, are designed with simple, safe lighting systems that make a big impact.
The Final Word: Quality Assurance and Maintenance
Throughout the sign fabrication process, quality assurance checks are performed at every stage. This includes inspecting raw materials, verifying measurements, testing electrical components, and giving the finished sign a final review before it leaves the shop. Paired with regular tool maintenance, these practices ensure that every sign produced is of the highest quality and built to last.
Frequently Asked Questions About Sign Fabrication
What is the first step in the sign fabrication process?
The first step is always the concept and design phase. This is where you work with a designer to translate your ideas and branding requirements into a detailed plan and visual proof before any physical work begins.
How long does custom sign fabrication usually take?
The timeline varies widely depending on the sign’s complexity. A simple printed sign might take a few days, while a large, illuminated channel letter sign requiring permits and complex fabrication could take several weeks from design approval to installation.
What is the most durable material for an outdoor sign?
Aluminum is one of the most durable and popular choices for outdoor signs because it is lightweight, strong, and does not rust. When finished with a high quality powder coat, an aluminum sign can withstand the elements for many years.
Why is powder coating so popular for metal signs?
Powder coating creates a finish that is significantly thicker and more durable than traditional paint. It’s highly resistant to chipping, scratching, fading, and corrosion, making it the gold standard for protecting outdoor metal signs and ensuring they look great for a long time.
Do I always need a permit for a business sign?
Most permanent outdoor business signs require a permit from your local city or county. Regulations vary, but it’s always best to check with your local planning department or work with a sign company that handles permitting to ensure you are compliant.
What is the difference between UV printing and vinyl graphics?
UV printing applies ink directly onto the sign’s surface (the substrate) and cures it instantly with UV light, creating a very durable image. Vinyl graphics are printed on a separate adhesive vinyl sheet that is then applied to the sign, offering versatility for complex, full color designs.
Can I put my own logo on a premade sign?
Absolutely. Many businesses choose a high quality, ready made sign and then have a local sign writer apply their custom logo and text using vinyl decals. This approach, which works perfectly with the beautifully designed, blank signage from George & Willy, combines the quality of a professional product with personalized branding.