


Tired of bulky floor racks cluttering your home? There’s a timeless, clever solution making a huge comeback: ceiling hanging drying racks. Also known as overhead clothes airers or laundry pulley systems, these racks lift your laundry up and out of the way, using vertical space to save floor space. They are an eco-friendly and stylish way to dry clothes indoors.
This guide covers everything you need to know, from the amazing benefits to planning, installation, and safe use. Let’s look at why these simple systems are a game changer for laundry day.
Why Choose a Ceiling Hanging Laundry Rack?
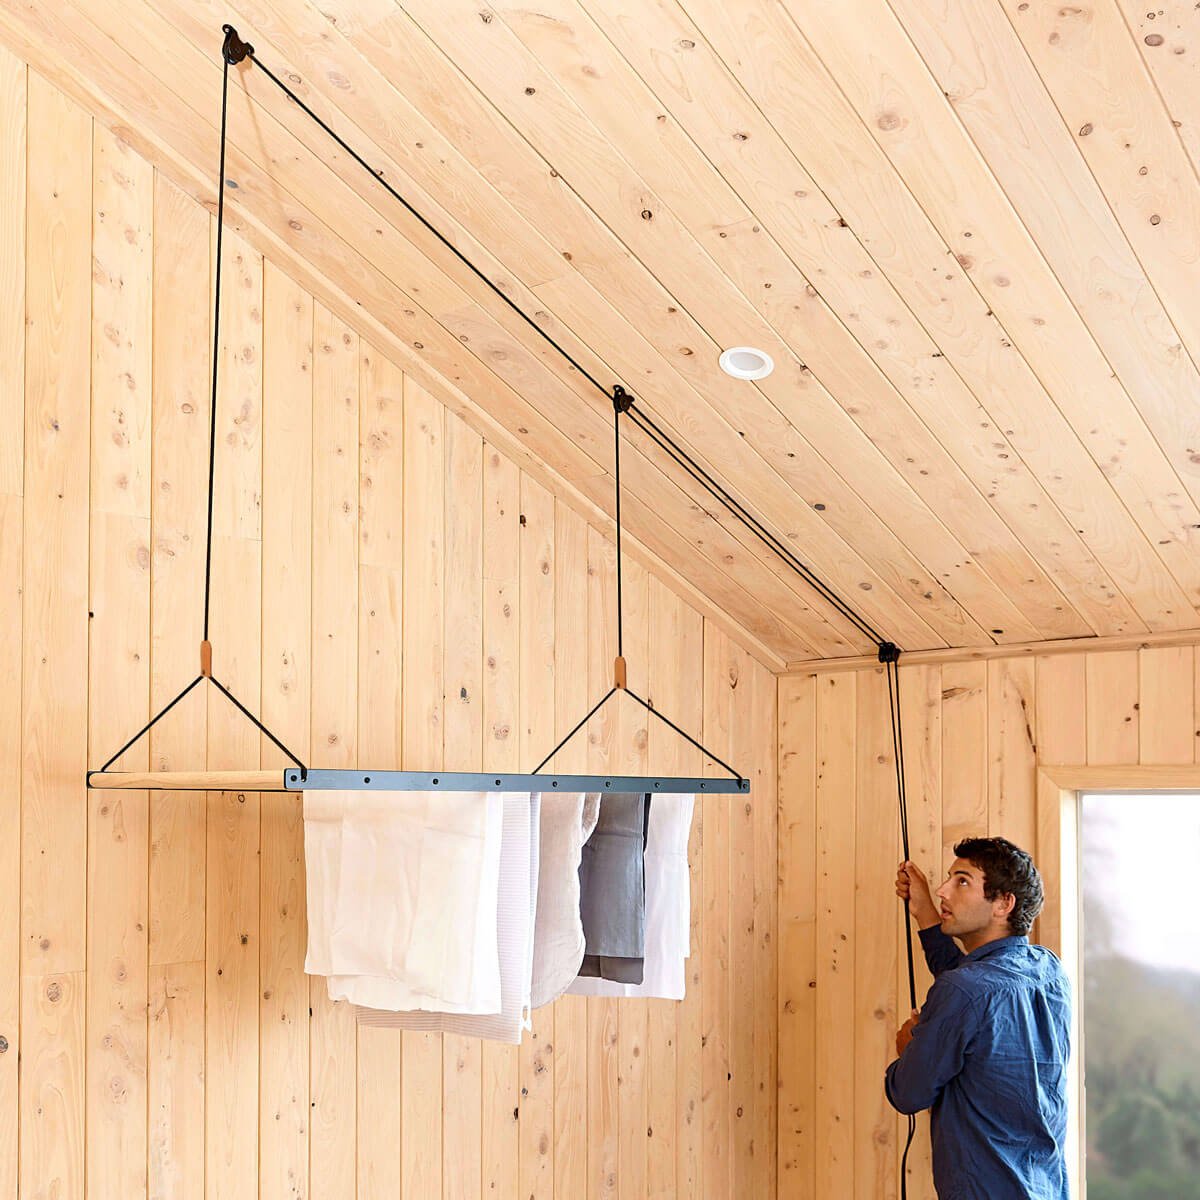
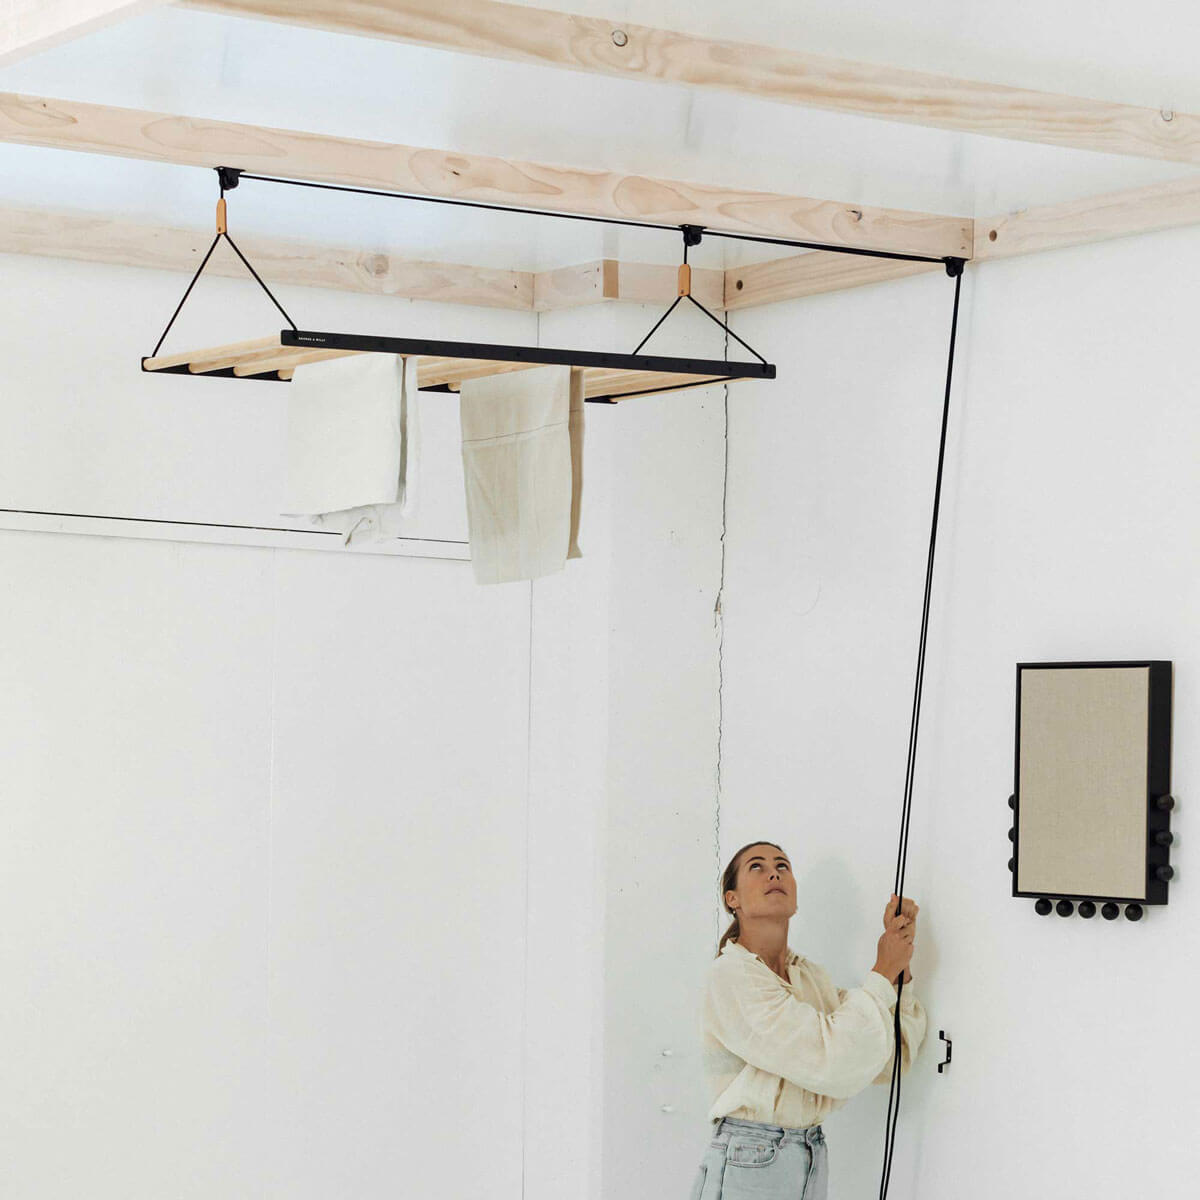
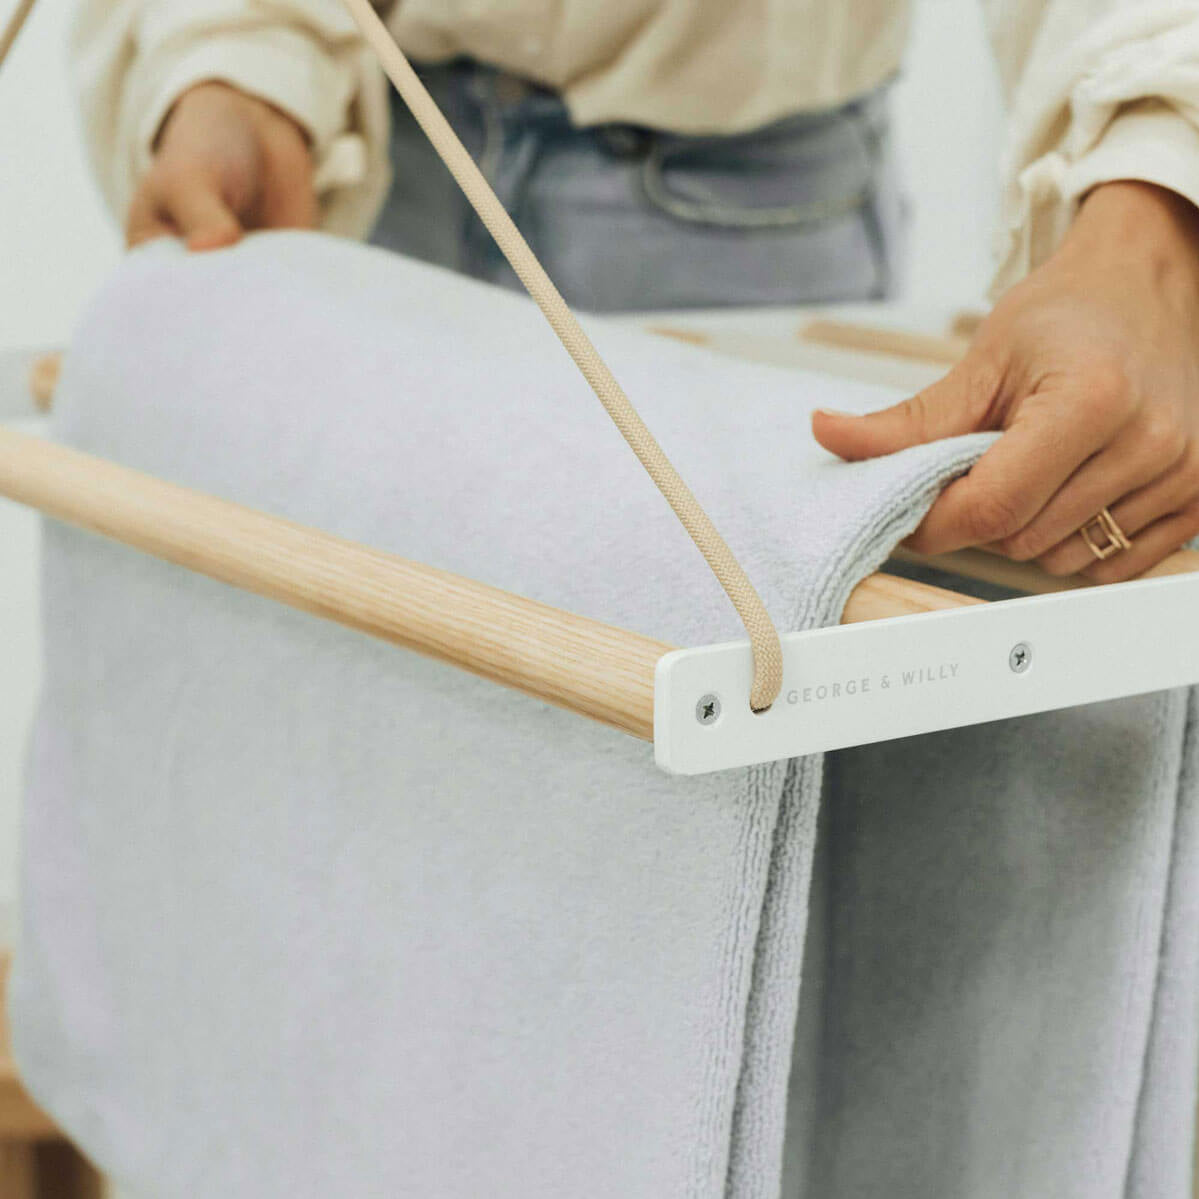
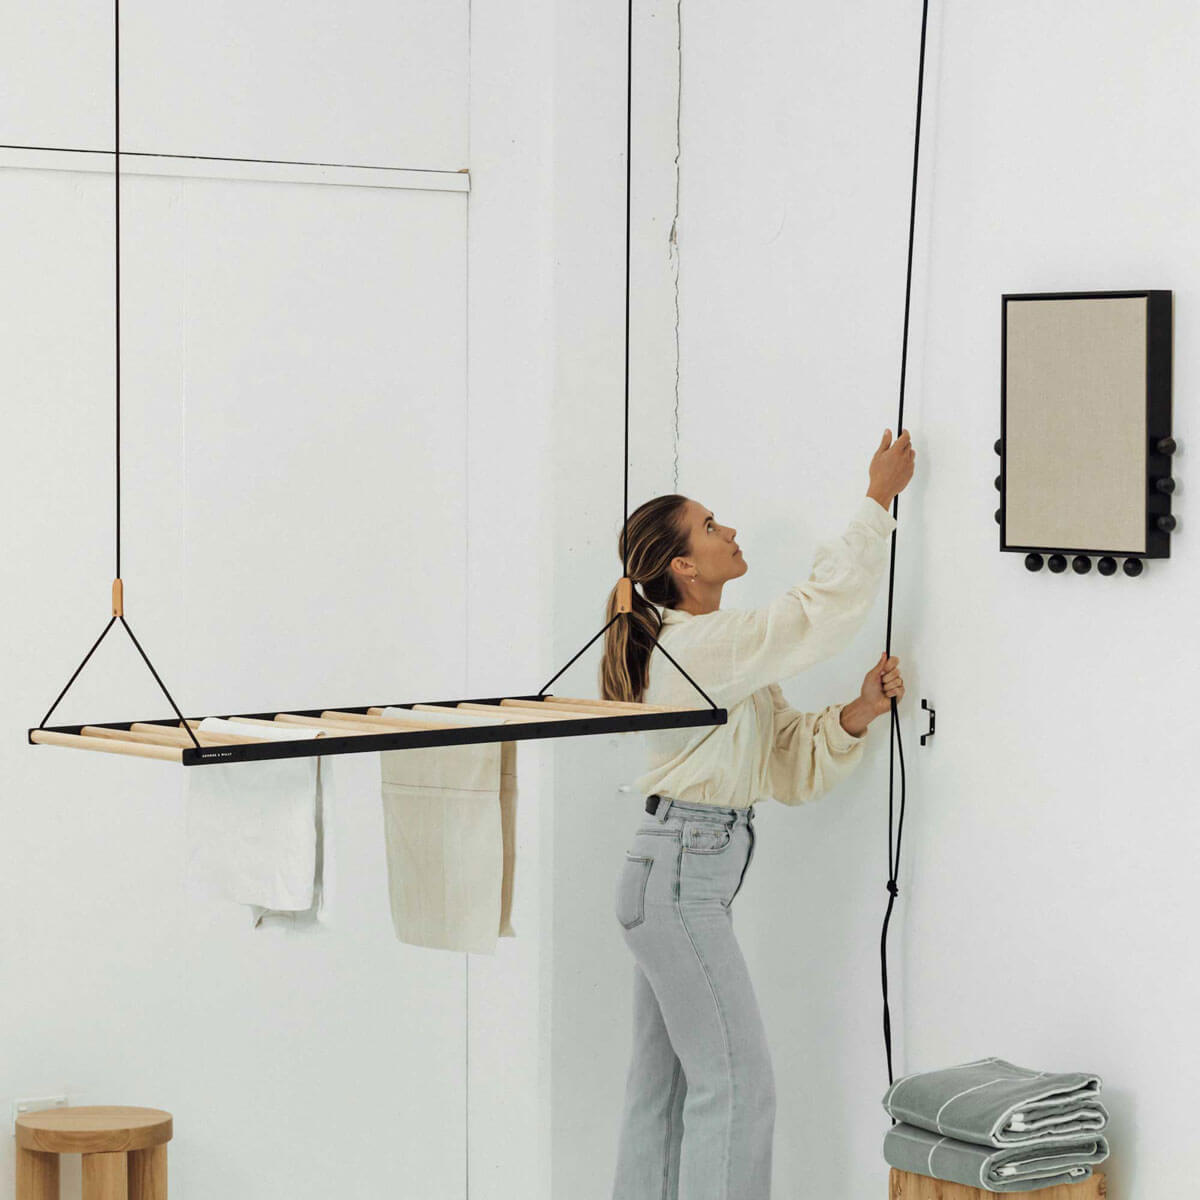
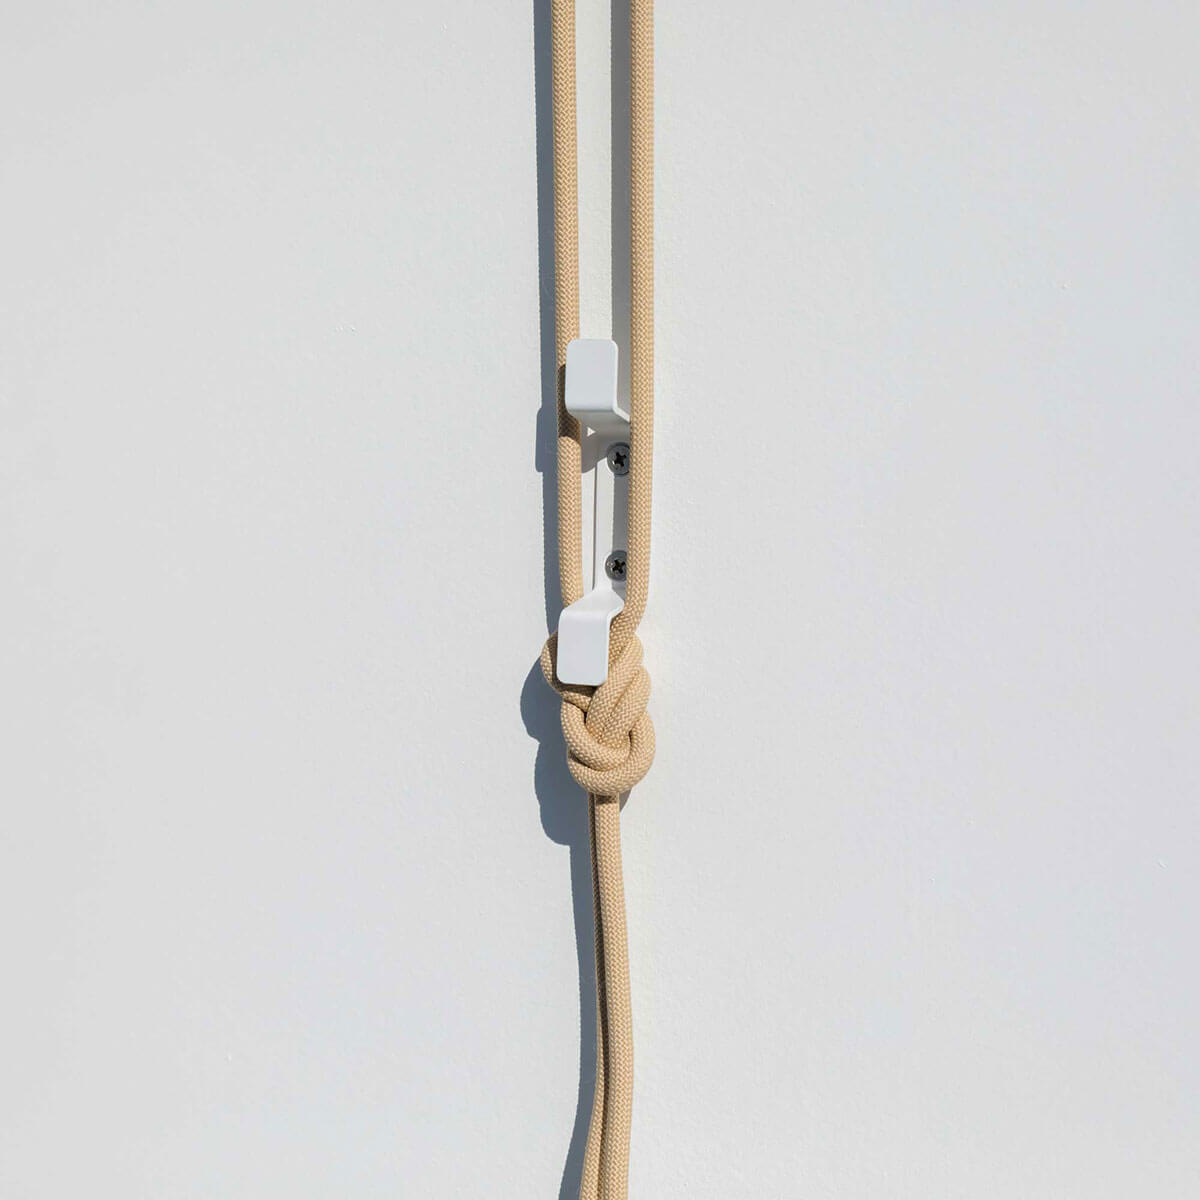
A ceiling hanging drying rack is more than just a place to hang clothes. It’s a system designed for efficiency. By using a simple rope and pulley mechanism, you can easily lower the rack to a comfortable height for loading and then hoist it up to the ceiling. This clever design, popular since the Victorian era, leverages the naturally rising warm air in a room to dry clothes faster.
The Amazing Benefits of a Laundry Pulley System
Choosing an overhead drying system comes with a host of advantages and a few considerations to keep in mind.
Pros: The Upside of Hoisting Your Laundry
- Massive Space Saver: This is the number one reason people love them. By moving laundry overhead, you free up precious floor space. No more tripping over a clunky drying stand in your living room or balcony. The rack utilizes the often unused vertical space near your ceiling, keeping your home tidy and open.
- Energy Efficient and Cost Saving: Ceiling hanging drying racks use zero electricity. Compare that to an electric tumble dryer, which can use 2 to 4 kWh per load. By air drying, you save money on every single load, which can add up to significant savings on your energy bills over a year and shrink your carbon footprint.
- Gentler on Your Clothes: The high heat of a machine dryer can cause shrinkage, fading, and wear on fabrics. Air drying is a much gentler process that helps your clothes last longer, preserving their color and shape.
- Convenience in Any Weather: Rain or shine, you can dry your laundry indoors without a worry. The system is especially useful in colder or wetter climates where outdoor drying isn’t always an option.
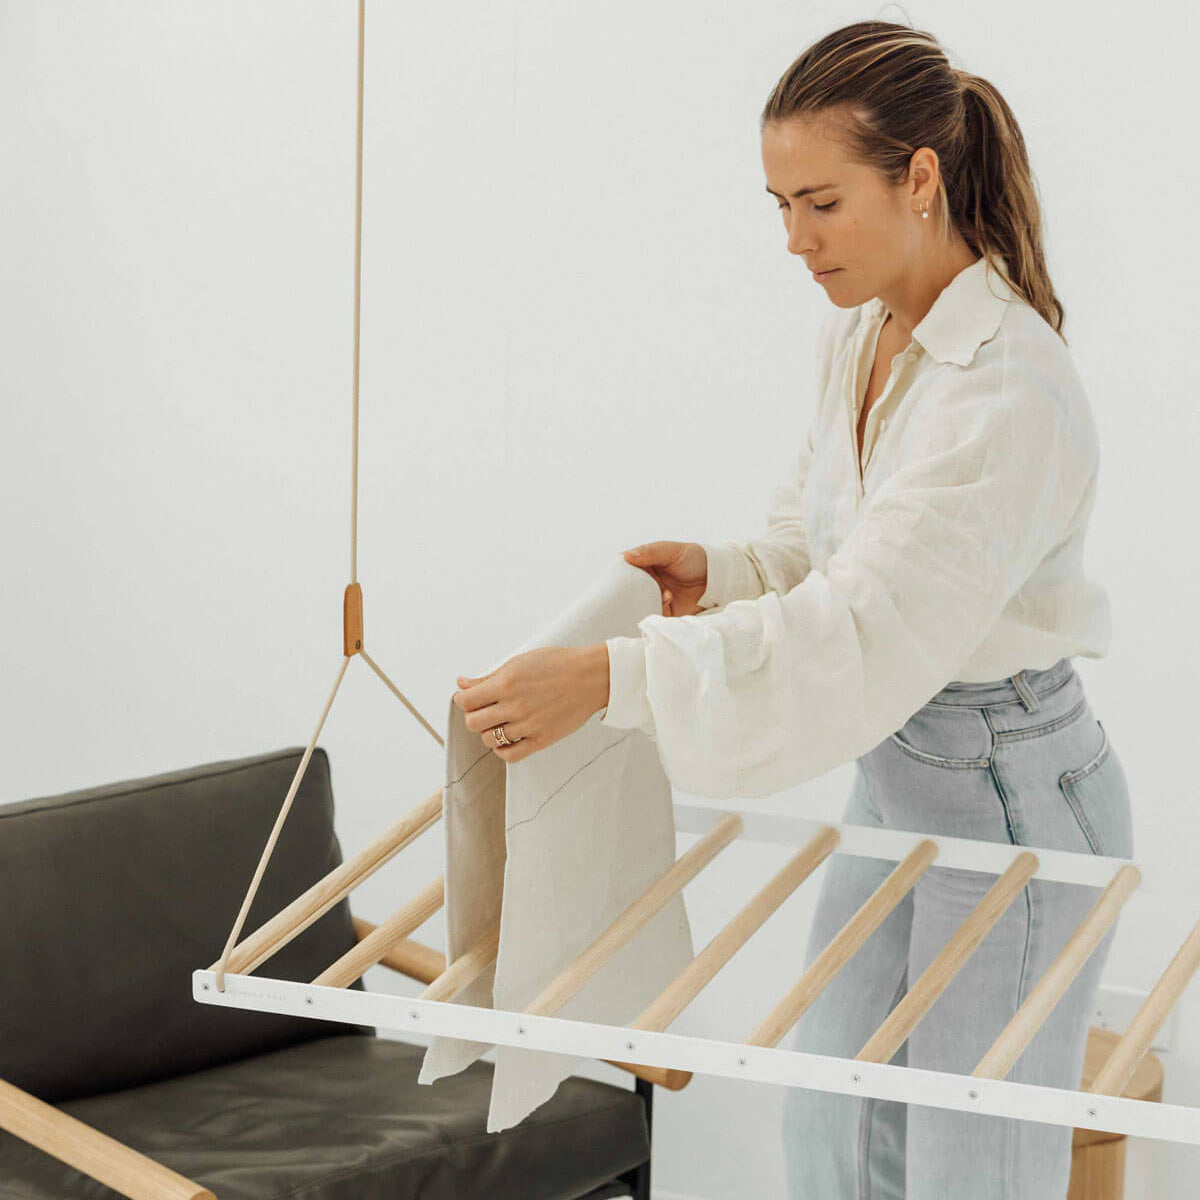
- Ergonomic and Easy to Use: A well designed pulley system makes laundry day easier on your body. You lower the rack to a comfortable height (no bending or crouching), load the clothes, and then the pulleys provide a mechanical advantage, making it easy to lift even a heavy, wet load.
Cons: A Few Things to Consider
- Drying Time: Naturally, air drying takes longer than a machine dryer. Heavy items like towels or jeans might take a full day to dry, so you’ll need to plan ahead.
- Installation is Required: Unlike a folding rack, ceiling hanging drying racks need to be securely installed. This involves drilling into your ceiling joists, which is a task not everyone is comfortable with.
- Ceiling Height and Access: While most racks work with standard ceilings, very high or very low ceilings can pose a challenge. You need enough rope to lower the rack to a reachable height.
- Moisture and Ventilation: Drying wet clothes indoors releases humidity. It’s important to have good ventilation, like an open window or a fan, to prevent condensation and potential mold issues, especially in smaller rooms.
Planning Your Perfect Overhead Drying Setup
Before you buy or build, a little planning goes a long way. Thinking about size, placement, and capacity will ensure your new ceiling hanging drying racks work perfectly for your home and lifestyle.
Size, Capacity, and Placement
First, measure your space. You’ll need to know your ceiling height and the available length and width for the rack. Choose a rack length that fits comfortably without hitting walls or light fixtures. Most standard racks range from about 1.2 to 1.5 meters long.
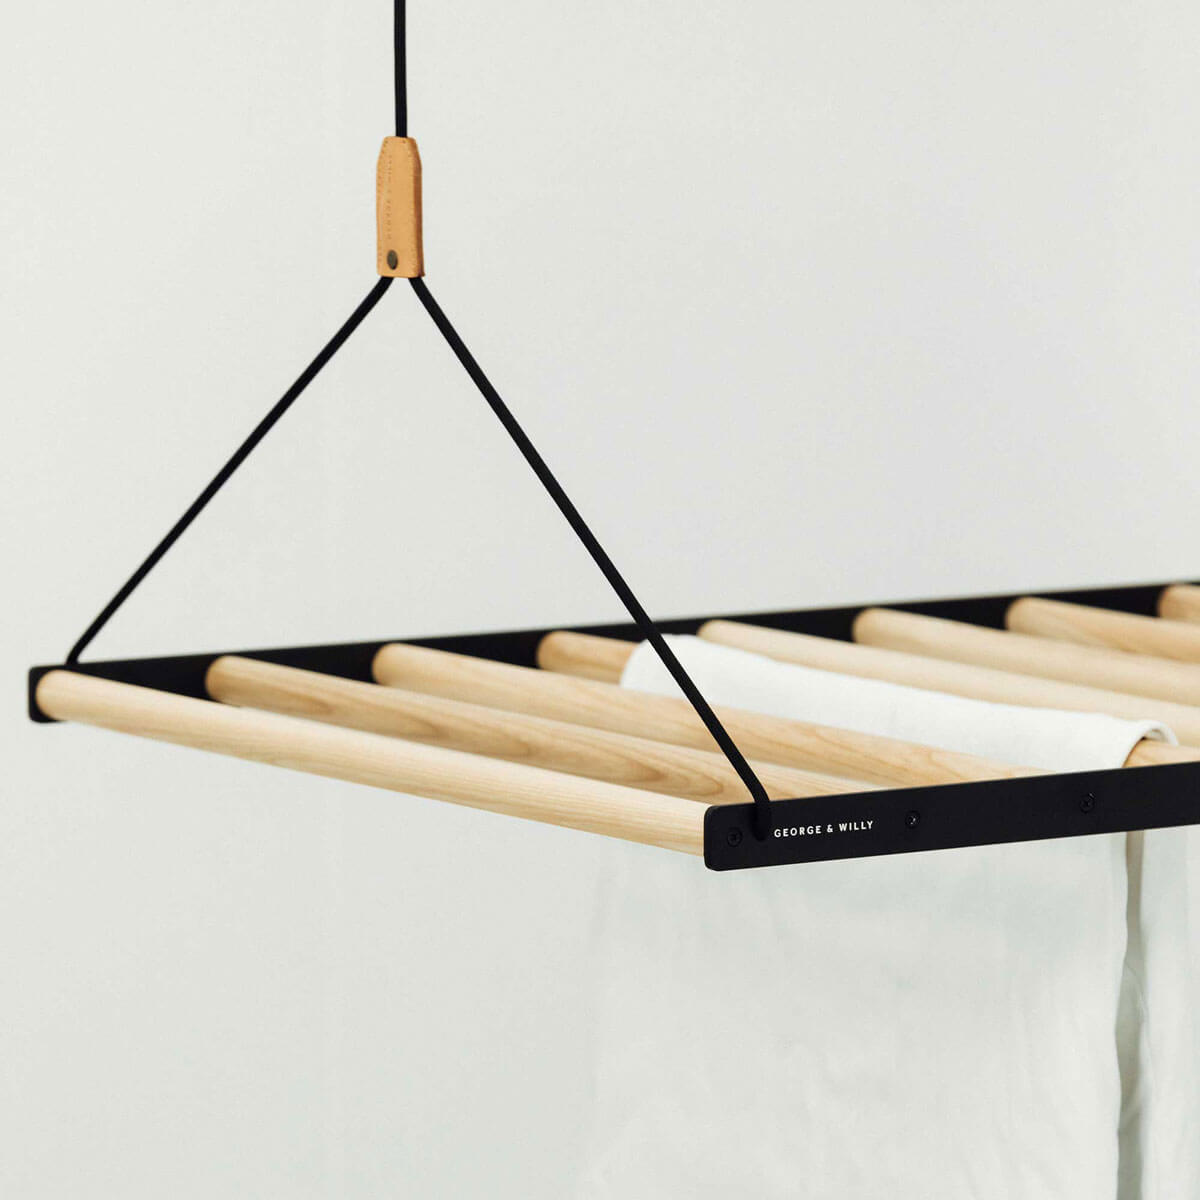
Next, think about your laundry habits. How much do you typically dry at once? A larger rack with 6 or more rails can often handle a full 10 kg load of wet laundry. If you have a large family, you might even consider installing two.
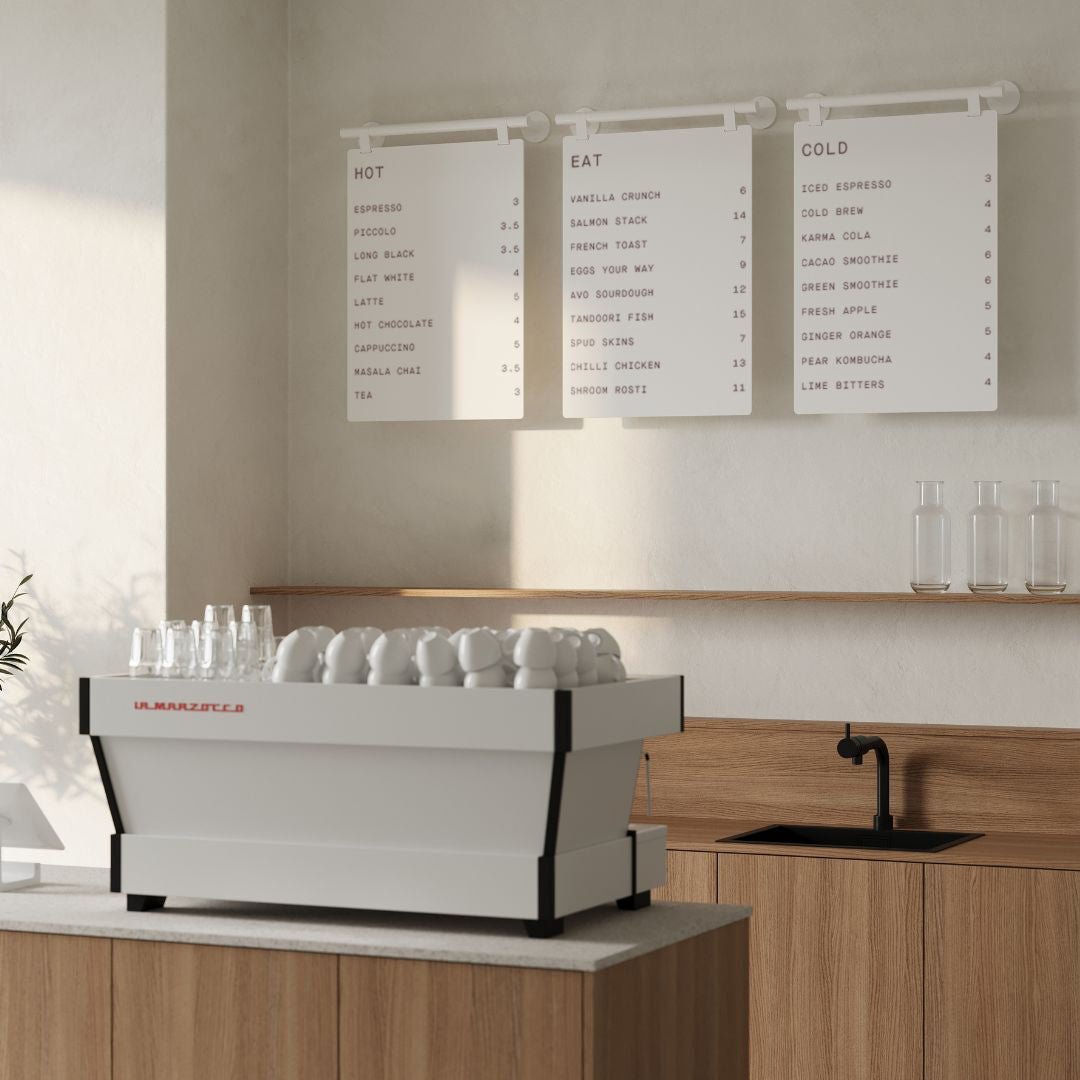
The ideal placement is in a spot that is naturally warm and has good airflow, like a laundry room or kitchen. Placing it over a radiator in winter can speed up drying time. Make sure that when the rack is lowered, it won’t block a doorway or get in the way of daily traffic. The vertical space over a stairwell is another clever, out of the way location that benefits from rising warm air. To keep clothespins, delicates bags, and hangers tidy, mount a nearby wooden pegboard. Add Peg Board Extras like hooks and shelves for flexible storage as your setup evolves.
Clearance and Distance from the Ceiling
When the rack is fully raised, there should be enough head clearance for people to walk underneath. On a standard 2.4 meter ceiling, this is usually not a problem. You also want the rack to sit fairly close to the ceiling to take advantage of the warmest air, typically about 15 to 30 cm below it. This allows air to circulate above the clothes while keeping the rack high and out of sight. Remember to leave a few inches of horizontal clearance from any walls or light fixtures so your clothes don’t brush against them.
The DIY Route: Building Your Own Hanging Rack
For those who love a good project, building your own ceiling hanging drying racks can be a rewarding experience.
Materials and Tools You’ll Need
Materials:
- Wood: Hardwood dowels or pine laths for the rails. Hardwood is more durable and resists warping. You’ll also need two end pieces (wood or cast iron) to hold the rails.
- Rope: A strong, low stretch rope is essential. Polyester braided rope, about 6 to 8 mm in diameter, is a great choice as it resists rot and slides smoothly.
- Pulleys: You’ll need at least two sturdy ceiling pulleys (metal is best) and possibly a third wall mounted guide pulley.
- Cleat: A metal rope cleat to mount on the wall for securing the rope.
- Fasteners: Strong wood screws or lag bolts for mounting the pulleys into ceiling joists and appropriate screws for the cleat.
Tools:
- Drill with wood and masonry bits
- Stud finder
- Measuring tape and pencil
- Level
- Screwdrivers
- A stable ladder or step stool
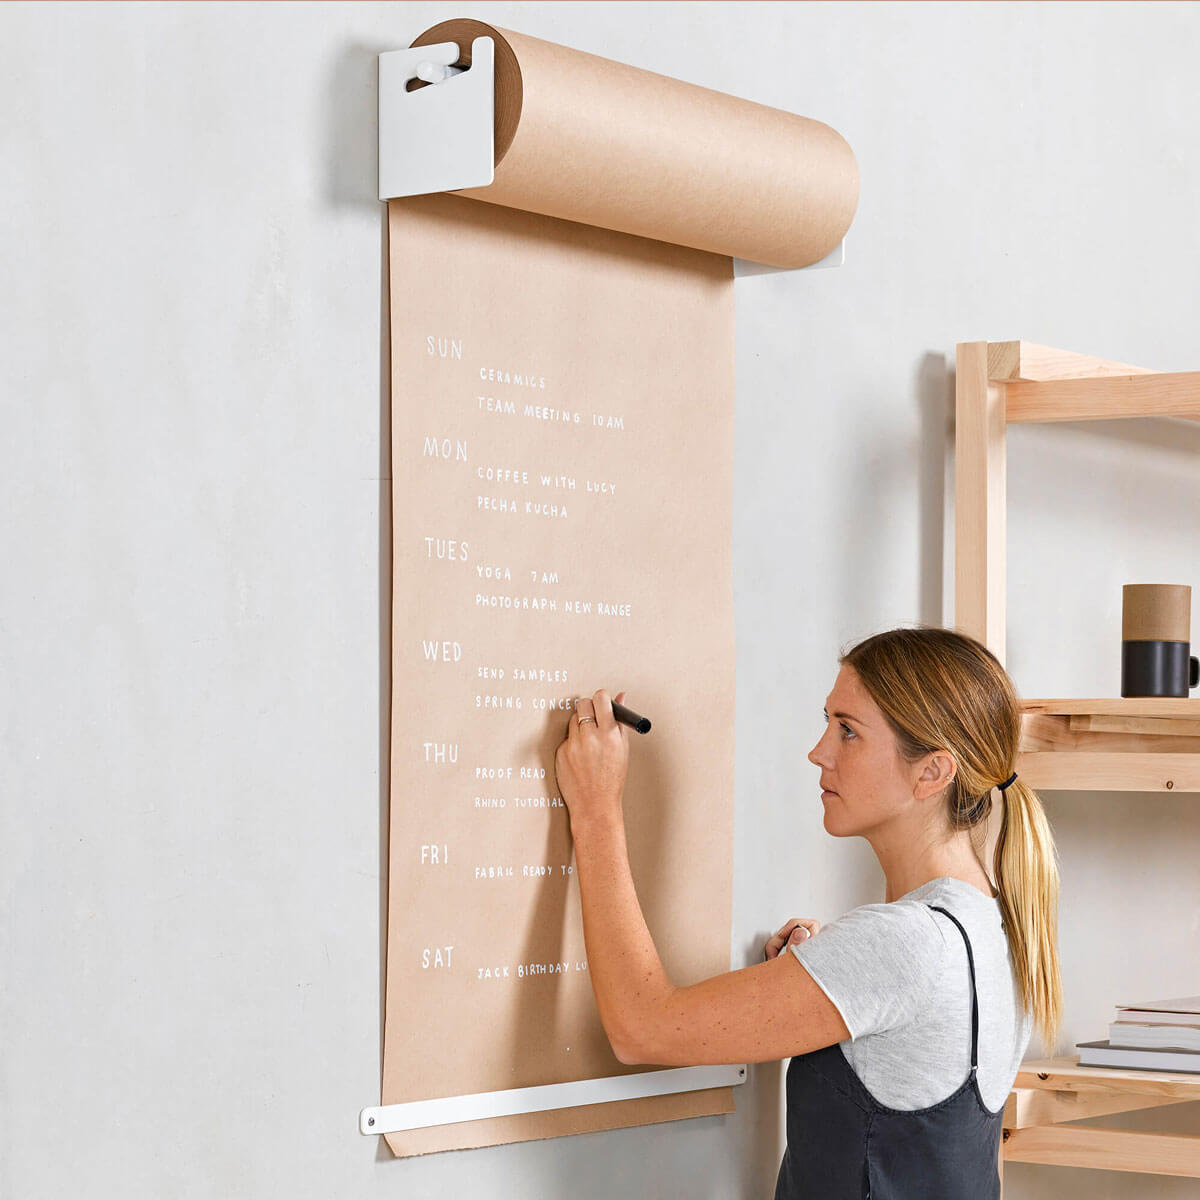
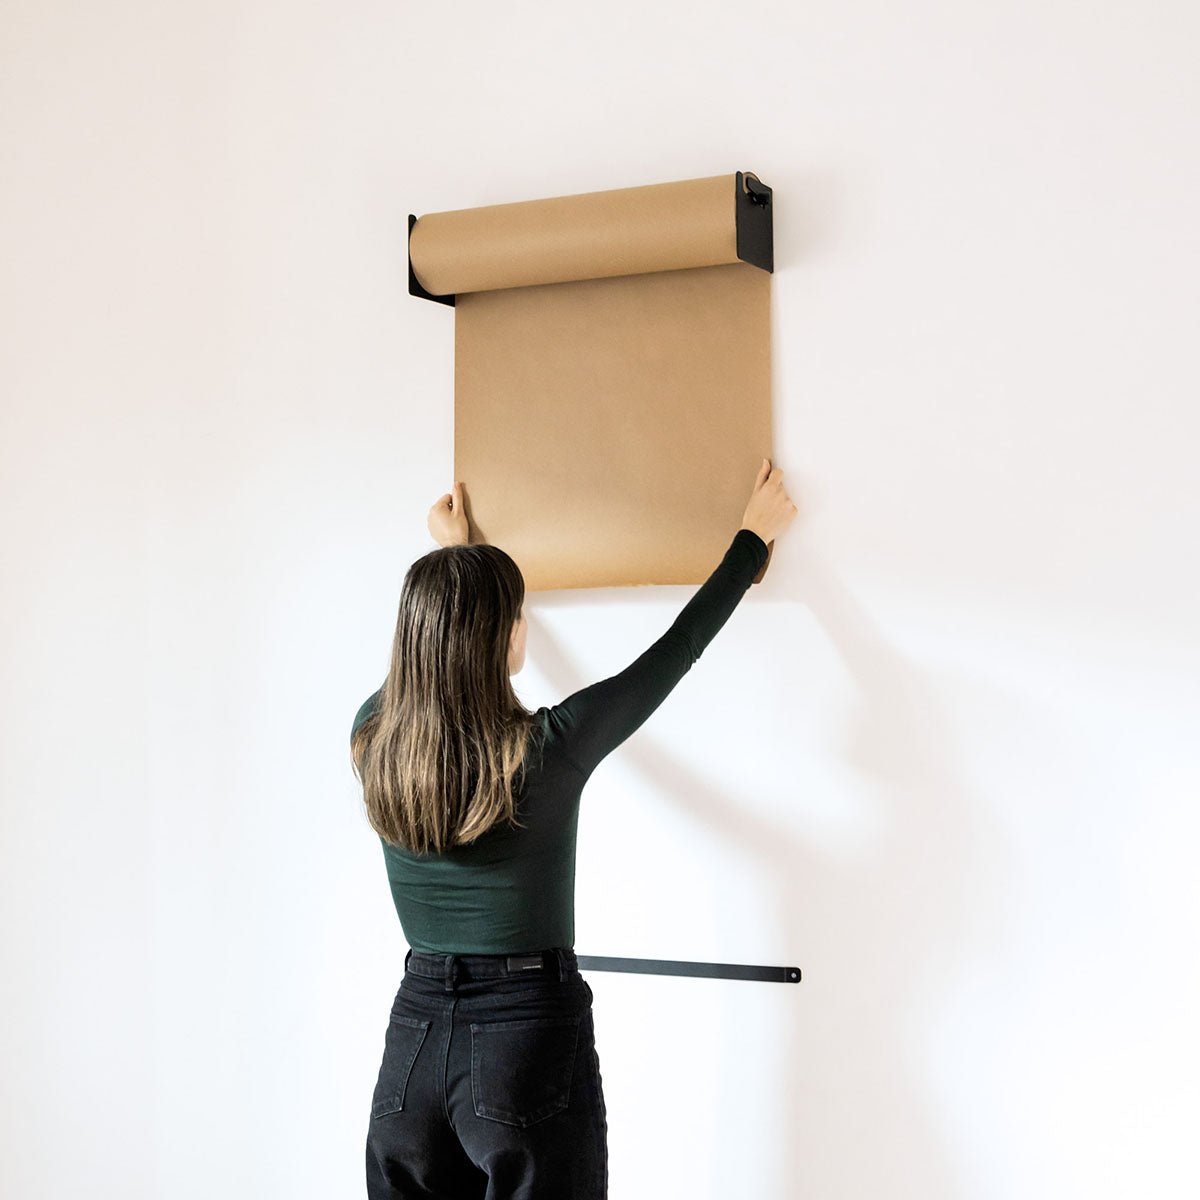
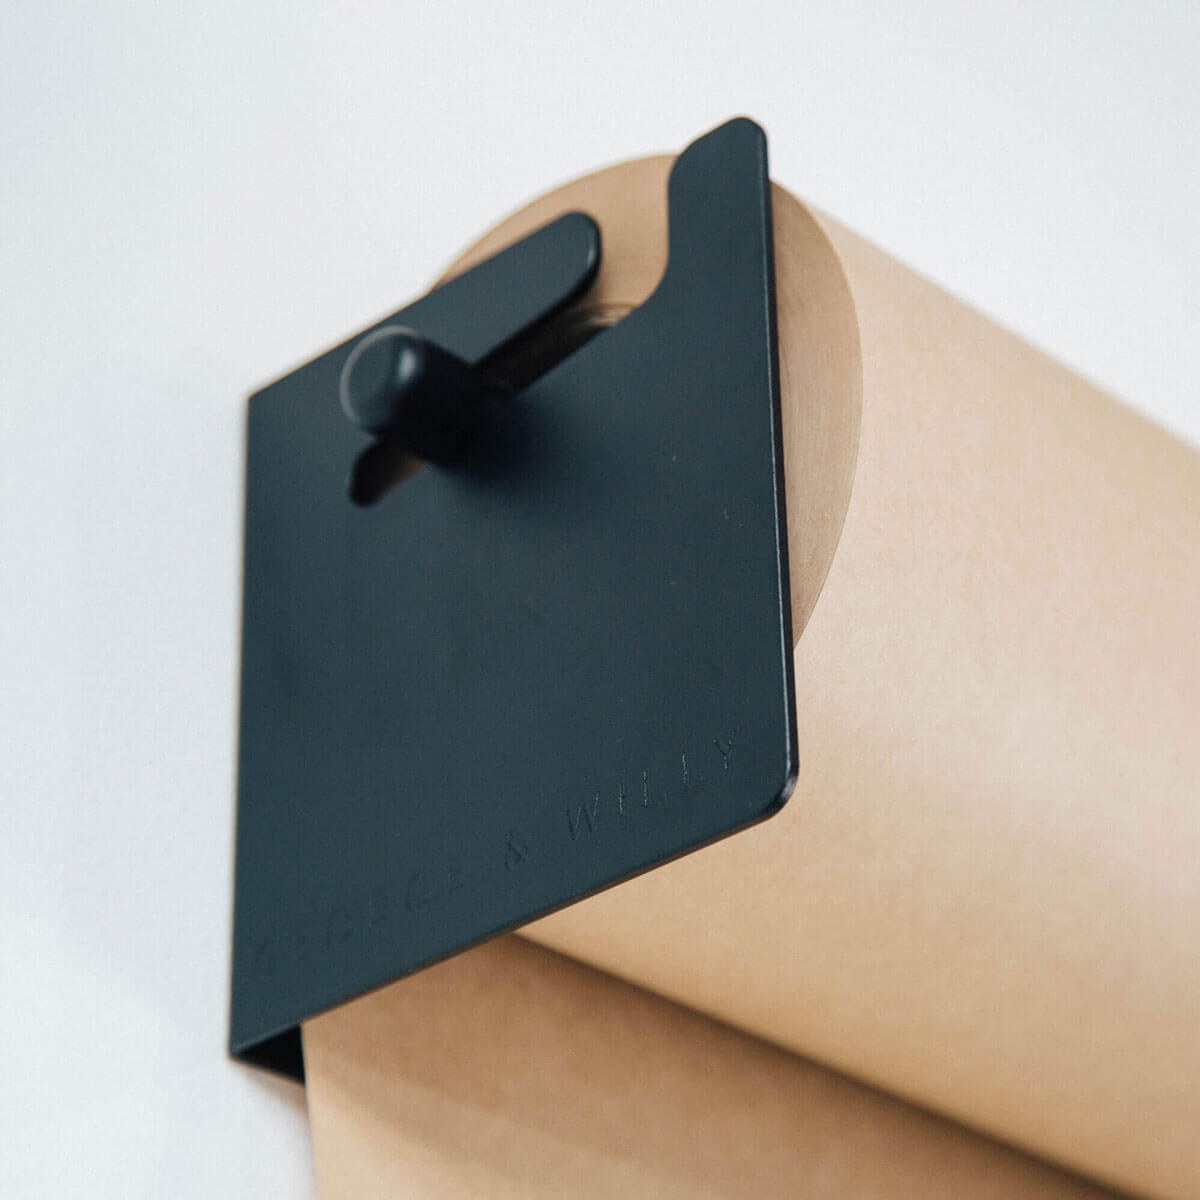
Pro tip: Mount a wall-mounted paper roller near your laundry area to jot down care instructions, stain-removal recipes, or drying notes.
Keep a spare kraft paper roll on hand so you never run out of note space during laundry day.
A Step by Step DIY Guide
- Build the Frame: Cut your wooden rails to the desired length. Drill evenly spaced holes in your two end pieces and assemble them into a ladder like frame. Secure the rails with glue or small screws.
- Install Ceiling Pulleys: Use a stud finder to locate your ceiling joists. This is the most critical step for safety. Mark your spots, drill pilot holes, and screw the pulleys securely into the joists.
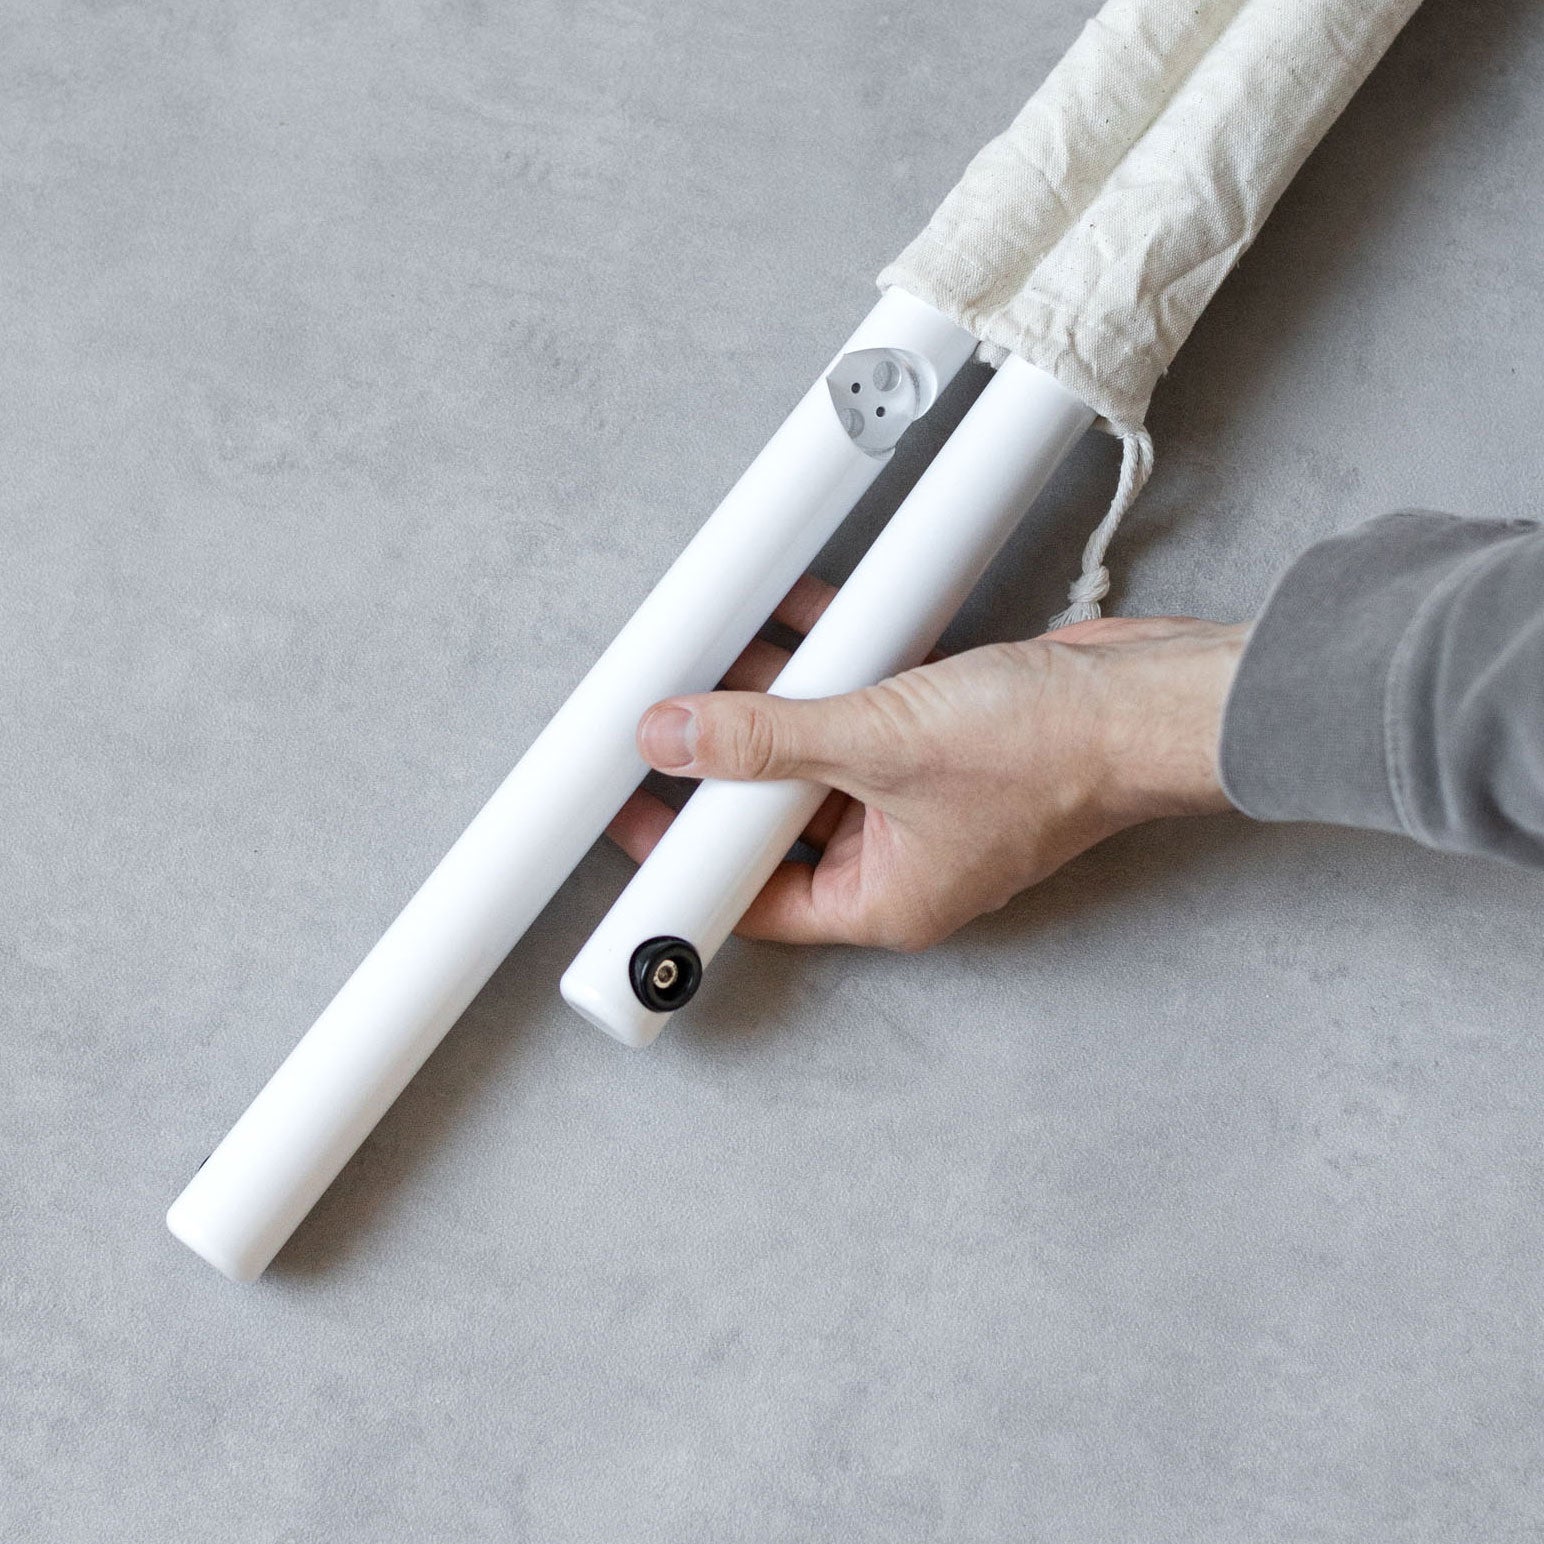
- Thread the Rope: Run the rope through the pulleys and attach it to both ends of your rack frame. There are a few ways to rig it, but the goal is to have the rack lift evenly when you pull the rope.
- Mount the Wall Cleat: Install the cleat on the wall at a comfortable chest height, preferably into a wall stud.
- Test Your Work: Raise and lower the empty rack to ensure it moves smoothly. Then, add some weight and test it again to make sure everything is secure.
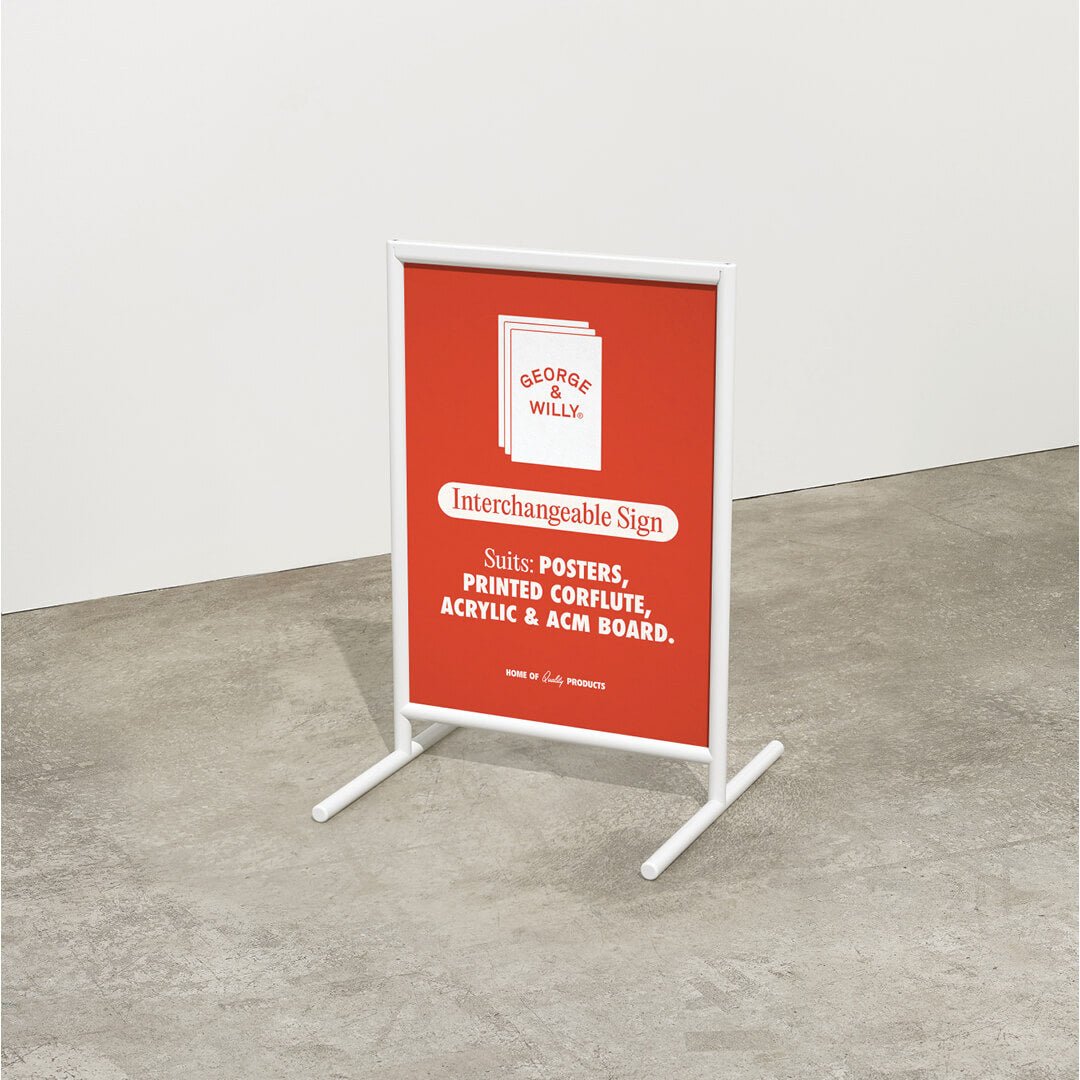
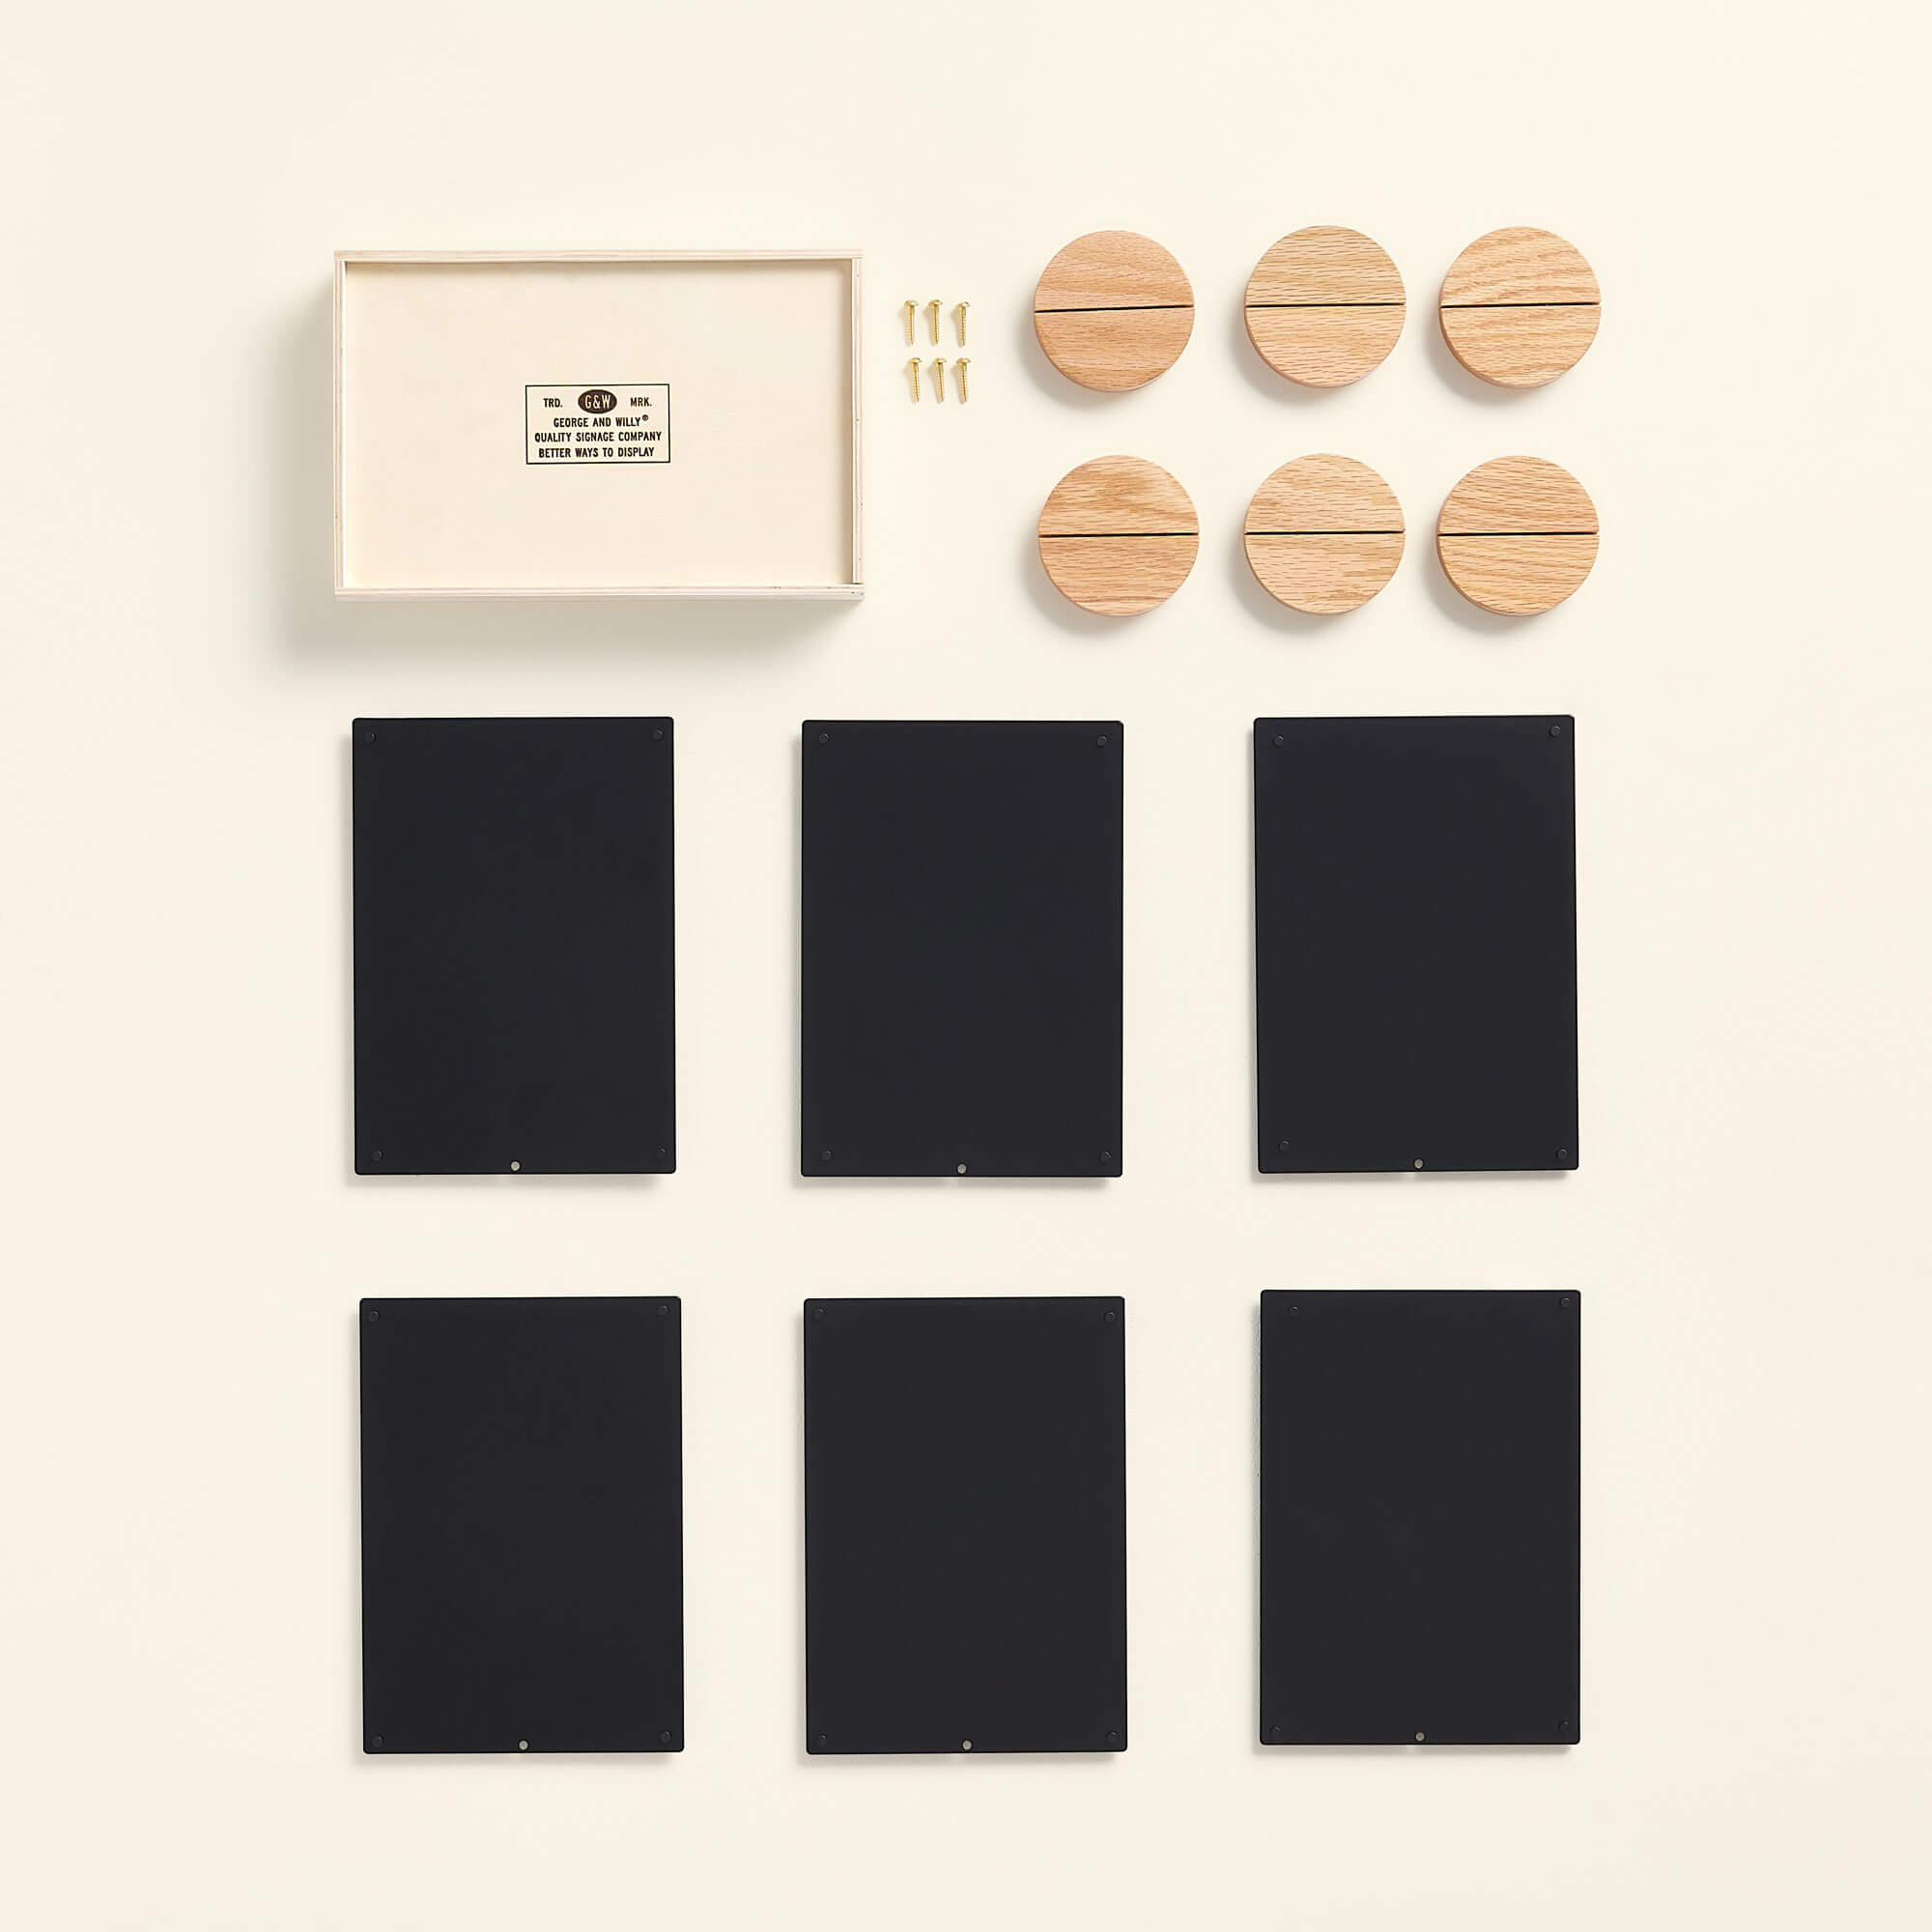
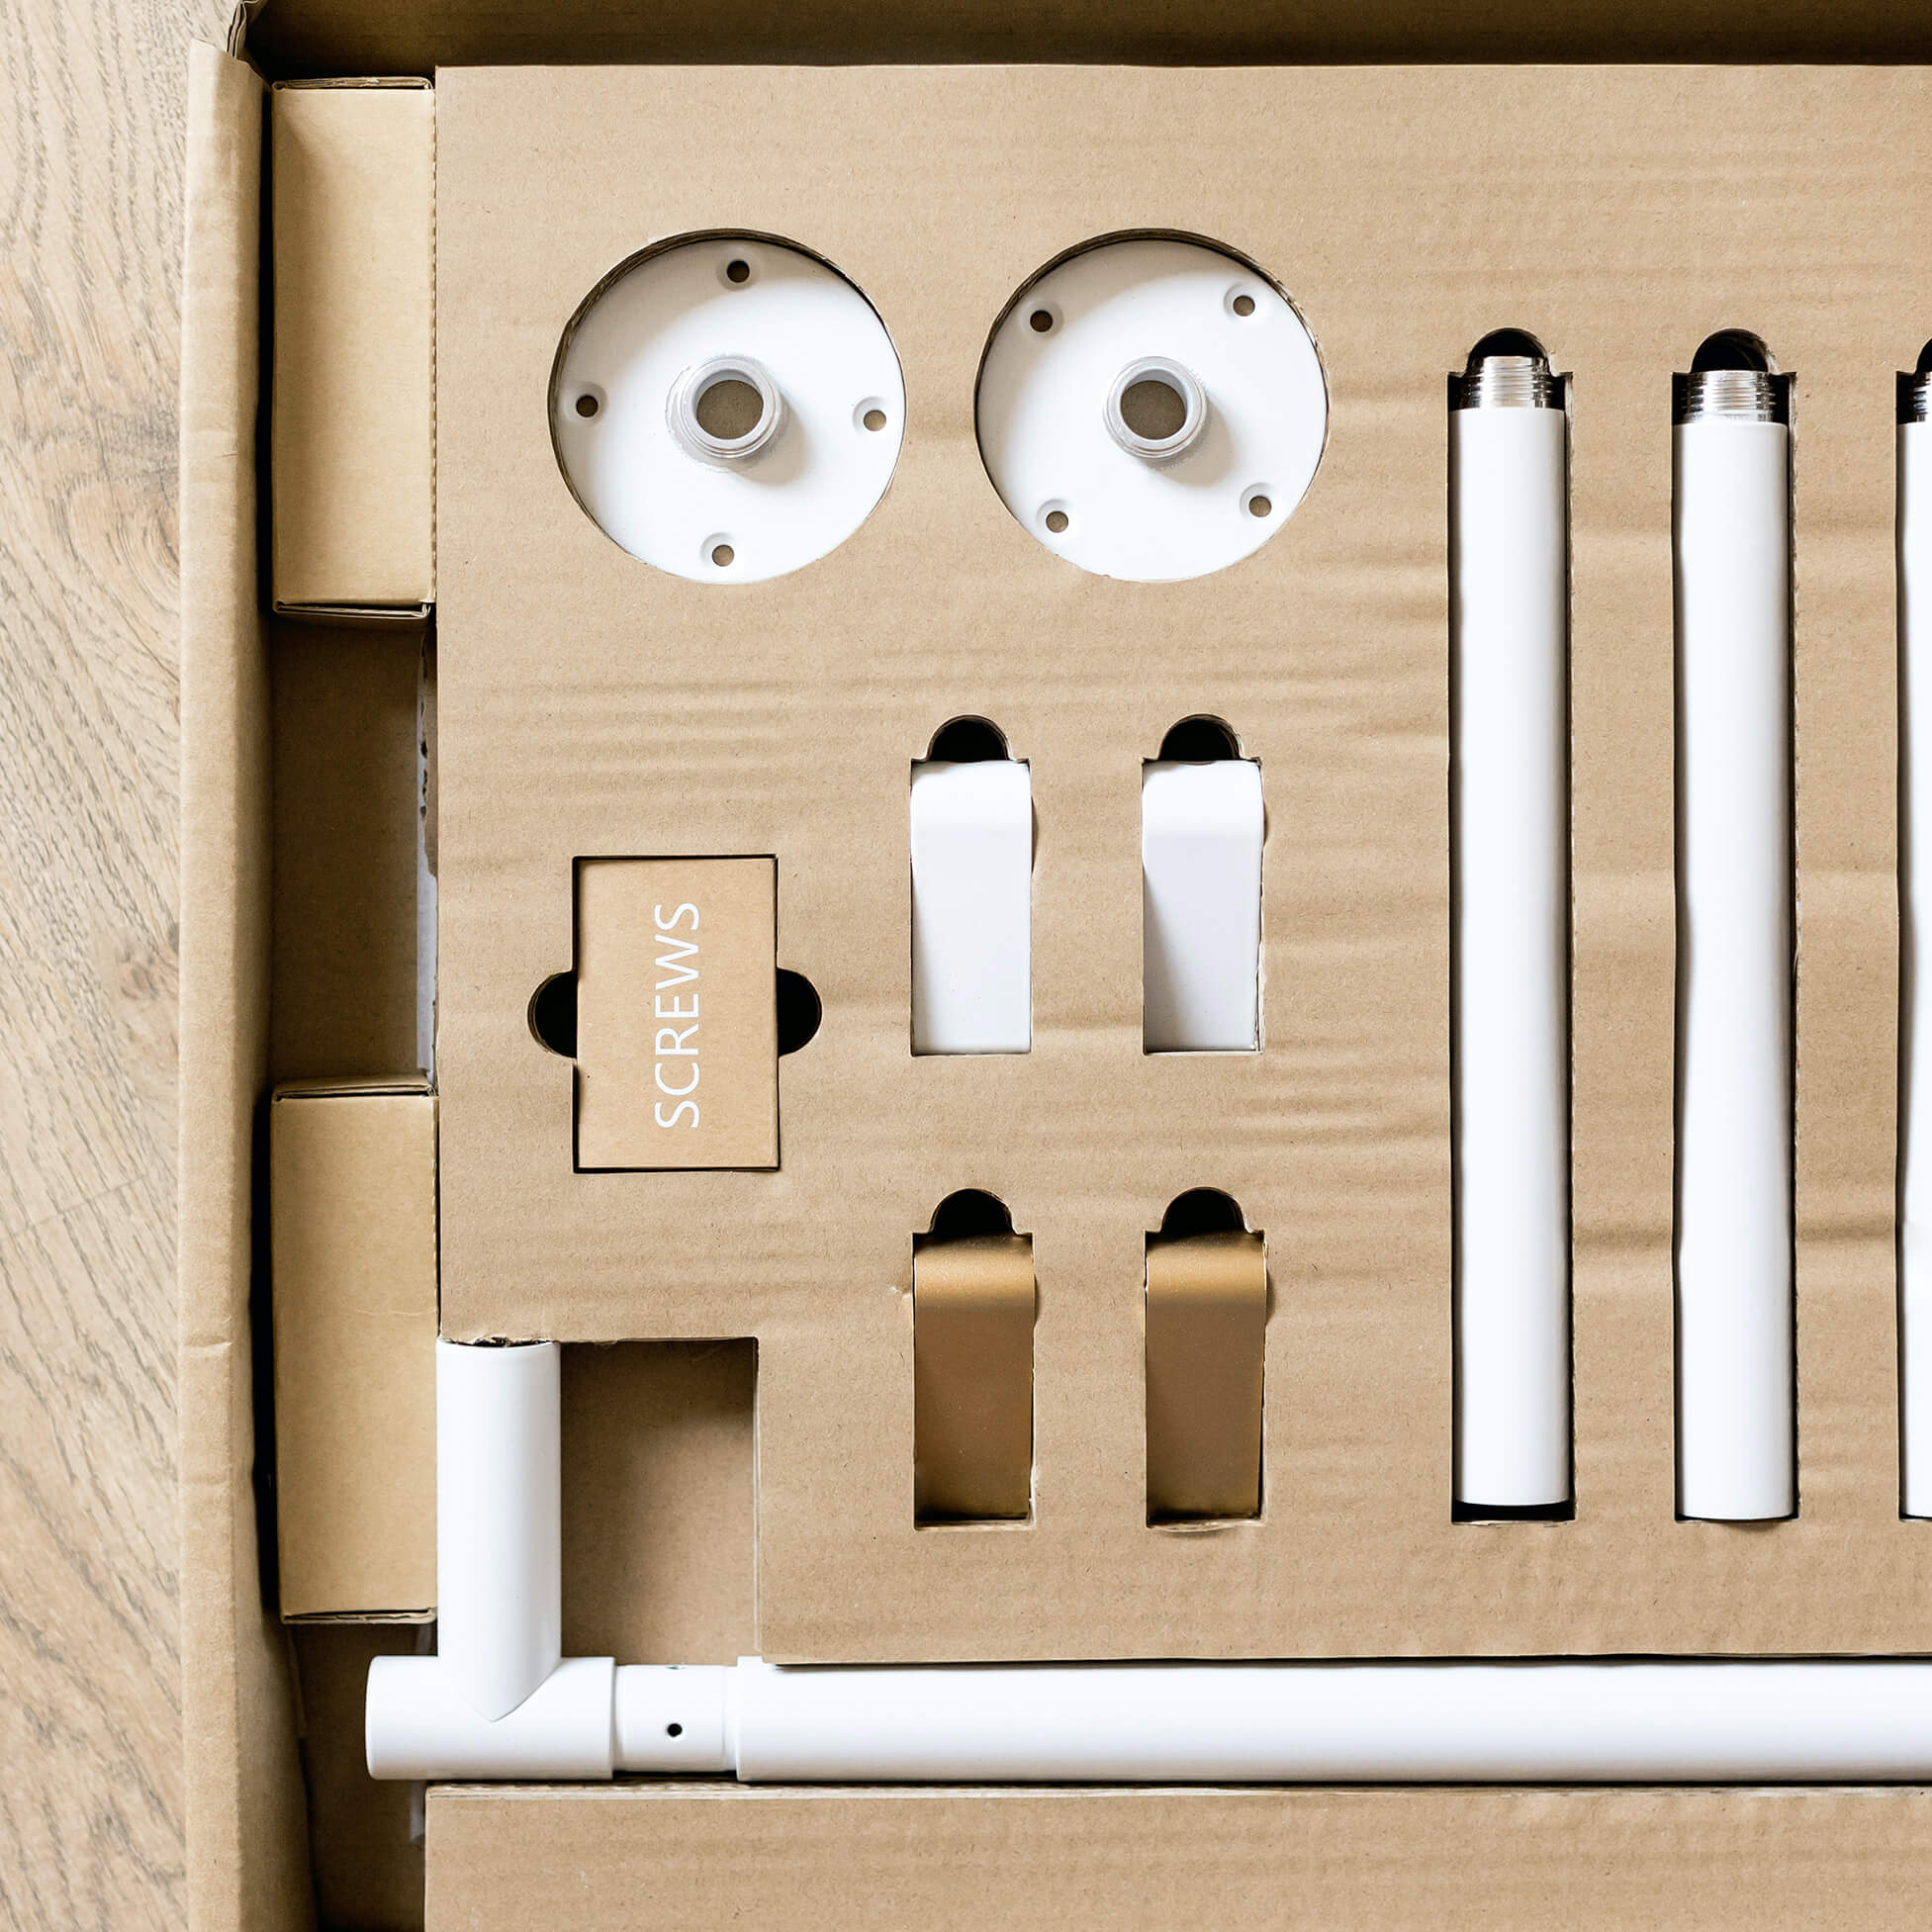
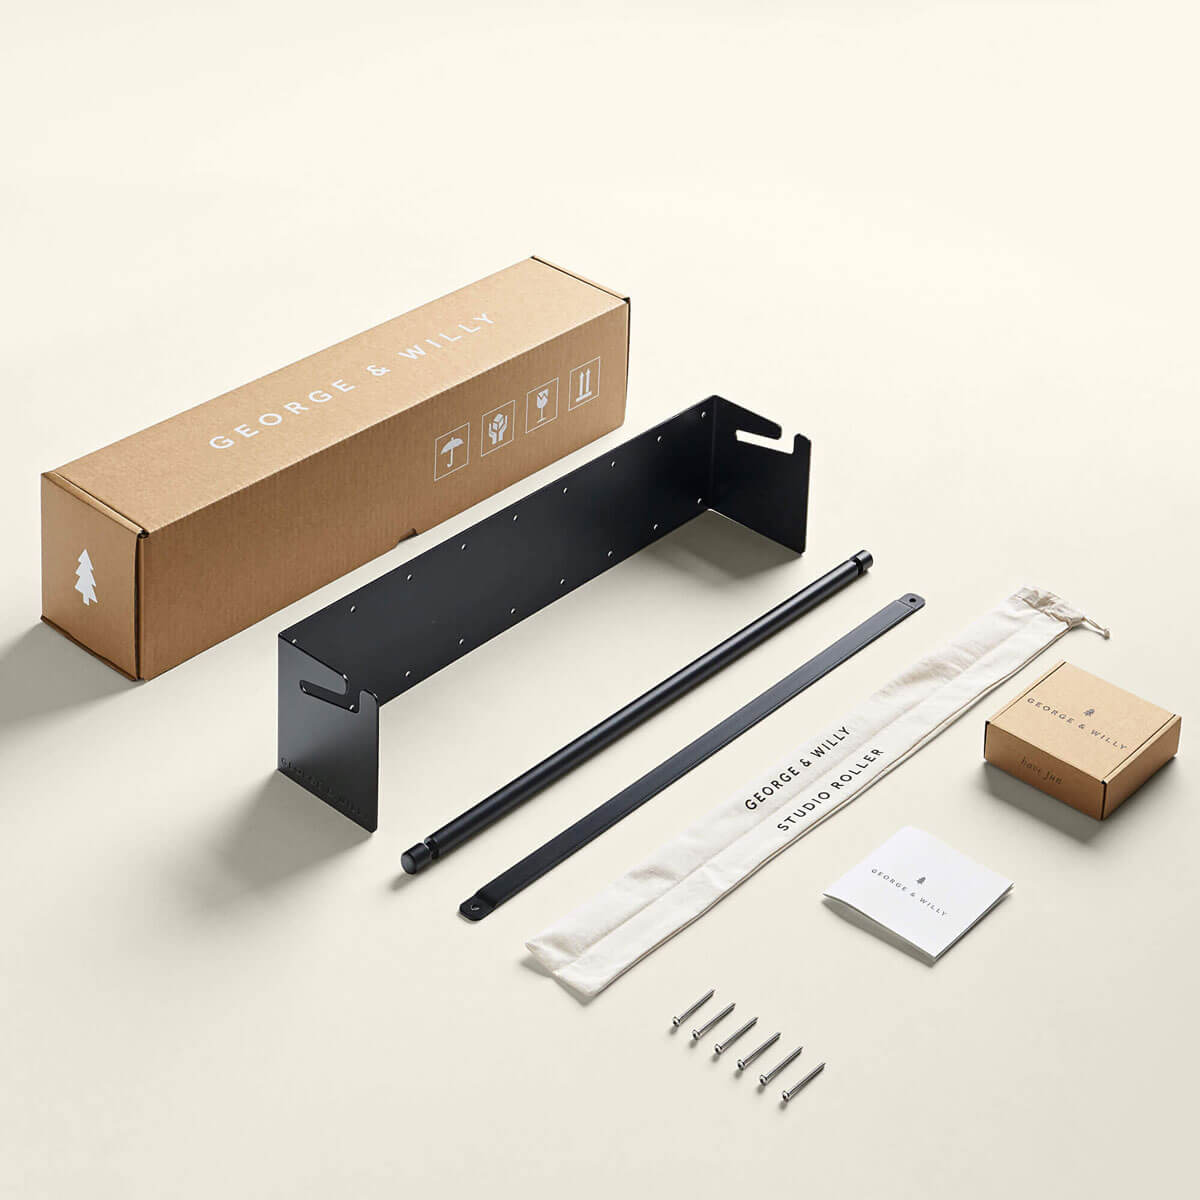
If the DIY approach sounds like a bit much, a high quality kit can save you a lot of time and effort. For a beautifully designed and durable option, check out the George & Willy Hanging Drying Rack, which includes everything you need for a straightforward installation.
Installation and Safety: Getting It Right
Whether you’ve bought a kit or built your own, proper installation is key to a safe and functional system.
Mounting Securely to Joists
The golden rule is to anchor all hardware into the structural framing of your house. Ceiling joists and wall studs provide the necessary strength to hold the weight of the rack and wet laundry. A stud finder is your best friend here. Always drill pilot holes into the center of the joists before driving in the screws. If you absolutely cannot mount into a joist, you must use heavy duty toggle bolt anchors, but mounting to wood is always the safer choice.
Pulley Alignment and Cleat Placement
For a smooth, stable lift, your pulleys must be aligned correctly. They should be spaced slightly less than the length of your rack and positioned directly above the rack’s attachment points so the ropes pull straight up. The wall cleat should be mounted at a comfortable height (around 1.2 to 1.5 meters from the floor) and vertically in line with the last pulley. This makes tying off the rope easy and secure.
Weight Capacity and Ceiling Height Limits
Most standard ceiling hanging drying racks can safely hold around 10 to 15 kg of wet laundry, which is about one large washing machine load. Always distribute heavy items evenly to avoid tilting. Be aware of the manufacturer’s maximum ceiling height limit, which is determined by the length of the rope provided. A typical kit might work for ceilings up to 4 meters high. If your ceilings are taller, you may need to source a longer rope.
When to Call a Professional
Safety should always be your top priority. If you are not confident in your ability to find joists, drill into concrete ceilings, or securely mount the hardware, it’s wise to hire a professional. The peace of mind that comes with a secure, professional installation is well worth the cost. A company like George & Willy designs products for user installation but always recommends hiring an experienced builder if you feel unsure.
Frequently Asked Questions About Ceiling Hanging Drying Racks
1. Are ceiling hanging drying racks hard to install?
For someone comfortable with basic DIY tasks like drilling and finding studs, installation is quite straightforward. However, if you are unsure about securing heavy items to your ceiling, hiring a professional is the safest bet.
2. How much weight can ceiling hanging drying racks hold?
Most racks are designed to hold a full load of wet laundry, typically between 10 kg and 15 kg. It is important to check the specific manufacturer’s guidelines and to distribute the weight evenly.
3. Do clothes actually dry faster on ceiling hanging drying racks?
Yes, they often do. Because warm air naturally rises, the air near your ceiling is the warmest and driest in the room. This elevated position, combined with good air circulation, can significantly speed up drying time compared to a floor rack.
4. Will a ceiling rack cause mold or moisture problems?
Drying laundry indoors does release humidity. As long as you have adequate ventilation, like cracking a window or using an exhaust fan, moisture should not be a problem. Avoid installing the rack in a consistently damp, unventilated room.
5. What’s the best room for one of these ceiling hanging drying racks?
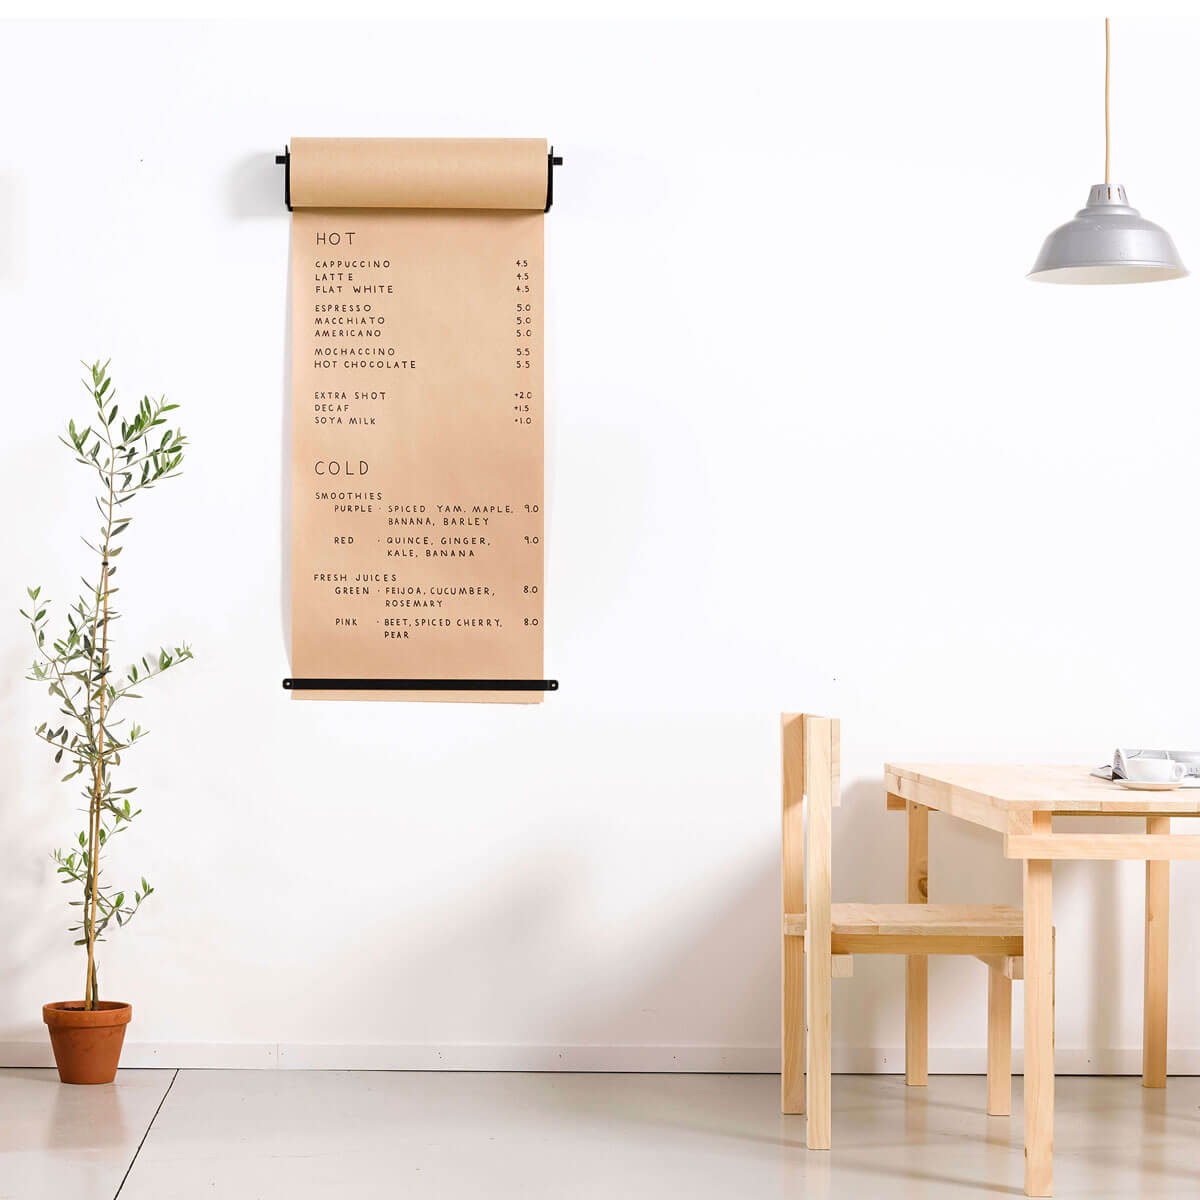
Laundry rooms, utility rooms, and kitchens are popular choices because they tend to be warm and are practical locations for laundry tasks. However, any room with sufficient height and good ventilation can work well. In tighter spaces, a compact Daily Roller mounted nearby makes it easy to note care instructions without taking up counter space.
6. Can I get a rack in a custom size?
Some smaller manufacturers may offer custom sizes, but many brands produce a standard size designed to fit most homes. For example, the George & Willy Hanging Drying Rack is a set size. If you have a unique space, building your own DIY rack is always an option to get a perfect fit.